
Everyone loves looking at pictures. Who doesn’t, right?
Pictures can indeed paint a thousand more words than what written text can ever achieve, especially in today’s digital era.
Hence, a superb quality image is highly appreciated anywhere you decide to put it in — books, blog posts, YouTube thumbnails, etc.
You can even change the photo’s shape if you’d want to.
Thankfully, you don’t need to become an expert photo editor, as Canva’s got a nifty photo editing tool as part of its many superb features.
So, if you’re intrigued about what Canva hosts in its photo editor, better check this article out.
How to Edit Photos in Canva
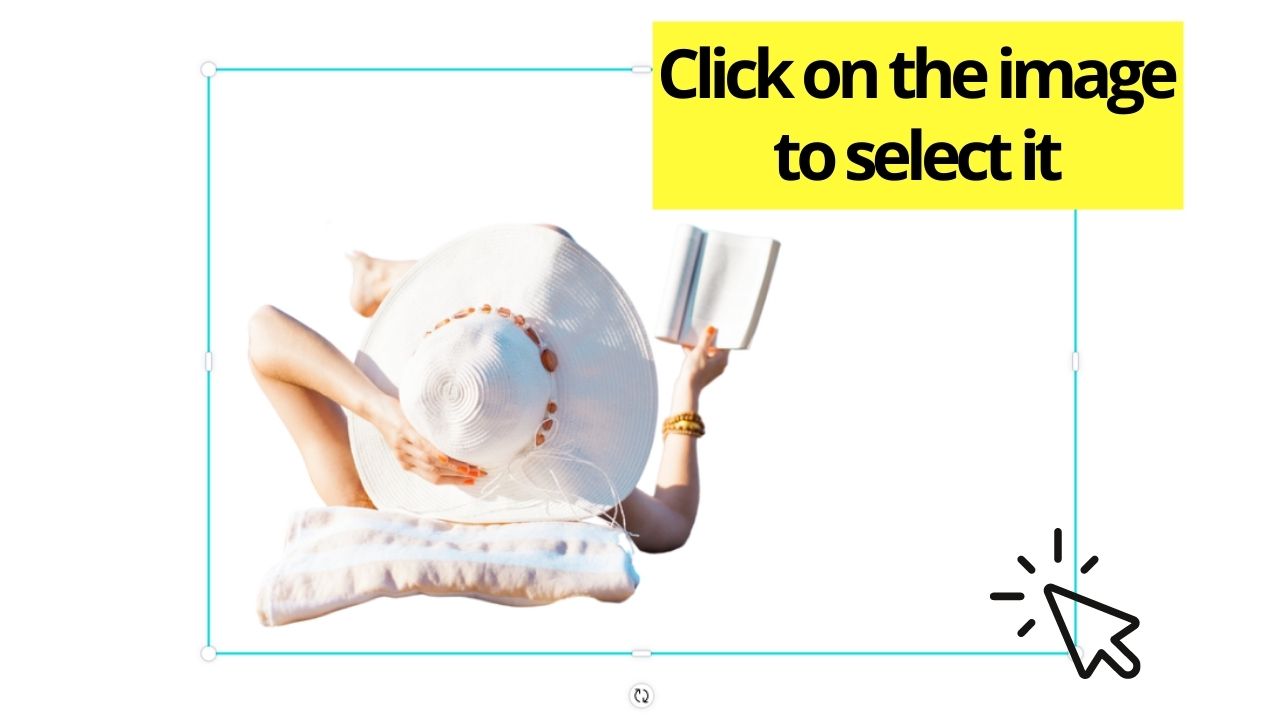
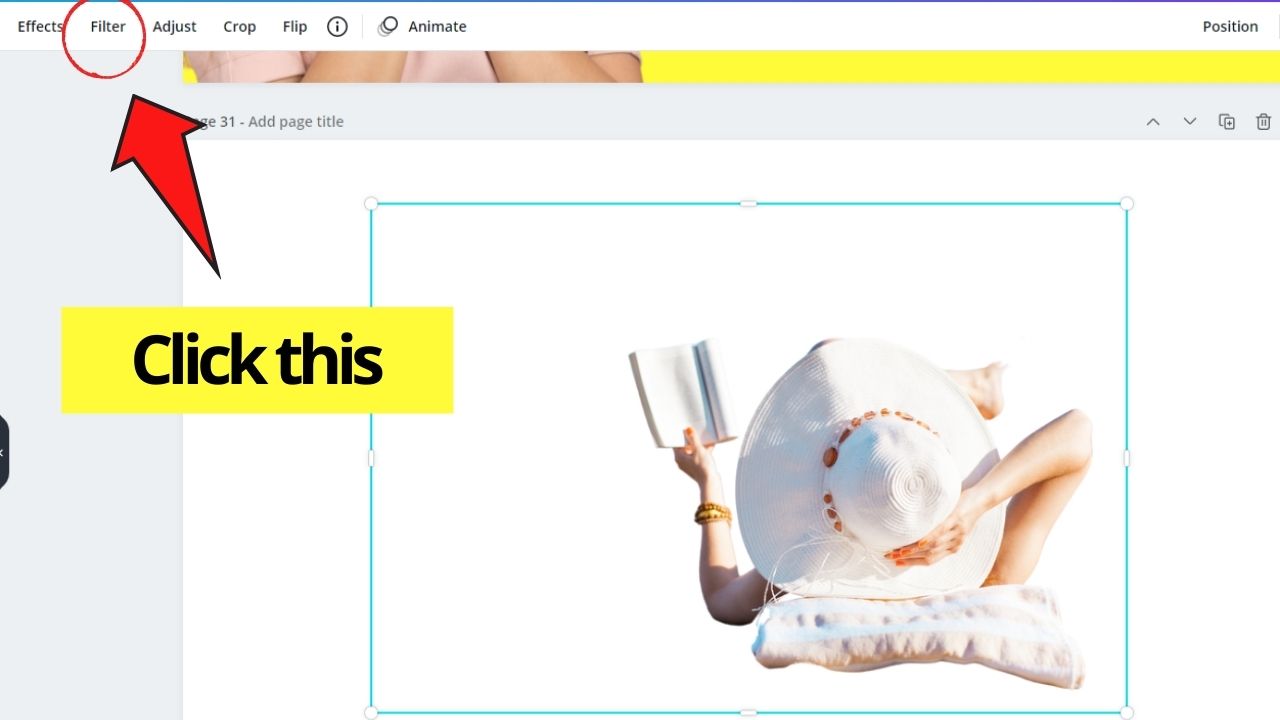
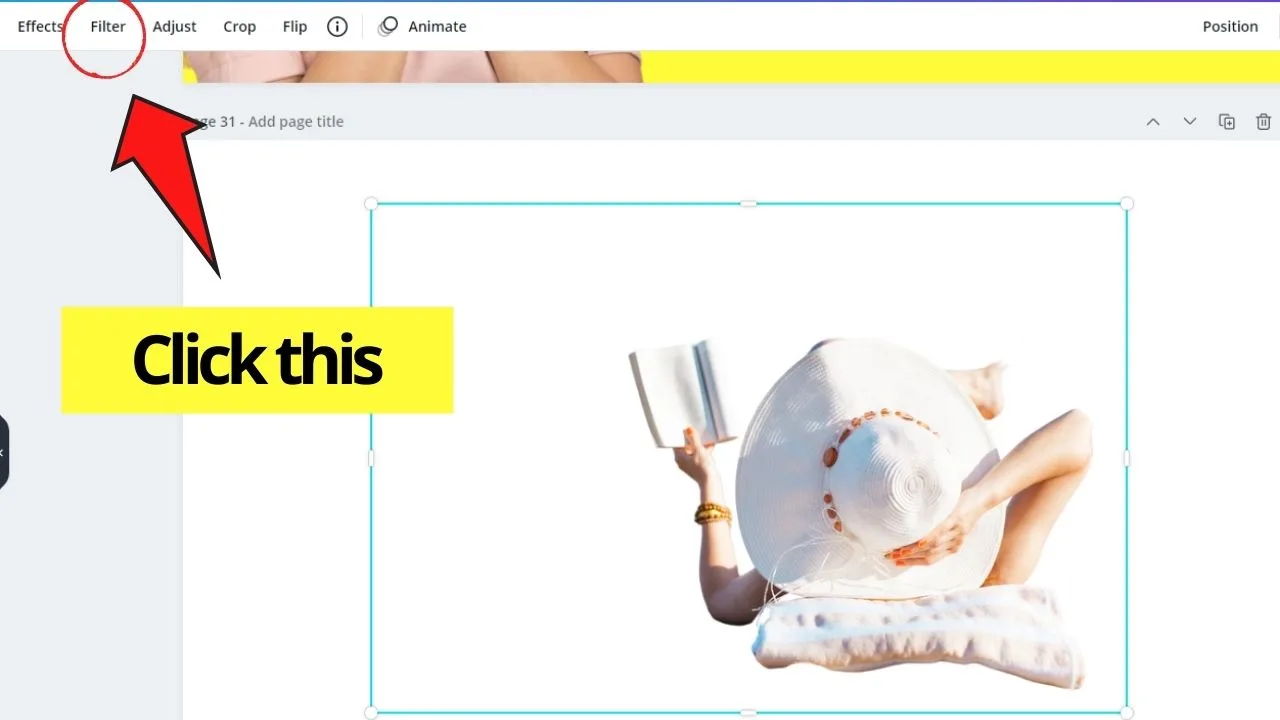
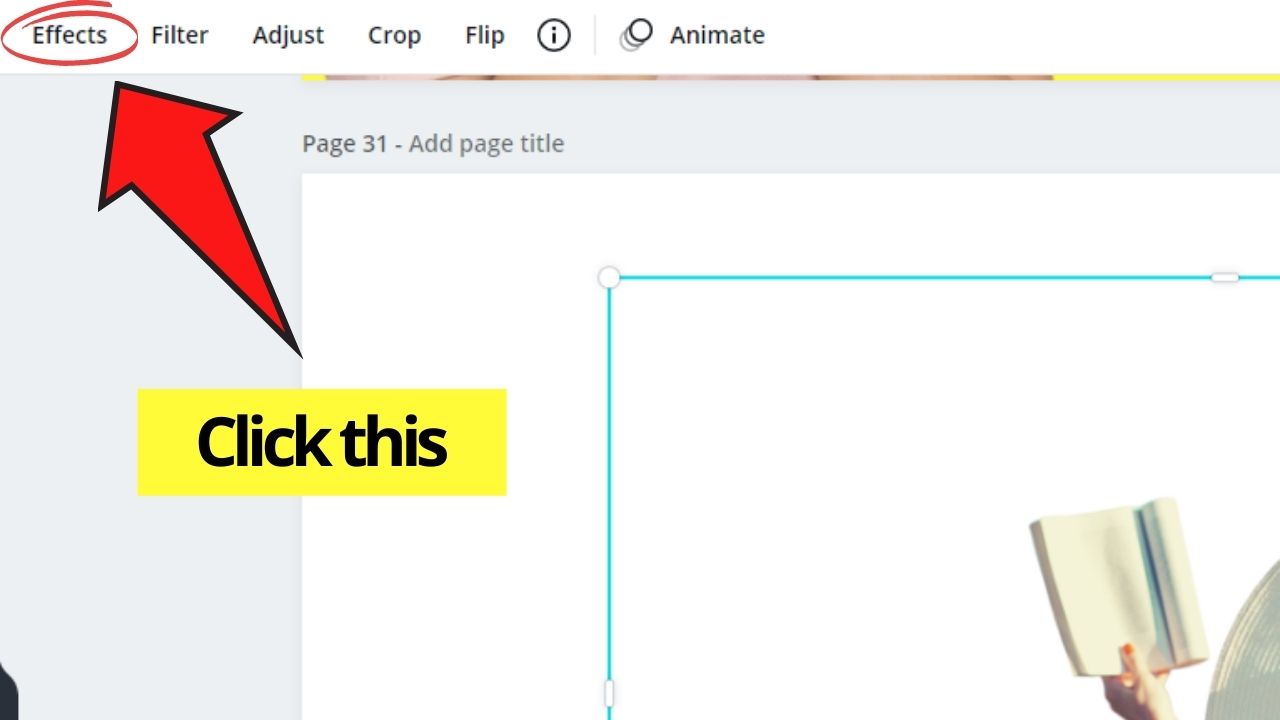
Add the photo you would like to edit into your Canva project. Then click on the photo. Now, above the photo, you will see a toolbar with all the editing options such as “Effects”, “Filter”, “Adjust”, “Crop” & “Flip.” To use effects though, you need to have Canva Pro (or buy the photo).
Editing Photos in Canva: The Basics
For those who aren’t well-versed in using Canva, it’ll be a surprise for you to find photo editing features in a graphic design tool.
But, without becoming too technical, let’s get to learn what Canva has to offer in the photo editing department.
First things first, you have to log into your Canva account and open or create a design file. You can simply tap on the “Create a New Design” button to begin this process.
Once a blank canvas appears, it’s time to choose a photo to use. You can either select one from the “Photos” tab or use an image from your device by uploading it in the “Uploads” tab.
You can also choose from available templates in the “Templates” gallery as well if you don’t want to start designing from scratch.
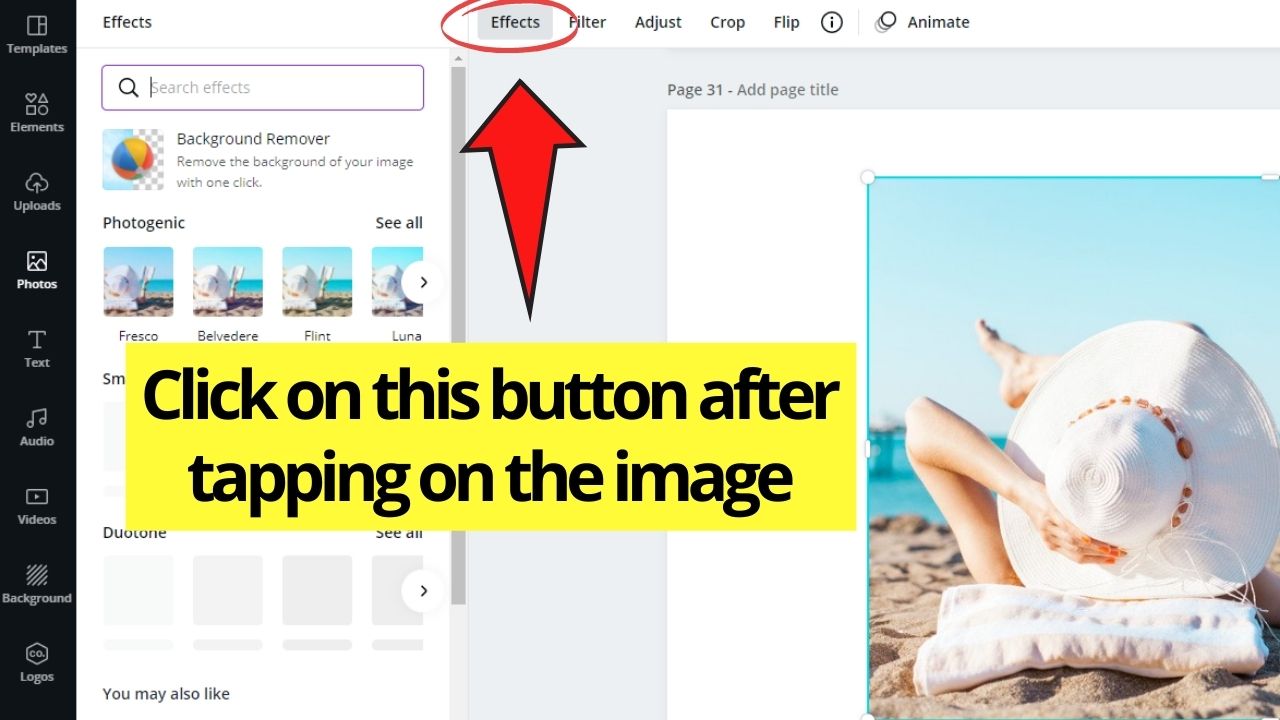
After choosing a photo you’d like to edit, click on it to activate the photo editor toolbar.
But, before you can fully begin with your photo editing, you first have to remove its background. How to do so?
Removing Image Background in Canva
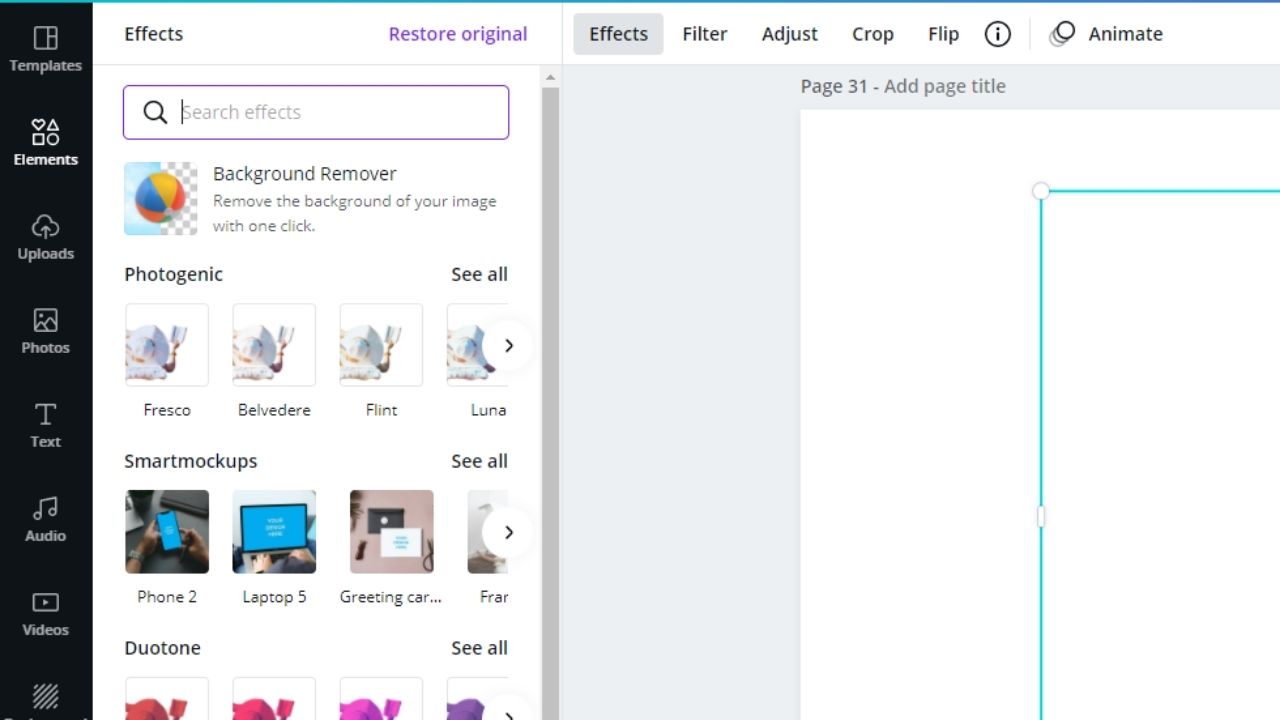
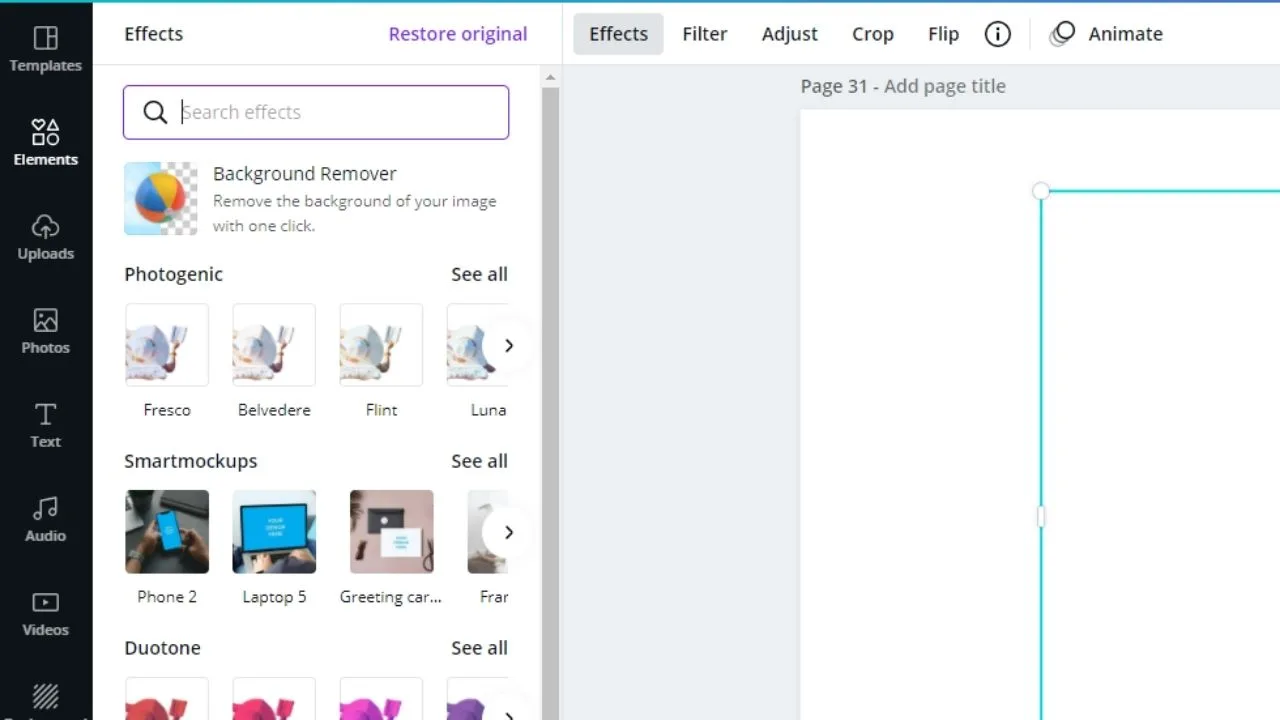
Step 1: Tap on the “Effects” tab on Canva’s photo editor toolbar.

Step 2: On the left-side window, select the “Background Remover” option by clicking on it.


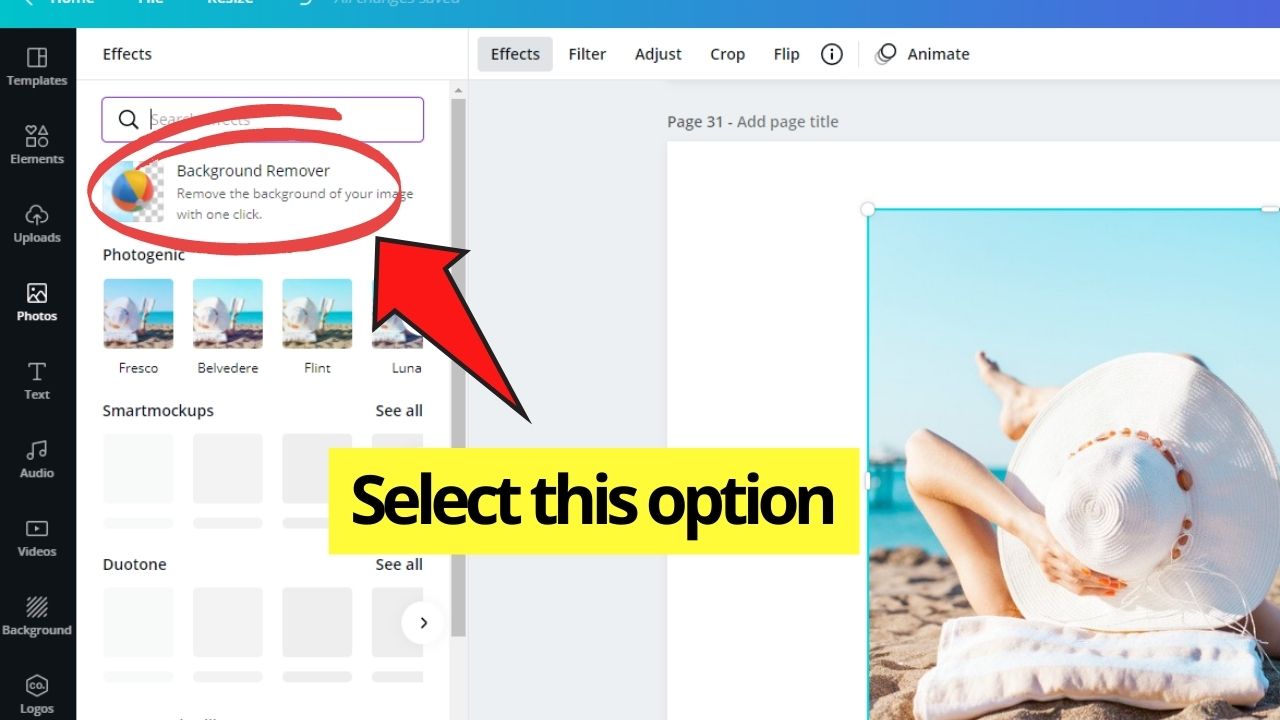
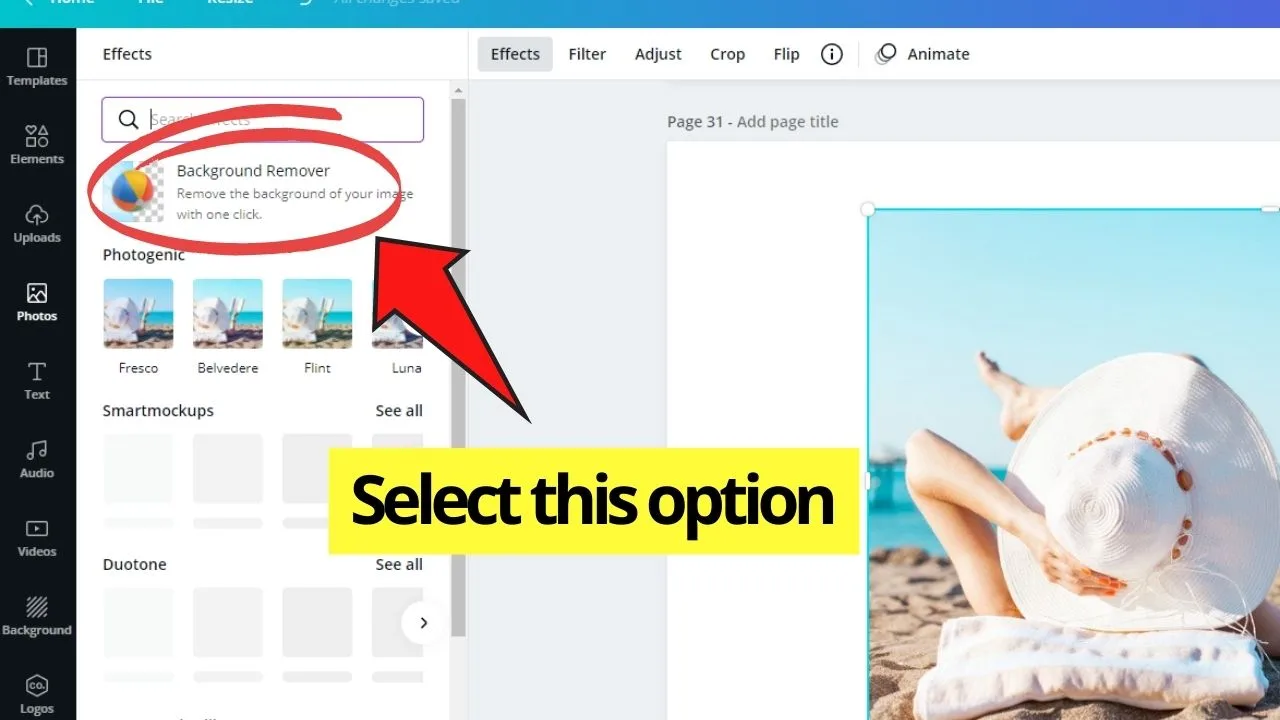
Step 3: Wait for Canva to finish removing the image’s background.


And, ta-da! You already have a background-less picture in Canva! But, mind you, you can only avail of this feature if you’re a Canva Pro (and its equivalents) user.
However, in case Canva’s background remover isn’t working, you can try using remove.bg temporarily.
After the background removal’s done, it’s time to get down into the real photo editing works.
Here are the five editing tools that Canva offers to change the way our images look.
Flipping Photos
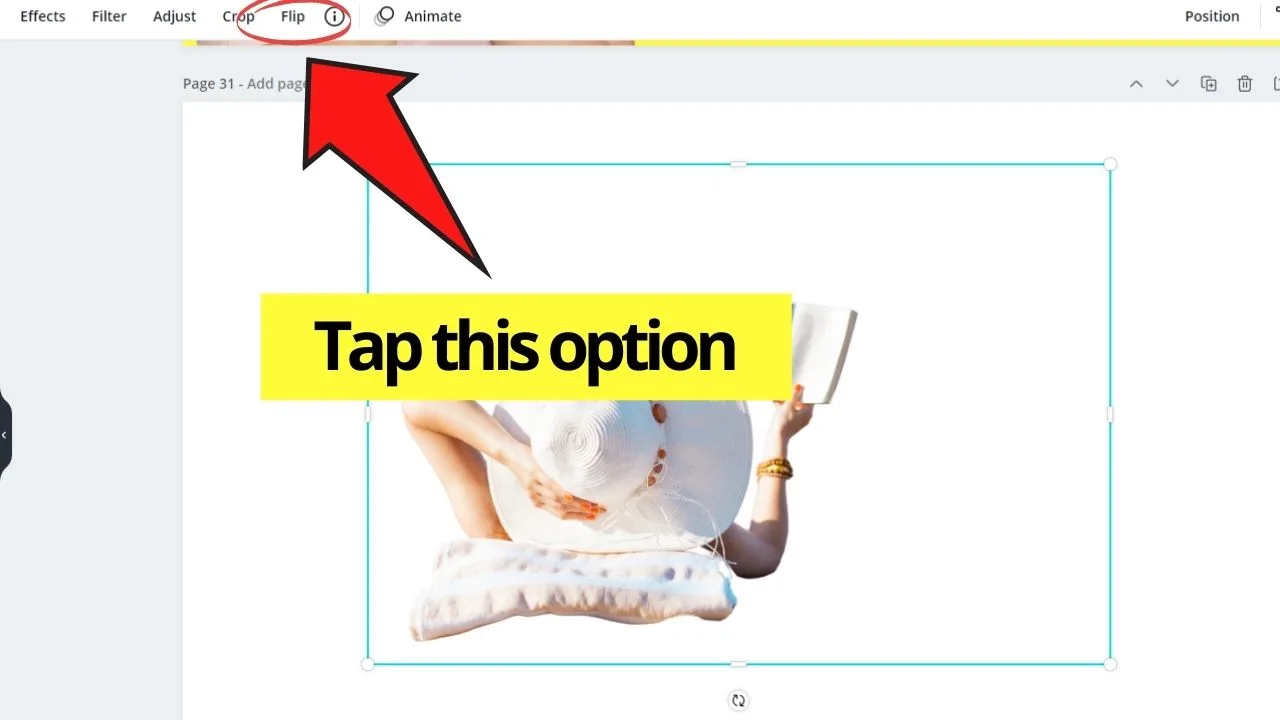
Step 1: Make sure to select the photo you’d like to flip by clicking on it.

Step 2: On the photo editor toolbar, head over to the “Flip” option.

Step 3: In the dropdown menu, select whether you’d flip the image vertically or horizontally.

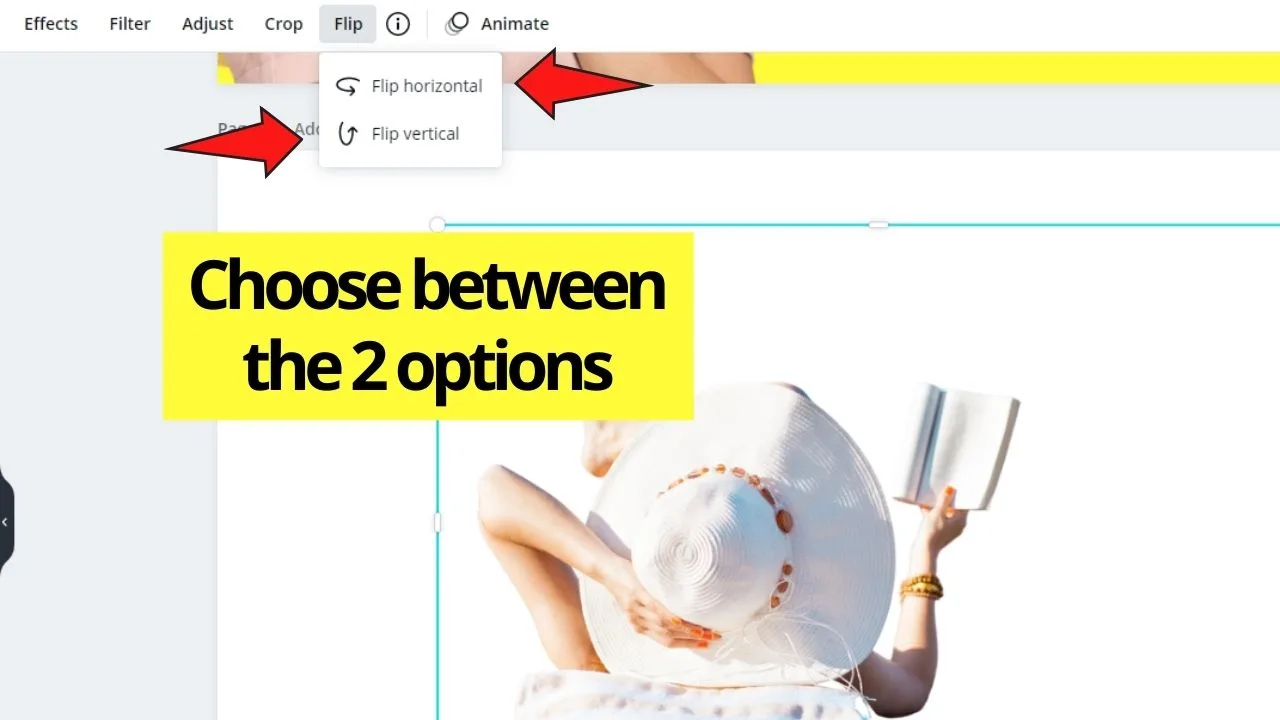
And, with those 3 simple steps, you can redirect the photo’s orientation, ultimately giving another vibe to it.
But, flipping images isn’t the only feature in Canva’s photo editor that you can take advantage of.
You can ultimately “cut out” any unwanted part of the image with Canva’s crop feature.
Cropping Images in Canva
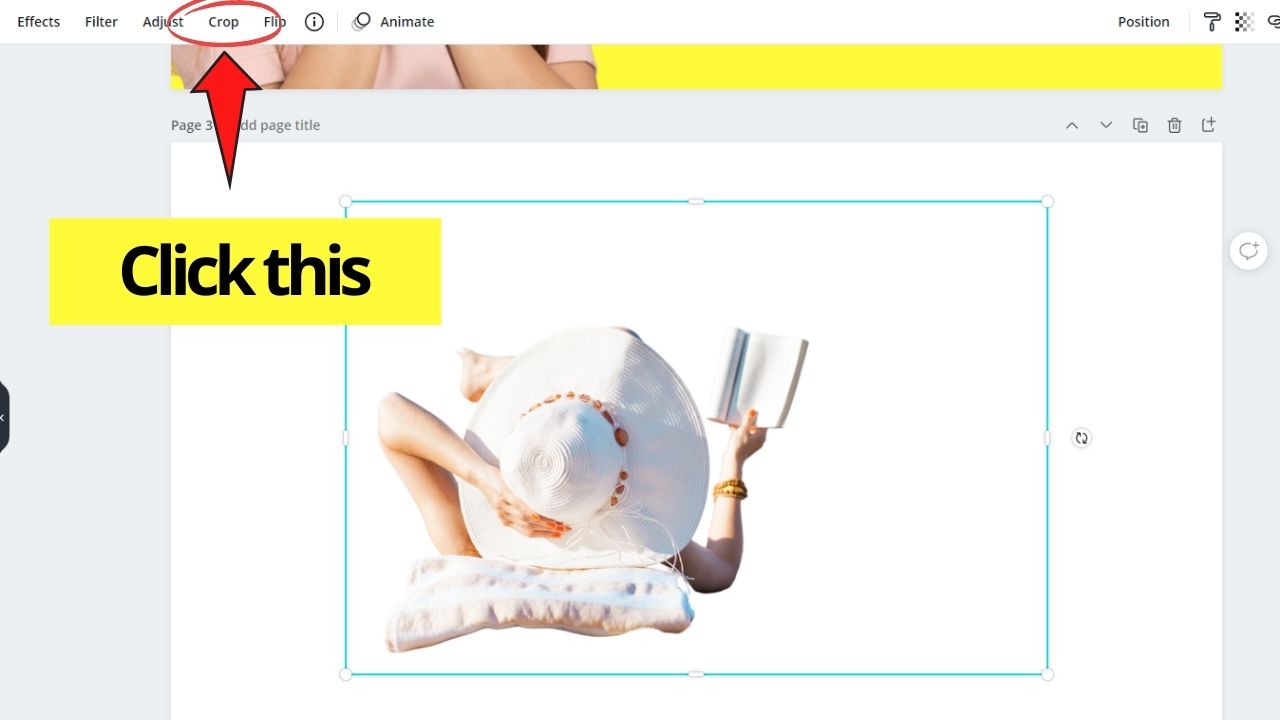
Step 1: Tap on the picture you’re going to crop.

Step 2: On the photo editor toolbar, tap on the “Crop” option. This will then gray out the rest of the screen and enclose the image in a box.

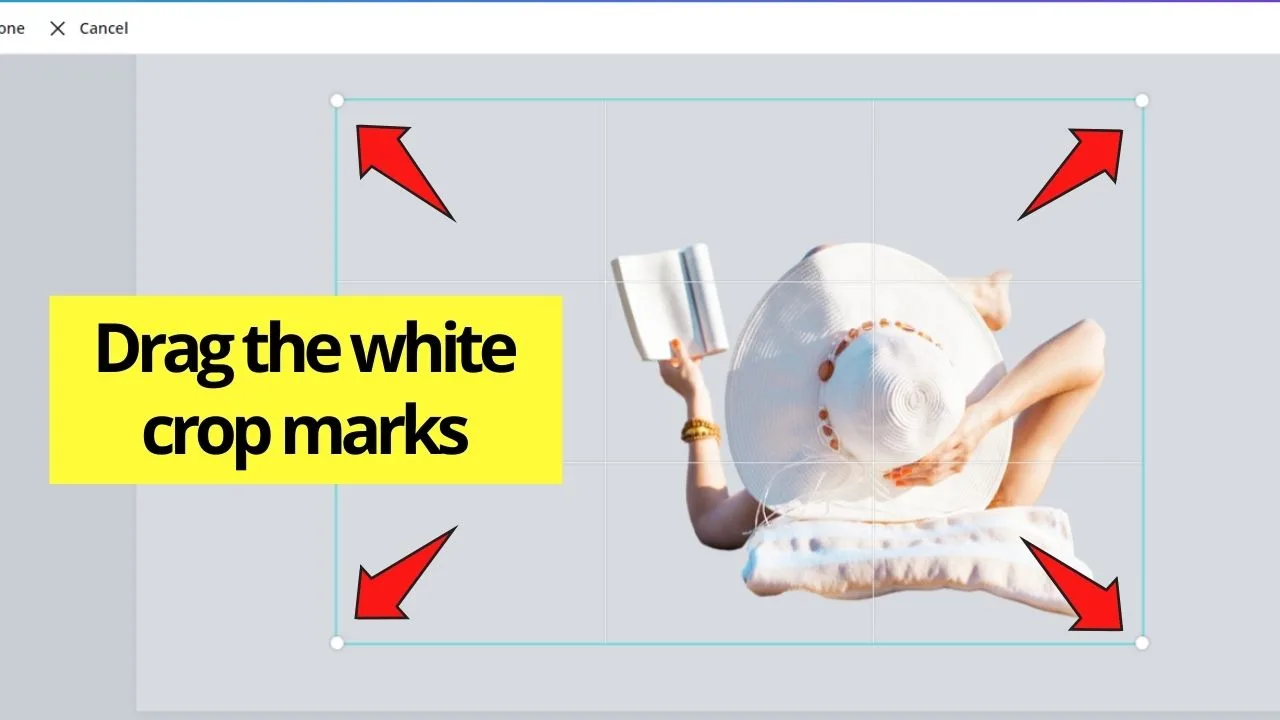
Step 3: Using the white crop marks at the corners of the box, drag them until you’ve cut out the area or area of the picture you’d like to remove.

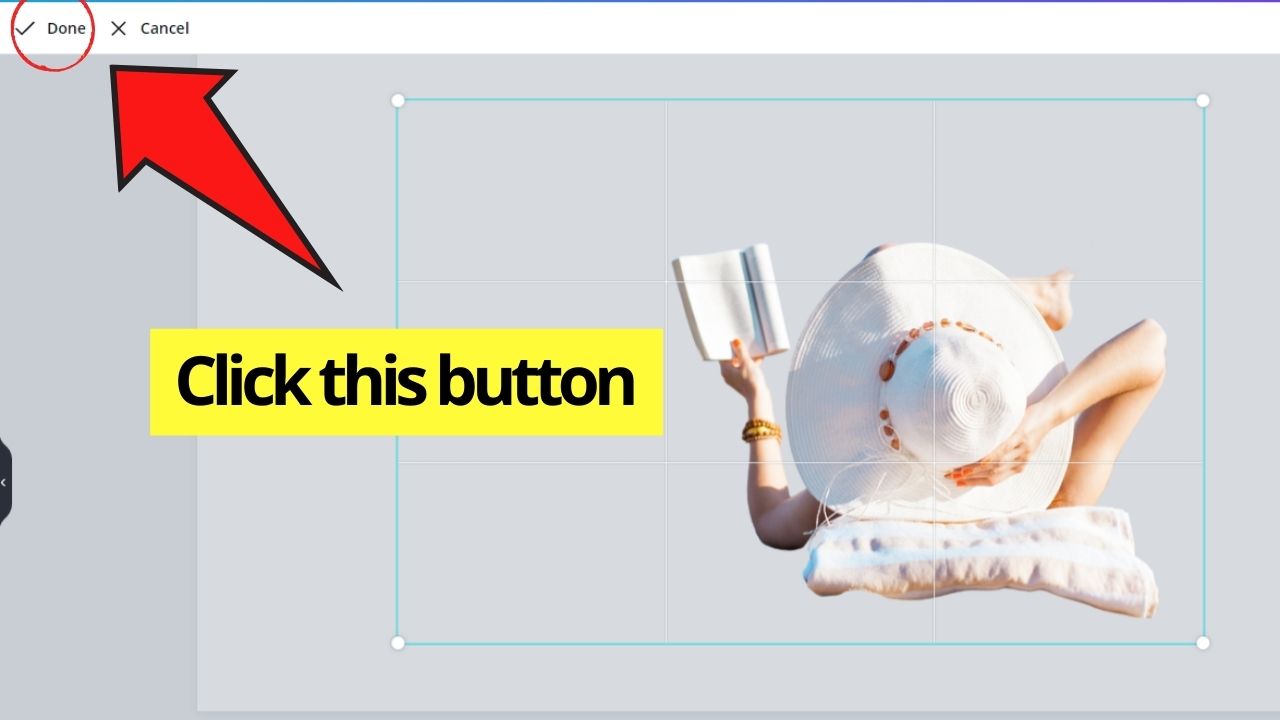
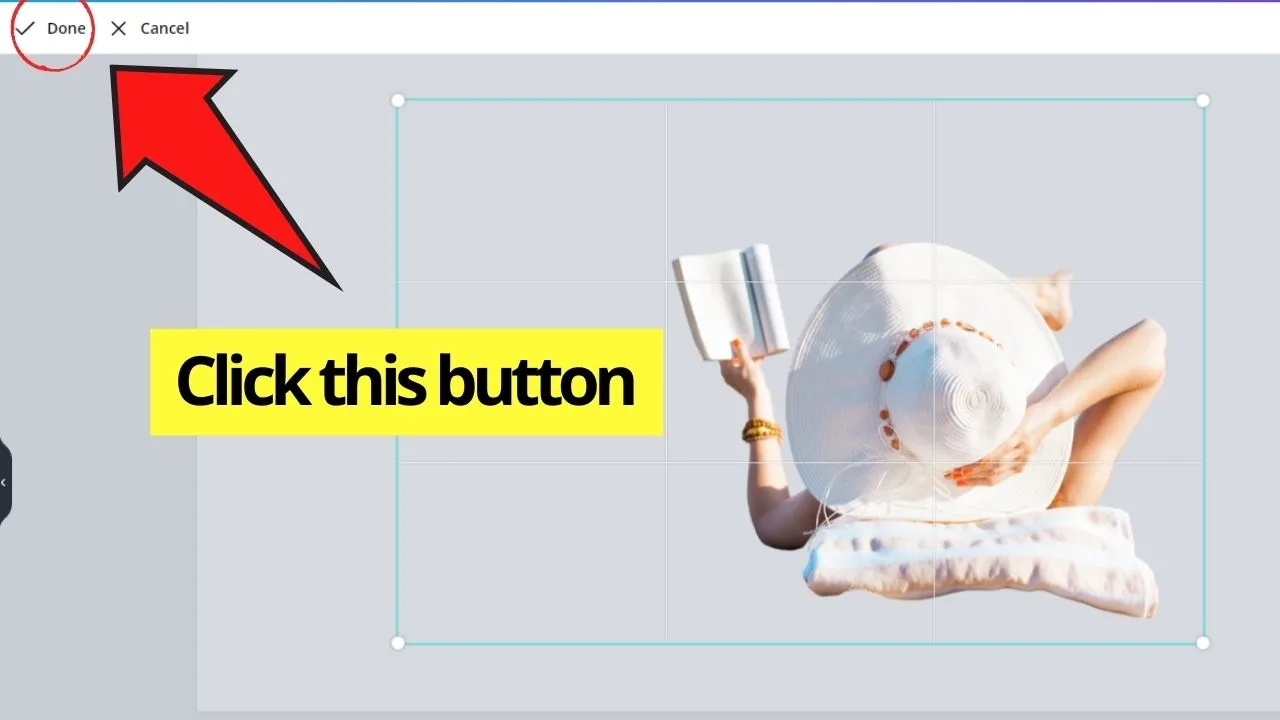
Step 4: Tap the “Done” button in the toolbar once you’re done with the cropping process.
Now, you’ve cut out the parts of the photo you don’t like to appear on your design. But, you want to have a more dramatic end result.
Well, you don’t need to use another photo editing tool, as Canva’s got filters and adjustment options for you to try on your photo.
But, if you’re a bit hesitant with tweaking the photo adjustments settings, then go all out with the one-click filters first.
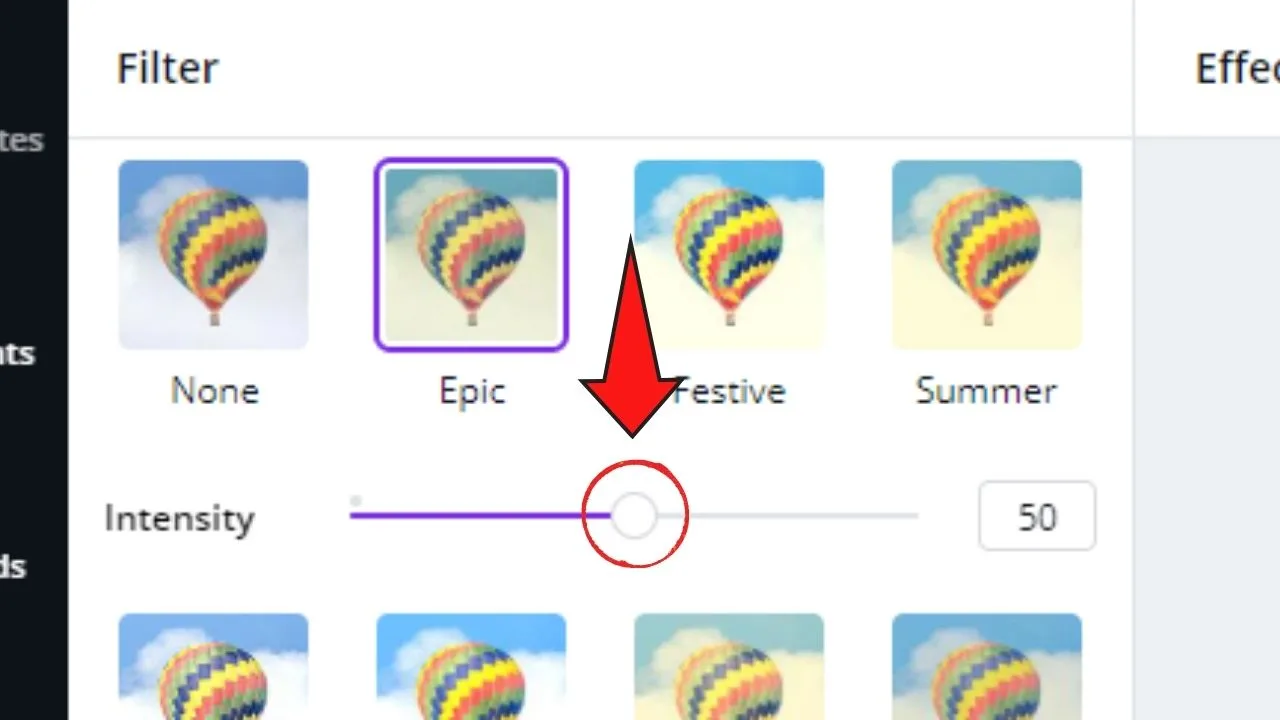
Adding Filters in Canva
Step 1: Click on the image you’d like to add a filter on.


Step 2: Once the photo’s highlighted, head over to the “Filter” menu and click it.
Step 3: In the menu that appears on the left side of the screen, pick what filter you’d like to use from the choices in the gallery.
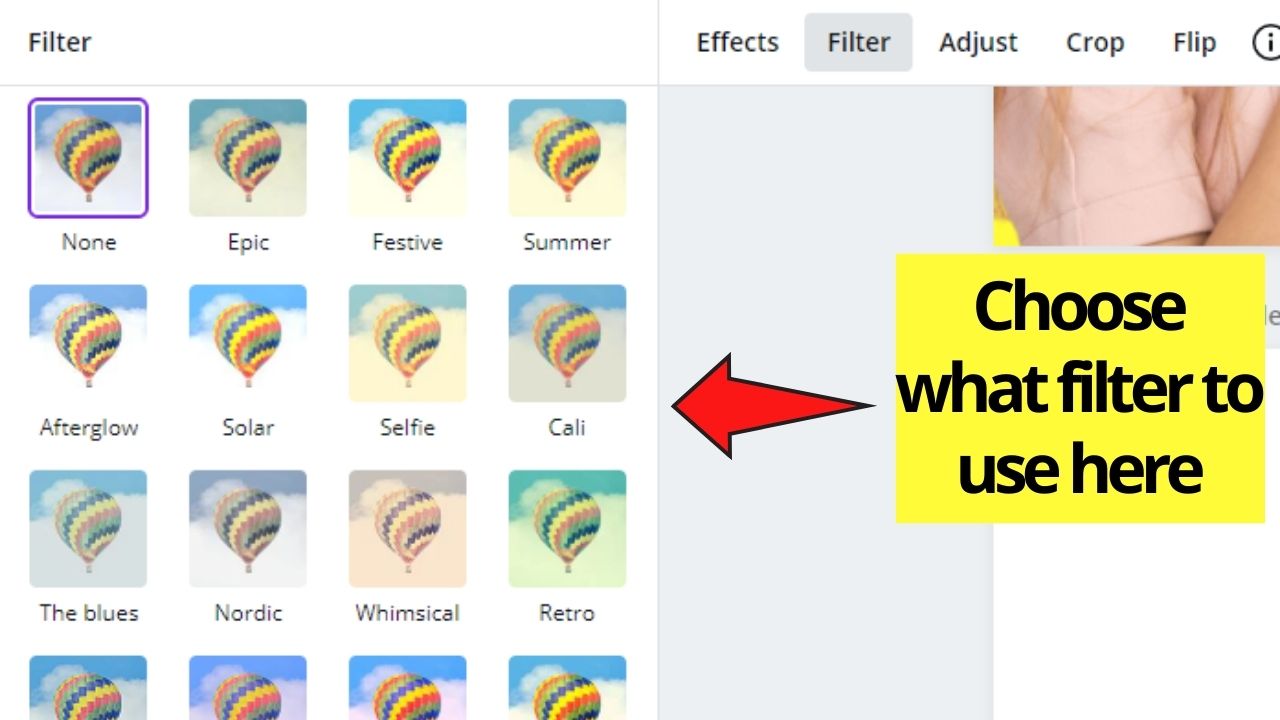
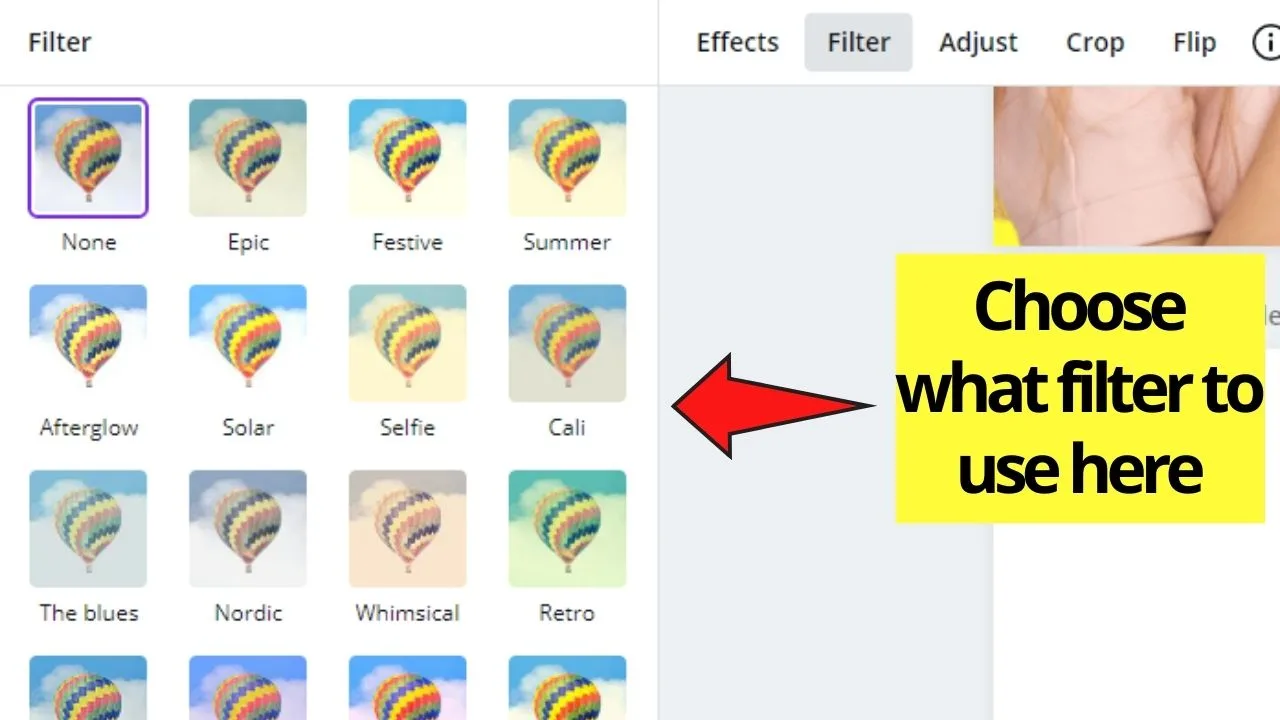
Step 4: If you want to adjust how bright or dim the filter you’ve chosen is, toggle with the “Intensity” slider found at the bottom of the filters gallery.

Now, that is the easy part. As mentioned earlier, you only need a few clicks to get the dramatic effect you so want to achieve.
But, if you want to customize the image further, your best bet would be to toggle with the settings in the “Adjustment” menu.
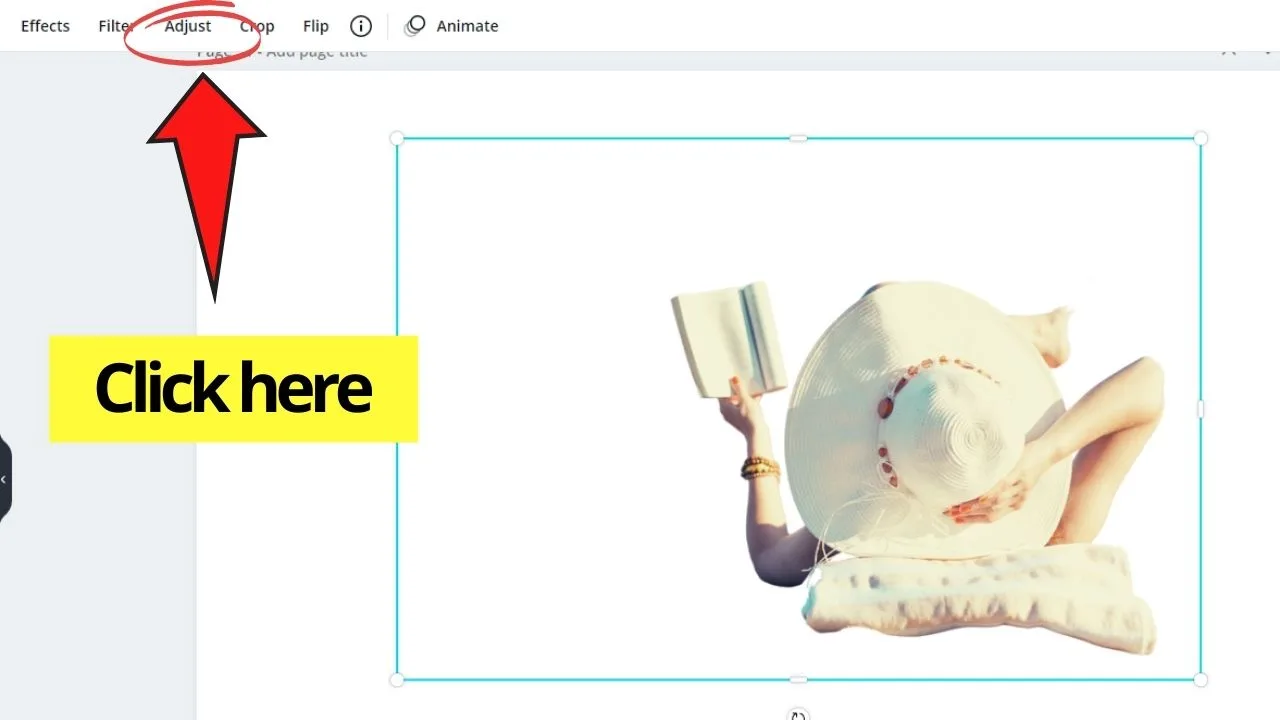
Editing a Photo using Canva’s Adjust Feature
Step 1: Tap on the image you’d like to edit.


Step 2: On the photo editor toolbar that appears, click on the “Adjust” option.

Step 3: In the window that appears on the side, you’ll see 7 sliders that will allow you to tweak your picture. These sliders namely are the following:
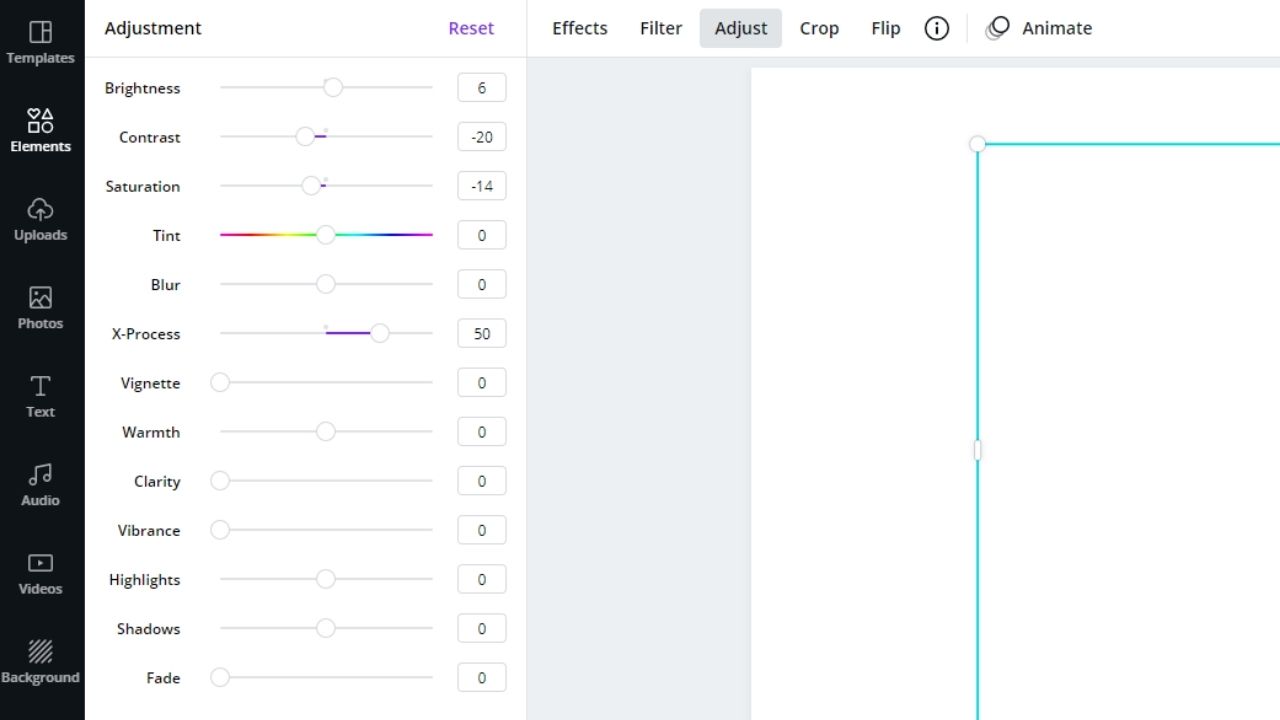
- Brightness
- Contrast
- Saturation
- Tint
- Blur (You can even use this slider to sharpen images)
- X-Process
- Vignette
I won’t discuss here in detail what each slider will do, but you can simply drag the button to the right or left to see each of their effects.
Think of it like you’re creating your very own filter. A customized one.
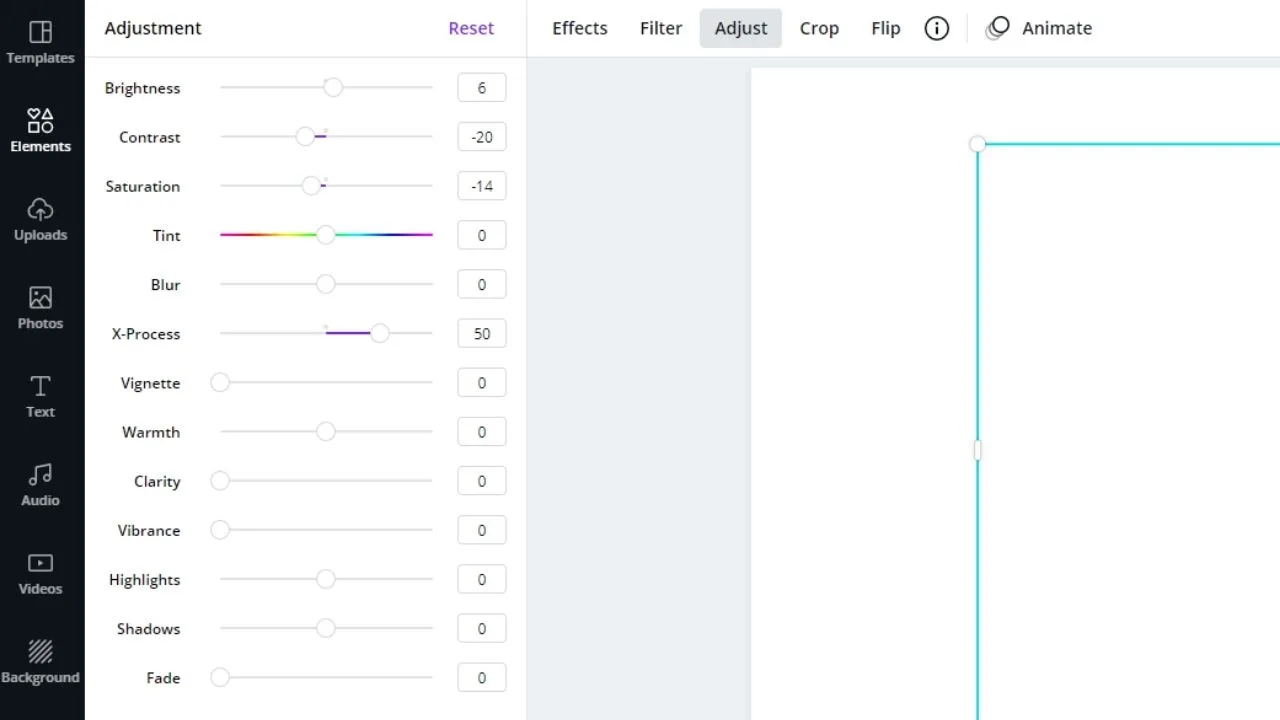
Also, if you like a particular filter you’ve created, take note of the filter code. The cool thing is, you can reuse this particular filter in another design you’ll create.
Nifty, right?
But, if you think that you want to amp your photo editing to the next level, Canva’s got new photo effects added to their gallery.
And, the good news is, everyone can use it — even the free account users!
Adding Effects to the Photos in Canva
Step 1: Highlight the image you’d like to edit by clicking on it.


Step 2: In the photo editor toolbar that appears, tap on the “Effects” option.

Step 3: In the gallery that appears, choose what kind of effect you’d like to use. Here’s what you’ll see on Canva’s effects gallery.
- Duotone
- Screen
- Pixelate
- Photogenic
- Smartmockups
- ColorMix
- Glitch
- Liquify
- BadTV
- Slice
- Code Art
- Frames
- Shadows
It’s pretty tempting to discuss what each of these effects will do on your photo, but I’d be taking out the fun if I’d explain them to you in detail here.
You can even further stylize your design by adding borders to it!
So, unleash the creative side in you and just click on each of the effects you’ll find and see how it goes with your design.
However, something’s missing. Don’t you think your end design’s too bare?
Well, since you’ve removed the picture’s original background earlier, you can most definitely give it a new one.
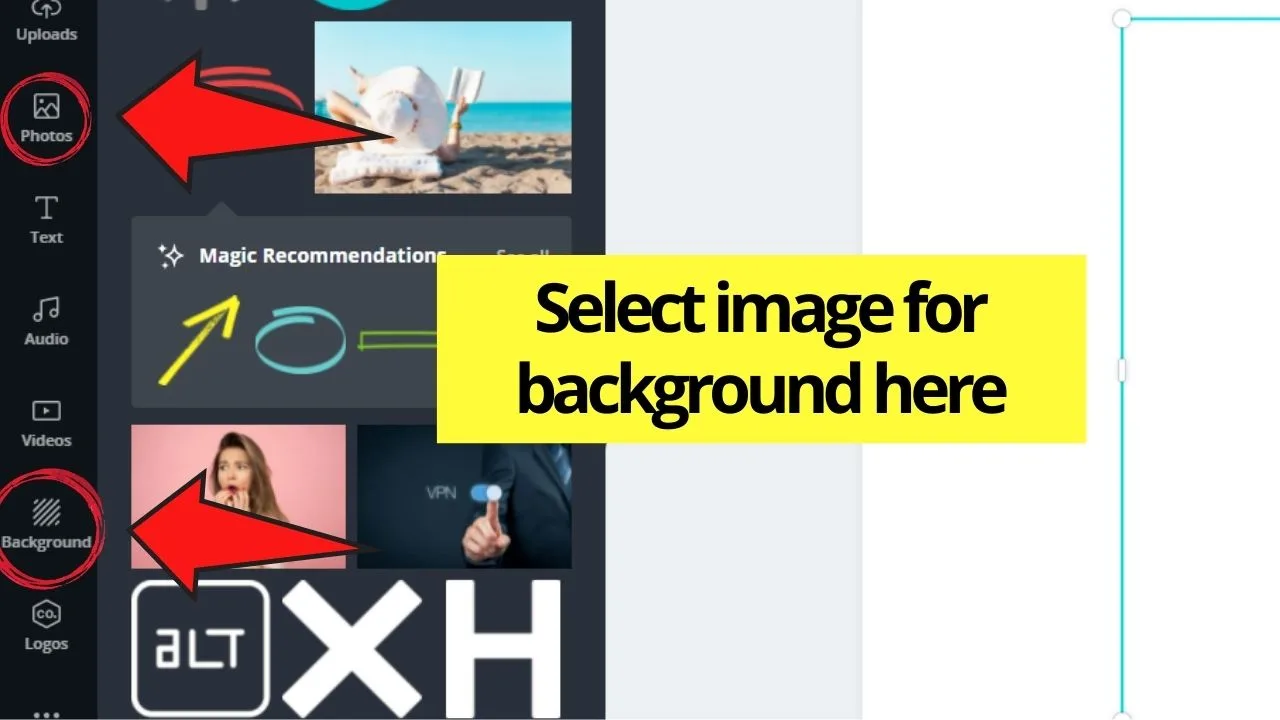
Replacing Background Photo
Step 1: On the left-side Canva menu, tap on either the “Photos” tab or the “Backgrounds” tab. Both options have galleries that give you plenty of options for your new background photo.

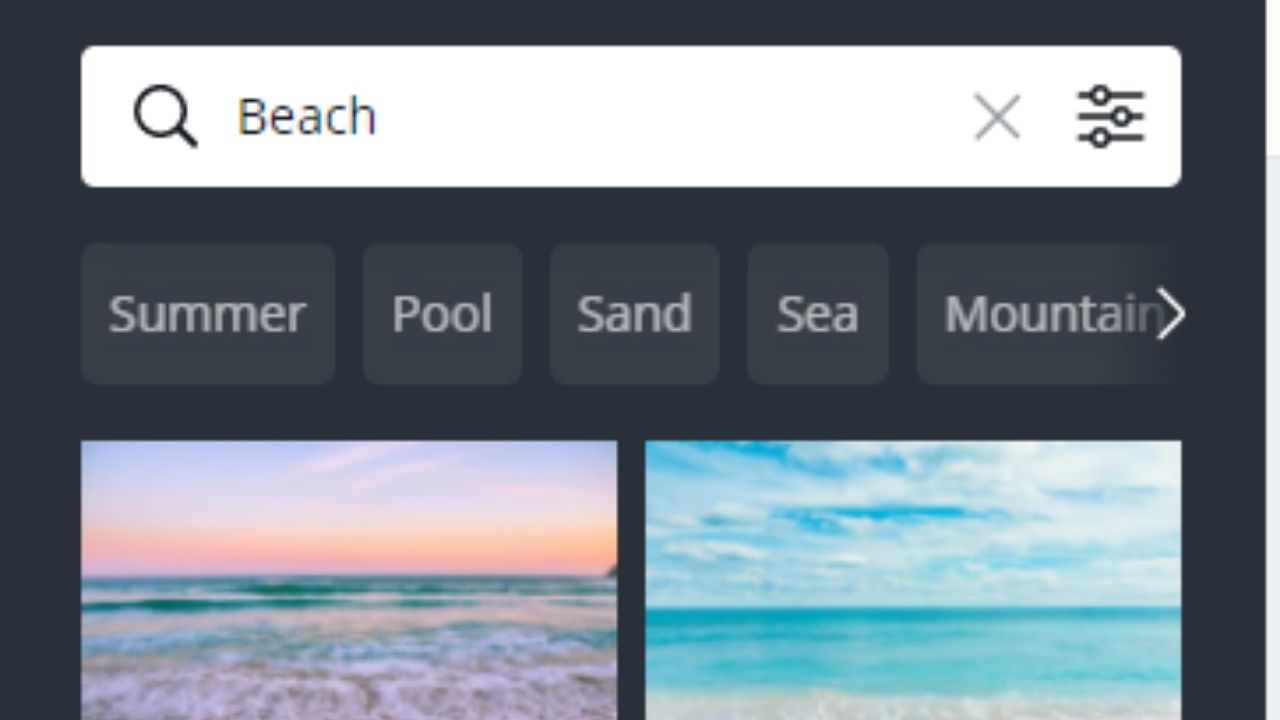
Step 2: You can scroll down on the galleries to take a look at what images are good to replace the background, but you can simply key in specific phrases in the search bar to narrow down the choices.

Step 3: Tap and drag the photo you’d like to use as your background on your current design template.

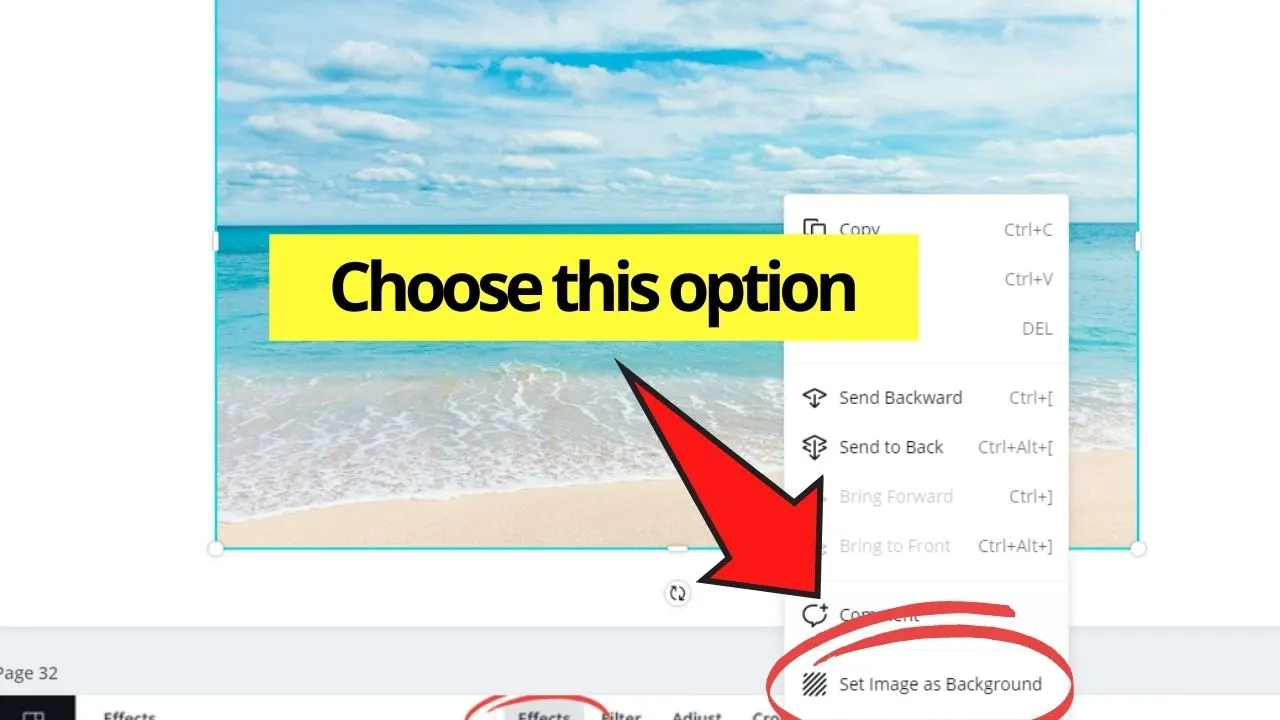
But, if you chose a picture from the “Photos” gallery, mind that not all images are made to become a background.
Hence, you might need to right-click on that particular photo and turn it into a background through the “Set image as background” option.

And, with all the Canva photo editing tools you’ve learned earlier, you can also edit your background photo in any way you want.
Whether you choose to use a neon-colored background or a gradient one, you can choose to do so.
Creating a transparent background’s also possible if you know how to toggle with the transparency slider.
You can even use your personal photos to create a more unique design. Simply head over to the “Uploads” tab to do this.
It’s even possible to change the color of an uploaded image, but it’s more of an experimental take.
Frequently Asked Questions about How to Edit Photos in Canva
Is it possible to use your own image as a background in Canva?
As stated earlier, you can definitely use your own photos as background photos in Canva. All you need to do is upload it from your device through the “Upload” tab on the left-side menu. Once Canva’s done saving the image from your device to its gallery, you can now drag and drop it on your design template before setting it as a background image.
Can you also add text to your design in Canva?
Definitely! Simply press “T” on your keyboard or head over to the “Text” tab in the left-side Canva menu to add any message you’d like to have on your design. You can even change the text’s color for added style to your design
Is there any way to group particular layers or elements together in Canva?
Indeed, there is a way for you to group layers in Canva. After highlighting or selecting all the elements/layers you’d like to group, head over to the toolbar and tap on the “Group” option. It will automatically bring two or more elements together, allowing you to move and adjust them as a unit.
Designing with Flair in Canva
Remember, your imagination will dictate how you’ll go about with your design.
Of course, you’ll need to stay within the parameters of what your client has given you if it’s for work.
Otherwise, allow your creativity to lead the way!


Hey guys! It’s me, Marcel, aka Maschi. On MaschiTuts, it’s all about tutorials! No matter the topic of the article, the goal always remains the same: Providing you guys with the most in-depth and helpful tutorials!

