
Can’t choose between two colors that you like? Is there any way to blend all of those hues into a single picture or graphic?
Well, thank God for Canva, you’ll never have to wrack your brains on how to blend two — or even more — colors as you can easily find them on their menu.
But, before we get to color-blending in Canva, let’s find out what they’re called first.
If you’re someone who’s on the creative side of things, you’ll know that such a color-blending technique you so love is called a gradient.
Technically, a gradient refers to graduated blends of two or more color hues and various tints of the same color in a single frame.
Think of it like an Ombre wall that you so want to create, but in digital format, of course.
So, if you’re all hyped up with the idea of using gradients in Canva, then let’s get started!
How to Use Gradients In Canva?
Gradients are a fun way to add stunning effects to your design. To add one, start by heading over to the “Elements” tab and key in the word “gradients” on the search tab. Select the shape you’d like to use and click on it. After this, you can opt to add the gradient in front or behind the photo you’ll use for your design. You can even change the colors by choosing from the color palette or inputting the specific color code you’d like to use. From there, you can alter the transparency of the gradient until you achieve the look you’re aiming for.
Step-by-step Tutorial in Using Canva Gradients
As mentioned earlier, gradients are a great way to blend two or more colors without overpowering the overall feel of the design.
So, how can you exactly use them? Take a look at the steps below so you’ll learn how exactly to use gradients in your future Canva designs.
Creating Gradients
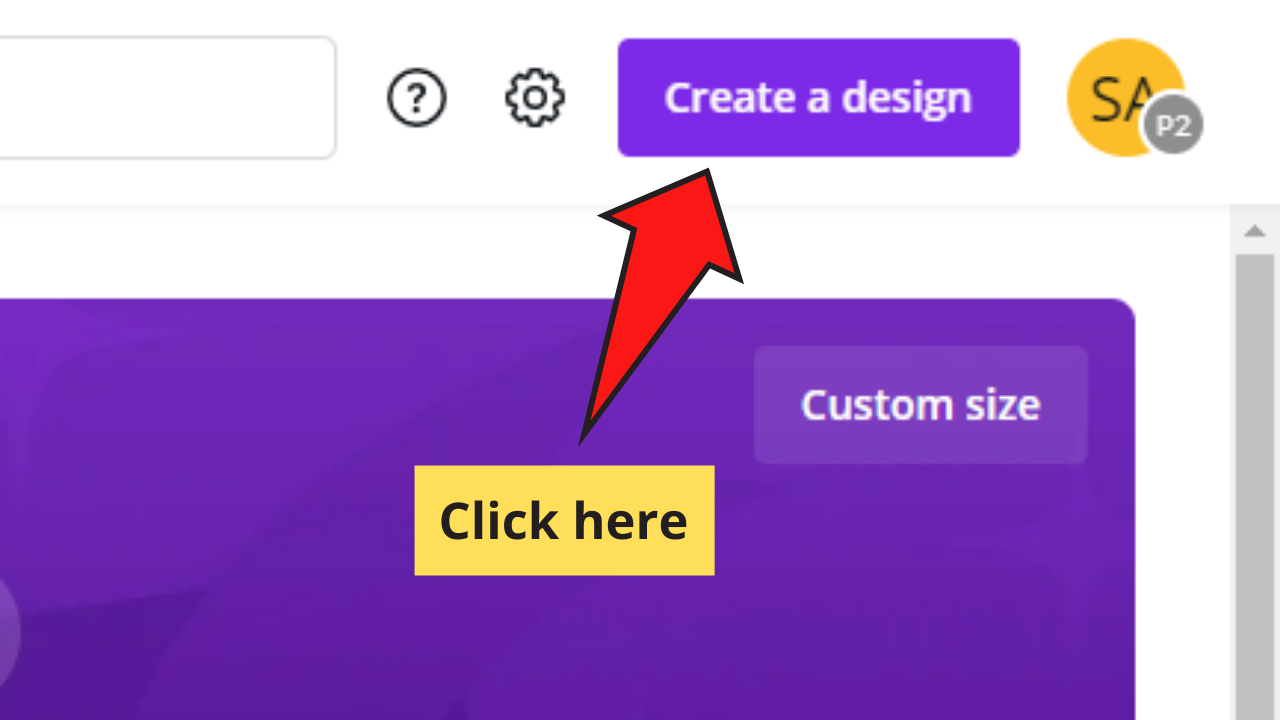
Step 1: On Canva’s home page, create a blank template by clicking on the “Create a Design” button at the upper-right corner of the Canva screen. Customize the template’s design by inputting the pixel size you’d like to use.

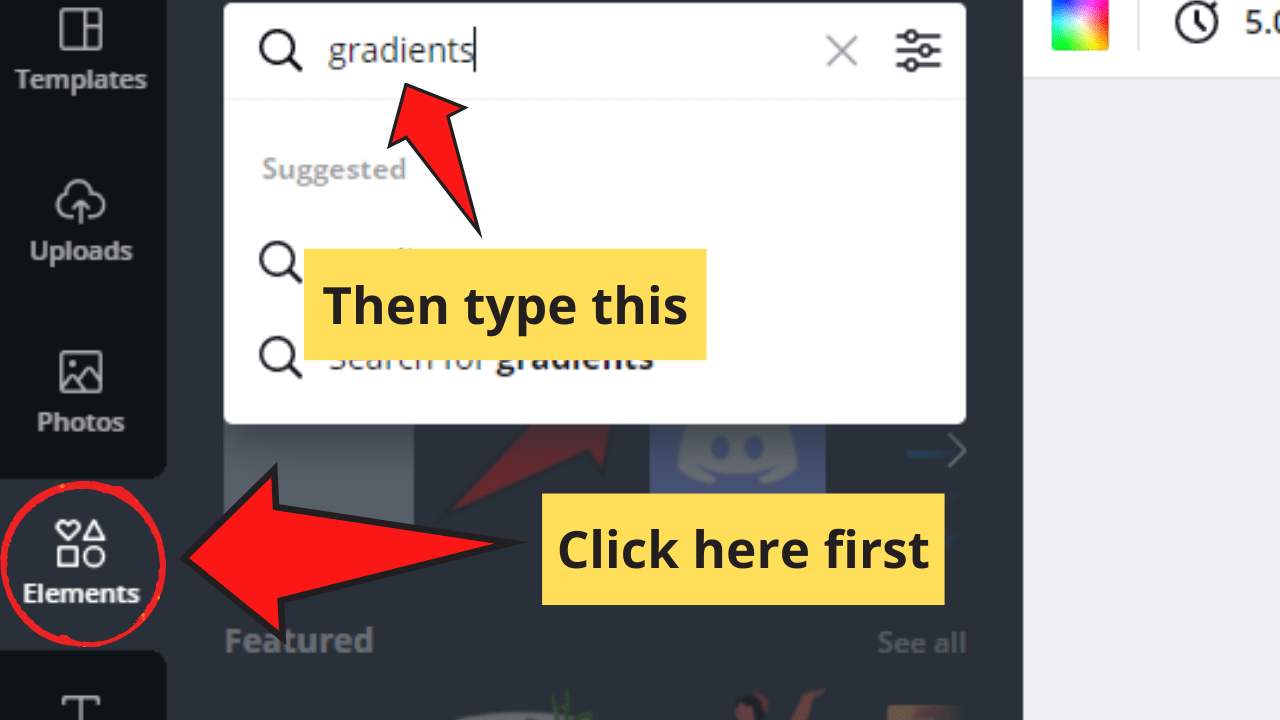
Step 2: Once a blank template appears, head over to the “Elements” tab of the left-sided Canva menu. Type the word “gradients” on the search bar that appears. You can also find the said section by scrolling down on the menu that appears.

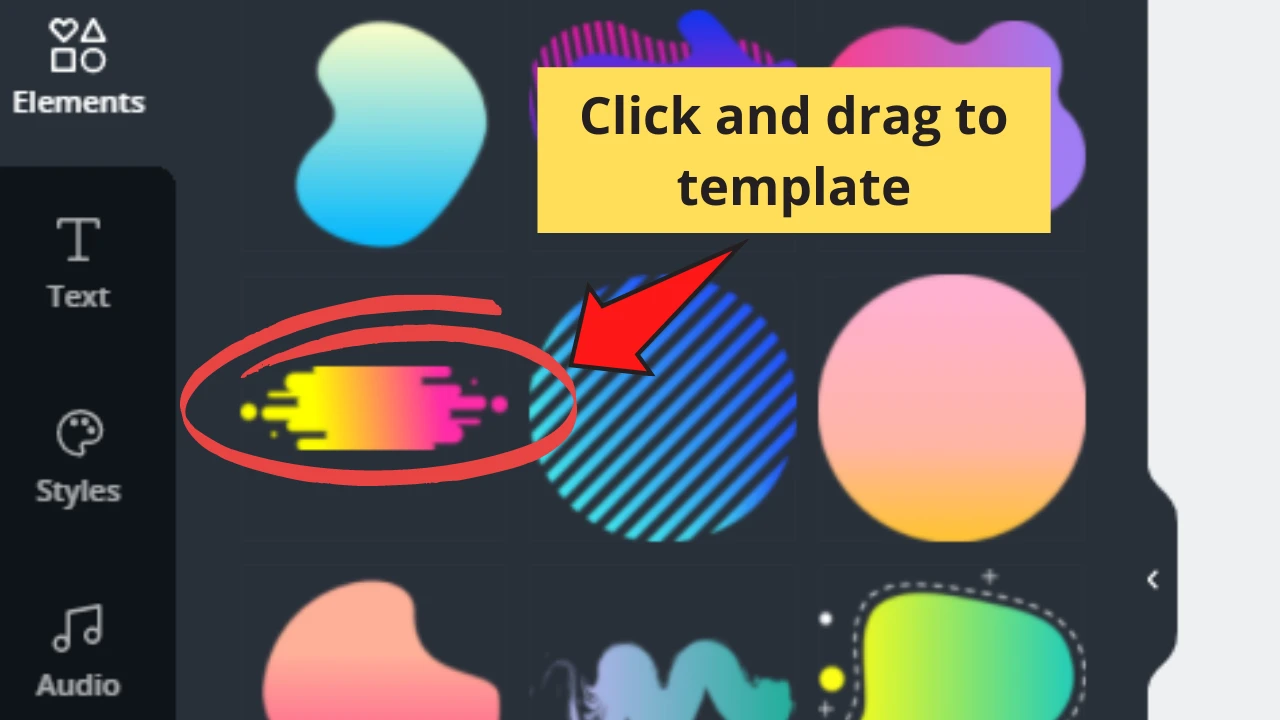
Step 3: Choose the shape you’d like to use for your design. Once you’ve chosen the shape, either click on it or drag the said image to your blank template.

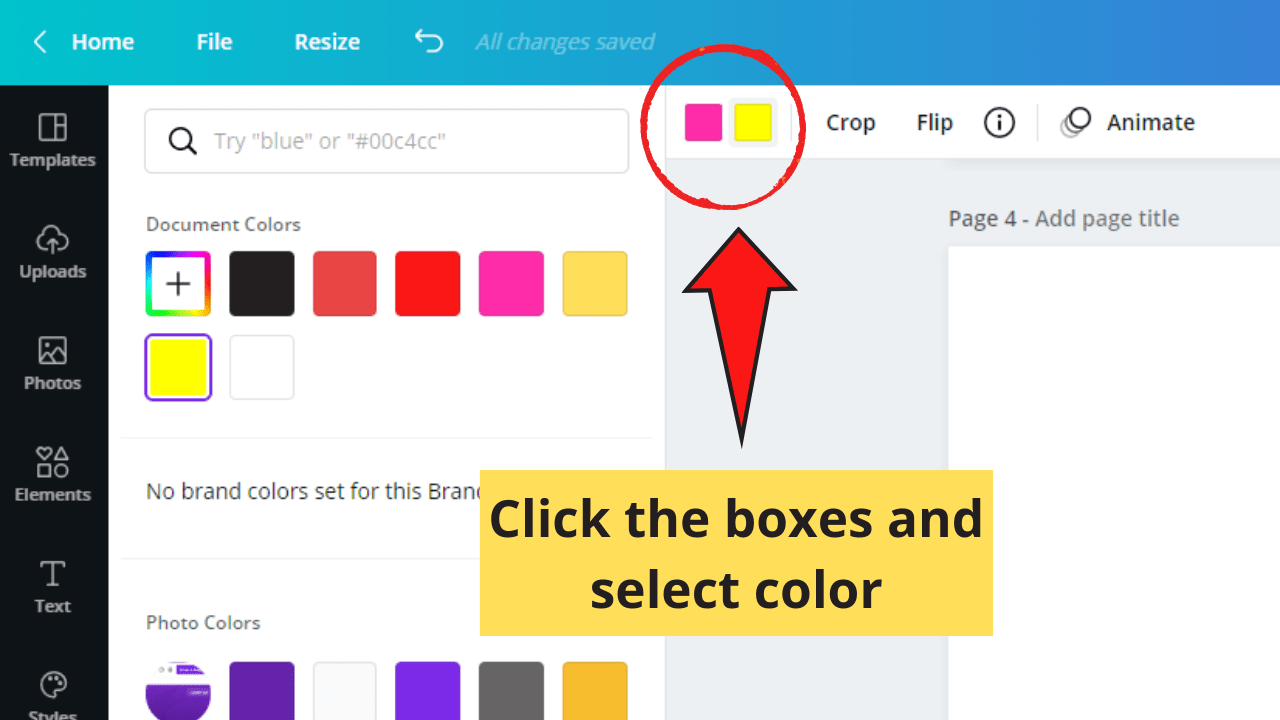
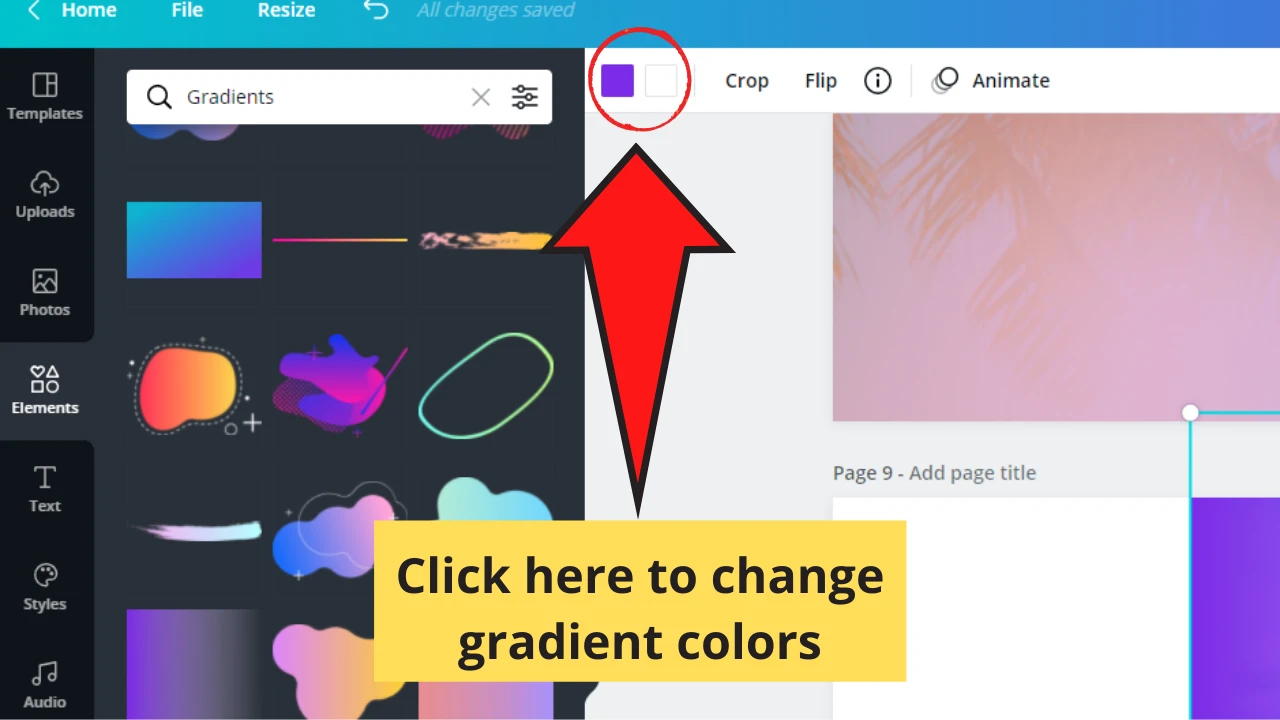
Step 4: If you’re not satisfied with the colors in the gradient shape you chose, you can still change them. Click on the colored boxes on the white Canva toolbar and choose what hue you’d like to use.


Step 5: Once you’re satisfied, click on the purple “Download” button at the upper-right side of the Canva screen. Choose the file type you’d like to save the downloaded image before tapping on the “Download” button.
Step 6: If you want to add your newly-created gradient to your Canva color palette, click the “Upload” tab on the left-sided Canva menu. Then, choose the file of the image you’d like to use so the uploading process can start.
Now that you know how to create your gradients on Canva let’s look at how you can use them as part of your designs.
Using Canva Gradients on Your Design
If you’re keen enough to notice, there are several ways to use gradients in Canva.
But you can place the gradients you’ve created in front of your photo or behind it.
Though it sounds tricky, the overall process isn’t that overly complicated.
Step 1: Head over to the “Elements” tab of the left-sided Canva menu and search for gradients on the search bar.
Step 2: Choose the gradient design you’d like to use and drag it to your blank template.
Step 3: You can make changes to the ready-made gradient you’ve chosen by adding a filter to it. To do so, head over to the white Canva toolbar above the template and click on the “Filter” button if there’s one.
Step 4: Select the filter you’d like to use for your gradient. You can even make additional adjustments with the slider bars that appear consequently.
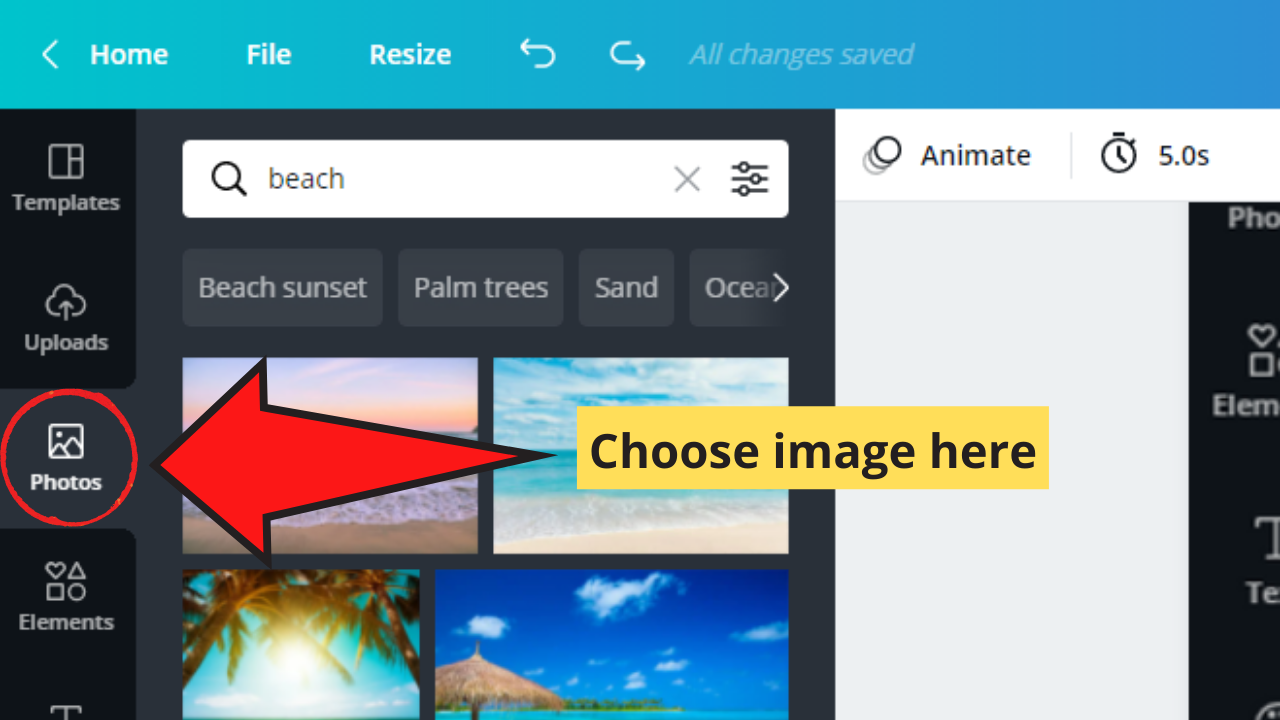
Step 5: Once you’re happy with your gradient, head over to the “Photos” menu and search for the image you’d like to use for your project.

Step 6: However, instead of dragging the image to the template, click on it to make it appear on the template.
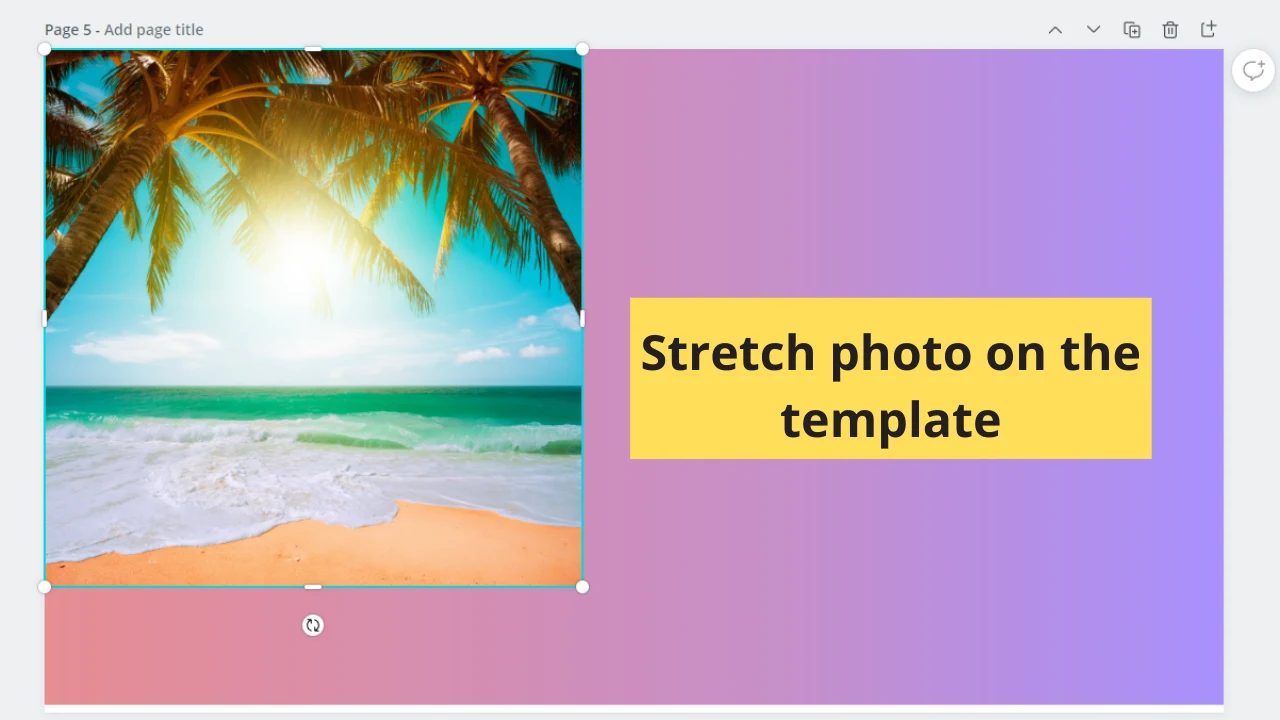
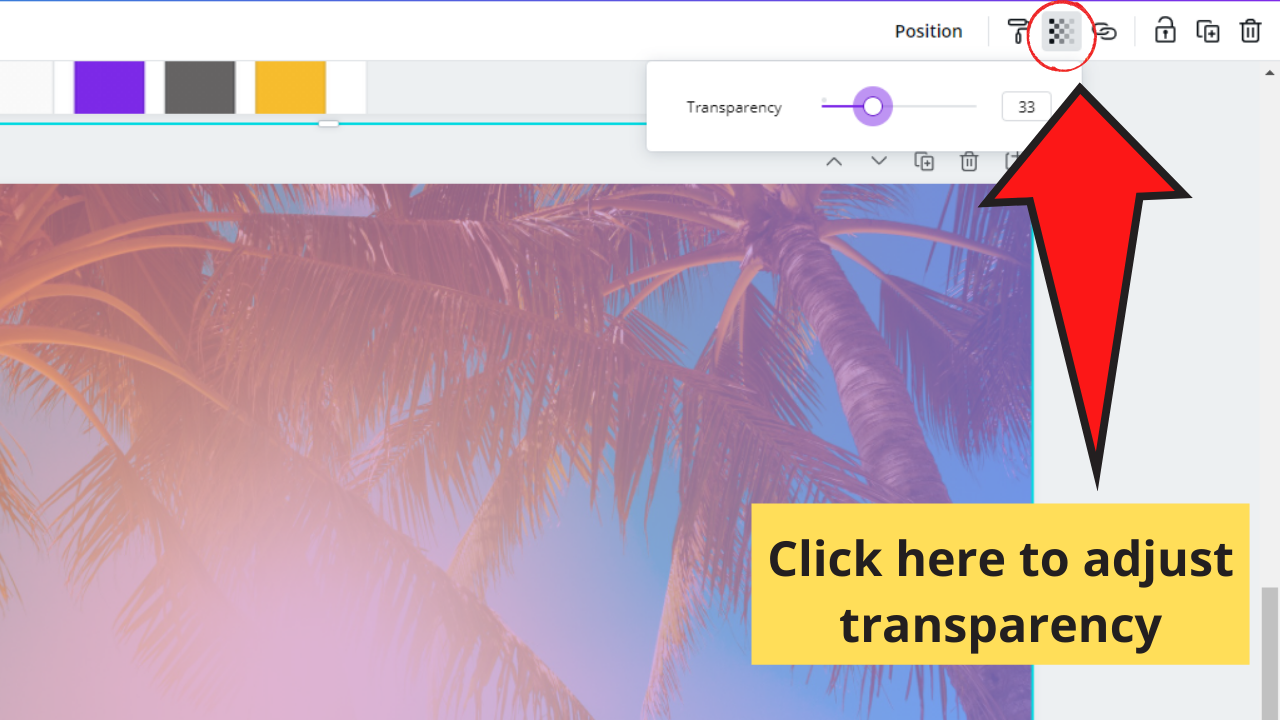
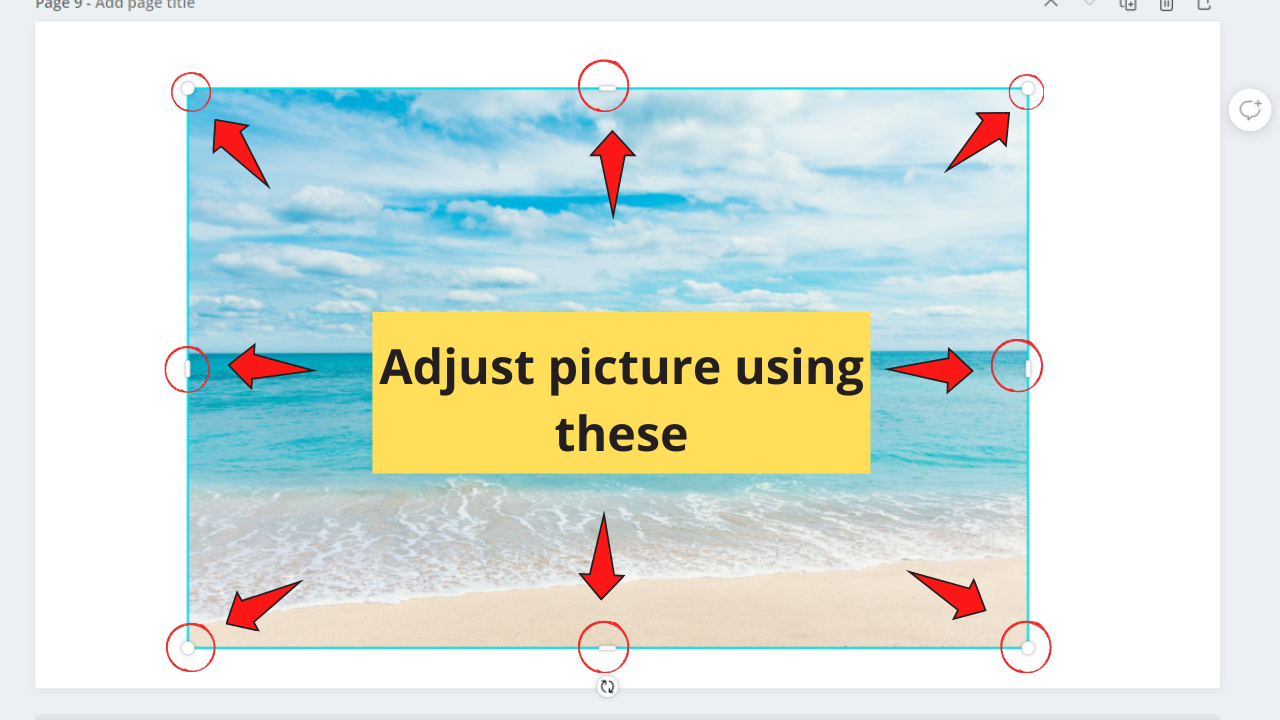
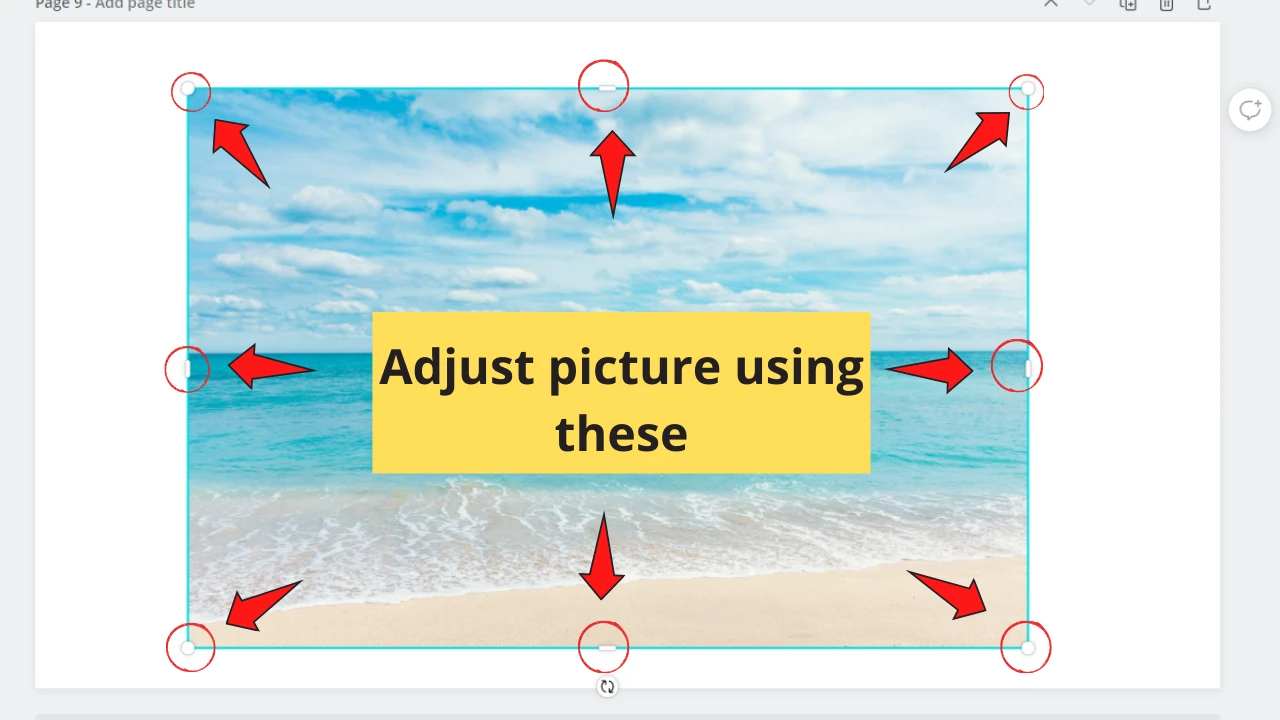
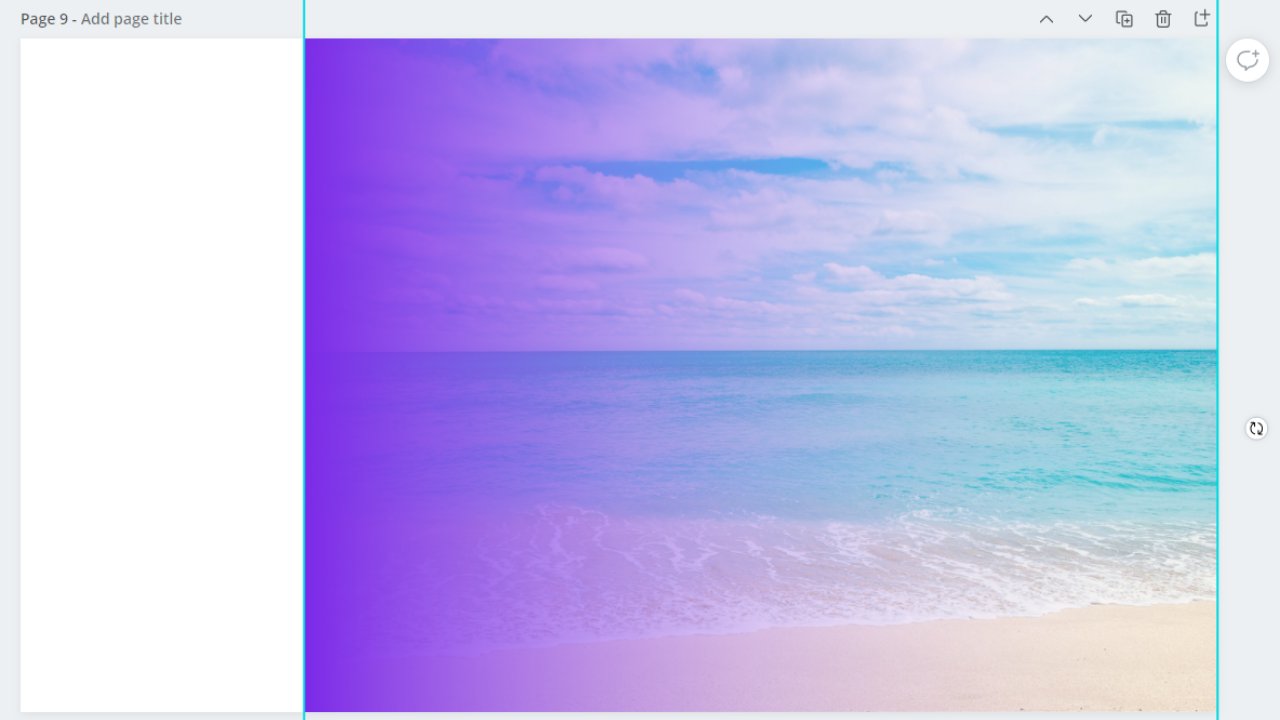
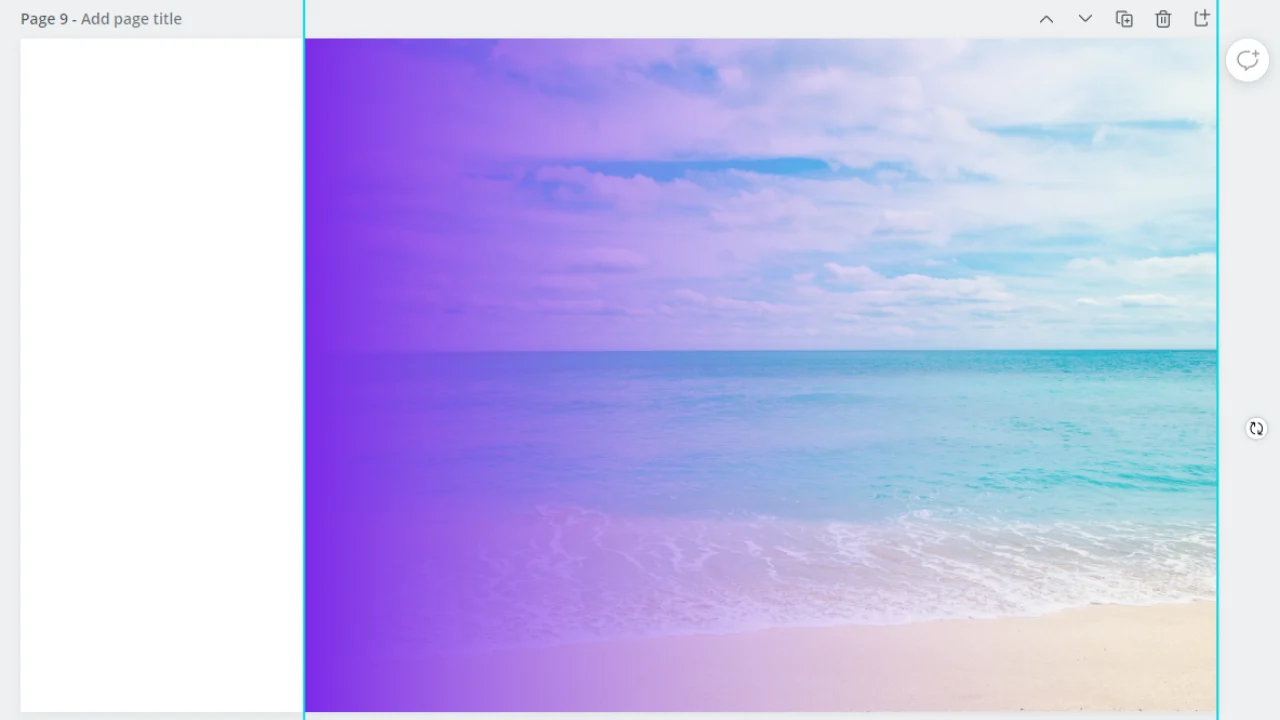
Step 7: Adjust the photo accordingly, making sure to stretch it out on the template. Once done, adjust its transparency until the gradient you used appears through the image.

Step 8: If you prefer to add the image first, you can do so. Just click on the image you’d like to use and adjust its transparency.

Step 9: Head over to the “Elements” tab once again to search for the gradient you’d like to use. Click on the gradient you’re using to avoid making it the background of the design.
Step 10: Resize the image and adjust its transparency until you’re satisfied with how your design looks.
Pretty neat, huh? Though the instructions may make the process look lengthy, you can do this in minutes.
Solid-to-Transparent Gradients in Canva: The How-Tos
Now that you’ve known how to use gradients, it’s now time to put your skills to the test. You only need to upgrade your gradient-making skills to create stunning effects on your design.
And, for starters, you can create a solid-to-transparent gradient on Canva.
To start with the process, follow the steps mentioned above on how you’ll add gradients and images to your project template.
However, instead of adding the gradient first, you’ll have to start with choosing the photo you’ll work with for the design. Head over to the “Photos” tab and click on the image you’d like to use.
Once the picture appears on the blank template, resize it by dragging the white-dotted corners of the said image. You can even tweak the clarity of the photo by adjusting its “Blur.”
If you’re not sure how to go about blurring images, then make sure to read its complete guide on this site.


But, instead of matching the image’s size with the template size, leave ¼ of the template blank. Adjust the placement of the photo until you like the result of such changes made.
Once everything’s set into place, head over to the “Elements” tab on the left-sided Canva menu and search for a transparent gradient. You can do this either by scrolling down to the “Gradients” section or manually typing the word on the search bar.
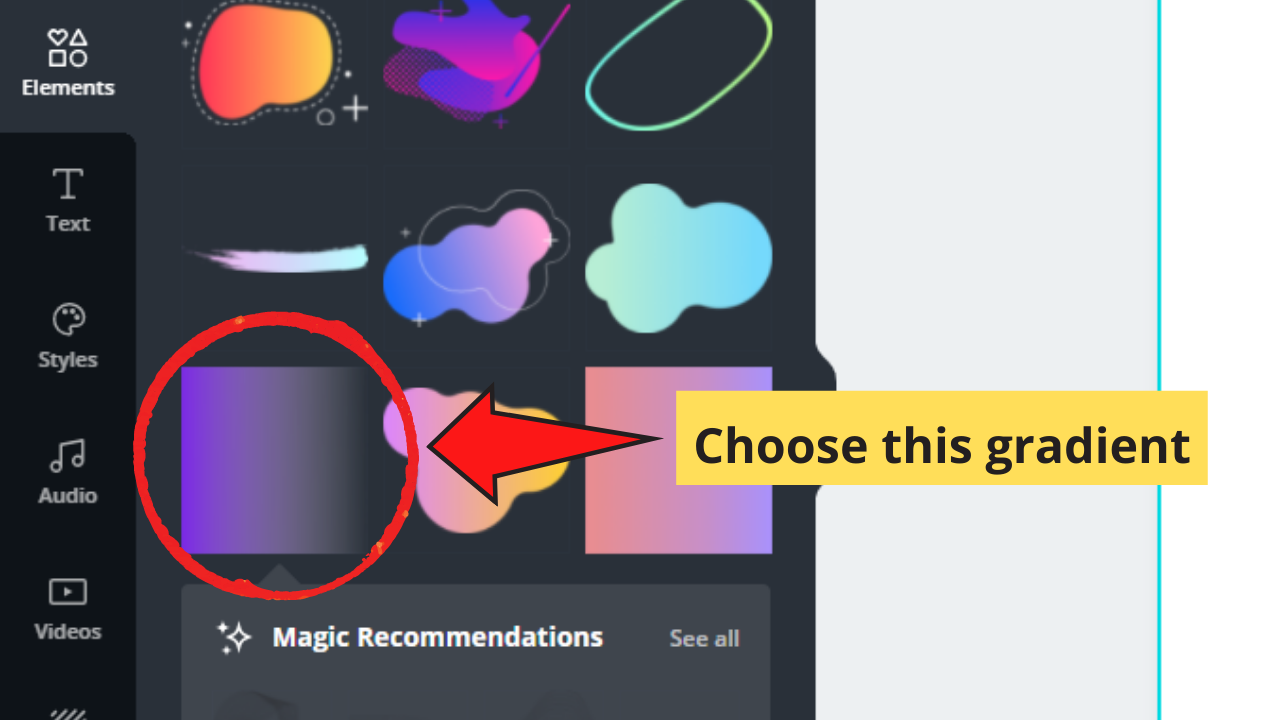
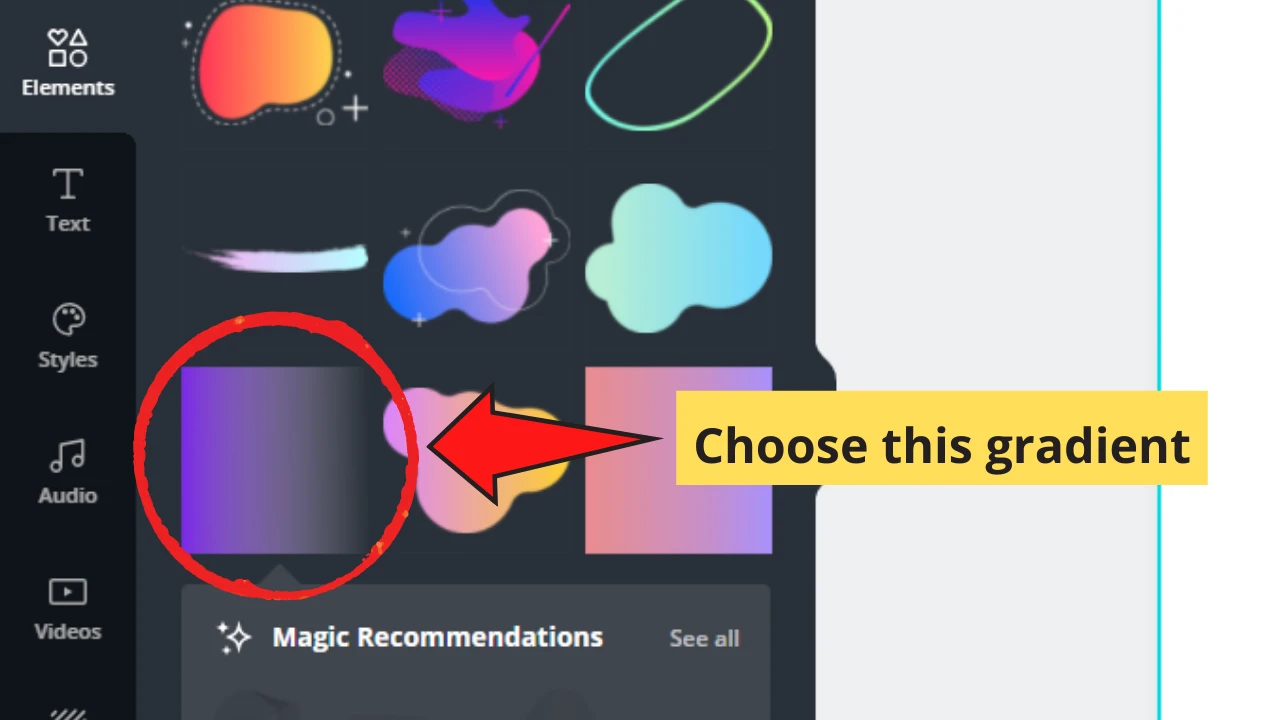
Ensure that the gradient you’ll use is the one that fades into black as the black part is where the transparent effect occurs. As soon as you’ve found what you’d like to use, click on it until it appears on the template.
Place the gradient over the image and readjust it until it covers about ⅔ of the photo. Don’t cover the blank space you’ve created earlier with the gradient.
You’ll find out later why there’s a need for such space.
Also, make sure to resize the photo until its edge touches that of the template’s to avoid making your final design strange-looking.
Now, once you’re satisfied with the gradient placement, you can change the gradient colors. Click on the colored boxes found above the template and tap on the color you’d like to use.

After which:
- Head back to the “Elements” tab and choose a square shape.
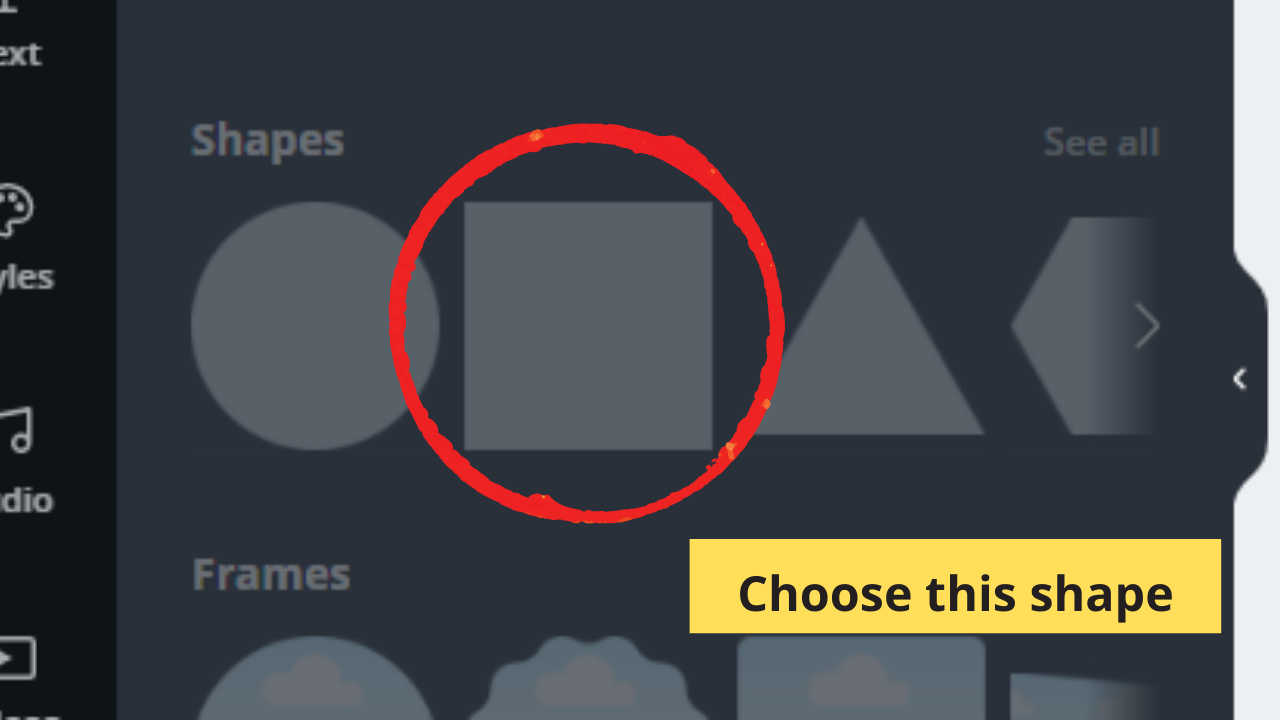

2. Click on it and drag the square shape towards the blank space.
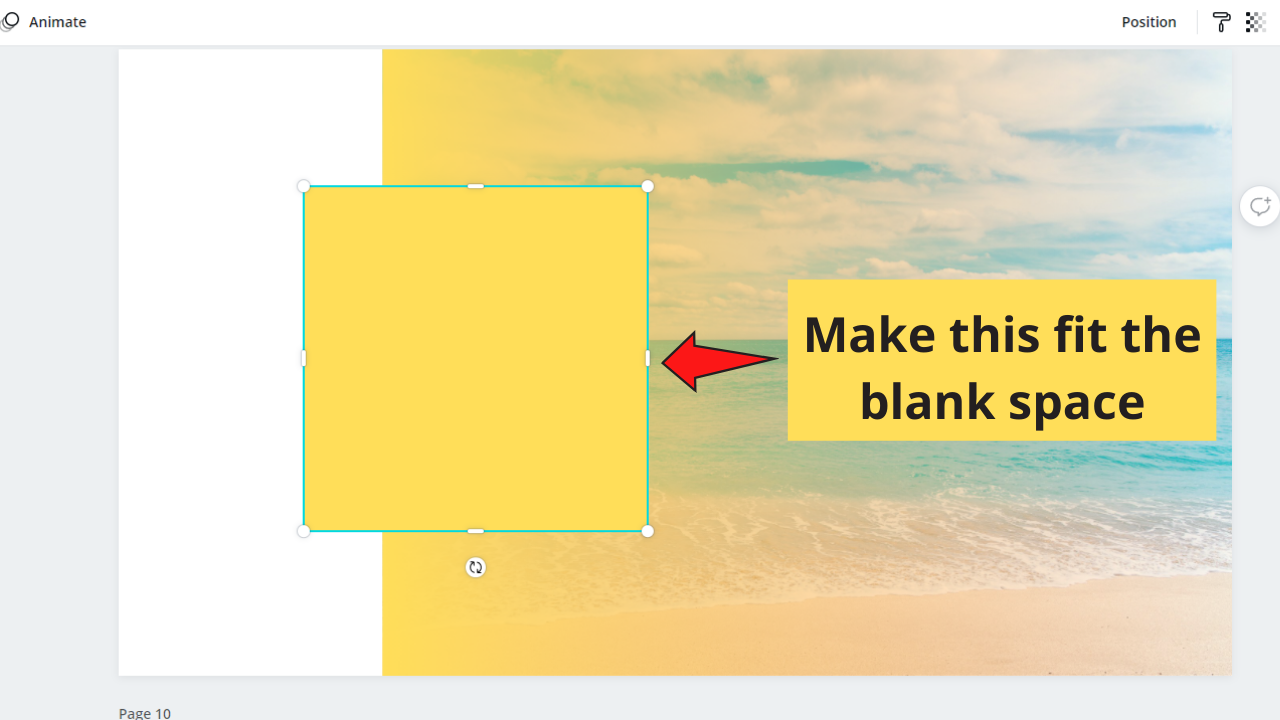

3. Resize it accordingly, so it perfectly fits the design template.
Change the shape’s color fill similar to the gradient colors used, follow the similar process mentioned above, and you now have a solid-to-transparent gradient design!
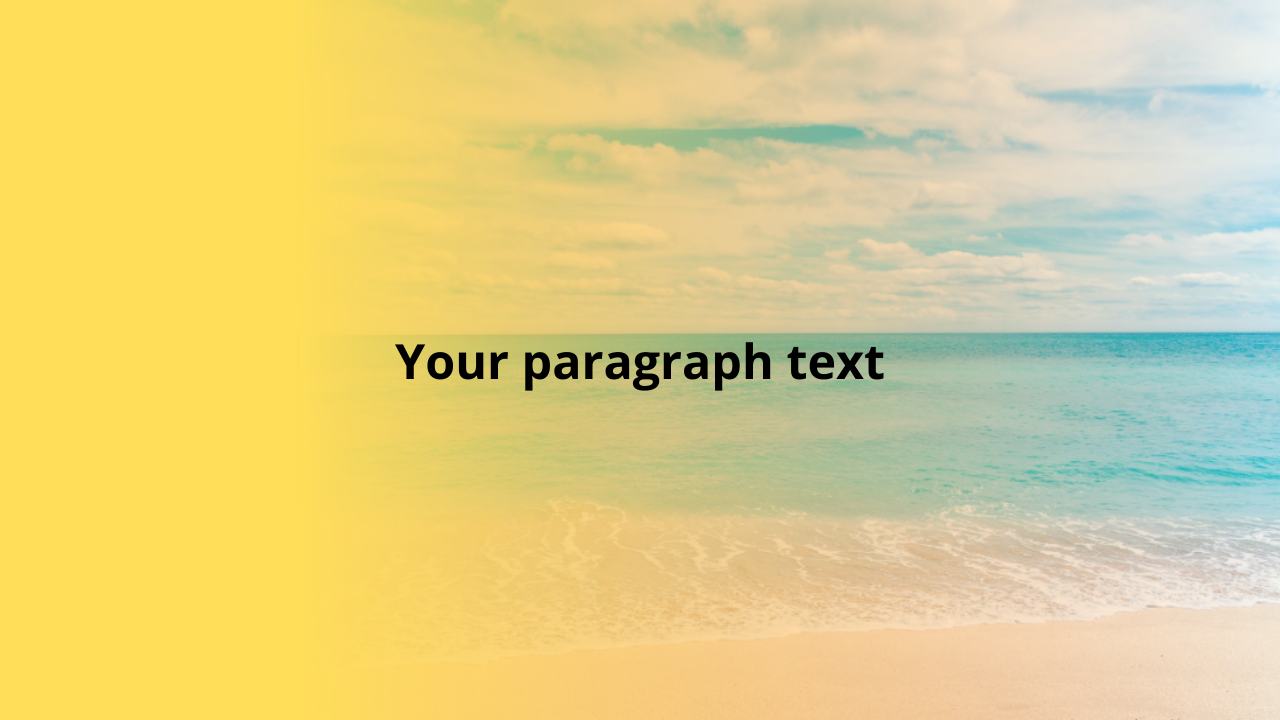
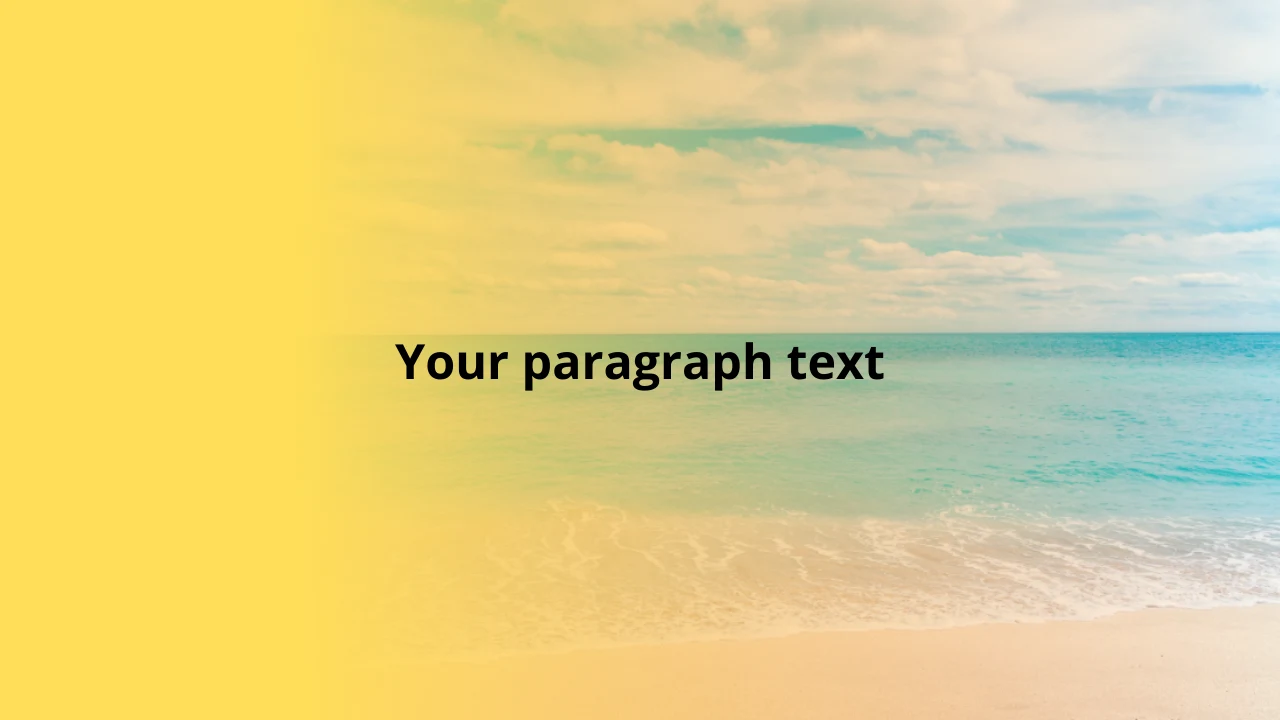
You now only need to add texts or other elements over your newly-created background for whatever use you have for it in mind.
Using gradients to make your designs indeed is quite a tedious process, especially for newbie Canva users. But, with time and practice, you’ll eventually get the hang of the skill, and it becomes a cinch.
Also, if you’d like to brush up more on your layering skills on Canva, you can read on how to layer images and elements after this article.
You can even take a quick look at curving text in Canva article if you’re planning to apply such effect to your design.


Hey guys! It’s me, Marcel, aka Maschi. On MaschiTuts, it’s all about tutorials! No matter the topic of the article, the goal always remains the same: Providing you guys with the most in-depth and helpful tutorials!

