
This video seems interesting. Let me click on the link!”
Aren’t these the reactions that you want your potential audience to have when they see your video on YouTube?
It all starts with a great thumbnail.
So let us learn how to create one in Canva!
How To Create a YouTube Thumbnail in Canva
To create a YouTube thumbnail in Canva, create a new design with 1280 x 720 px. Add a background from the “Photos” tab. Press “T” on the keyboard to add text. Press “R” on the keyboard to add a rectangle and use it as a text box. Choose a well-readable font and make the text as big as possible.
How to Use a Canva Template to Create a YouTube Thumbnail
To use a Canva template to create a YouTube thumbnail, follow these steps:
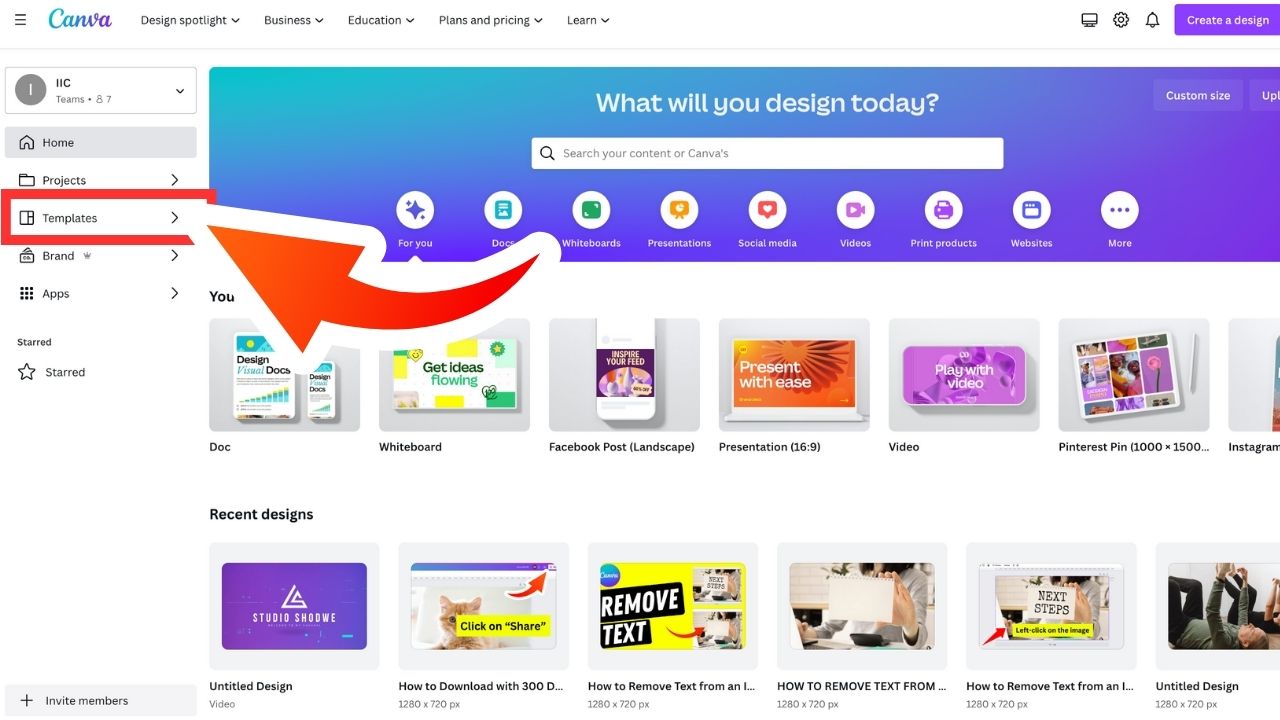
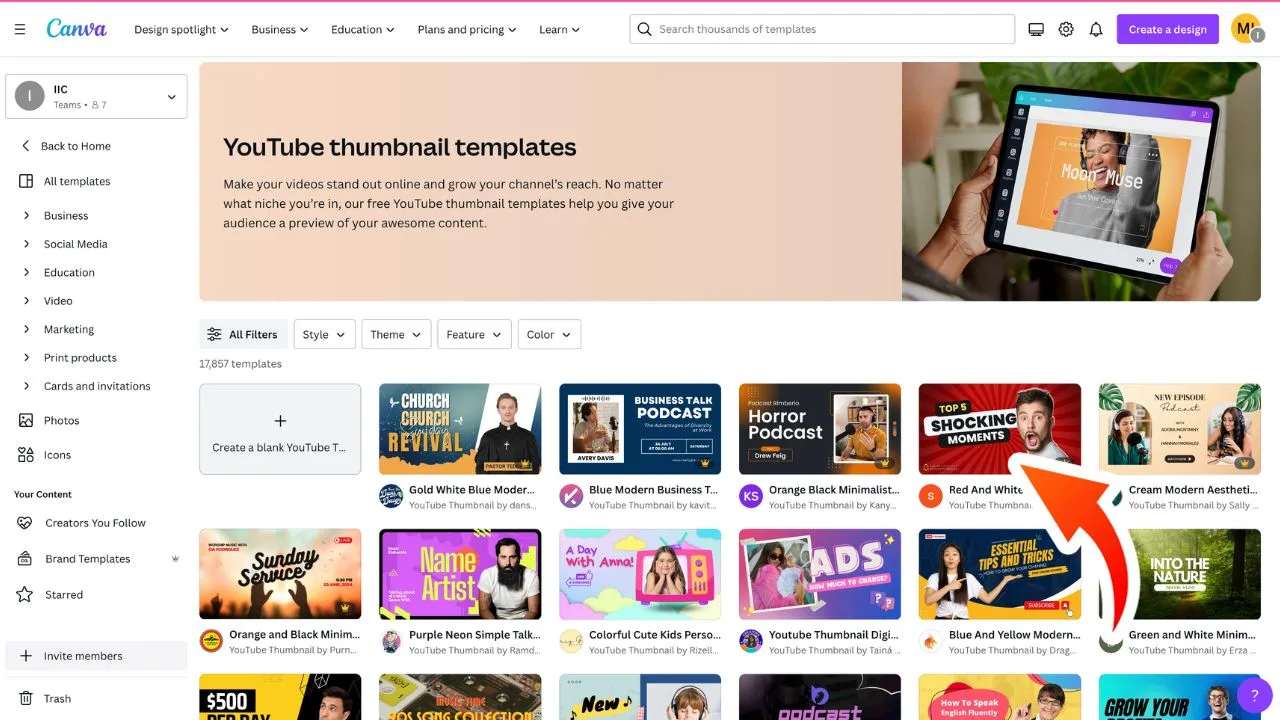
Step 1: On Canva’s home page, head over to the “Templates” tab and click on it

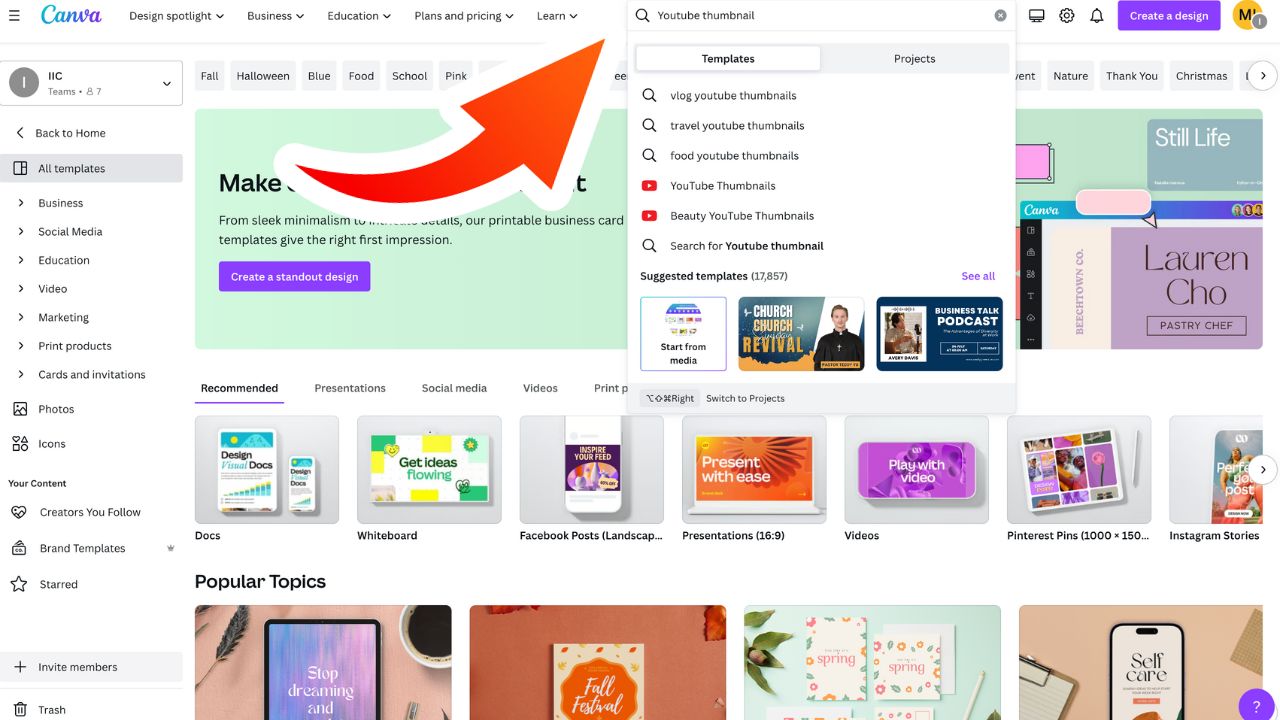
Step 2: On the search on top, type in “YouTube thumbnail”

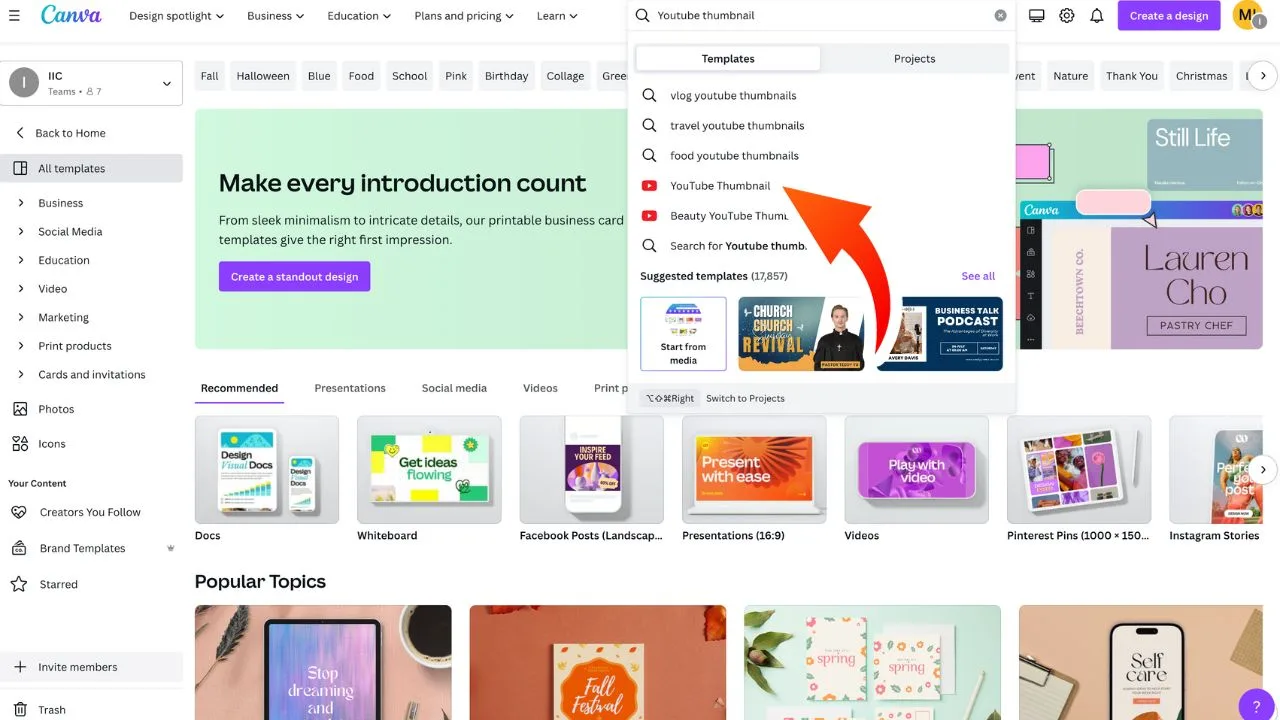
Step 3: Click on “Youtube Thumbnails”

Step 4: Select one of the templates

Step 5: Click on “Customize this template”
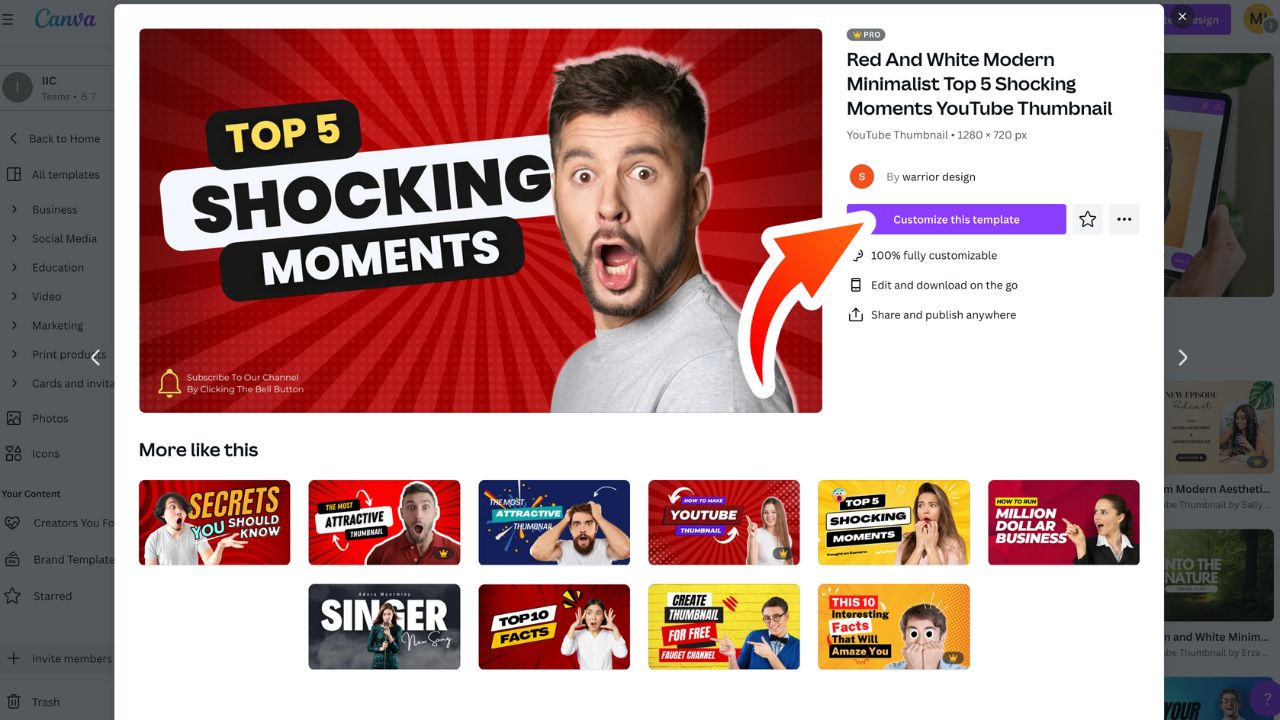

Step 6: Adjust it to your liking

How to Make Your YouTube Thumbnail Stand Out
As mentioned above, the end goal of a YouTube thumbnail is to entice more people to view your video.
And the best way for you to attract more viewers to your channel is by creating attractive thumbnails.
But how?


Make your YouTube thumbnail inviting
First impressions last indeed. And, as cliche as it may be, the same principle applies to gaining more viewership to your YouTube video.
To do that, you first have to take note of the technical aspects concerning creating YouTube thumbnails.
With that, let’s talk about the sizing.
For the best results, YouTube recommends using a 1280 x 720 px template size as this fits easily into a 720p video clip resolution.
Yet, with Canva, you don’t have to worry a thing about this sizing aspect as its templates already are sized according to the technical specifications.
Also, add elements like arrows, lines, circles, and frames into your thumbnail design.
Depending on what design you have in mind, these Canva elements have the power to compel your potential audience to view your video.
If you don’t know how to mix and match different Canva elements on your designs, you can always refer to some examples later in this text.
Use Big And Easy-To-Read Fonts
Remember the click-through rate that was mentioned earlier in this text?
If you’ve been paying attention, you’ll have an inkling that this click-through rate has a lot to do with the titles you’re putting on your thumbnail.
Of course, you’ll have to write a nice and catchy heading first. But, an inviting title isn’t merely the thing you’ll have to consider here.
What’s a catchy headline if you can’t even read it from afar, right?
Hence, using the simplest and easiest to read fonts always are the ideal ones to use to ensure the title’s visible to your viewers.
Though there are a ton of font styles to choose from, the cleanest and most visible fonts are League of Spartan and League Gothic.
And, you can preview how these fonts fare in smaller sizes compared to other styles by zooming out to 10-25% zoom.
If you can still read the text from such size, then your thumbnail’s good to go.
Mix And Match Colors According To Your Branding
Now, what does branding got to do with my YouTube thumbnail?
For the naive ones, branding serves as the identity of your YouTube channel, blog, or product line. And, the best way you can do this is to incorporate a specific set of colors to match your brand.
In that way, your viewers can quickly associate a particular color scheme to your YouTube channel.
Also, colors aren’t merely for the branding aspect of your YouTube thumbnail.
Choosing particular hues can also allow your titles to stand out more rather than blend in with the background.
Think of applying the colors that complement whatever hue your background has with your text.
Though it’ll mean that you have to review a bit about the color wheel, taking such a step means a lot when it comes to standing out on YouTube.
YouTube Thumbnail Design Ideas
Sometimes, inspiration fails to strike us, and we’re running out of ideas on what designs you’ll use for your YouTube thumbnail.
But worry no more, as you can take a look at some thumbnail design ideas here.
Who knows, one of these thumbnail designs will spark your creative flame.
Before-And-After Template

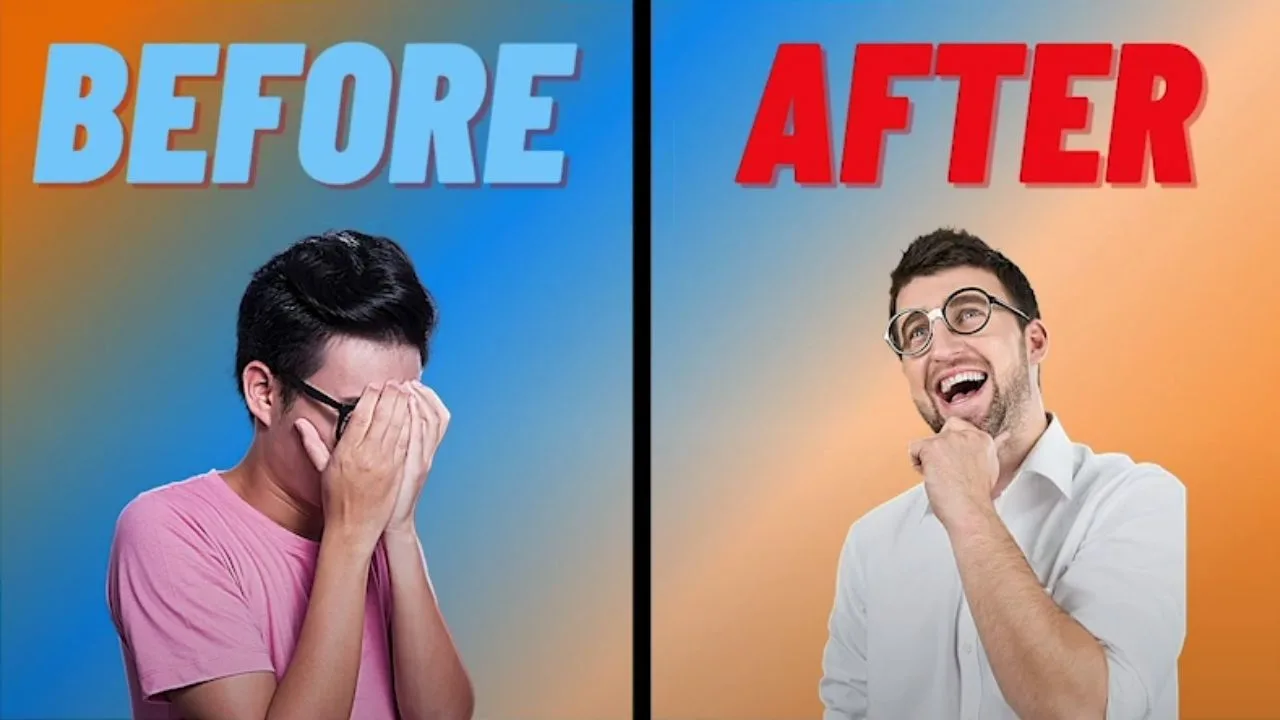
This thumbnail design entails certain changes that happen on a particular topic or product. Hence the need for two sets of designs in one thumbnail.
But, don’t worry; you can easily create this kind of template.
First, you’ll have to assign a background. Just visit the “Photos” or “Backgrounds” tabs to find one that suits your liking.
After which, choose 2 different photos to represent the before and after from the “Photos” gallery.
If you’re using pictures of persons and you don’t want to include the background, you can always click the “Background Remover” under the “Effects” tab.
If you’re a free Canva user, don’t fret as you can use the remove.bg site to attain a similar effect.
The process will just be a tad longer, but it’s worth the effort.
Now, to create the divisions, you’ll have to add lines. Just head over to the “Elements” tab and choose from an array of line styles in the gallery that appears.
But, if you want a vertical line instead of a horizontal one, better read up on the “How to Add a Border” text on this site.
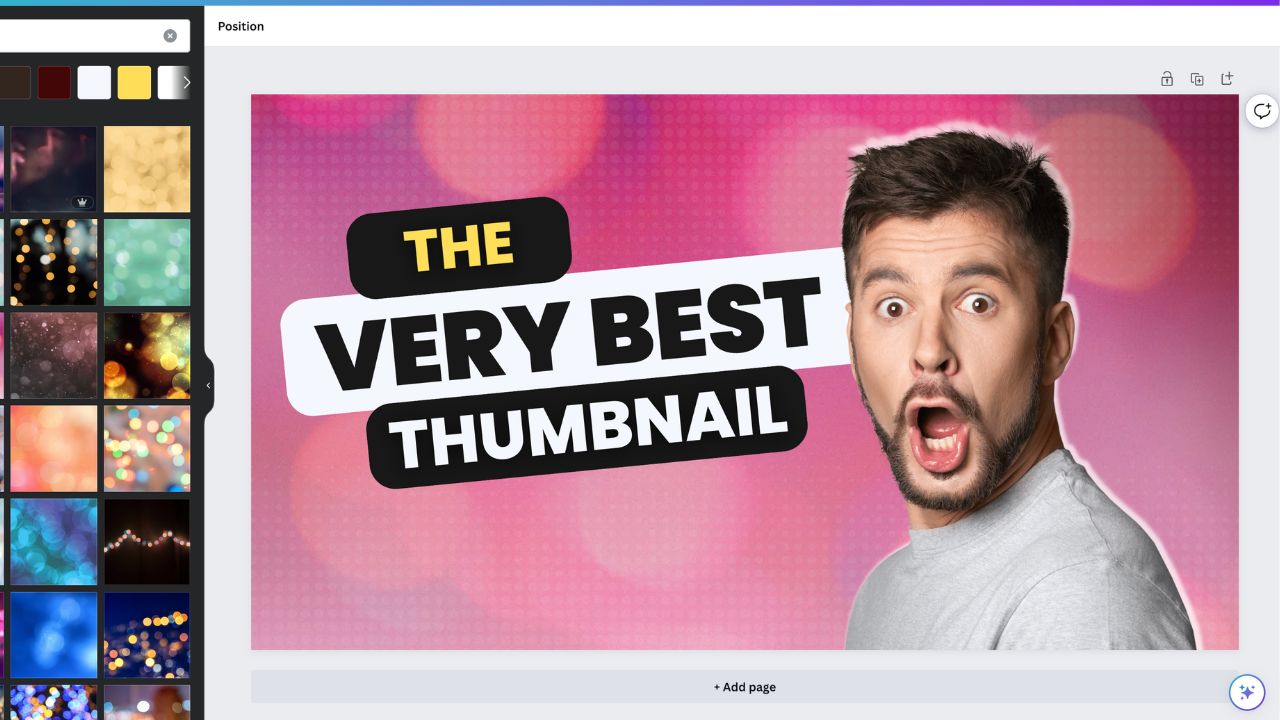
Crazy Facial Expression Template
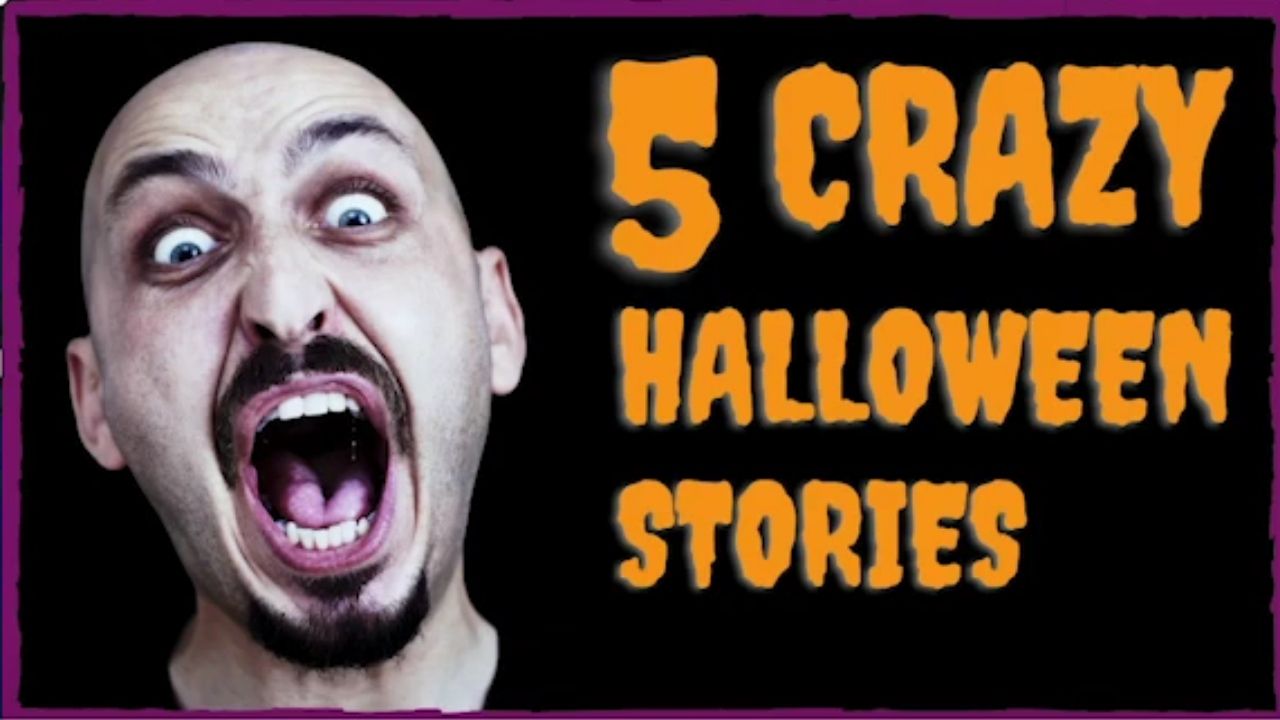

Crazy facial expressions don’t mean you’ll have to use a picture that’s totally out of this world.
What this thumbnail design entails is using exaggerated faces on your project.
Hence, you’ll have to search on the “Photos” tab for pictures of people’s faces that are either silly, in shock, or whatnot.
The important thing is that such an image will draw the attention of your potential viewers on your thumbnail.
To achieve this effect, you’ll have to type the adjectives of what type of facial expression you’re aiming for.
If that particular picture of a human face has a background, crop the person out by removing the background photo.
Then, simply resize and reposition the face accordingly.
Lastly, add more elements that go with the theme, and you’re all set!
The Arrow Template
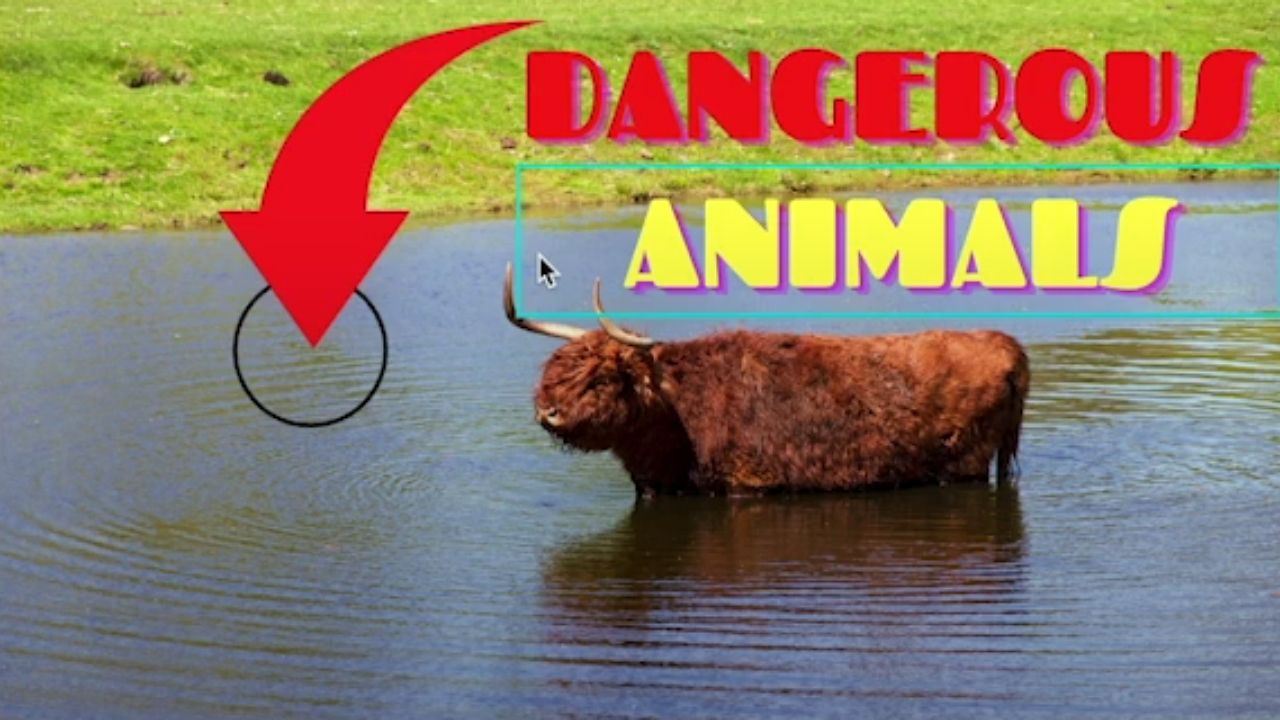
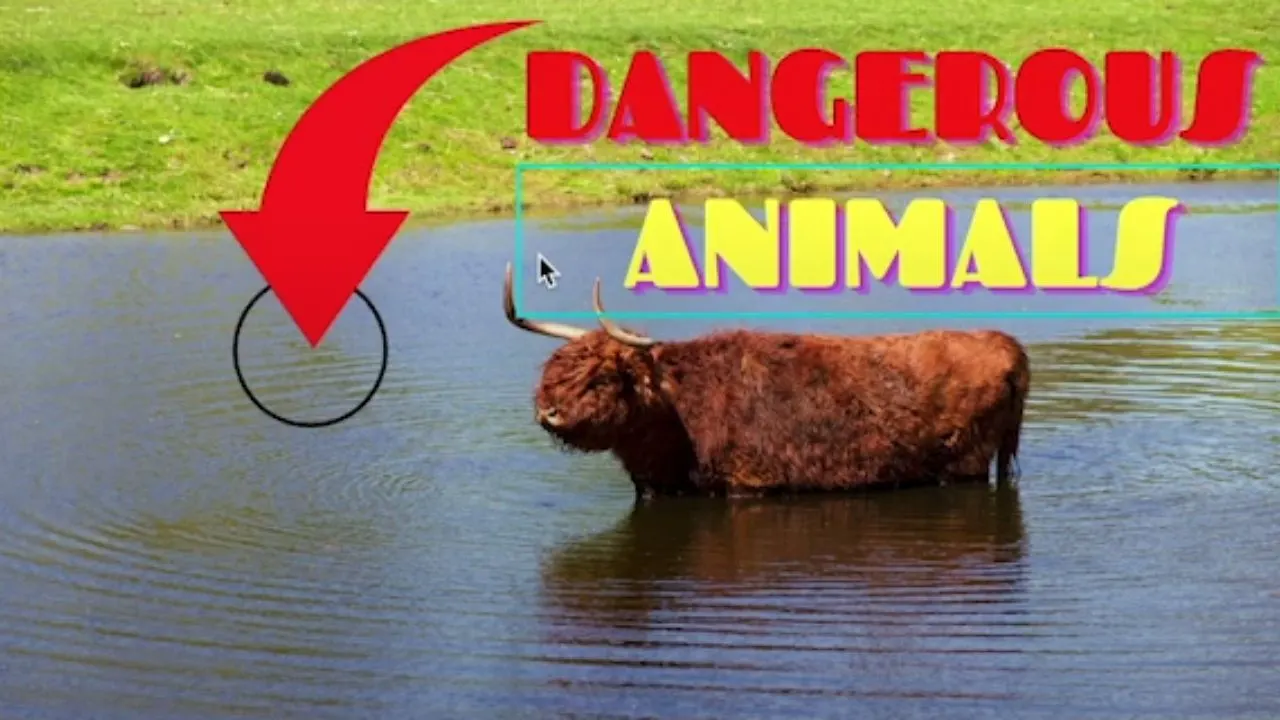
Arrows tell us the direction we’re supposed to take to arrive at a particular place, right?
Similarly, arrows on a YouTube thumbnail tell us where to look.
With that, incorporating an arrow will surely compel your would-be viewers to look at your video.
In short, arrows pique the viewers’ curiosity, prompting them to click on your video to see what that arrow’s pointing at.
So, if you want to try this thumbnail design out, simply head over to the “Elements” tab of the left-side Canva screen and search for “Arrows.”
Choose from the wide array of arrow styles, resize, reposition, and tweak its color to make it stand out more.
Another thing you can add to make your viewers zero in on a particular spot more, you can even add circles on your thumbnail.
Just head over to the “Elements” tab again and search for “Circles” instead.
Drag and drop that particular circle style you’d like to use and resize accordingly. You can also change its color if such a feature’s allowed in that particular design.
The Reaction Template
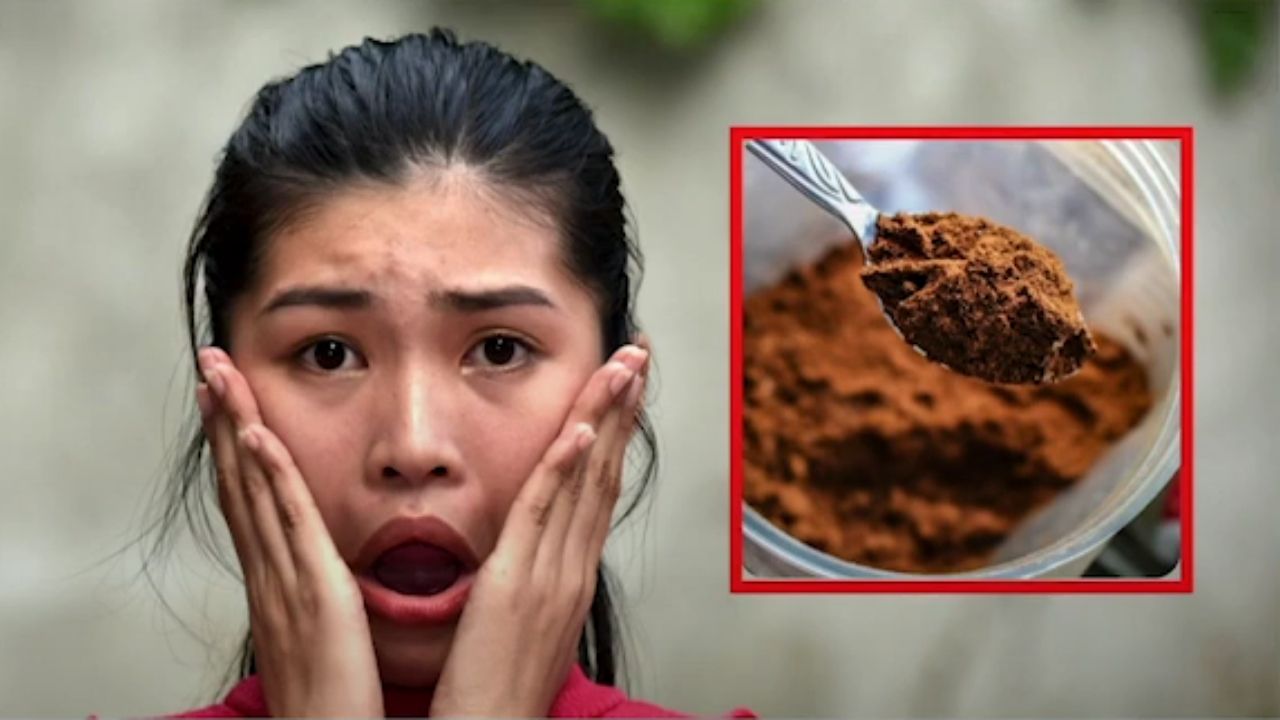

Reaction refers to how a person responds to a particular object, image, or phenomenon.
With that said, the reaction type of YouTube thumbnail incorporates a shocked human face to an embedded image.
Now, here’s the fun part. Simply head over to “Photos” and search for a man or woman’s face that’s shocked.
You can use other types of reactions as well, depending, of course, on the design you’re aiming to achieve. If there’s any background, remove it with Canva’s nifty background remover feature.
For the embedded image, you’ll have to add frames to the design. These frames will serve as placeholders for the picture you’ll put inside them.
To create an embedded image, head over to the “Elements” tab and choose from the frame styles available in the gallery.
Drag and drop the frame you’d like to use, resize and reposition accordingly.
After which, choose the image you’d like to embed from the “Photos” gallery. You can even use your pictures by uploading them through the “Uploads” tab.
Then, if you have the photo, drag and drop it inside the frame. You can even add arrows, and blur or sharpen the background image if needed.
Using Fancy Textboxes To Highlight Text

Now, if you want to draw your viewer’s attention more to your thumbnail, adding colorful textboxes is a wonderful idea to highlight your title.
To achieve such an effect isn’t too hard to do. But, first, you’ll have to add text by tapping “T” on your keyboard. Create more textboxes if there’s a need by tapping the “Alt” or “Option” key while dragging the text.
Once you’ve typed your title on the thumbnail design, head over to the “Elements” tab and search for a rectangle.
After that, drag and drop that rectangle style you’ve chosen and resize accordingly. Place the rectangle behind the text.
You can even change the fill color by tapping on the colored tile on the toolbar.
Now, if you want to add a border for a more professional effect, head over to “Elements” and choose a hollow rectangle. Resize and position on top of the boxes, and you’re good to go!
The Frame Template
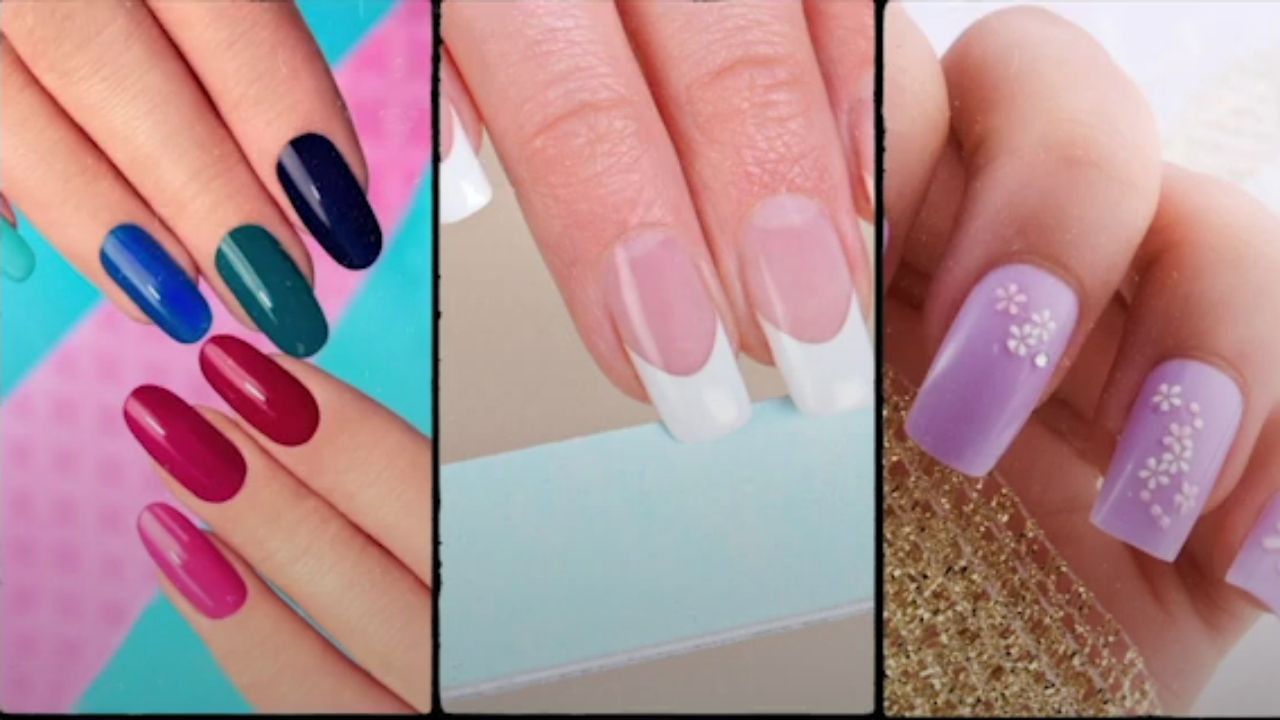

Now, if you want to add more than 1 picture to your YouTube thumbnail, you can do so by using frames.
All you have to do is choose the frame style you’ll use by visiting the “Elements” tab. After selecting a frame, drag and drop it on your design and resize it to fit your thumbnail.
Then, add the photos you’d like to use from Canva’s photo gallery or upload your images through the “Uploads” tab.
Drag and drop those images accordingly and reposition them to your liking.
So, are you now ready to design your very own YouTube thumbnail?
Don’t worry; your imagination’s the only limit you have in making the best thumbnails for your YouTube videos.
What are you then waiting for? Sign in on your Canva account and begin designing!


Hey guys! It’s me, Marcel, aka Maschi. On MaschiTuts, it’s all about tutorials! No matter the topic of the article, the goal always remains the same: Providing you guys with the most in-depth and helpful tutorials!

