
Are you in awe of how graphic designers manage to create stunning digital artwork? Do you wonder what apps they use to achieve their creative feat?
Well, if you’re not that well-versed with digital art and aren’t planning to use a tool that’s too technical, you can give Canva a try.
Canva, for those who don’t know about it yet, is the most intuitive graphic design tool available on the internet.
Even the newest of the newbies can use this tool like a pro in minutes, all thanks to its drag-and-drop feature.
So, if you’re wondering you can design in Canva, find out all about it here.
Canva Design Ideas
In Canva, you can either use templates or start from scratch. If you go with a blank project, assign a background image first from the Photos/Backgrounds gallery before adding elements and text. If you work with templates, simply choose the desired template and then adjust both text and images.
How to Start Designing in Canva: 2 Best Methods
Designing in Canva is easy — if you know where to start.
So, if you find yourself at the crossroads in your designing journey, Canva’s user-friendly design will make you a graphic design pro in no time!
There are 2 ways on how you can begin creating designs in Canva:
Method 1: Start from a Blank Canvas
Starting with a blank canvas template in Canva is daunting to most people, especially if you have no idea where to find the elements you’ll need.
So, let’s start navigating through these unchartered waters and discover the magic behind designing in Canva.
Step 1: Log in to your Canva account and tap the “Create a New Design” button on the home page.


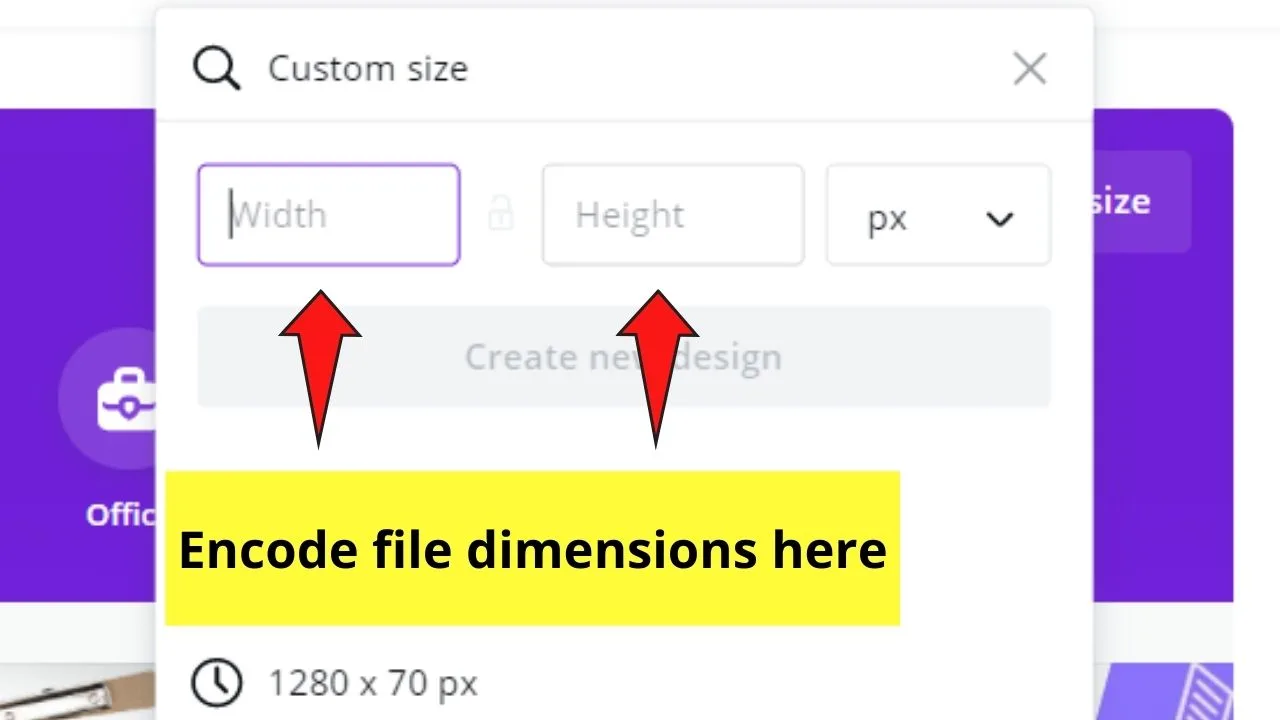
Step 2: In the dropdown menu, encode the dimensions of your design. If you don’t know the right dimensions for a particular graphic, you can select from the custom dimensions available.

Step 3: After inputting the design dimensions, a blank canvas template will appear. Spice up your template by adding a background to it in 2 ways:


Adding background photo
To choose a background photo, head over to the left-side Canva menu and tap on either the “Photos” or “Background” menu. You can also add pictures from your computer through the “Uploads” tab.
Once you’ve chosen the image you’d use as your background, drag and drop it on the blank canvas.
Right-click on the photo, and click the “Set as Background Image” option in the pop-out window.
Adjust the photo’s placement accordingly double-clicking on the image and dragging the picture in the grid box that appears. Once satisfied with the image’s placement, tap the “Done” option in the toolbar
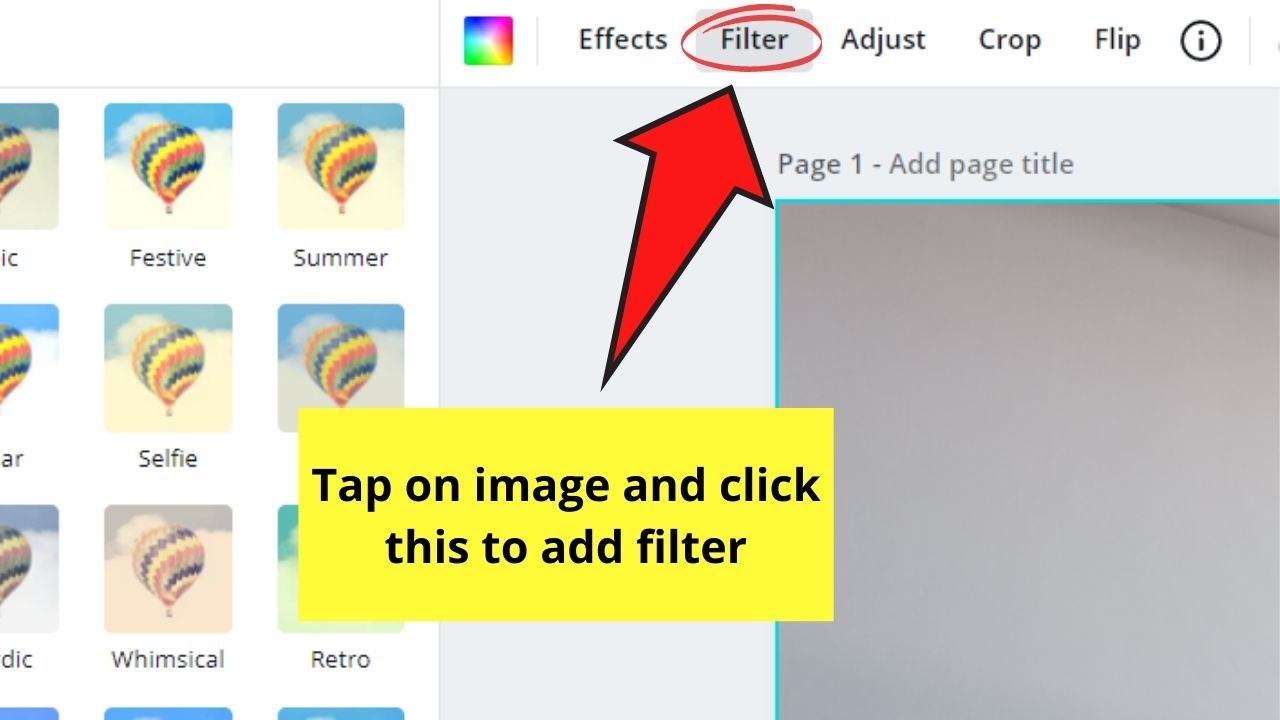
If you want a more dramatic effect, you can even add filters to enhance or adjust the image’s clarity, brightness, and saturation.
To add filters, just tap on the image and click the “Filter” option. A new window showing the various filters available will then appear.

Selecting background colors
Now, if you don’t want much going on in your background, solid colors or gradients will be your best options.
To assign solid colors as your background, simply tap on the rainbow-colored tile in the Canva toolbar.
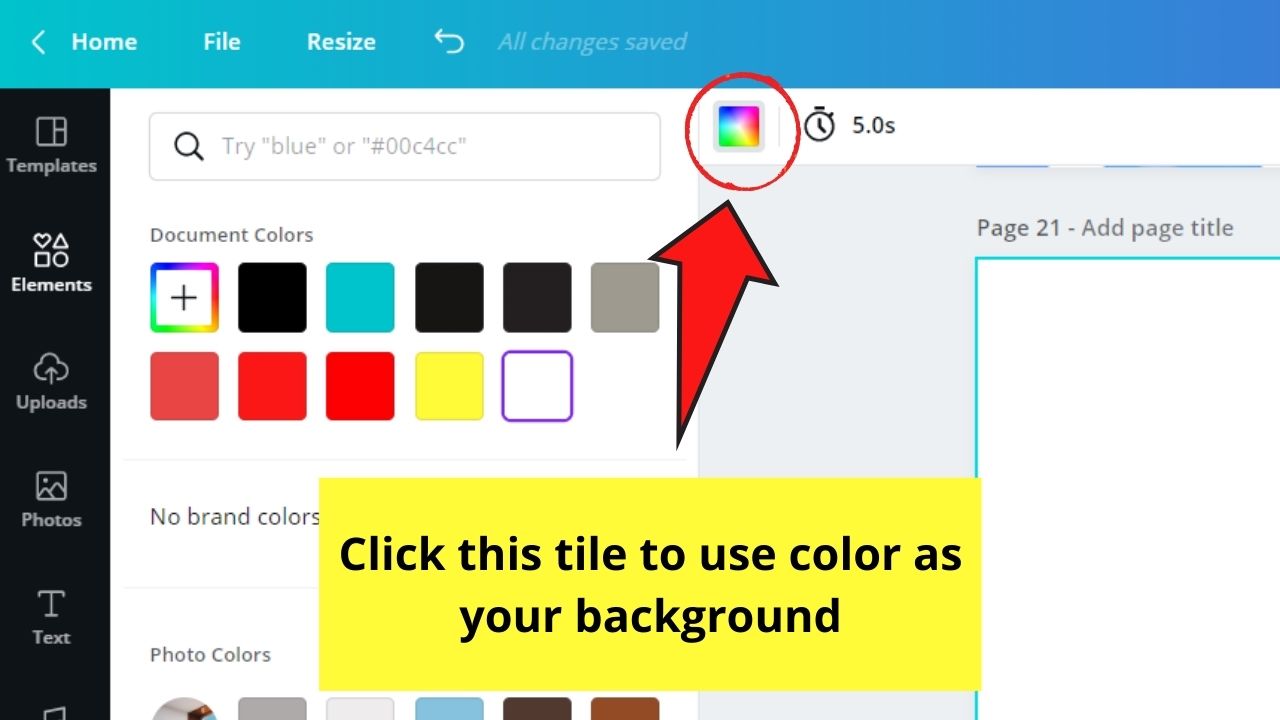
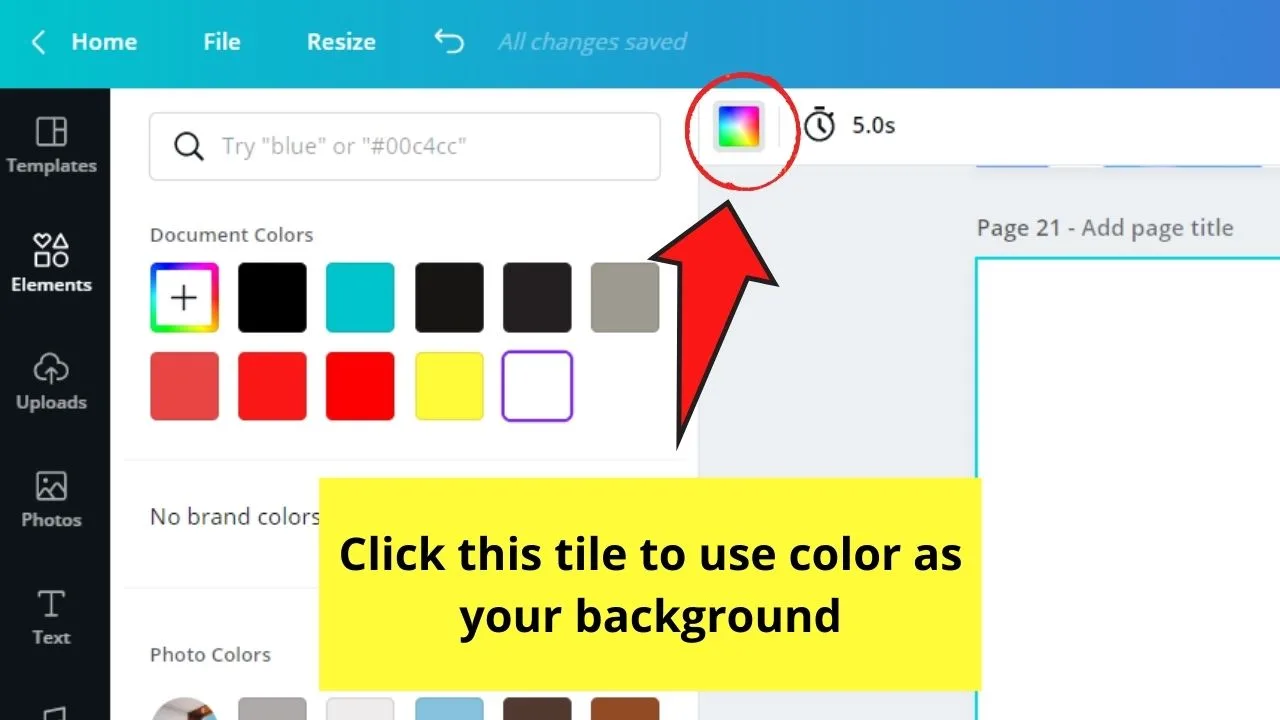
In the window that appears, select from the colors available, or add custom colors through hex codes.
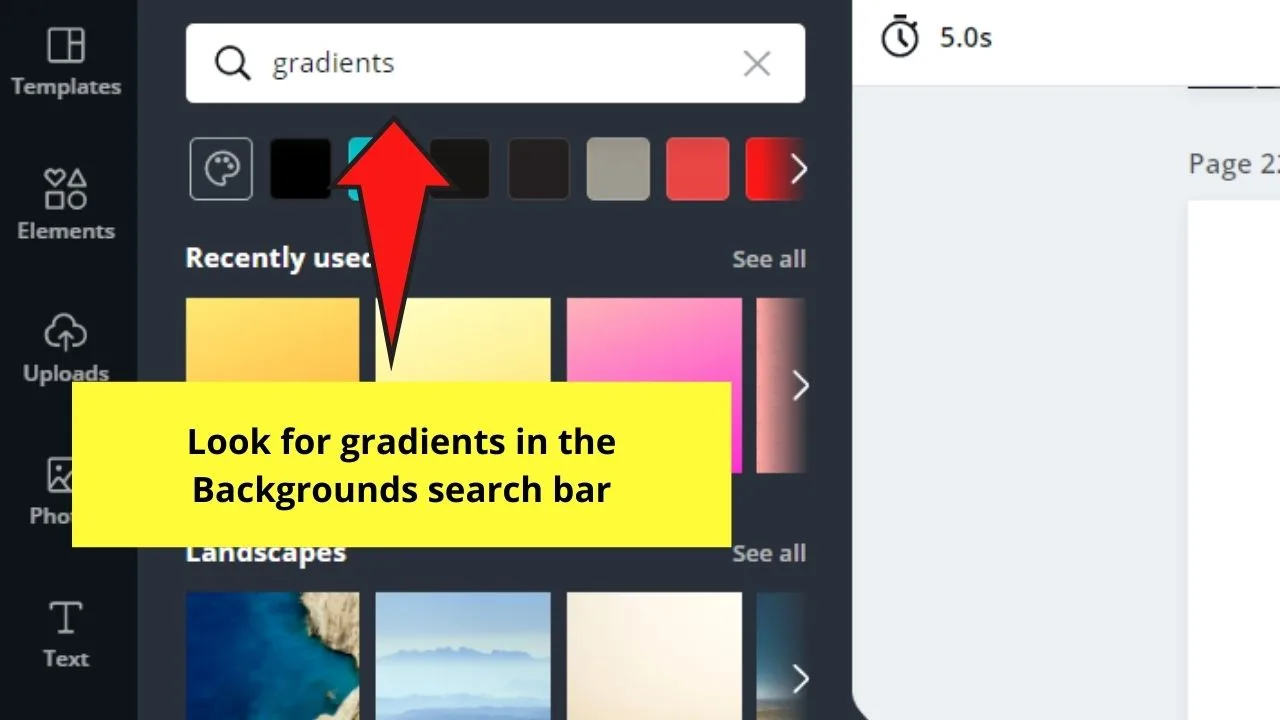
If you’re more into gradients, you can definitely visit the “Backgrounds” tab in the left-side Canva menu.
Input “gradients” in the search bar and a bunch of available gradient backgrounds will appear in the gallery.

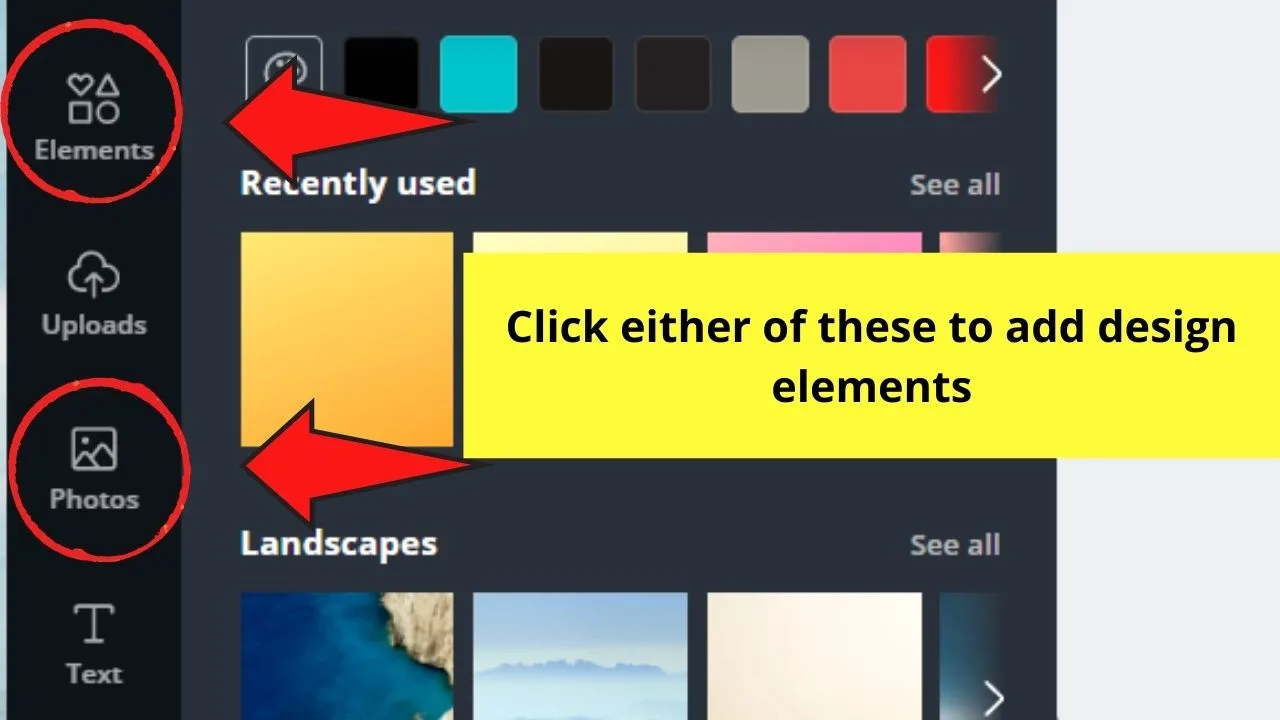
Step 4: Once you’re settled on your background, it’s to add the elements to your design. Depending on the design you have in mind, you can add photos, icons, and photos to your canvas.
Moving forward, simply head over the “Elements” tab to add GIFs, graphics, and icons. If you prefer images, you can easily visit the “Photos” gallery again.

A word of caution though: Don’t overload your design. Overloading your design with elements will confuse your target audience with what you’re telling them.
To avoid the overloading effect, toggle with the colors, sizes, and placements of the elements to see how each of them interacts with each other.
You can also learn how to layer the elements and group them for easier editing.
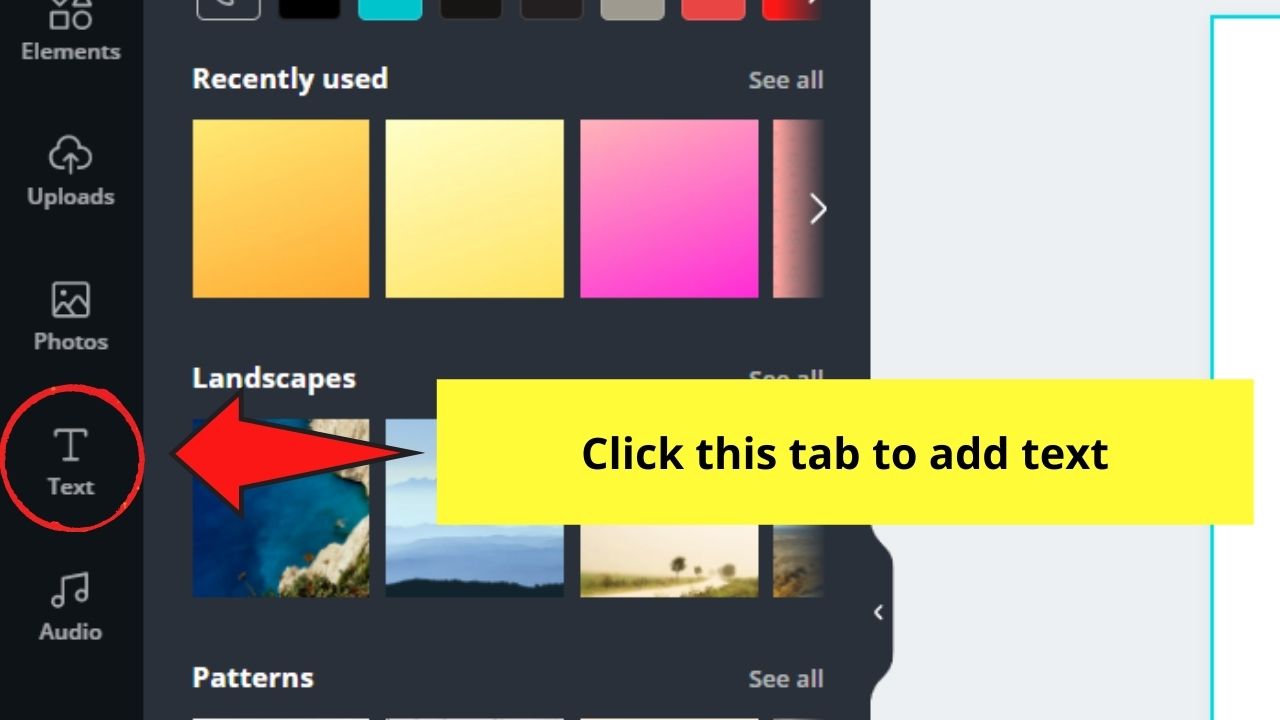
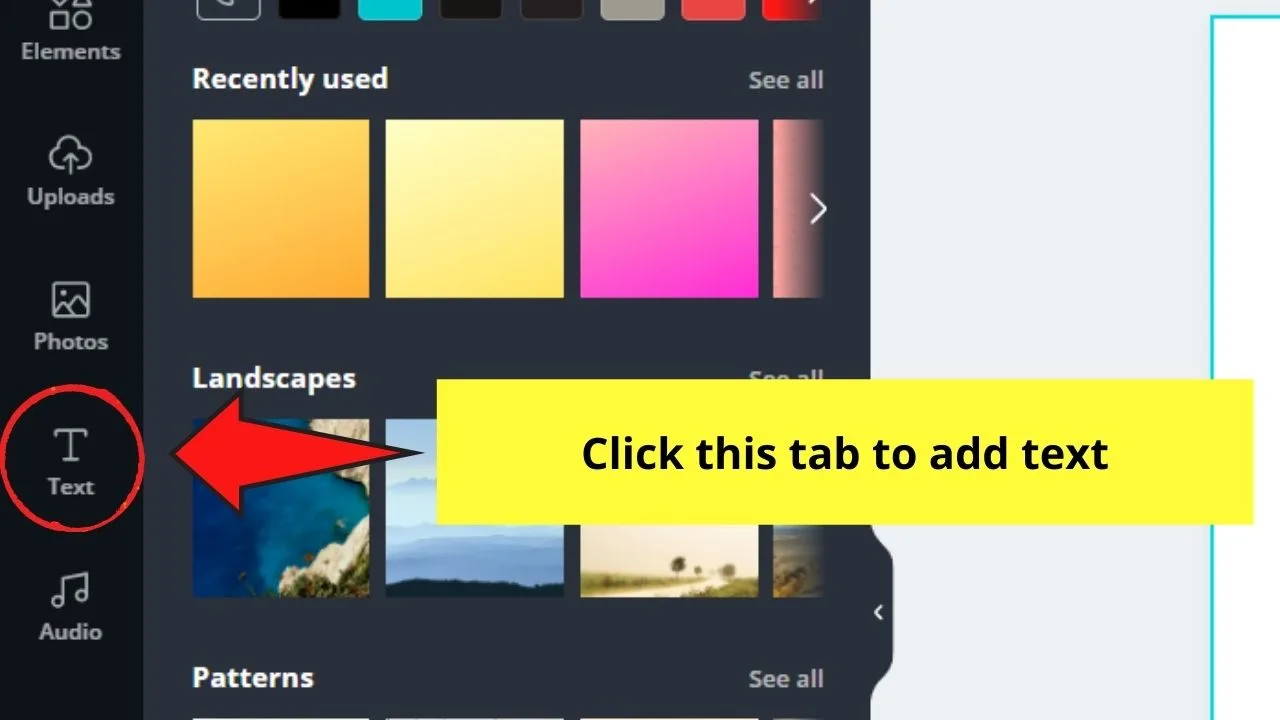
Step 5: Once you’ve added the needed elements, input your message in the design through text. To add a text box in Canva, the easiest method would be pressing the “T” key on your keyboard.
However, you can also add text to your design by visiting the “Text” menu.
After which, you can adjust the font style, sizes, and font colors accordingly through the toolbar above the template.
Just remember that whatever font style and color you select, pair them well with the color theme of the design.
Now, if you’re planning to pair fonts and don’t know which ones look good together, you can check out Canva’s font pairing guide.
Method 2: Using Canva Templates
Now, if you don’t want to go through the hassle of creating a design from scratch, Canva templates is another way for you to design in Canva.
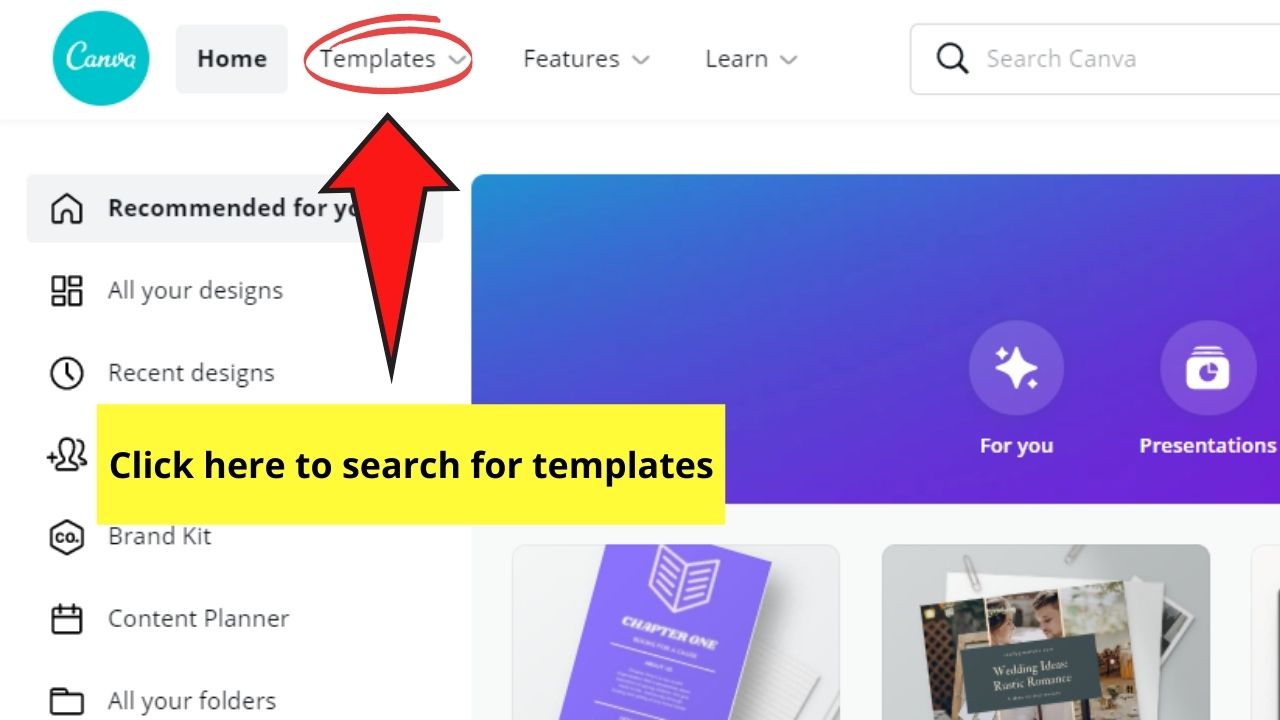
Step 1: On Canva’s home page, tap on the “Templates” menu. You’ll then be redirected to the Templates page.

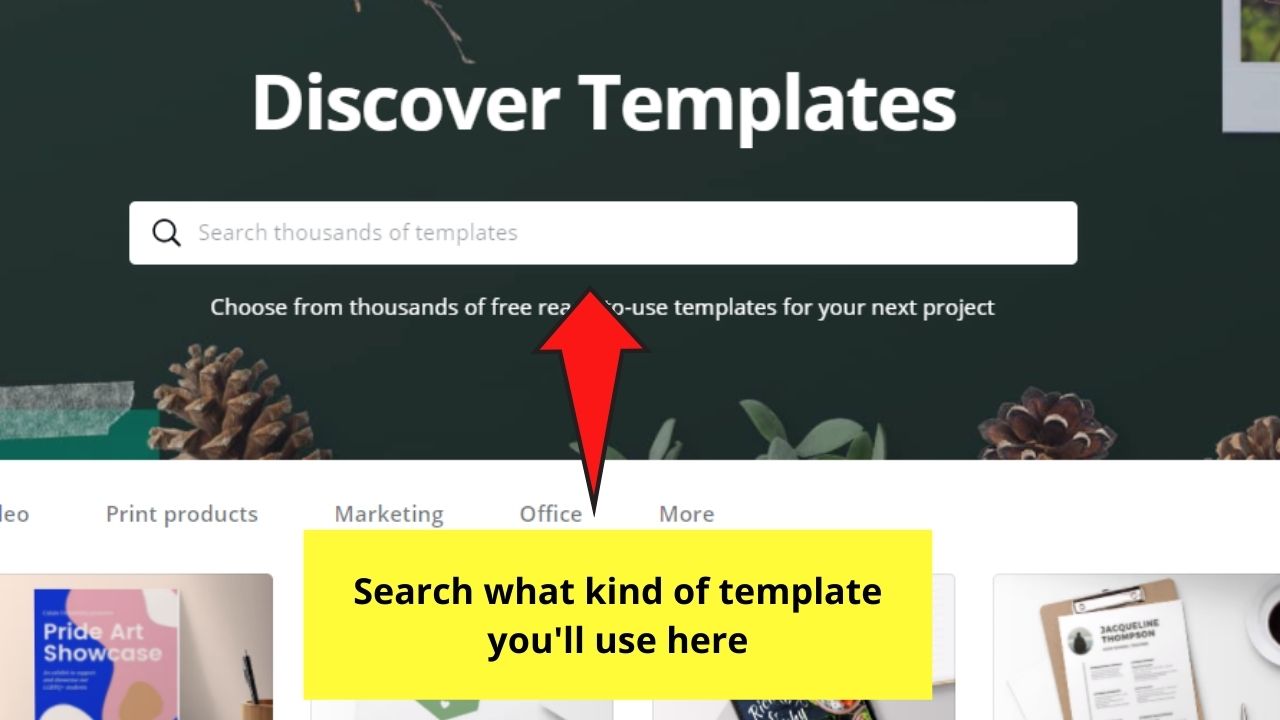
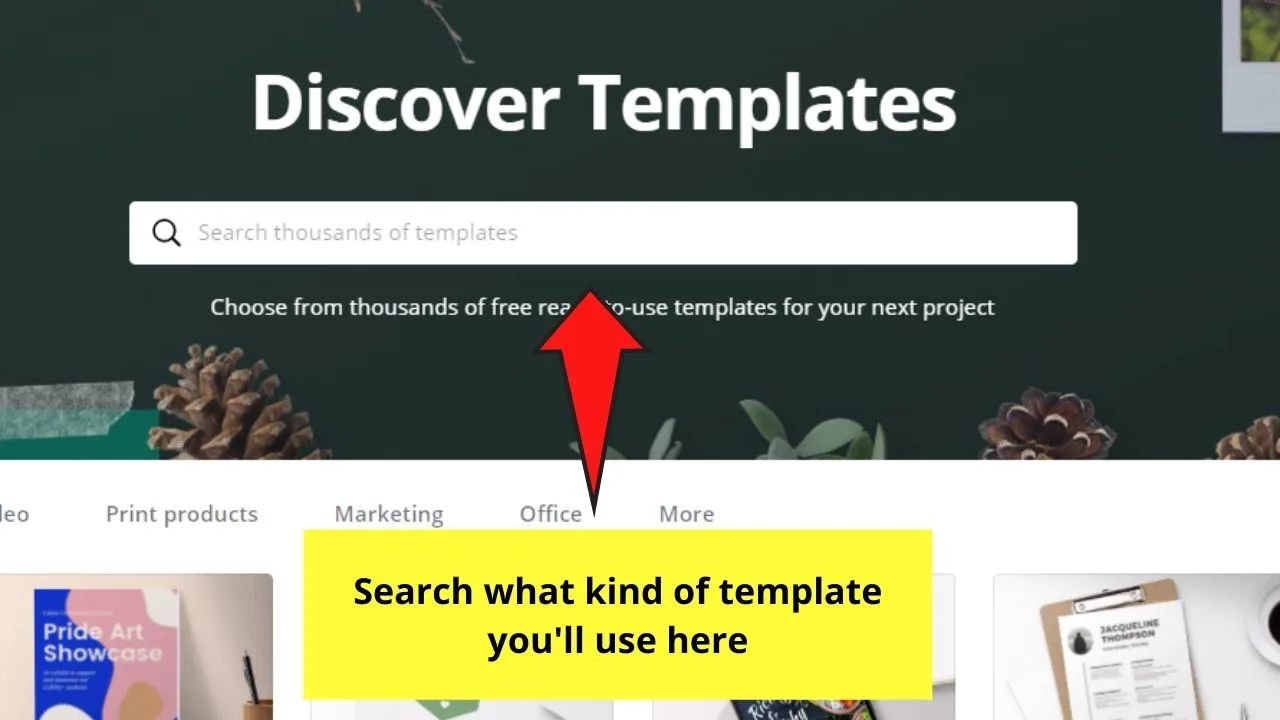
Step 2: In the search bar that appears, encode the keyword of the specific template you’d like to create. You can also choose templates according to the design dimensions instead if you’re not sure what theme you’re looking for yet.
Step 3: Select the template you’d like to avail by clicking on it. You can also preview the said template if you’re not yet decided on what to use.
Step 4: Once you’ve selected the template you’ll use, tap on the “Customize this template” button.
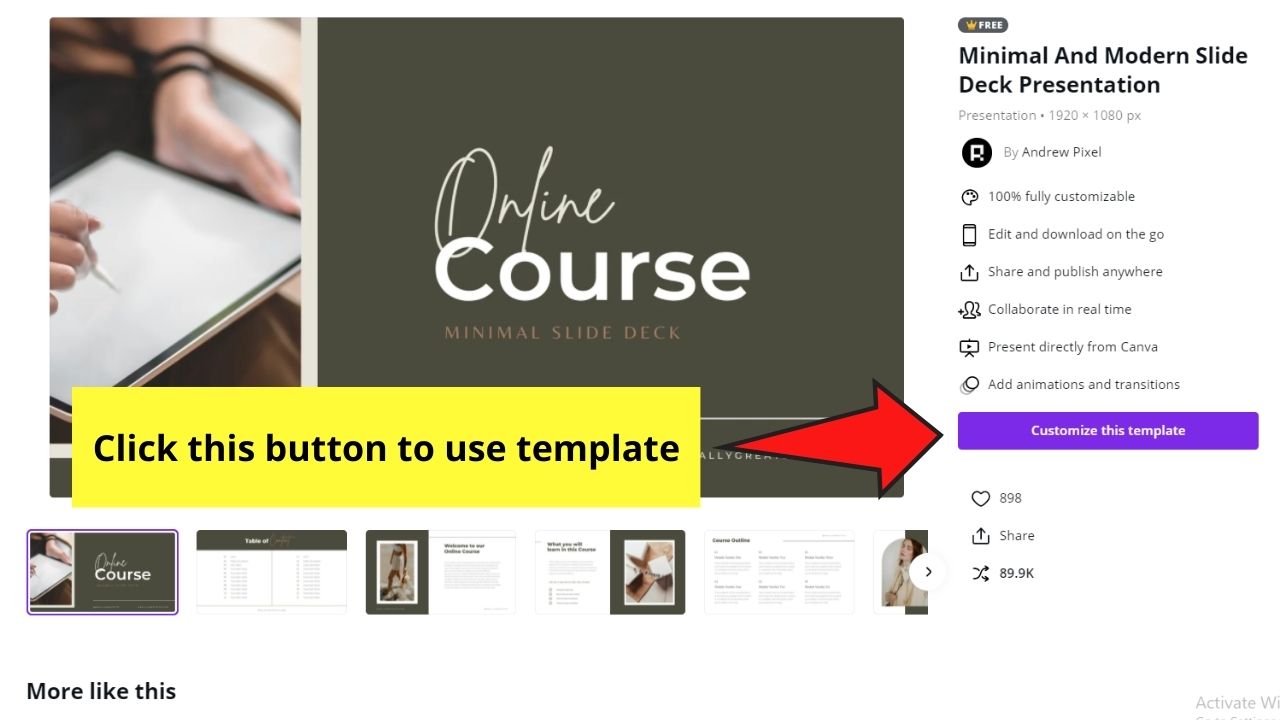

Step 5: Edit the template. Change the text and its font, add more elements, or even change the template colors if you feel that they don’t match your design idea.
Now, if you already created a new design file, can you still avail of the templates option?
Of course! Simply visit the “Templates” menu in the left-side Canva menu to select from the templates gallery.
However, do note that the template selections that will appear in the gallery will be limited to the dimensions of the design.
Thus, if you selected “Facebook posts” for the design dimensions, the template options that’ll appear are the ones that look best on a Facebook post.
No matter what method you choose, your creativity and imagination will still dictate the outcome. After all, the sky’s the limit to unlocking the full potential of your graphic design talent.
Canva Brand Kit: The Basics
Now that you’re getting the hang of designing in Canva, you’ll want to speed your creating process so you can do more in lesser time.
Though a lot of this depends on how you’ve mastered using Canva, you can take advantage of the Brand Kit feature the graphic tool’s brandishing.
If you’re a Pro account user, you’ll be able to maximize this feature to your advantage. After all, you can save custom fonts, texts, and logos according to your brand directly on your Canva account.
But, aside from being a Canva Pro user, you should be the administrator of the team (if it’s a team account) for you to dictate what goes into the brand kit.
How to avail of this brand kit? Simple. Just head over to the left side of Canva’s home page and tap on the “Brand Kit” option.
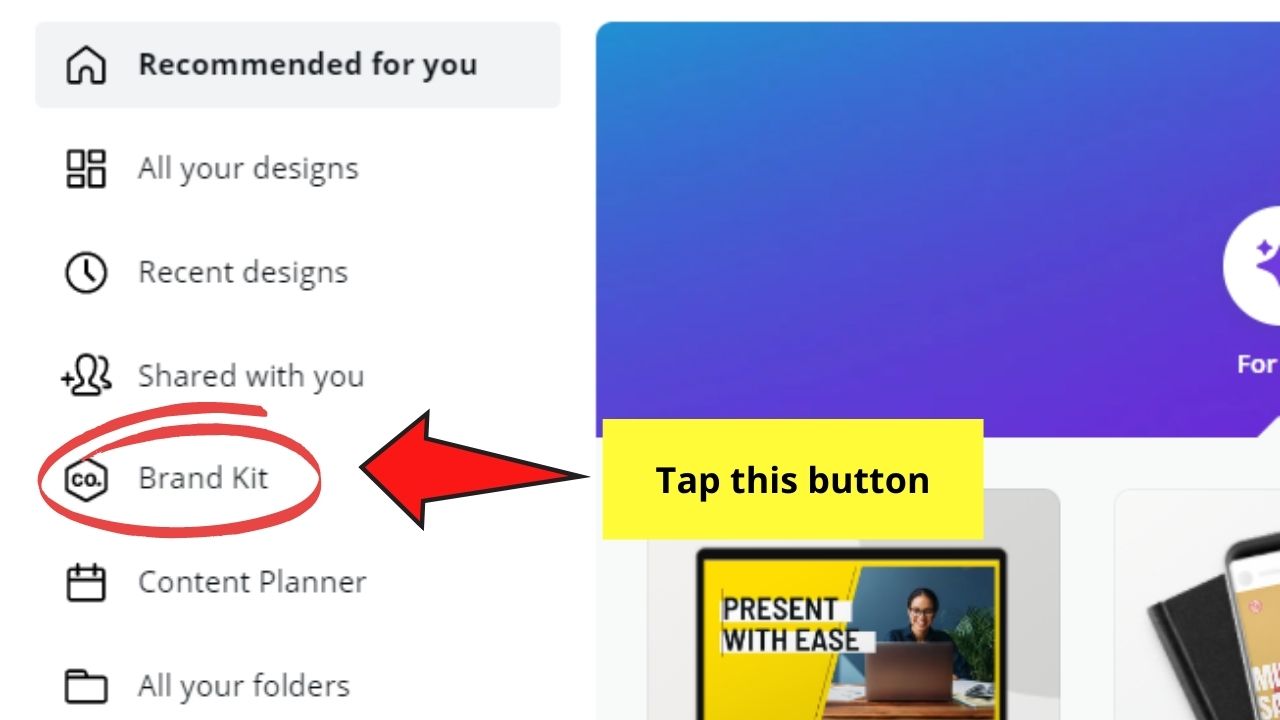

Once you’re in the Brand Kit window, you can begin adding your brand’s logo, fonts, and color palettes accordingly.
What’s more, you can also change the colors of every element you have in your design with a single click. Just tick the “Change All” option, and it will do the trick for you.
Learn more about Canva’s Brand Kit by reading about it in their Learning Modules.
Frequently Asked Questions about Canva Design Ideas
Can you use your own fonts in Canva?
If you’re a Canva Pro user with team administrator access, you can definitely add custom fonts in Canva. Simply add a text box and highlight the text before tapping the font style box in the editor toolbar. In the dropdown menu that appears, scroll down until you see the “Upload a font” option. In the brand kit view that appears, click on the “Upload a font” button and select the font file from your device. Just make sure the file’s already unzipped.
Is it still possible to resize your Canva design even if you’re in the middle of editing?
Though not recommended, you can still resize the dimensions of your design in Canva. Tap on the “Resize” option on the toolbar, input custom dimensions, or choose from previously used dimensions before clicking the “Resize” or the “Copy and Resize” option. However, this only works with Canva Pro. When using Canva Free, you won’t be able to use the resize function after having created the project.
What’s the difference between “Resize” and “Copy and Resize?”
“Copy and Resize” will allow you to create a separate copy of the current design with the new dimensions. Resize will change your design’s dimensions without saving a copy of the original file.
Can you compress the file size of your Canva design?
If you’re a Canva Pro user, you can compress your design’s file size in a few steps. In the “Download” button’s dropdown menu, tick the “Compress file size” box if you’re downloading in PNG or adjust the “Quality” slider if you’re using the JPG format.
Wrap Up
If you’re a greenhorn to using Canva, you’ll be pleased to know that you won’t need a few hundred hours to study how to create designs in it.
You only need to learn the basics of creating new files, editing templates, changing fonts, colors, and adding images and elements in the tool to enjoy designing in Canva.
But, like any other skill, you’ll get better with more practice, so don’t worry if your first Canva design isn’t as perfect as you imagined it.
Keep trying, and who knows? You’ll be the next pro designer in Canva whom everyone looks up to!


Hey guys! It’s me, Marcel, aka Maschi. On MaschiTuts, it’s all about tutorials! No matter the topic of the article, the goal always remains the same: Providing you guys with the most in-depth and helpful tutorials!

