
With Canva, creating stunning visual designs is easier than ever before – and today, we’ll be looking at how to change the shape of a photo in Canva quickly and easily.
Make the most of your designs by changing the shape of photos and helping them match your template and design!
How to Change the Shape of a Photo in Canva
To change the shape of a photo in Canva, navigate to the “Elements” tab. Scroll down to find the “Frames” section. Click on your desired frame shape (e.g., circle, triangle, etc.), then drag the photo onto the frame.
Changing the Shape of Photos in Canva: Step-by-Step Guide
Getting started with Canva can be tricky and a bit daunting, but hang tight! Today, we’ll be clarifying how to change the shape of photos in Canva quickly and easily. In fact, the process is incredibly straightforward – and we’ll be helping you get the most from your Canva use today!
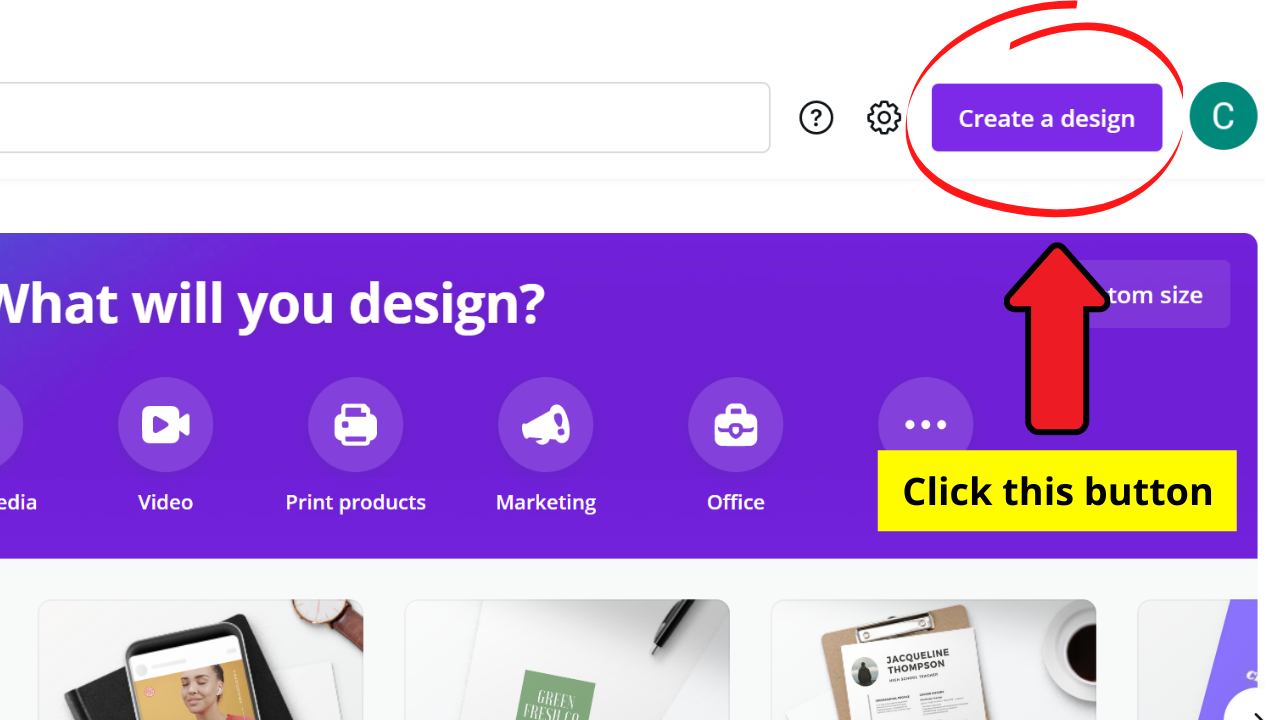
Step 1: To begin with, you’ll need to start by creating a new design. Create a new design by selecting the “Create a design” button, located at the top-right of your screen next to your account icon.
Alternatively, open an existing file if you have one in mind you want to edit.

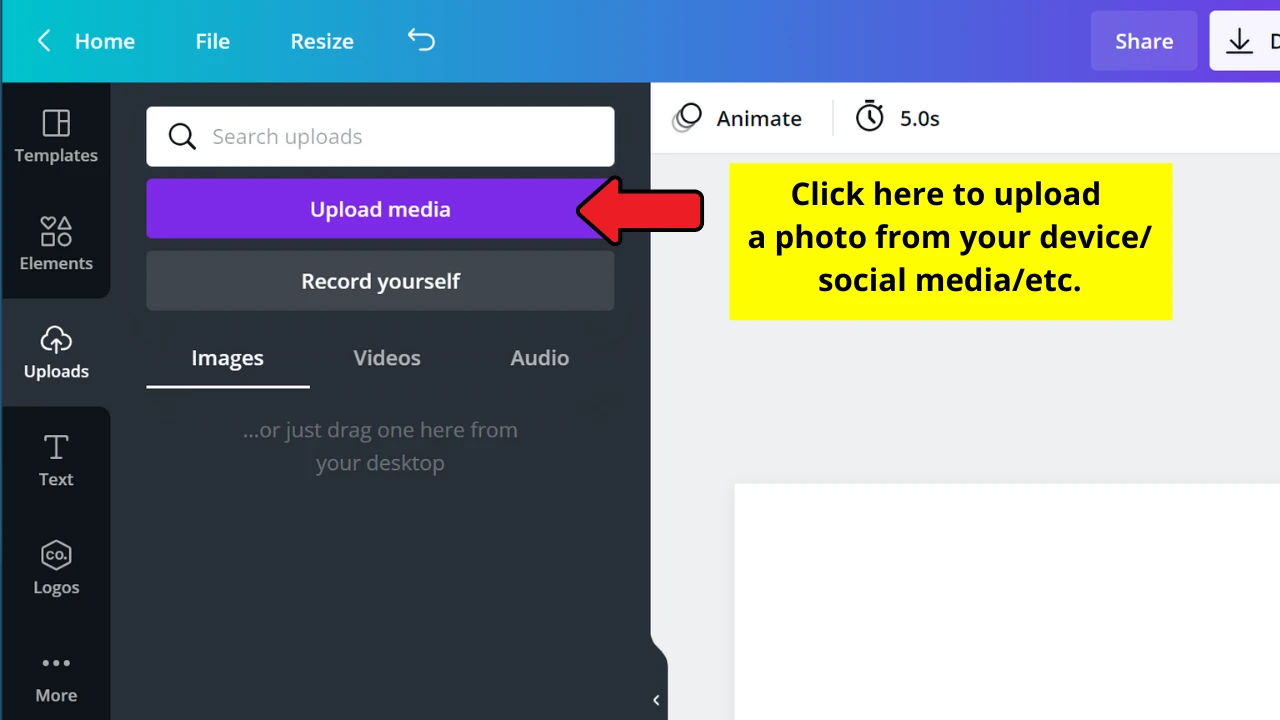
Step 2: Now that you’ve opened your design, you’ll want to upload the photo to resize (if you haven’t already).
Select a photo from the Canva galleries (be aware that some of these may be locked to Pro accounts only) or upload a photo from your device as shown below:

Step Three: Once you’ve uploaded your photo to the design, you will see your image is now showing in its normal shape. Now comes the fun part of reshaping the image!
To do this, you’ll want to head to the Canva Elements tab (found on the left of the screen below “Templates”) and then scroll down to the bottom of the tab, where you’ll find a choice of frames.
Select your preferred frame shape (i.e. the shape you want for your final image). For the sake of this tutorial, we’ve selected a circle.


Step Four: So, you’ve selected your chosen frame shape, and you’ll now see this showing on your design. At this point, all you need to do to resize your image is select the image and, using your cursor, move the image to the frame.
Canva will automatically reshape the image to your chosen frame shape once you have done so.
That’s really all there is to it! It’s pretty easy, right? Canva is an excellent tool and one that makes working with images and designs effortless.
This is just as true for reshaping images.
The Canva library has an extensive selection of different frames that can be chosen from, too.
Some of these include standard shapes such as circles, parallelograms, curved-edged squares, triangles, and the like.
As well as these, they also feature more unique frames such as window frames, computer or mobile device screens, scratch marks, book pages, and more!


Now, we do understand that there are quite some limitations as far as this method goes.
In fact, with the method shown above, you are limited to the actual frame shapes that can be found under “Frames” in Canva’s elements tab.
The good news is that there is yet another incredible method that lets you use ANY kind of shape for your images, pictures and photos.
It is a bit more complicated but in the following video I walk you through the whole process! Give it a shot!
How to Change Image Shapes by Cropping in Canva
So, we’ve clarified how to change the shape of your photos in Canva – for example, making a rectangular photo into a square or circle. But what about images that have sections you don’t need?
If you need to crop your photo to a different shape, such as cropping a rectangle to a square, Canva again makes this effortless!
For example, what if you want to resize an image to get rid of a particular blemish in the photo?
Maybe there’s a finger covering the bottom corner of the camera that you want to remove or a large amount of uninteresting space that you’d like to cut out without getting rid of the rest of the photo?
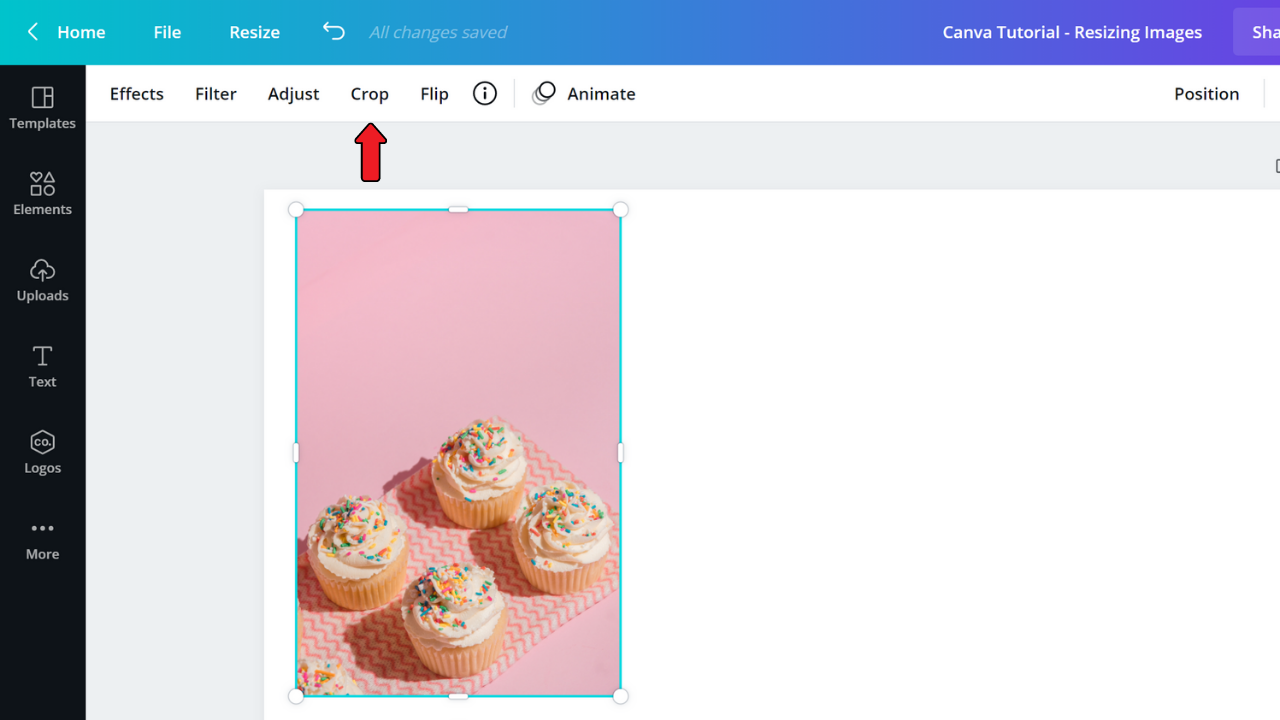
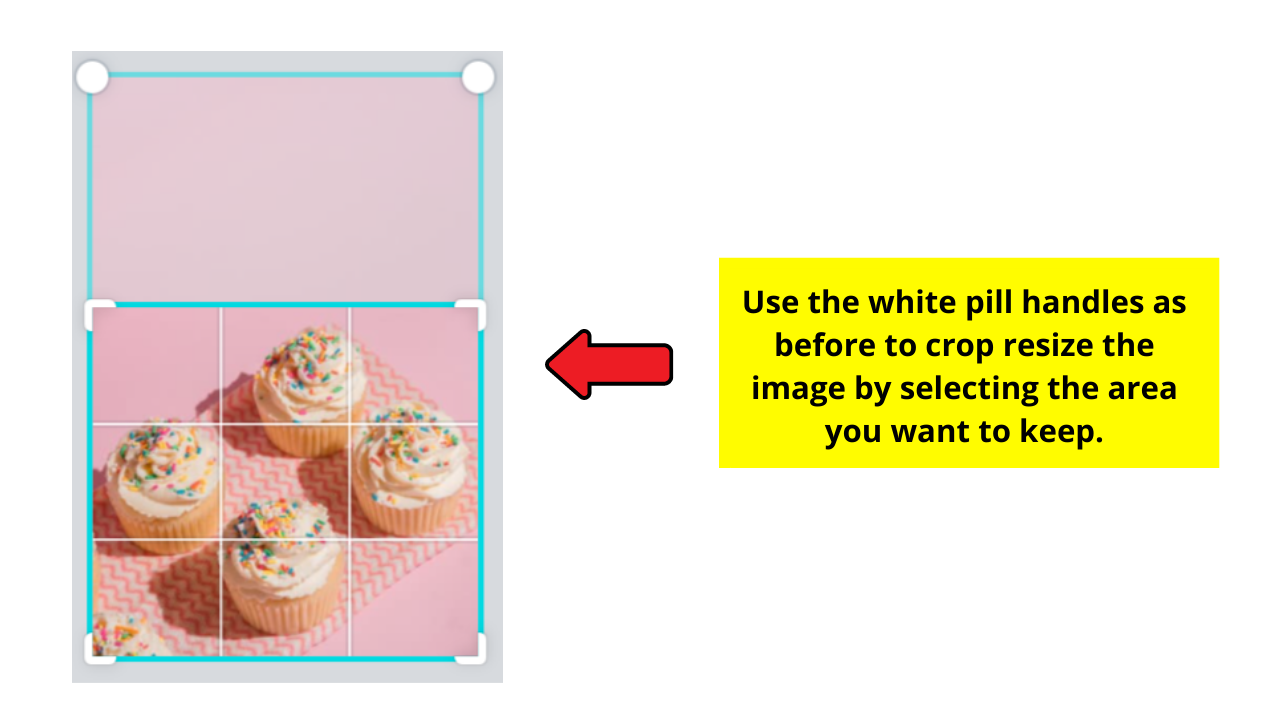
For example, consider the following rectangular image. We can remove the large amount of empty space above the cupcakes by cropping the image and resizing it. We could do the same by using a square frame, as we’ve explained above.
However, for this sort of shape change, using the cropping function is simpler. In this way, the photo will be focused only on the cupcakes themselves.
Step One: Upload your photo to the Canva design (as demonstrated previously) and double click the image to bring up the crop functionality. Alternatively, you can select the image and press the “crop” function on the menu bar.

Step Two: Once you’ve opened the cropping menu, using the white pill handles, select the area you want to keep. Once the cropping menu is open, the remainder of the design will be greyed out to show just the area you are working on.
And that’s it! Once you’ve selected the region you want to crop, simply click anywhere on the greyed-out design to return to the main design editing page, and your new image will be cropped to the size you selected.
Then, if you need to change the size of the cropped image to fill space, follow the basic image resizing steps we set out before to ensure that your final design is perfectly tailored to what you need it to do!

Conclusion
And that’s it! Everything you need to know about resizing images and photos in Canva – it is as easy as it sounds, and hopefully, our guide will have helped you learn how to reshape your photos and images in Canva too!
You can reshape photos using either the cropping function or Canva’s massive selection of frames, both of which are great options.
If you have any further questions, feel free to get in touch, and we’ll do our best to help you find the resizing solutions that you need.


Hey guys! It’s me, Marcel, aka Maschi. On MaschiTuts, it’s all about tutorials! No matter the topic of the article, the goal always remains the same: Providing you guys with the most in-depth and helpful tutorials!

