

Are you ready to take your Canva design skills to the next level?
Dive into the world of Canva frames and discover how these versatile tools can transform your visual content.
Whether you’re a beginner or an experienced Canva user, you’ll find valuable insights in this guide.
How to Use Frames in Canva
Canva Frame Hacks You Wish You Knew Earlier
Frequently Asked Questions about Using Frames in Canva
How to Use Frames in Canva
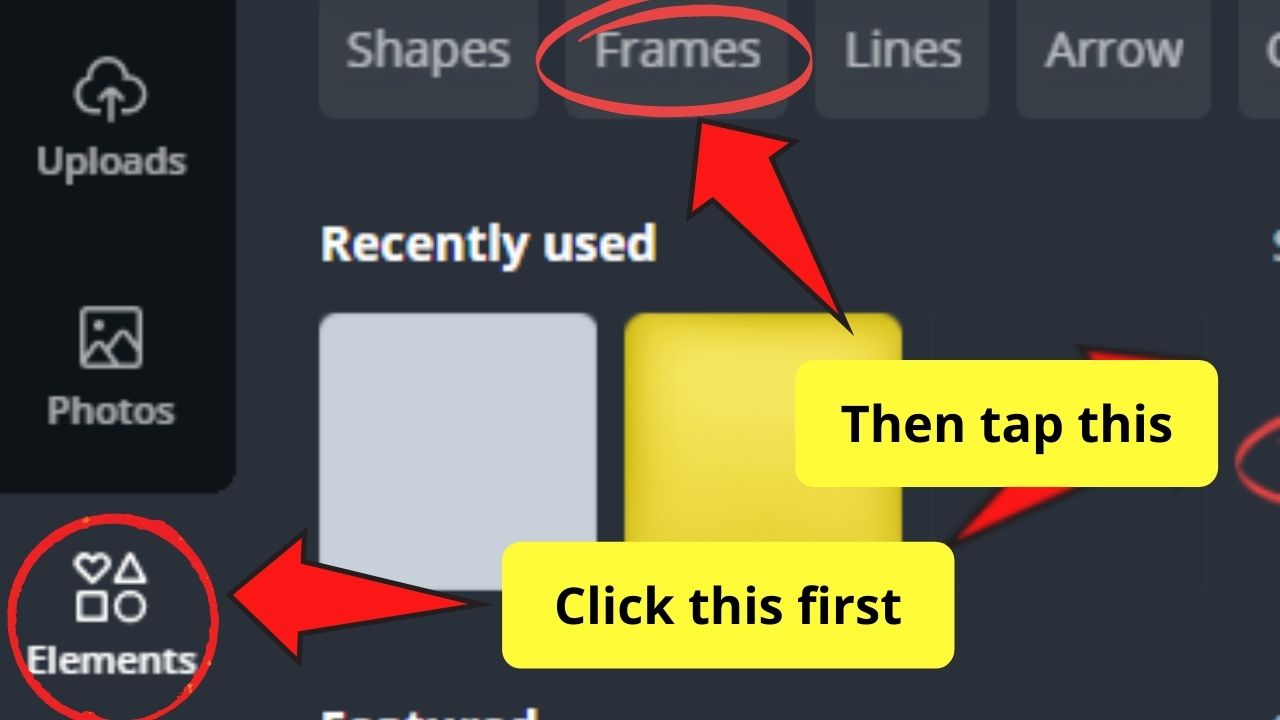
To use frames in Canva, head over to the “Elements” tab and scroll down until you find the “Frames”. Click on the frame design you’d like to use. Then, drag the image or video you’d like to use on top of your frame to place it in there.
To use frames in Canva, follow these steps:
Step 1: Head over to the “Elements” tap and then click on “Frames” on top

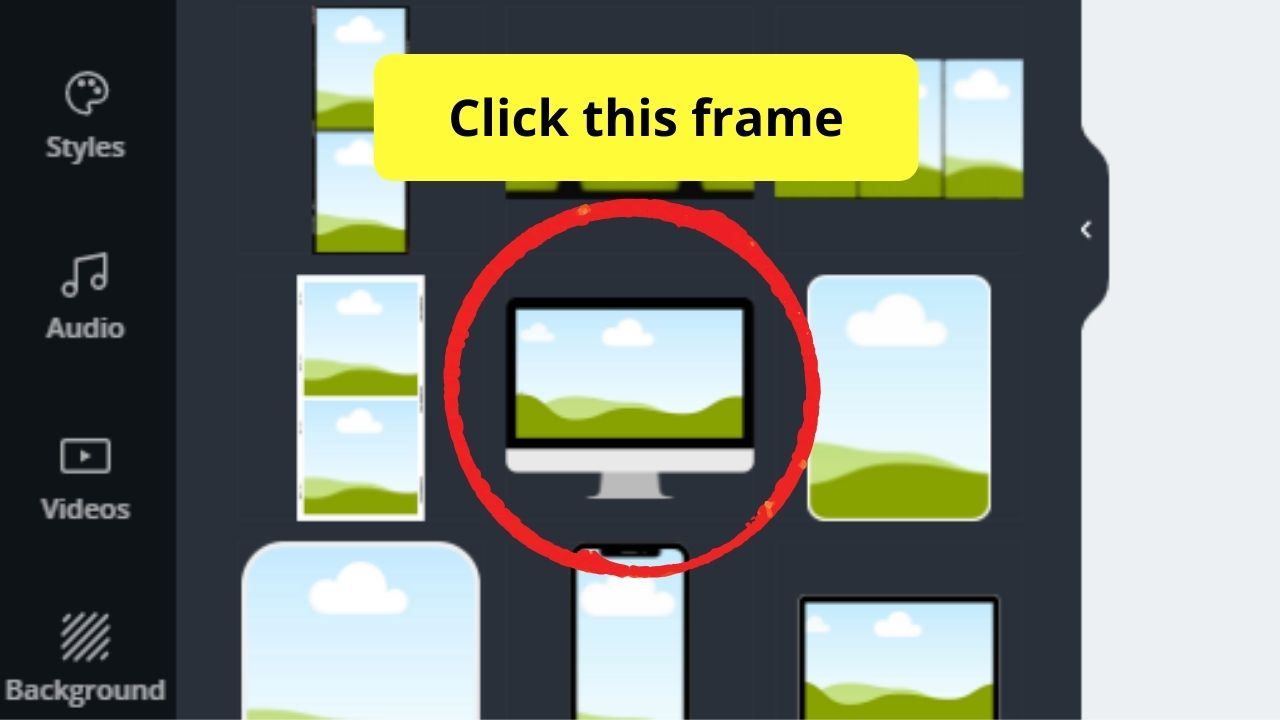
Step 2: Choose a frame from the gallery

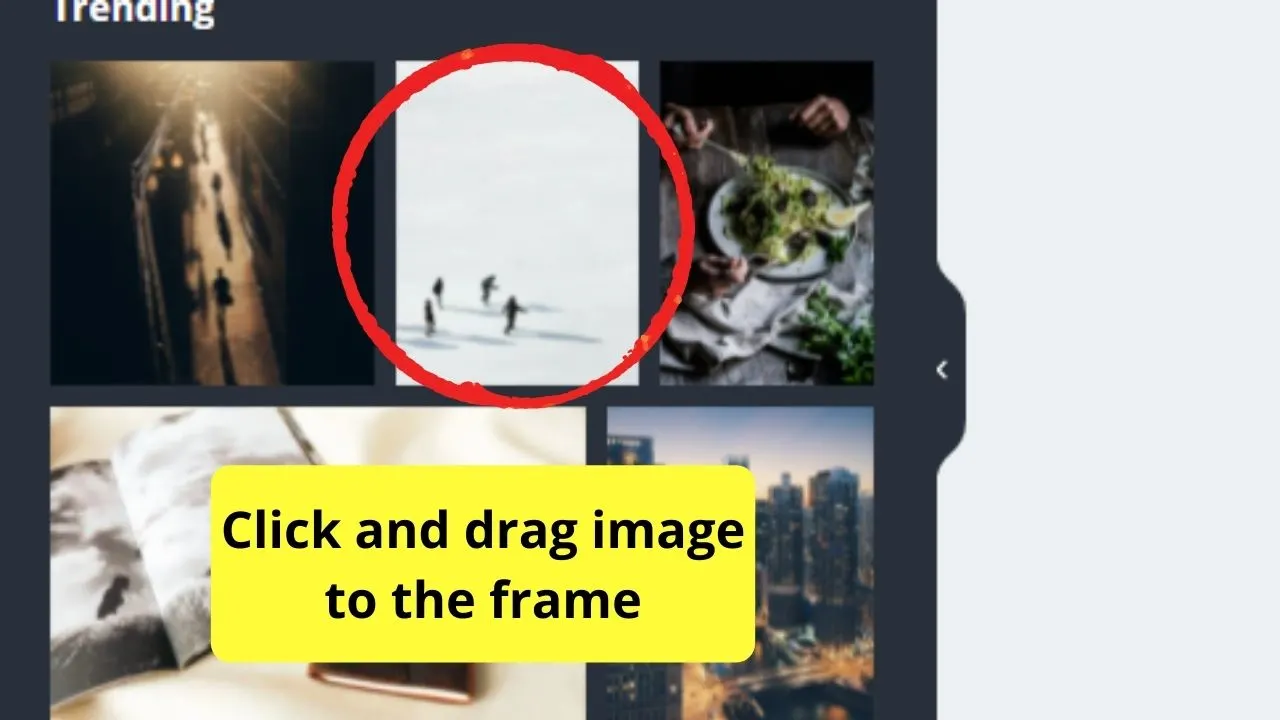
Step 3: Drag the image or picture you want to use onto the frame; it will automatically snap into place

Step 4: Double-click on the image to reposition or adjust its size and click on “Done”
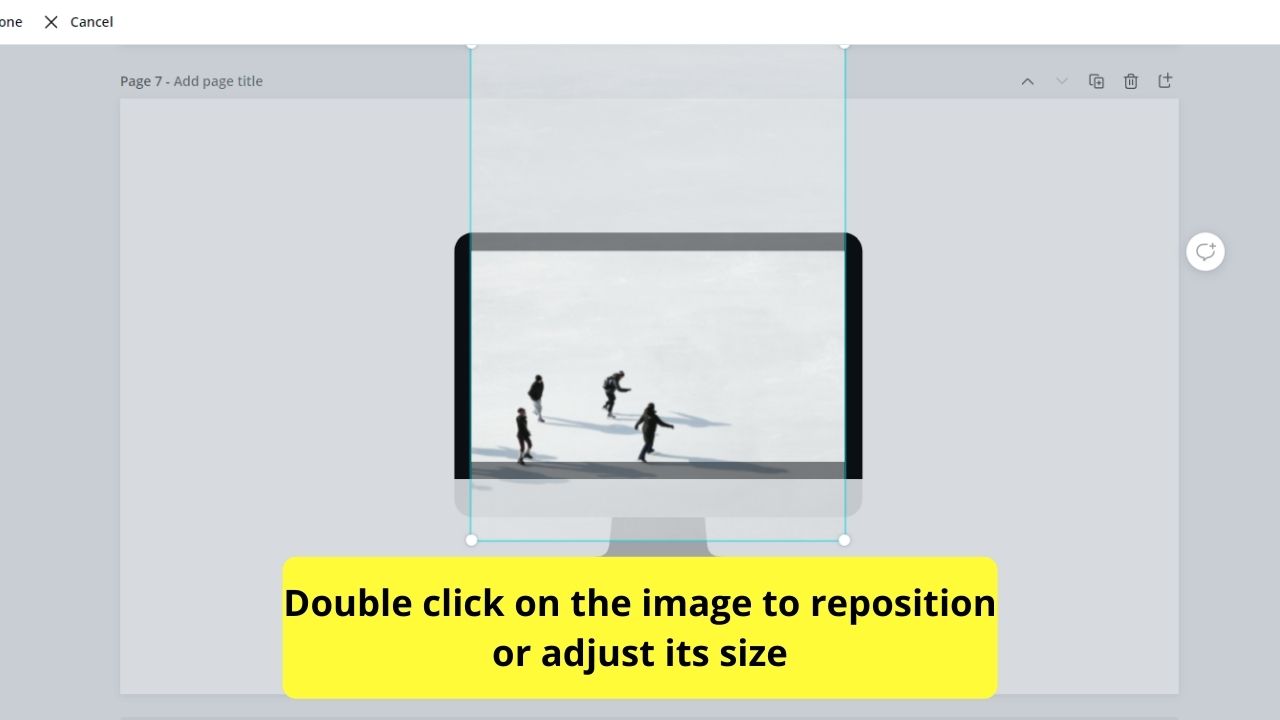
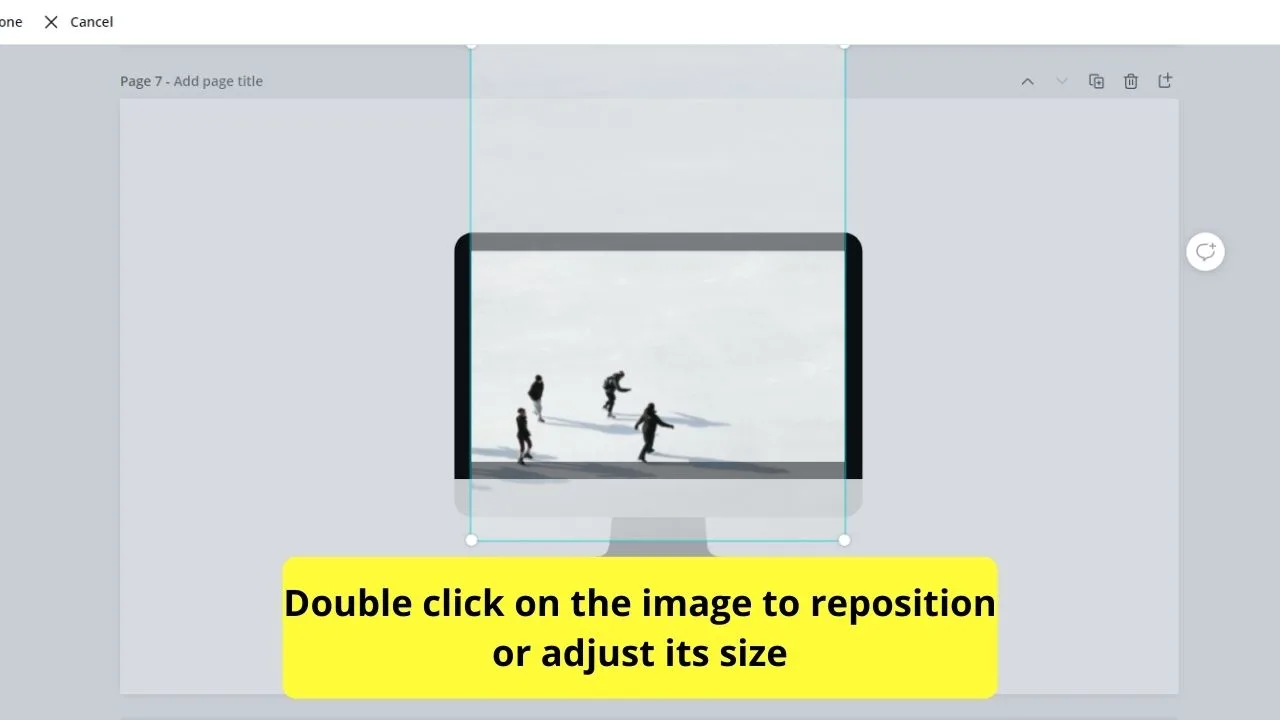
Suppose you want to reposition and resize the image inside the frame, double-click on the photo until the background’s greyed out. Use the crop marks (white handles) on the corners of the picture to drag the picture in or out of the frame.
Simple, right? But, we’re just warming up on the topic as the steps mentioned above are just the basic ones you should know.
Just remember that not all images in Canva aren’t available for free account users. But, if you want to use a premium image, learn how to remove watermarks in an article here.
Now, if you’re interested in learning how to improve your skill further in using Canva frames, then you better stay tuned and continue reading below.
Canva Frame Hacks You Wish You Knew Earlier
Now that you’ve mastered the basics of frame usage in Canva, it’s time to amp up your skills further.
Take a look at some of the applications of Canva frames that you never knew you could do.
Adding Texture to Frames
Among all the Canva hacks you’d learn today, adding the texture element to the otherwise “boring” frame is the easiest.


With this simple trick, you can make your social media posts classier. Yet, it still depends on how artistic you can get with even the simplest frames you can find in the Canva gallery.
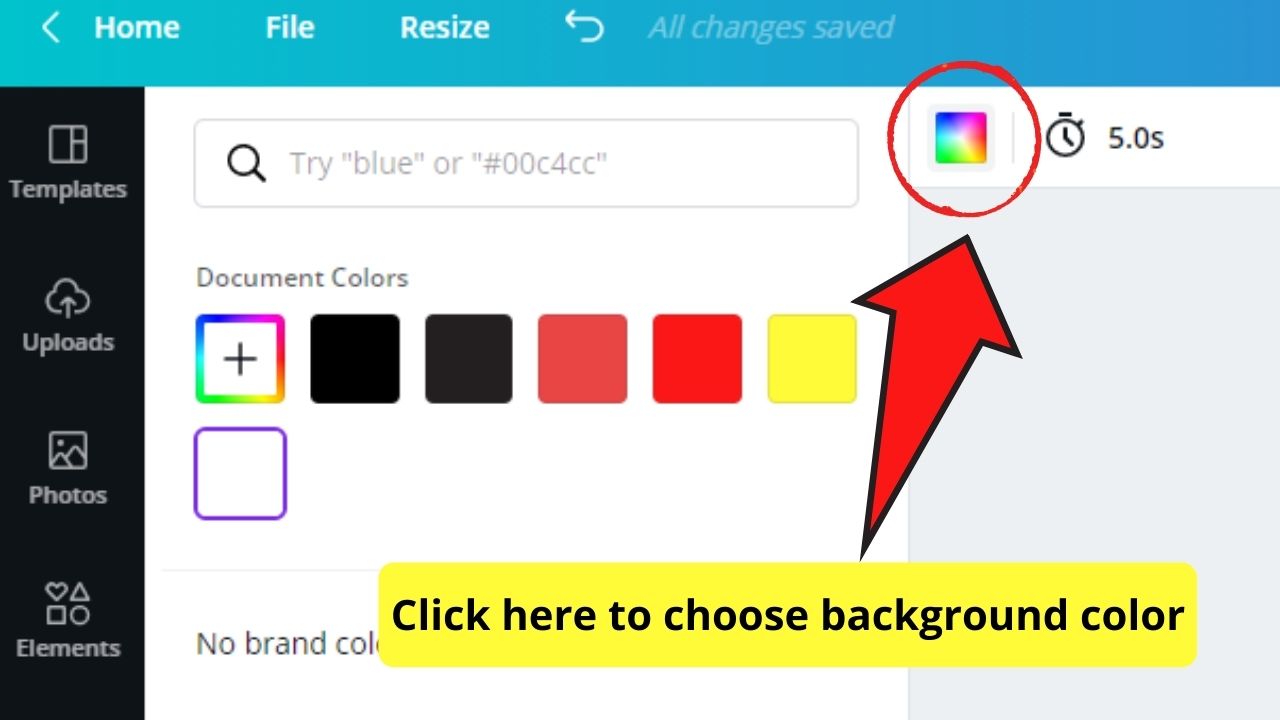
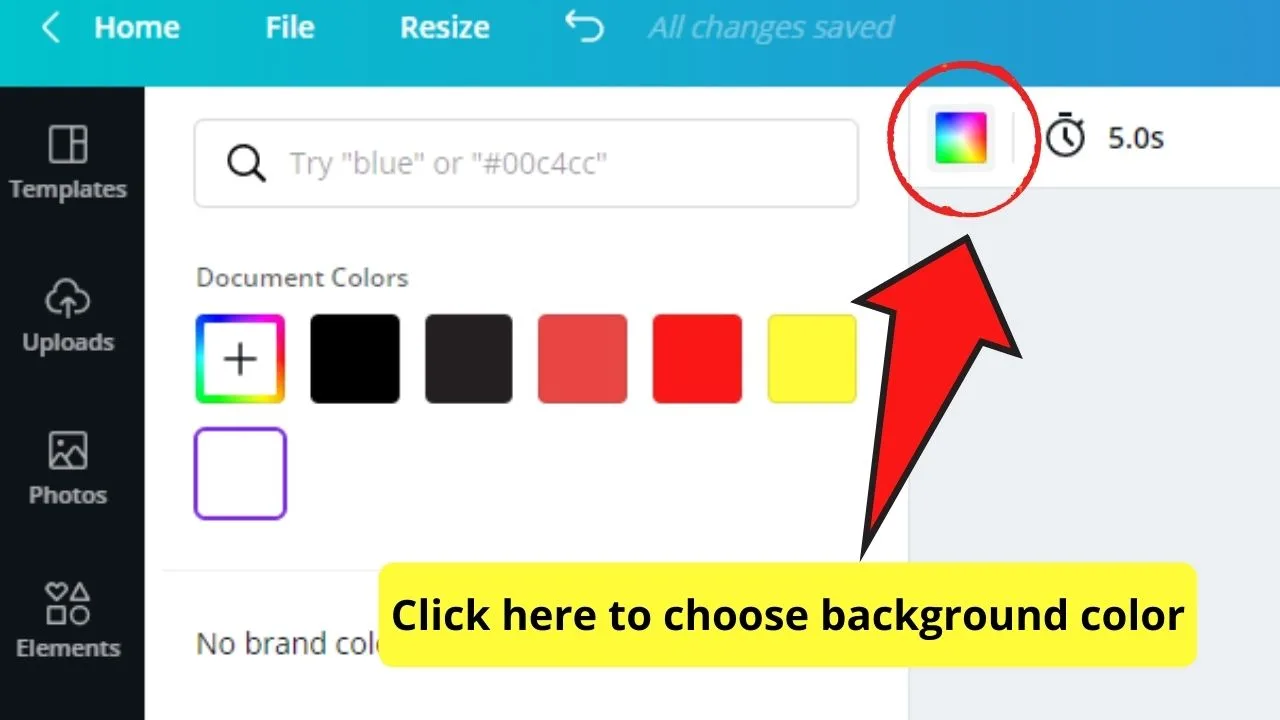
To achieve this feat, you need to start by choosing your background color. Simply head over to the rainbow-colored tile on the white toolbar and pick out a hue you like.
Once done, follow the steps mentioned above on how to choose a Canva frame. After which, fill the frame with another color to make it stand out from the background.
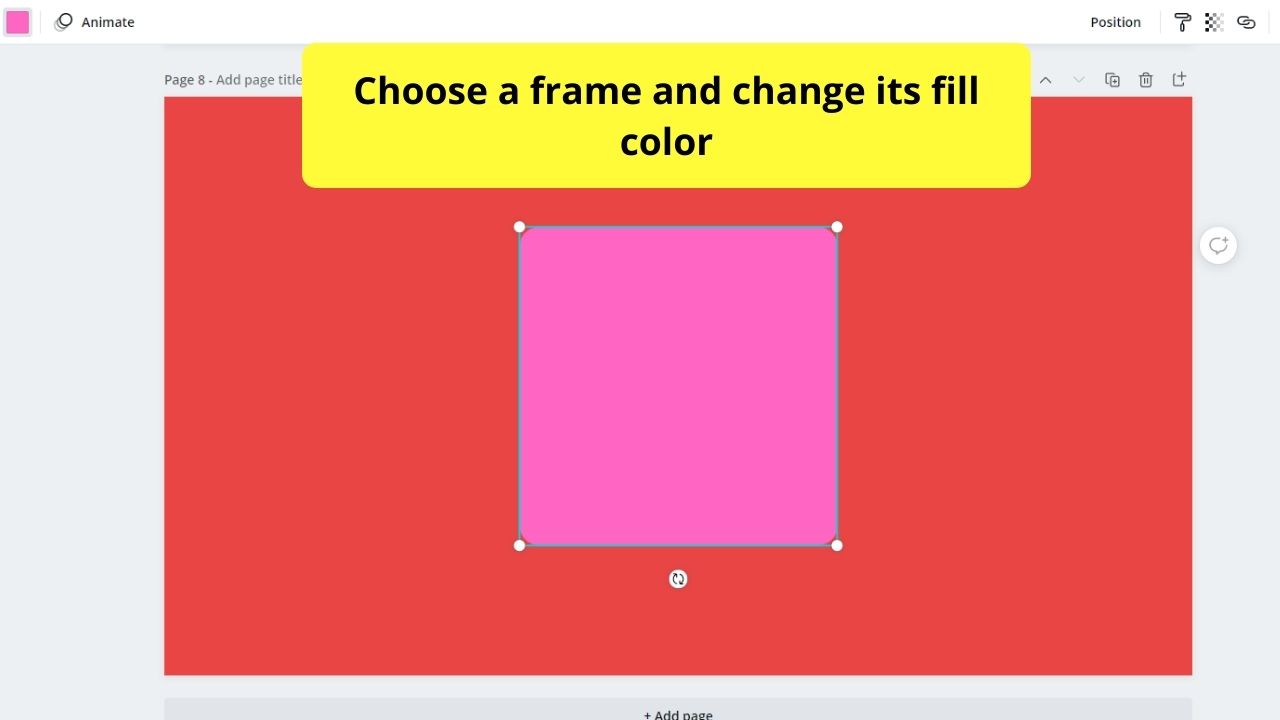

You can even use Canva gradients to spice up your design.
Depending on the frame’s shape, you can choose to head over to the “Shapes” menu and choose from the available figures there, or duplicate the frame you used earlier.
Then, resize the shape or duplicated frame you’ve created to be smaller than the first one. Center it inside the larger frame until they’re perfectly aligned.
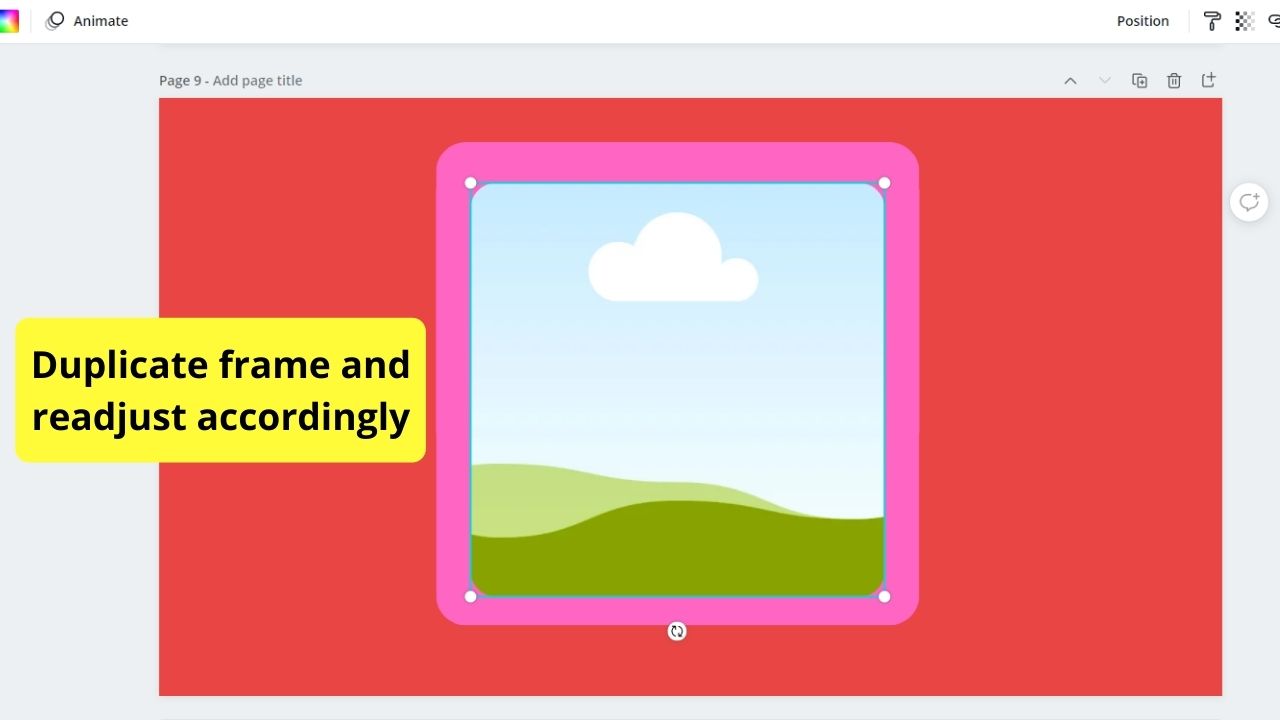

Just make sure that the fill color for this second frame you’re using is similar to the one you’re using for the background.

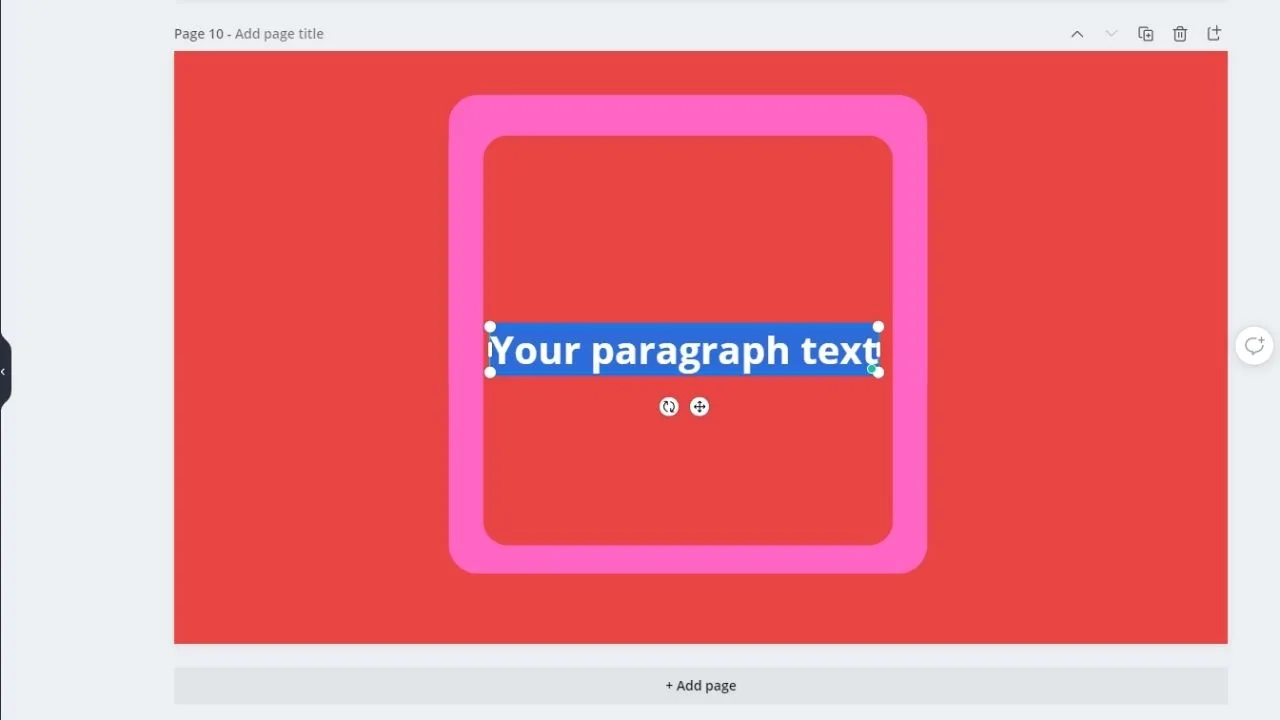
After that, you can start adding text for quotation posts or another image, depending on your design.
Head-Popping-Out-of-Frame Design
Now, if you’re more of the eccentric type and would like your designs to stand out from the rest, you can try making a person’s head pop out of a Canva frame.
Is that even possible? Well, with Canva, everything’s possible.
To start with the process, choose what image you’ll work with. Whether you use your own photos or pick one from Canva’s “Photos” gallery, it doesn’t matter.
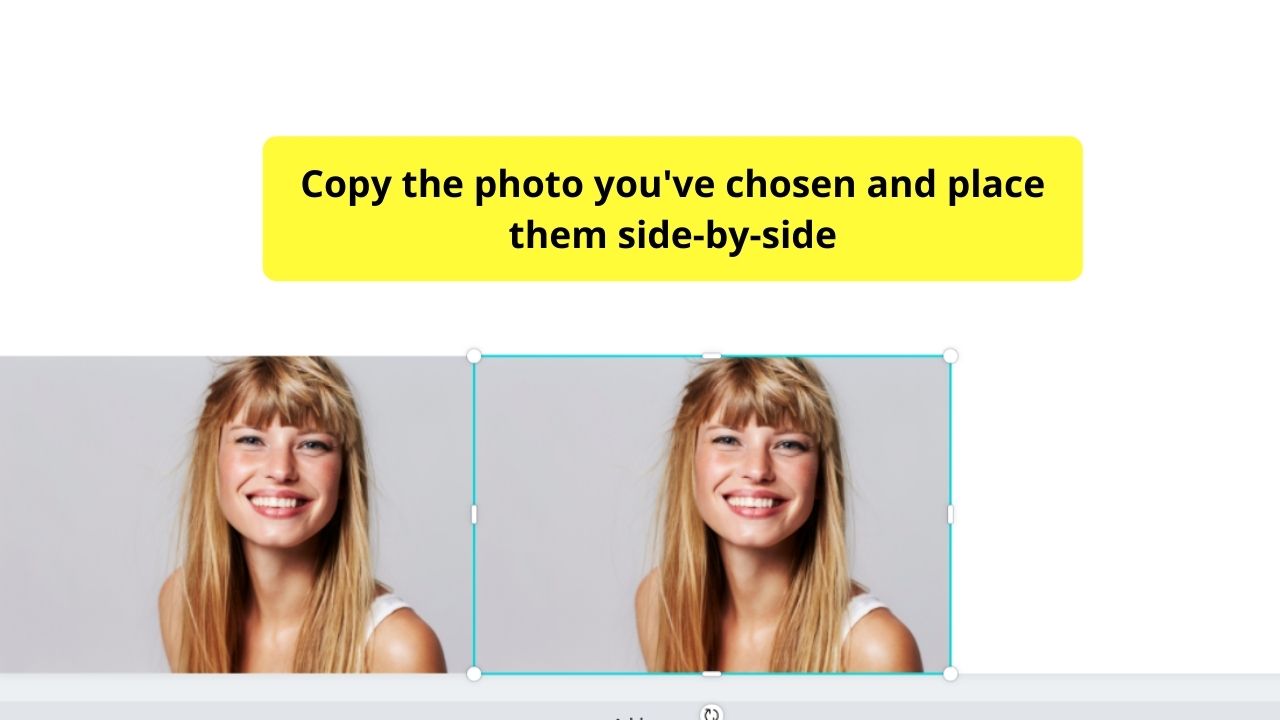
What matters is that after you’ve chosen the photo you’d work with, duplicate it and place them side by side at the bottom of the blank template.

However, with one of the photos, you’ll have to remove its background using Canva’s background remover.
To do this, click the “Effects” tab on the white toolbar and choose “Background Remover.”
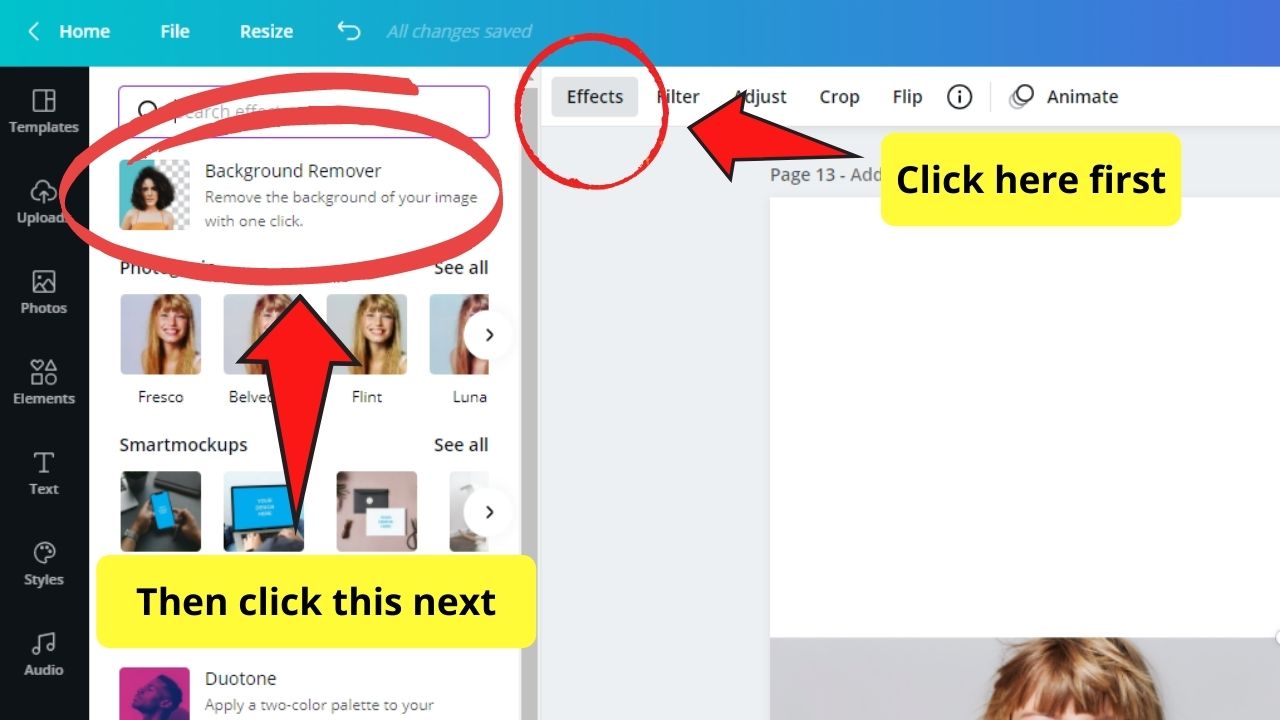
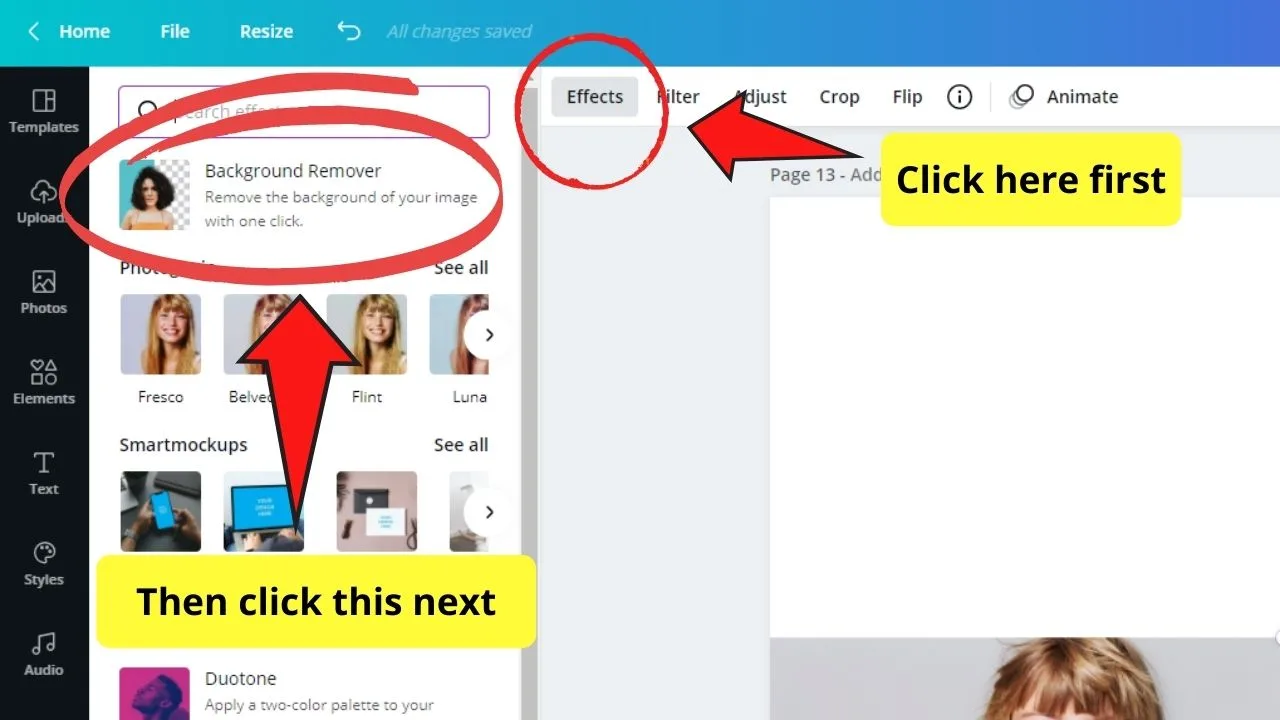
But, do know that the background remover effect is only available in Canva Pro accounts.
After which, choose the Canva frame you’d like to work with. Add the photo with the background into the frame and position it in a way that the head juts out of the frame’s outline.

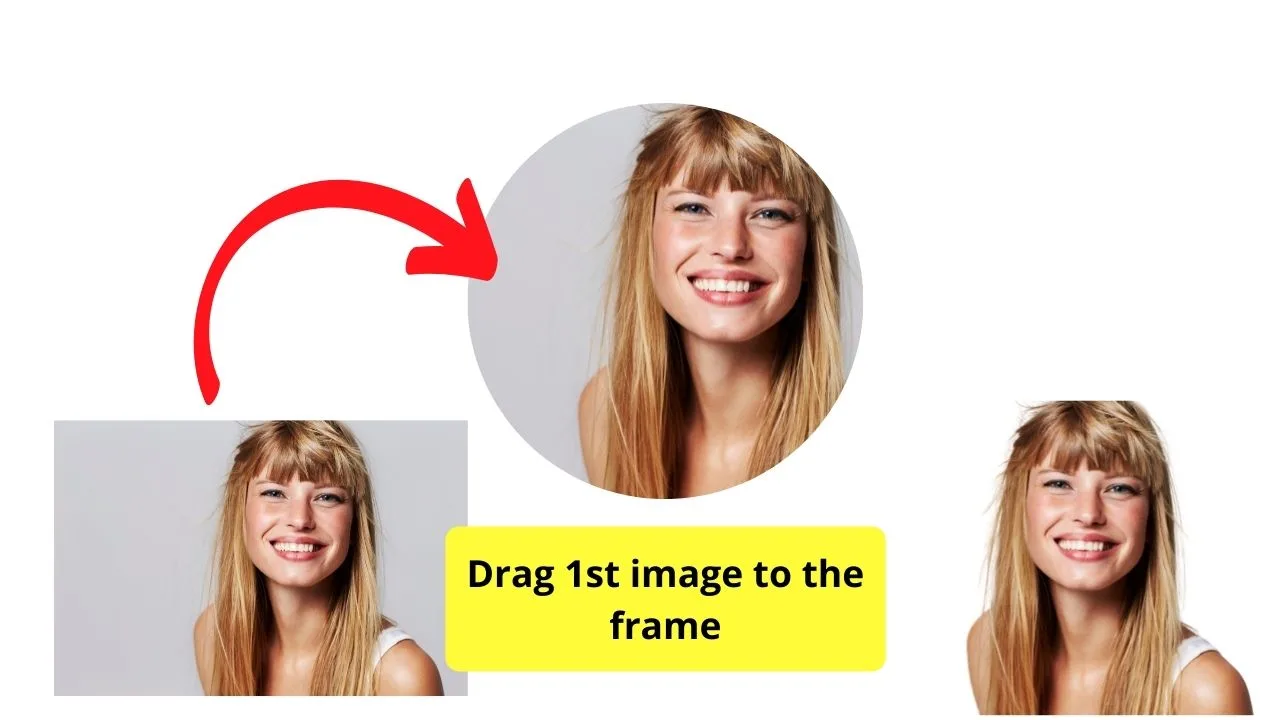
Once satisfied with the placement, place the background-less image on top of the first one and align them accordingly. You can even check their alignment by playing with the transparency.
However, unlike the first photo, you’ll have to make the 2nd image’s head larger so it’ll pop out of the frame. If the bottom part of the image pops out of the frame as well, crop that part out.
Now, you have a picture you can use for your social media that’s unique.
Using a Single Image over Multiple Frames
To advance your Canva skills further, you can try this cool frame hack: using a single photo over different frames.
It might sound difficult, but it’s quite simple and only requires your keen attention to detail for this to work.
Once you’ve set your template size, select a background you’d like to work with. After which, select what frames you’d like to use.
You can use only a single frame and duplicate it or pick out another frame from the gallery. Position them accordingly on your template.
After which, it’s time to choose the images you’d use. Drag them towards the frames and readjust accordingly. The trick here is that you’ll need to make the photo larger so it’ll span across all the frames you’ve created.
Make the necessary adjustments according to the design you have in mind until you achieve your intended result.
Canva Frames – Conclusion
Canva Frames, as mentioned earlier, are another fun way of cropping images and videos into whatever shape we have in mind.
By mastering the basic steps of adding photos and videos into the frames, you can combine this trick with other Canva design hacks for stunning social media posts.
However, if you’re still unsure about your Canva skills, read how to layer texts and elements in Canva to have a basic feel for this technique.


Hey guys! It’s me, Marcel, aka Maschi. On MaschiTuts, it’s all about tutorials! No matter the topic of the article, the goal always remains the same: Providing you guys with the most in-depth and helpful tutorials!

