Sharpening images in Canva is a valuable skill for enhancing your visual content.
In the following guide, we’ll not only teach you the techniques for image sharpening but also share tips on when and where to apply this skill, ensuring your Canva designs consistently impress your audience.
How to Sharpen an Image in Canva
To sharpen an image in Canva, left-click on the image you would like to sharpen. Then, click “Edit photo” and navigate to the “Adjust” tab. Scroll down and, under “Texture,” move the Sharpness slider to the right in order to sharpen the image.
Step 1: Left-click the image you would like to sharpen

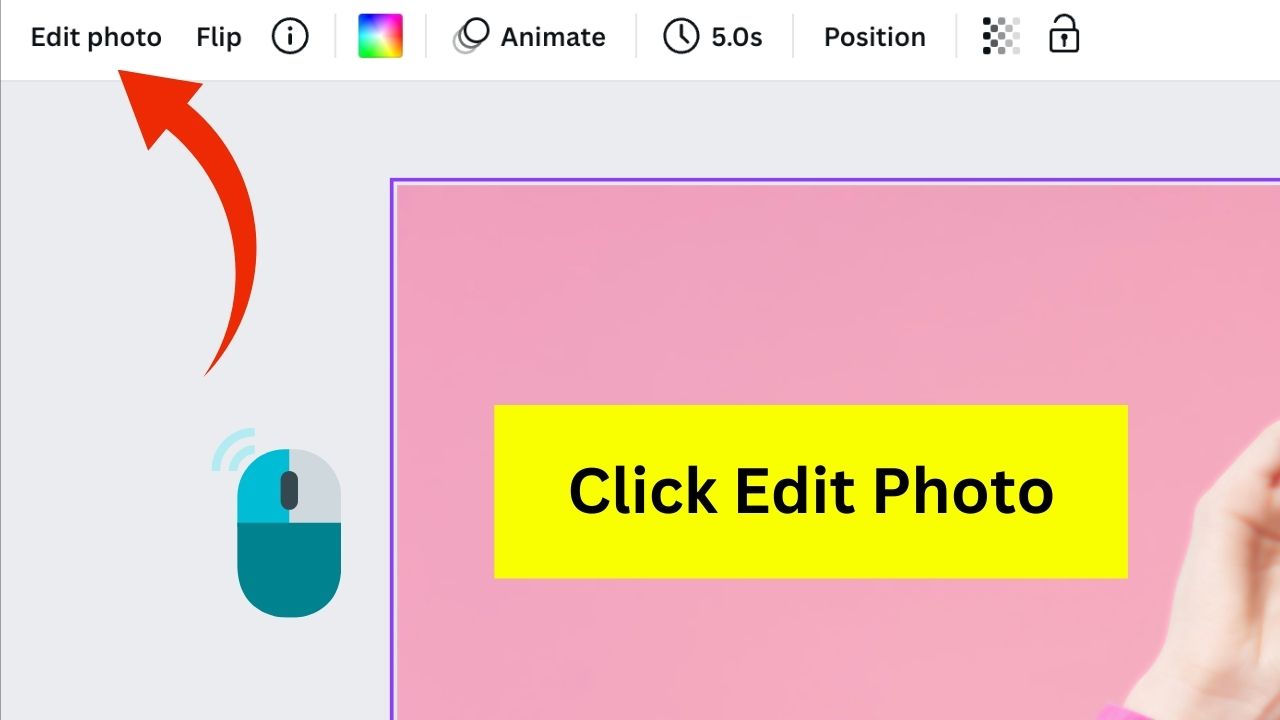
Step 2: Select “Edit photo”
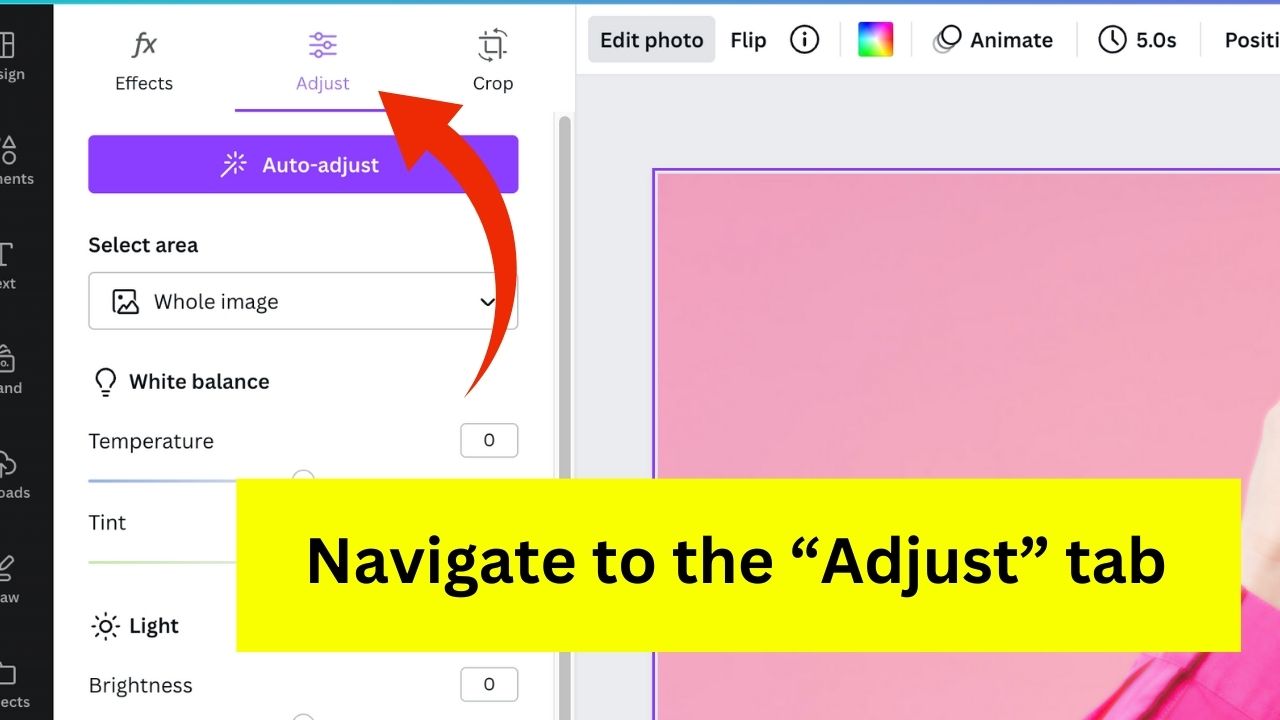
Step 3: Navigate to the “Adjust” tab
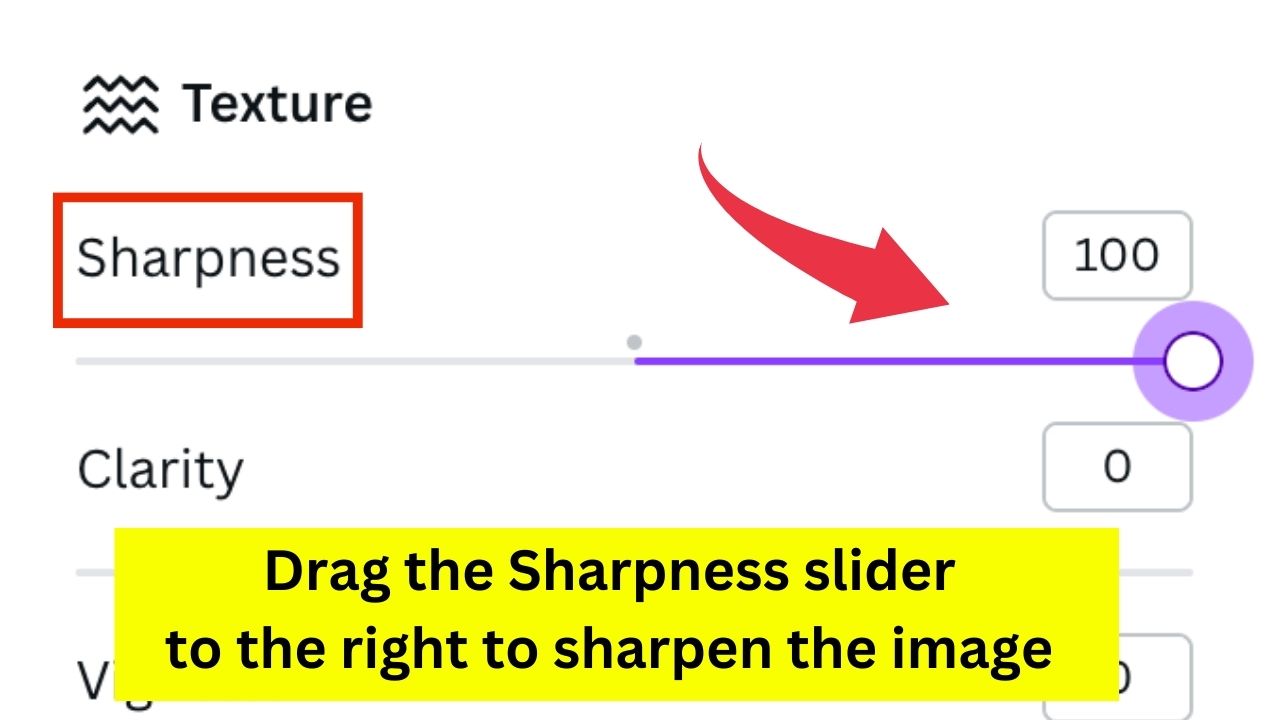
Step 4: Scroll down and then drag the Sharpness slider to the right to sharpen the image
Sharpening Images in Canva: Fun Applications
Now that you’ve unlocked the secret behind sharpening an image in Canva, you shouldn’t simply use that feature to save your blurry camera shots.
Canva didn’t put such a nifty feature if it only serves that purpose.
You can use this feature to highlight your design’s foreground and background.
Umm, wait a minute. What’s a foreground and a background?
In simple terms, foreground refers to the part of the design closest to the viewer. In short, it’s the picture or element at the front.
Background, on the other hand, is the overall scenario behind the subject. Simply put, it’s the image behind the foreground.
If you’ve clarified what these two terms mean, let’s return to the main topic.
You can use this nifty feature to highlight the foreground you’ve chosen. All you need to do is click on the image you’ve set as a background and blur it accordingly.
Once you achieved the blurring effect on your background photo, choose another image from the “Photos” tab. Click and drag the image once you’ve selected what you’ll use.
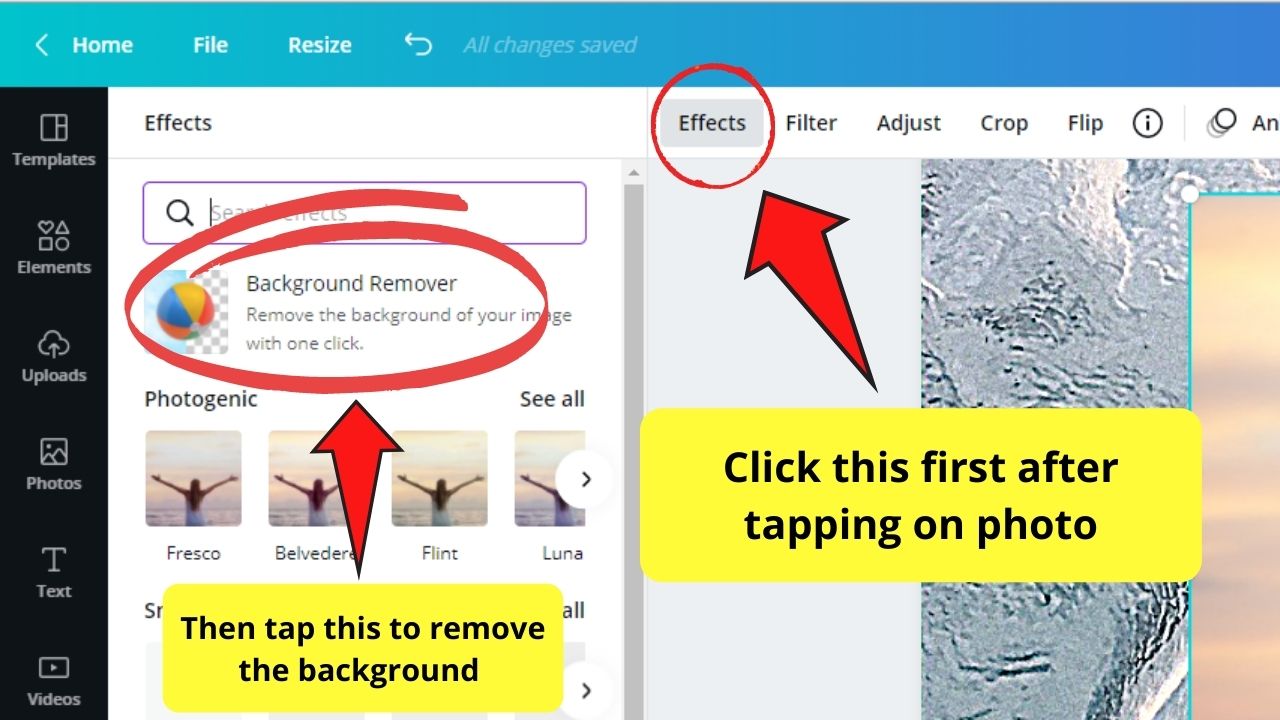
If the picture you picked also has a background, remove it with Canva’s background remover tool.
To activate such a cool feature, click on the image until the white toolbar appears. Head over to the “Effects” tab and click “Background Remover” in the side menu that appears.
Wait for Canva to work its magic on the photo (at least 5-10 seconds) until its background is removed.
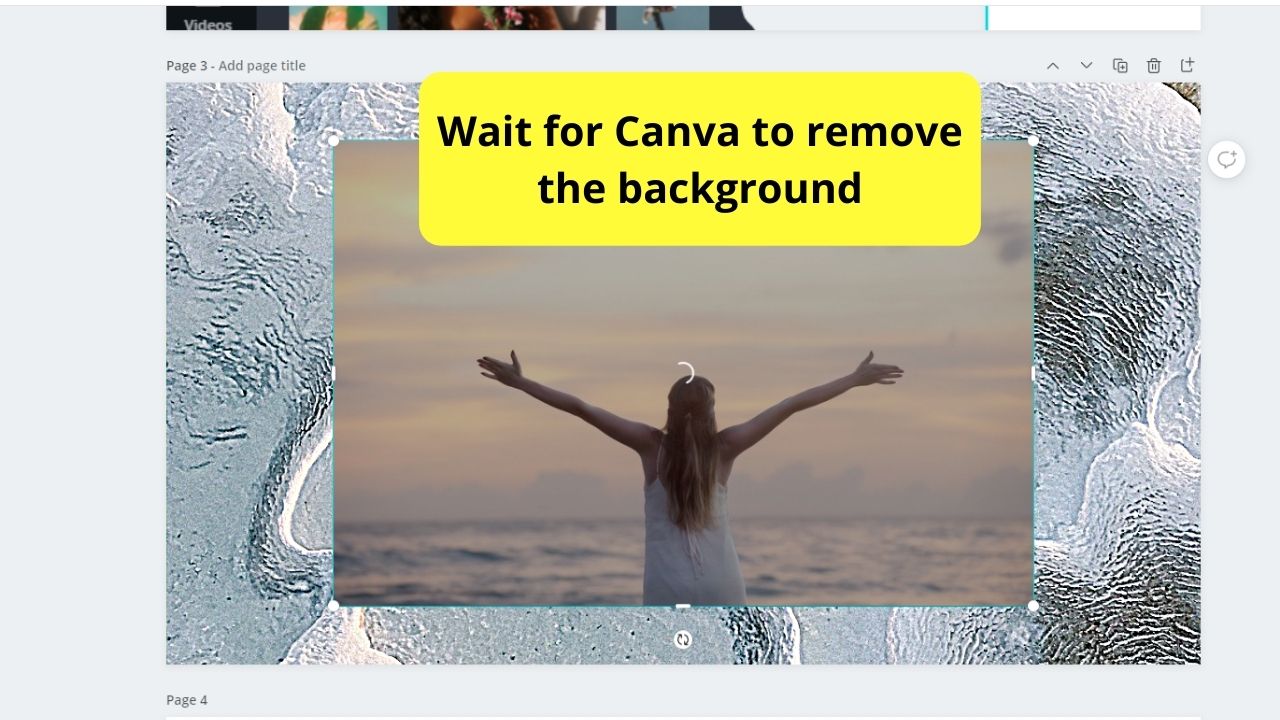
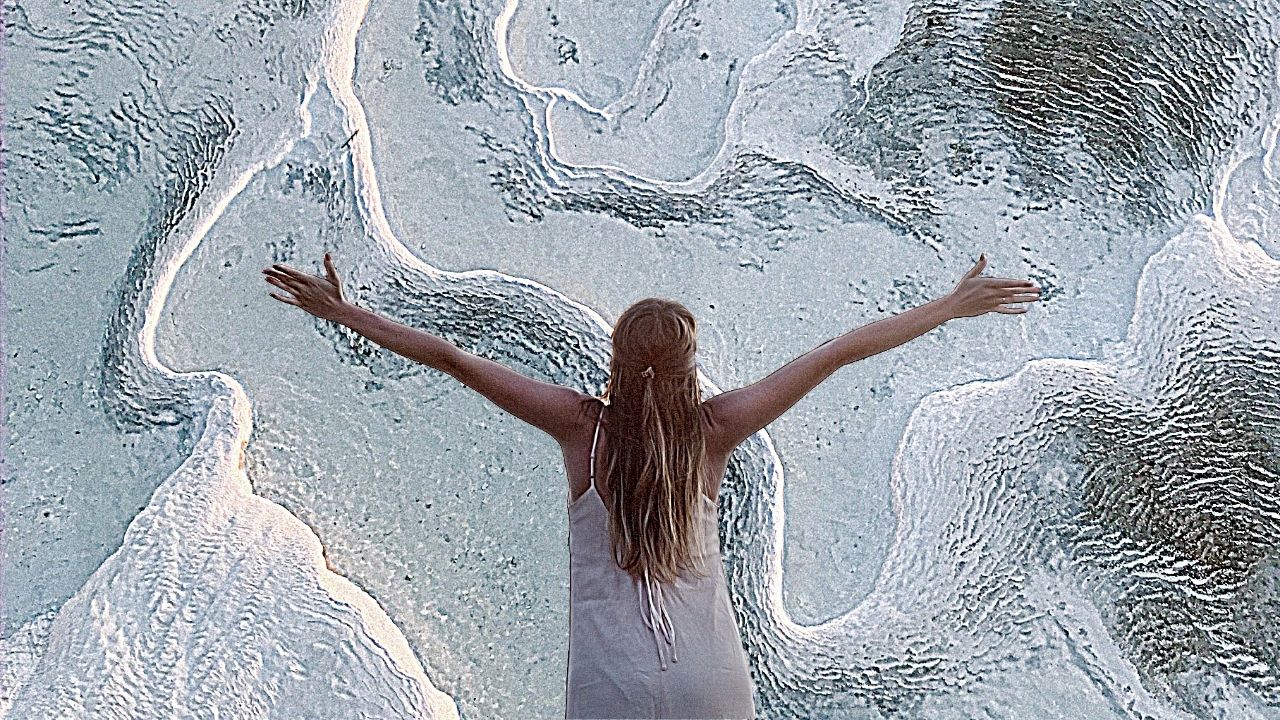
Once Canva removed the background, reposition and adjust the picture’s size accordingly.
After which, make your foreground stick out a little bit more by sharpening it.
Head to the “Adjust” tab and drag the “Sharpness” fader to the right to sharpen the image.
Now, you have another technique to use for your designs, especially when creating YouTube thumbnails in Canva.