
If there’s one thing that sets Canva apart from the rest of the graphics design apps in the market nowadays, it’s their intuitive interface.
Once you master the tools and effects available in the app, you’ll never find designing a tedious job ever again.
But, for those who used this design app from its launch, you’ll notice that there are many nifty features added to it.
And, among those features, the curved text effect is the most recent and popular by far.
After all, making your usually boring text go curvy (or even wavy) adds a fun element to your design.
So, if you’re a budding creative who wants to try this cool feature out, you’re reading the right article.
How to curve text in Canva?
To curve your text in Canva, left-click on your text, then choose “Effects” from the top toolbar and then select “Curve.” Use the Curve fader to adjust the arch of the curve.
Step-by-step instructions on curving text in Canva
As mentioned earlier, curving text in Canva nowadays is as easy as 1-2-3. Please take a look below to find out how to do it.
1) Customize your design template. Click on the “Create a design” option on the toolbar and adjust the project’s size according to the specifications you need.


2) Add text to the blank template. You can directly add letters by pressing “T.” A text box will immediately appear to allow you to input text.
3) Another way to add text is by heading to the menu found on the screen’s left side. Head over to “Text” and click on it. After which, drag and drop a heading you’d like on the blank template. Adjust the size of the letters accordingly by pulling on the white circles of the text box.


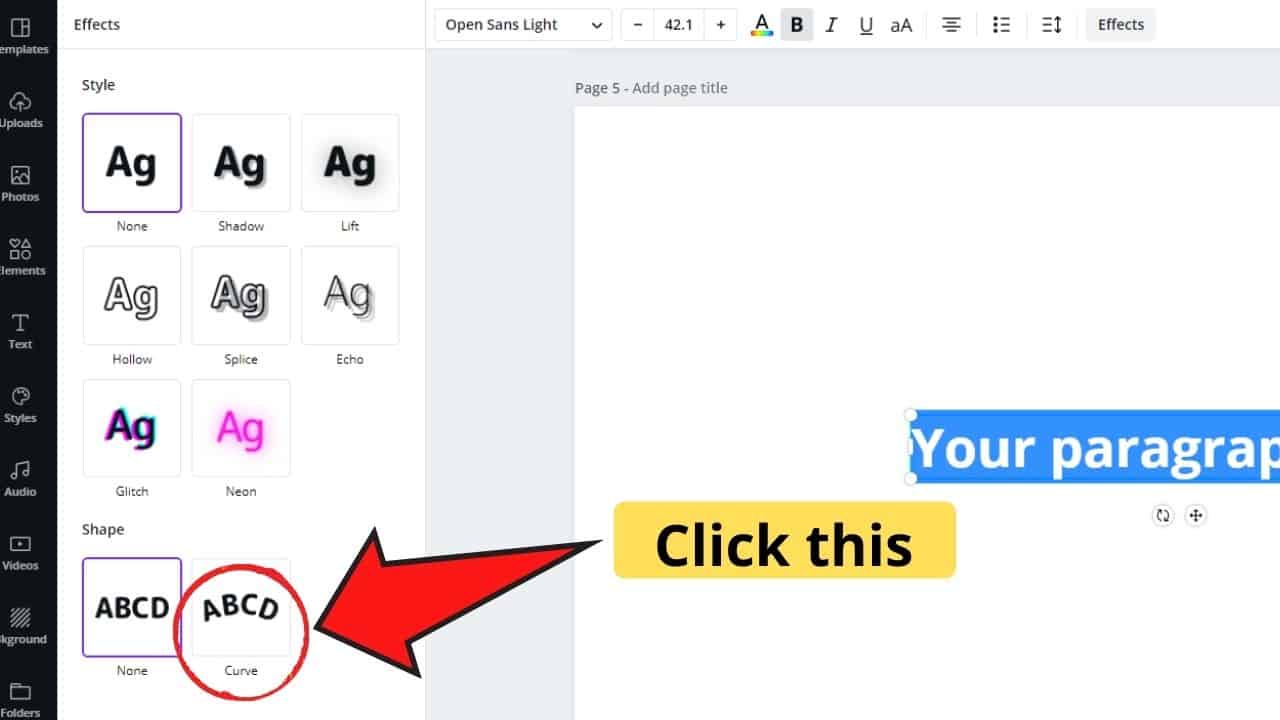
4) Once satisfied with the size, click on the text and head over to the “Effects” tab on the white toolbar above your template.

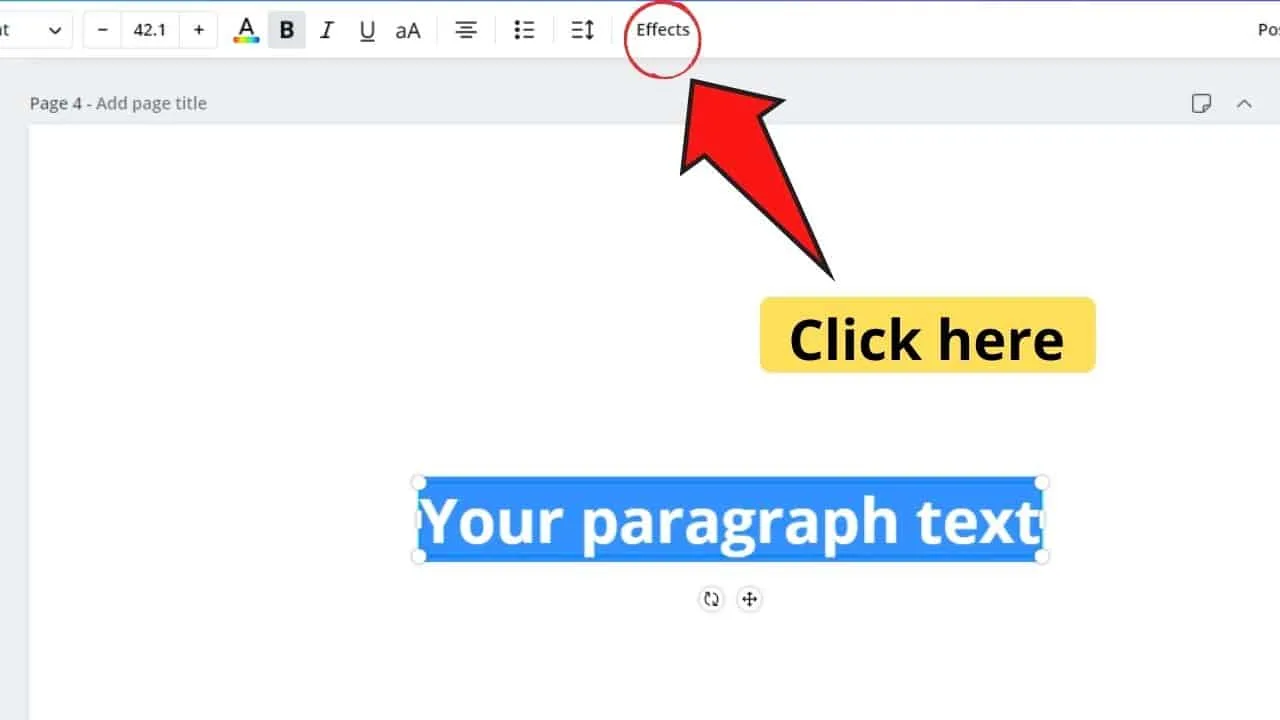
5) Search for the “Curve” effect on the left-side menu. Your text will immediately assume a curved shape.


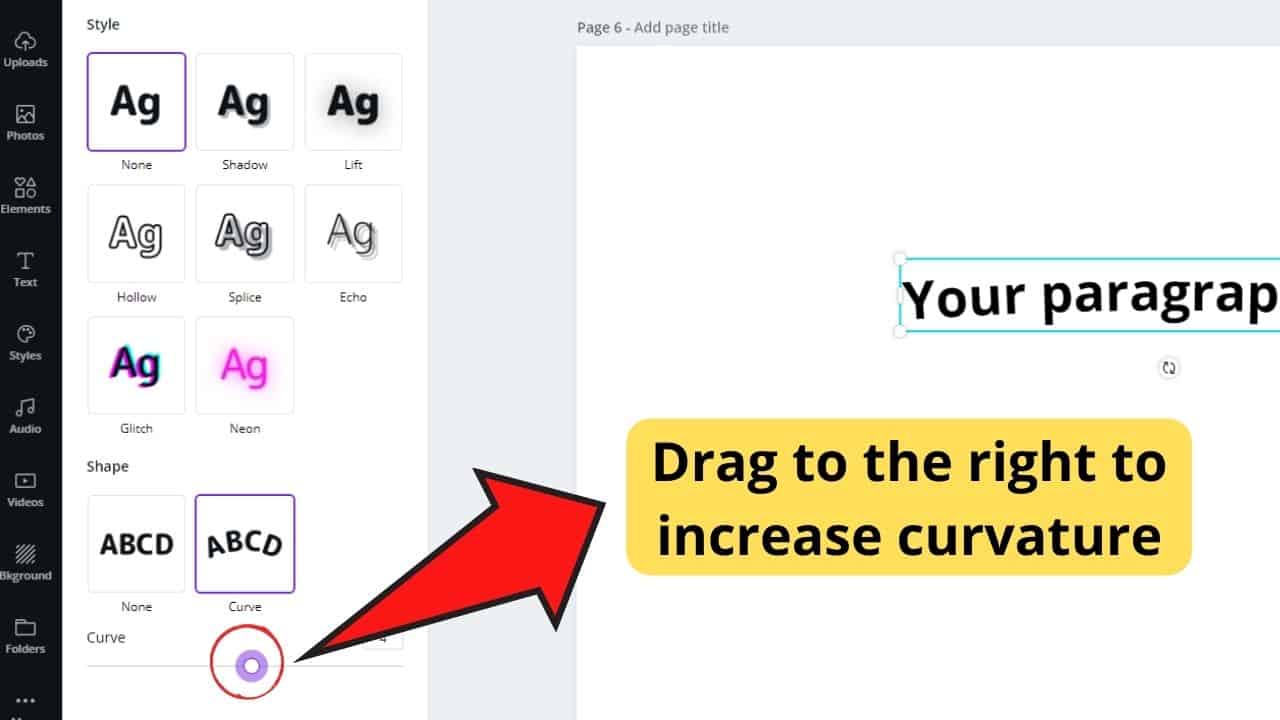
6) If you want to adjust the curvature degree on your text, click and drag the curve slider to the right. This feature’s found at the bottom of the “Curve” effect option on the left-side menu.

You can also watch this incredible video here for detailed instruction on text-curving in Canva.
The old method of text-curving in Canva
Achieving the curved effect on text in Canva’s easy peasy, right? But, if you’ve used the app since its launch in 2012, you’ll know that such isn’t the case in the old version.
However, if you want to discover the old-school way of curving text on Canva, better stay tuned in this section and keep reading.
After you’ve set up your template specifications in the “Create a design” button, head over to the leftmost side of your screen.
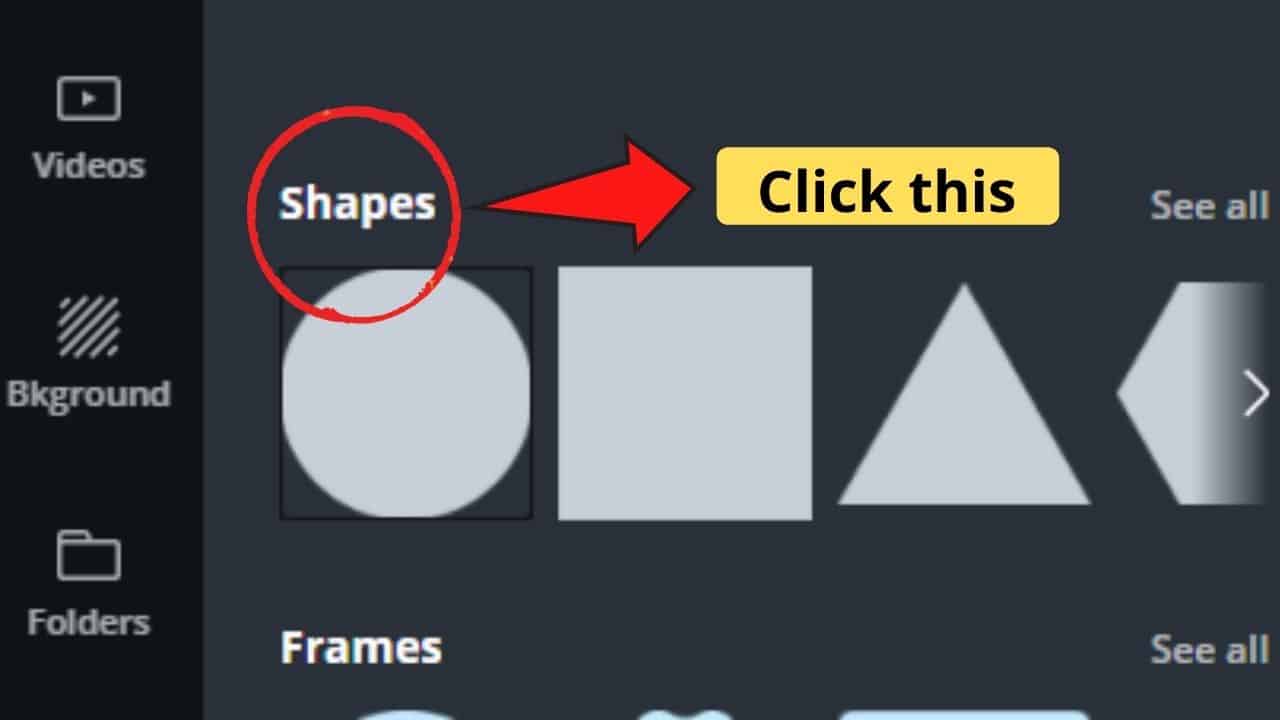
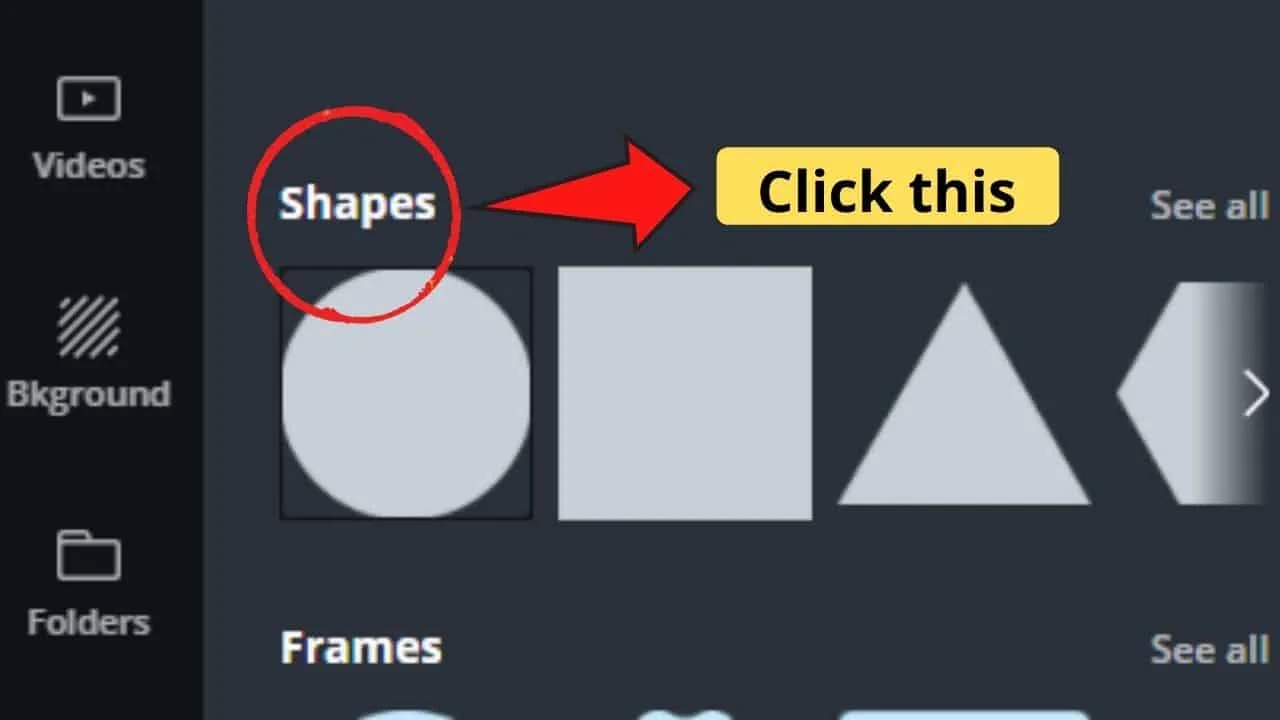
From there, click on the “Elements” option to activate another menu. Head over to “Shapes” in the “Elements” tab and choose a circle you’d like to use.
You don’t have to be picky with the type of circle to use. After all, this round element will only serve as your guide in text placement.
After you’ve selected a circle, duplicate the said shape with the “Duplicate” tab on the toolbar before making it smaller than the first circle.
You can also duplicate the circle by clicking and dragging on the circle while hitting the “Alt” key on your keyboard.
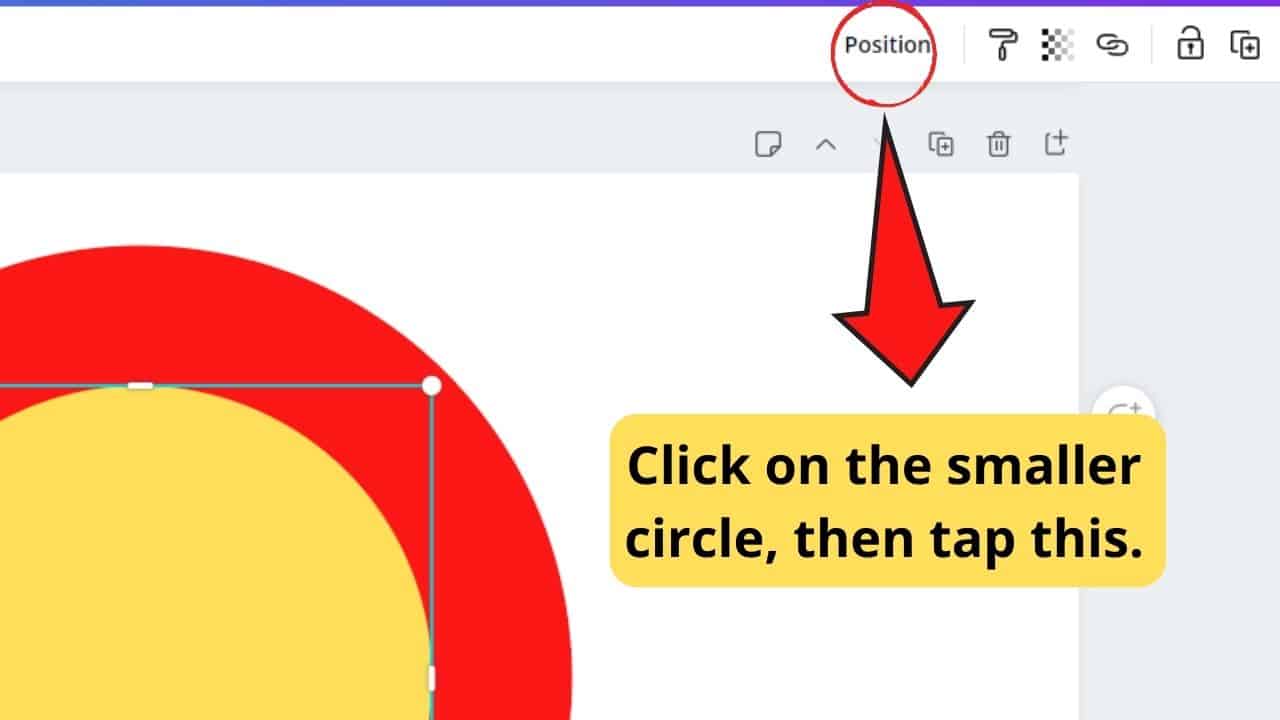
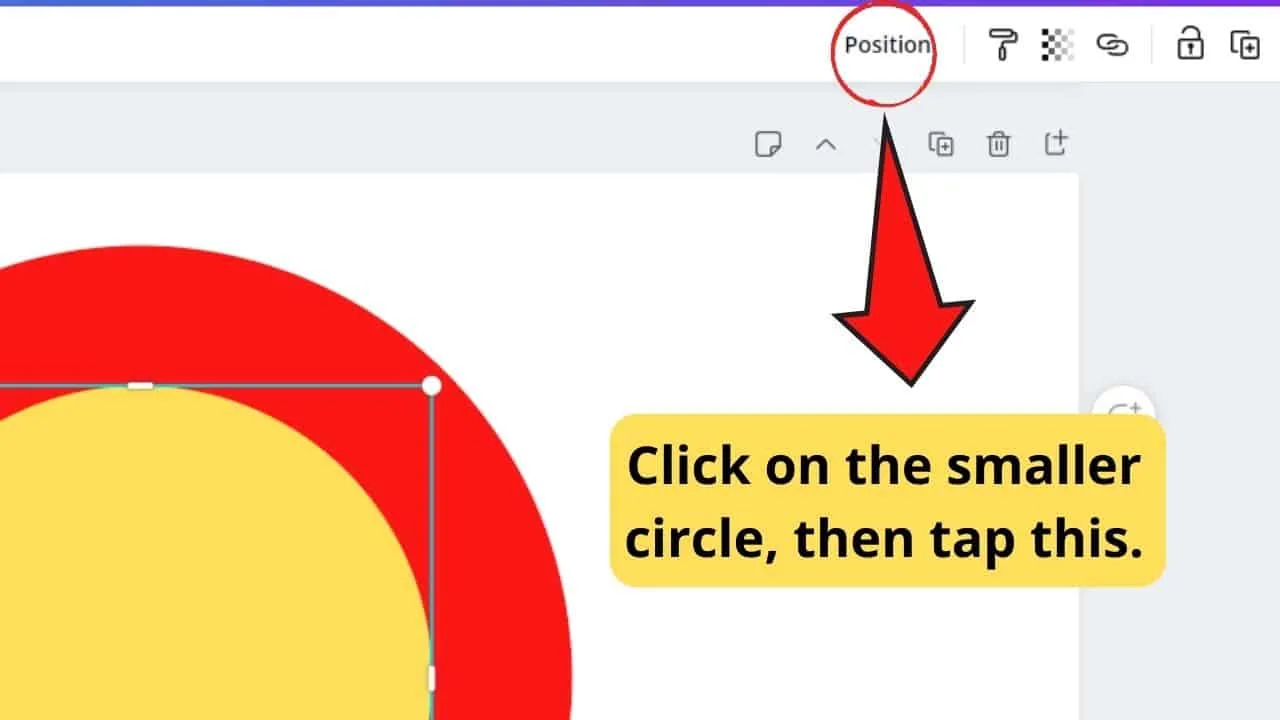
Once you’ve made the smaller duplicate circle, place it in the middle of the first circle you’ve created.
If you want the smaller circle to be more visible, head over the “Position” tab on the toolbar and click on the “Forward” option.
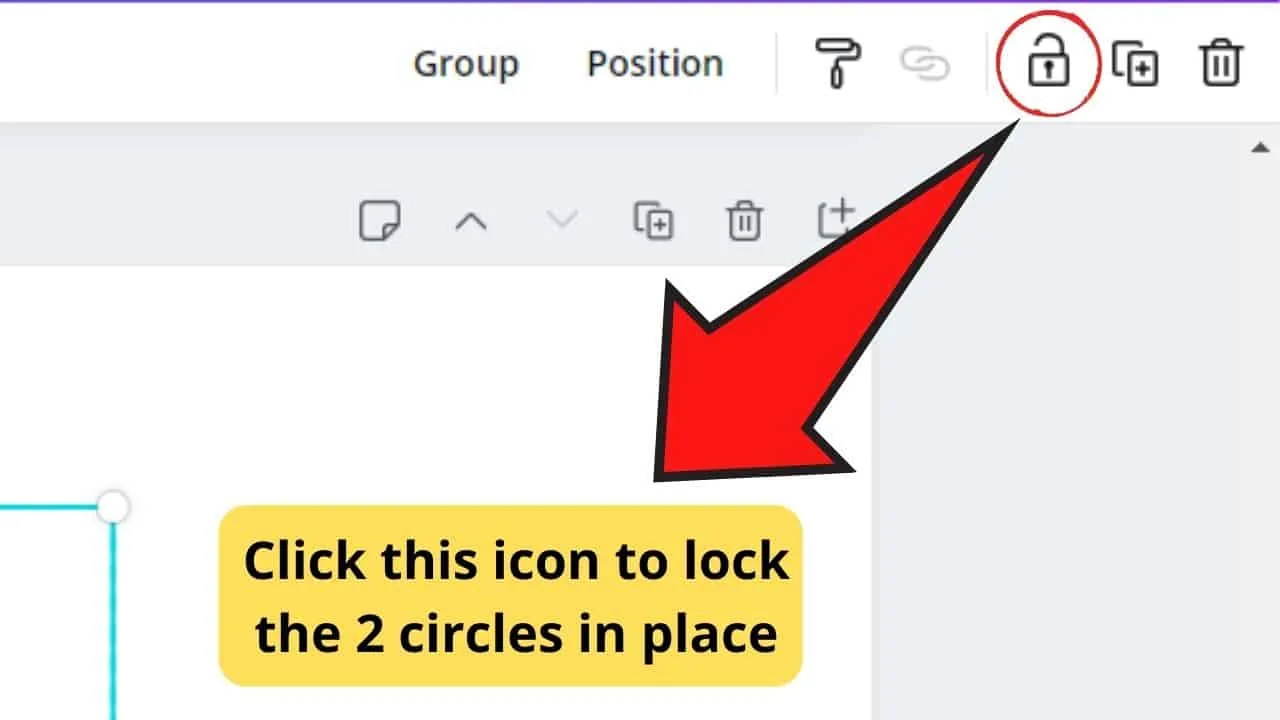
Now that you’ve made your stencil make sure to keep the two circles steady by locking them in place. You only need to click the lock icon found on the right side of the white taskbar above your template.
As far as locked elements are concerned, Canva is not letting you move anything. With that said, if you want to move or alter these elements in any way later on, you will need to unlock these first.

Once everything’s set, you can now add your text. However, unlike the current feature that Canva has, you’ll need to add each letter manually and adjust its curvature one by one using the curved cursor appearing below the letter.
Just make sure that each letter you’re inputting’s merely touching the larger circle’s outer edge.

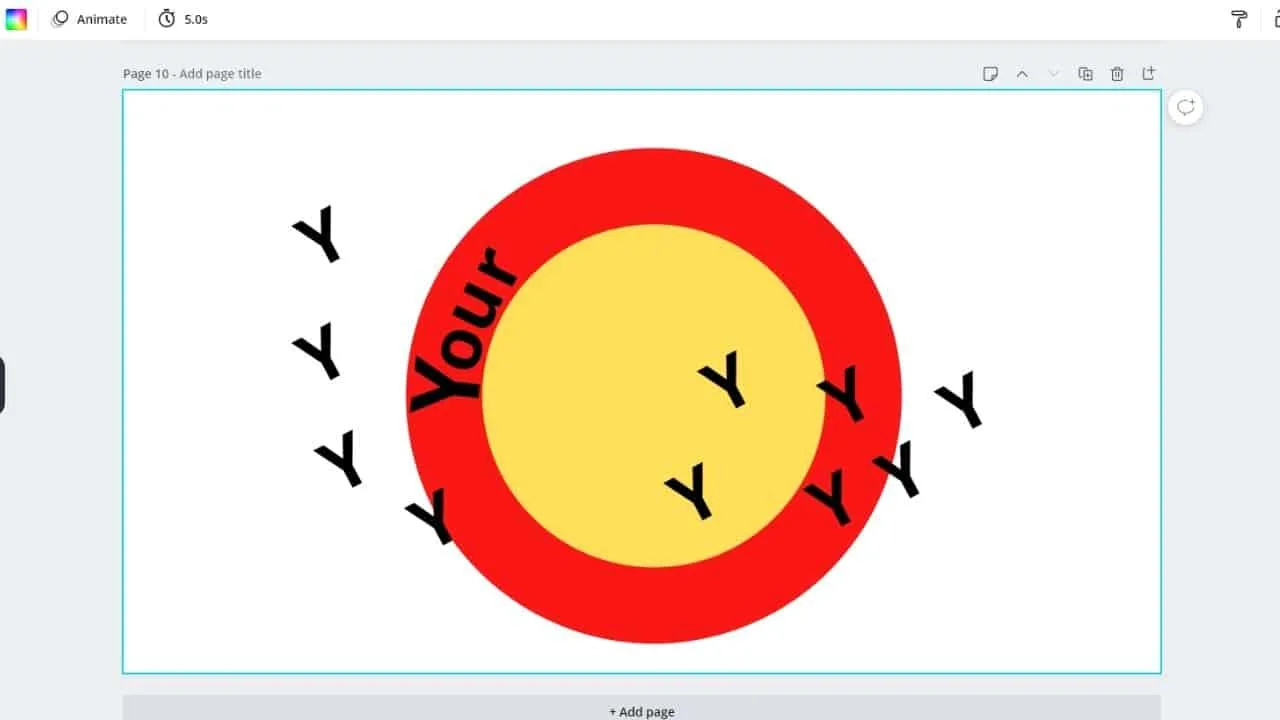
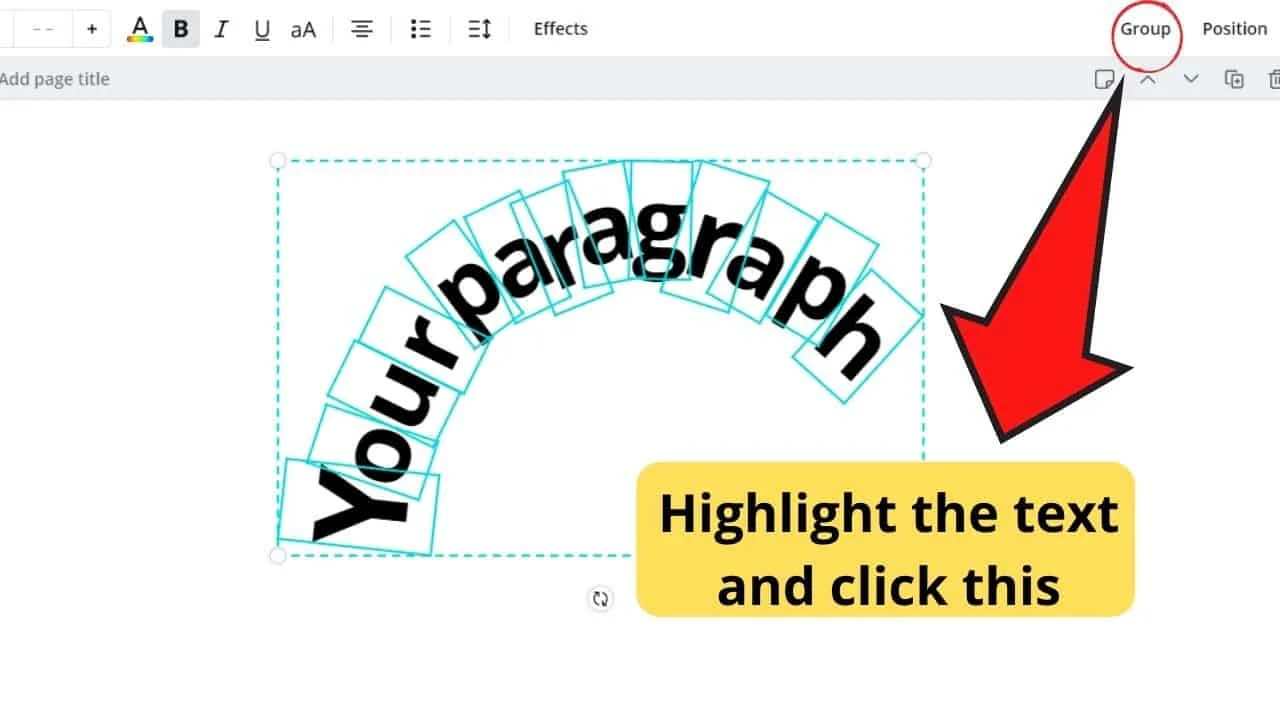
You’ll have to repeat the previous step until all the letters of your text are in place. Once done, select the whole text and click the “Group” option found on the right side of your Canva desktop.
This will allow you to move your text as one unit instead of readjusting the letters individually.

Once you’re satisfied with the placement, simply remove the circles you’ve made if they’re not part of the design. Just unlock them by clicking on the lock icon again to activate the command.
Quite the hassle, right? Well, thank the Canva people for incorporating the curved text effect into the app.
At least now, all you have to do is click on the curved option and adjust the slider to achieve the effect you so desire to accomplish.
How to warp text in Canva
There are a couple of things you can do to warp text in Canva.
First of all, you can curve your text.
To do that, simply select your text, then click on “Effects” in the top toolbar and then click on “Curve.”
Now, to warp your text to make it fit other design elements, use the Curve fader to adjust the arch of the curve.
Like this, you can easily make text fit into a circle, for instance. Or maybe you just want to make sure that the arch of your text is the same as for your logo (see the featured image of this article).
On top of that, you might also want to use the “Spacing” option.
After selecting your text, you’ll find this feature on the left side of “Effects.”
Once selected, you can use the “Letter spacing” feature to further warp your text so that it perfectly fits your design.
How to make wavy text in Canva
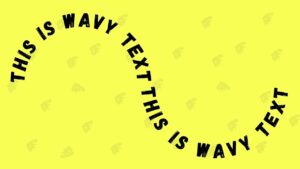
To make wavy text in Canva, you will need to use a little workaround, as there is no built-in wavy text effect in Canva.
So, to make wavy text in Canva, do the following:
- Press “T” twice on your keyboard to add two text boxes
- Write your text that you would like to use as wavy text (make sure to split up your text into 2, so the first part of the text goes into the first text box, and the second part goes into the second text box
- Then select the first text box
- Click on “Effects” in the top toolbar.
- Select “Curve”
- Adjust the Curve fader to your liking
- Select the second text box.
- Click on “Effects” in the top toolbar.
- Select “Curve” again
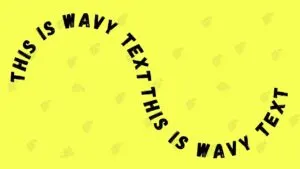
- Now adjust the Curve fader and set it to the exact opposite as you did for the first text box (for instance, if you chose 72 for the first curve, you would set it to -72 for this text box.
- Now simply reposition the text boxes so that you get seamless wavy text effect.
Fun applications of curved text
Now that you’ve learned both the long and short ways of curving text in Canva, are you now ready to take this newly acquired skill to the next level?
Logo design
Well, if you’re gravitating to create stunning logos, you’d be ecstatic to find that you can achieve this feat by simply using curved text.
No matter what logo design you have in mind, you can style your text in a way that will look aesthetically pleasing. This is because you can incorporate the brand’s name, services offered, and tagline into the logo’s visual image.
You can then use this circular logo of yours to print round stickers and badges. It’s even possible to use this design like a bag print or a design for your company’s souvenir items.
Creating ready-to-print quotes and attractive text art
Curving your text isn’t only applicable to logo designing. If you’re raring to create eye-catching quotes and text art, you can combine differently-curved texts into various designs.
You can create various swirls, waves, and patterns by combining the curved texts according to your plan. As a famous adage goes, the sky’s the limit in creating stunning designs.
Presenting data in a visually appealing manner
Lastly, you can also use the curve text feature in Canva for visualizing data. How so?
Depending, of course, on the diagram you’re using, you can place the text directly above the bar (if it’s a bar graph), Pie chart, or Venn diagram for labeling purposes.
Not only did you conserve space, but you also managed to present your data in a way that’s easier for your audience to decode. What a way to create impact, right?
So, now that you’ve discovered the beauty of curving text in Canva, are you now ready to take on the challenge of using the feature?
Of course, you’ll need to master this skill set before you can even dream of creating stunning graphic designs at a professional level. But, with constant practice and application, you’ll achieve this dream in no time.
What are you waiting for then? Start curving your text and apply them to your designs now!


Hey guys! It’s me, Marcel, aka Maschi. On MaschiTuts, it’s all about tutorials! No matter the topic of the article, the goal always remains the same: Providing you guys with the most in-depth and helpful tutorials!

