

Oh no! Your client’s asking you to create some changes to your Canva design, and you’re still stuck in traffic.
Good thing you have installed the Canva app on your phone. You can simply log into your account and check what changes your boss wants you to do.
Yet, after taking a look, you realize you need to move the text box to another part of the canvas.
Is it possible to move your text box in the Canva app? Well, you don’t need to fret, as we’ll help you sort through this dilemma in a jiffy.
How to Move a Text Box in Canva App
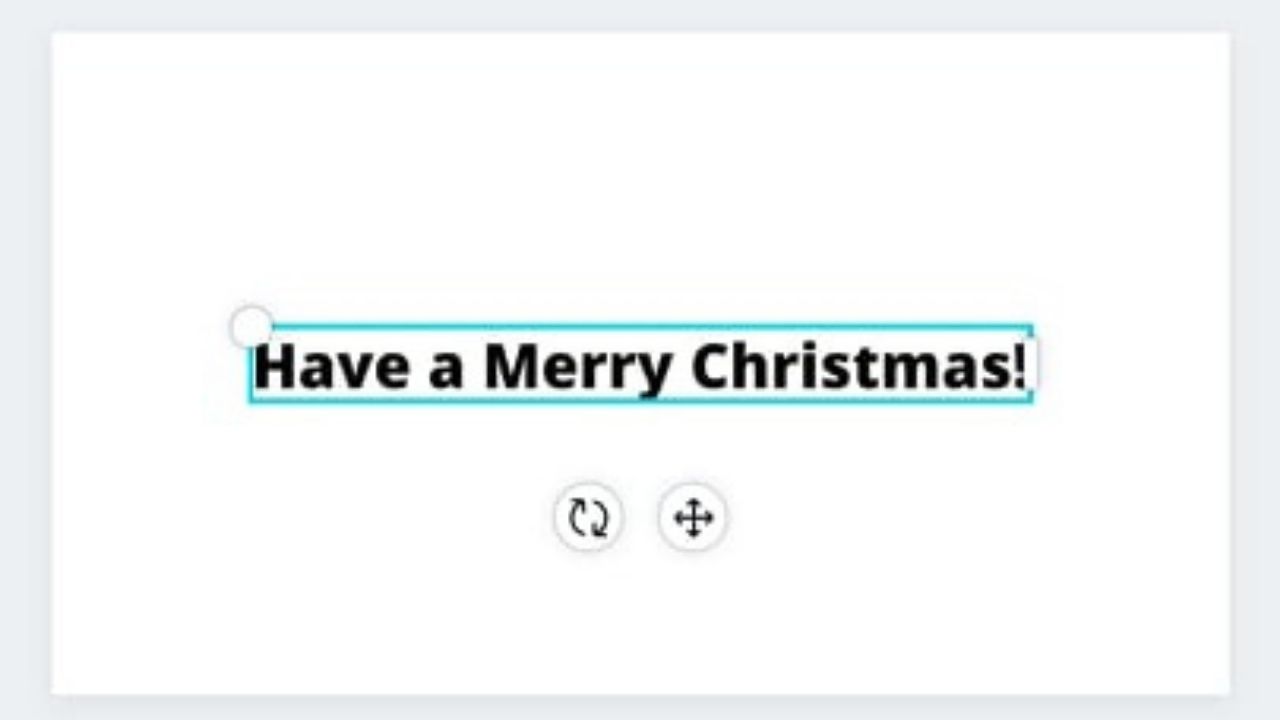
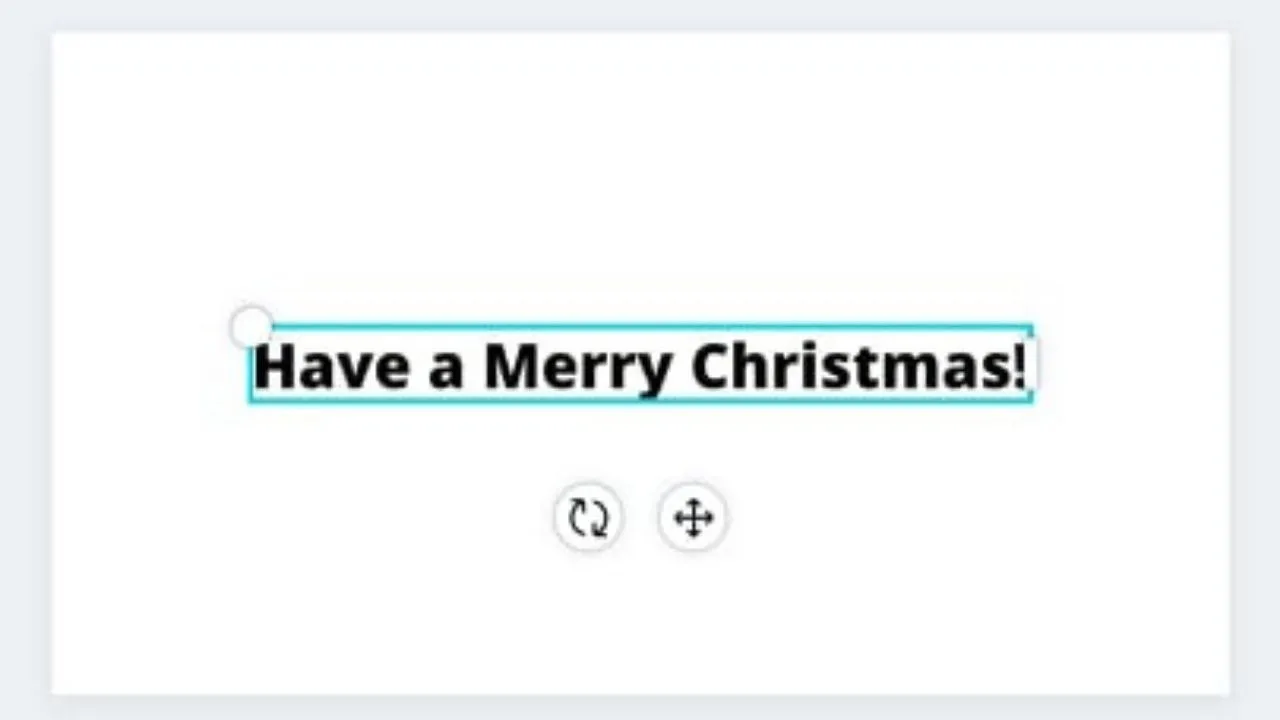
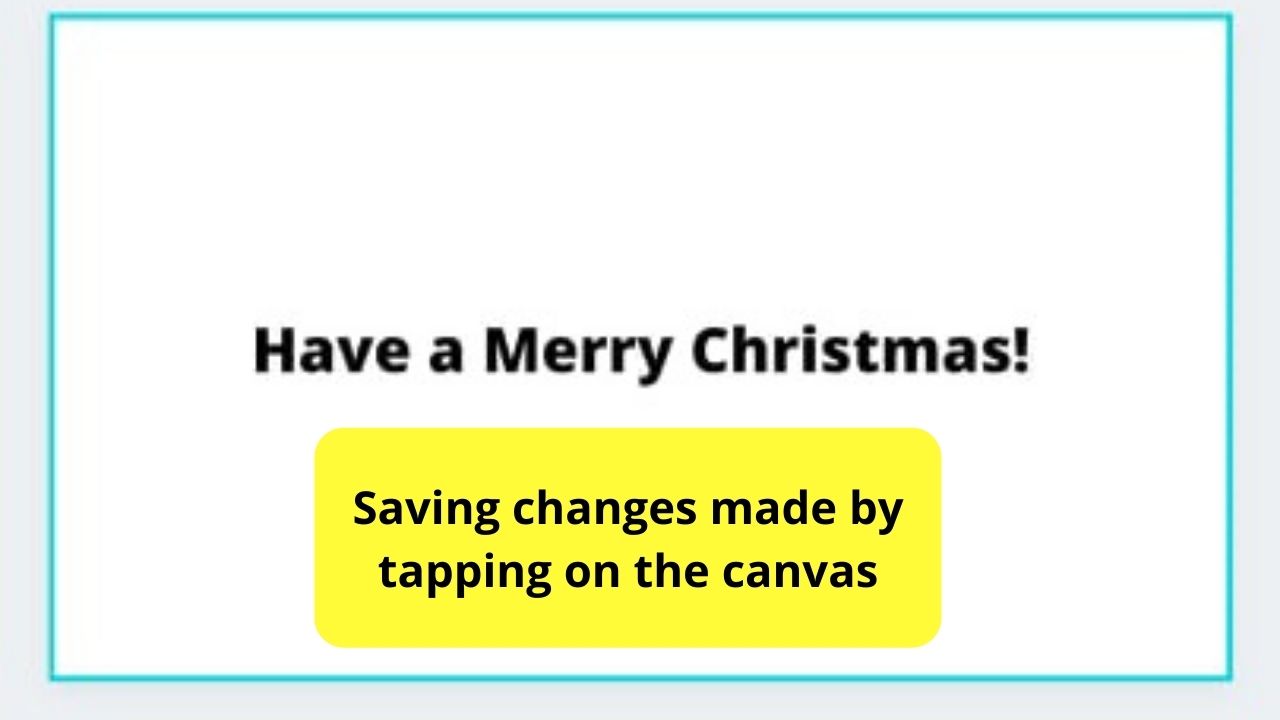
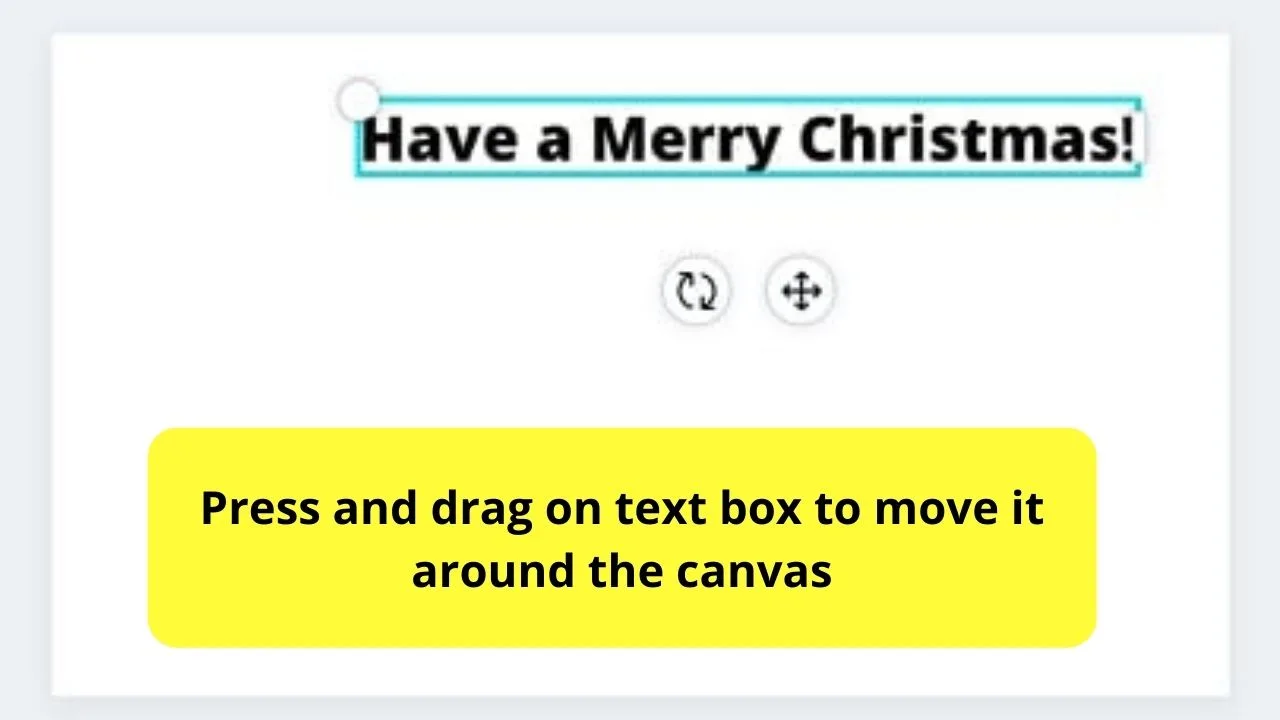
To move a text box in the Canva app, press on the text box and drag it around the canvas. Continue dragging the text box until you placed it in the desired position. To save the changes, tap outside of the text box and wait for Canva to do the saving for you.
Moving Text Boxes in Canva App: The Basic Steps You Should Know
For first-time users of the graphic design tool on mobile, you’ll think that adding and moving text boxes in Canva is such a hassle.
Perhaps, it is, especially if you’re not familiar with the app’s interface.
But, once you know what buttons to press, moving text boxes in the Canva app is just a breeze. So, if you’re ecstatic to know all about the steps, let’s get started then.
Step 1: Log into your Canva account through the mobile app.
Step 2: Once you’re on Canva’s homepage, tap on the “+” icon found at the lower-right part of the screen.
![]()
![]()
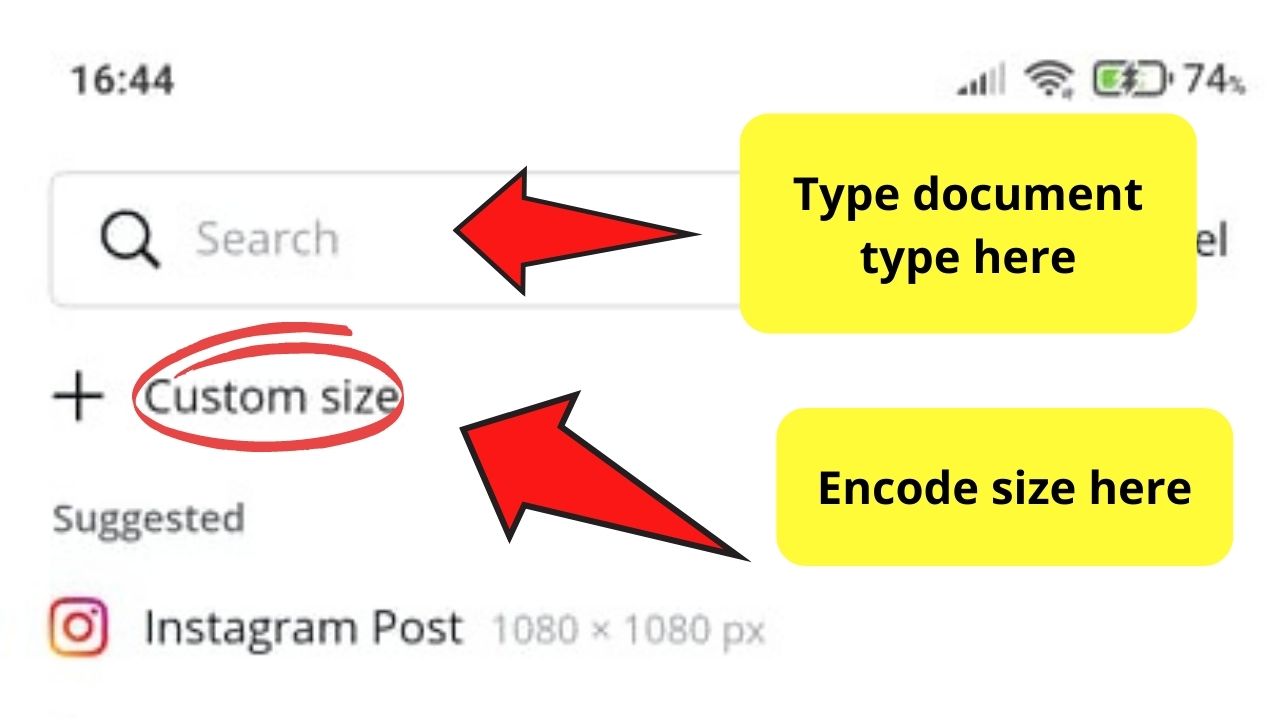
Step 3: Choose what size of the document you’ll use.

Step 4: Once you’ve chosen the document size, you’ll then be redirected to the editor page and you will see a blank canvas.


Step 5: On the lower-left part of the screen, tap on the “+” icon.
![]()
![]()
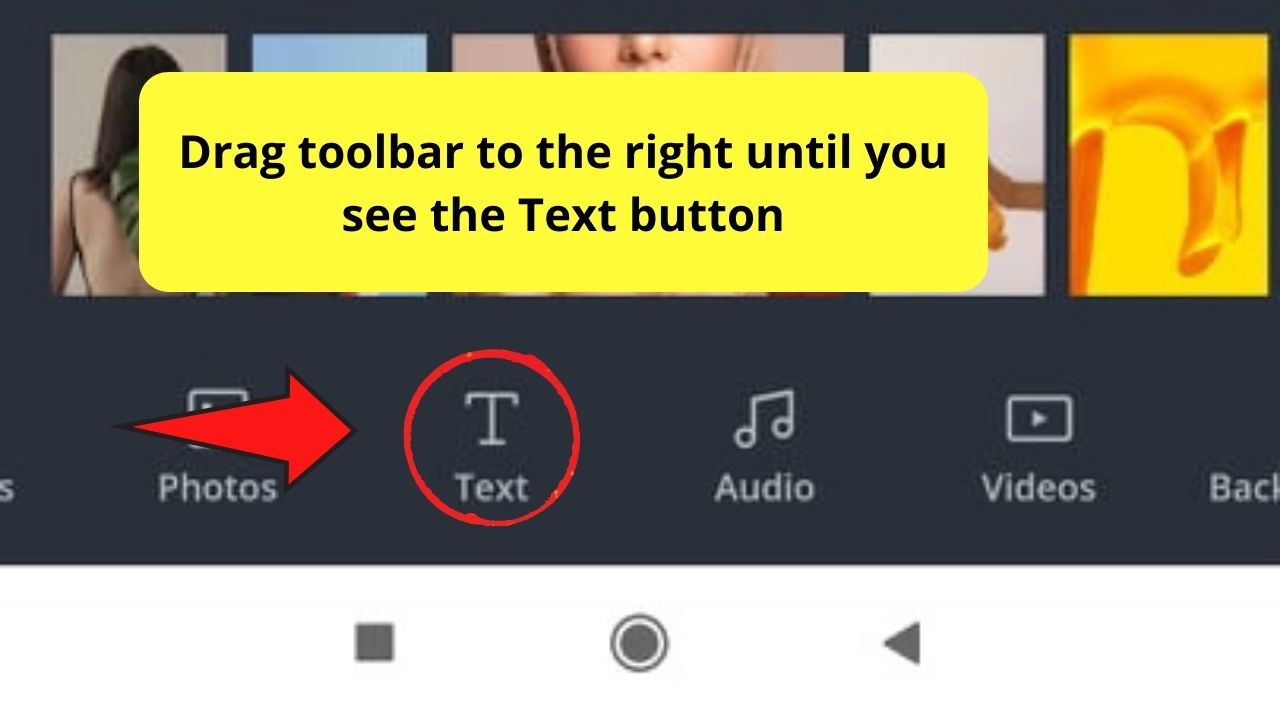
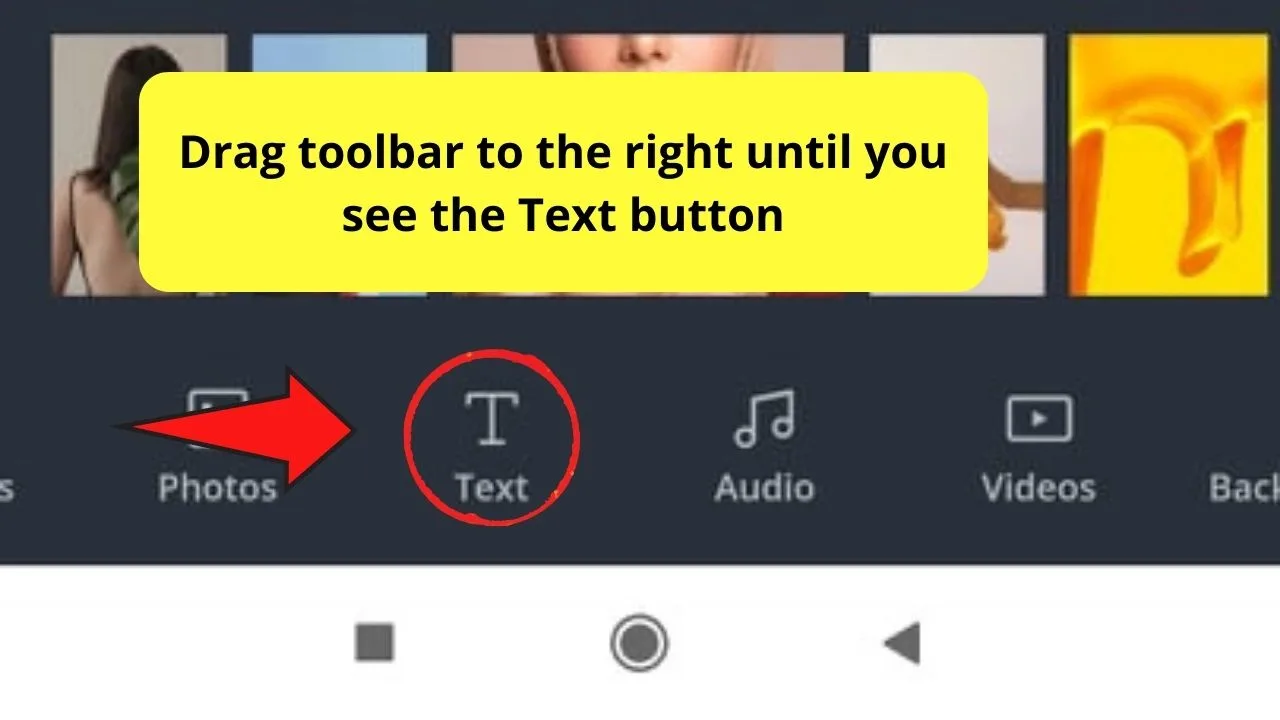
Step 6: In the pop-up menu that appears, drag the bottom toolbar to the left until you see the “Text” button. Tap on it.


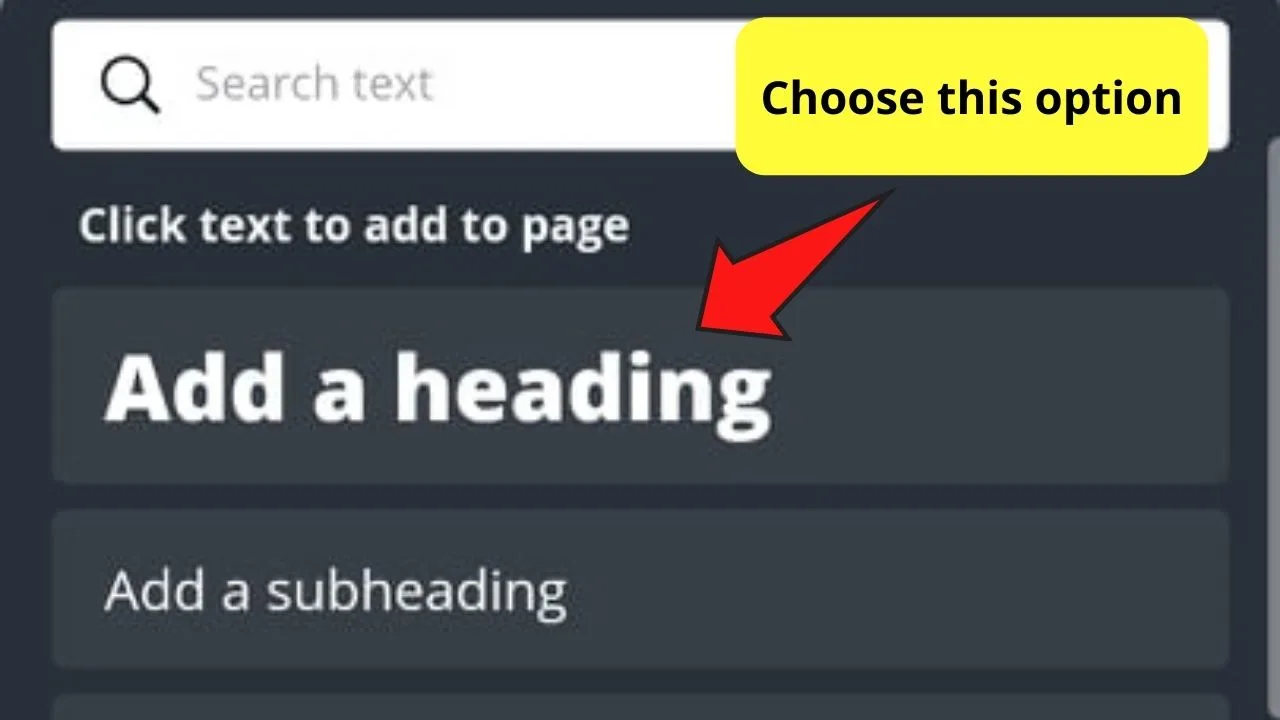
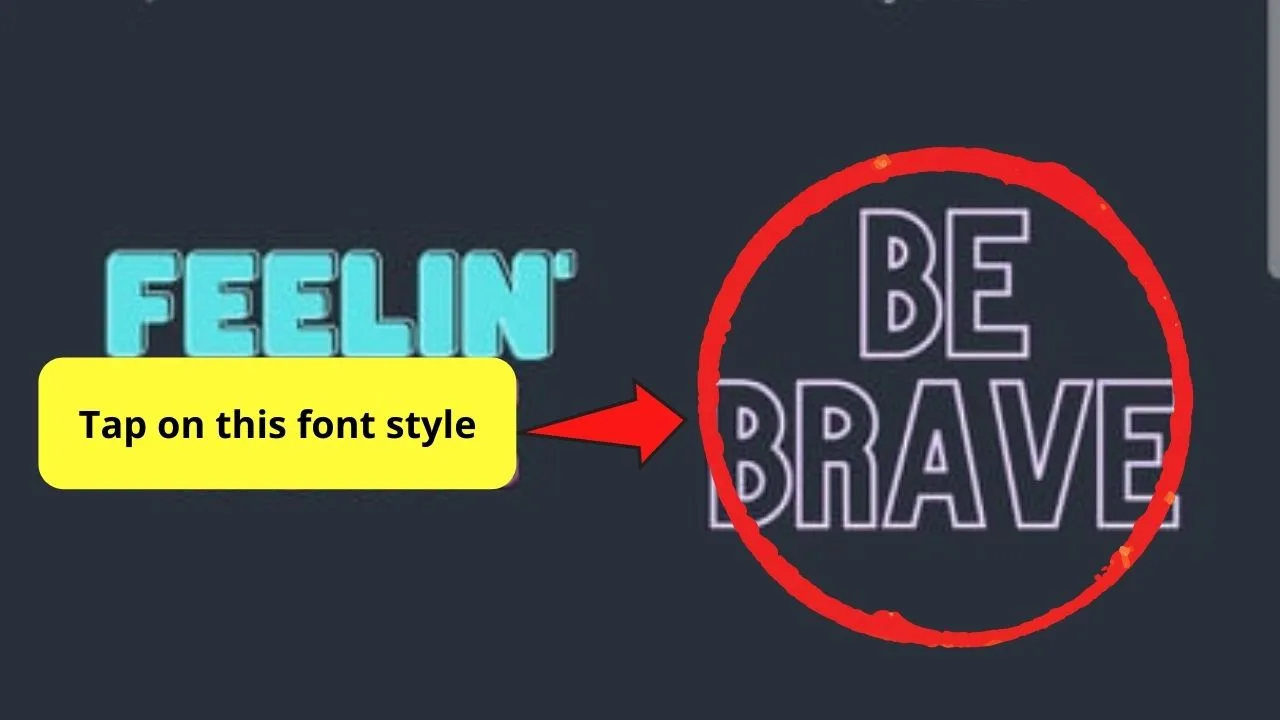
Step 7: In the “Text” gallery, select what font style you’ll want to use. For example purposes, I’ll choose the “Add a heading” option.

Step 8: After tapping on the “Add a heading” option, a text box will then appear on the blank canvas. Encode your message inside the text box accordingly.
You can even edit the text color and add borders while you’re at it.
Step 9: Once you’re done with typing your message, tap outside of the text box to save the changes.

Step 10: Move your text box to another part of the canvas by pressing and dragging it across the screen to where you plan to put it.

And, just like that, you’re now able to move your Canva text boxes wherever you want to position them.
Just make sure to tap outside the box to save any changes you’ve made. Then download quality pictures on your phone by tapping on the arrow down icon on the upper right of the Canva toolbar.
But, what if you filled your text box with color? Is it possible to move the colored box with the text in one go?
Well, let’s find out in the next section below.
Moving Color-filled Text Boxes in Canva App
Step 1: After opening your design file in the Canva app, tap on the “+” icon again for you to tap on the “Text” option.
![]()
![]()
Step 2: Choose the font style you’d like to use for your design by clicking on it.

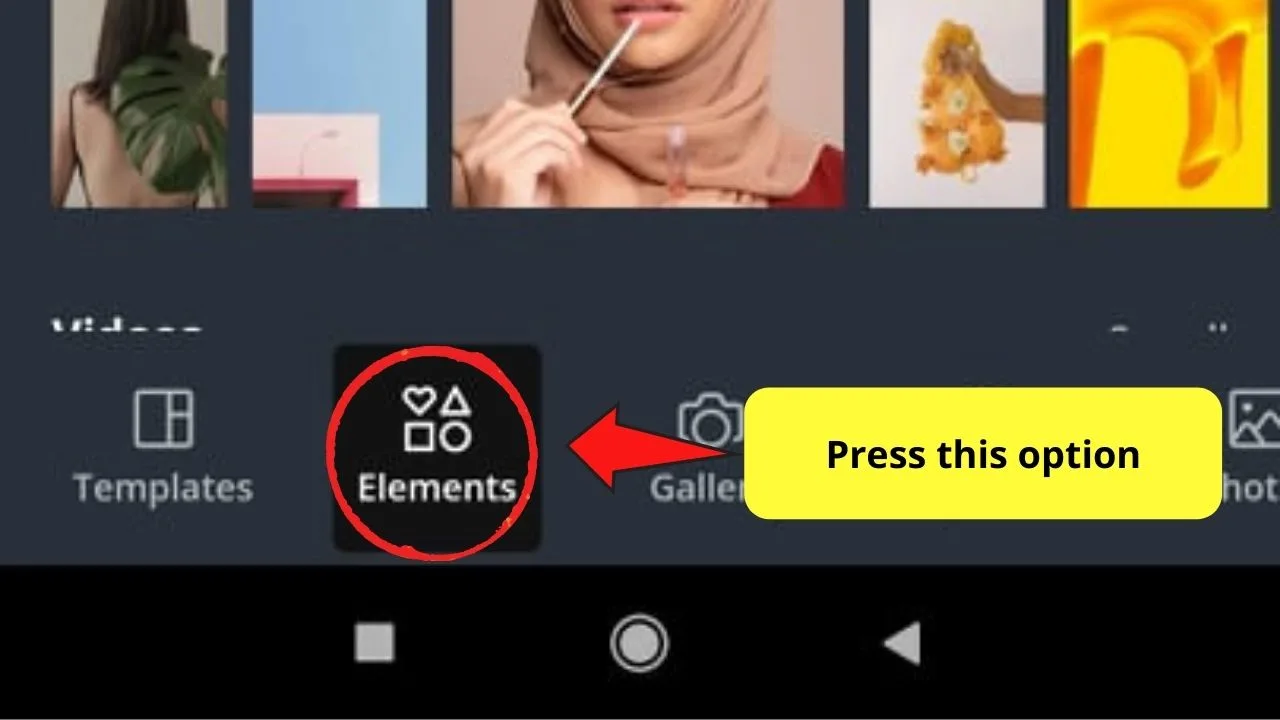
Step 3: Add a background/placeholder to your text to make it pop out more by placing a rectangle behind it. To do this, tap on the “+” again, but this time, press the “Elements” menu instead.

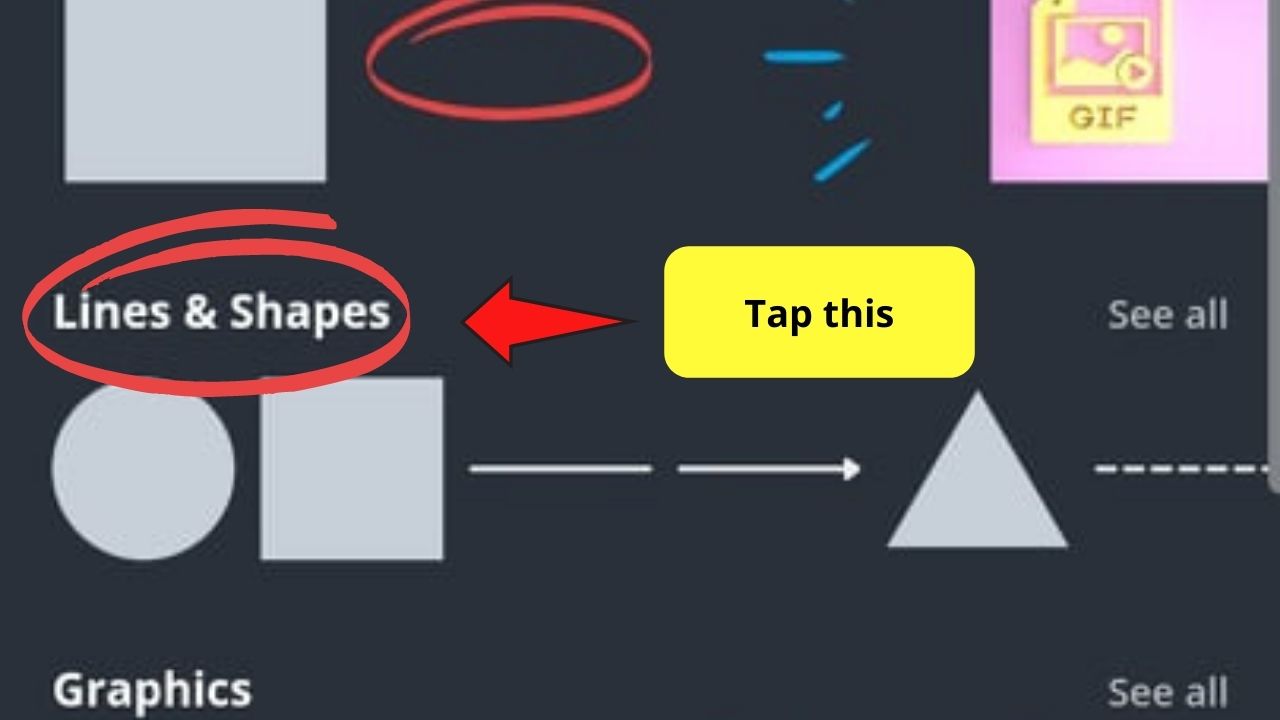
Step 4: In the “Elements” menu, head over to the “Lines and Shapes” section.

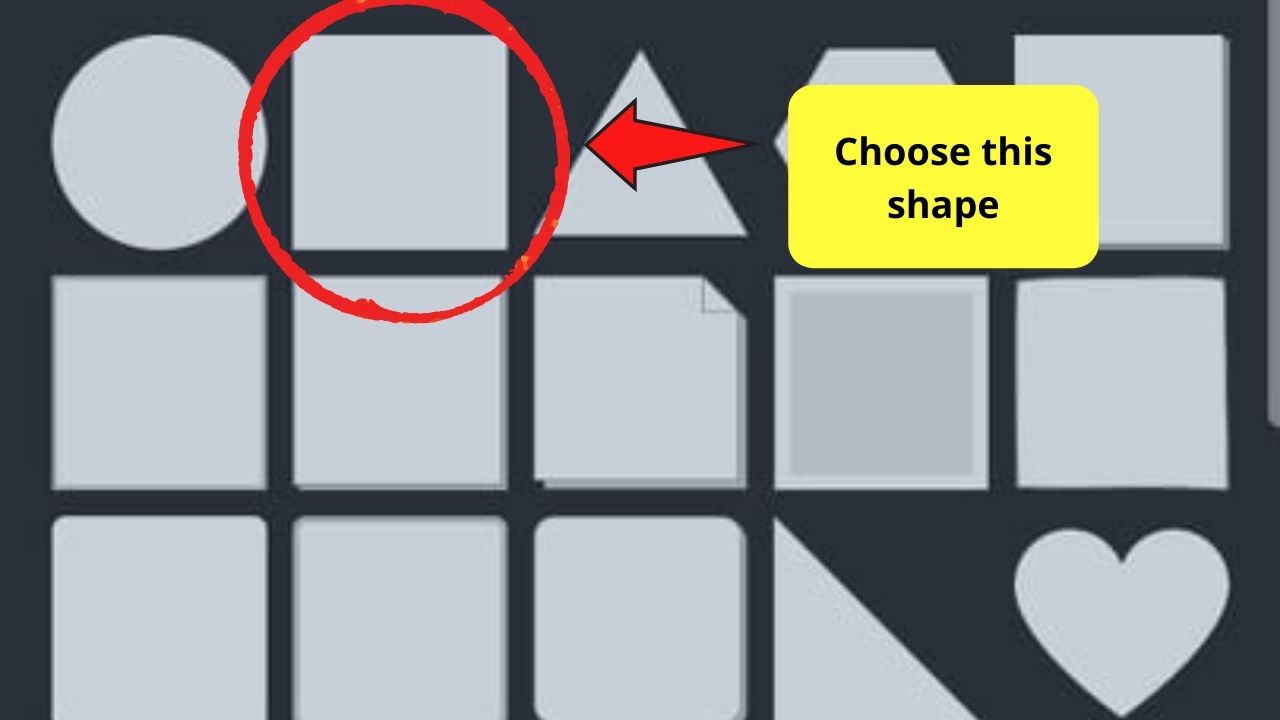
Step 5: Select a shape you’d like to use. For example purposes, I’ll use a simple square, which I can resize later on to fit the text in it.

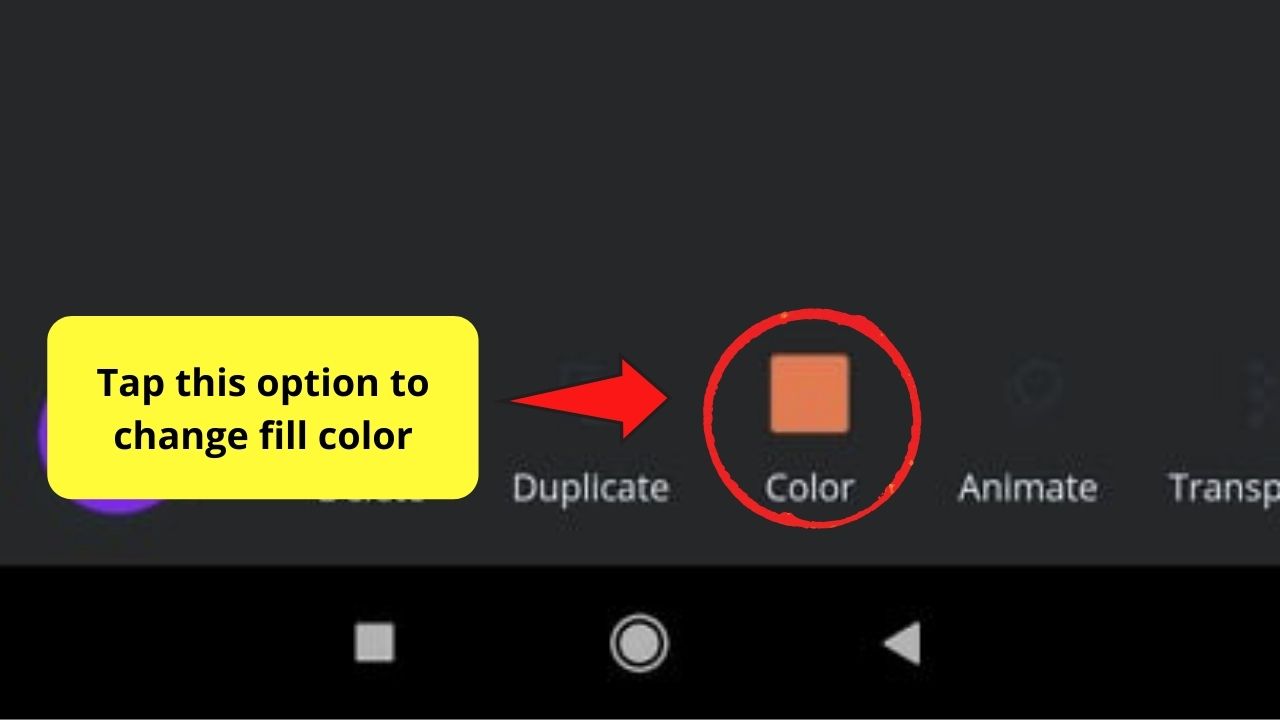
Step 6: Once the square’s on your canvas, change the font color by tapping on the “Color” tile on the toolbar.

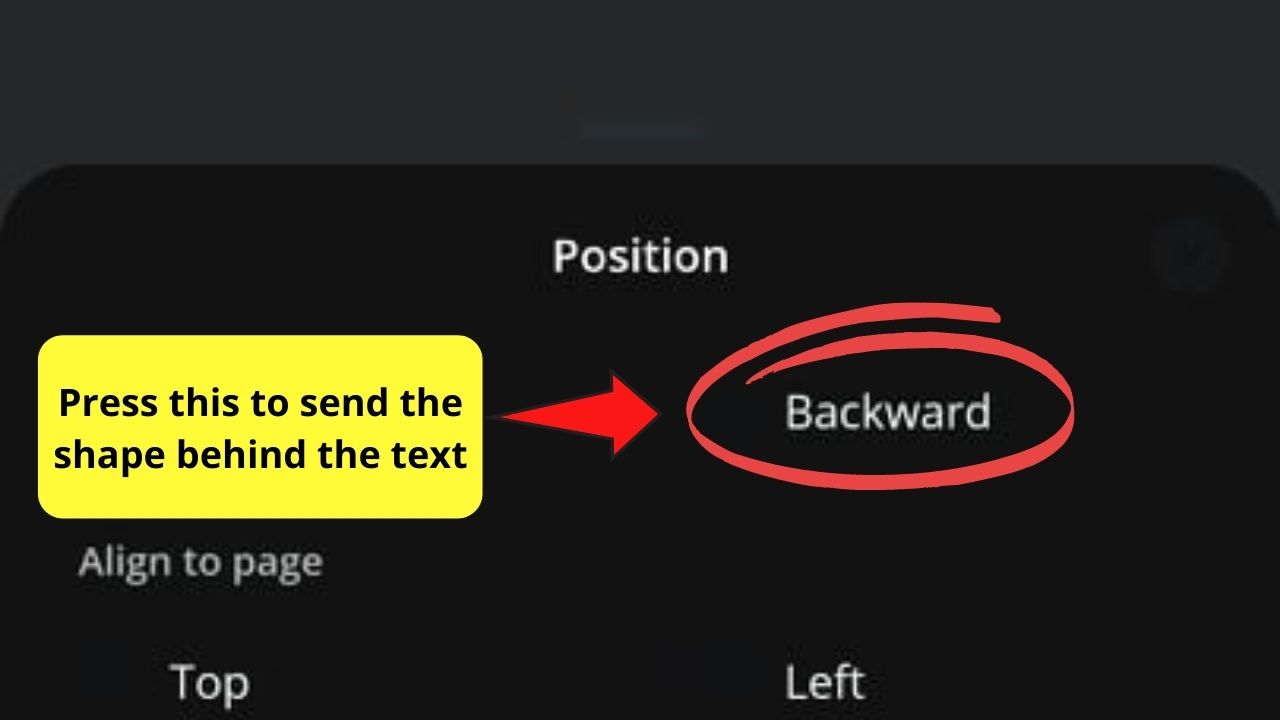
Step 7: Once you’re satisfied with the color, swipe to the right until you see the “Position” menu.
Step 8: In the menu that appears, press on the “Backward” option. This will send the box behind the text you’ve encoded earlier.

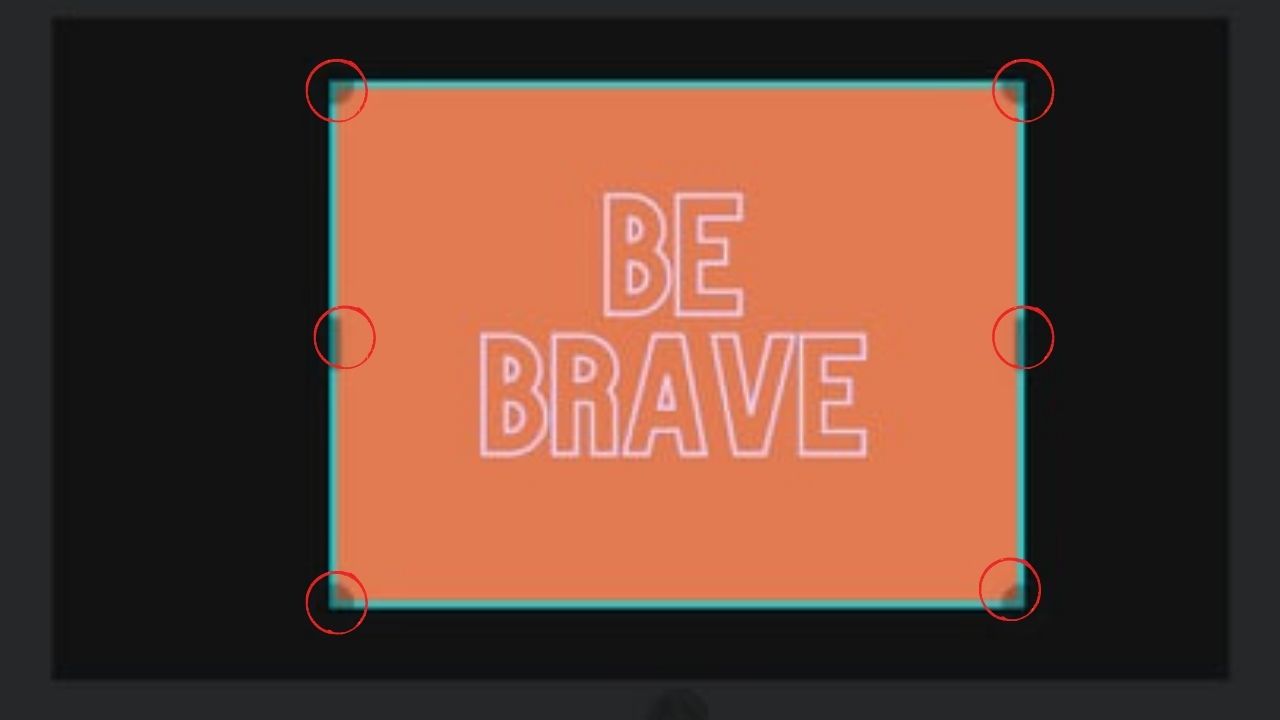
Step 9: Adjust the shape’s size by dragging the circles and bars at the corners accordingly.

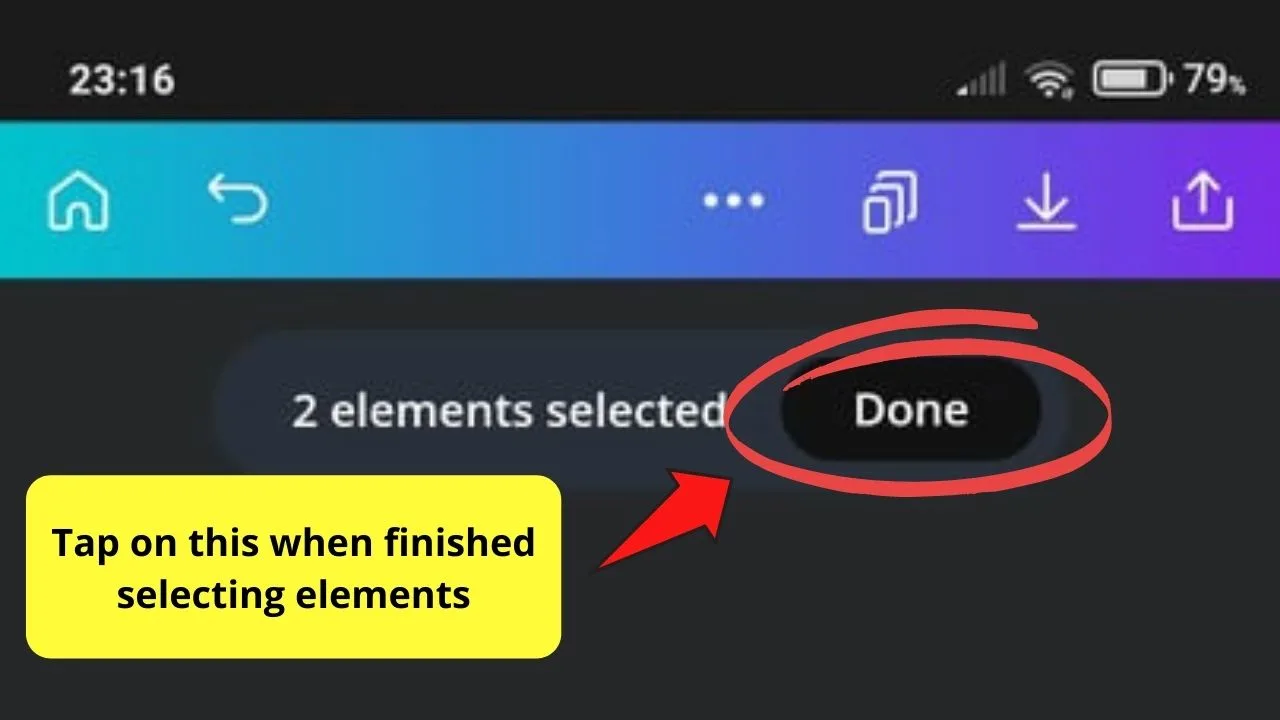
Step 10: After fitting the text inside the colored text box, long-press on it until a dialog box prompts you that one element’s selected.
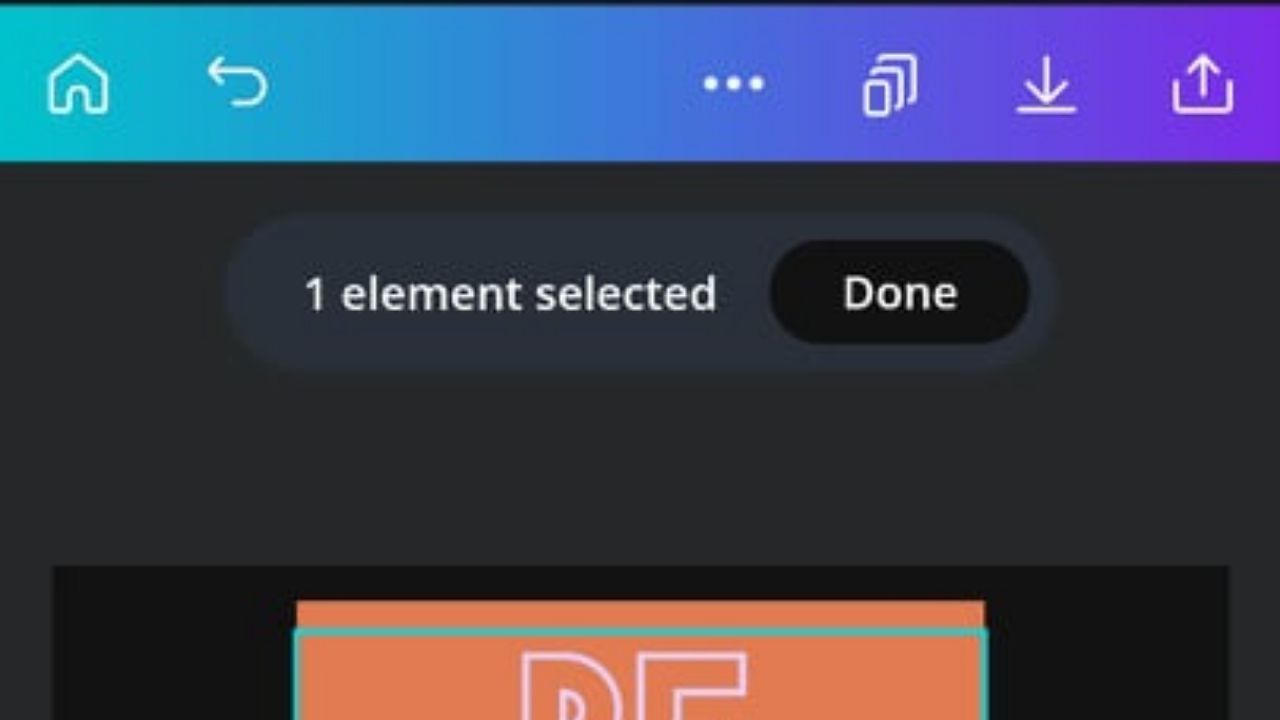

Step 11: Once that’s done, click on the box behind the text to select that as well. Tap on “Done” if you’re finished adding elements.

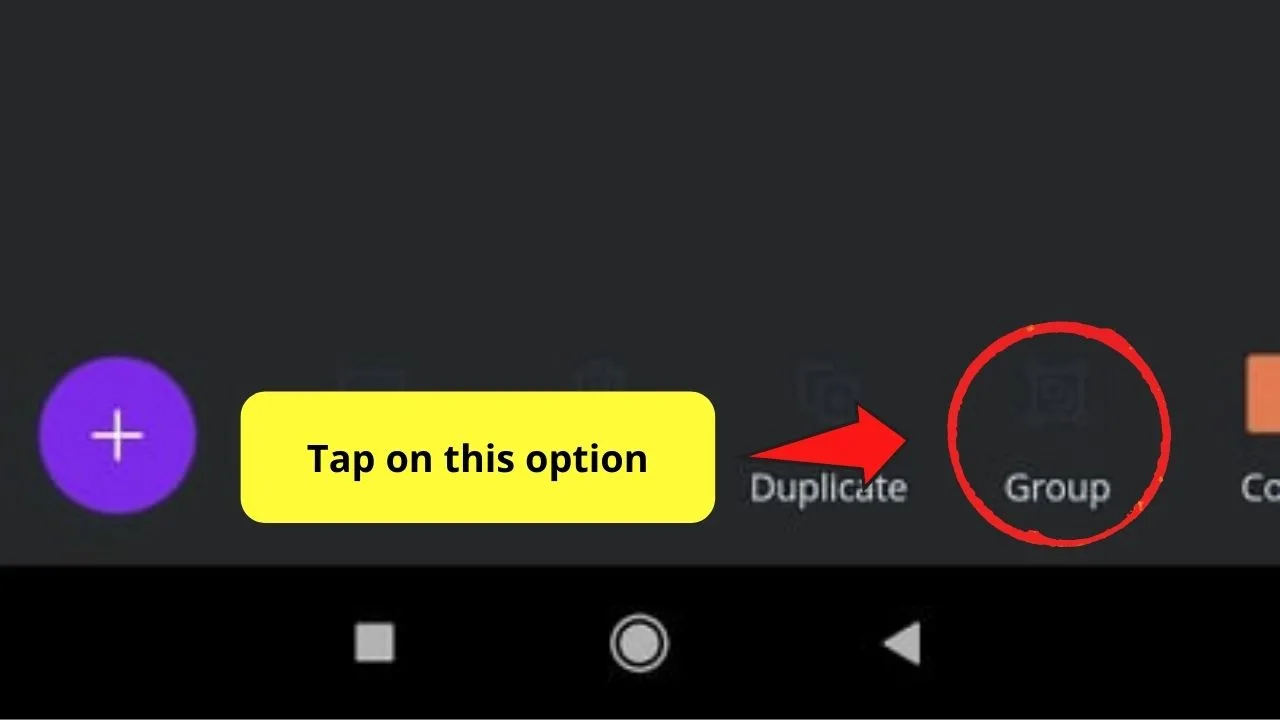
Step 12: Swipe the toolbar rightwards until you see the “Group” option. Press on it to group the text and box together.

Step 13: Now, tap and drag the newly-grouped elements across the canvas to where you want to position them.


Frequently Asked Questions about How to Move a Text Box in Canva App
Is the process of moving text boxes on Canva mobile the same for iOS and Android users?
Generally, the process for moving Canva text boxes in the mobile version is the same for both iOS and Android users.
Do you need a Canva account for you to use the app version of this graphic design tool?
Definitely, you’ll need a Canva account before you can use the mobile version of the tool. You can always link your account to Facebook or Google so you don’t have to create an entirely new one.
Can you still edit the text inside the text box after repositioning it?
Of course, you can! Simply tap on the text box again so you can change the message inside the said text box. Then, tap outside of the text box again for the Canva app to save the changes you’ve made.


Hey guys! It’s me, Marcel, aka Maschi. On MaschiTuts, it’s all about tutorials! No matter the topic of the article, the goal always remains the same: Providing you guys with the most in-depth and helpful tutorials!

