

Have you noticed the small icons on browser tabs?
They’re called favicons and serve as mini logos for websites.
They enhance user experience and brand recognition. Canva can help you create your own favicon.
How to Create a Favicon in Canva
To create a favicon in Canva, create a project with custom dimensions of 40 x 40 px. Then add elements from the “Elements” tab and add text by pressing “T” on your keyboard to design your favicon. Once finished, download it, and depending on the purpose, resize it to 16 x 16 px or 32 x 32 px.
Before we get into the exact steps, it’s important to explain one thing.
The favicon size is usually set at 16 x 16 px or 32 x 32 px.
However, in Canva, you can’t go lower than 40 x 40 px. This is why in the short answer above we are saying you should create a project with the dimensions of 40 x 40 px.
What is important is that these dimensions are square. You could also go with 128 x 128 px or even 256 x 256 px.
In most cases, what you want to do is resize the favicon after download, as you can’t get the ideal favicon dimensions in Canva itself (as just explained.)
Have a look at the section “How to resize a favicon” a bit further down in this article to understand how to resize your favicon.
Now, let’s get back to our steps.
To create a favicon in Canva, follow these steps:
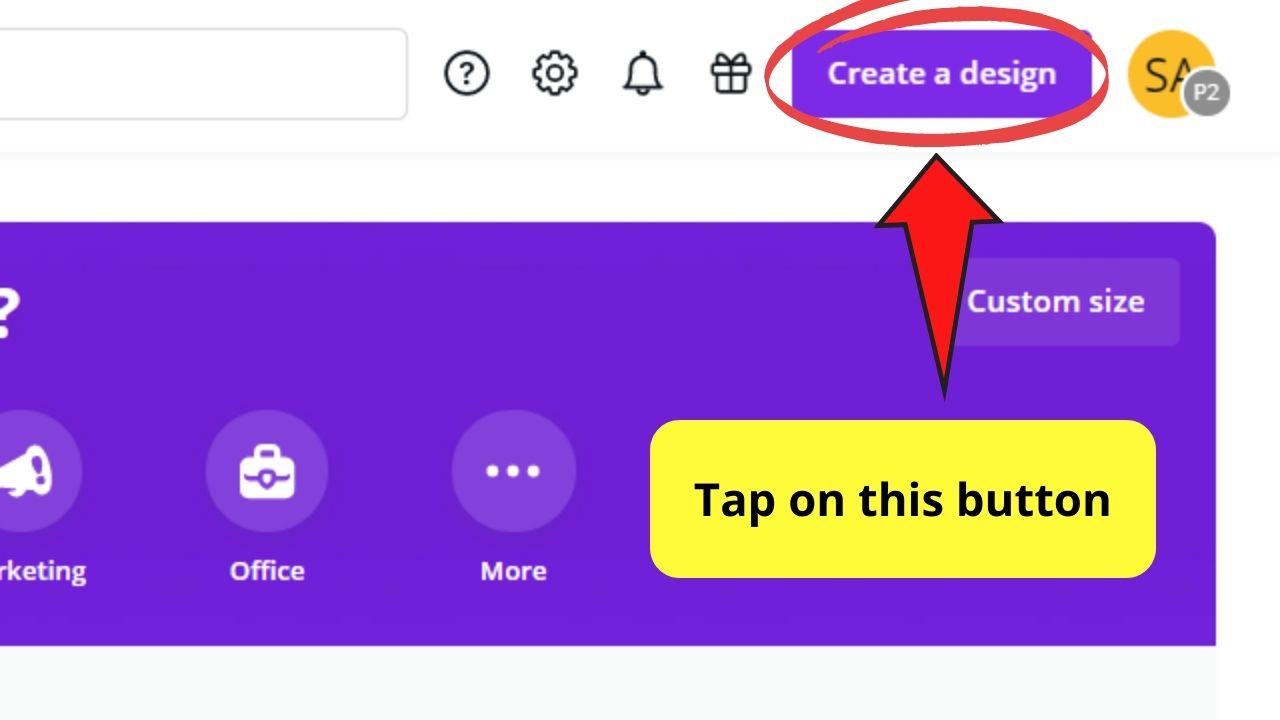
Step 1: Click on the “Create a New Design” button

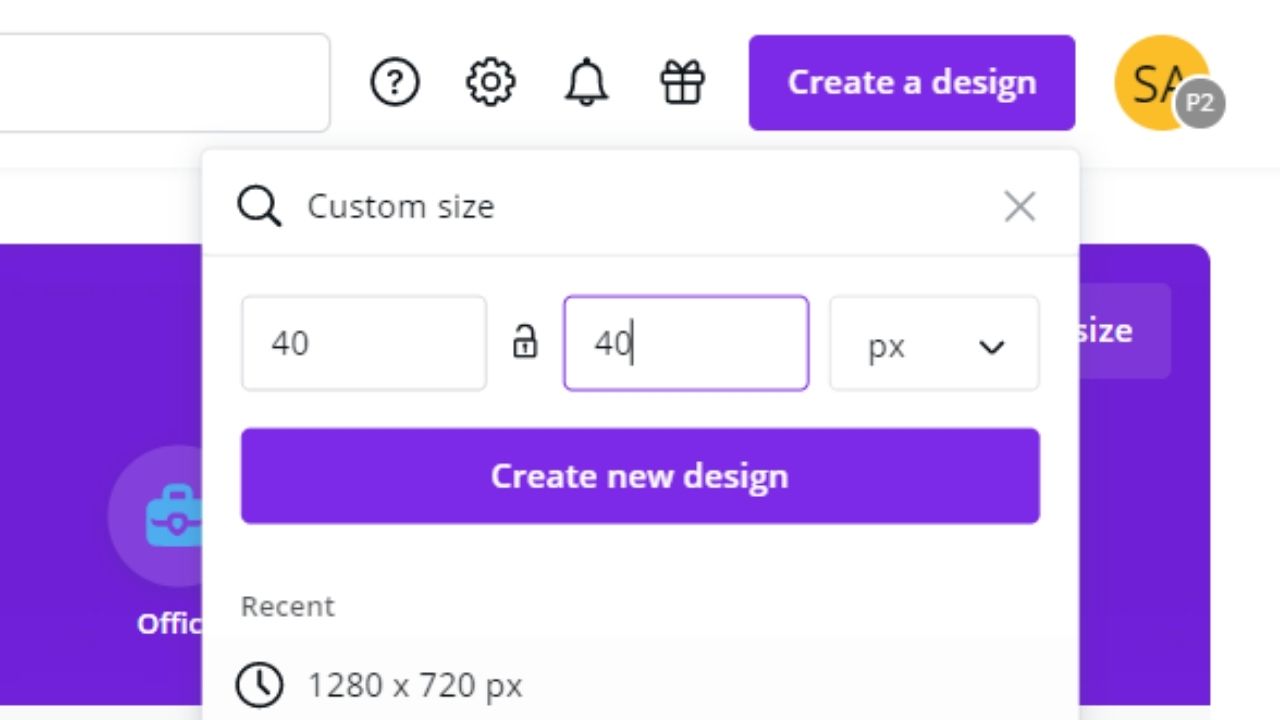
Step 2: Choose “Custom Size” and set the dimensions to 40 x 40 px
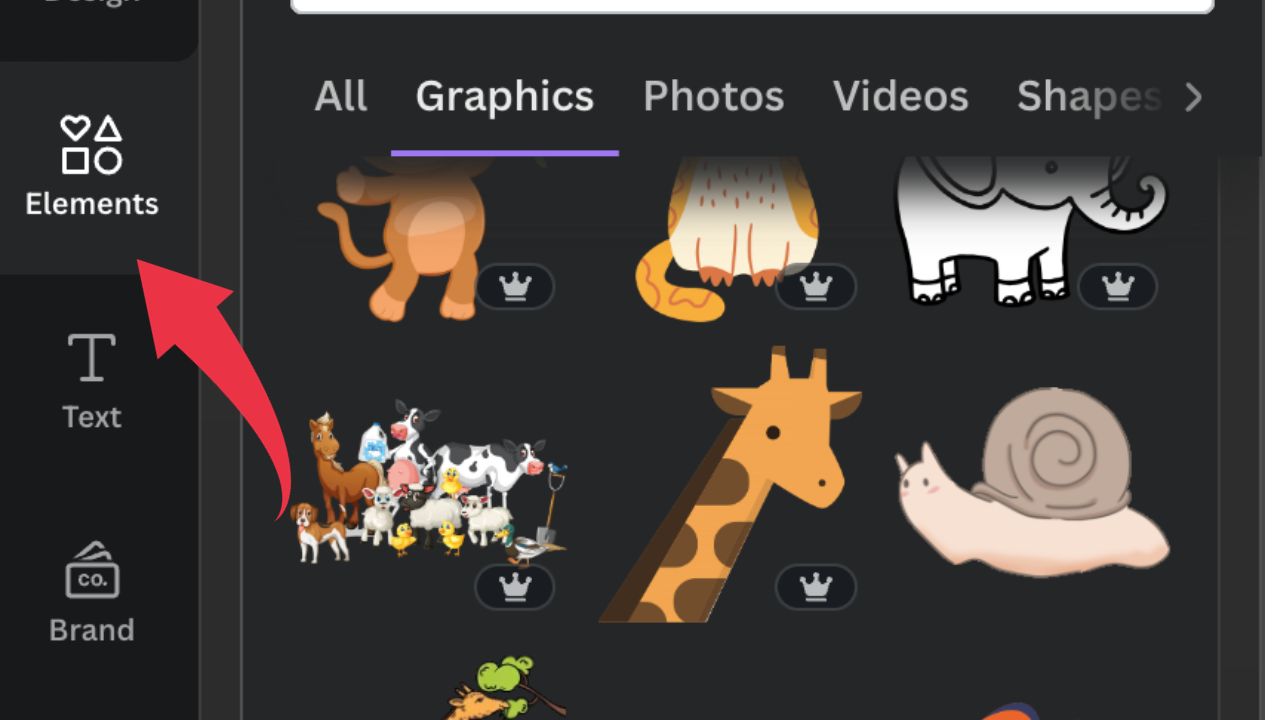
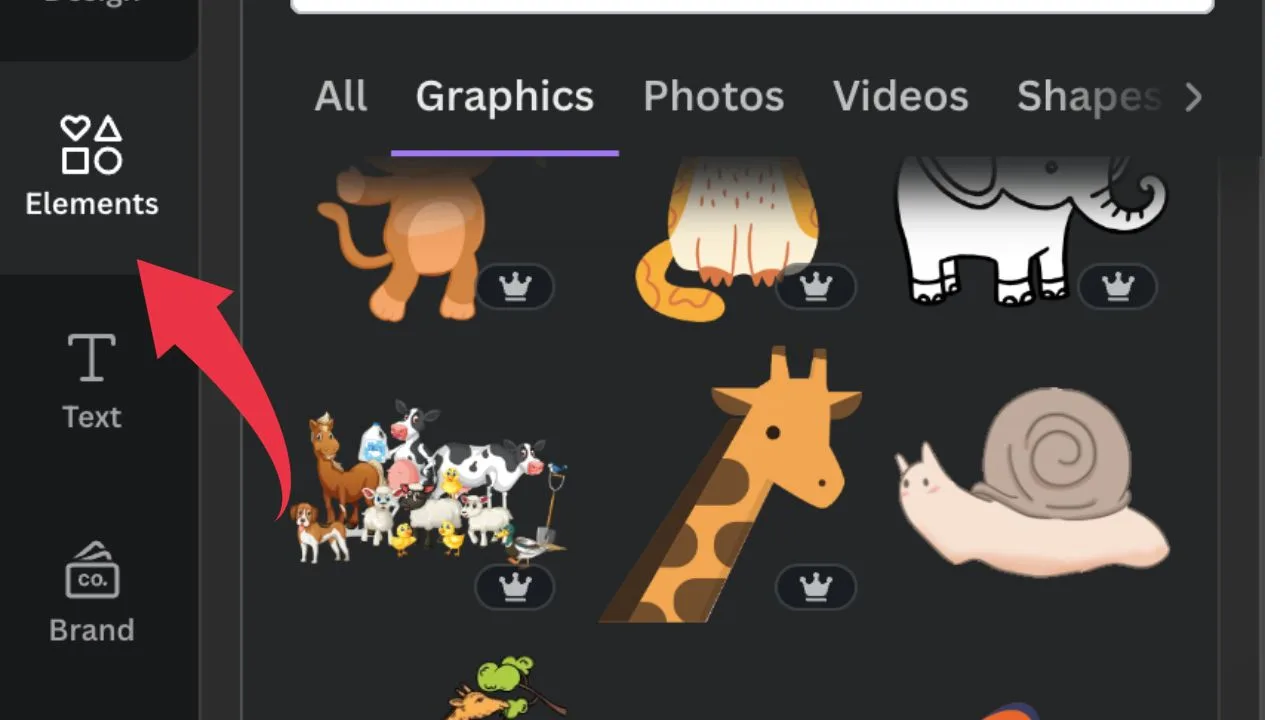
Step 3: Choose a graphic from Canva’s “Elements” tab
Step 4: Customize and Adjust your Favicon


Step 5: Download your favicon

How to Create a Favicon in Canva using a Template
To create a favicon in Canva using a template, follow these steps:
Step 1: Click the “Create a New Design” button
Step 2: Select “Custom Size”
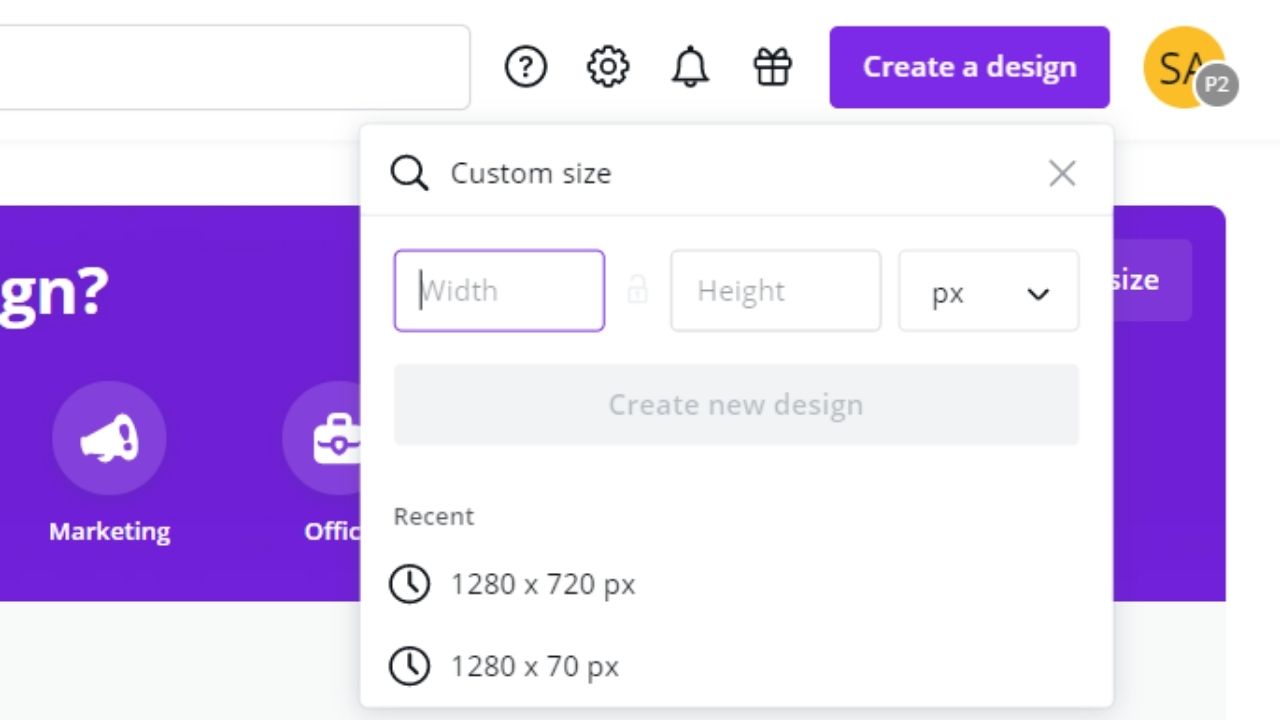
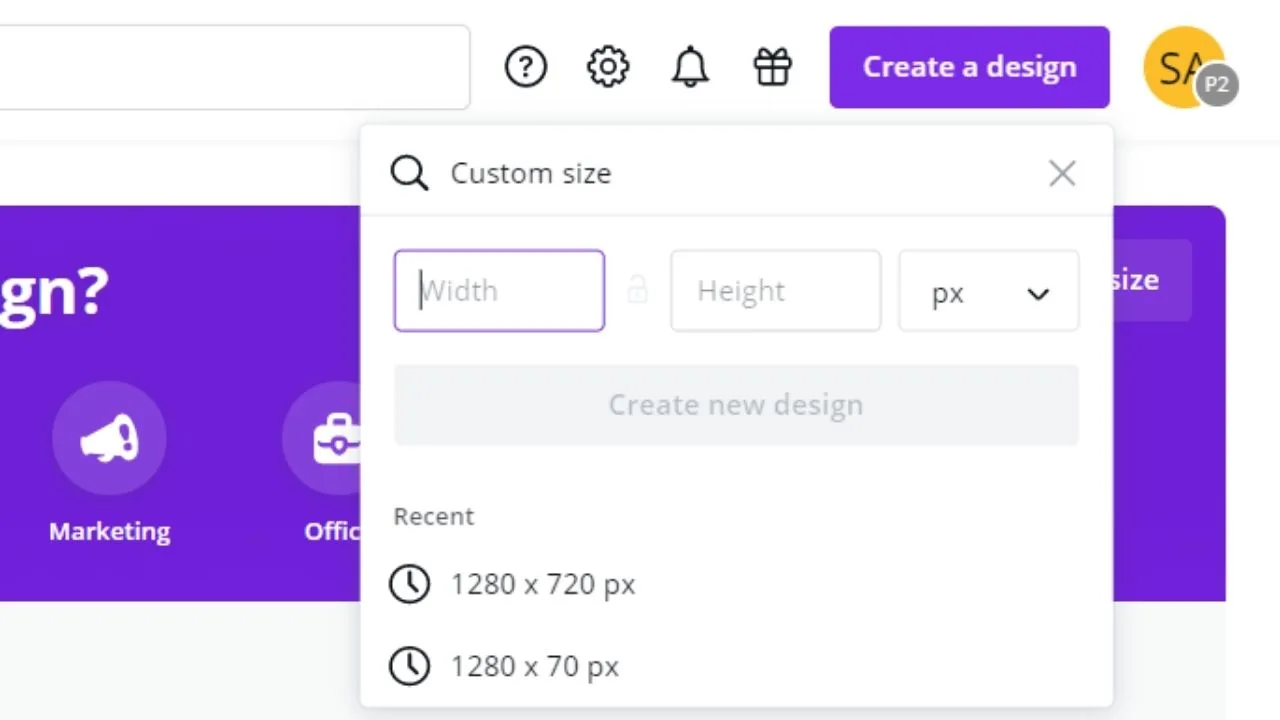
Step 3: Set the width and the height to 40 px each
In the 2 empty boxes that appear, input 40. The ideal size for favicons is 16 x 16 px, but as Canva’s lower limit for document dimensions is 40 x 40 px, we will use that instead.
Yet, the 40 x 40 dimension isn’t an absolute must when creating your favicon in Canva. You can opt to use a bigger document size, but it’s important to note that the Favicon should always take on the shape of a square.
Meaning, the length should always be equal to the width (48 x 48 px, 64 x 64 px, 256 x 256 px, etc.)
But, as stated earlier, favicons ideally are in the 16 x 16 px dimensions. Don’t worry too much about it at this point as you can always resize it using a third-party app or website later on or even just directly on your PC or MAC.
Just make sure that the unit for the said file’s set in “pixels.” Then, tap on the “Create New Design.”
Step 4: Choose a Template from the left-side of the screen

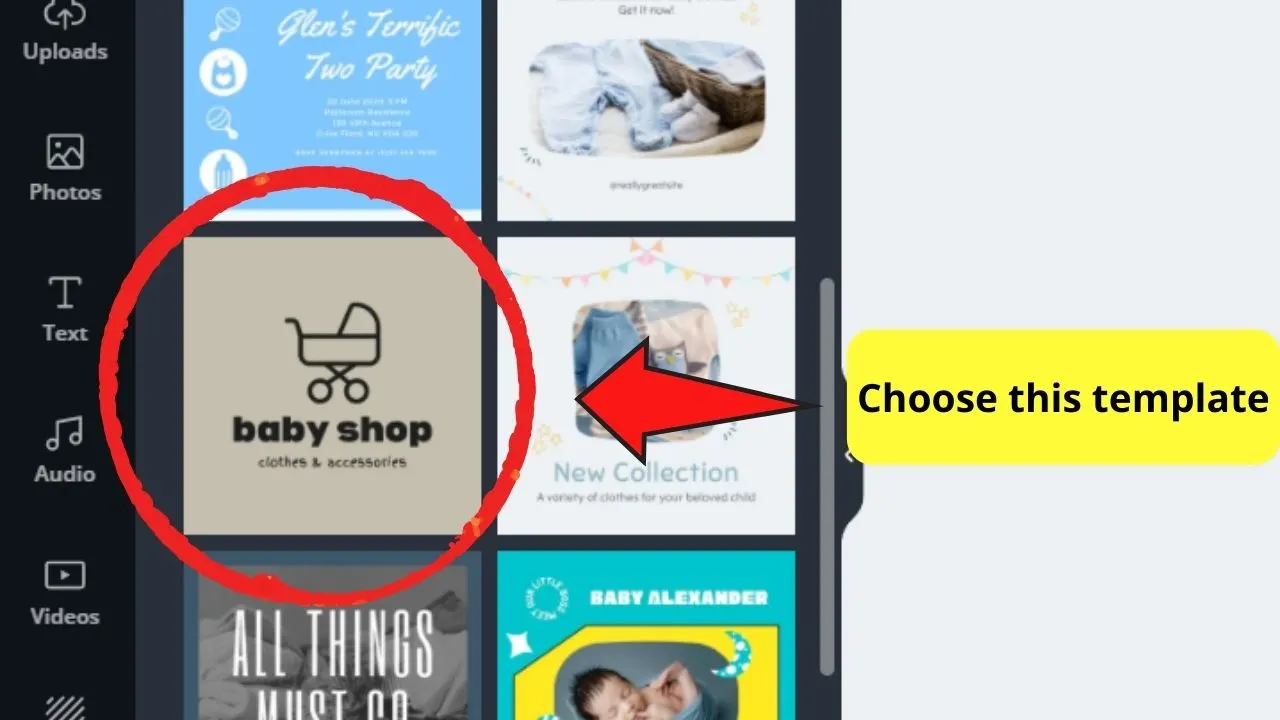
In the “Templates” gallery, search for a template to use either by scrolling down or encoding specific terms in the search bar.
Depending on what type of favicon you want to create, you can choose to have a text favicon or an image favicon.
But, it’s a note worth taking at this point. Canva currently doesn’t feature real Favicon templates.
What you see in the “Templates” gallery are design suggestions Canva deems as suitable for the 40 x 40 size. So, technically, you can use them as your favicon templates.
Canva always displays templates based on the dimensions you choose when starting a project. This is important to know.
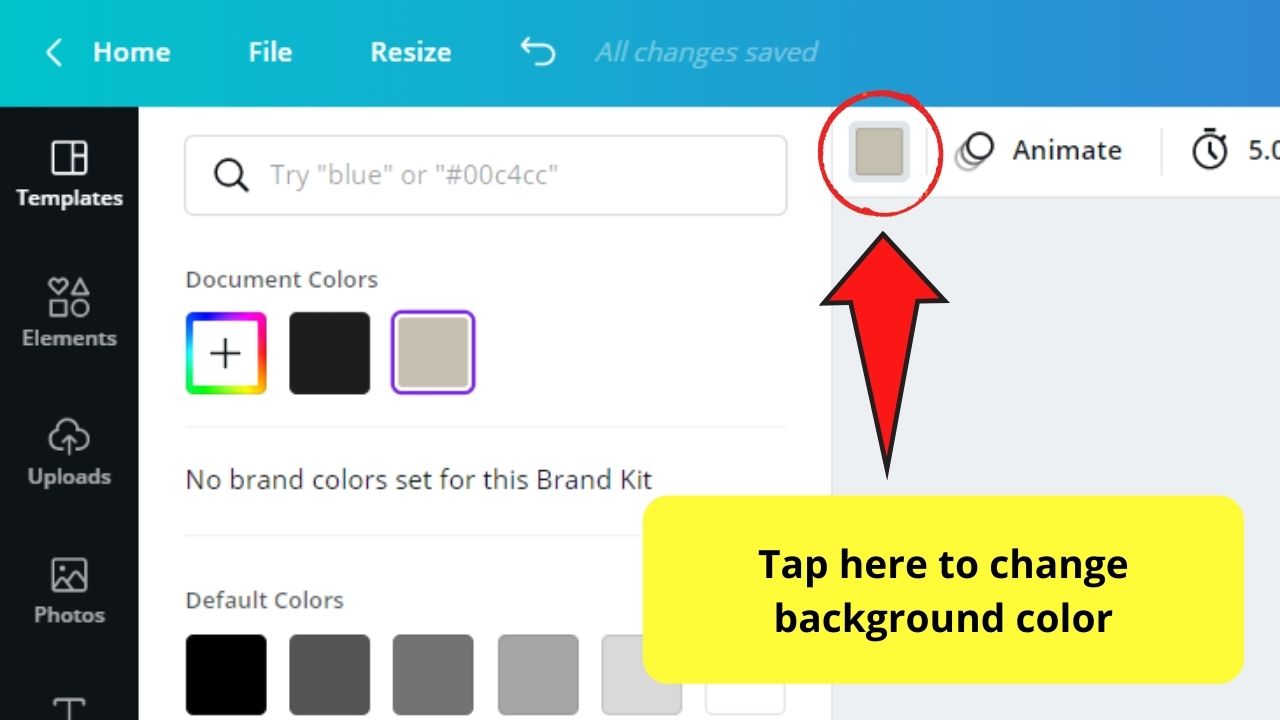
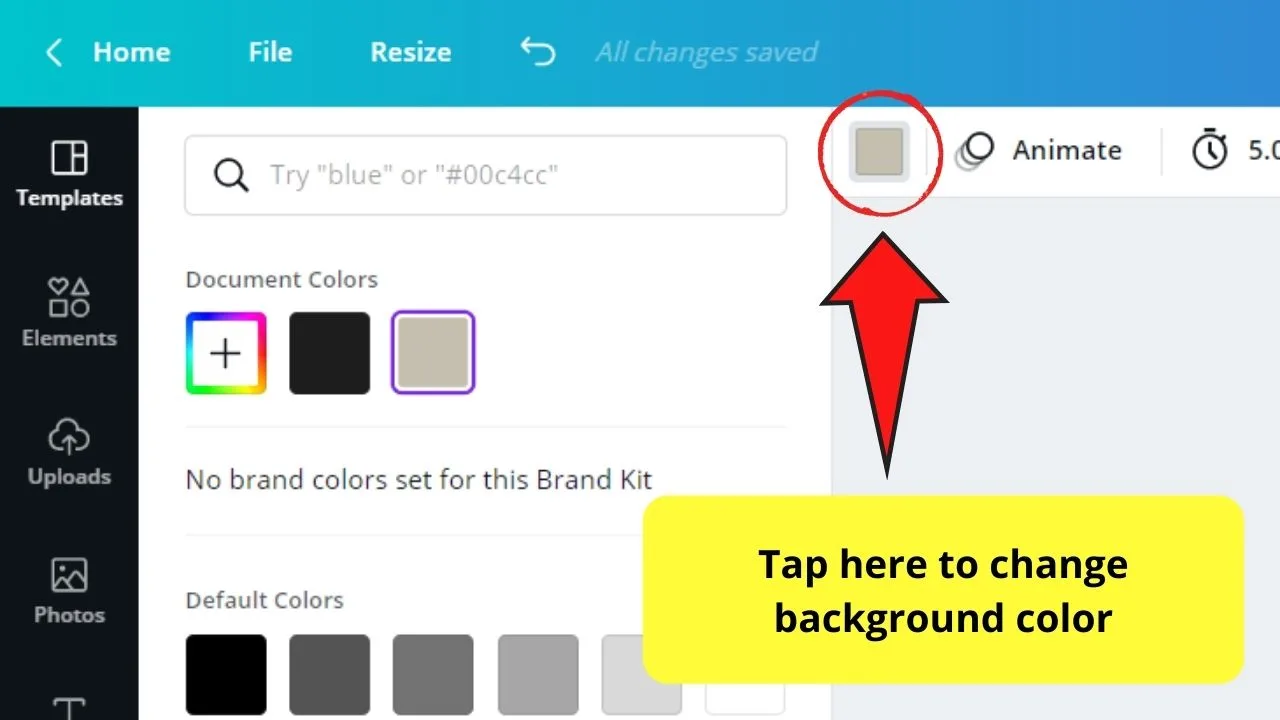
Step 5: Adjust and customize the template to finish your favicon
You can also change the font’s color and style by clicking on the corresponding icons on the editor toolbar.
You can even upload custom fonts if you’ve got one.
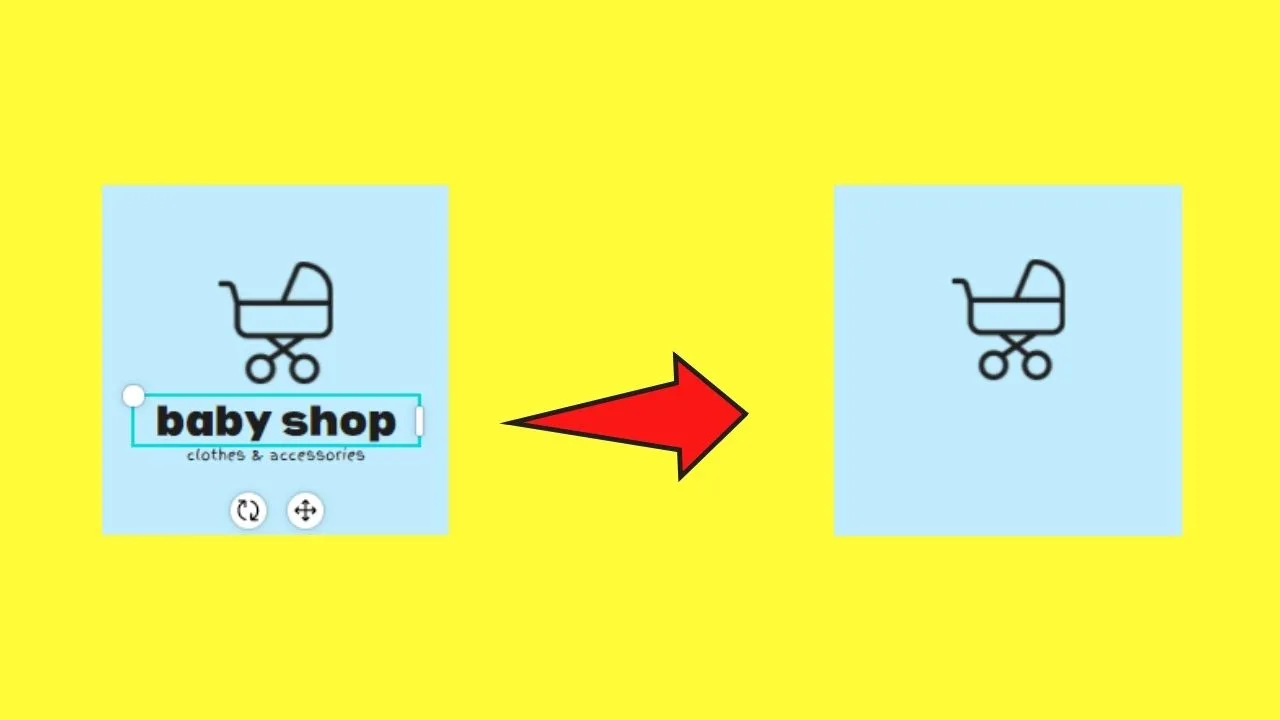
For image favicons, you can first ungroup the grouped elements on the said template (if they’re grouped) before deleting the text (if there are any).

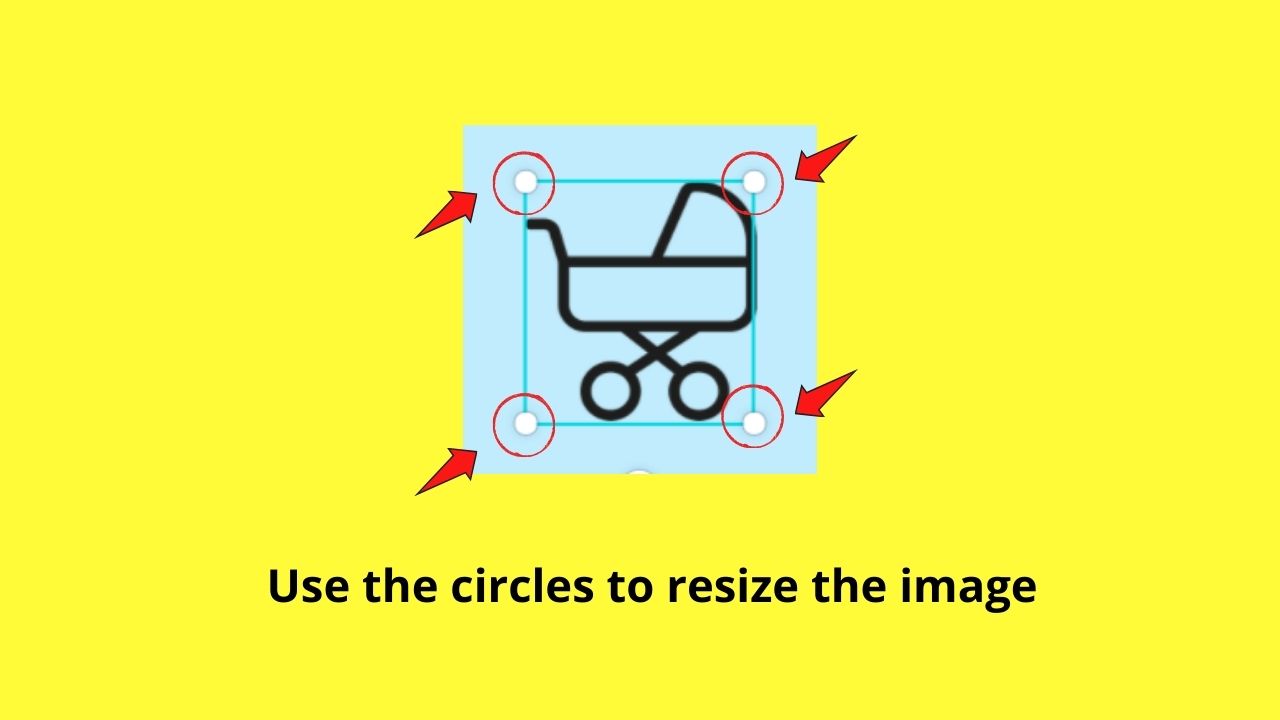
Increase the size of the remaining elements by clicking and dragging on the white circles on the corners.

If one of the elements on the template isn’t aligned with your brand, simply delete it and search for another one in the “Elements” gallery.
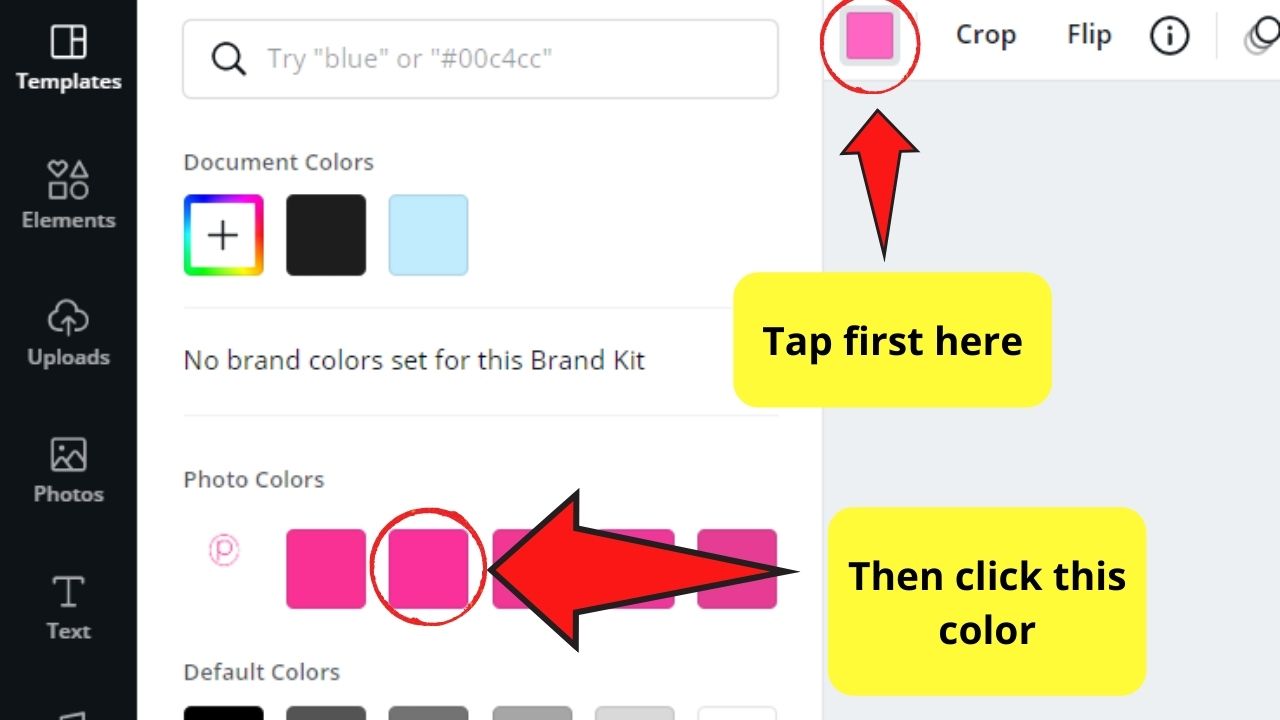
Change the colors of the remaining elements according to your brand colors by tapping on the colored boxes on the editor toolbar.
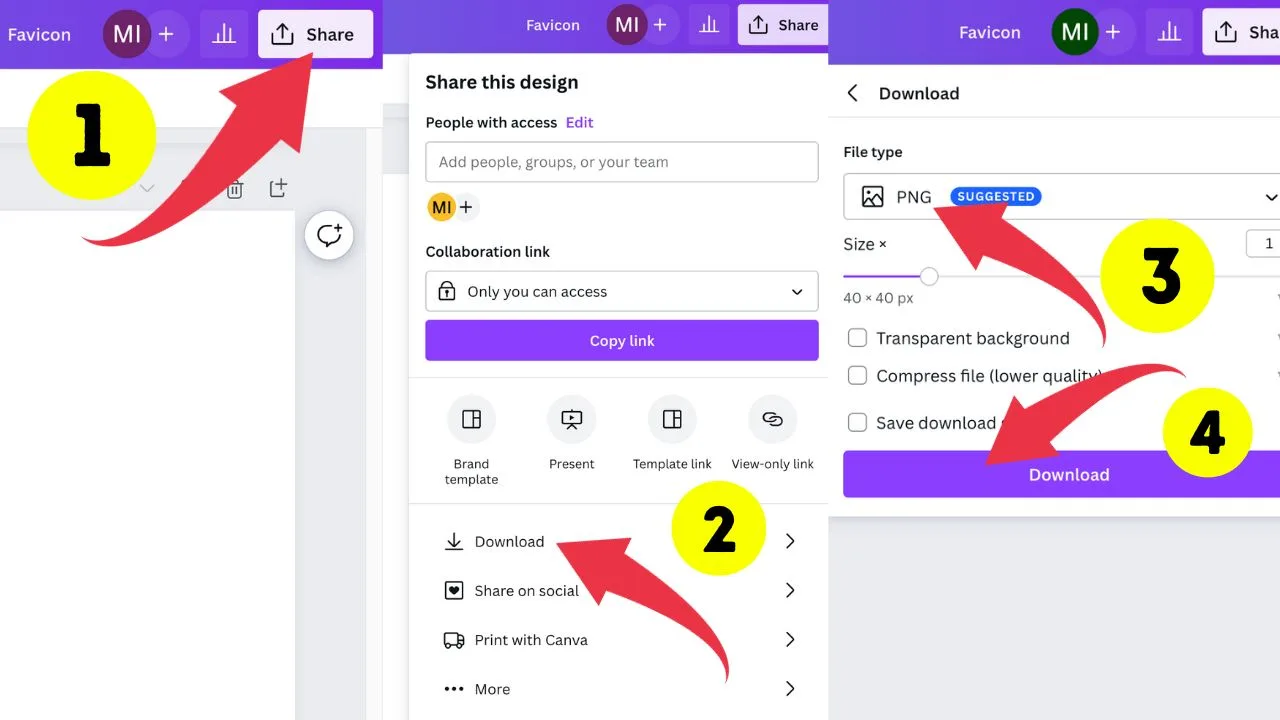
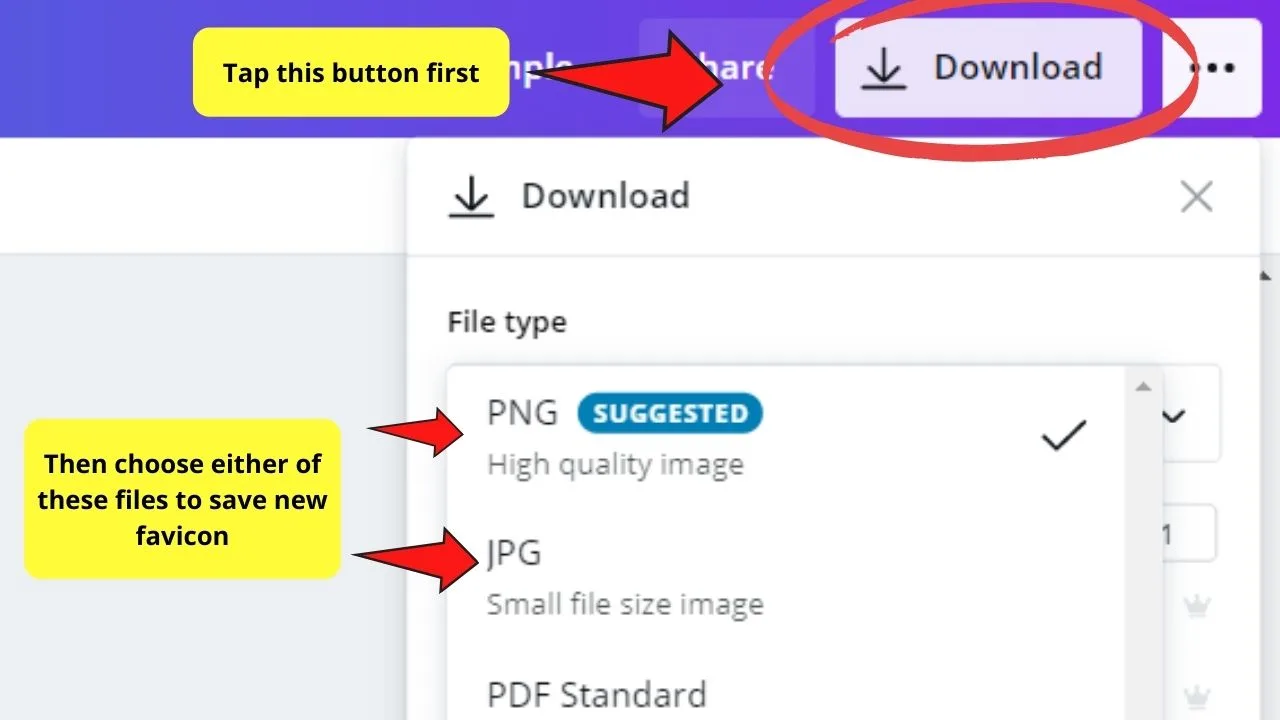
Once you’re satisfied with how your favicon looks, tap the “Download” button on the upper right of your Canva screen.

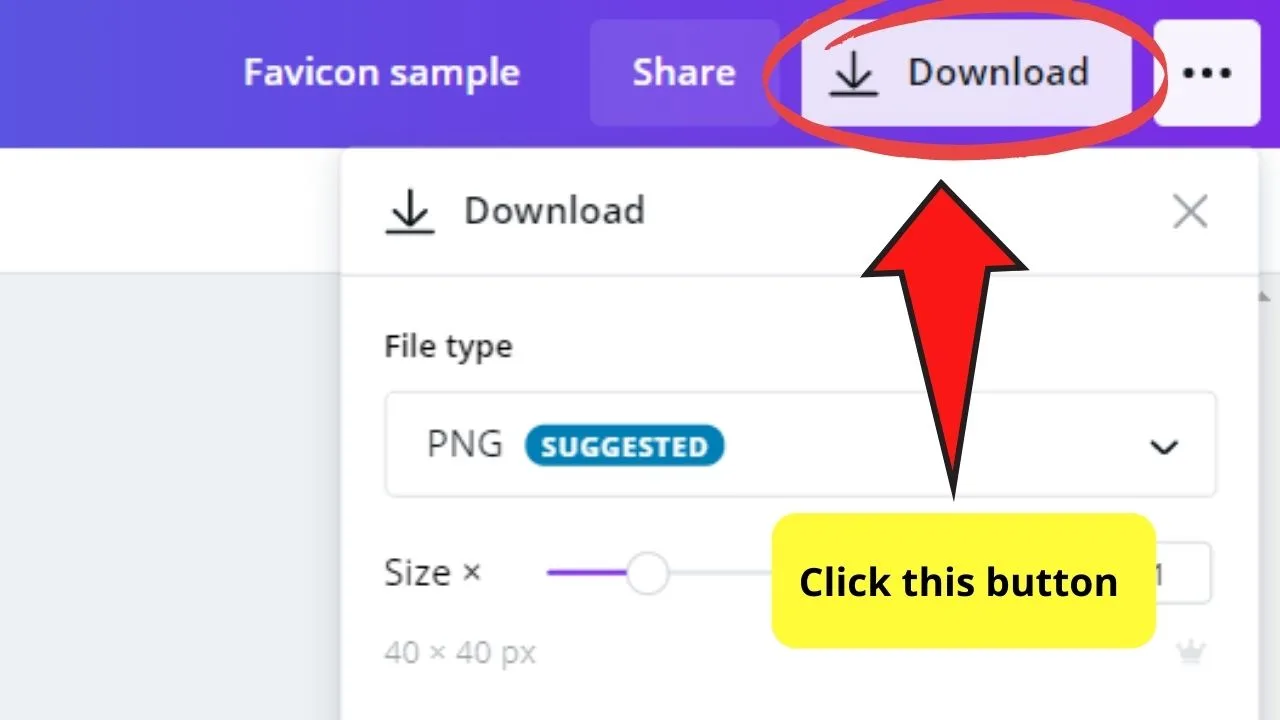
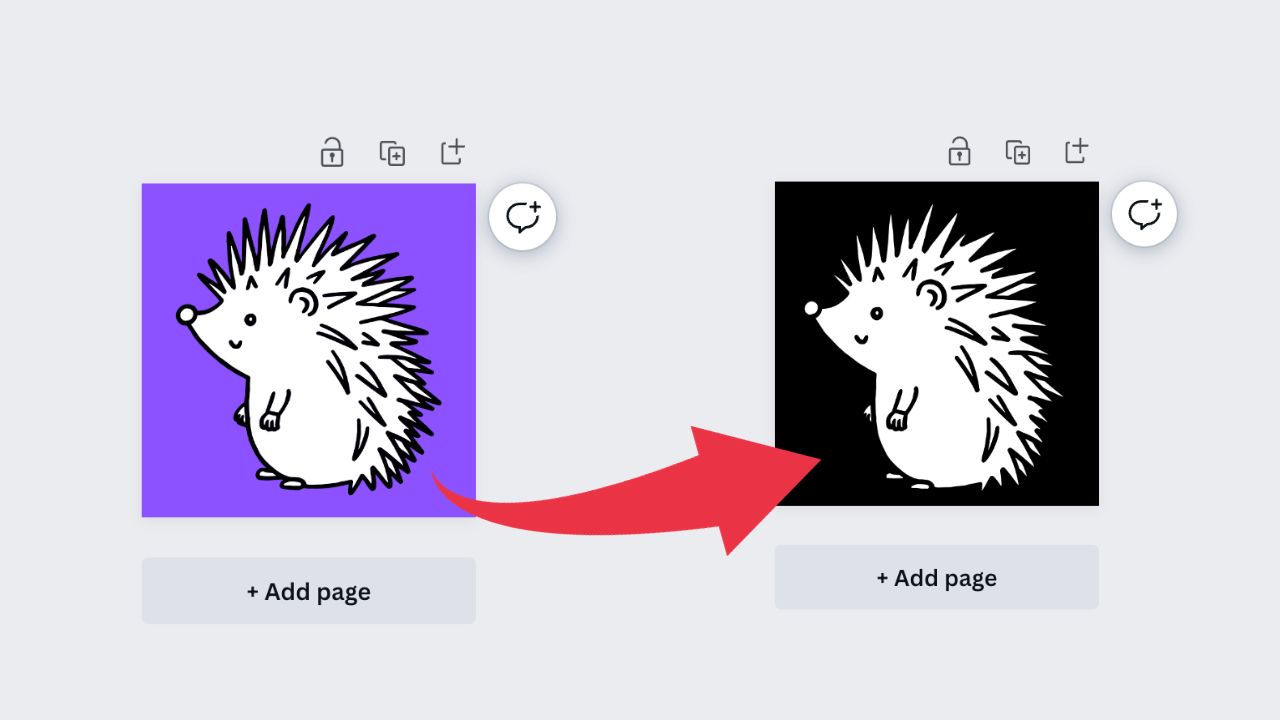
If a transparent background is what you want, click on the PNG file type. Select JPG instead if you don’t want to remove the background before hitting the “Download” button.

So, that’s how you create a favicon using a template. How about if you’re planning to do it from scratch?
Frequently Asked Questions about How to Create a Favicon in Canva
Can you download a favicon with a transparent background if you’re a free Canva account user?
Unfortunately, you cannot download your favicon with a transparent background if you’re a free Canva user. Only Canva Pro users can avail of the transparent background feature in PNG. However, you can still download your favicon in PNG format and head to remove.bg to manually remove the background.
Can you create multiple favicon versions in Canva?
Just like designing logos, you can create various versions of your favicons in Canva. Simply add another page or duplicate the existing page and edit the colors and text to create a new version of the favicon.
Can you group elements in your favicon despite its small size?
Of course! No matter how small your document size is, you can still take advantage of the grouping feature in Canva. Highlight all the elements before tapping on the “Group” option on the editor toolbar or press Ctrl and G simultaneously.


Hey guys! It’s me, Marcel, aka Maschi. On MaschiTuts, it’s all about tutorials! No matter the topic of the article, the goal always remains the same: Providing you guys with the most in-depth and helpful tutorials!

