
Are you fond of creating Canva designs using its mobile version?
With just a few taps, you can move a text box, crop, and even remove the background of an image on the Canva app!
Aside from those, you can also layer images and elements on the Canva app like on the web version in just a few simple steps.
How to “Send to Back” on Canva App
To send to back an image, text, or element on your design, tap it and press “Position.” Choose “Backward” (2 elements) or “To Back” 3 or more elements). You can also tap “Layers” on the editor toolbar, choose “Overlapping,” and drag the current element layer to the back of the other elements.
How to “Send to Back” on Canva Mobile App Using the “Position” Button
Layering images and other design elements on the Canva app isn’t as complicated as you imagine.
Though you’re working on a much smaller screen, you can still wow everyone with your element layering skills — if you know how.
Granting that you have already created a new design file or opened an existing Canva design, do the next steps.
Step 1: Tap on the “+” icon in the screen’s lower-left corner


Step 2: Activate the “Elements,” “Photos,” and “Text” galleries and add them to your design


Step 3: Bring two of the elements near each other, making sure one of them overlaps the other


Step 4: Tap on the element you want to send to the back to highlight it and activate the editor toolbar


Step 5: Swipe the editor toolbar to the right and press the “Position” button


Step 6: Choose the “Backward” option


This will automatically send the selected element to the back.
If there are 3 or more elements involved, the “to Back” option will appear so you can place a particular graphic between the other design elements.


Resize and position the said element until you achieve the design you’re aiming for.


How to “Send to Back” on Canva Mobile App Using the “Layers” Button
With the new “Layers” feature, you can easily reposition design elements by dragging and dropping them.
This way, you can see the effect of moving an element to the back without individually tapping each of them and the “Position” button.
Granting that you have already added the design element you’ll “send to back,” follow these steps:
Step 1: Tap the element you’ll send at the back of the other elements


This move opens the editor toolbar, which you’ll find at the bottom of the screen.
Step 2: Swipe to the left and press “Layers”

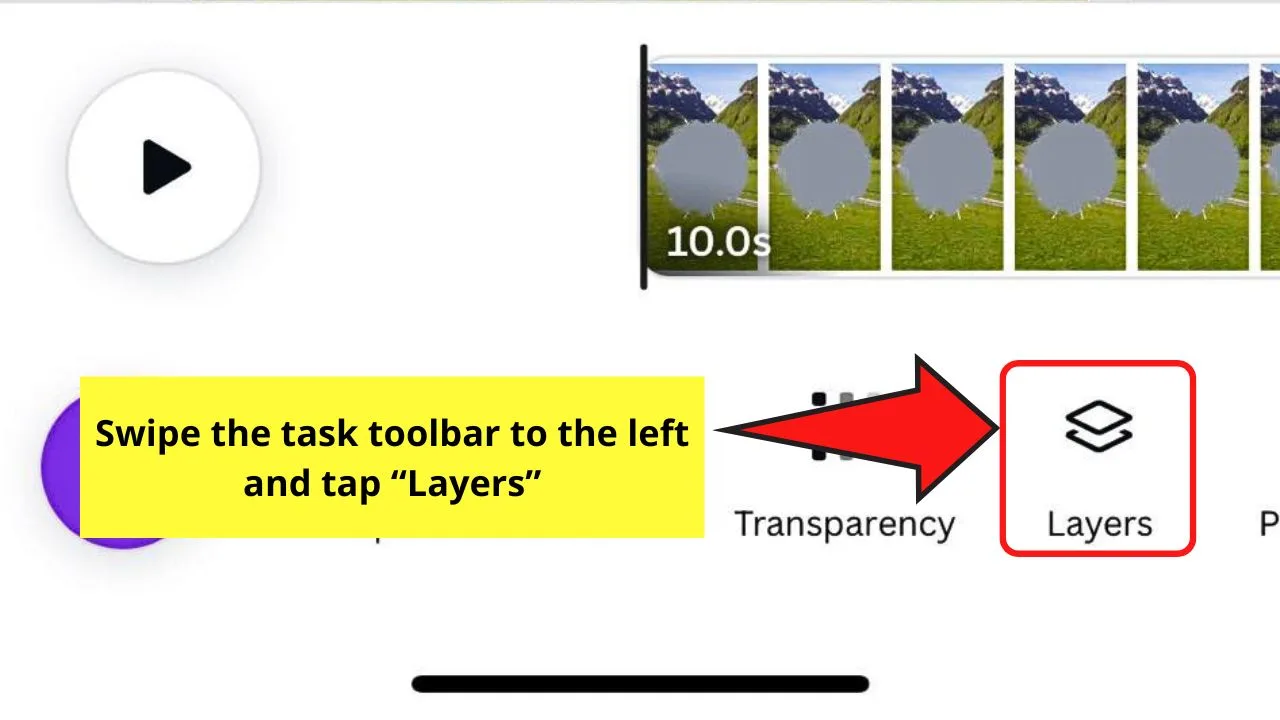
You’ll find this button after the “Transparency” tab on the editor toolbar.
Step 3: Choose the “Overlapping” tab
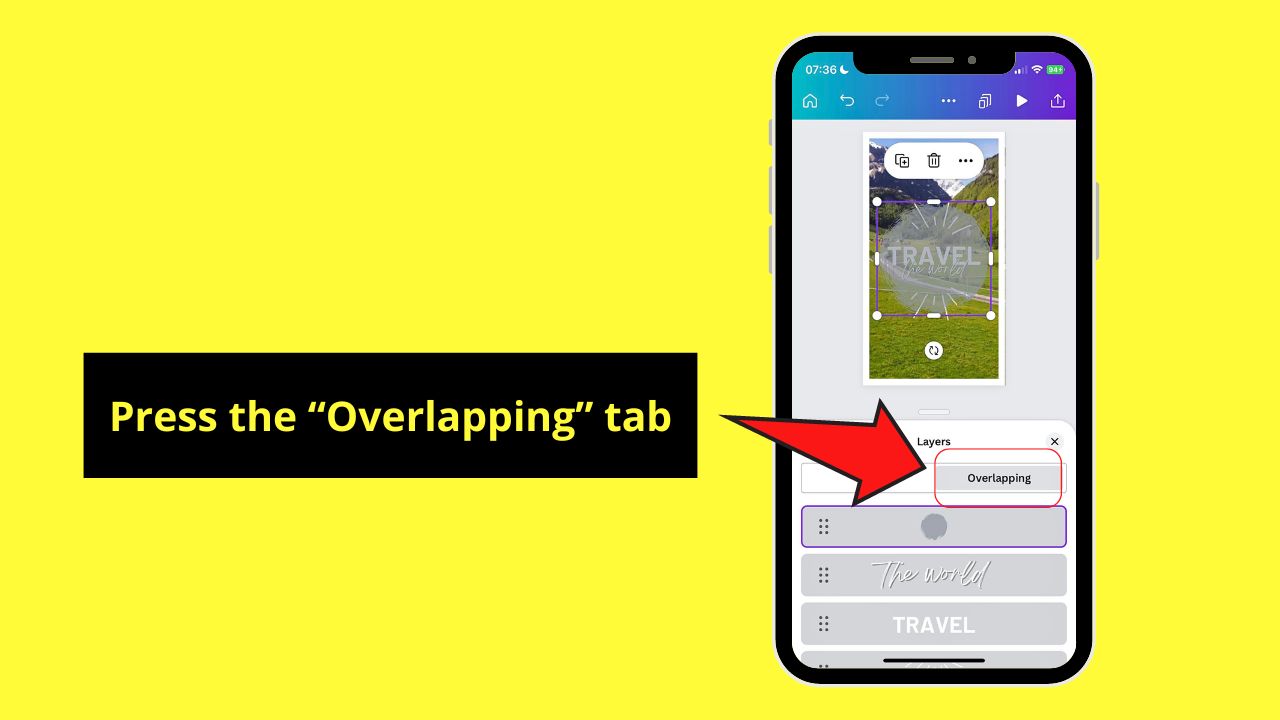
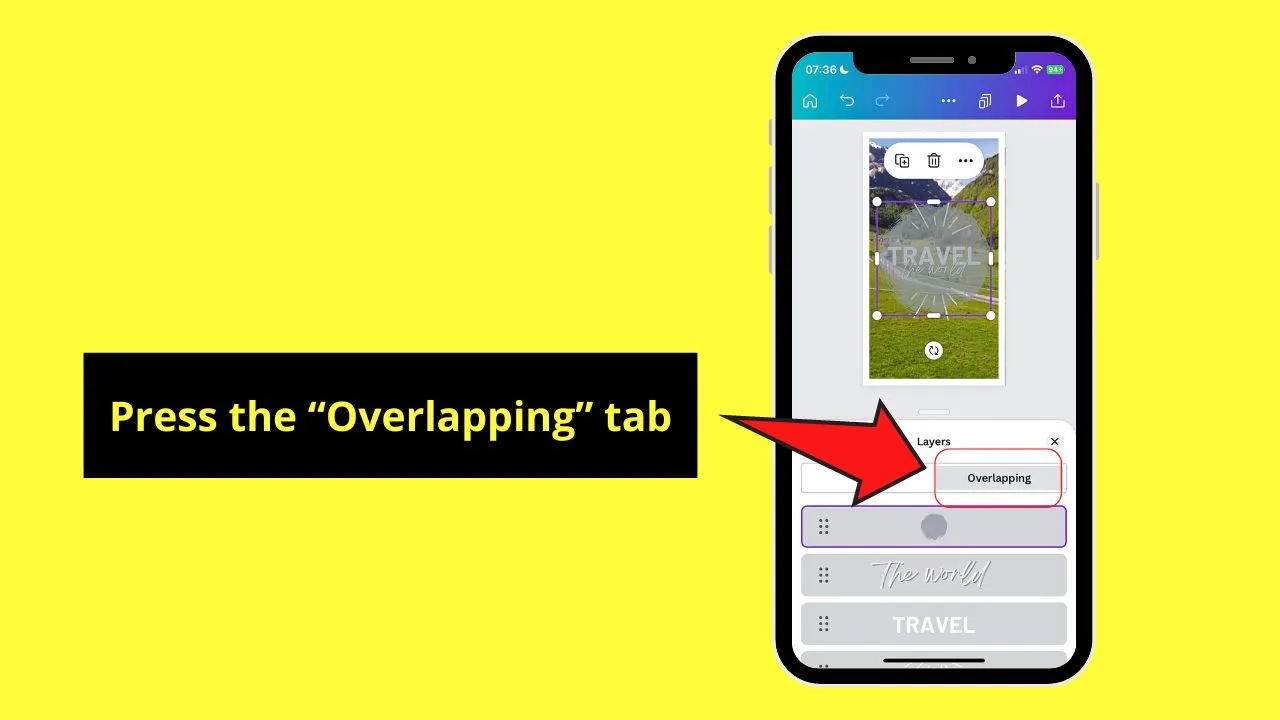
You’ll see this after the “All” tab on the “Layers” panel.
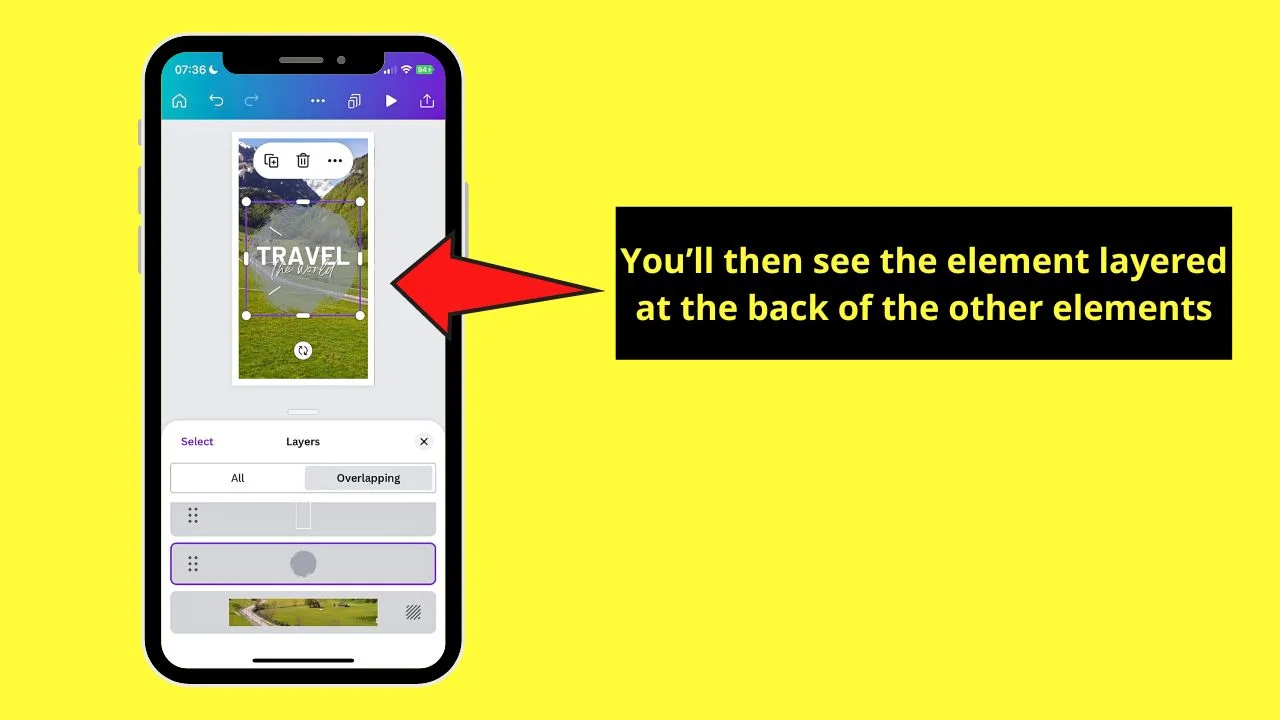
Step 4: Drag the element layer below the other design elements in the panel


Wait for a line to tell you where to insert the element layer you’re sending to back. Once you reach that part, drop the said element layer.
If you need to send to back multiple element layers, choose the “Select” button on the upper left corner and tap on the layers you’ll reposition.

Then drag and drop those selected element layers to where you want them to be positioned, which is at the back of all the other design elements added.
You’ll automatically see on the editor page the changes made to the layering of the design elements.
Step 5: Tap the “Close” button

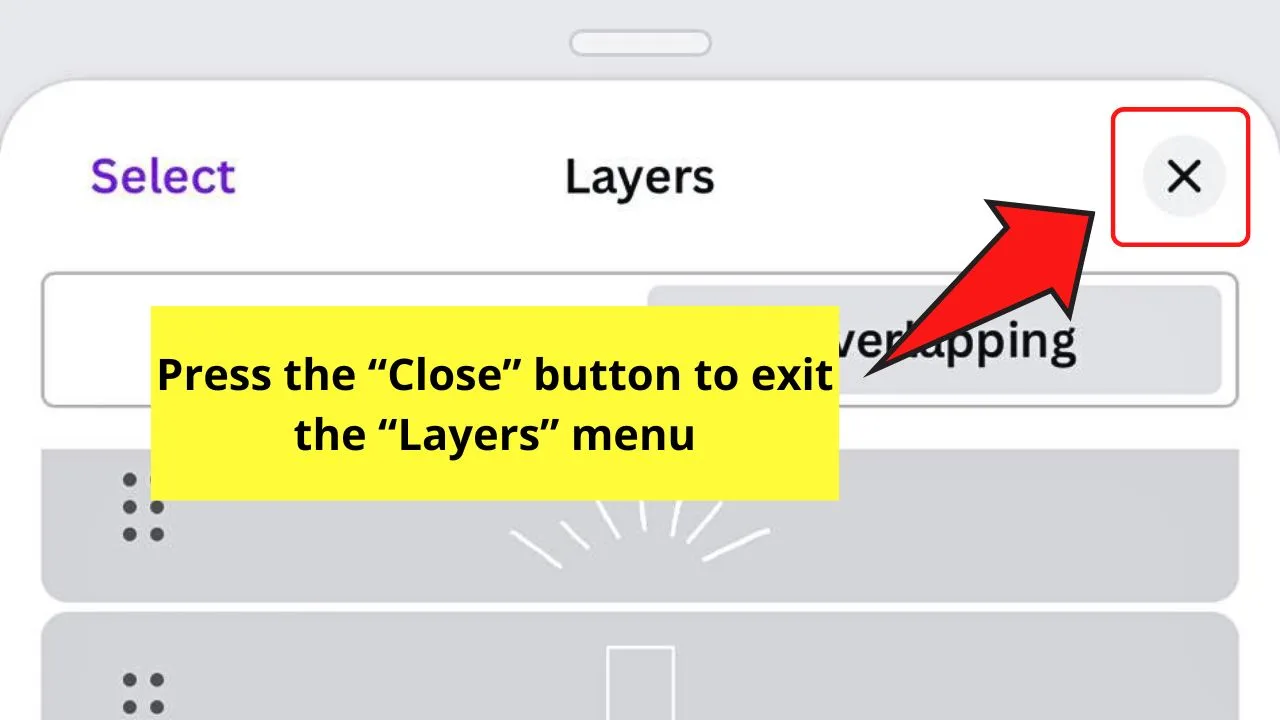
This is the “X” mark you’ll see on the top right corner of the “Layers” panel.
Here’s a video on how you work with the new “Layers” feature in Canva, whether on its mobile app or your desktop.
Very simple, right?
Though the layering options on the Canva mobile app are limited, those features are more than enough for you to design without a PC or laptop.
With that said, you better grab your phones and begin practicing your newly acquired skill now!
Frequently Asked Questions about How to “Send to Back” on Canva App
Can you send a video to the back of another design element on the Canva app?
As mentioned above, you can send videos to the back of another Canva design element. Just tap on it, press the Position button, and select the Backward option. This will then bring the footage clip behind that Canva element.
What other positioning options can find on the Position tab?
Aside from sending design elements in front or behind each other, you can also change their alignment. Just choose from Top, Middle, Bottom, Left, Center, and Right to alter the alignment of your elements on the canvas.
Can I undo sending an element to back on the Canva app?
Like the web version of Canva, you can undo sending an element backward on the Canva app. Just tap the arrow icon that points to the left of the screen (that’s the Undo button) to undo the positioning you performed earlier.
Can you send grouped elements to the back of another design element on the Canva app?
Grouped elements work as one unit. Hence, if you select that unit and send it back through the Position button, you’ll bring those grouped elements to the back with one tap of the finger.


Hey guys! It’s me, Marcel, aka Maschi. On MaschiTuts, it’s all about tutorials! No matter the topic of the article, the goal always remains the same: Providing you guys with the most in-depth and helpful tutorials!

