Do you wish to edit out a particular part of the picture you’re currently editing?
Before 2012, perhaps your go-to photo editing tool to cut out certain sections of an image would be Photoshop.
But, now that Canva’s here, you can now have a breezier option when you just want some quick cropping to do.
Thanks to Canva’s crop button, all you need to do is double-tap on the picture you’d like to edit to activate it.
However, there’s a bit of a different dynamic when you’re using Canva’s mobile app. So, if you’re ecstatic to unlock this skill, better keep reading.
How to Crop in Canva App
To crop in Canva’s mobile app, press on the picture once to make a toolbar appear above it. Tap on the “Crop” icon. Then, pinch-and-zoom the image to crop it. After which, tap the “Done” button.
Cropping in Canva App: The 9 Basic Steps
If you’re well-versed with the basics of cropping on Canva’s website, I’ll bet you won’t have a hard time adjusting.
After all, knowing the basics is highly transferable when doing the same task in the Canva app — you just have to work with a smaller screen.
So, are you now ready to learn how cropping is done in the Canva app?
Step 1: After logging in to your Canva account, tap on the “+” sign found in the lower right corner of the home page.
![]()
![]()
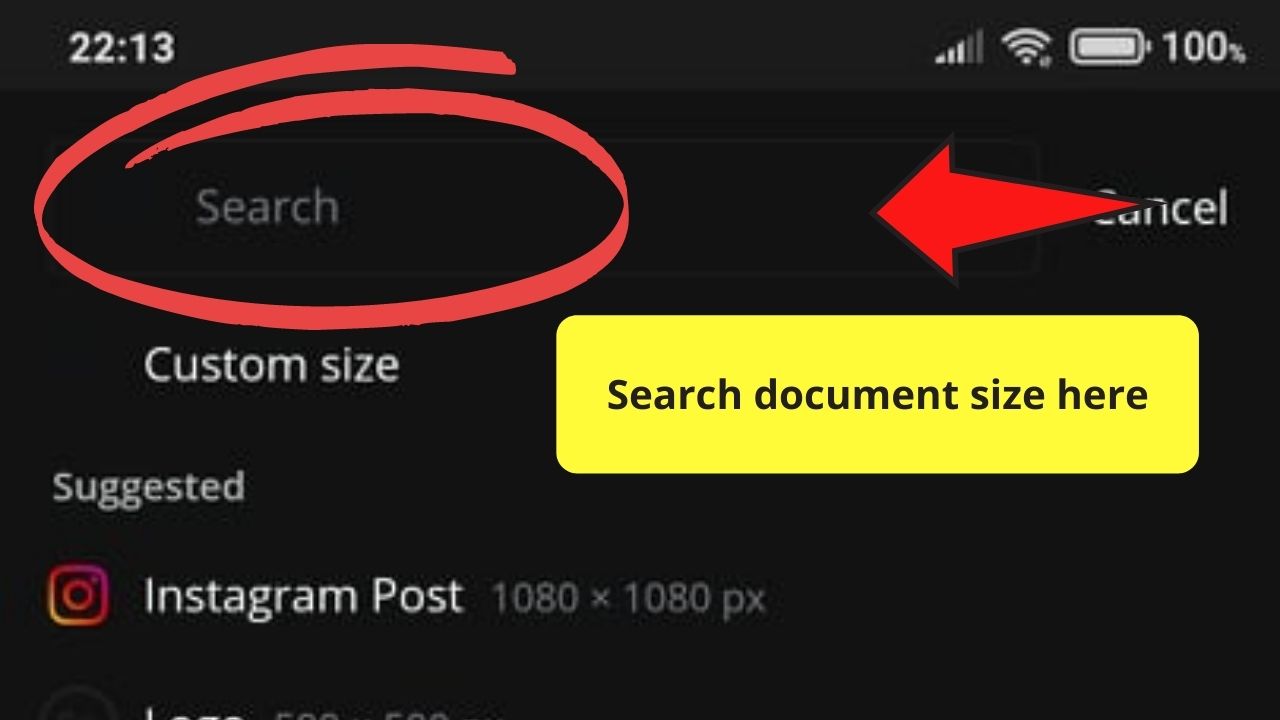
Step 2: Choose what document size you’ll use by scrolling down through the options, encoding what file type you want in the search bar, or tapping on the Custom size option to manually encode the measurements.
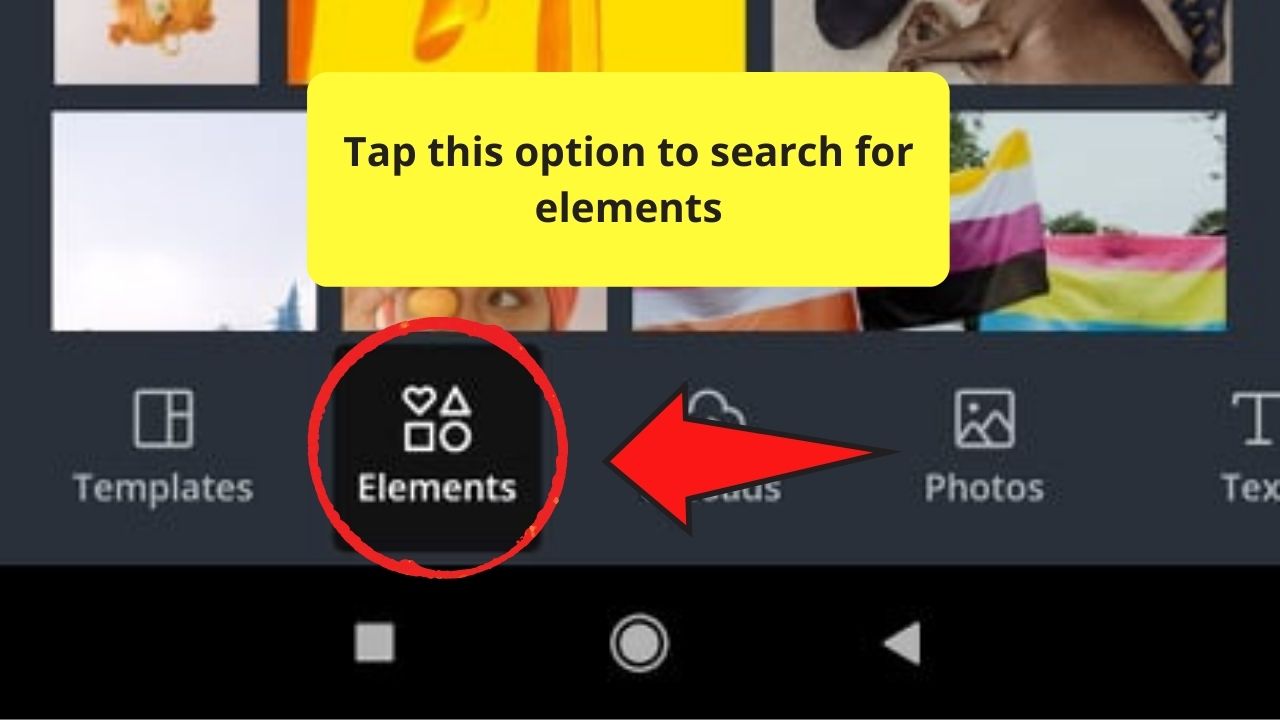
Step 3: Once you’re on the editor page, head to the lower-left corner, tap on the “+” icon so you’ll be redirected to the “Elements” menu.
Step 4: In the “Elements” menu, you can tap on the “See all” option on the rightmost part of the “Photos” gallery.
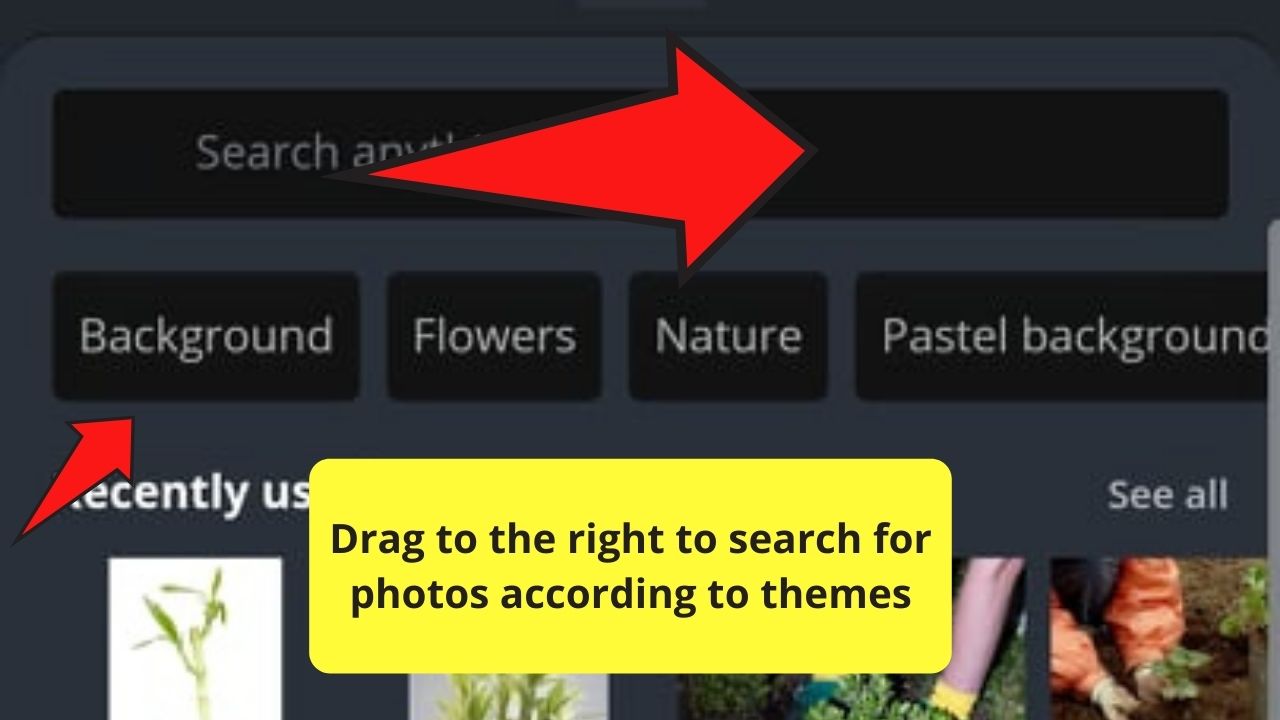
You can also narrow your search further by using the search bar found at the topmost part of the screen.
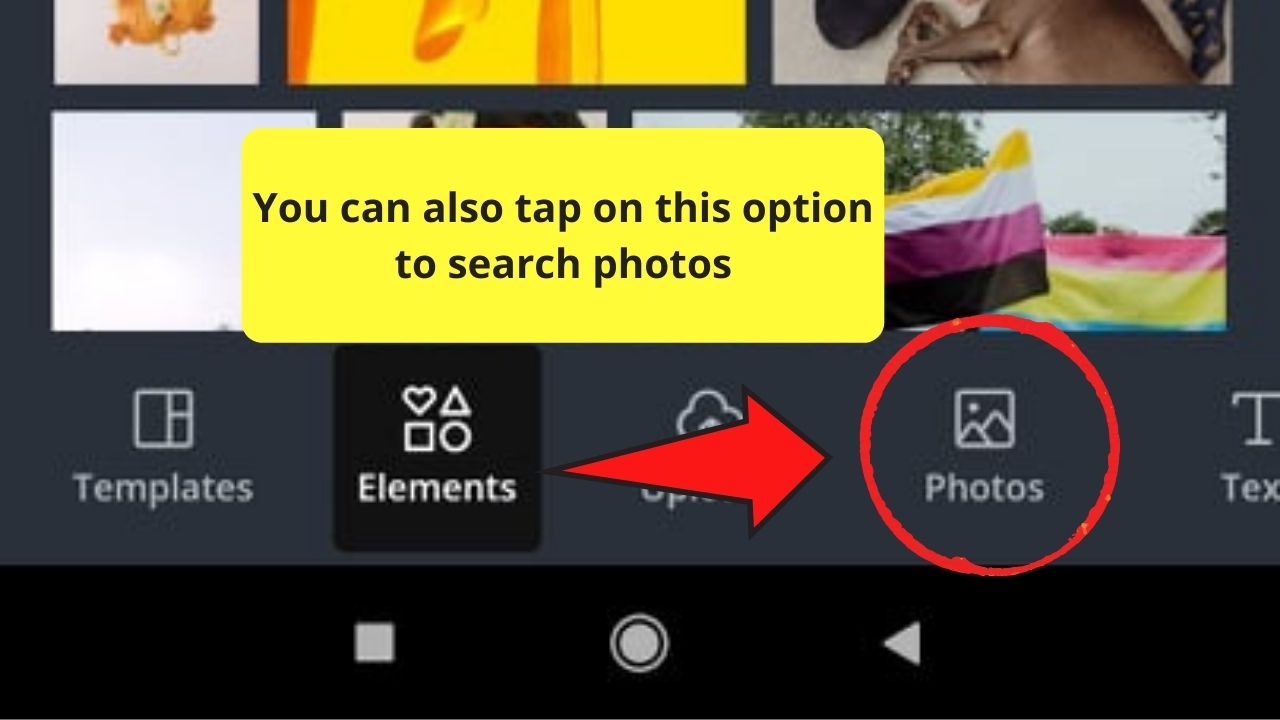
But, if you want a direct route, just tap on the “Photos” menu in the toolbar.
Step 5: In the “Photos” gallery, drag the selection of image themes found on the top part of the screen. Tap on the theme you’d like to source your picture from for the app to show you the choices available.
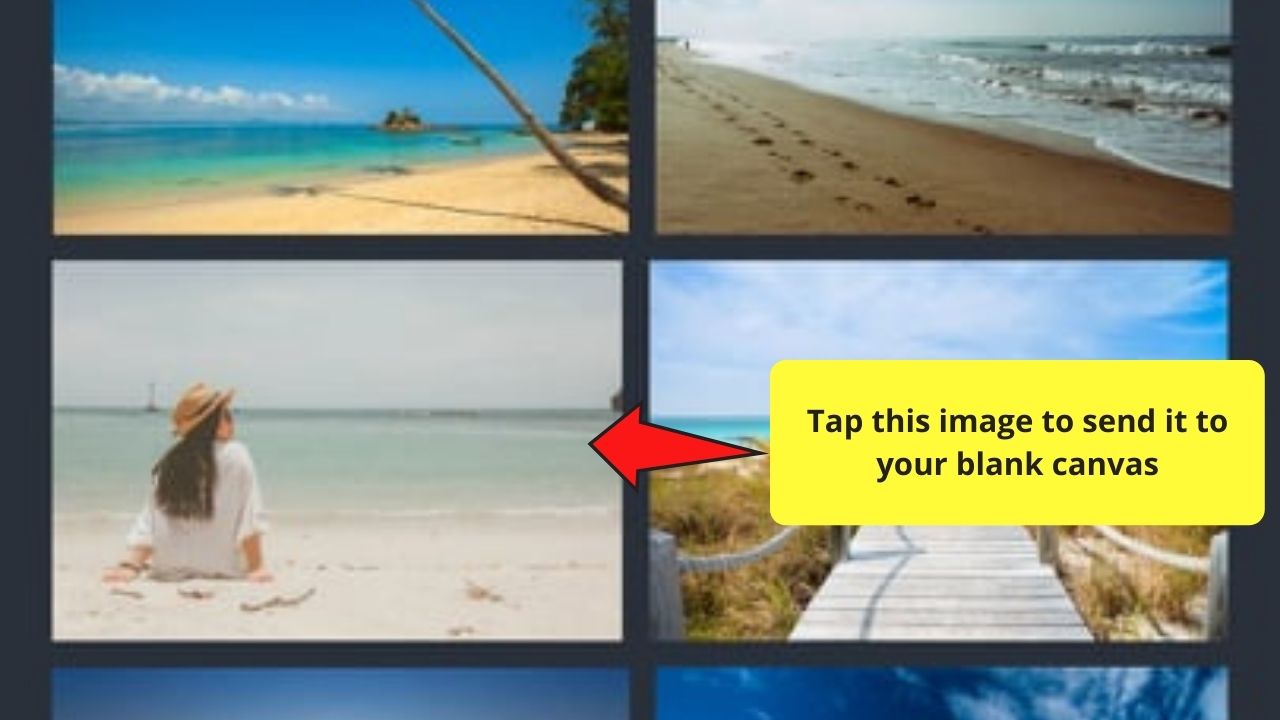
Step 6: Scroll down to find the image you’d like to use. Tap once on the said picture to make it appear on your blank canvas.
Step 7: Click on the image once to select it. Then, head over to the bottom part of the screen and drag the editor toolbar to the left until you see the “Crop” option.
Step 8: After tapping on “Crop,” the photo will then appear inside a grid box, with crop marks on all the corners of the image.
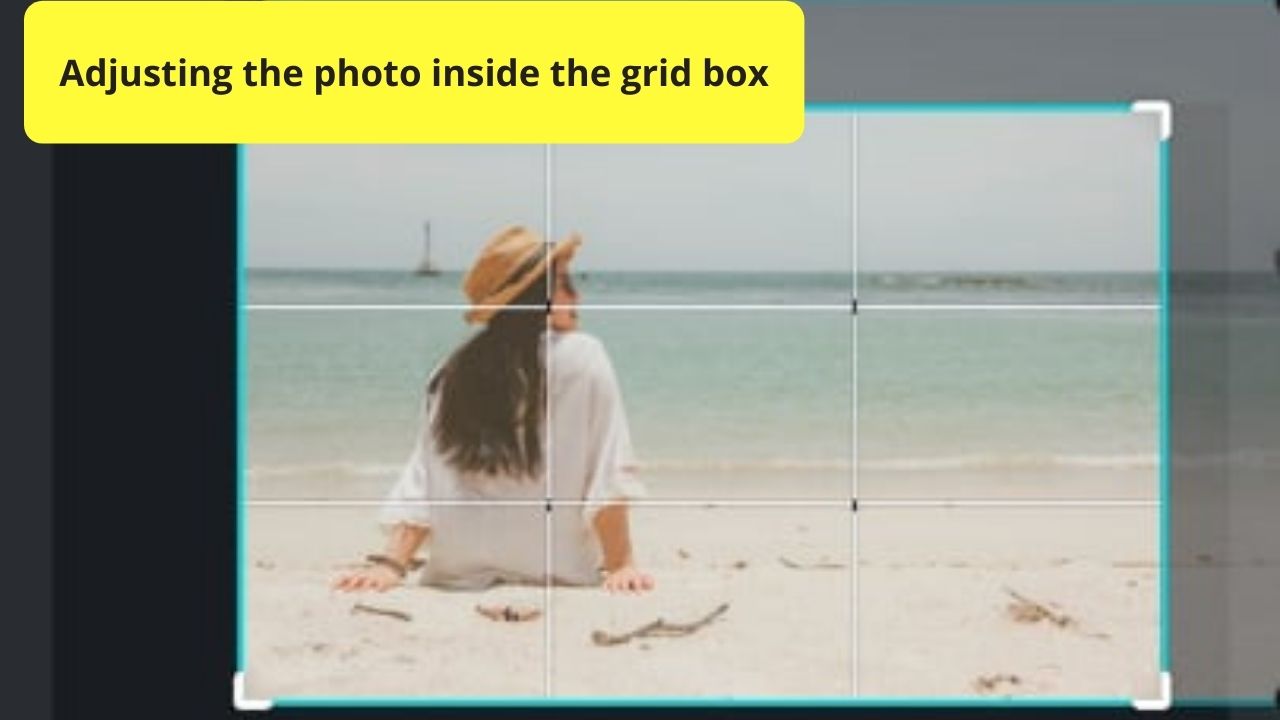
Drag the picture sideways to edit out its unwanted parts.
You can also pinch your fingers together to zoom the photo in. But, if you want to zoom out, then spread your fingers out.
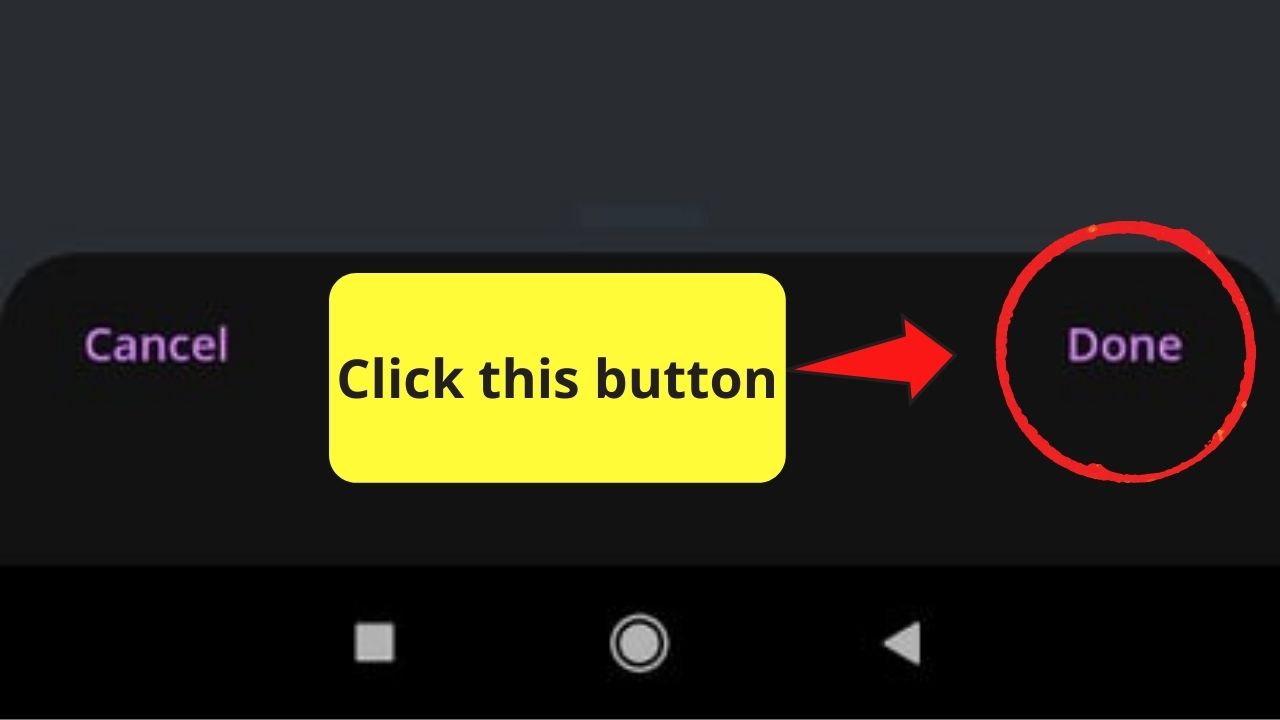
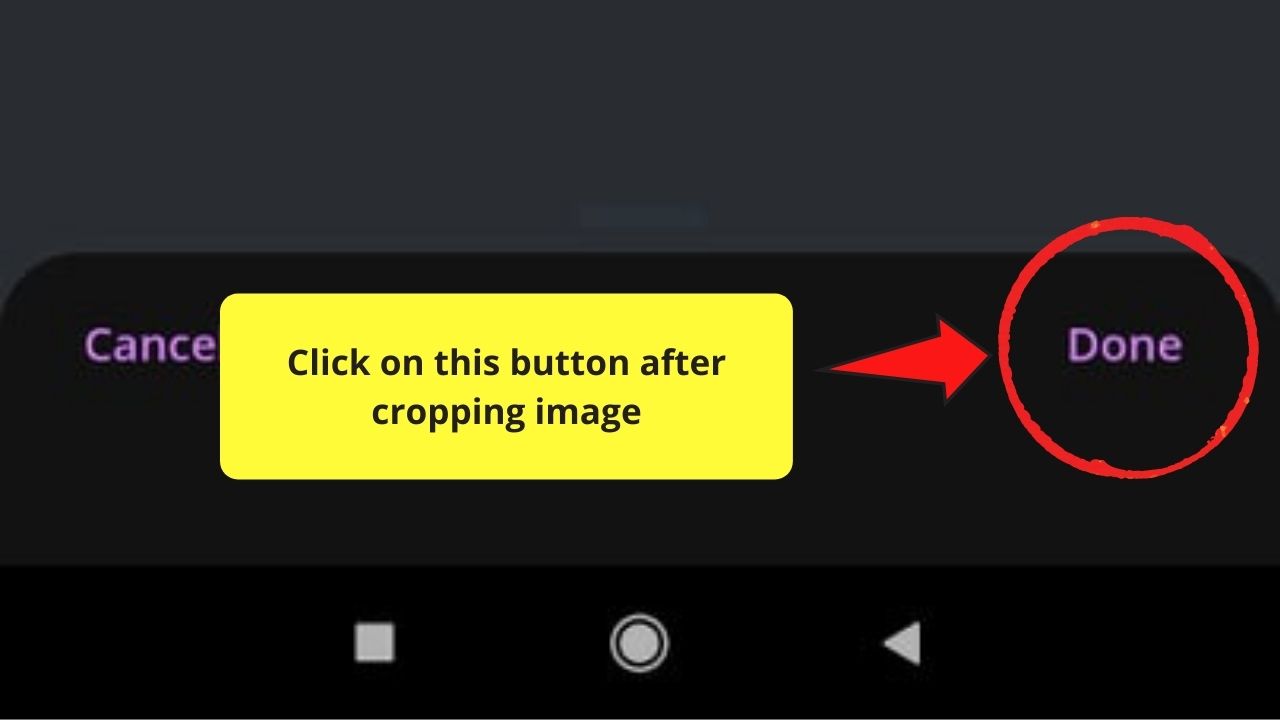
Step 9: Once you’re satisfied with the changes you’ve made, tap on the “Done” button in the lower-right corner of the screen.
And, just like that, you now have a newly-cropped photo you can use for whatever way you want on your design.
Though it’s such a simple step, you can do more out of it like using a frame to change the photo’s shape.
Simply put, let your imagination run free when you’re cropping. And, if ever you don’t like the outcome, just hit on the “Cancel” button at the lower-left of your screen.
Advanced Uses of Cropping in Canva App
Now, you must be beaming after learning the basic cropping technique when you’re using the Canva app.
But, if you were paying attention earlier, you can use a frame (a shape, for instance) to have a fun element.
Step 1: Once you’re inside the design file, tap on the “+” icon on the bottom left corner of the screen.
Step 2: Tap on “Elements” and find the “Frames” section. Click on the “See All” option.

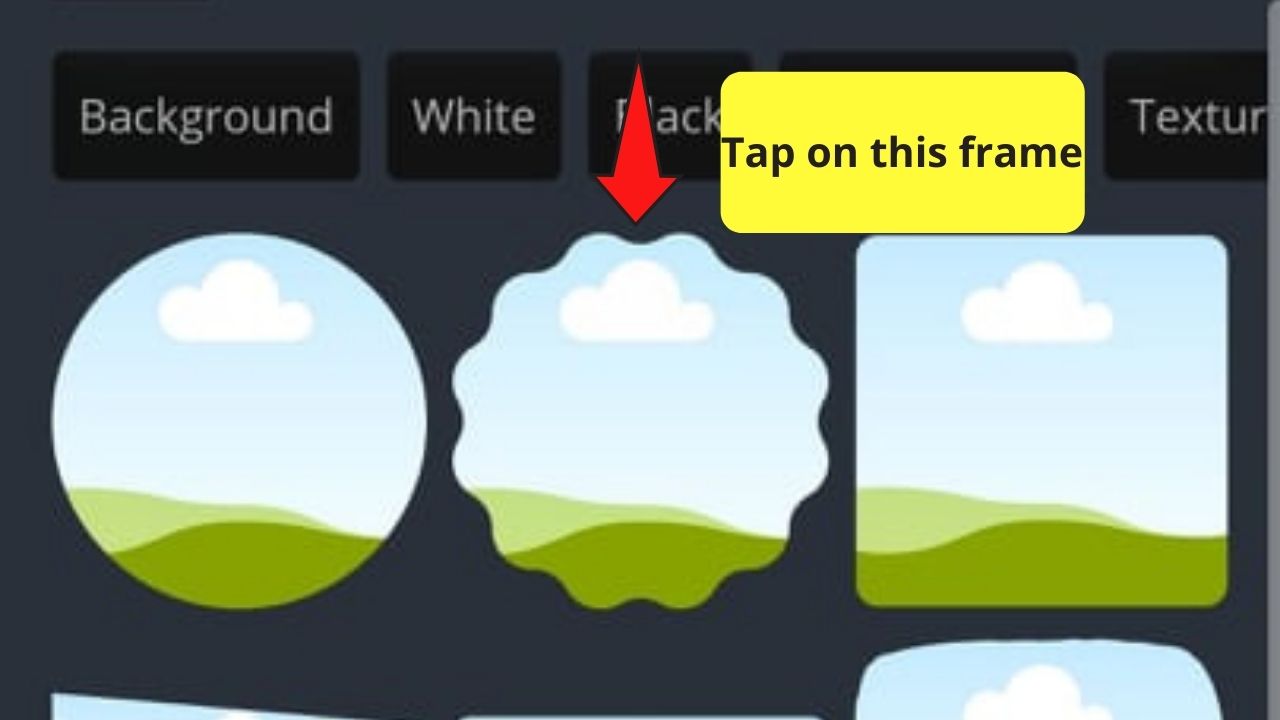
Step 3: In the “Frames” gallery, select the frame you’d like to use for your design. Tap on it to make it appear on your template.
Step 4: At the bottom toolbar, tap on the “Replace” button to select a photo you’d like to use inside the frame. You can opt to use a picture from Canva’s photo gallery or upload one from your device.

Step 5: Once you’ve selected the image to use, tap on it to make it appear inside the frame. If you don’t like the visible area, tap on the frame twice to activate the grid box.
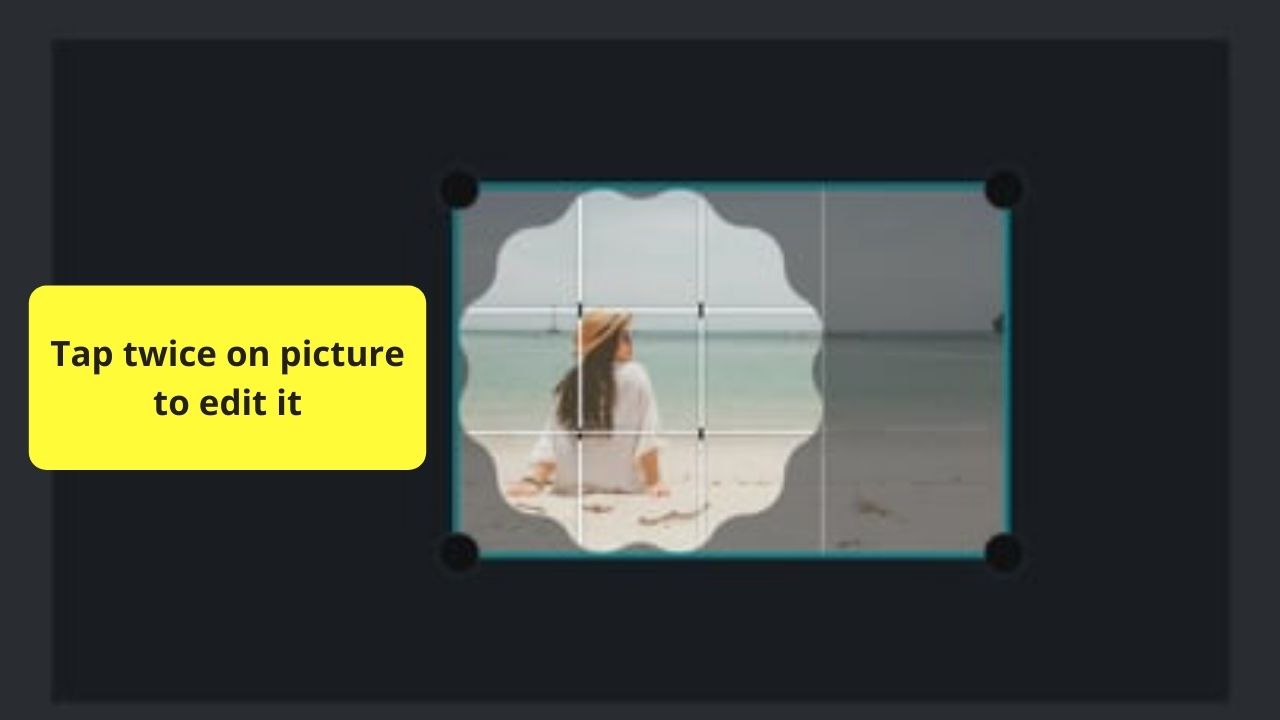
Step 6: Zoom in, zoom out, or drag the photo to the left or right to change the picture’s visible area.
Step 7: After creating the desired changes, simply tap on the “Done” button to apply what you’ve done.
And, wallah! You now have an intriguing cropped photo for your design!
Super simple, right?
So, what’re you waiting for? Get your phone and start cropping pictures on your Canva app now!