Now that everyone’s asked to stay at home, people try to find ways to keep themselves occupied and entertained.
While others choose to binge-watch movies and Netflix shows, others prefer to have a quiet time and read ebooks.
Ebooks, or electronic books, are the digital format of the publications authors make nowadays.
You can read your favorite novel or study for your exams from the comforts of your mobile devices and PCs.
But, if you’re curious enough, how do writers manage to create such stunning ebooks digitally? Did they use a unique program to come up with their ebook designs?
Well, if you know how to use Canva, then ebook designing becomes a breeze.
How then precisely can you create an ebook in Canva? Better continue reading below for you to find out more juicy details about the topic.
How to create an Ebook with Canva?
While it may sound technical, creating an ebook in Canva isn’t too hard, even for newbies. Log in to your Canva account, create a project template using A4 or US letter size, and search for ebook templates in the “Templates” tab. Once you’ve chosen your layout, you can choose whether to use all the pages on that template or select only one or two from them. Once you’re done choosing, start customizing your ebook. After which, download your ebook in the file type you’d like to use and publish it accordingly.
Step-by-step guide in ebook creation using Canva
As mentioned above, creating stylized ebooks in Canva isn’t something that you need to wrack your brains over to start.
Though ultimately, you’ll need to conceptualize the theme you’d like to use, Canva can help you choose what design to go with through its array of choices.
So, let’s start creating your ebook using the steps below.
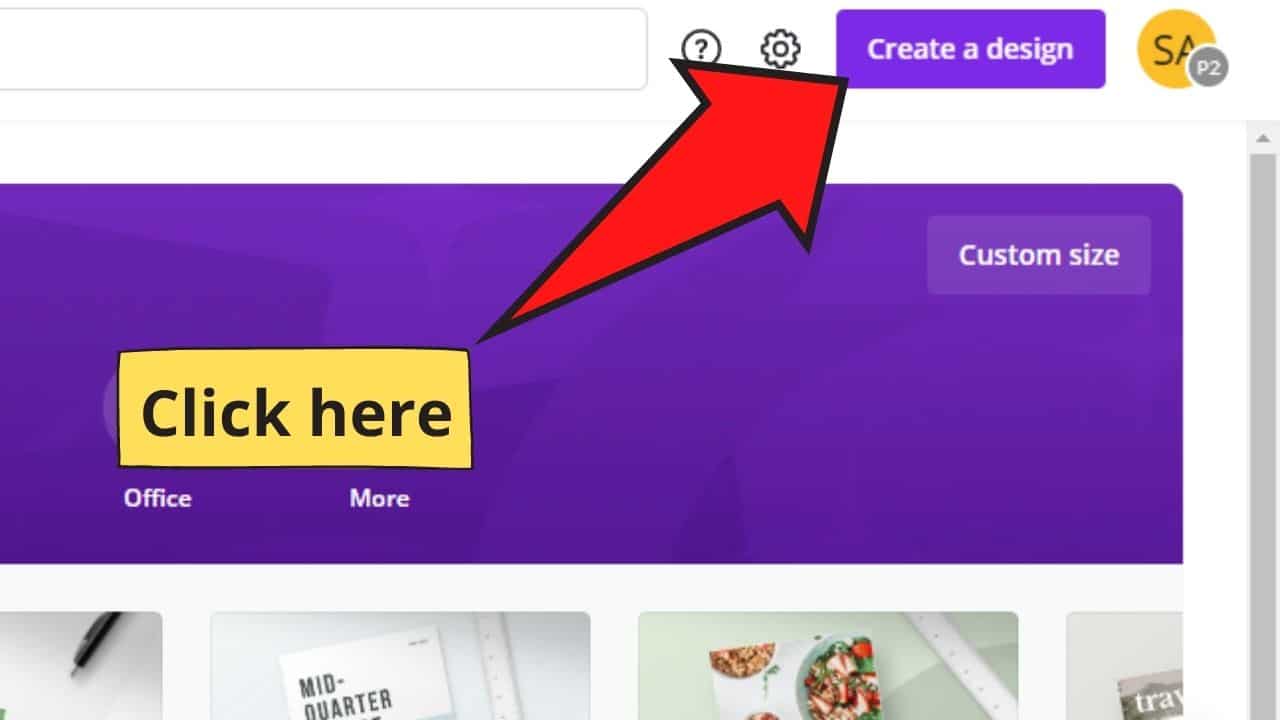
Step 1: Log in to your existing Canva account. Once inside your account, head over to the “Create a design” button.
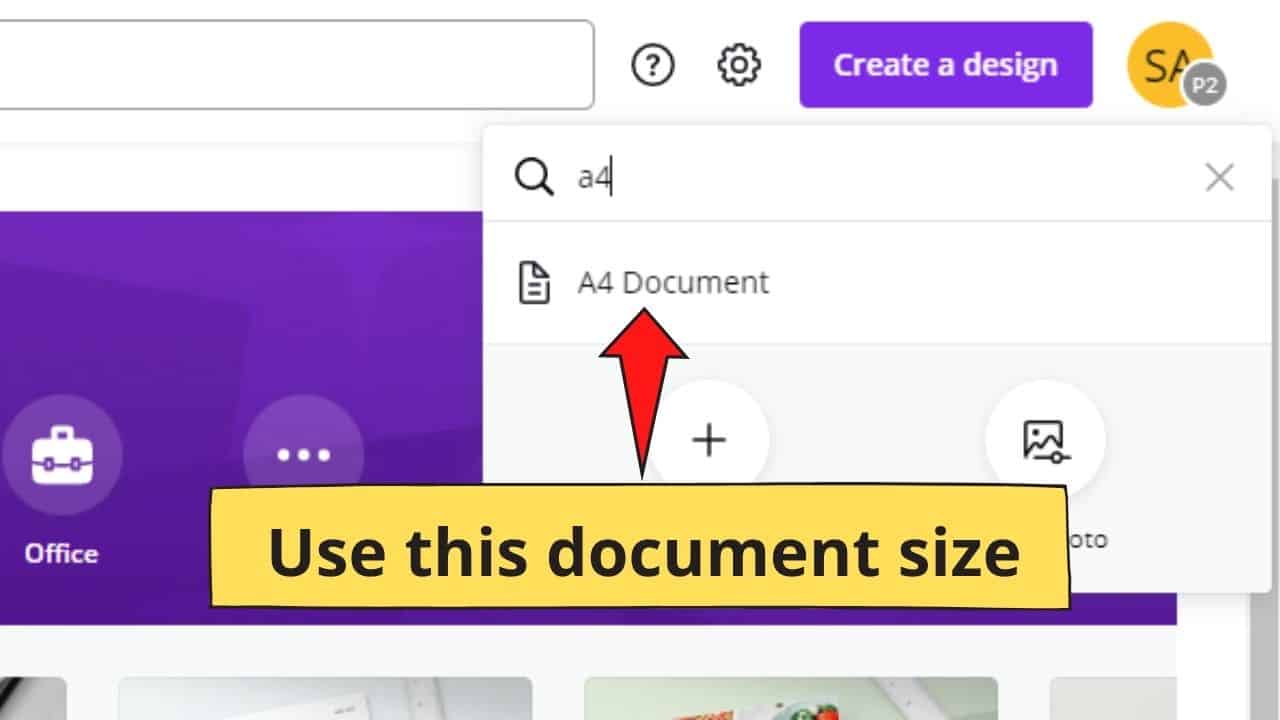
Step 2: In the search bar of the dropdown menu that appears, type the words “A4” or US Letter” for the size of your template. You can also do this manually by clicking on the “Custom size” button and input the dimensions you’d like to use.
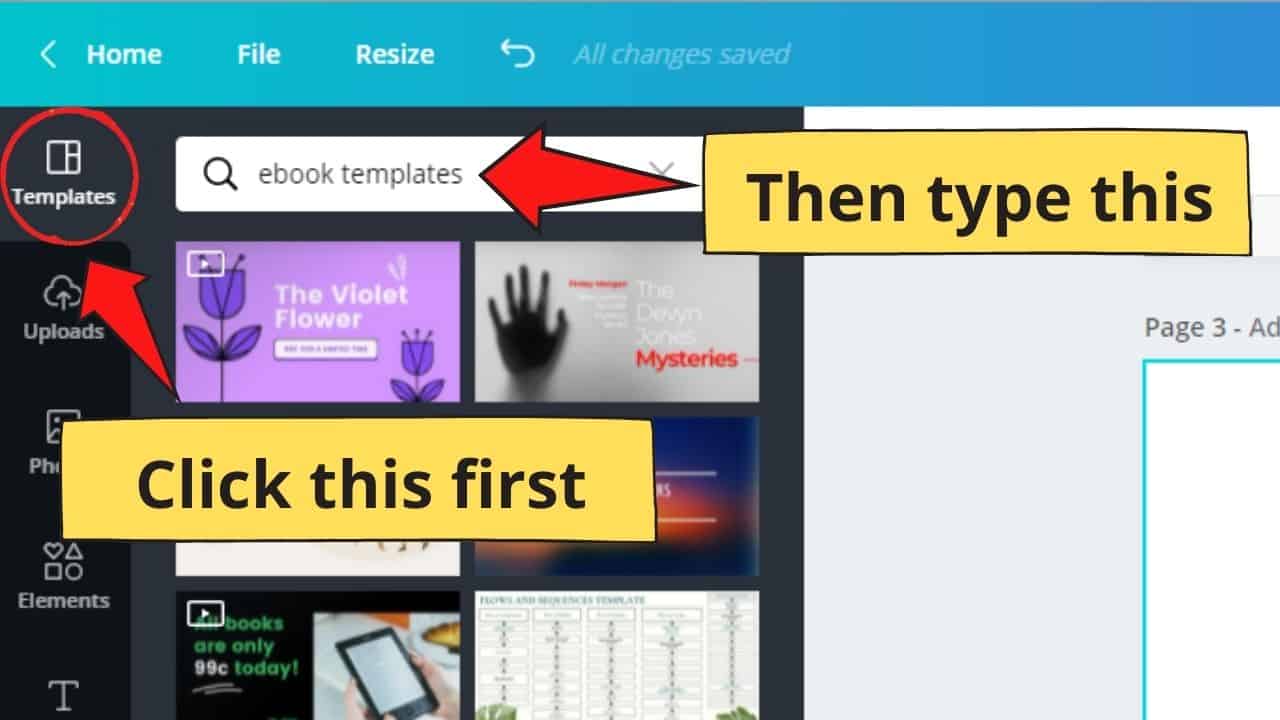
Step 3: Once a blank template appears, head over to the left side menu of your Canva screen and click on the “Templates” tab.
Step 4: On the search bar of the “Templates” tab, type “ebook templates.” Wait for the available designs to load.
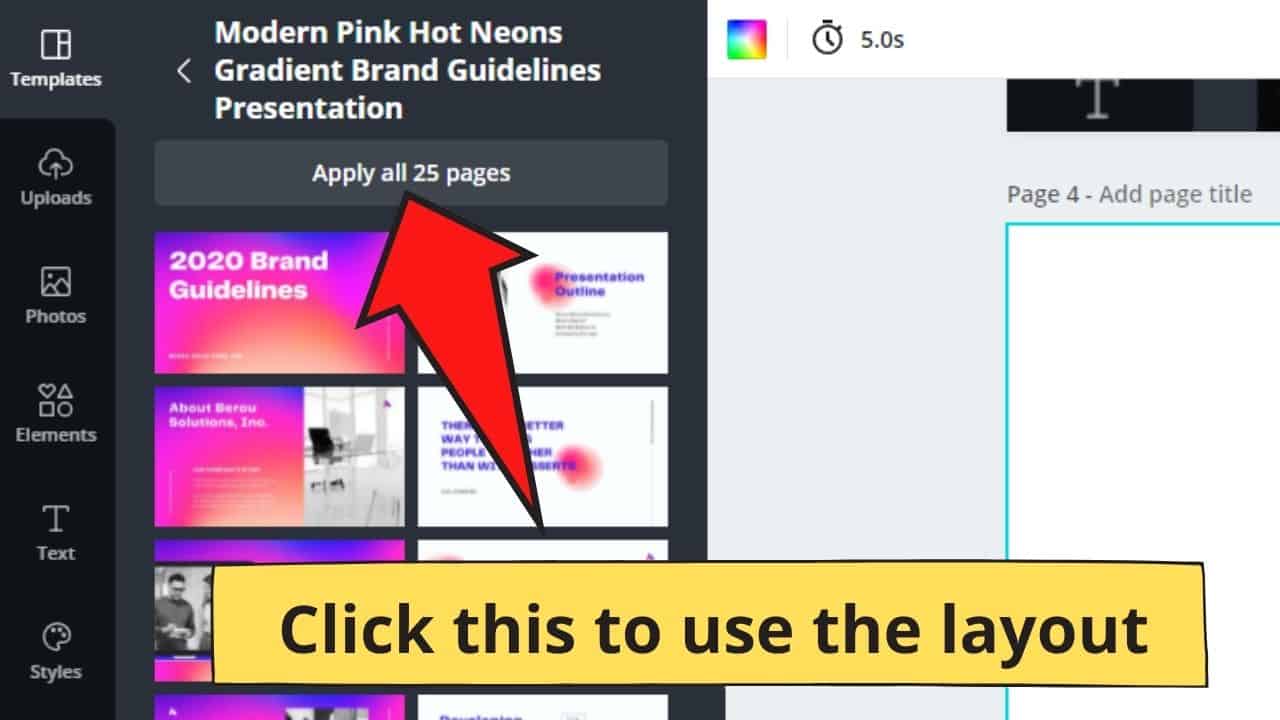
Step 5: Choose what layout you’d like to use for your ebook. Hover over the ebook templates to check if it contains more than one page.
Step 6: Select “Apply all pages” if you want to use all the designs of that particular template. If not, you can click and drag the layout you’d like to use on your project.
Step 7: Edit and make the necessary changes to your ebook design. Add elements and images, move the text boxes around, or change the font style and size of the text according to your liking.
Step 8: Change the color theme of the template you’re using.
Click on the text, background, or element you’d like to change the color, and click on the corresponding colored box at the white Canva toolbar.
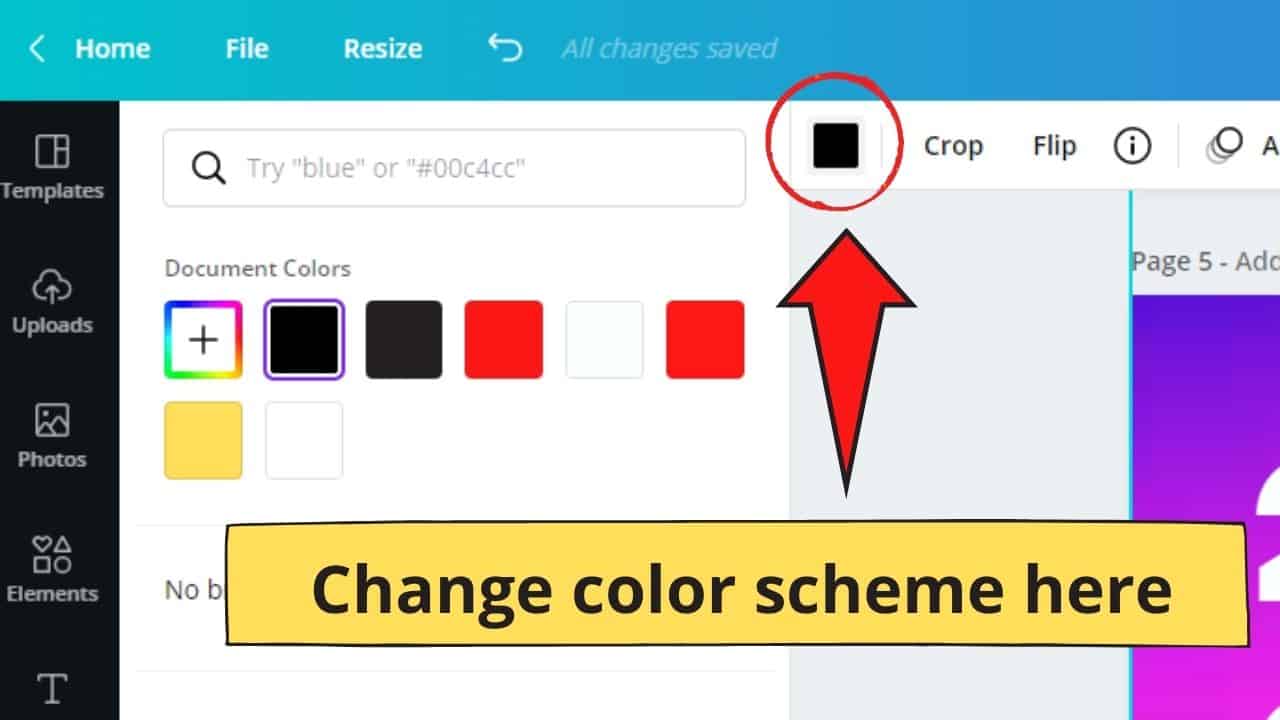
Step 9: A color menu will then appear. Click on the color that you’d like to use. If you’re not satisfied yet, click on the other colored boxes in the said menu. You can also input specific color hex codes in the search bar if you want a particular color shade.
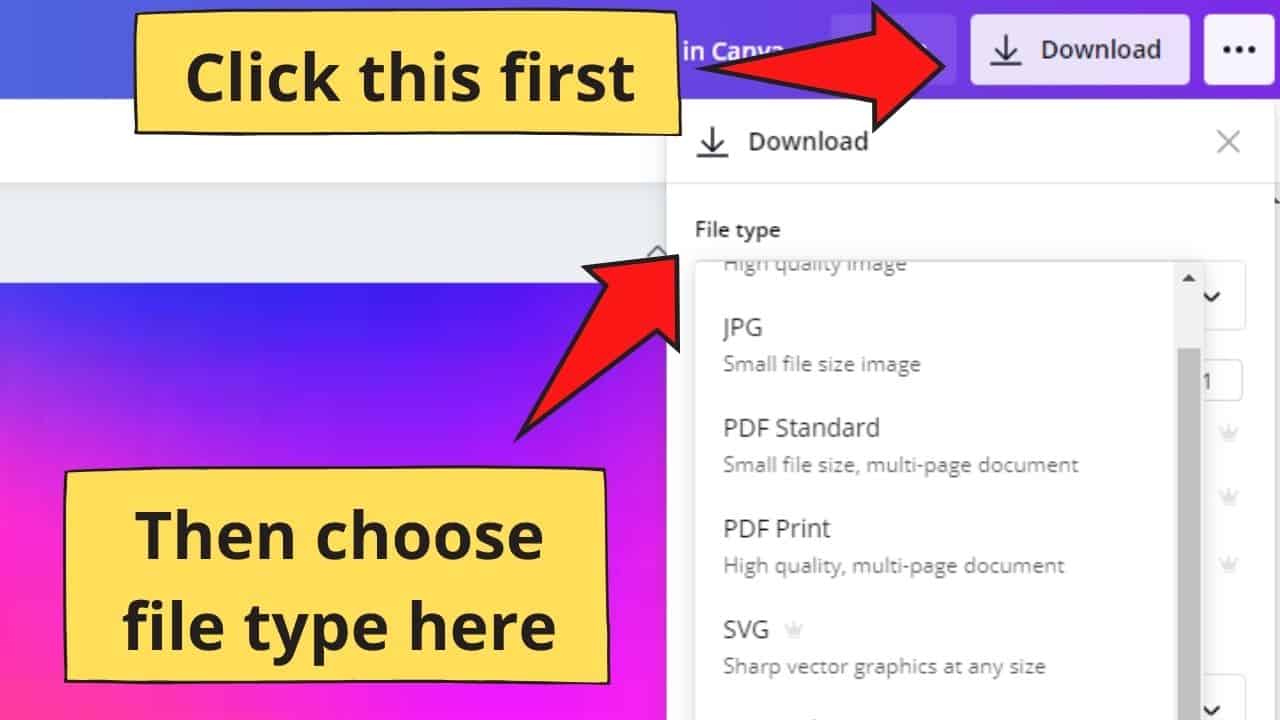
Step 10: Once you’re satisfied with your ebook design, head over to the “Download” button at the white toolbar. Click the file type you’d like to save your project template before you tap on the purple “Download” button at the bottom of the dropdown menu.
If you’d like to make sure that your ebook will look stunning even in print, make sure to download the design as a PDF print. It is also possible to choose an image format such as JPG and you could later turn this into a pdf, but converting JPGs into PDFs is certainly not the best way to go about it.
There is no reason why you should not choose PDF print from the start to get the best quality.
This will ensure that your ebook maintains the standard high-resolution image DPI of 300.
Also, if you’re already a Canva Pro user, you can create your brand kit.
Brand kits not only provide ease and efficiency in designing your ebook. They also ensure that you stay consistent with your branding if you already have one.
Adding and removing ebook pages – is it possible?
Now that you know the basics of customizing your ebook in Canva, you’re now all set up to create your very own.
But what if you’ll need more pages for your ebook?
What if your editor (if you have hired someone to do the proofreading for you) tells you to remove certain pages.
Are these options even possible after you created them in Canva?
Well, you’re in luck, as adding and removing ebook pages in Canva’s easy for even the newest of the tool’s users can do it as well.
In adding pages to the ebook template you’ve created, there are two ways you can achieve this.
It all depends if you’re using another layout or you’d want to use the same for the additional page.
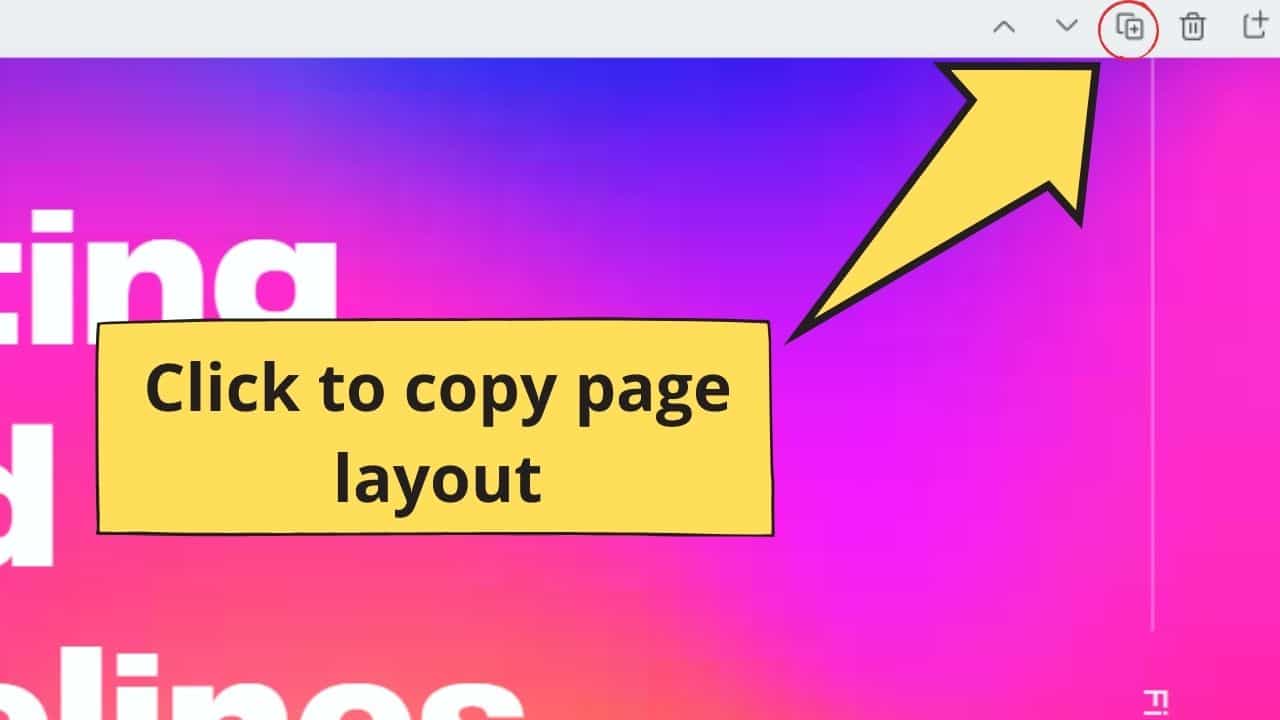
If you want to add another ebook page without changing its layout, all you need to do is click on the “Duplicate page” option.
You can find this tab in the upper right corner of the current page you’re working on. This button’s located to the left of the “Delete page” icon.
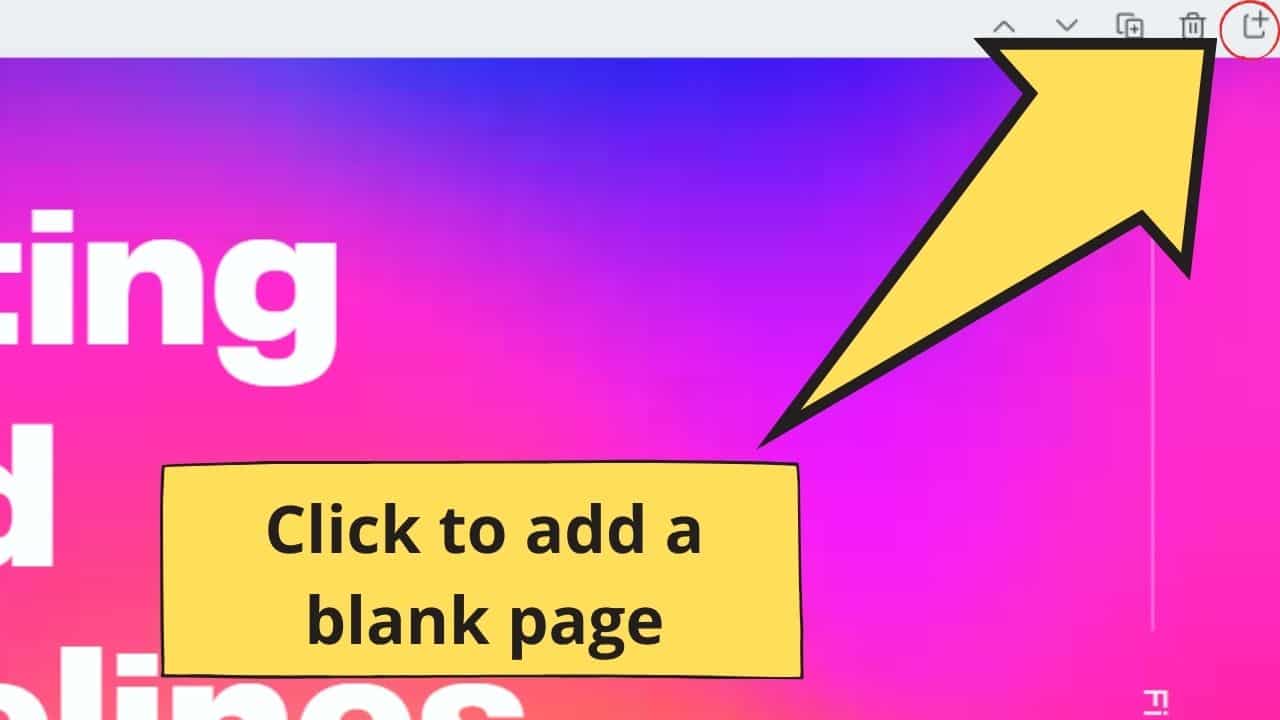
If, however, you want to add a blank page devoid of any layout, then hover your cursor on the upper right of the project template.
But, instead of clicking the “Duplicate page” tab, tap the “Add page” option. This will automatically add a blank page beneath the current one you’re working on.
Once you’re done with this part, you can once again head over to the “Templates” menu to find another ebook layout you’d like to use for your design.
Now, if you feel the need to remove pages, you don’t have to wrack your brains over it as well.
Hover your cursor on the upper right-hand corner of the said page and click on the “Delete page” icon.
What can you do if you exceed the maximum allowable ebook pages?
Adding or deleting pages in Canva is a cinch. You don’t need to overthink, as the user-friendly tool already provided such options for you.
But, while there is no limit to the length of the ebook you’re making, there is a maximum number of pages you can add to a particular design file.
With that said, do take note that for every design you’re making, you can only have 100 pages in it. So, what to do now if your ebook exceeds that limit?
Is there a need for you to shorten your ebook?
Well, the choice is yours to make. You can most certainly omit certain pages of your ebook, but that can affect its overall quality as well.
While it isn’t possible for you to do so, that will be an arduous process. But, if you can’t compromise your ebook quality just to fit Canva’s page limit, then you don’t have to do so.
Duplicate the current design file you’re working on. Head over to Canva’s home page and click on the “All your designs” tab on the left-sided menu of the Canva screen.
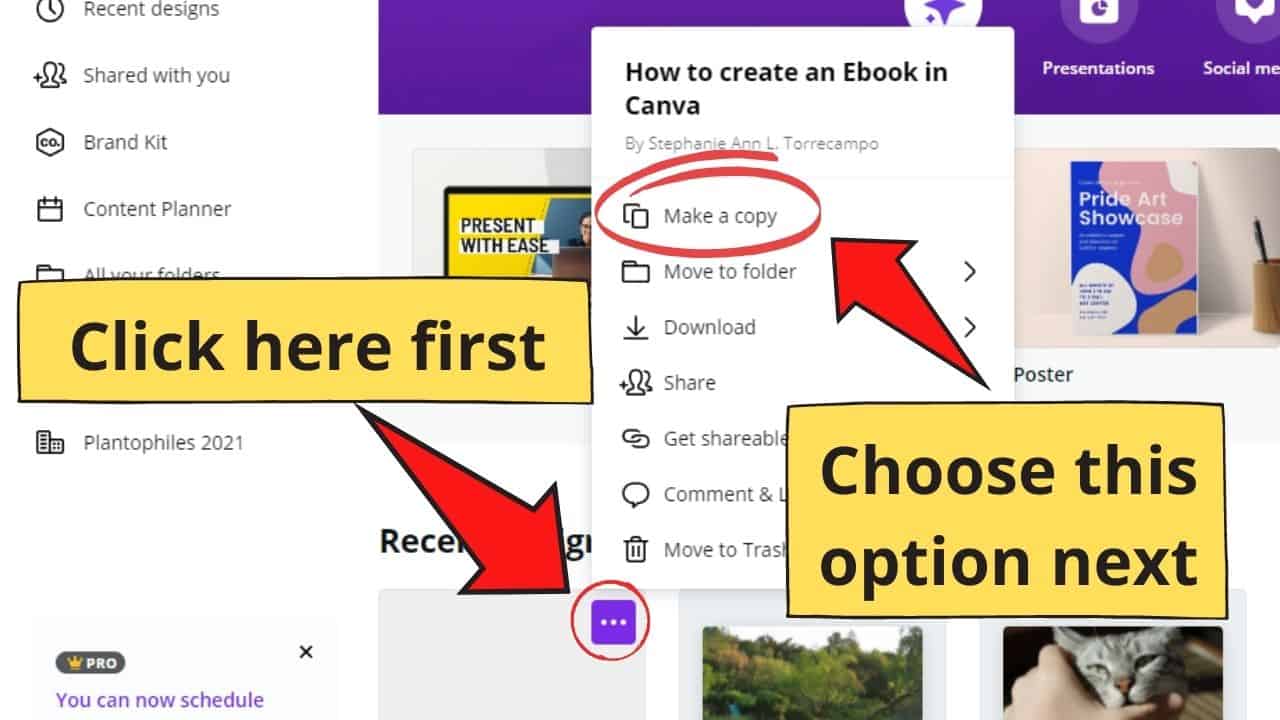
Once you’ve done that step, find the ebook design file you’ve been working on. But, instead of directly clicking on it, hover your cursor at the upper right of the said file until an ellipsis (a series of three dots) appears.
After which, click the said ellipsis icon to activate the dropdown menu. Select the “Make a copy” option so you’ll have the exact copy of the layout you’ve used for your ebook.
Now that you’ve created a duplicate of your ebook rename the said copy and continue with designing.
However, the big question is how you’re going both design files into a single ebook copy?
Well, this time around, you’ll have to use a third-party app called a PDF merger to combine those two Canva ebook design files you’ve made.
But, for you to do so, you’ll need to download both templates first as PDF. Choose either “PDF Print” or “PDF Standard” from the “File type” options in the “Download” menu to download your designs.
Once done, head to the smallpdf.com website. Once on the said website, search for the “Merge PDF” button.
Upload the files to the site by clicking the “Choose files” button or dragging the PDFs you want to merge directly on the uploading section.
After which, wait for the app to finish the merging process. Once the merging’s complete, follow the instructions in downloading the newly-merged PDF into your device.
And, wallah! You already have a computerized copy of your complete ebook ready for publishing!
Text wrapping in Canva: The basics
Now that you know the ebook designing basics on Canva, let’s take your creative process to a whole new level with text wrapping.
If you’re an avid newspaper reader, you’ll notice how some of the text on the said page seamlessly surround a particular image.
And, what makes it all the more interesting is that the picture doesn’t create a cluttered look on the page itself.
For those who aren’t familiar with such a layout, that feature is called text wrapping. And, when you say text wrapping, it simply means that you can surround images or graphics with the text.
Technically, text wrapping ultimately provides a polished and professional feel to your ebook. Also, it helps your readers focus more on the most important content on that page.
But is it possible to bring that text wrapping feature in the ebook you’ve created on Canva?
Though there is no option yet on Canva to wrap your text around an image or perhaps an element, you can use a hack to achieve the same effect.
First, you’ll need to upload your desired photo on the graphic tool itself. If you’d like to use a stock photo from Canva, that’s fine as well.
Once you’ve chosen the image you’d like to use, drag it on the template page where you want to place it. Say, for instance, it’s the “About the Author” part of your ebook.
After which, crop the photo to the size you’d want it to have with the white crop marks at the sides of the image.
Now, the tricky part here is that you’ve already “written” the text on the page. But, you can still achieve the text-wrapped look despite this current dilemma.
All you have to do now is create another layer of text. Click the “Duplicate” icon on the upper right corner of the toolbar to have two copies of the text.
Now that you have duplicated your text resize the font of the first layer of text you’ve created to make it smaller.
At this part, you can still resize the picture you’ve used if you think it’s too big to achieve the text wrapping effect.
Once you’re happy with the image size, the next thing you’ll do is remove some of the text from the first layer so it’ll fit the space next to your photo. Make the necessary adjustments depending on what works best for your intended layout.
Now that you’ve modified the first layer of text go ahead and do the same for the second layer. Just remove the part you’ve already added and make the font size similar to that of the first layer.
Do some resizing of the text box to create a more polished look. And, wallah! You already have a text-wrapped section in your ebook.
Adding graphs and tables on your Canva ebook
Most of us think that ebooks mainly talk about the light stuff. Romance, life hacks, name it.
But, one interesting about ebooks is that you can use them for the more technical stuff. Like, you know, pie charts, table graphs, Venn diagrams, and many more to mention.
Now, if you’re currently creating an ebook that needs to have graphical and tabular presentations, then better learn how to make one with Canva.
Though, of course, you won’t easily find an editable graph template from the gallery straight away. But, you can make your own by following these few tips.
For the first part, head over to the left side of your Canva screen and click on the “Elements” tab from the menu. Choose a shape you’re going to use for your illustration from the “Shapes” option.
Once you’ve chosen your shape, go ahead and duplicate those said shapes using the “Duplicate” option. You can even go ahead and use the keyboard shortcuts “Ctrl + C” (copy) and “Ctrl + V(paste) to make the process faster.
After duplicating the shapes to your desired number, arrange them on how you want them to appear.
You can even customize the fill of the shapes by clicking on the colored boxes on the upper left corner of your toolbar.
Also, a graph or chart isn’t complete without adding text to it. To add text, hit on the “T” button on your keyboard, and a textbox will show up.
If you’re planning to create a table, head over to the “Elements” tab and use rectangular or square shapes from the “Shapes” section mentioned earlier.
After which, duplicate the said shapes to create the rows and columns. Once done, create the header rows, input the text, and group the cells together using the “Group” option found on the white toolbar above the template.
Downloading your Canva-made ebook: The how-tos
After the grueling process of designing your ebook on Canva, it’s now high time to download and publish them!
But, how can you ensure that what you’ve created on Canva holds the same high-resolution quality once you download or publish it online?
While Canva still doesn’t have direct downloading of 300 DPI JPG or PNG pictures, you can achieve the same effect with this technique.
As you can remember in the “Download” button on the upper right corner of the Canva screen, the first tab you’re going to see is the “File tab” menu.
While it initially shows the “PNG” file type, you can change this by clicking it to activate the dropdown menu. Once you’ve done so, scroll down until you see the “PDF Print” and “PDF Standard” choices.
But, don’t get confused about what you choose.
If you’re planning to download your newly-created ebook and print it, then go with the “PDF Print” tab. If you’re not, then you can choose the “PDF Standard” instead.
Whichever file type you choose, though, rest assured that it’ll keep the 300 DPI resolution you’re looking for.
But, PDFs aren’t web-friendly if you’re planning to publish your ebook online. So, the best option you can make is to convert it to a JPG file instead.
To do this, visit a third-party website like pdfconvertonline.com to convert your entire ebook into the web-friendly JPG file.
If you want to be sure that the ebook has the 300 DPI resolution, then right-click on the image you’ve downloaded and check out its properties.
So, are you now ready to create your very own ebook? If you are, then better head over to your Canva account and start making your first ebook design.
Or, if you want to hone your Canva skills a little further, you can learn how to create tables first so you won’t have a hard time making one on your ebook.
Best of luck and have fun designing!