

Everyone knows how nifty Google Docs is as a word processing tool.
Not only is it accessible, but it also allows for easier collaboration and makes tracking changes incredibly easy.
But, does the word processing tool allow its users to create fillable forms within the app itself?
Or do you need to add a plug-in for you to create them right within Google Docs?
Well, all of these will be answered if you pay close attention to what I’ll explain below.
How to Create a Fillable Form in Google Docs
Standard Gmail account holders cannot create fillable Google Docs forms. But, you can create one by adding textboxes through tables or by installing “Fillable Document.” If you have a G-Suite account, then you only need to create a template to make your current Google Docs document a fillable form.
Fillable forms nowadays are such a hit, especially that almost every sector in this world’s becoming digitalized in its processes.
And part of those processes is the need to print out fillable forms for the intended users to fill out with the traditional pen-and-paper method (If you want to print double-sided in Google Docs, then you can obviously also do that very easily.)
However, most of us think that you need to convert a word file into a PDF before you can fill it out from your computer.
If you still think that way, then you need to do some updating as you can easily create a fillable form right within Google Docs using 3 ingenious methods.
Method 1: Creating Fillable Forms in Google Docs by Adding Textboxes through Tables
Unlike some tools like Canva where you can add a text box within the app, Google Docs currently doesn’t have that feature.
However, a nifty way to work around this is to add tables within the document instead.
Step 1: After opening a blank Google Docs document, head to the menu bar and select the “Insert” tab.
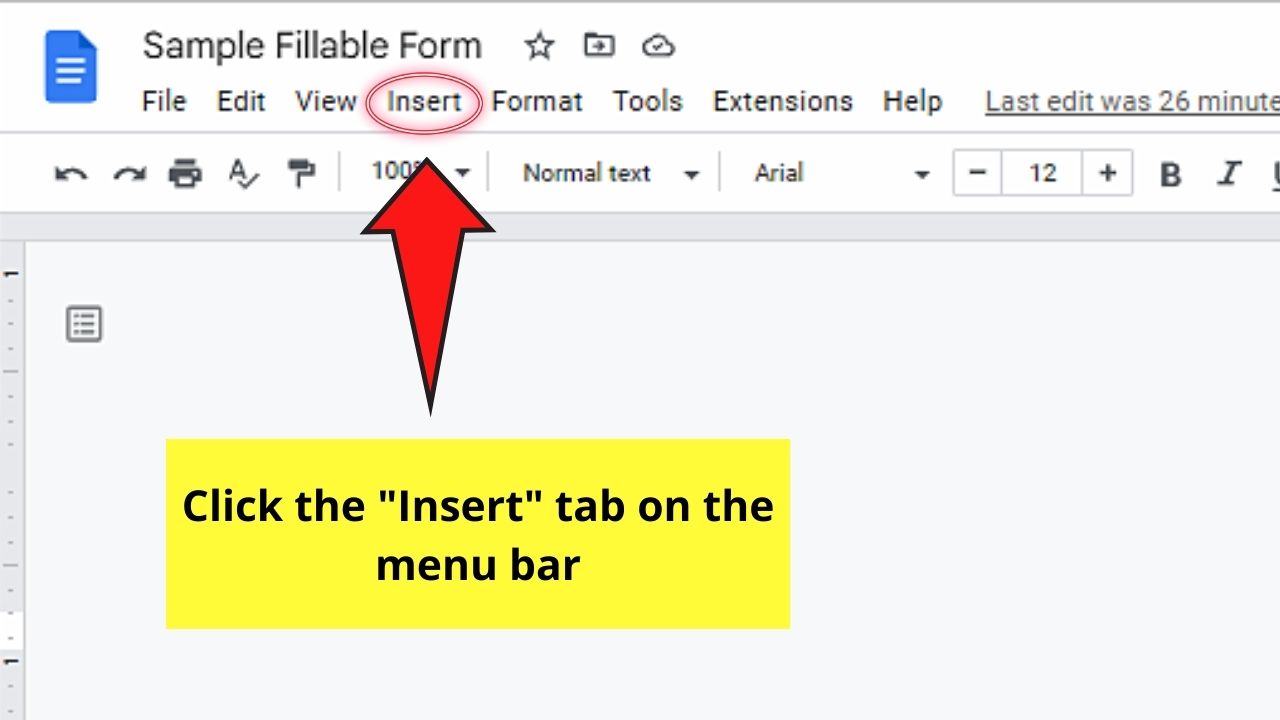
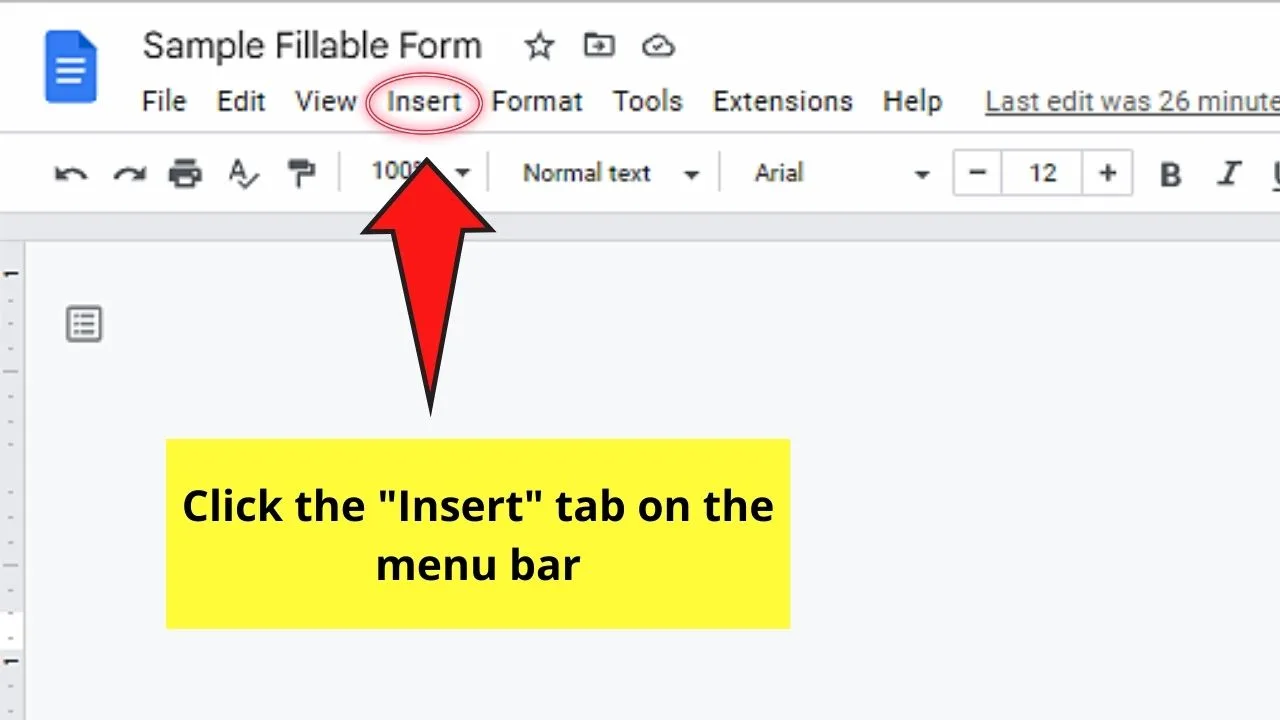
Just make sure to place the cursor in the area within the document where you want the fillable part to be.
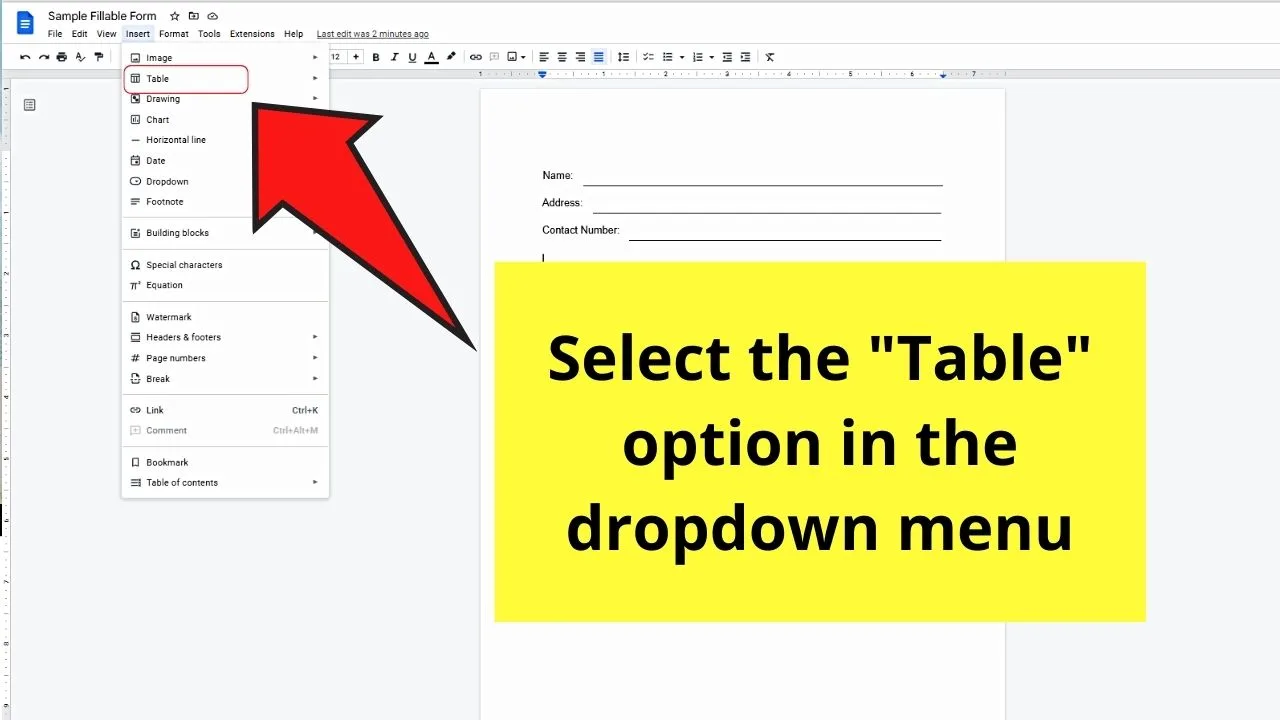
Step 2: Click the “Table” option on the first dropdown menu that appears. Another dropdown menu will then appear beside it.

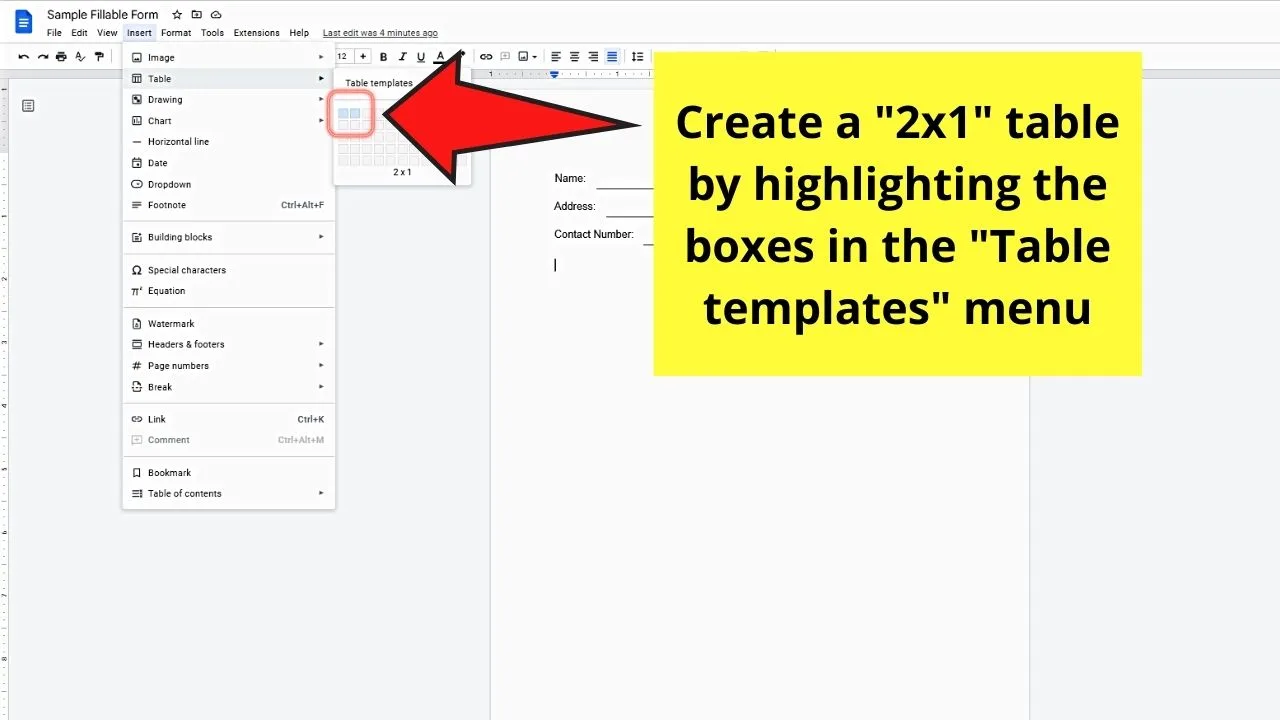
Step 3: On the second dropdown menu, select how many rows and columns the table you will insert have.


Since we’re creating a fillable part in your Google Docs document, you only need 1 row and 2 columns.
Highlight the boxes until you see “2×1” below the selection area. Click on the last box to make it appear on the document.

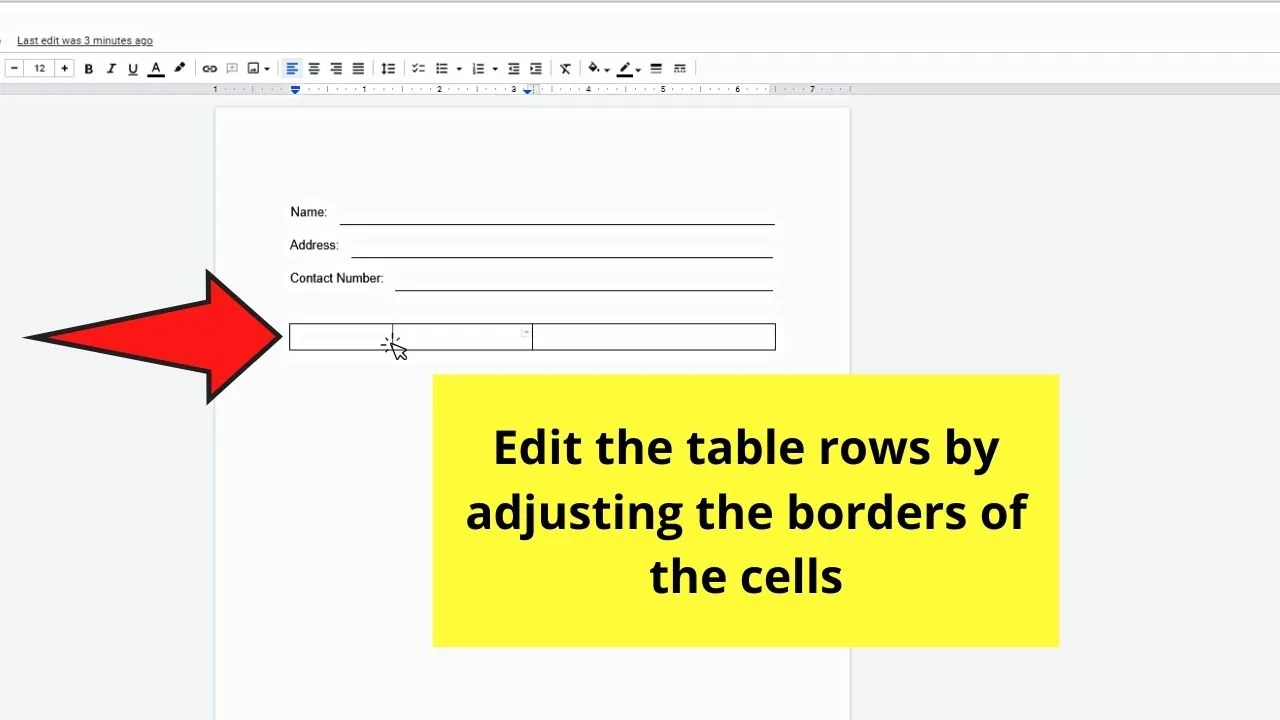
Step 4: Once the table’s inserted into the Google Docs document, edit the rows in the table accordingly.

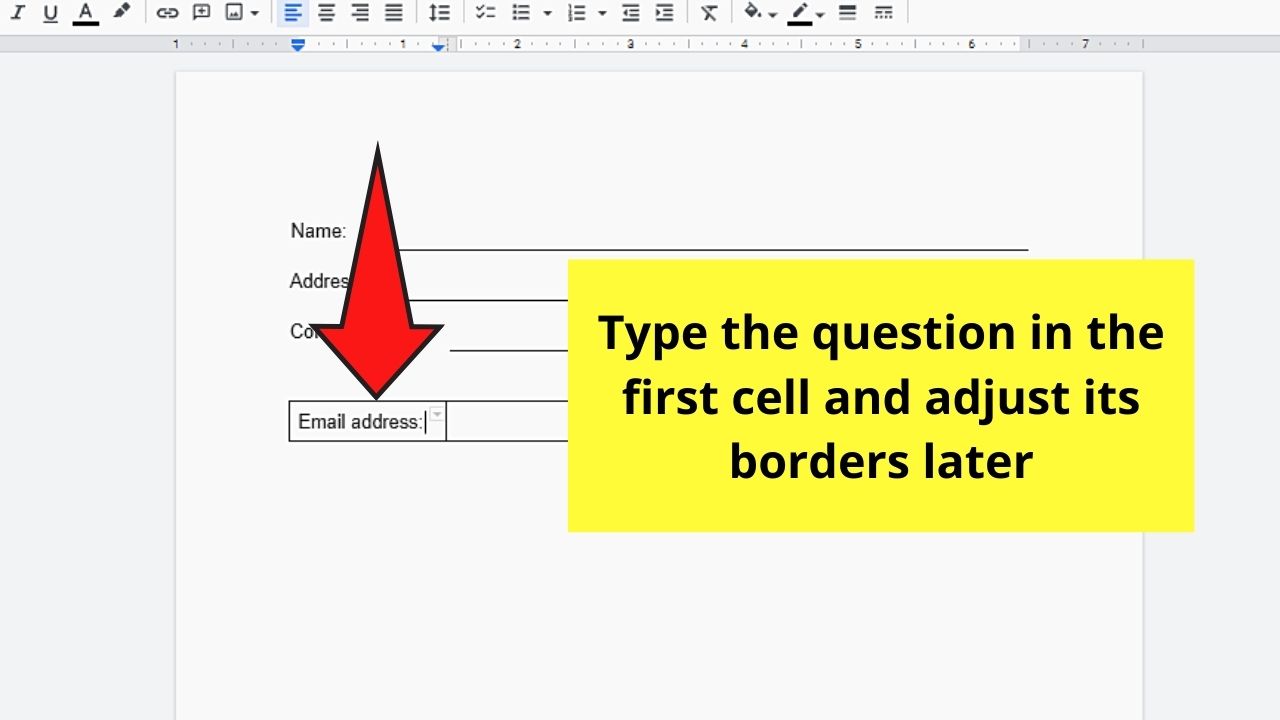
Step 5: After editing the table, type in the question part of the fillable form you’re creating in the first cell.
Leave the second cell blank as it will serve as the answer box or area.

If you need to adjust the size of the first cell, just click and drag the border between the 2 cells.
You can also resize the answer box using the same method, except that you click and drag the rightmost border instead.
Step 6: Format the text on your question by changing its font size and font color, and even make it bold or italic as you wish.
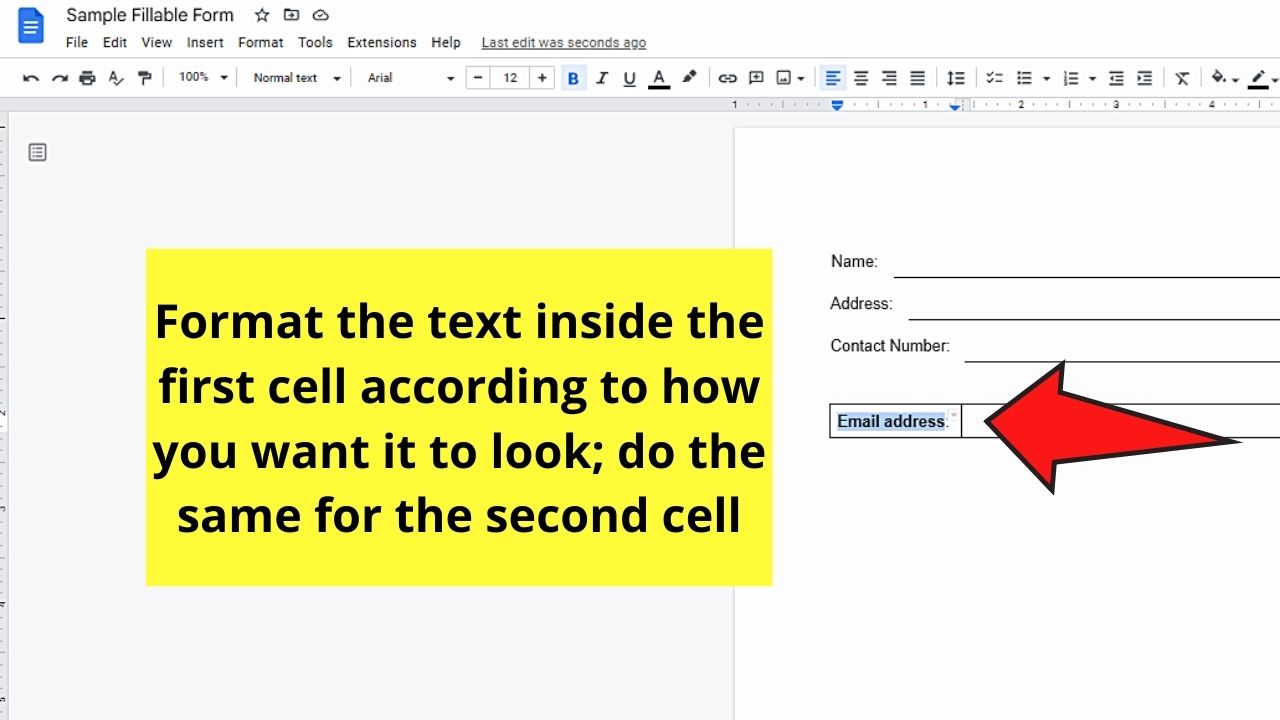
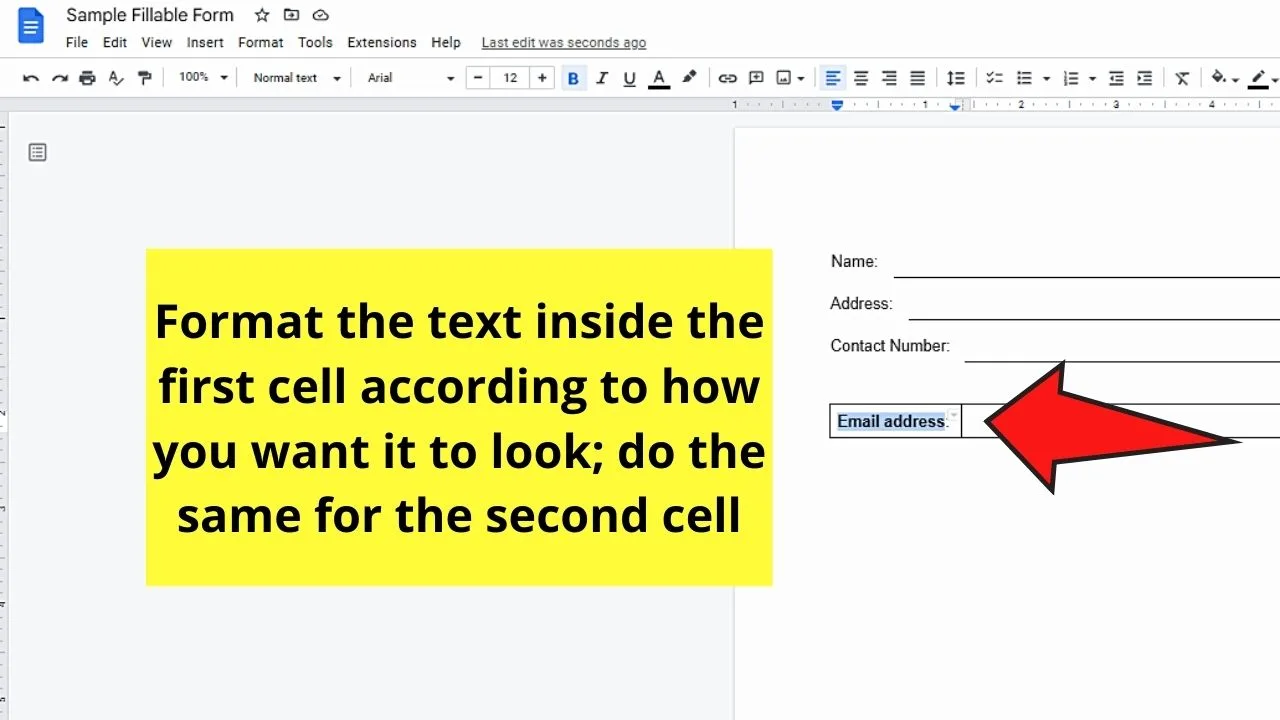
Do the same for the second cell where the respondent will type his answer even if you don’t have text written in it.
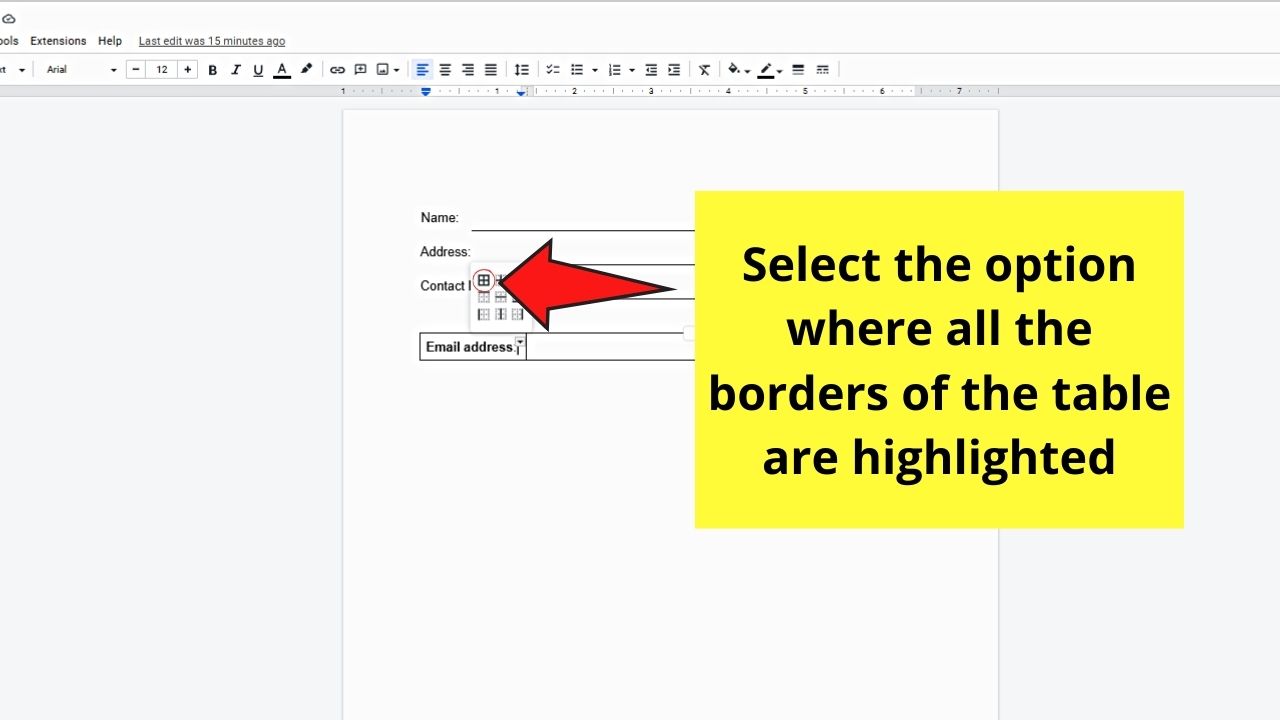
Step 7: Now, head to the upper-right corner of the first cell on the table and click the “v” button.
This move will allow you to select what border your table will have.


Step 8: From the choices that appear in the dropdown menu, select the option that shows all the table borders that are highlighted.

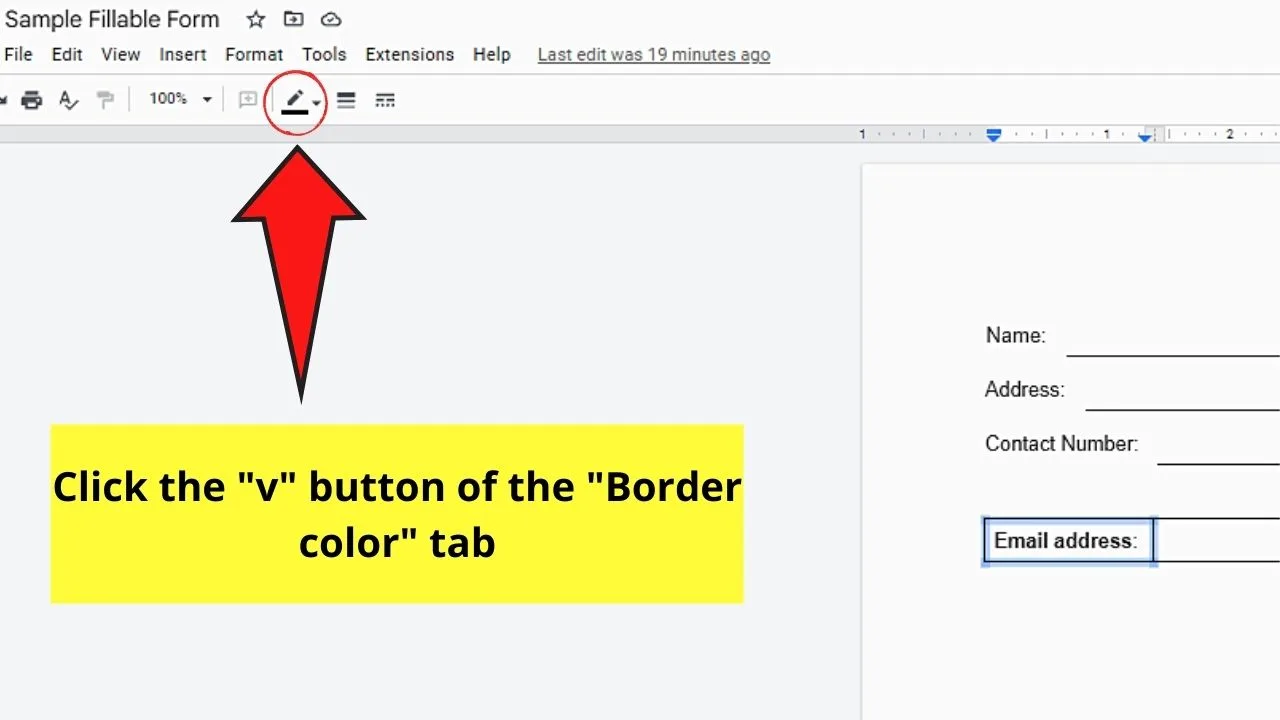
Step 9: Then, head to the toolbar menu and click the “Border Color” tab’s “v” button.

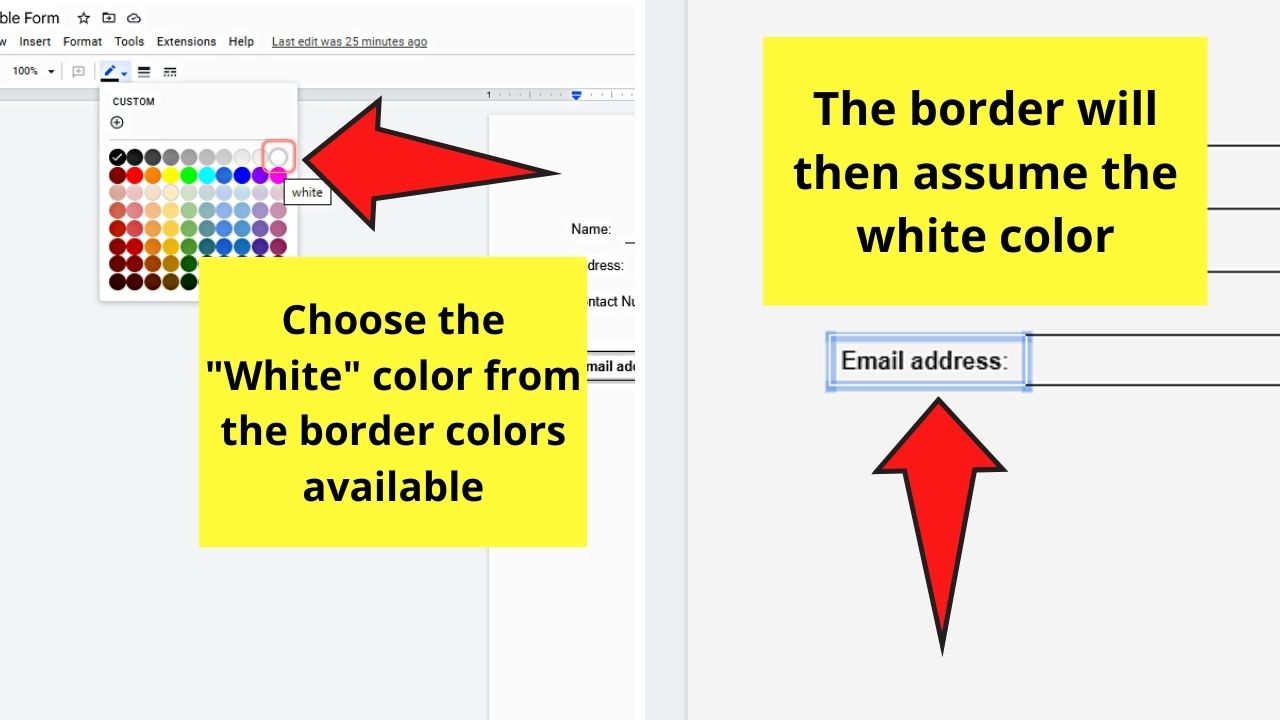
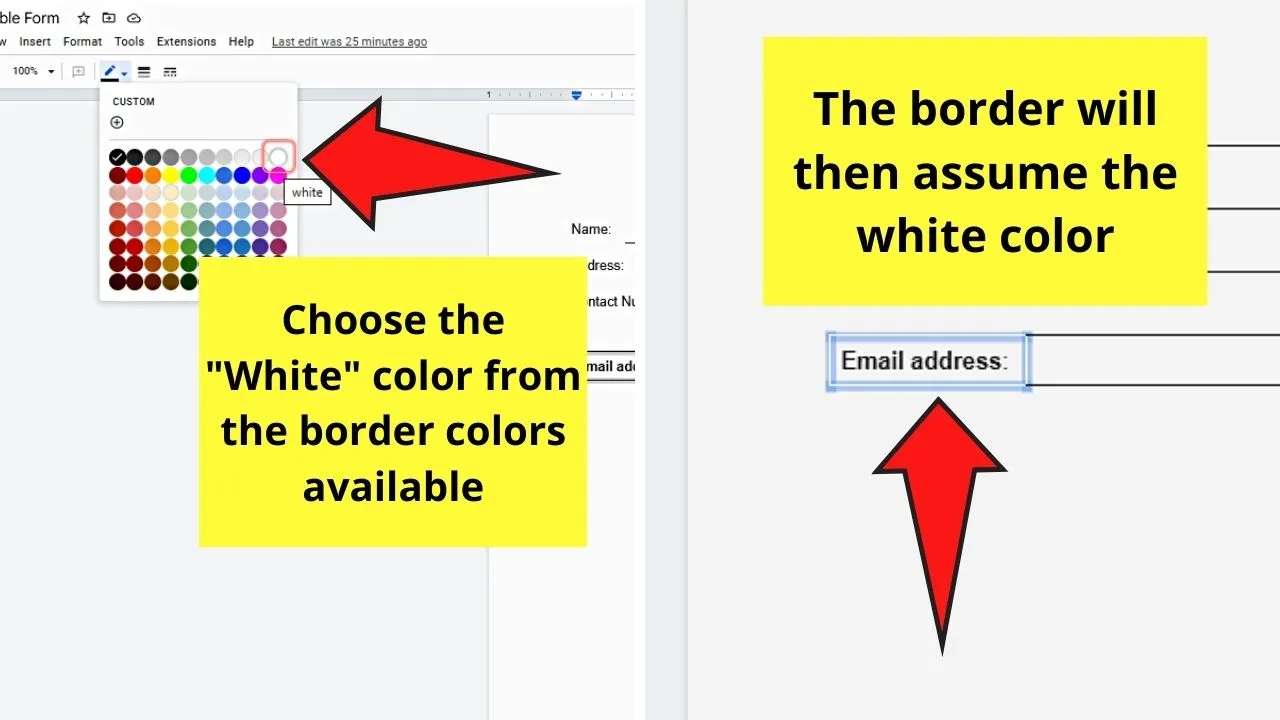
Step 10: On the color gallery that appears, choose the “White” color by clicking on it.
The table borders will then become “invisible.”
Step 11: Since you changed the border color to white, the second cell (which is the answer text box), has a “missing” border.
If you’re planning to have the answer text box assume the shape of a square or rectangle, highlight the “invisible” border before reverting its color to black through the “Border color” tab.
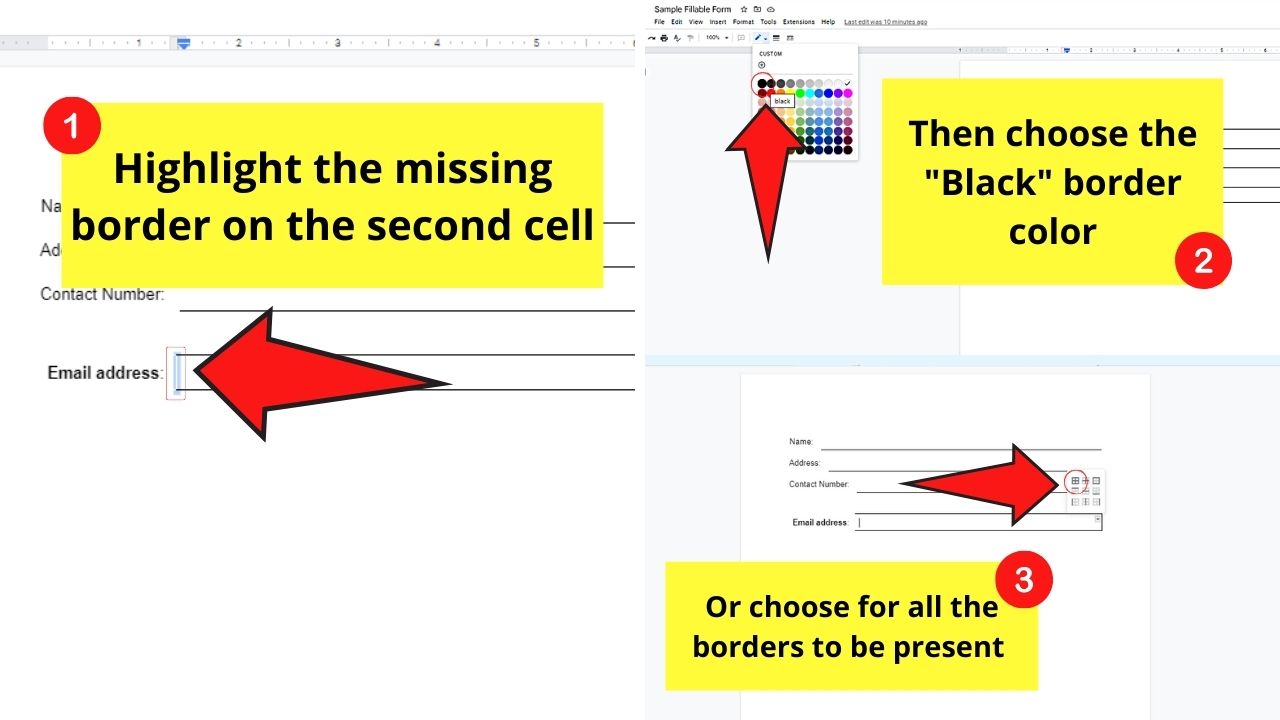

You can also achieve the same effect by selecting the “v” button at the upper right corner of the second cell and clicking the “All border” option in the “Select border” menu.
Step 12: If, however, you want to place a line instead of a box as the answer area, you select the “v” button in the cell again.
Then, choose the border type wherein the remaining visible one is the bottom border.
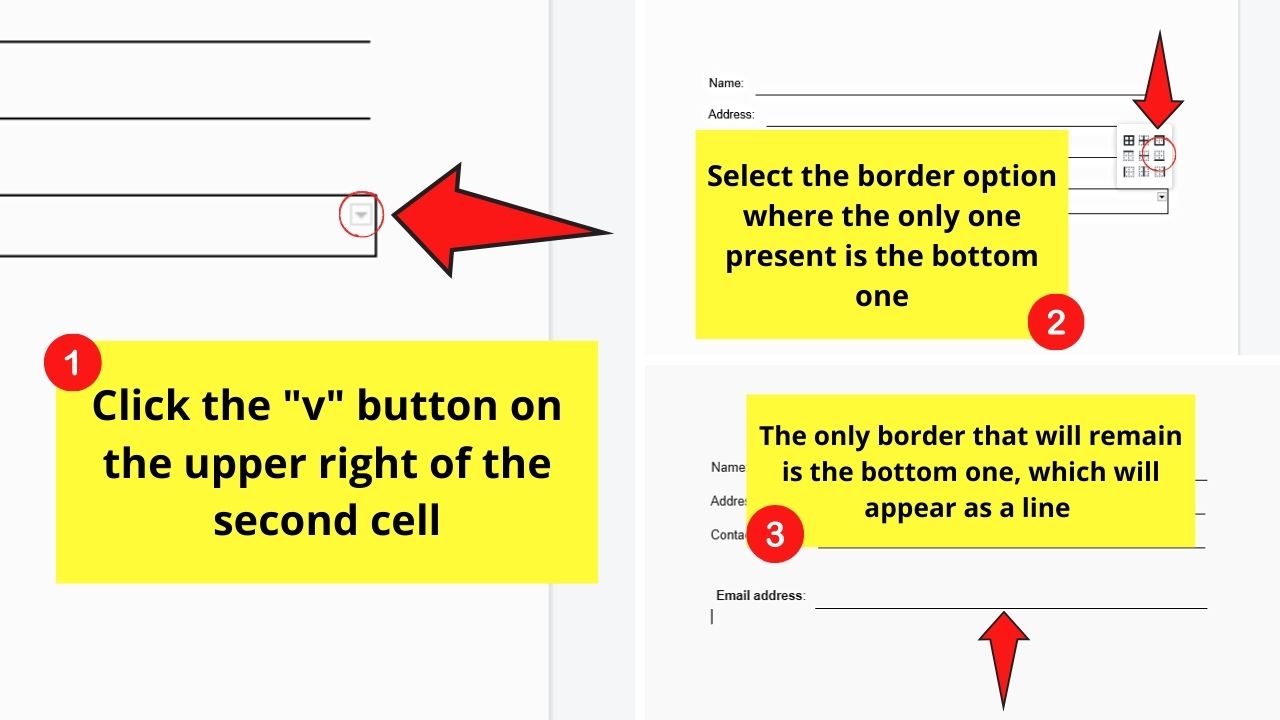

You will then have a “line” appear beside the question.
Repeat steps 2-12 throughout the document until you’ve finished creating the fillable form.
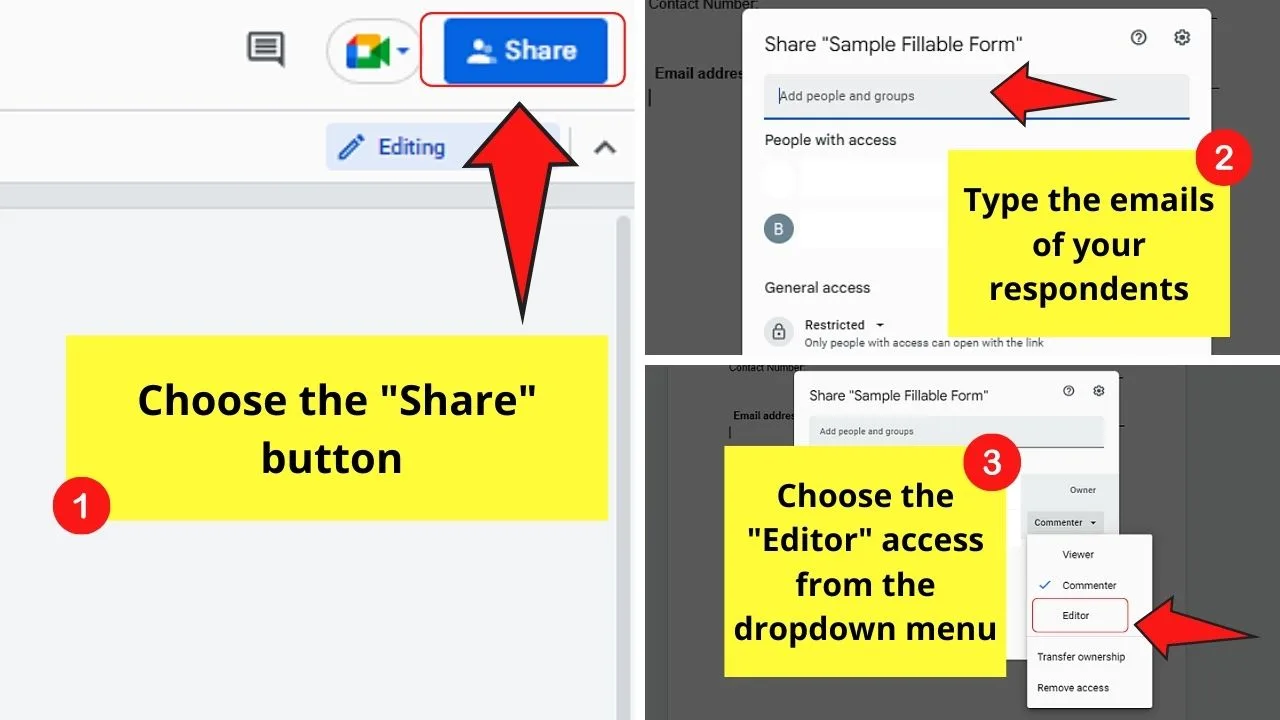
Step 13: Share your new fillable form by clicking the “Share” button.
Then, type the e-mail addresses of your respondents and individually change their access to the document to “Edit.”

Amazing, right?
But, if you think the first method’s too newbie-ish for you, then perhaps the second method below is to your liking.
Method 2: Creating Fillable Forms in Google Docs by Installing the “Fillable Document” Plug-in
For those new to Google Docs, plug-ins serve as extra tools that can further customize your experience according to how you’re using it.
And one of these plug-ins that you should install when you want to create fillable forms within the Google Docs app is “Fillable Document”
So, if you’re interested in this semi-automated way of creating fillable Google Docs forms, read the steps below.
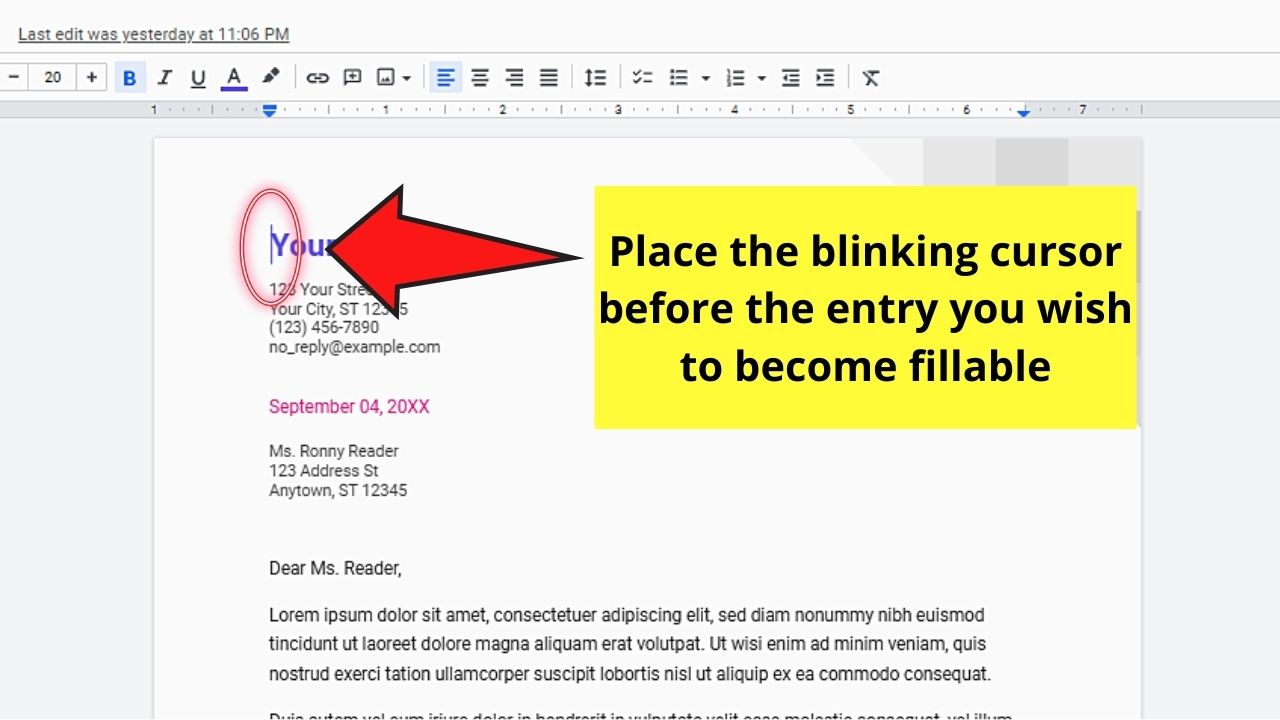
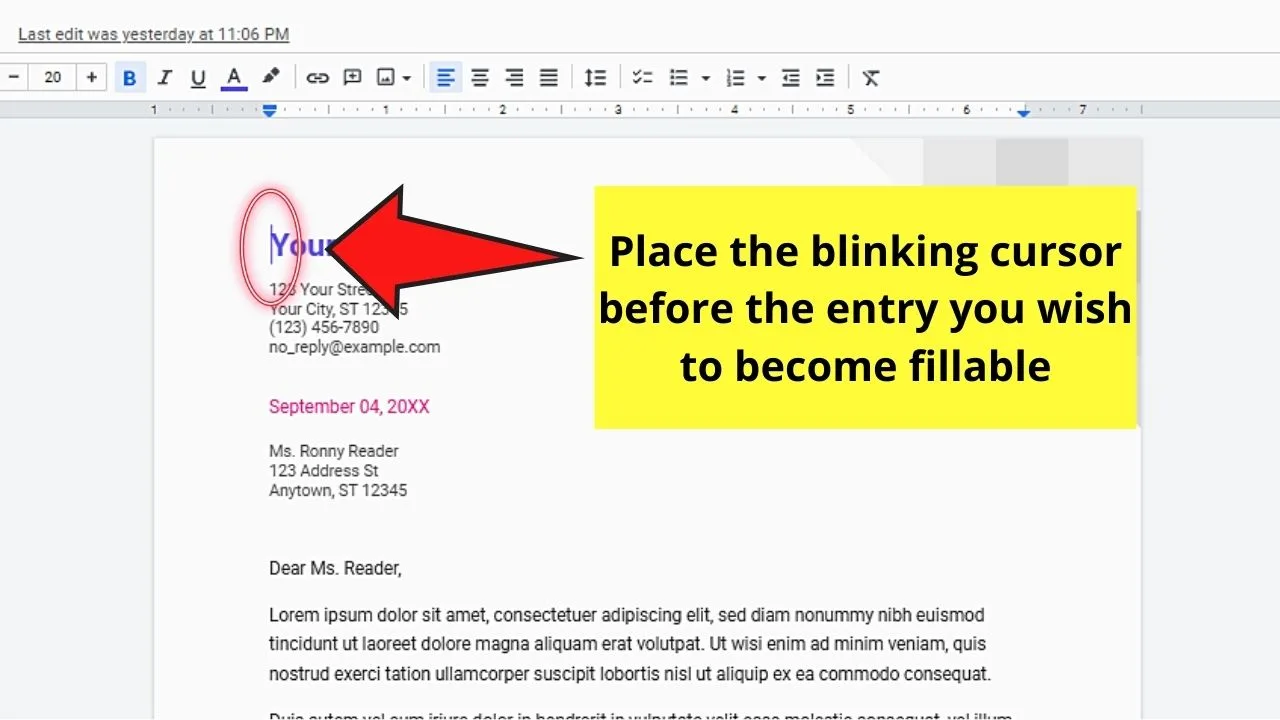
Step 1: After typing in the blank Google Docs document or opening a template, determine the parts of the document you intend to become fillable.
Once you find them, place the cursor beside one of them by clicking on that area.
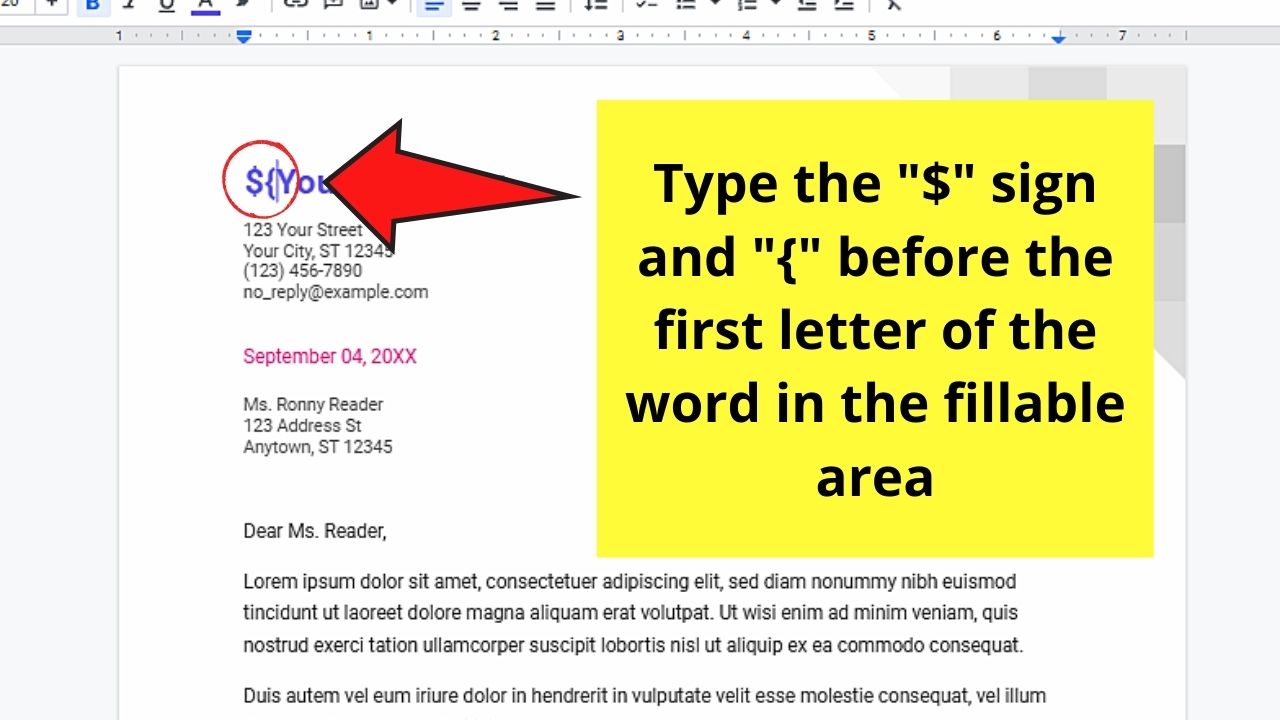
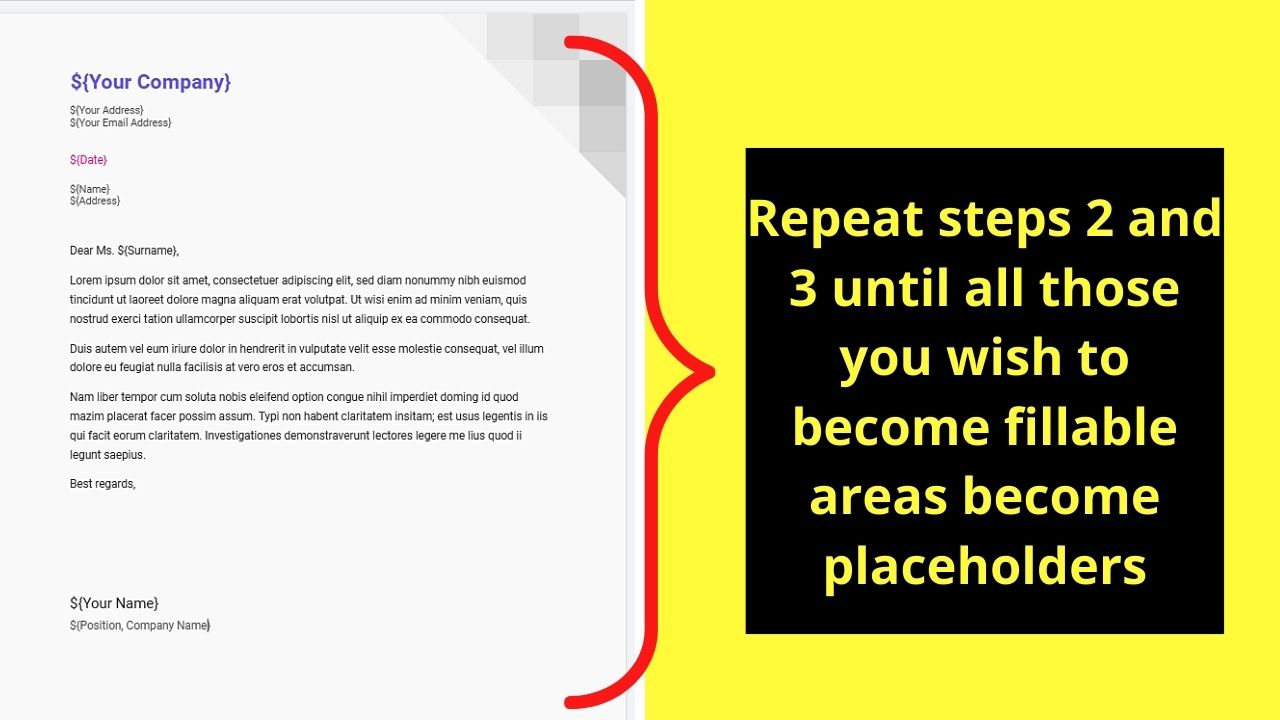
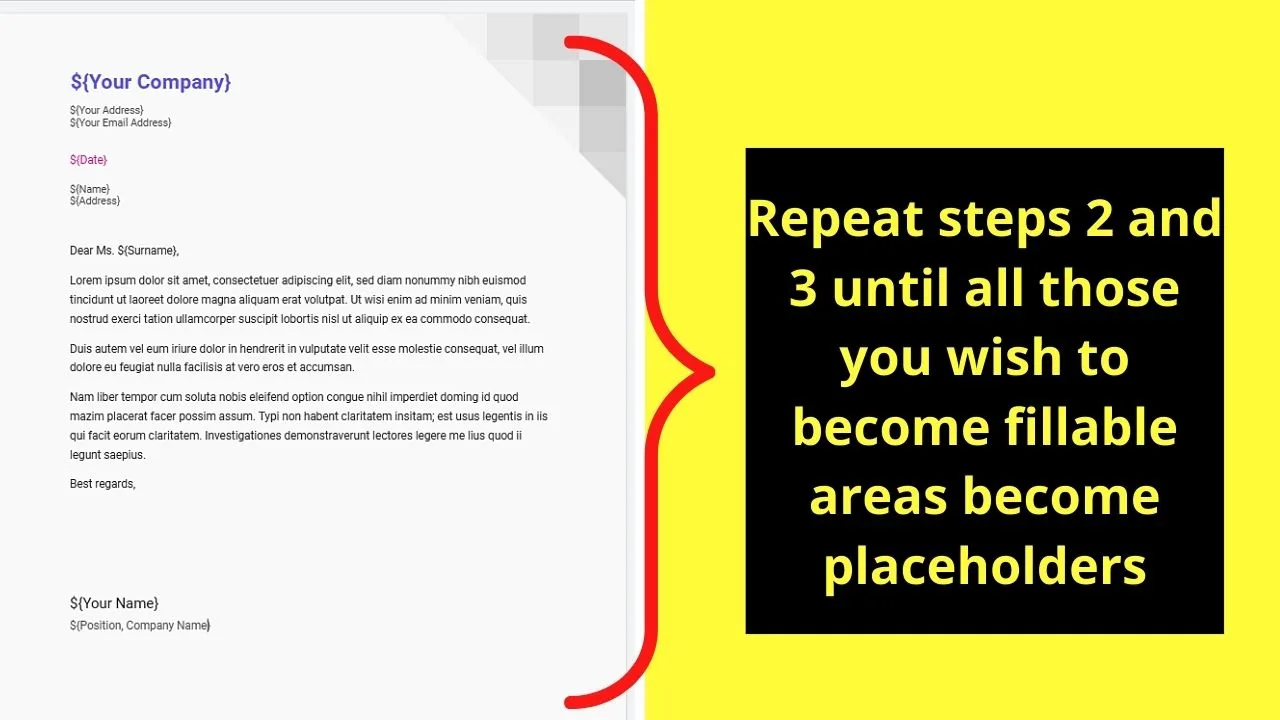
Step 2: Type the “$” first, then the “{“ (curly bracket) right next to it.

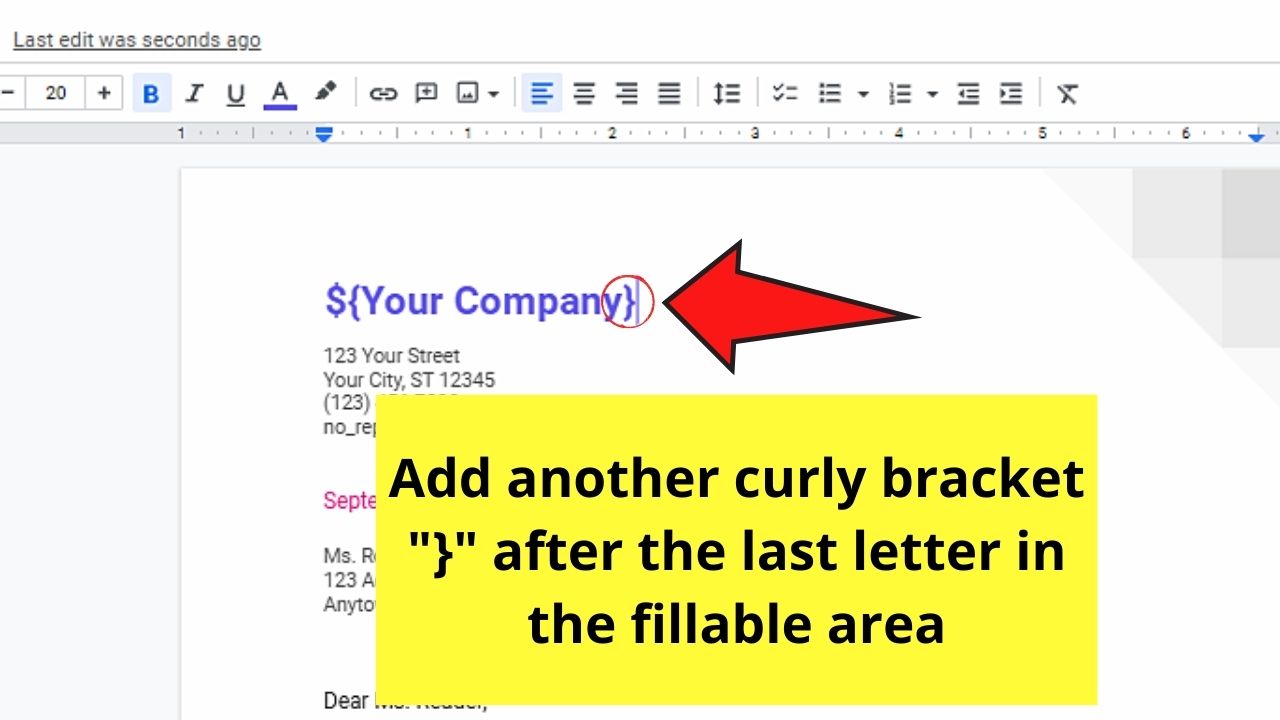
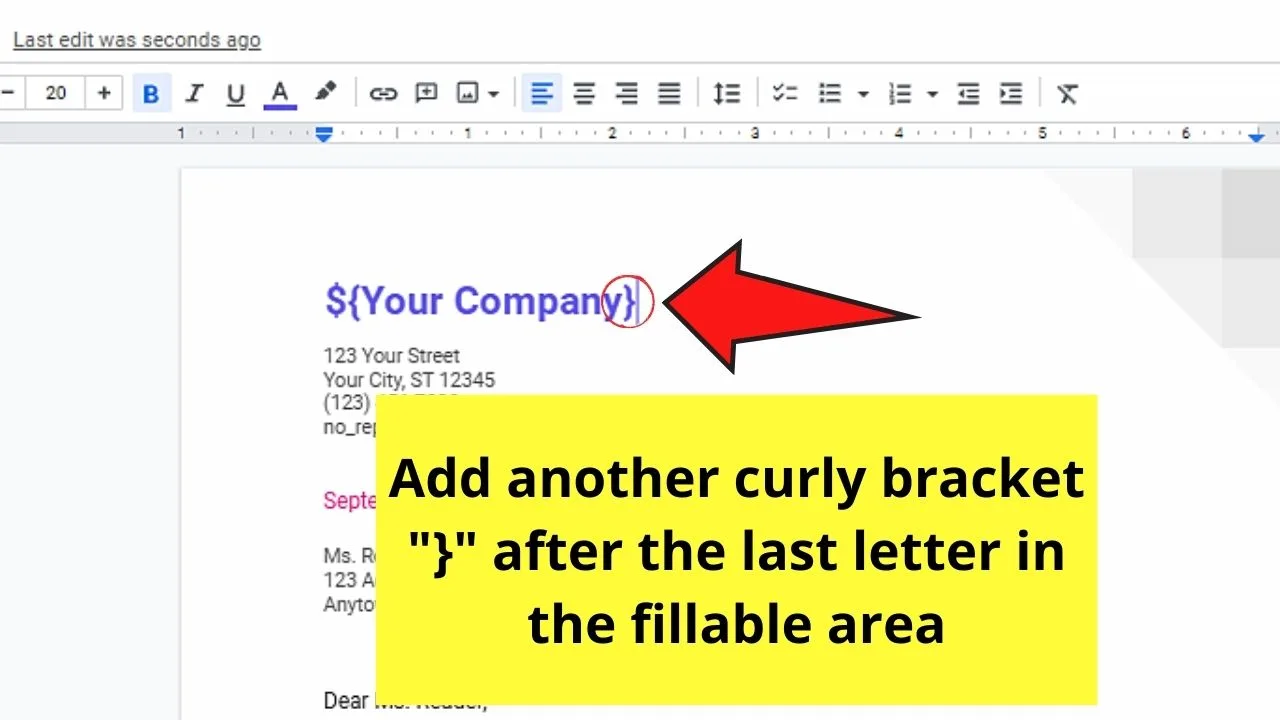
Step 3: Add another curly bracket (“}”) after the end of the text you want to become a fillable area.
Step 4: Repeat steps 2-3 until you’ve converted the areas you wish to become fillable into placeholders.
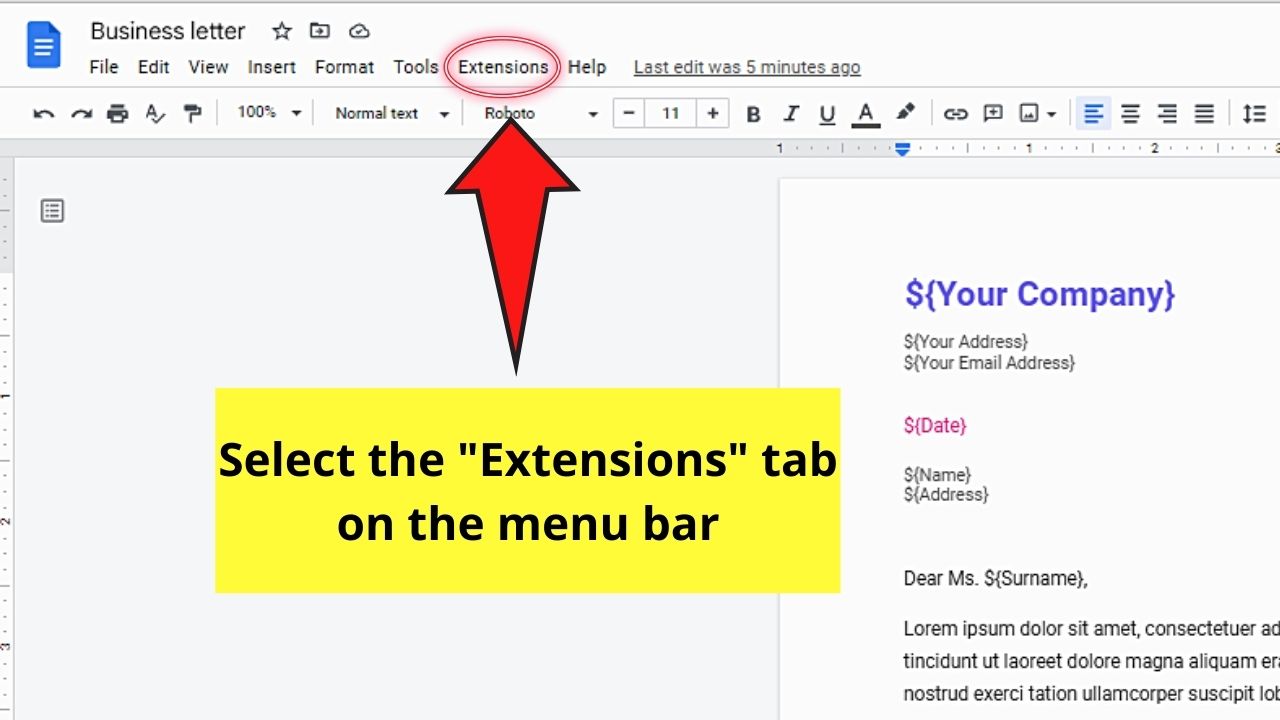
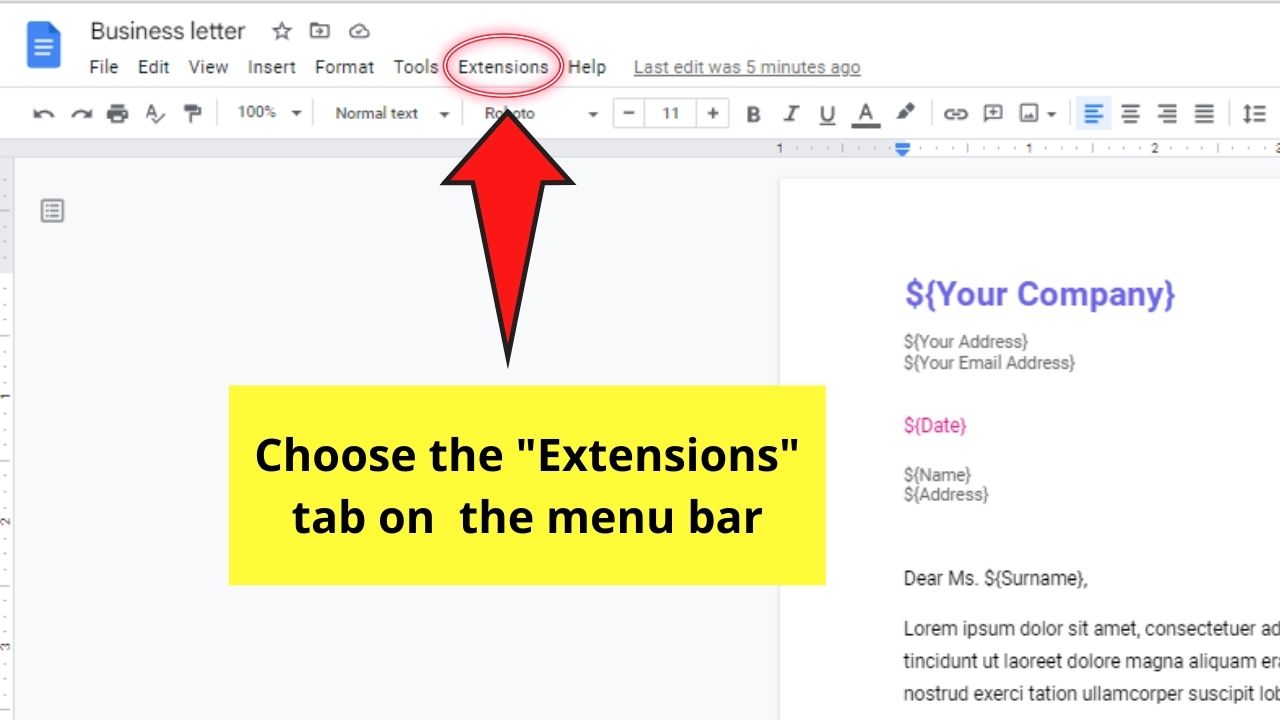
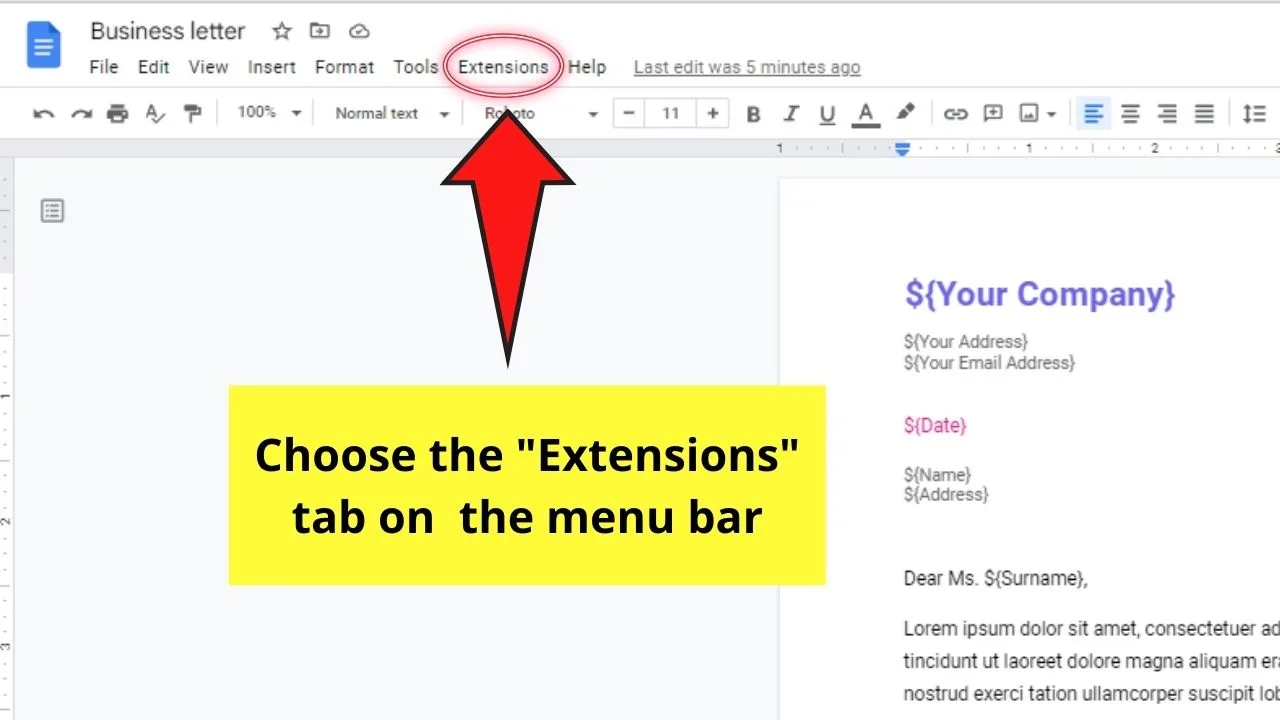
Step 5: Now, head to the menu bar and click the “Extensions” (formerly known as “Add-ons”) tab.

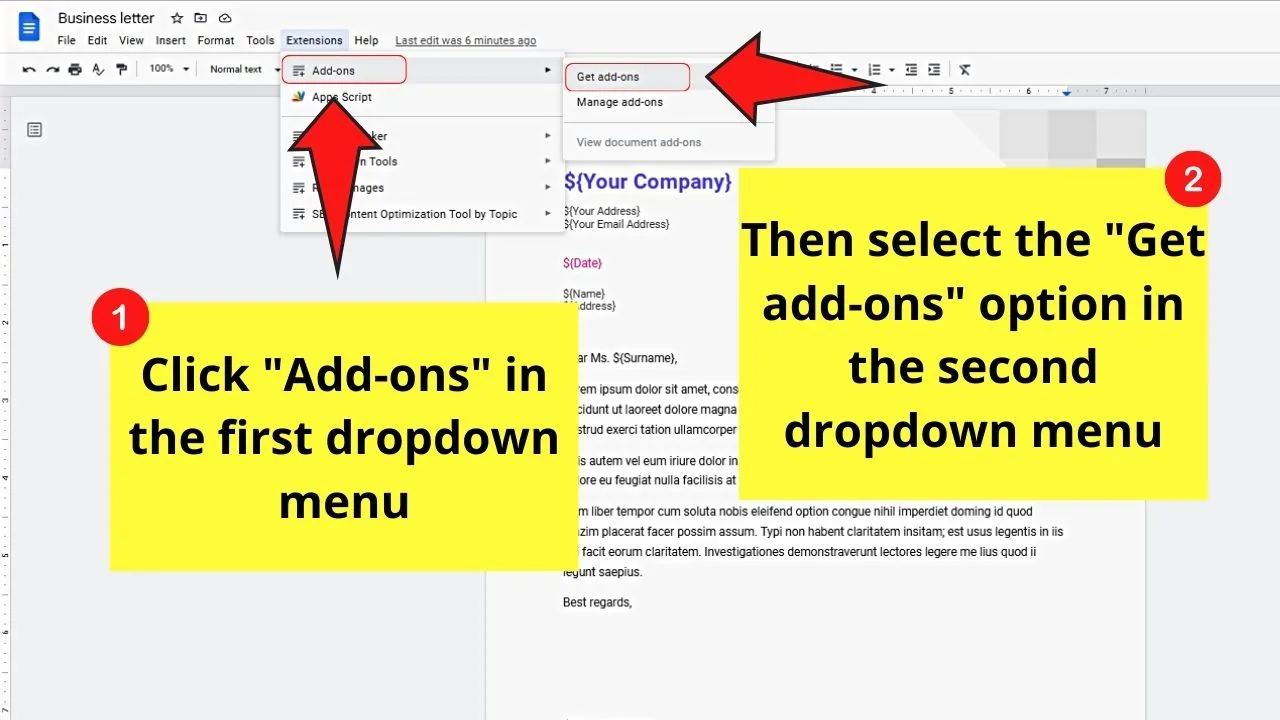
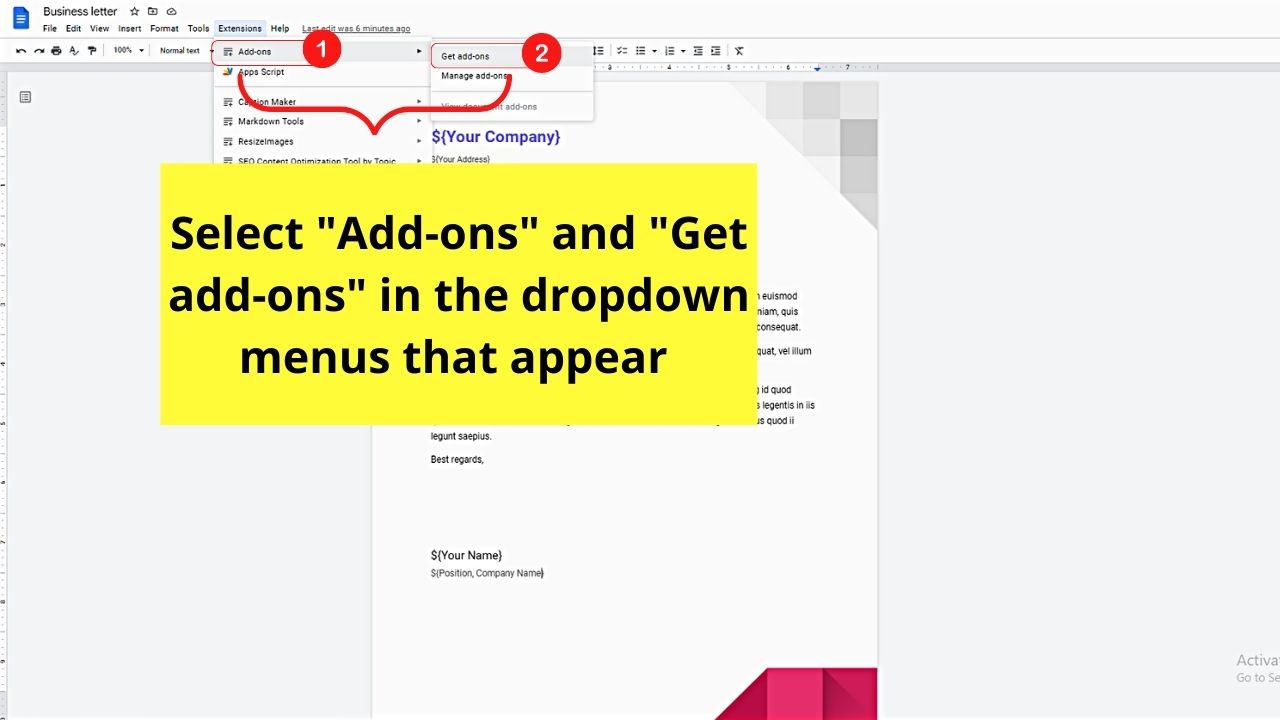
Step 6: On the dropdown menu that appears, click the “Add-ons” option.
Then, select the “Get Add-ons” button in the second dropdown menu that appears beside it.

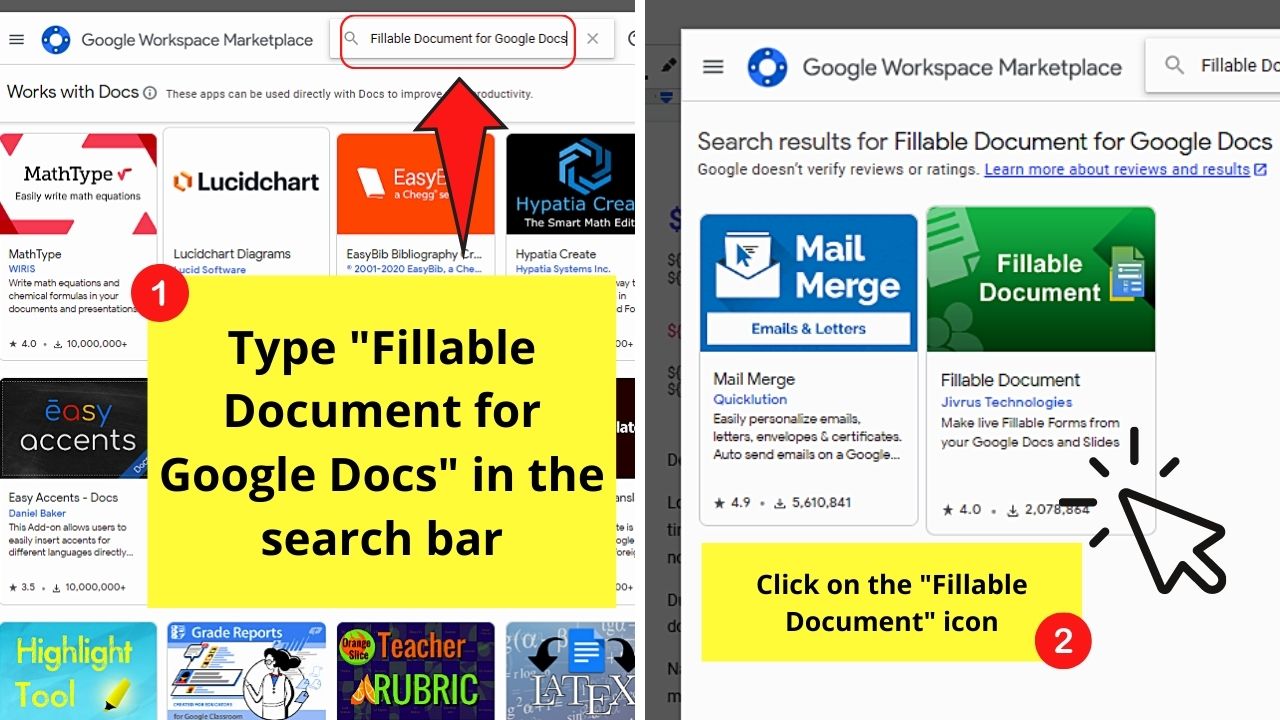
Step 7: On the Google Workspace Marketplace window, head to the search bar and type in it “Fillable Document for Google Docs.”
Once the icon of the plug-in appears, click on it.

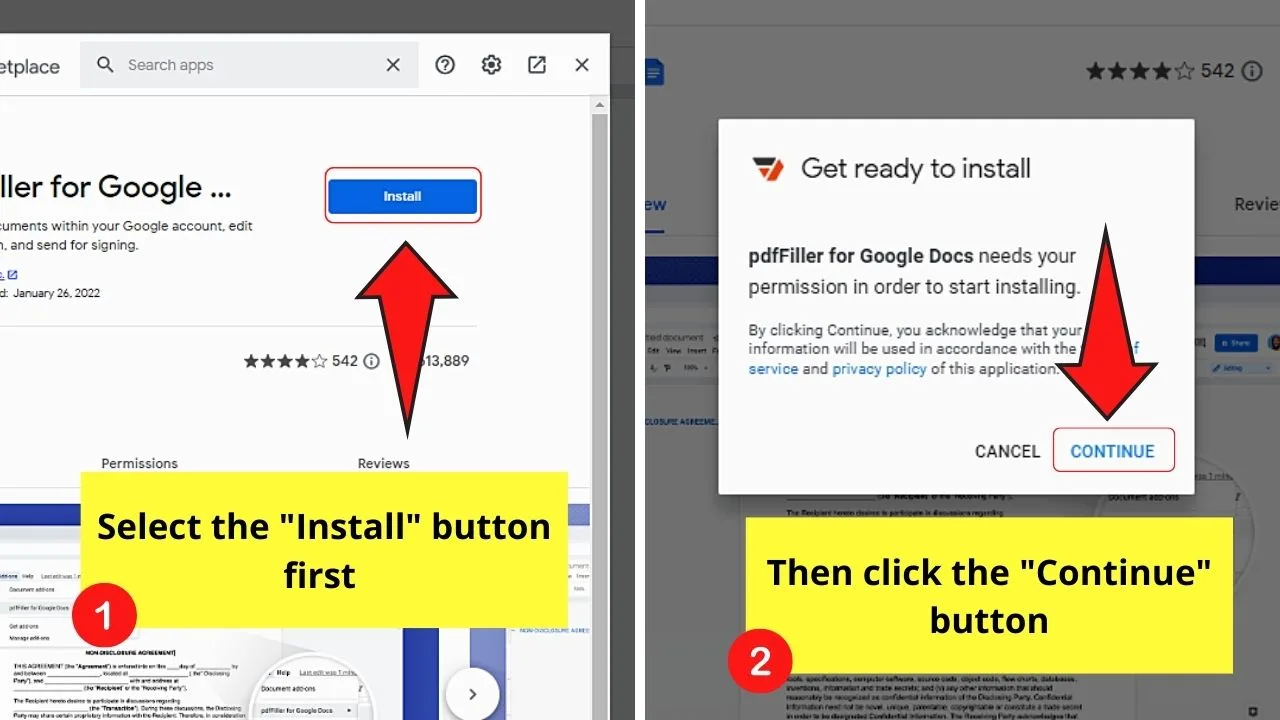
Step 8: Select the “Install” button to jumpstart the plug-in installation process.
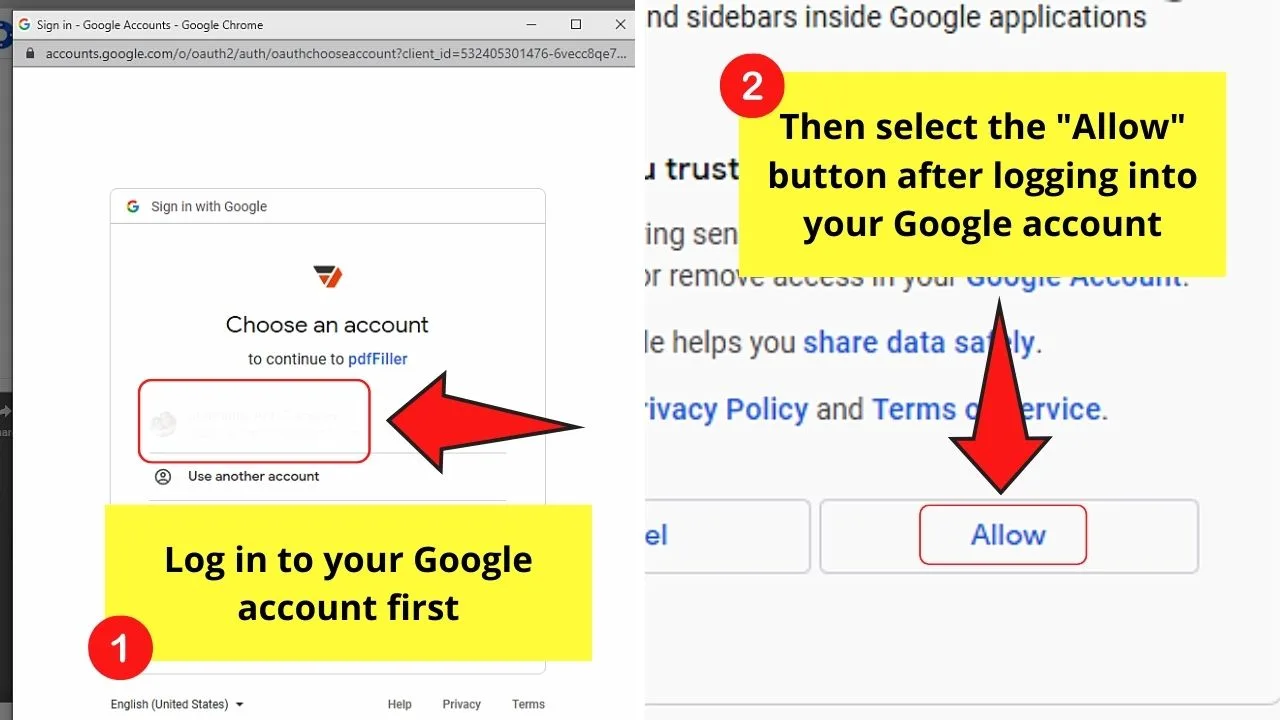
Choose “Continue,” before logging into your Gmail account.

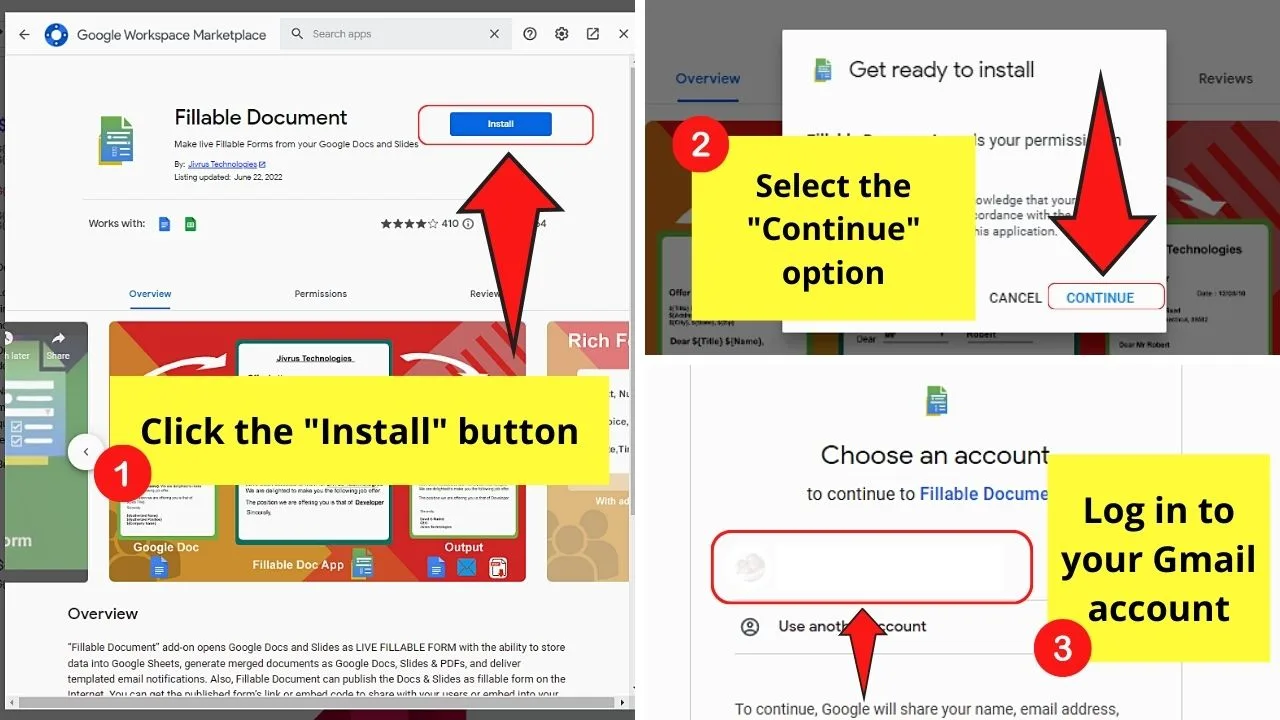
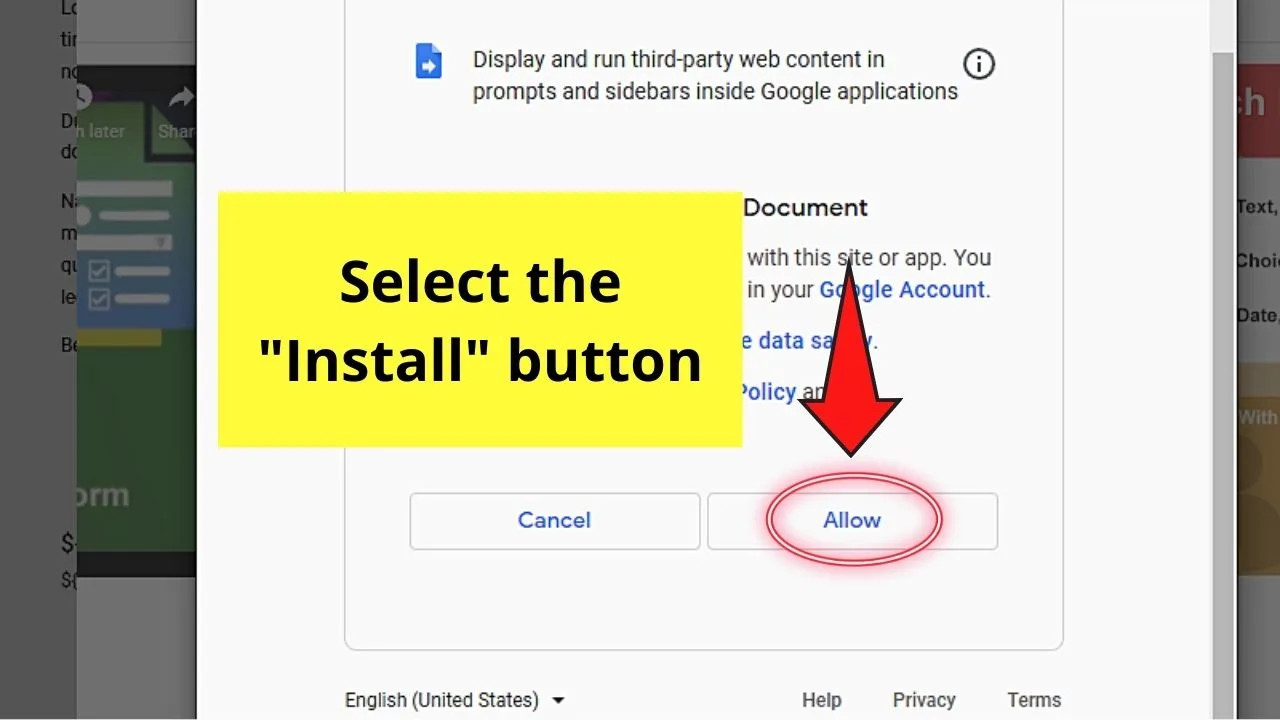
Then, press the “Allow” button to accept the plug-in’s conditions. After which, wait for Google Docs to install the plug-in to your account.

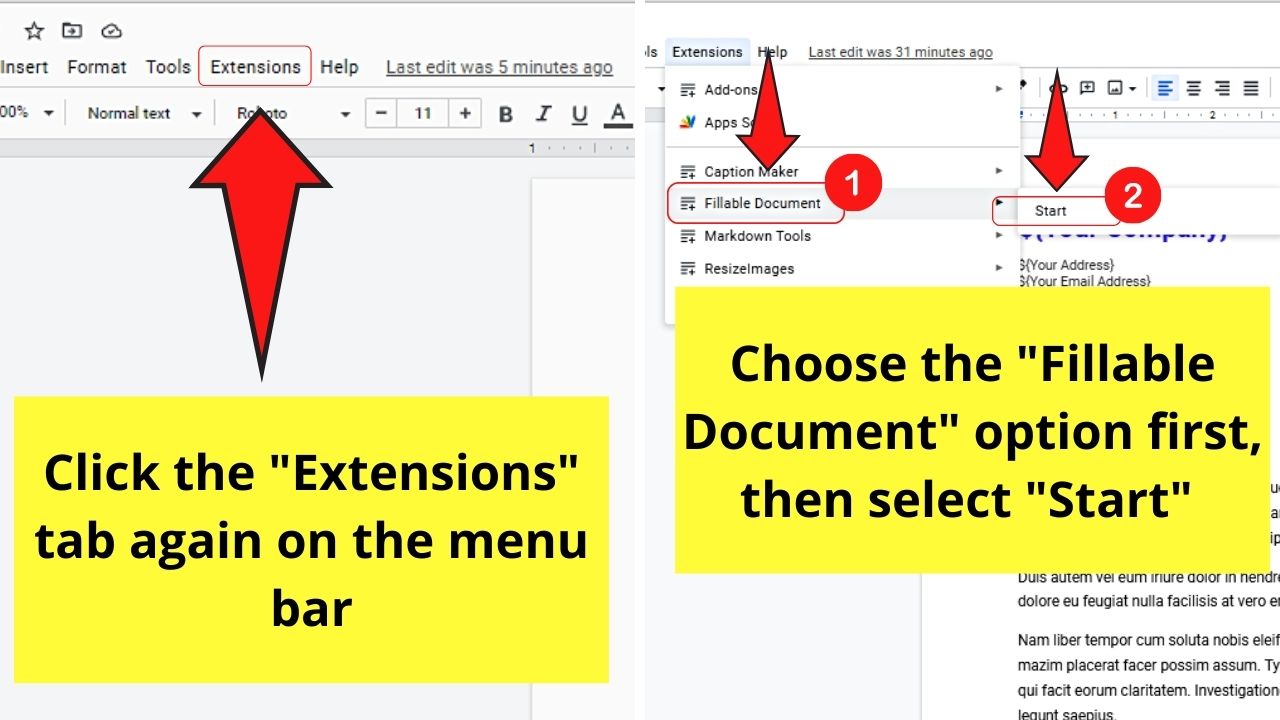
Step 9: Once the “Fillable Document” is already installed in your Google Docs, click the “Extensions” tab again in the menu bar.
Then, select “Fillable Document” and “Start” in the dropdown lists that appear.

Step 10: Wait until the “Fillable Document” sidebar appears to the right of the screen.
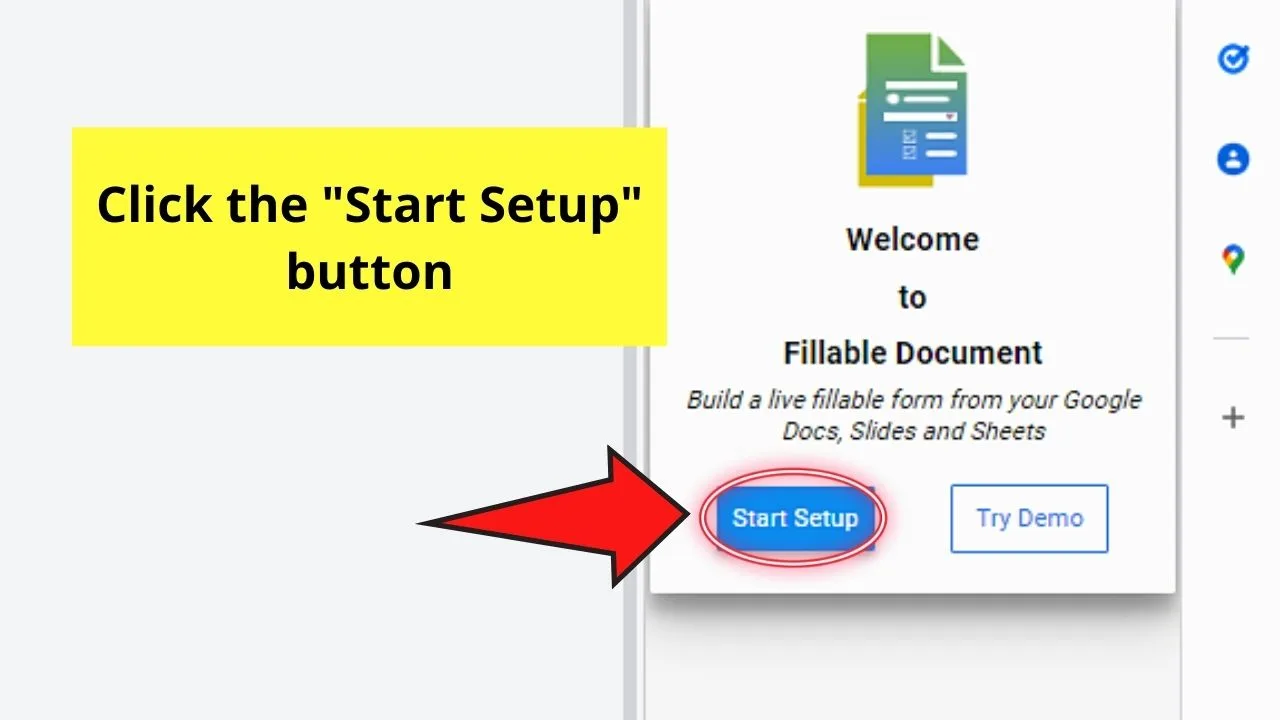
Step 11: Click the “Start Set-up” option.

Step 12: Then, choose whether you want “Fillable Document” to be set up automatically or manually.
For me, I opted for the destination folder to be set up automatically, so I chose the “Automatic set-up” option.
Step 13: Wait until the “Fillable Document” sidebar populates.
Step 14: “Fillable Document” will then set up the “Field List” menu, populating it with the names of the entries that were assigned earlier to become placeholders.
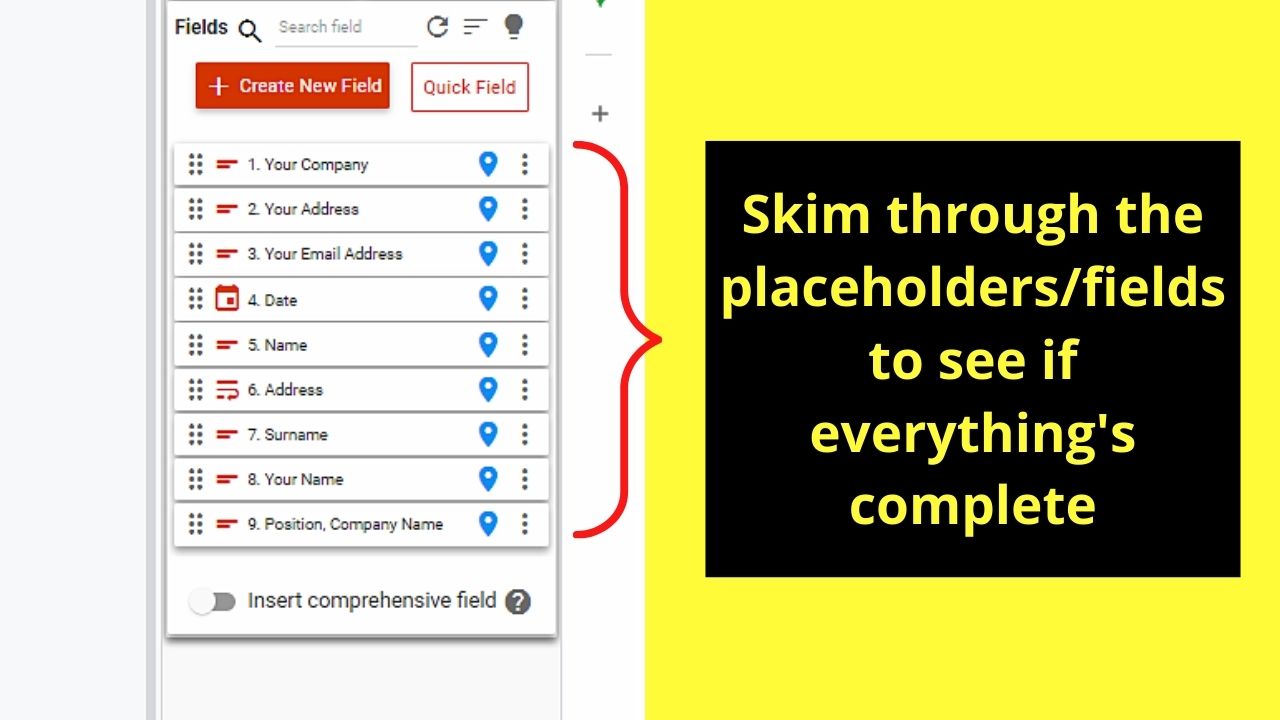

Once the set-up’s completed, make a rundown of the placeholders to see if there’s nothing amiss.
Step 15: After ensuring that all placeholders you assigned are present, launch your Google Docs document as a fillable form by selecting the “Open Web Form” option.
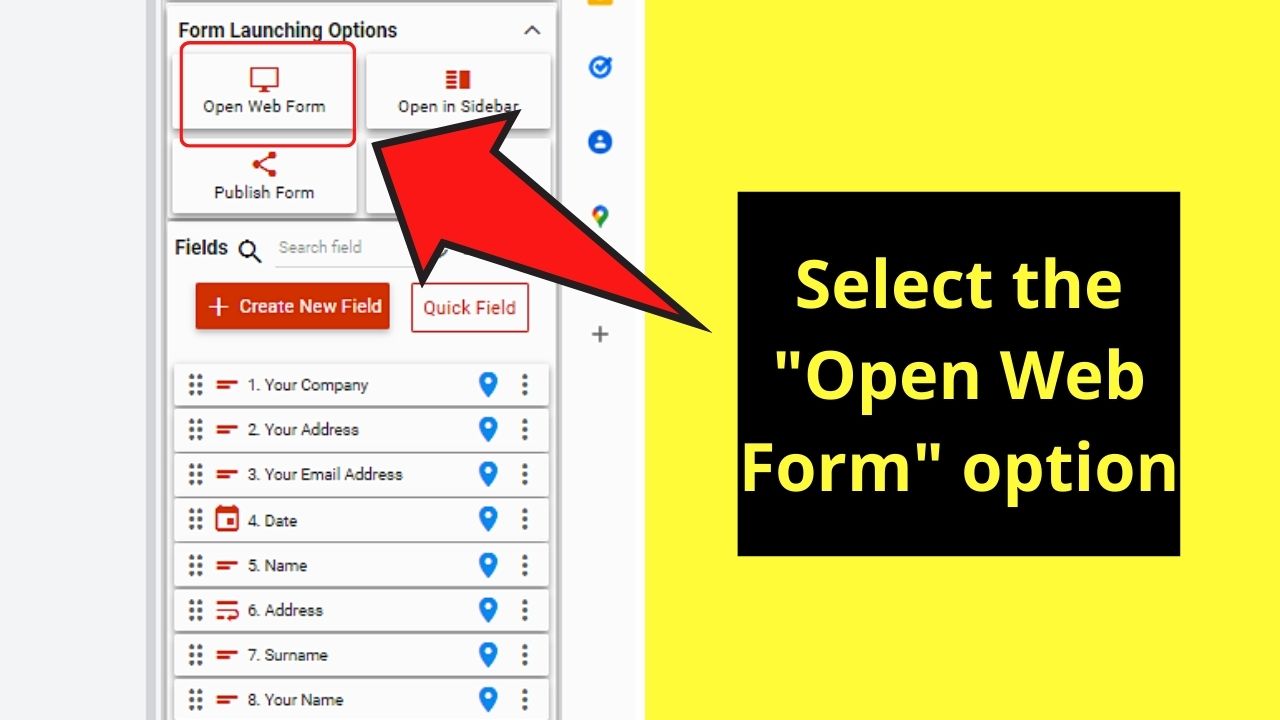

Wait for your new fillable form to load before typing in the needed responses in the respective text boxes that appear.
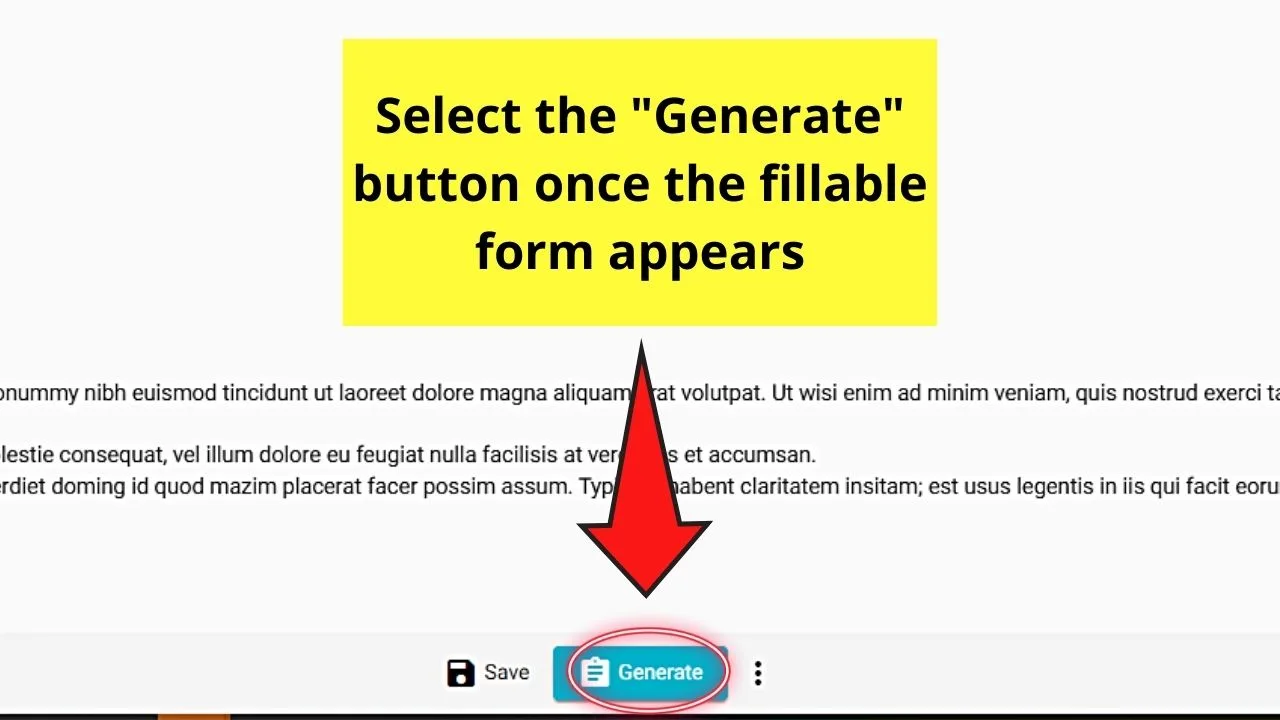
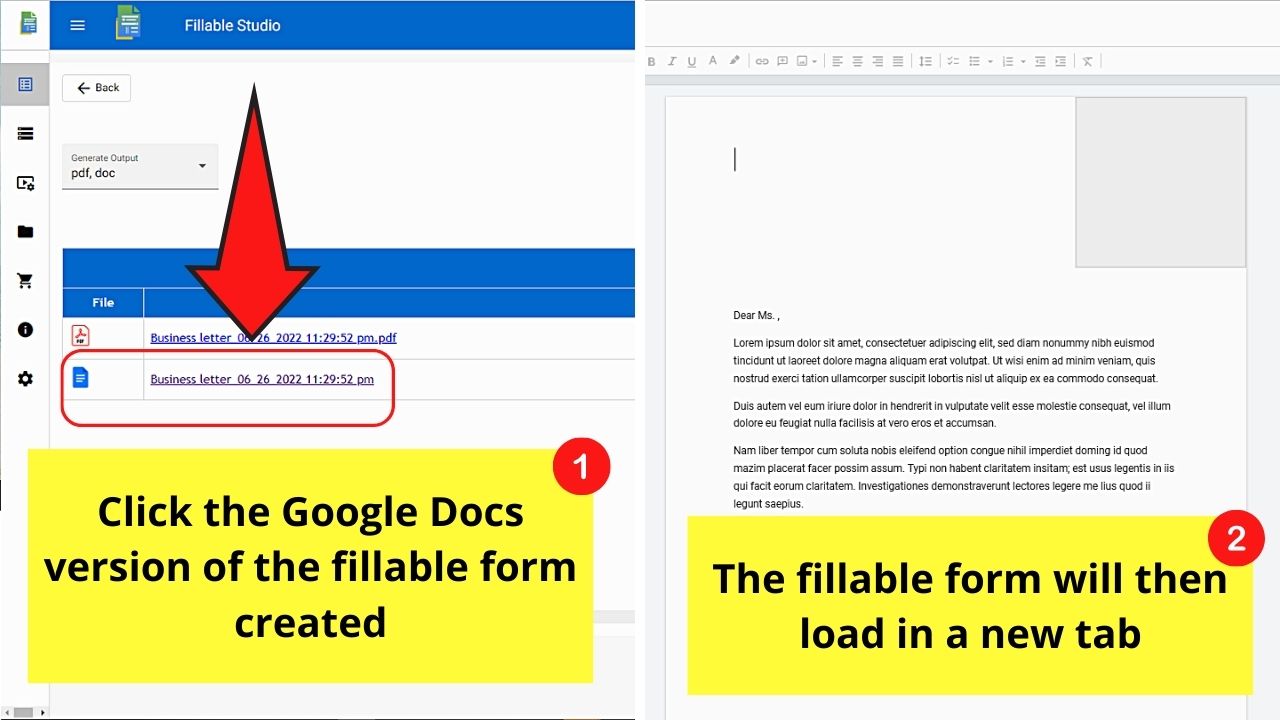
Step 16: Select “Generate” for the plug-in to merge your responses with the fillable Google Docs form and turn it into a PDF or a new document.

Click the Google Docs version of the fillable form for a new tab to be launched beside it.

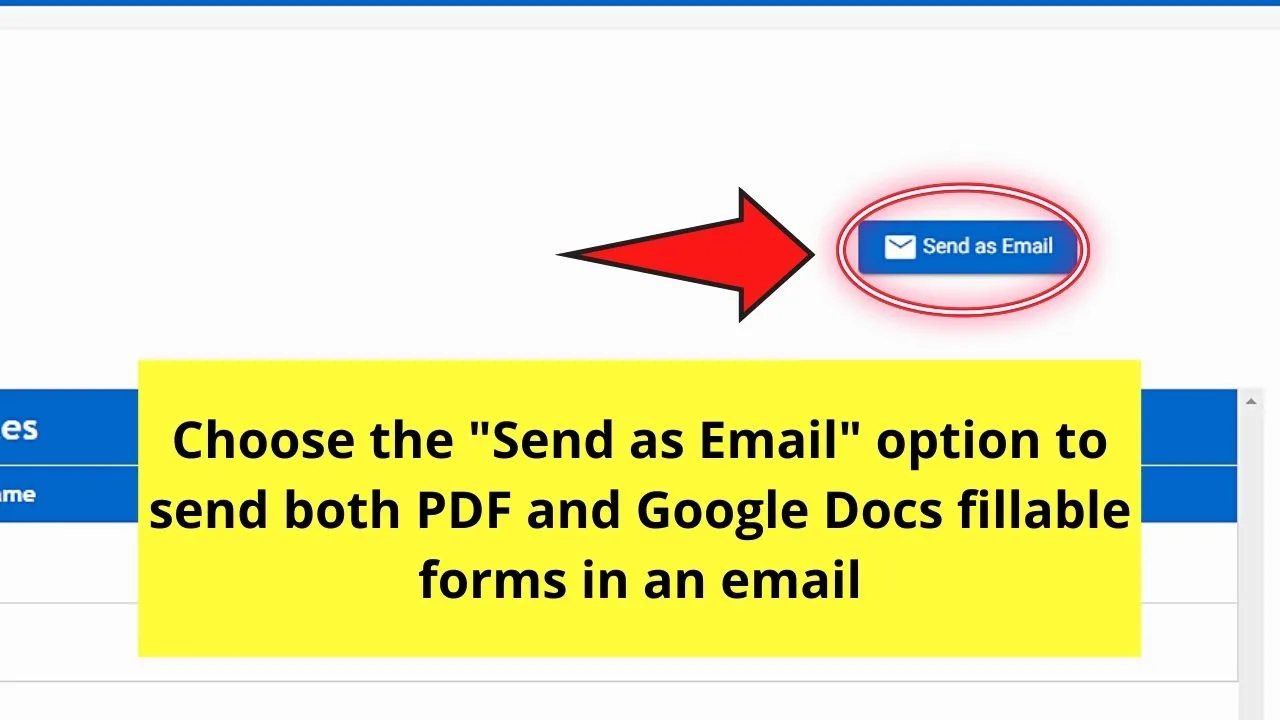
If you want to send both the PDF and Google Docs versions of the fillable form in an email, click, “Send as email.”

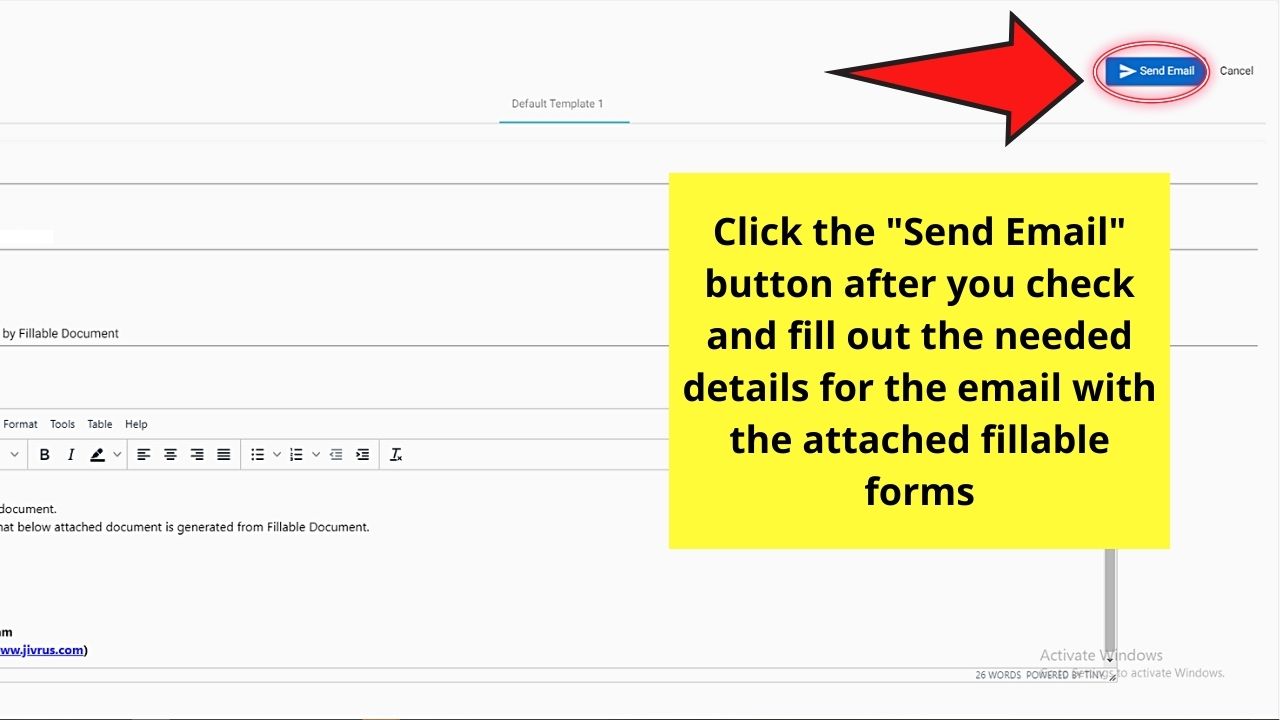
Then, fill in the necessary details on the email you’re creating before hitting the “Send” button.

Cool, right?
You only need to do a few tweaks on your document first and let the plug-in do the rest of converting the text into placeholders.
But, while these first 2 methods are already ingenious, there’s another way of creating fillable forms that is only available to G-Suite account holders.
Method 3: Creating Fillable Forms in Google Docs by Creating a Template
Now, if you’re a G-Suite holder, you won’t need to go through the hassle of assigning parts of the text as placeholders.
After you open a new Google Docs document, create placeholders in the template you’re creating.
Then, save the document with a new and unique file name.
After which, head to the menu bar and click the “Template Gallery” tab.
Choose your company’s name (as G-Suite account holders usually are large businesses) before clicking the “Submit Template” button.
Click the document you created, and edit its title and category before selecting the “Submit” button.
Now, everyone in your company will be able to use and reuse that new template as it will be saved in the G-Suite account.
So, now you know about all 3 methods of creating fillable forms in Google Docs, which of the 3 will you use from now on?
How to Make a Google Doc Fillable but Not Editable
If you’ve noticed with the 3 methods discussed earlier, you need to either give the respondents of your form “Edit” access for them to fill in the needed data.
But, if you give them “Edit” access, they would also be able to change the other entries within the said document.
Can make your Google Docs fillable but not editable?
Unfortunately, though, you cannot create a Google Docs form that is fillable but not editable.
The word processing tool currently doesn’t allow its users to selectively protect some parts of the file from changes.
But, you can use Google Sheets instead if you wish to keep certain parts protected from editing while still keeping it fillable.
Just highlight the cell range you wish to lock, select “Data,” and click “Protected sheets and ranges.”
After which, type the name of the range in the pop-out menu that appears.
Then, double-check on the selected cells in the “Range” box before clicking “Set permissions.”
But, before you click the “Done” button, ensure that the “Range editing permissions” is set to “Only you” after ticking the “Restrict who can edit this range” option.
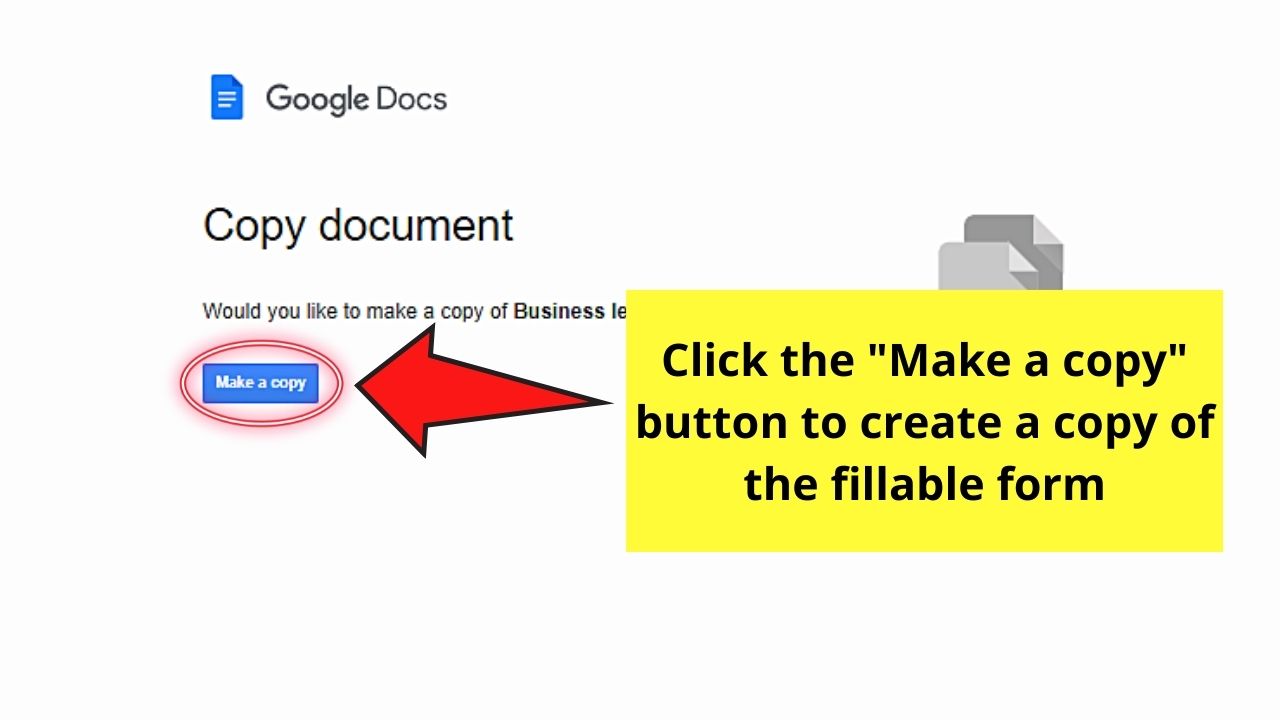
If you don’t want to proceed with using Google Sheets to create a simple form, you can do a force copy instead.
To enjoy this feature, head to the address bar showing the Google Doc’s URL, tap the “End” key on your keyboard, and replace the “edit” tag with “copy.”
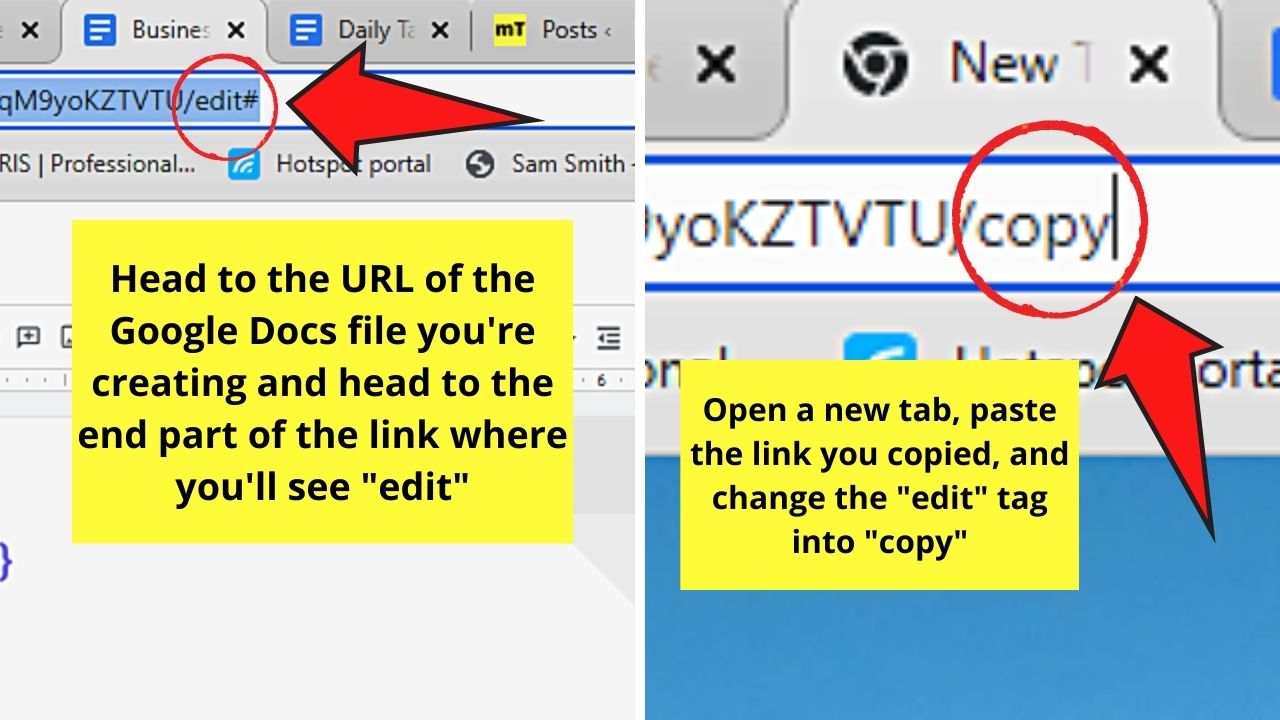

Copy the new URL on another tab, and a new page will then appear, prompting you to create a force copy of the said file. Just click “Make a copy,” and the copied file will then open on that tab.

This file will then be the one that you’ll send out to your respondents, allowing you to retain the original file.
But, if these methods aren’t the ones you’re looking for, then converting your Google Docs document into a fillable PDF is what you need.
How to Make a Fillable PDF in Google Docs
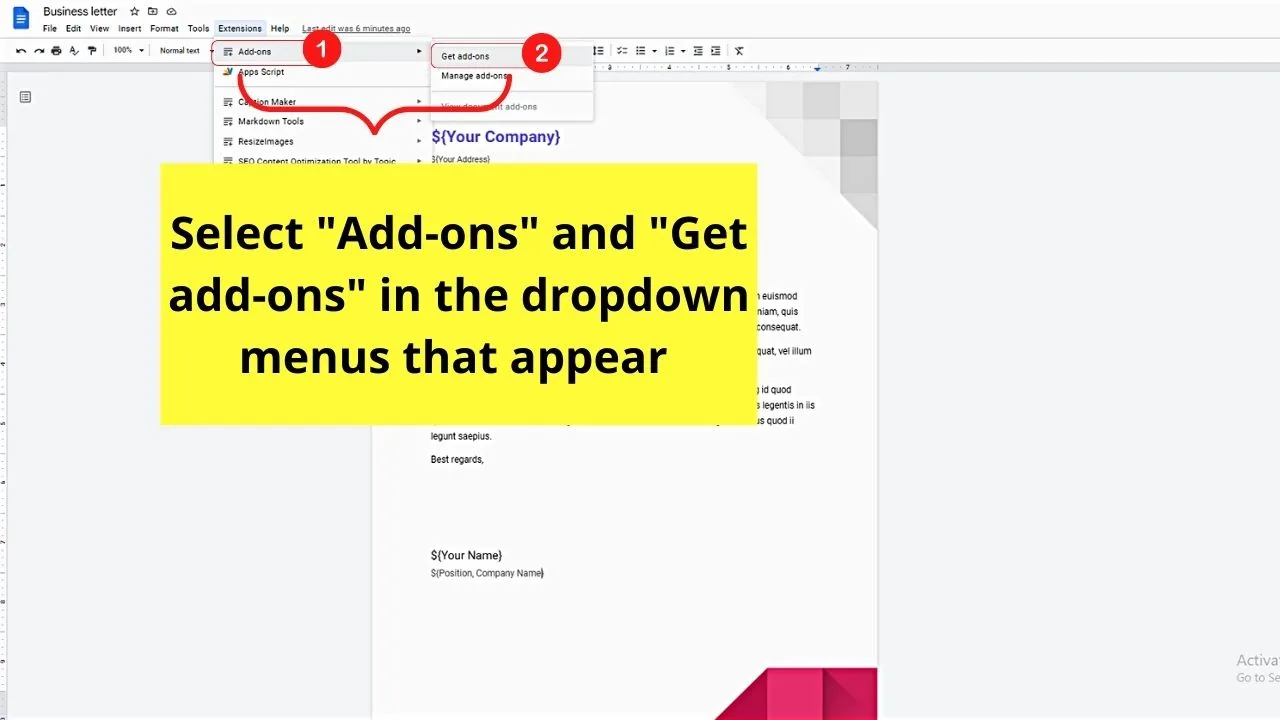
Step 1: On the Google Docs document you opened, head to the menu bar and select the “Extensions” tab.
Step 2: On the dropdown menu, click the “Add-ons” and “Get Add-ons” options consecutively.
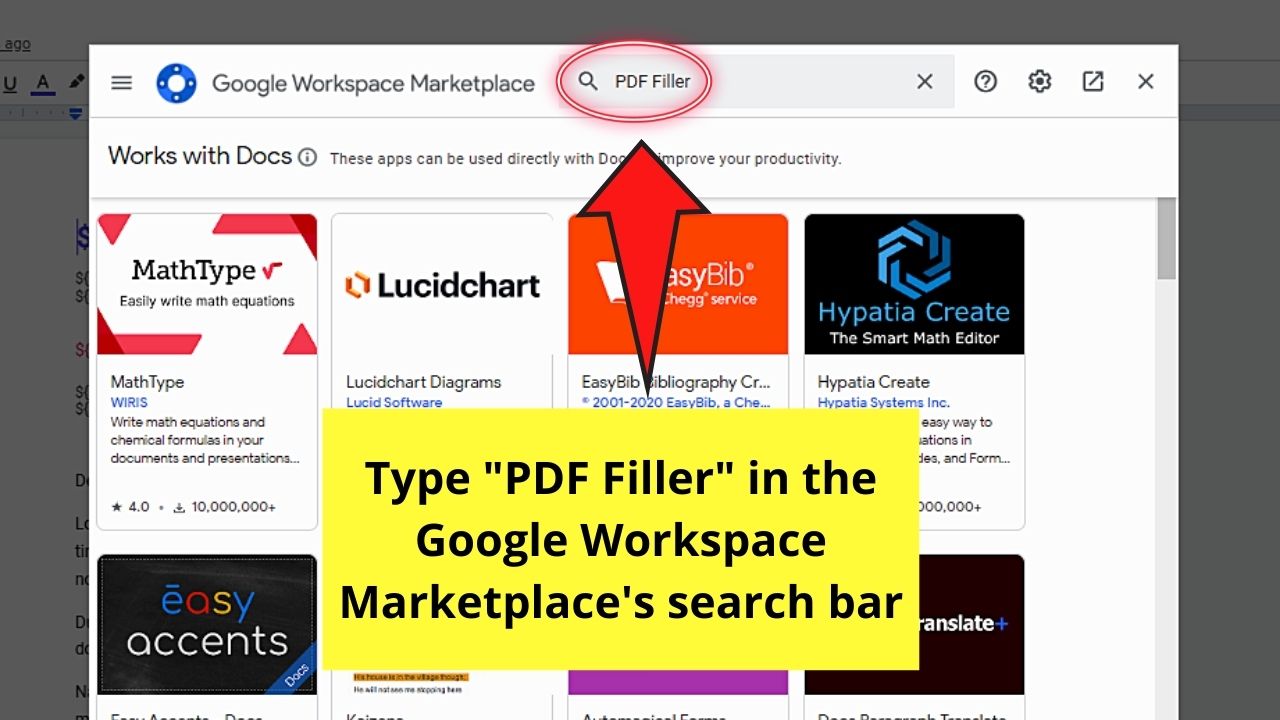
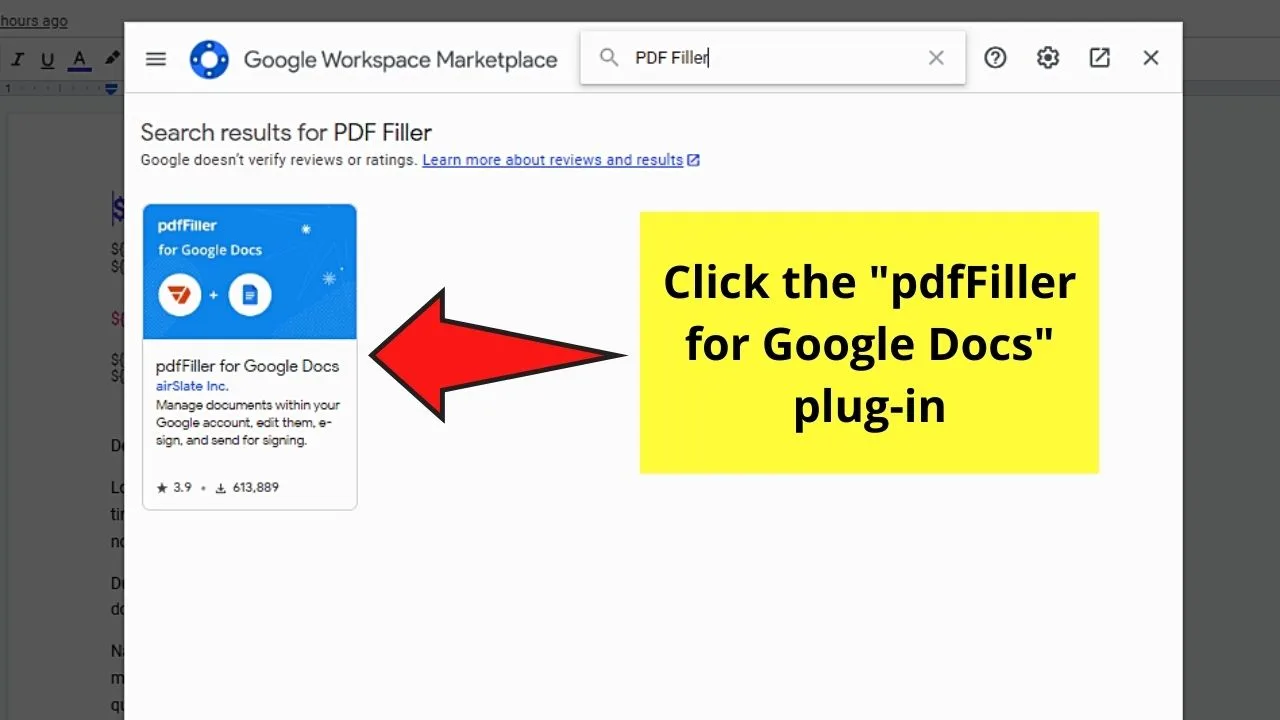
Step 3: Once you’re in the Google Workspace Marketplace’pop-out window, click the search bar and type “pdf filler” in it.
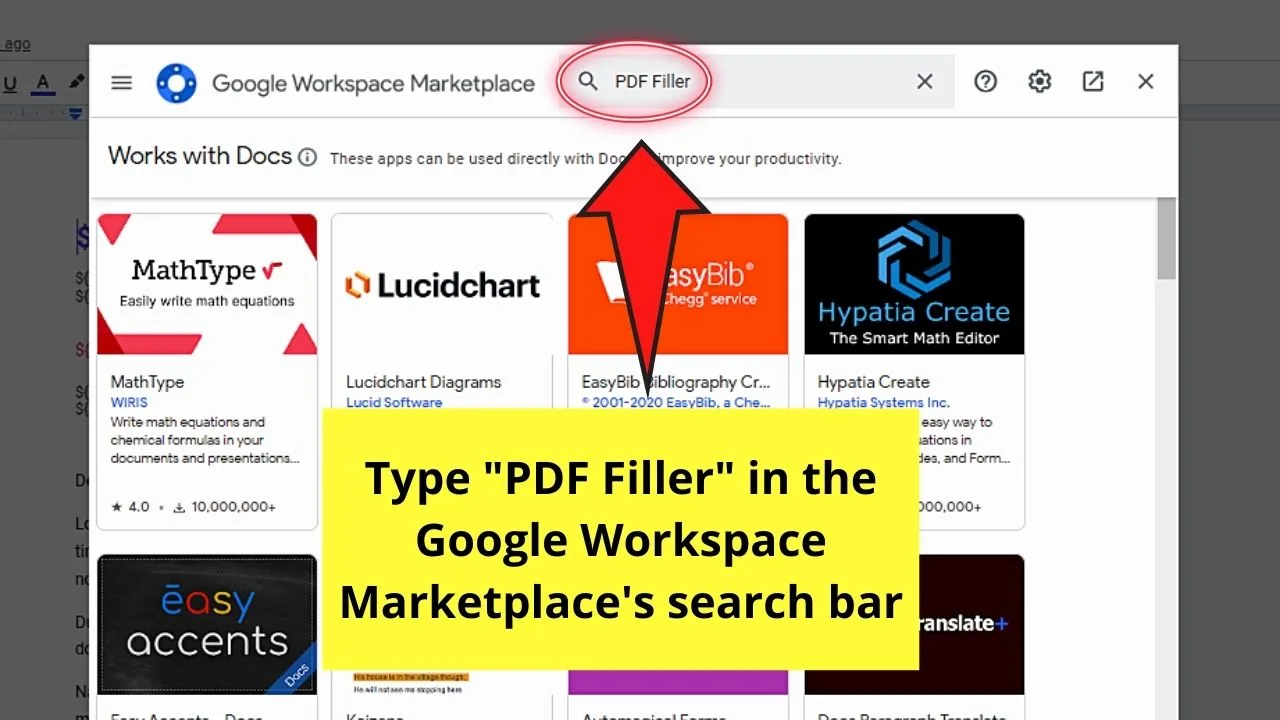
You’ll then be presented with various “PDF Filler” options. Select the “PDF Filler for Google Docs” option.

Step 4: Click the “Install” and “Continue” buttons if you wish to grant “PDF Filler” your permission.

Step 5: Log into your Google account before choosing the “Allow” button.
Wait for a few seconds before the “PDF Filler” add-on is installed on Google Docs.

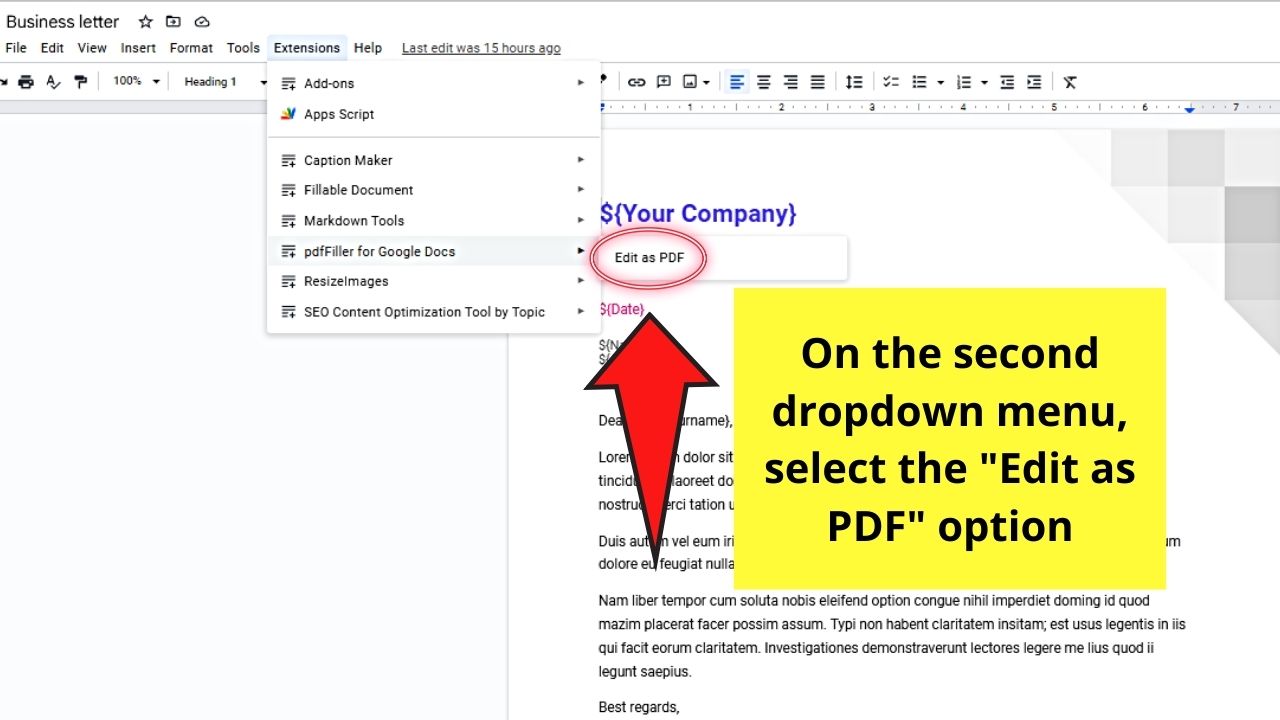
Step 6: Now, head back to the “Extensions” tab on the menu bar and select the “PDF Filler for Google Docs” option.


Then, choose the “Grant access to the document” button.

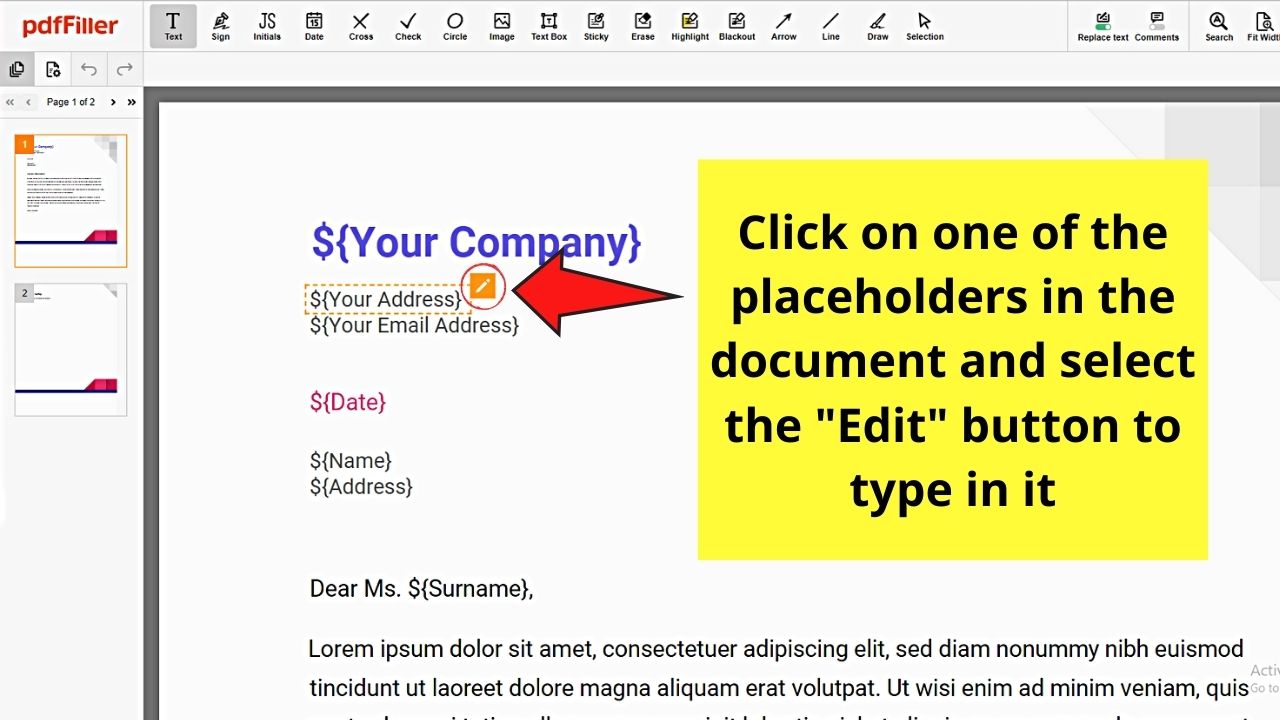
Step 7: On the sidebar that opens to the right of the document, select the “Edit as PDF” button.

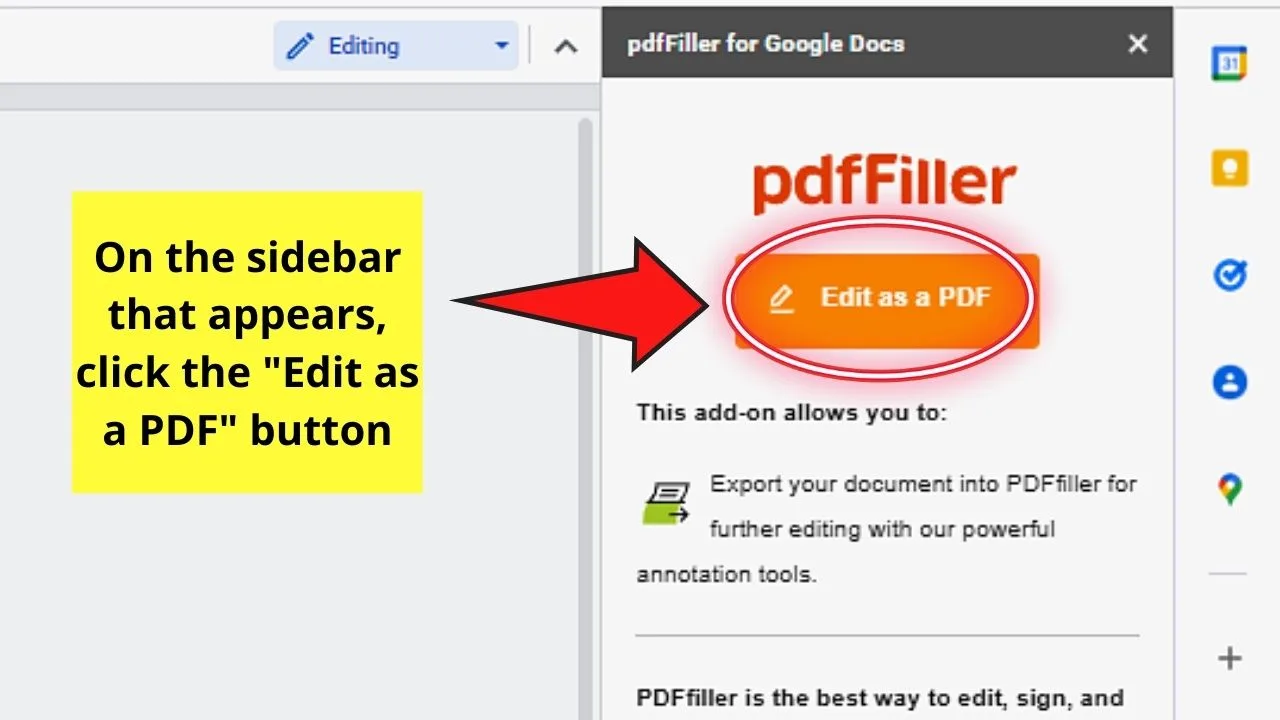
The document will then open in a new tab, which will allow you to edit your Google Docs document as a PDF.
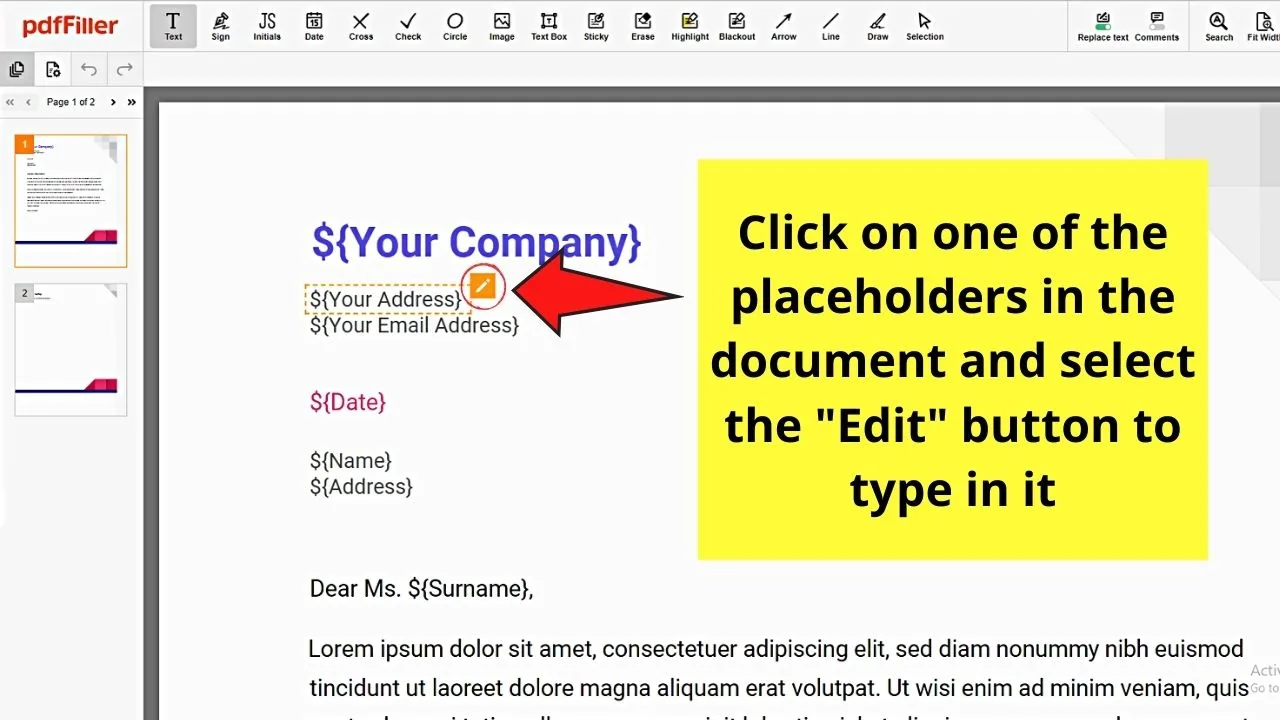
Fill out the entries needed by clicking the placeholders you wish to edit and selecting the “Edit” button.
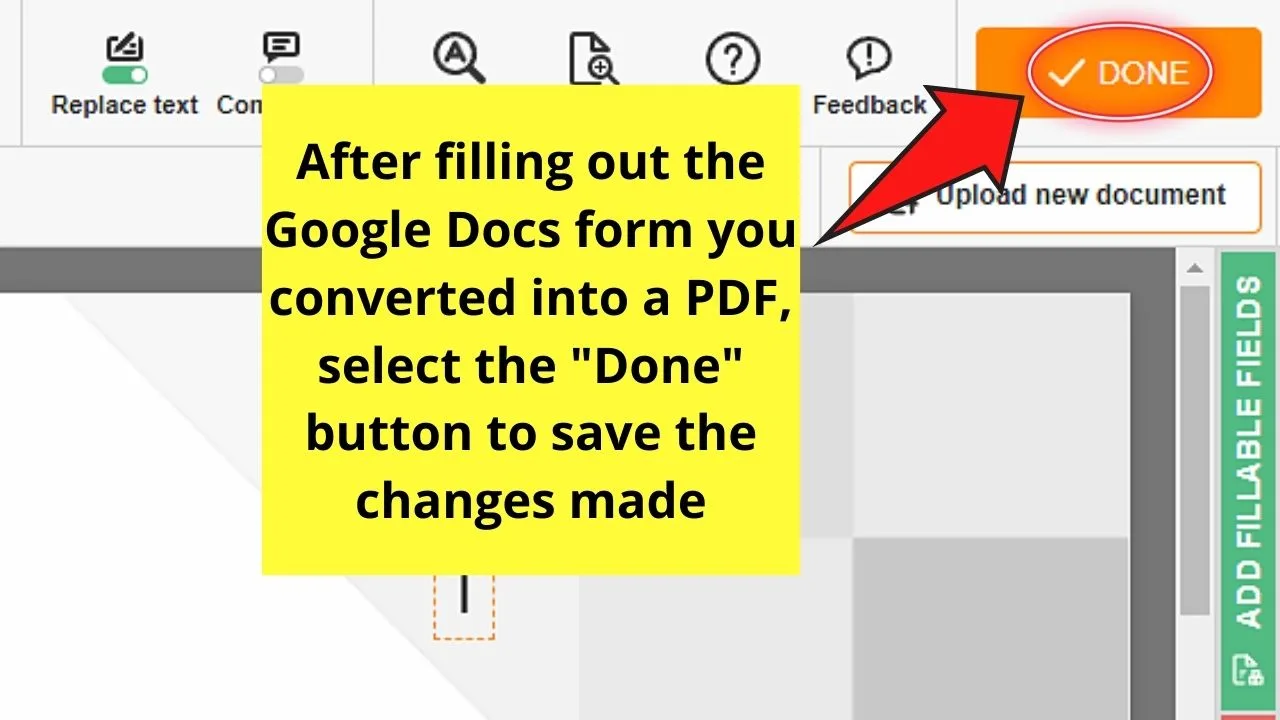
Step 8: Once you’re done filling out the necessary entries on the form, select the “Done” button to save the changes made.

Step 9: On the succeeding window under the “Save Document as” category, select the “PDF” option.
This will allow you to save the newly-filled out PDF while keeping its Google Docs counterpart.
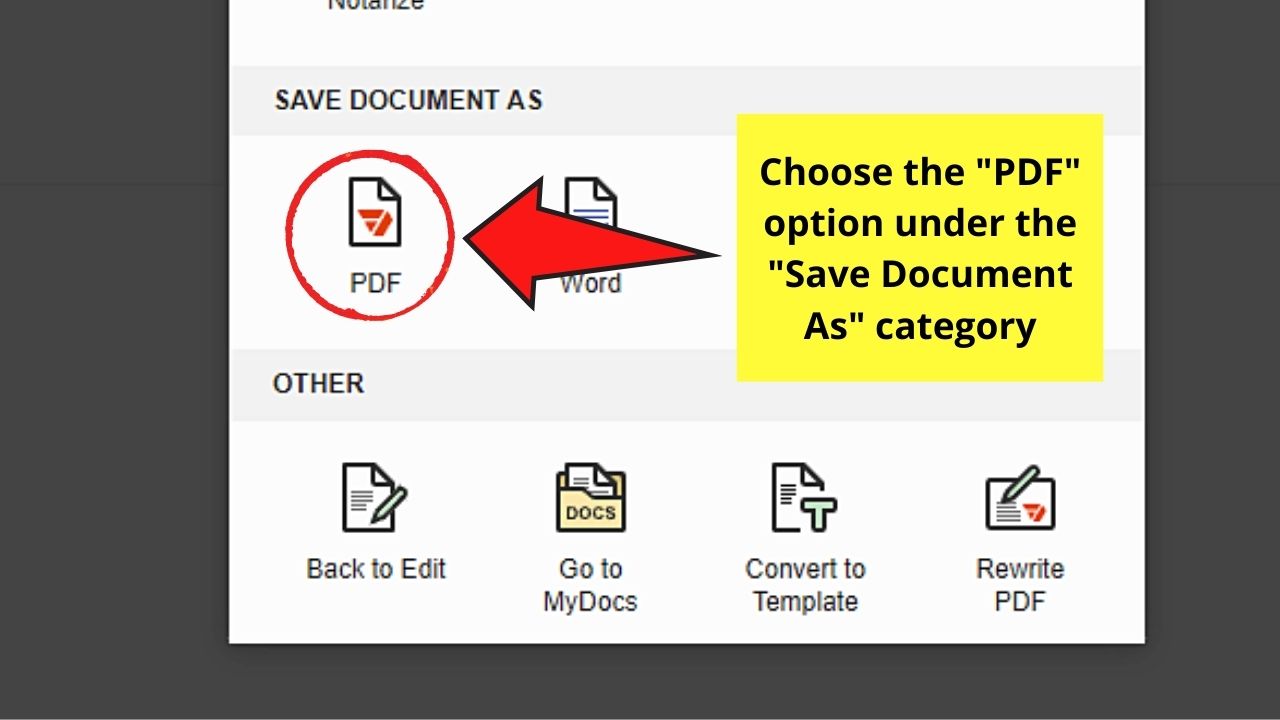

The PDF will then be stored in your Google Drive which you can easily share later on as an attachment.
Whoah! Plenty of options for me to select from when creating a fillable form in Google Docs.
With that said, it’s now up to you to choose which method is the most convenient and is the easiest for you to use regularly.
As we have seen in this article, creating fillable forms in Google Docs is rather complicated.
The same holds true for downloading images in/from Google Docs.
It surely sounds pretty straightforward but it actually harder than you might think!
Frequently Asked Questions about How to Create a Fillable Form in Google Docs
If you’re a standard Gmail holder, can you convert your Google Docs document into a fillable template?
Unfortunately, the “Create a Template” feature’s exclusive to G-Suite account holders. But, you can create fillable forms by selecting “File” and clicking “Make a Copy” to create a new document from your template which you will then edit.
How do I allow the respondents of the fillable Google Docs form I created to edit it out?
To change the access of your respondents to the fillable Google Docs form, select the “Share” button, add the email, and click the “Edit” access. Repeat these steps until all the recipients of your fillable form will be able to type in their responses to it.


Hey guys! It’s me, Marcel, aka Maschi. On MaschiTuts, it’s all about tutorials! No matter the topic of the article, the goal always remains the same: Providing you guys with the most in-depth and helpful tutorials!

