
What thought pops into your mind when you hear the word “layer?”
If you’re hungry, you’d probably think of the layers of decadent sponge and sweet icing arranged alternately on top of each other.
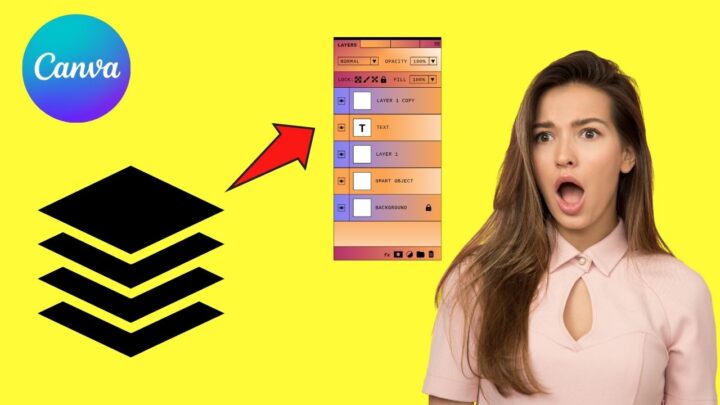
Yet, if you talk about layers in graphic design, the term refers to design elements — pictures, stickers, videos — that you stack on top of each other.
But, can you see the individual layers that you formed in Canva like how you see them on Photoshop and Illustrator?
How to See the Layers in Canva
To see layers in Canva, click on an element or image in your design and then select “Position” from the toolbar above the design. On the left side, then switch over to the “Layers” tab to see all the layers.
How to Layer in Canva in 2023
For a very long time, there was no dedicated layers window in Canva.
However, with the latest updates, Canva has now finally changed this and introduced a layering panel that makes it really easy to layer elements and images in Canva according to your needs.
In older versions of Canva, all you could actually do was moving certain elements forward or put them backwards. While this was supposed to have the same effect as actual layering, it was pretty difficult to use and sometimes did not lead to the desired results.
With all that said, here’s how you layer elements and images in Canva in 2023 and beyond.
Step 1: Click on the image/element that you would like to layer
Step 2: Click on Position in the toolbar above the design
Step 3: On the left side, switch over to “Layers”
Step 4: Layer your element or image accordingly with Drag & Drop


Hey guys! It’s me, Marcel, aka Maschi. On MaschiTuts, it’s all about tutorials! No matter the topic of the article, the goal always remains the same: Providing you guys with the most in-depth and helpful tutorials!

