

Not only is the Arc tool a great tool for creating curved lines in Adobe Illustrator, but it’s also easy to alter your line once you’ve drawn it! So how does it work?
How To Use The Arc Tool In Adobe Illustrator
To start, double-click on your Illustrator file to open it. Right-click the Line Segment Tool and equip the Arc Tool, then click+drag to draw your line. Use the keyboard shortcut “A” to equip the Sub-selection tool. Finally, use the Sub-selection tool to alter your arc.
How Make an Arc in Illustrator using the Arc Tool— Step-by-step Guide
Step 1:
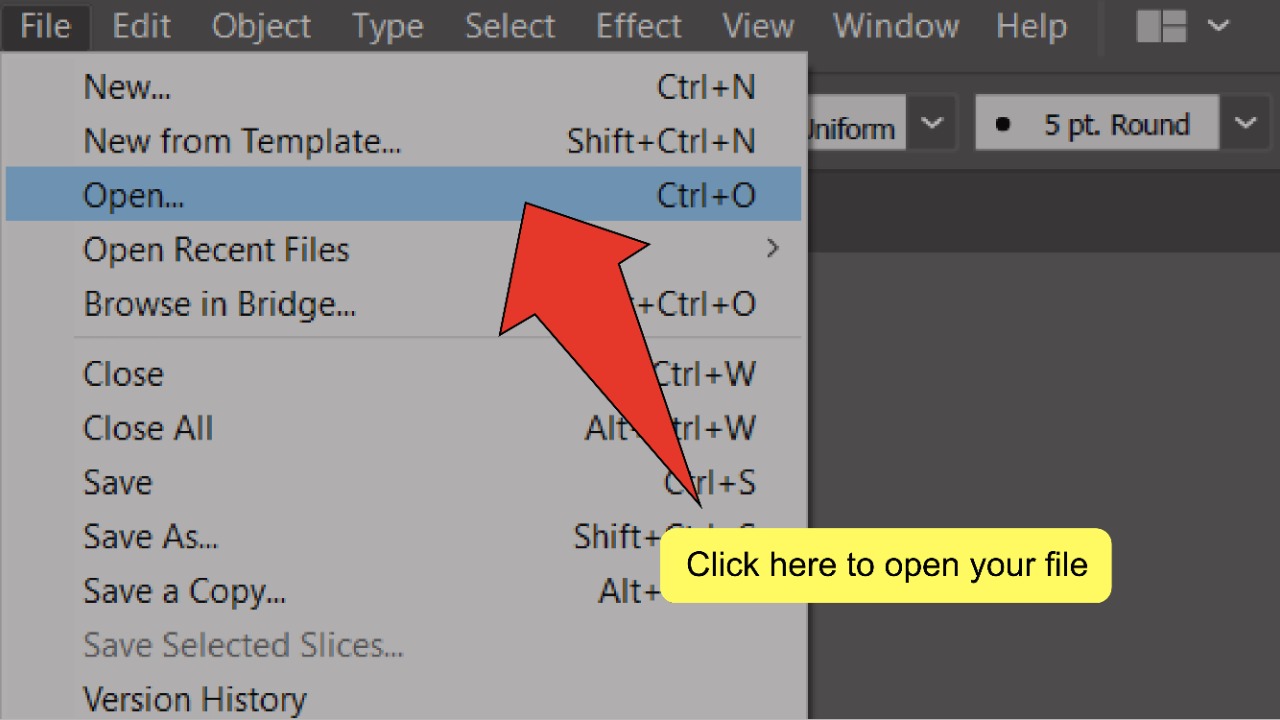
Open your Illustrator file. To start, open your Illustrator document by double-clicking on it, or if Illustrator is already open, you can go to “File” on the top menu, and then “Open” and choose the file you want to open. To speed things up, you can also use the keyboard shortcut COMMAND+O (MAC) “Ctrl+O” (Windows).

Step 2:
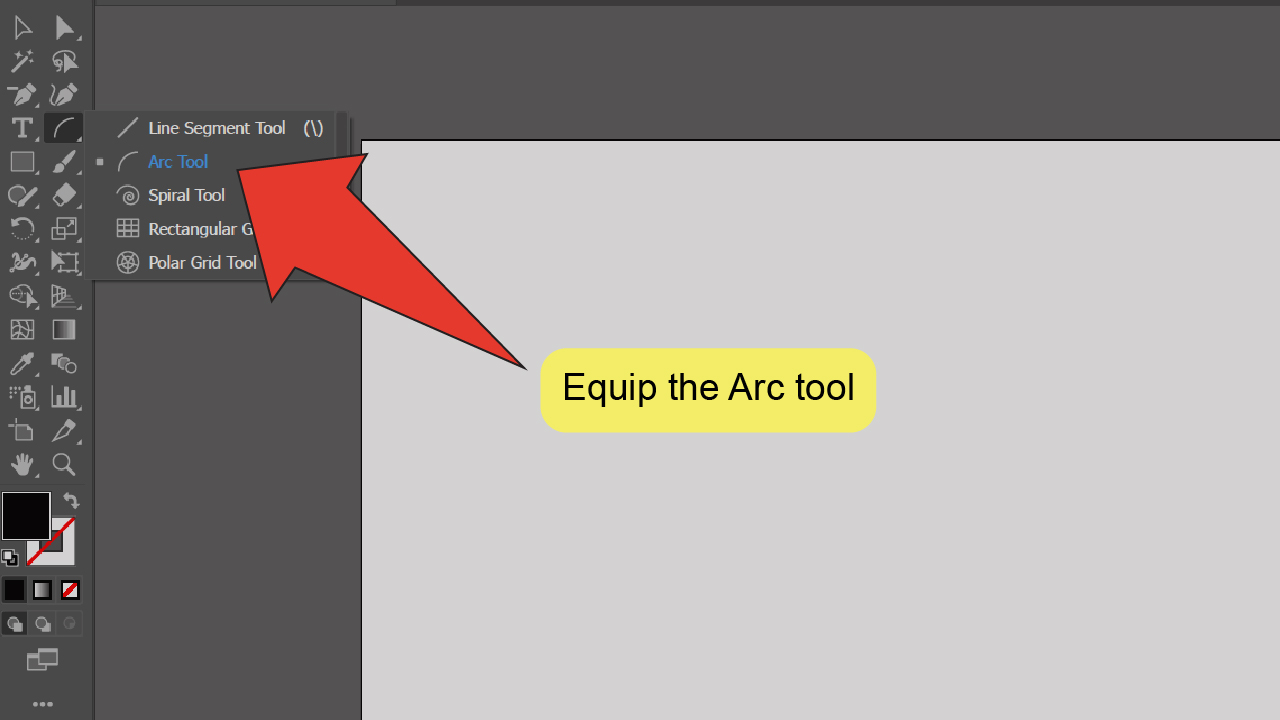
Find and equip the Arc tool. Find and right-click the Line Segment Tool, located on the toolbar on the left side of your screen, then select the Arc tool from the menu that pops up to equip it.

Step 3:
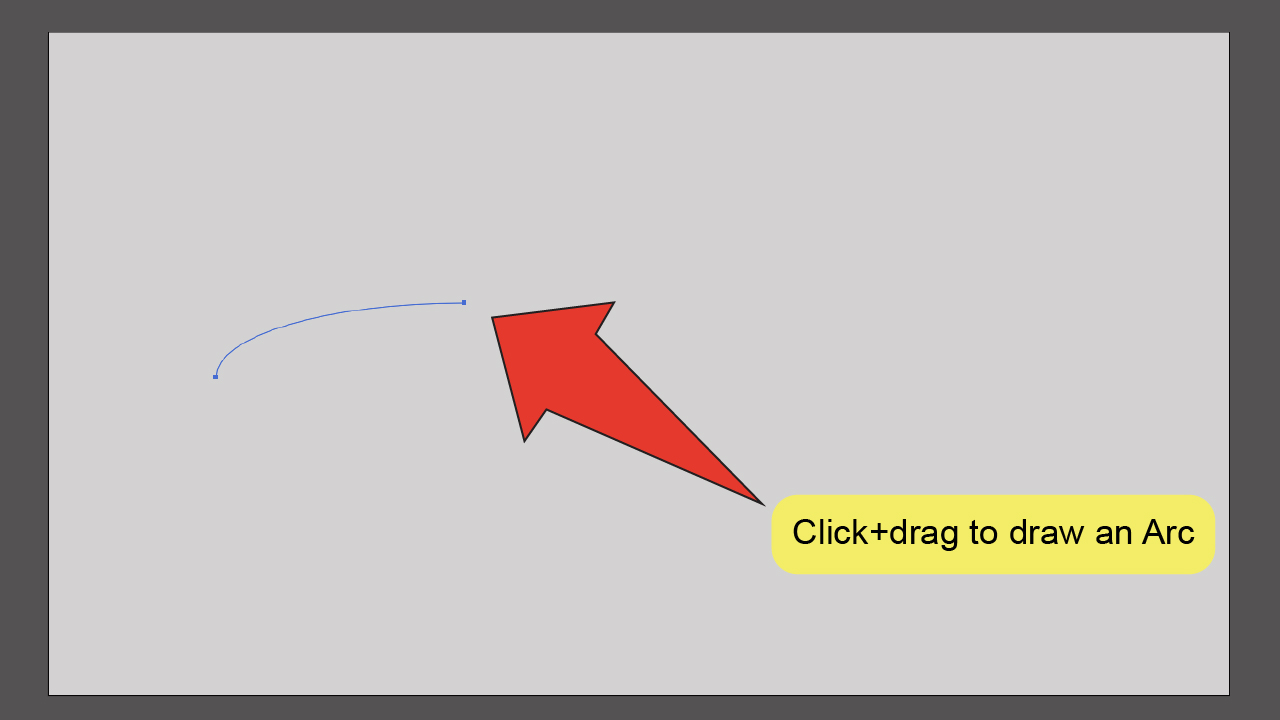
Draw your arc. Click and drag your cursor anywhere on your artboard to draw an arc.

Step 4:
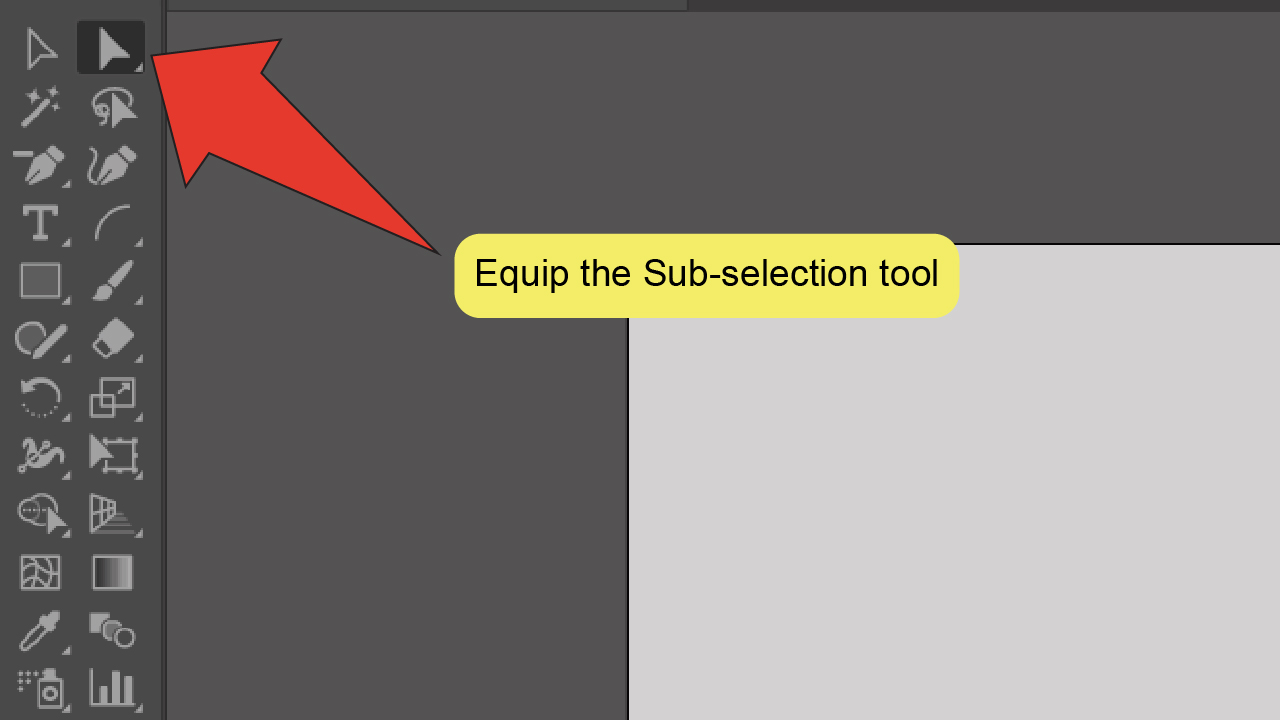
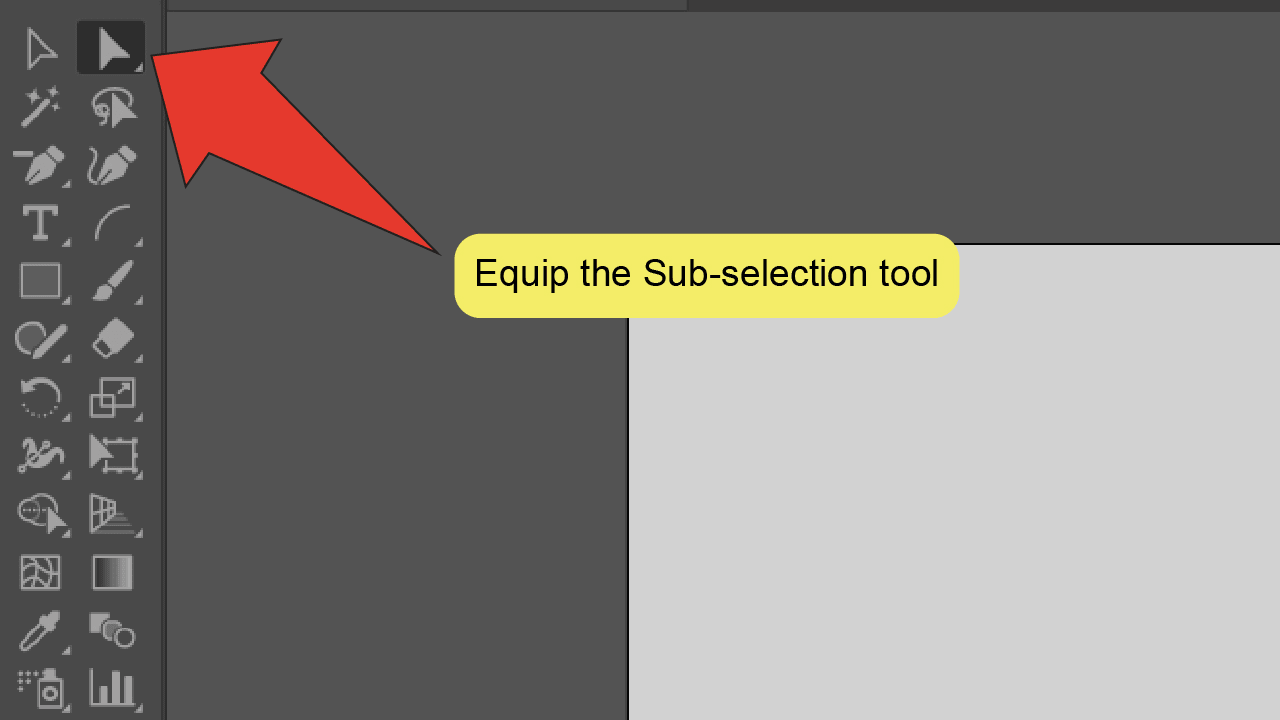
Equip the Sub-selection Tool. Look for and select the Sub-selection Tool, located on the toolbar on the left side of your screen. To speed things up, you can use the keyboard shortcut “A” to quick-select the tool.
Step 5:
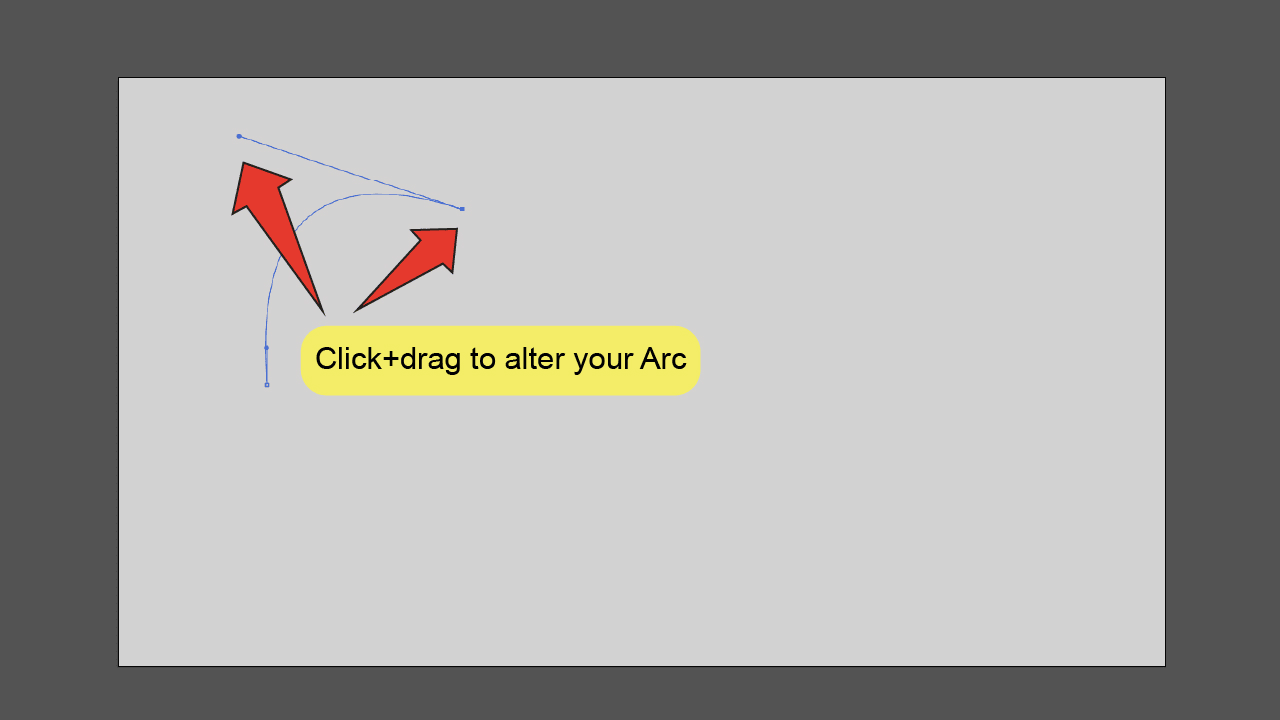
Alter your arc. Click on an anchor point on either end of your line to select it. When an anchor point is selected, it will be highlighted and handles that can be used to edit the shape of your arc will be visible. You can click and drag your anchor points or handles to change the length or angle of your arc.


The Arc Tool is not Showing in Illustrator — The Fix
The arc tool is generally located under the Line Segment tool in the left-side toolbar. To equip it, you would simply right click on the Line Segment tool and then choose the “Arc tool.”
But what if the Arc tool is not there?
You can easily fix that by clicking on the three dots at the bottom of the toolbar and then by choosing the arc tool form there.
The reason the Arc tool was not there for you in the first place is most probably that you are using the “Basic” toolbar instead of the “Advanced” toolbar.
To change that, you can also simply go to “Window” in the top toolbar, then select “Toolbar” and then make sure to click on “Advanced.”
The toolbar on the left-hand side should now show many more tools than before and when right-clicking on the “Line Segment tool,” you should be able to select the Arc tool from there.
Frequently asked questions about using the arc tool in Illustrator
Where is the Arc tool in Illustrator?
Right-click on the “Line Segment Tool” in the toolbar to find the “Arc Tool.” Simply click on it to equip it.
Is there a keyboard shortcut for the Arc tool in Illustrator?
There is no default keyboard shortcut for the Arc tool in Illustrator. However, you can set one. Go to “Edit”, then “Keyboard shortcuts” and type in “Arc.” You can then define a key on your keyboard to be set as a shortcut for the Arc tool.


Hey guys! It’s me, Marcel, aka Maschi. On MaschiTuts, it’s all about tutorials! No matter the topic of the article, the goal always remains the same: Providing you guys with the most in-depth and helpful tutorials!

