
Uggh! Why can’t this extra blank page in the Google Docs document disappear after hitting “Backspace” several times?
Did something happen after I changed the default font in Google Docs permanently?
Or do I need to tweak something in the formatting after I viewed multiple Google Docs tables on the same Google Docs page?
Whatever happened while editing your document, you don’t need to fret about how you can remove that extra page in Google Docs.
Sit back and keep reading for you to refresh your memory and learn new methods in removing a page in Google Docs.
How to Remove a Page in Google Docs
Initially, you can press “Backspace.” If it doesn’t work, place the cursor at the end part of the previous page or highlight the blank page before pressing “Delete.” You can also remove unwanted text. Other ways include changing the custom spacing, bottom margin, and page breaks.
Making to Remove a Page in Google Docs — 6 Easy Methods
Finding an extra page after your document in Google Docs can be quite bumming, especially if you don’t need it in the first place.
Worst of all, you don’t know how to remove it. So, if you’re keen to get started to learn how to remove a page in Google Docs, let’s get started then with the first (and easiest) method.
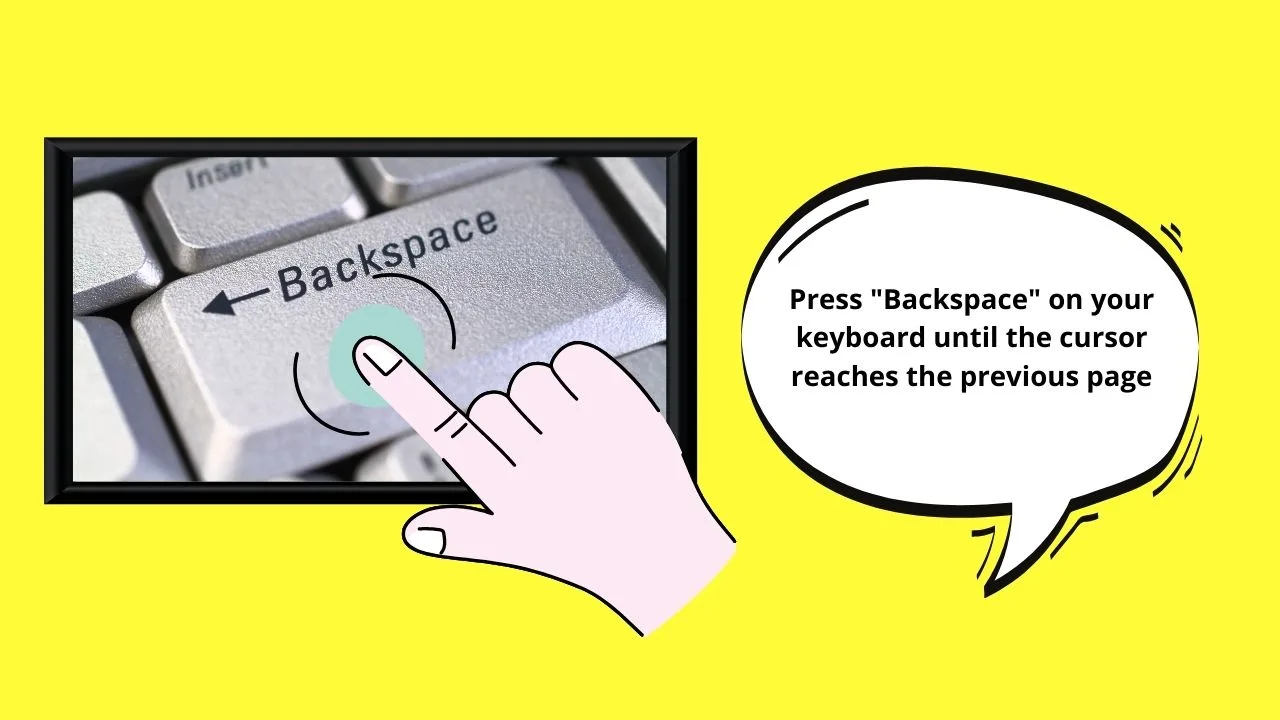
Method 1: Hitting the “Backspace” Key
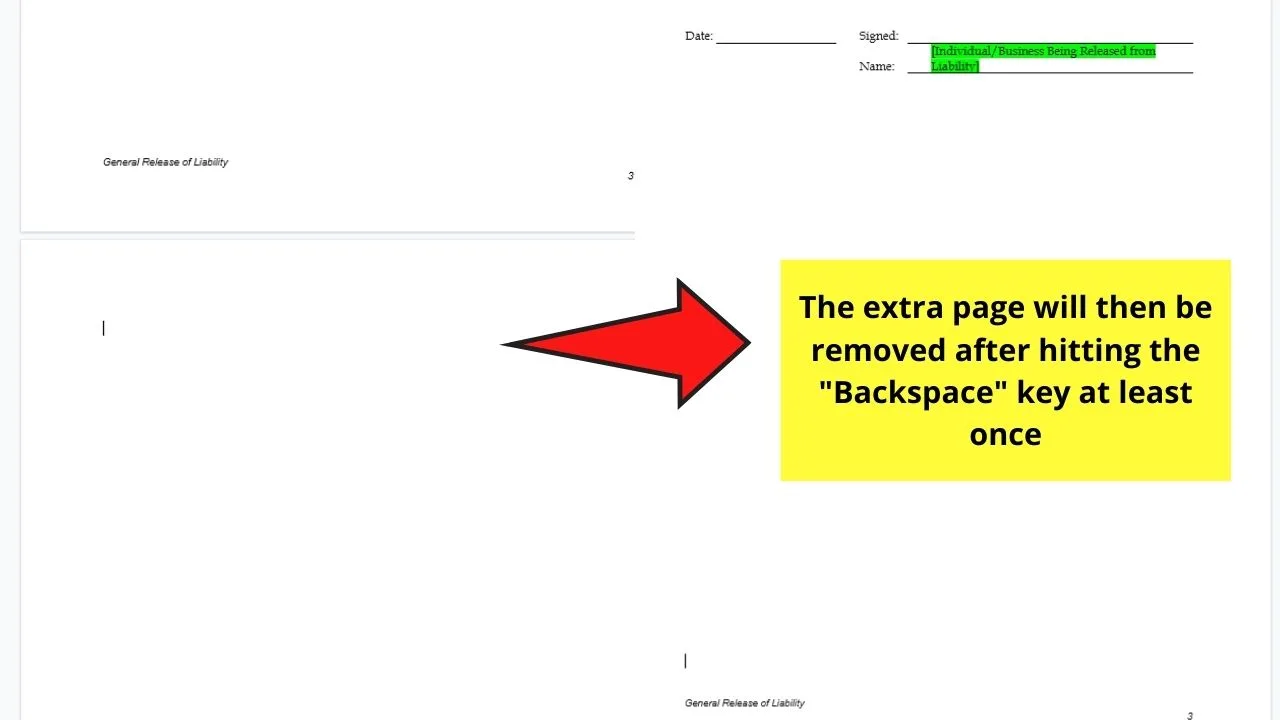
Step 1: After opening the Google Docs document you’ll edit, scroll down to check if you see any blank pages after the last chunk of text.
If you do see an extra blank page, place the blinking cursor at the start point (the upper left corner) of the page.
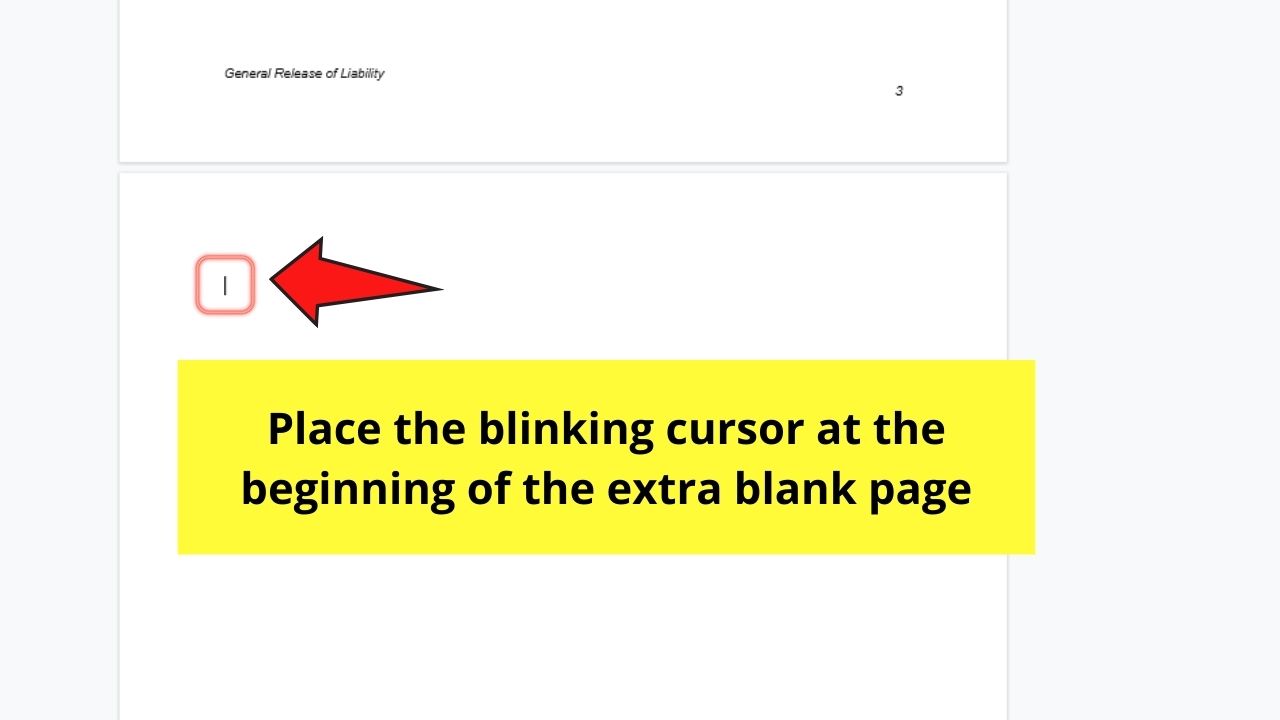
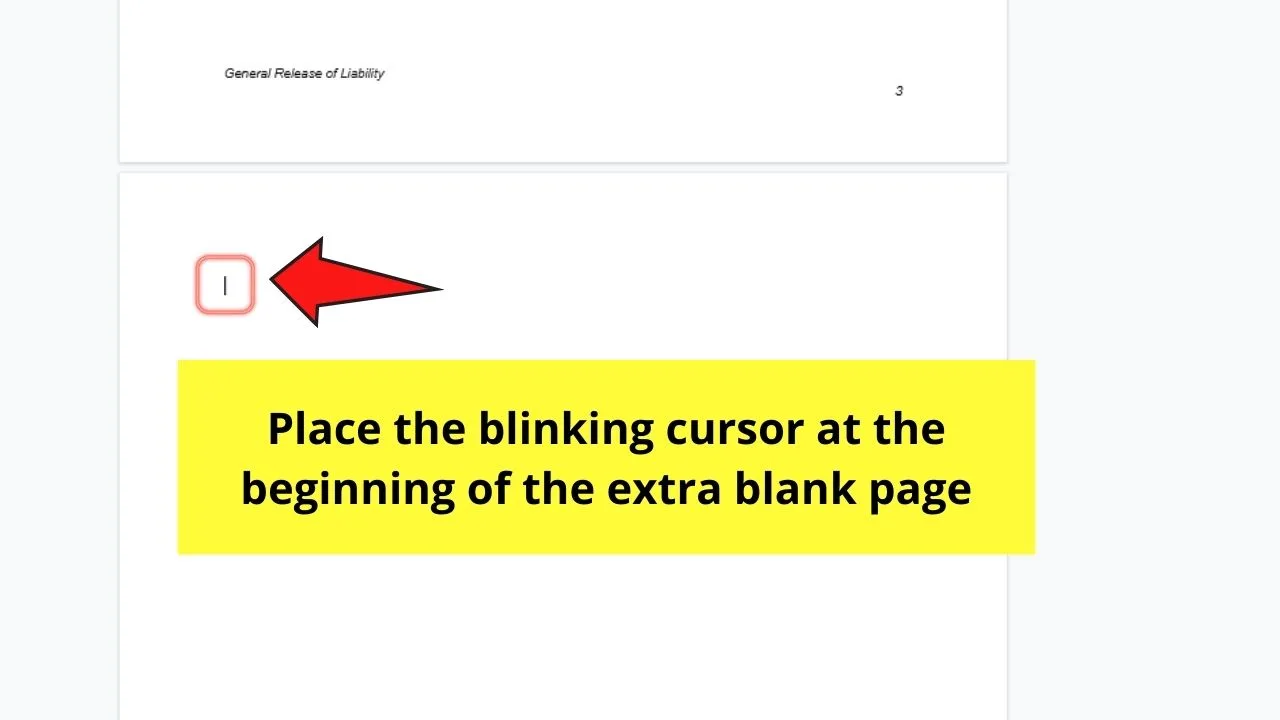
You can place the blinking cursor as far away from the start point as possible to allow for more space for the next step of the process.
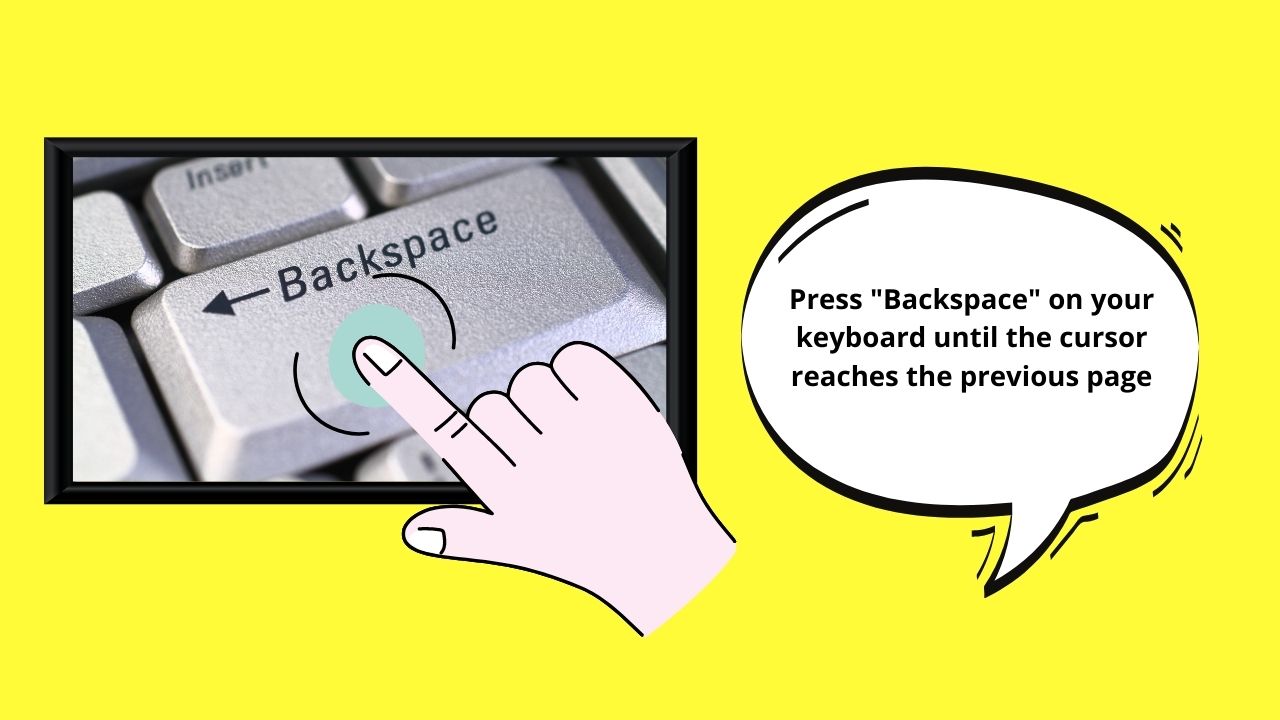
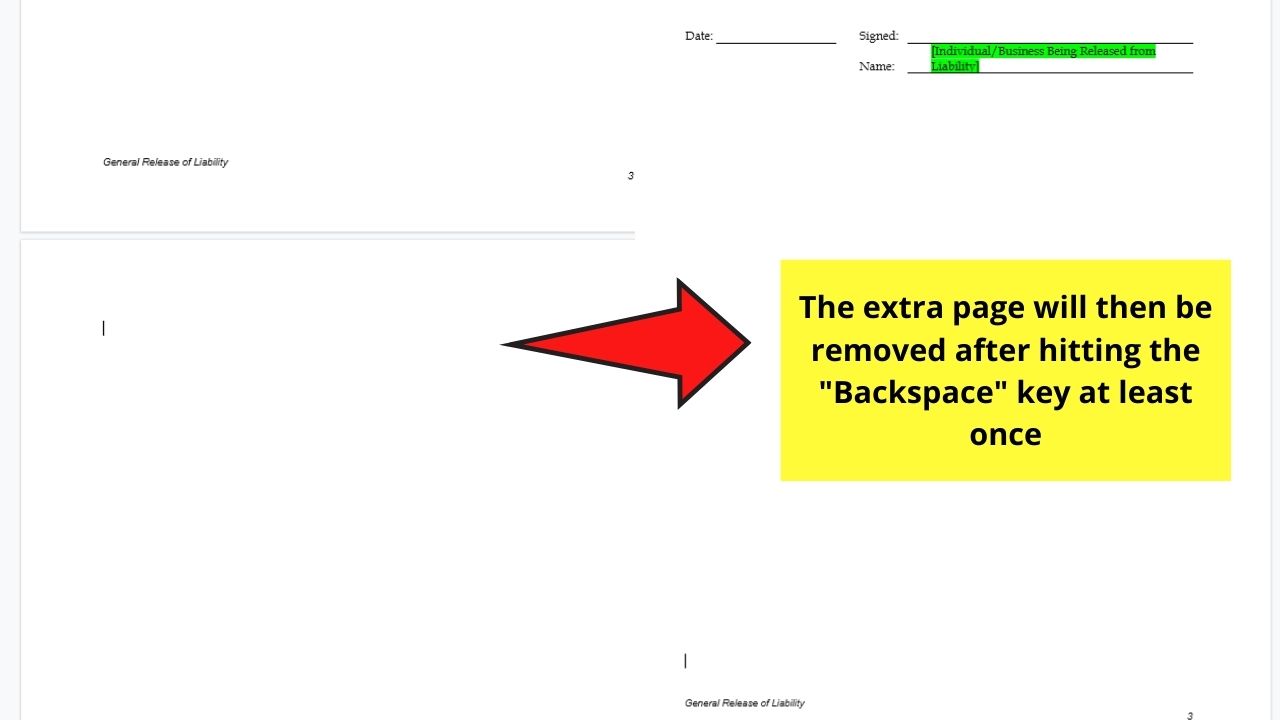
Step 2: Once the blinking cursor’s placed, continuously press “Backspace” on your keyboard until you reach the last part of the previous page.
Usually, this 2-step technique works the trick in removing that unwanted blank page.
But, in the off-chance, it doesn’t, head to the next method.


Method 2: Pressing the “Delete” Key
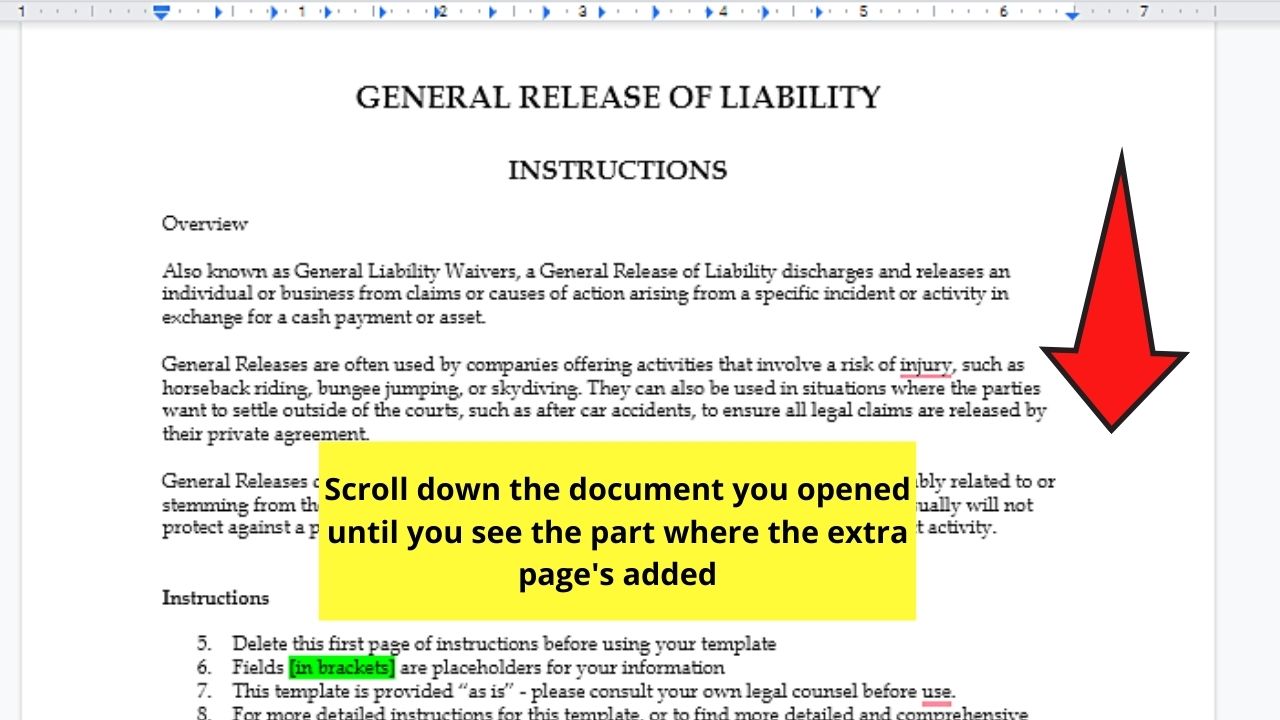
Step 1: On the Google Docs document you opened, scroll down until you reach the end part of the text and the extra blank page that follows it.

Step 2: After locating the last part of the text, place the blinking cursor after the last word of that particular text.


Step 3: Then, head to your keyboard and press “Delete.”

Again, this second method usually does the trick for removing that extra blank page.
If again, it doesn’t work as well as you expected, you can modify the second method a bit with this process:
Step 1: Highlight the blank page by dragging the cursor across it.
Step 2: After highlighting the blank page, press “Delete.”
This modification of the second method works best if you find the blank page after 2 occupied pages.
Yet, if after this process and the blank page is still present (if it’s found at the last part of the document), go to the next method.
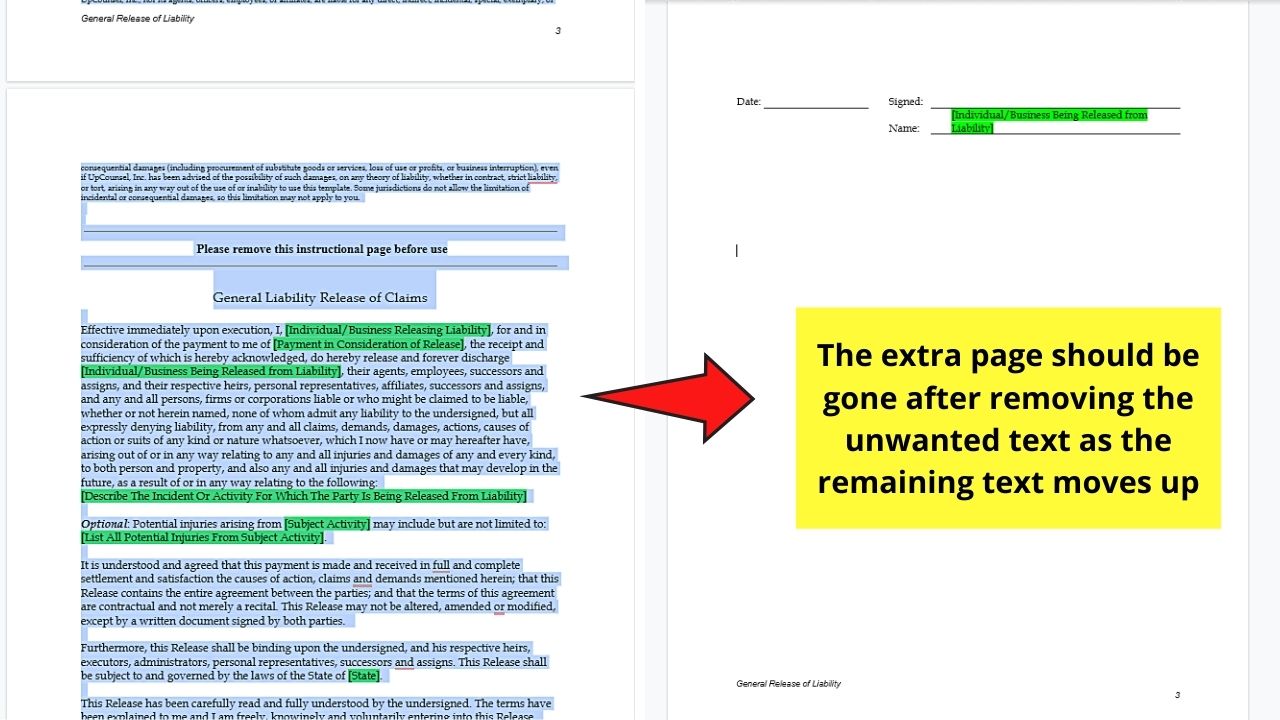
Method 3: Removing Unwanted Text from Document
In case you find that there’s too much-unwanted text on your document, here are the next steps you should follow.
Step 1: Scroll down the Google Docs document you opened until you reach the part where you find the unwanted text.

Step 2: Highlight the part of the text you want to remove by dragging the cursor over it.
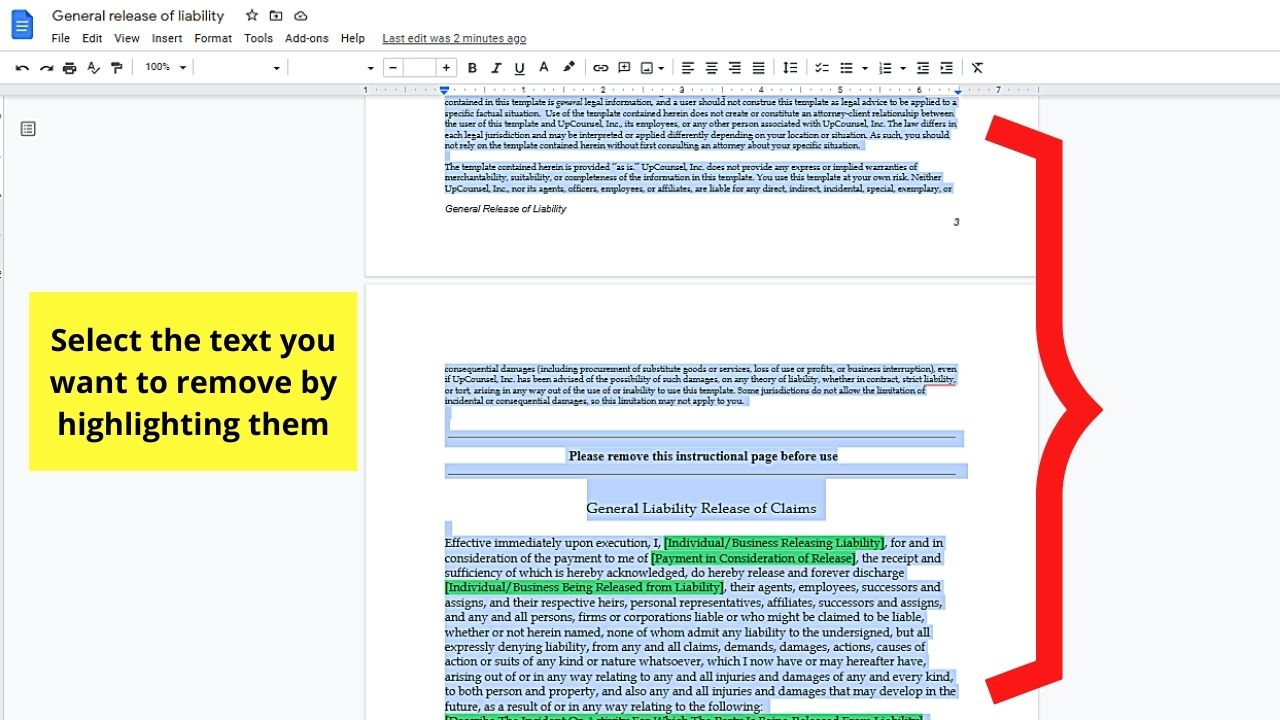

You can also include any images if the document features some of them.
Step 3: After highlighting the text, either press “Backspace” or “Delete” to erase that unwanted text.

Once you remove the unwanted chunk of text, the remaining text moves up, lowering the page count as well.

But, if this third method doesn’t effectively remove the page, head over to the fourth one below.
Method 4: Altering Custom Spacing Settings
If you recall, Google Docs has a default setting for how many pts to place between the lines in your document.
And, if your memory’s sharp enough, the default line spacing is pegged at 1.15.
Yet, if you altered the line spacing after changing the default font in Google Docs permanently, this can add a new page at the end part of the document.
Hence, to check for the line spacing settings, do the following:
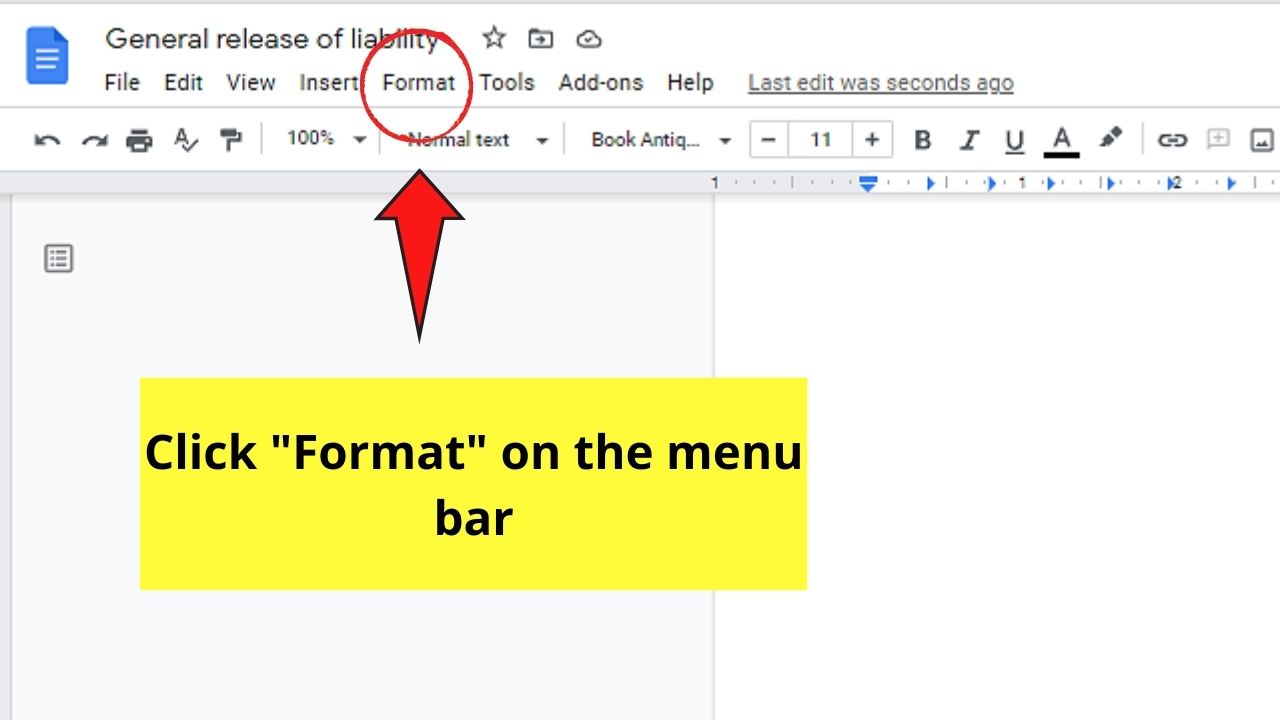
Step 1: In the Google Docs document you opened, head to the menu bar and select “Format” after selecting everything.

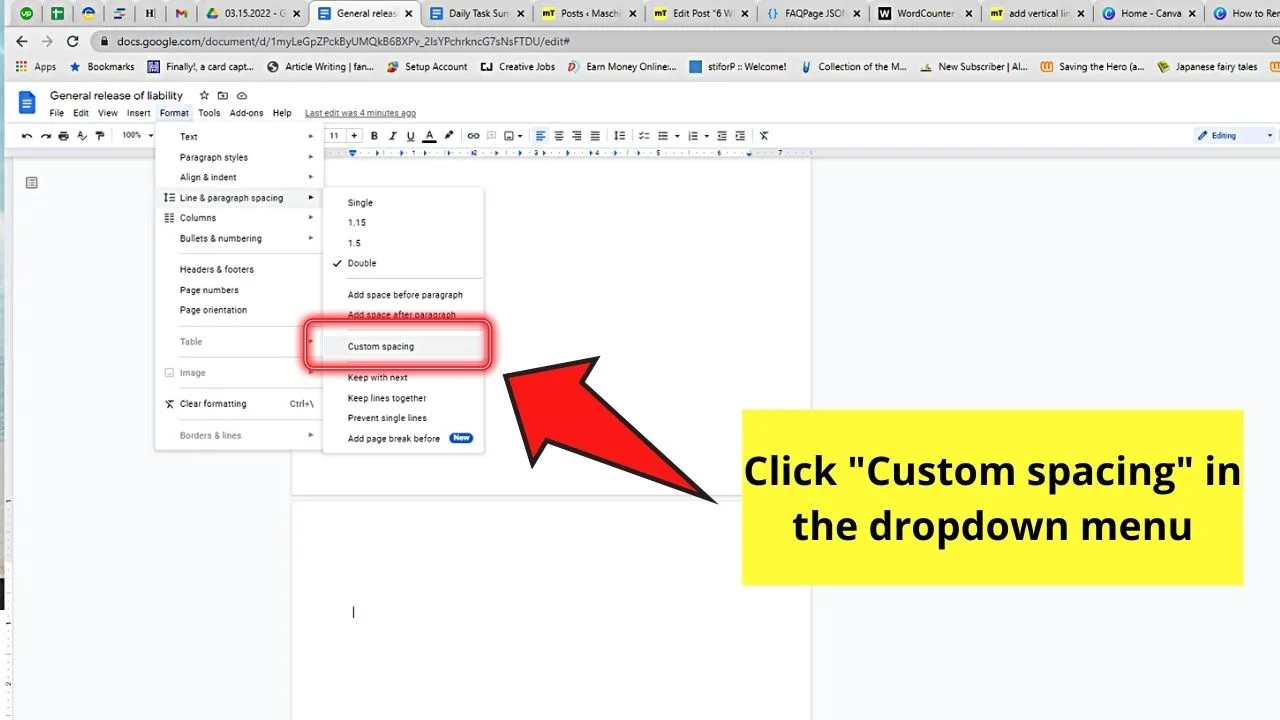
Step 2: In the dropdown menu that appears after choosing “Format,” scroll down and hover your cursor over the “Line & Paragraph Spacing” option.

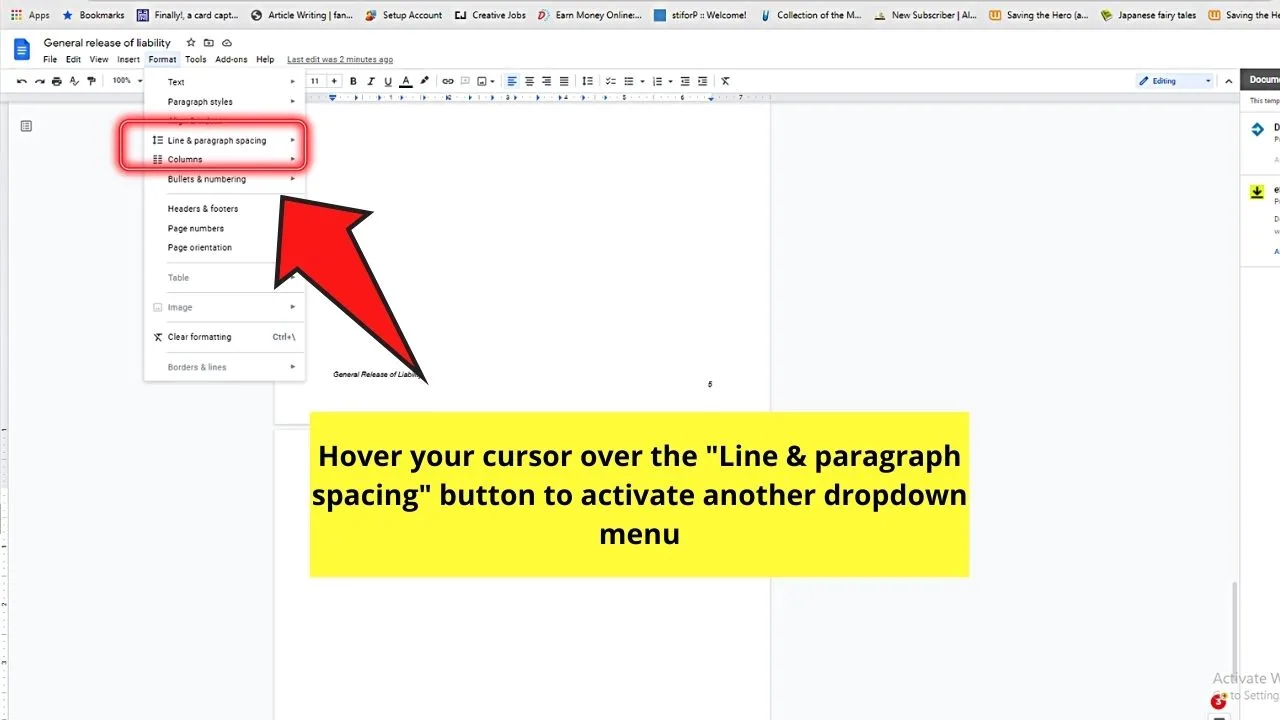
A secondary menu appears beside the dropdown menu.
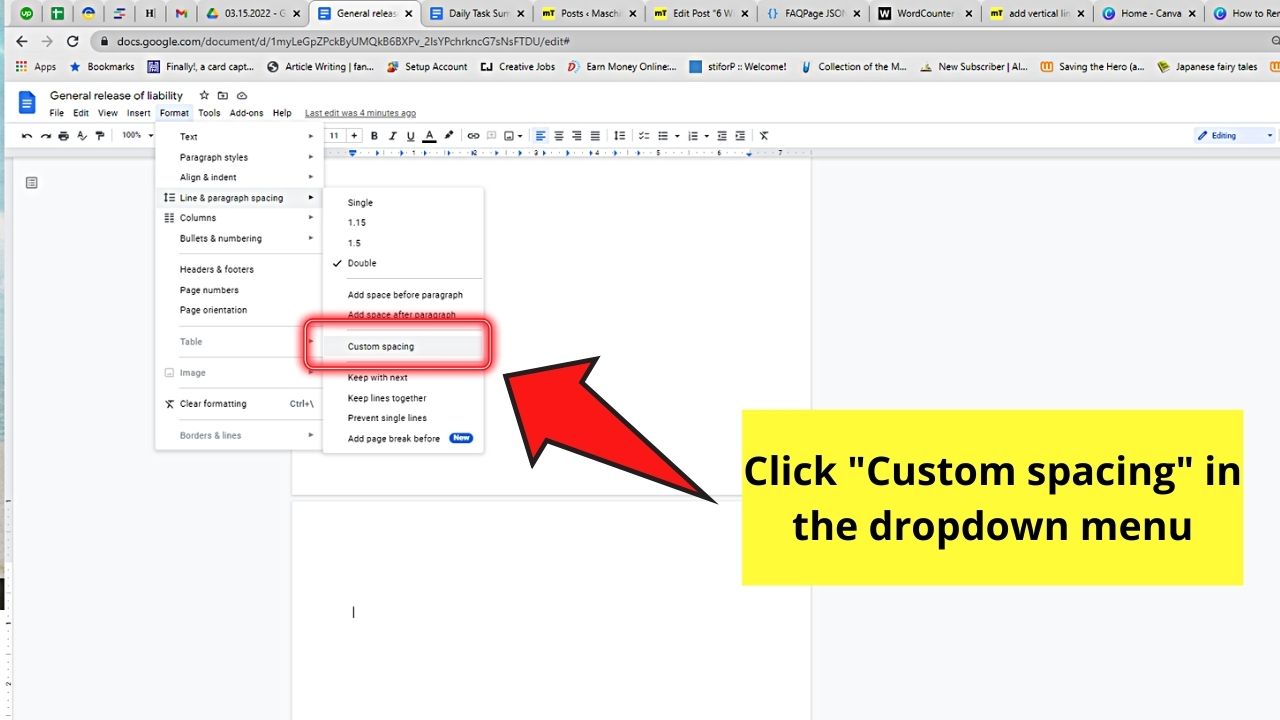
Step 3: In the second menu, click “Custom Setting.” A pop-out window will then appear afterward.
Step 4: In the “Custom Spacing” dialog box, encode the new line spacing in the “Line spacing” field.

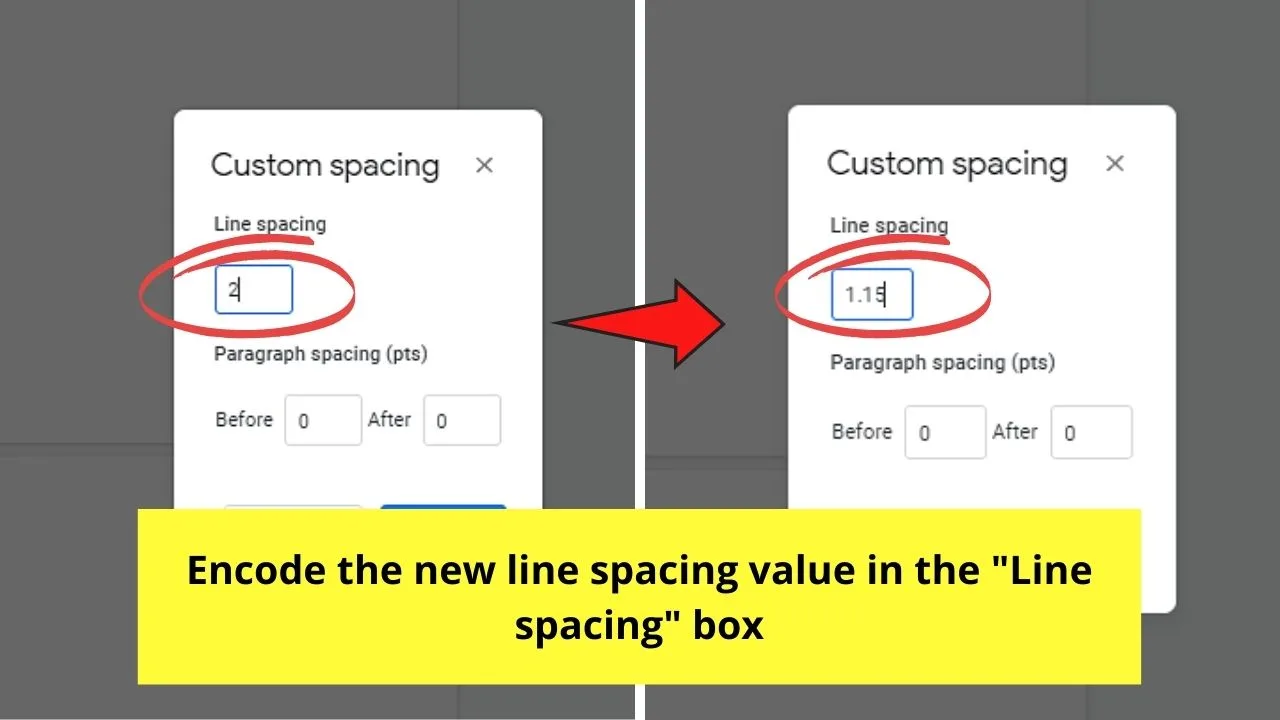
The best option is to lower the value so lesser space is placed after each line.
You can also alter the “Paragraph Spacing” by encoding the new values in the “Before” and “After” boxes provided.
Step 5: Once you’re satisfied with the line and/or paragraph settings you encoded, click the blue “Apply” button.


Once the new settings are in place, check to see if the blank page earlier was removed.
If not (unfortunately), head on to the next method.
Method 5: Adjusting the Margins (Especially the Bottom Margin)
Everyone knows how nifty margins are.
These invisible lines surrounding your document keep all the text inside the printable area.
However, if you set too large of a margin, Google Docs can add a new page instead of just adding a large space at the bottom.
So, to prevent this from happening, or if you think the margin size’s too large for your liking, do these steps:
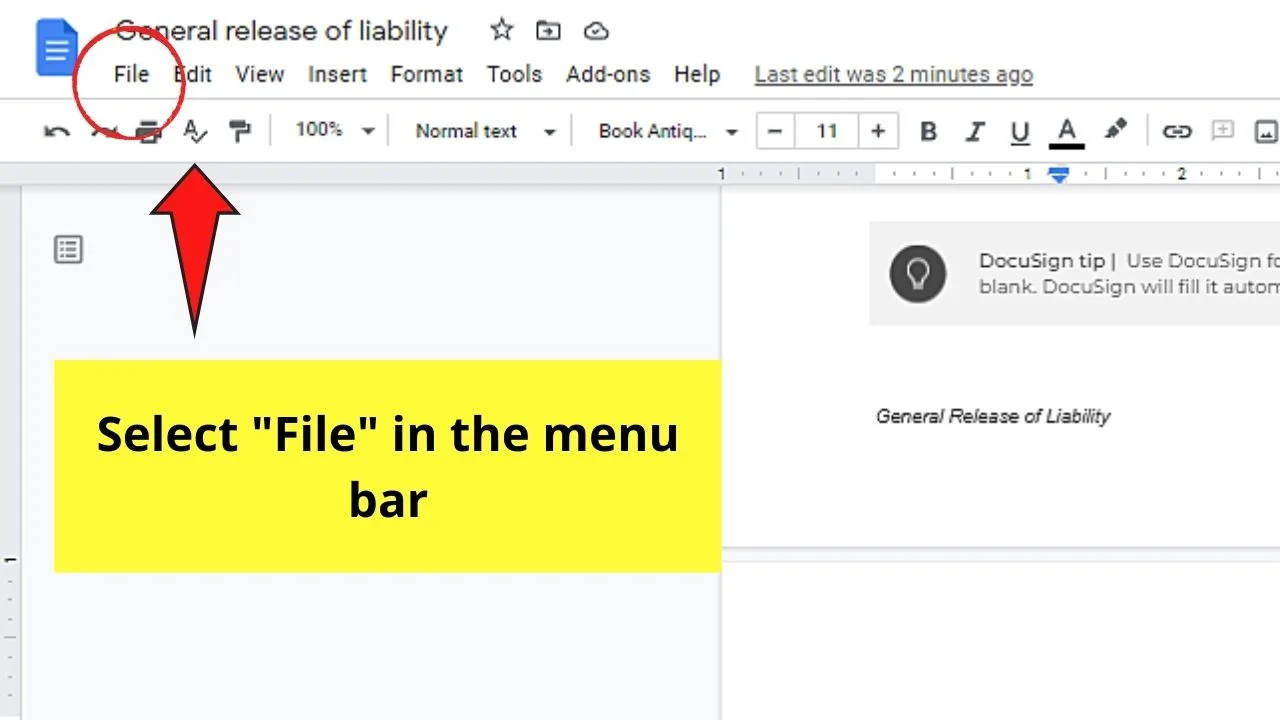
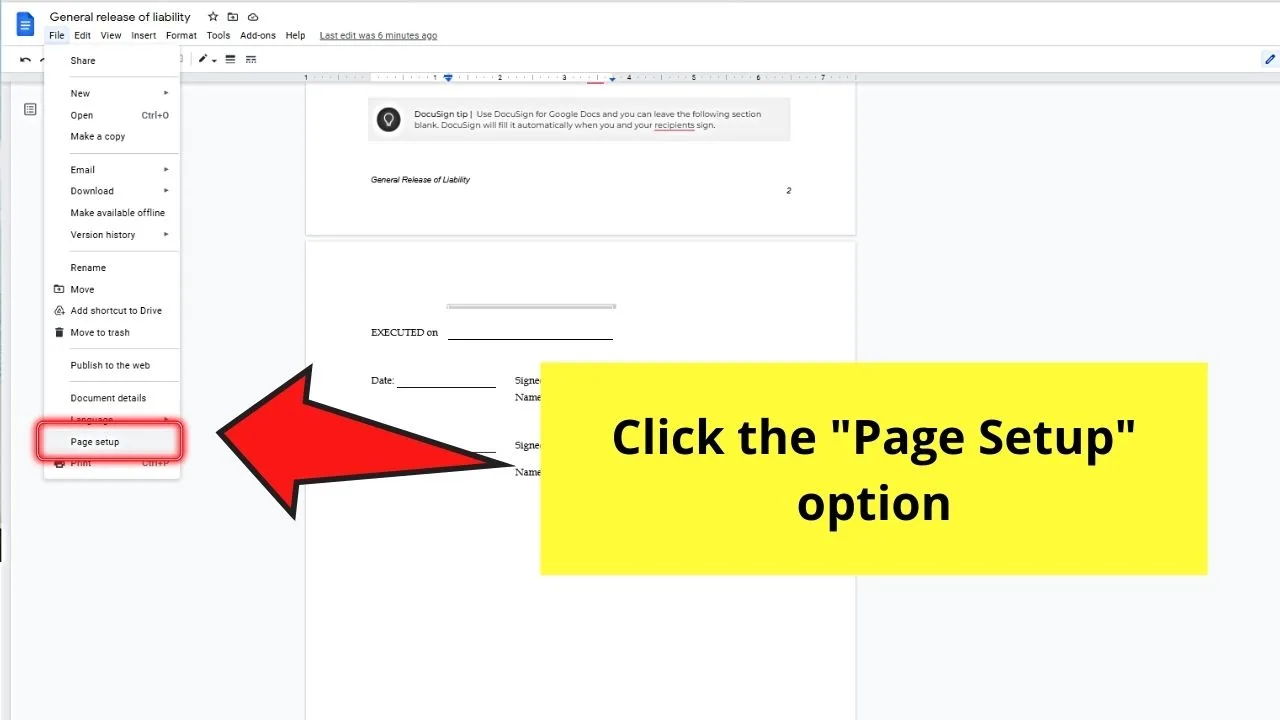
Step 1: In the Google Docs document you opened, head to the menu bar and click “File.”

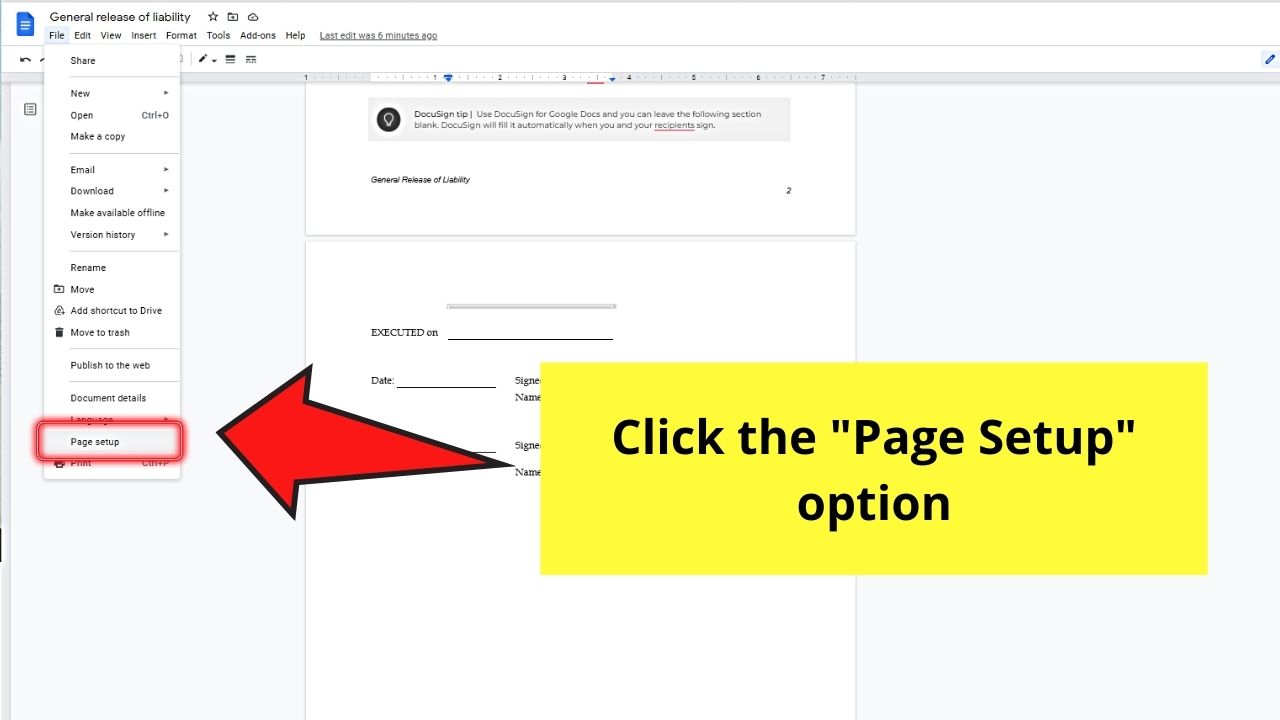
Step 2: After selecting “File,” a dropdown menu appears. Keep scrolling until “Page Setup” appears. Click on it.
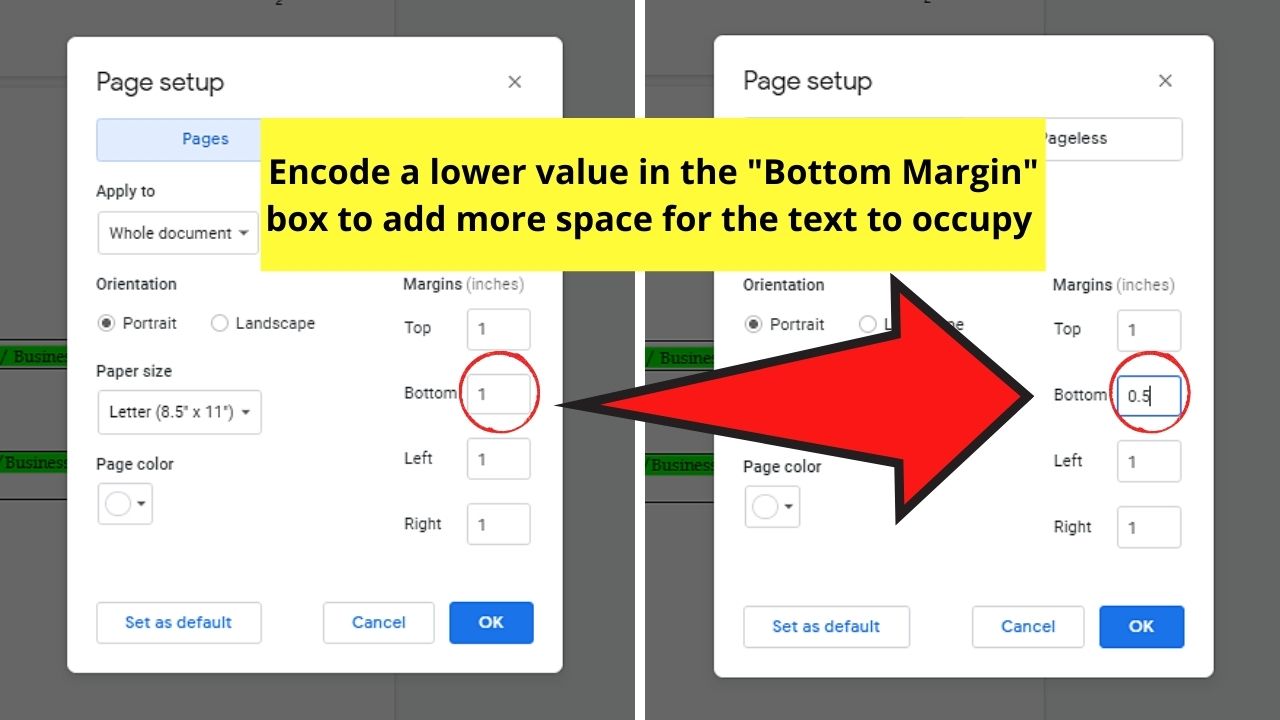
Step 3: In the “Page Setup” dialog box, head to the “Margins” section.
Keep in mind that the unit used for measuring the margin size is in inches.
You can alter the “Top,” “Right,” or even the “Left” margin values, but the most important margin value you should tweak is the “Bottom” margin.
Encode the new margin value in the “Bottom” margin box, making sure to set a value lower than the one previously encoded in it.

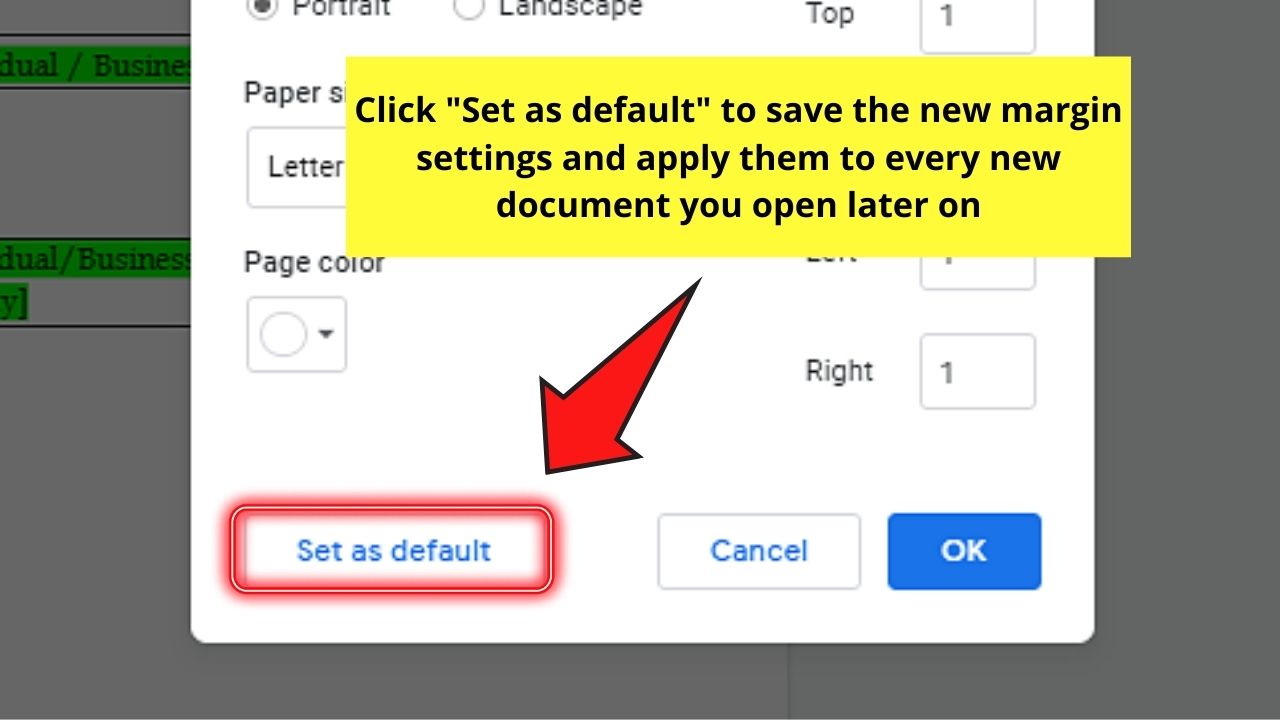
Step 4: If you want to avoid setting up the margins manually when opening a new Google Docs document, select the “Set as default” button.

But, if the new margin setting is only applicable for this file, choose the “OK” button instead.
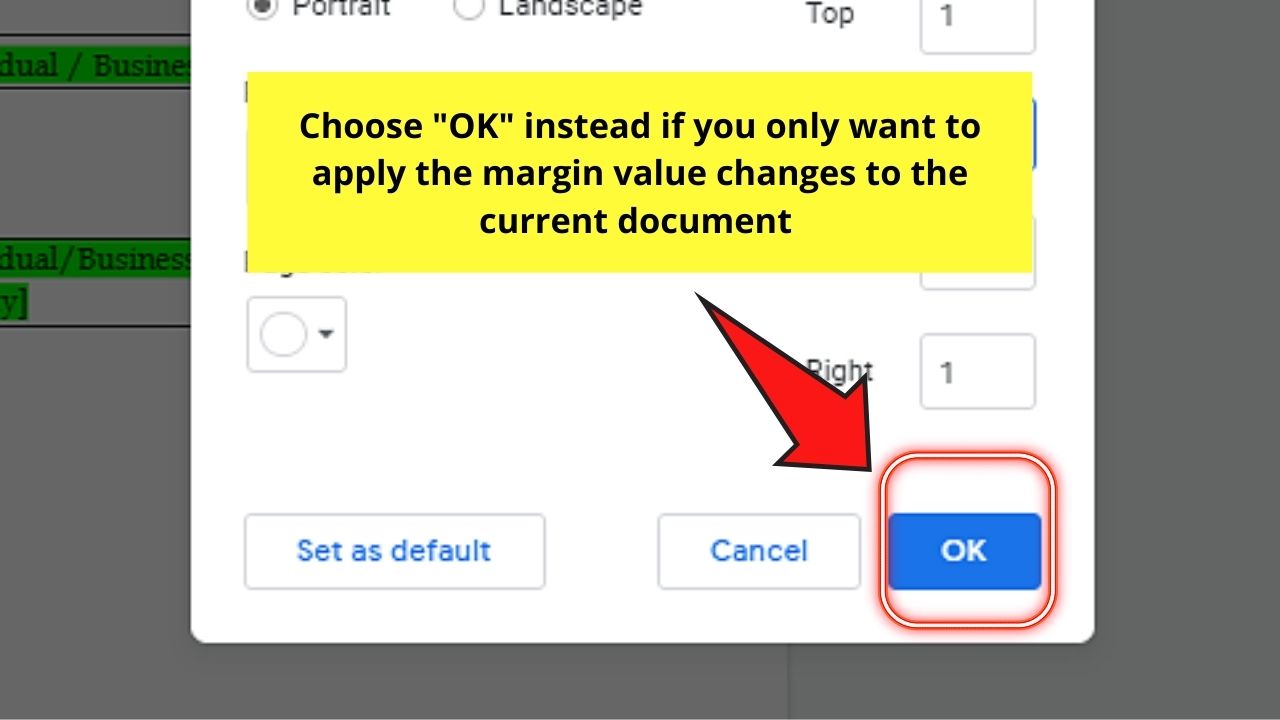

And, immediately, the new bottom margin value you set will take effect. Oftentimes, the problem’s solved at this point.
However, if method 5 still doesn’t work its trick, head to the last method you can opt to apply.
Method 6: Adjusting the Page Break Settings
If you recall, there are different kinds of breaks that separate various parts of your Google Docs document.
But, the most common one you’ll encounter is the page breaks.
By definition, page breaks refer to a type of break that creates a new page.
So, if you think you accidentally pressed “Ctrl/Cmd + E” on your keyboard, then this is how you can reverse it:
Step 1: On the Google Docs file you opened, place the cursor at the starting point of the new page you accidentally added.
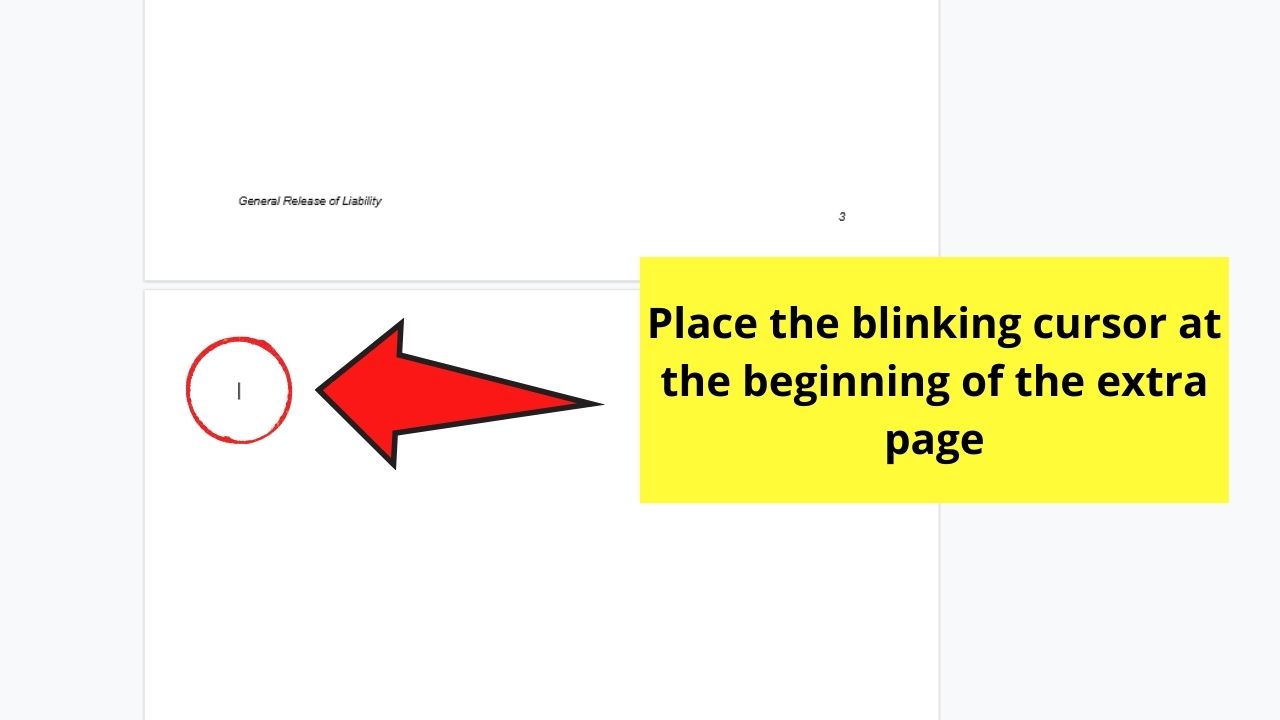

Step 2: Then, hit either “Delete” or “Backspace” to remove the page break unintentionally added.

Though this method works like method 2 mentioned above, you can’t use this process if the page break happens in the middle of the text.
So, you can opt to combine method 6 with methods 3 and 2 to successfully remove the page (hopefully!).
However, if all else fails, then read up on how to clear formatting in Google Docs for you to use the word processing tool’s default settings.
Frequently Asked Questions about How to Remove a Page in Google Docs
What’s the best method to use in case I want to remove the last blank page after adding tables in my Google Docs document?
Since tables consume a lot of space on the document, they also affect the placement of the text. Hence, some of the text gets pushed downward which can add a new blank page. So, to remove that blank page, adjusting the document’s margins is your best option to achieve it.
How many times do I need to press the “Backspace” or “Delete” key to remove a page in Google Docs?
There is no set number on how many times you should press “Backspace” or “Delete” to remove a page in Google Docs. It depends on how far from the last word you placed your blinking cursor. But, if you put the cursor at the start of the new page, usually once is enough to remove it.
How do you clear the current formatting of the Google Docs document you’re working on?
To clear the formatting on your Google Docs document, head to “Format” and select “Clear formatting” in the dropdown menu. You can also press “Ctrl/Cmd + \” to activate this function. Then, adjust the layout, formatting characteristics, and appearance of the document after.


Hey guys! It’s me, Marcel, aka Maschi. On MaschiTuts, it’s all about tutorials! No matter the topic of the article, the goal always remains the same: Providing you guys with the most in-depth and helpful tutorials!

