Wow! Your book report looks great!
But, one little thing that you can improve is to add a table of contents page before the main content.
Can you do that?
If you’re a Google Docs user, you’ll be more than pleased to know that it’s superbly easy to make a table of contents — if you know how.
Making a Table of Contents in Google Docs
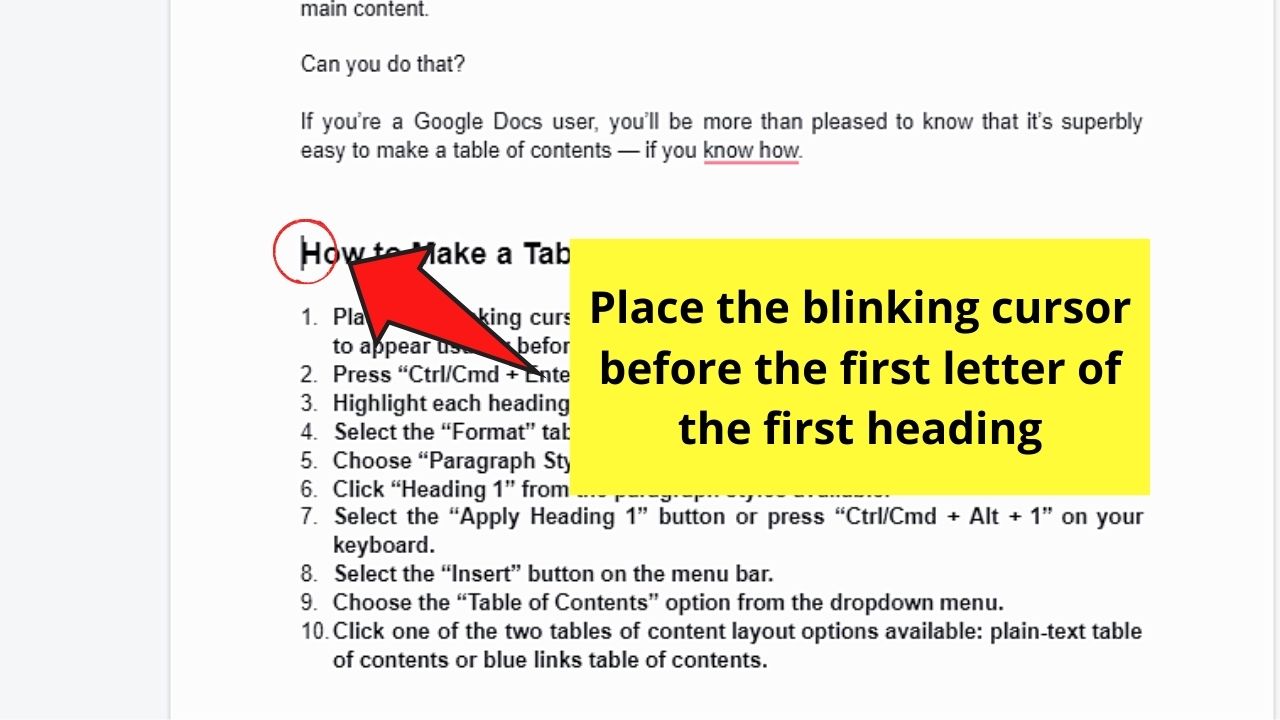
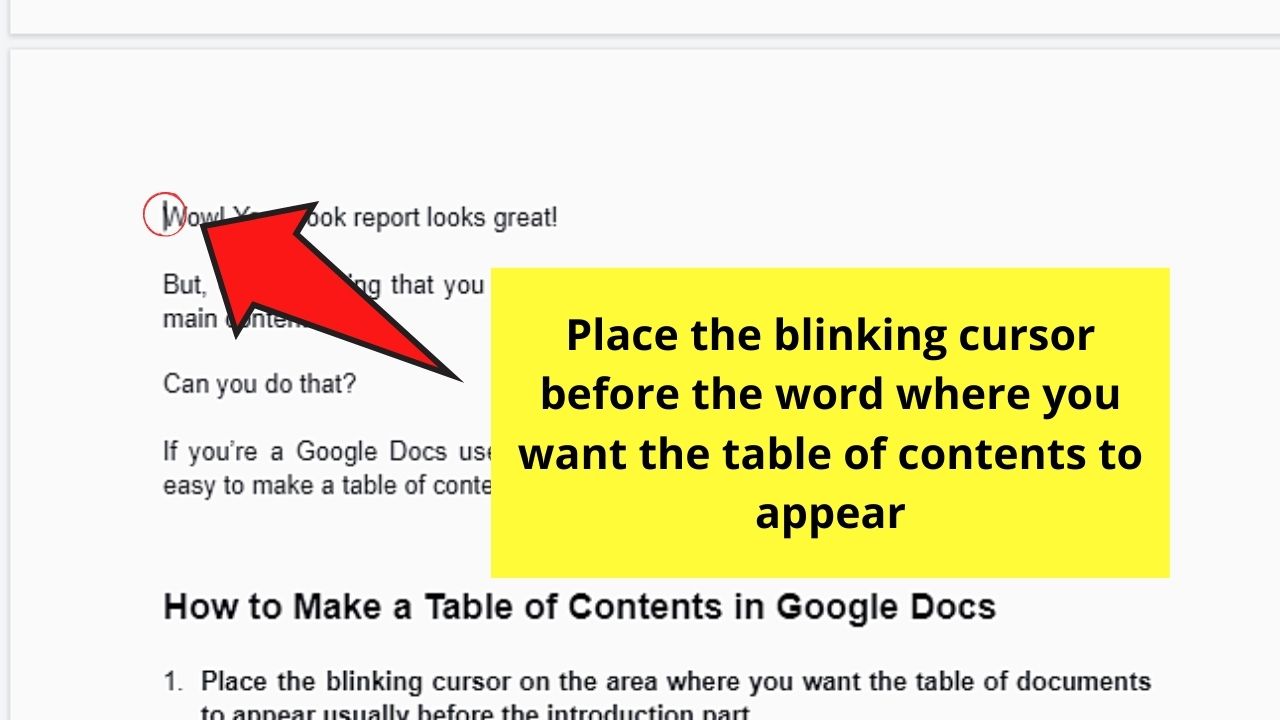
- Place the blinking cursor on the area where you want the table of documents to appear usually before the introduction part.
- Press “Ctrl/Cmd + Enter” to create a page break.
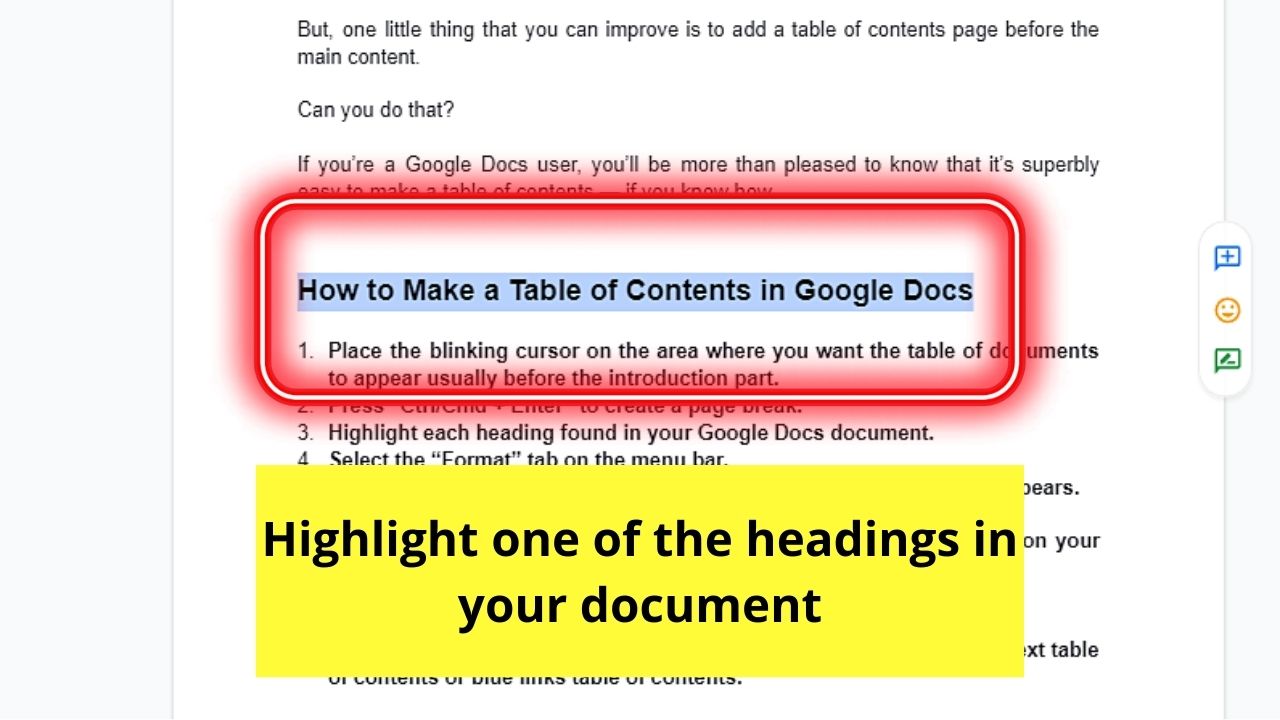
- Highlight each heading in the document.
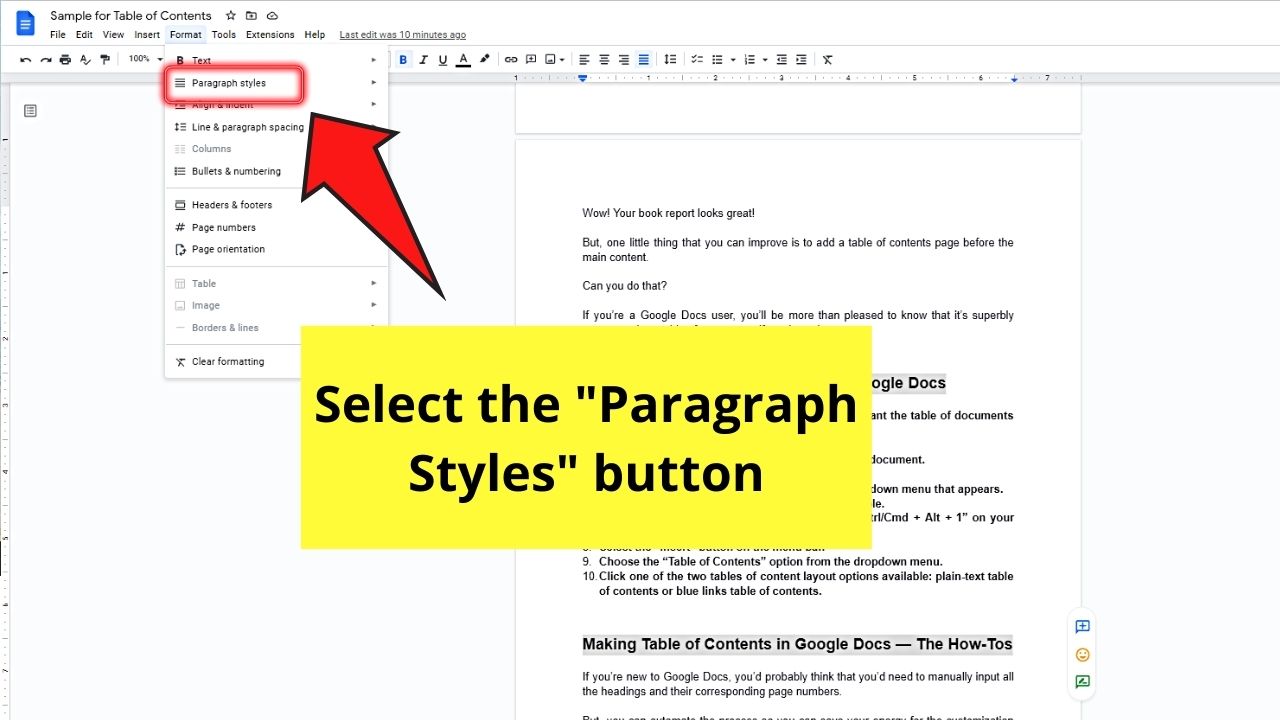
- Head to the menu bar and select the “Format” tab.
- Choose “Paragraph Styles” in the subsequent dropdown menu that appears.
- Click “Heading 1” from the paragraph styles available.
- Select the “Apply Heading 1” button or press “Ctrl/Cmd + Alt + 1” on your keyboard.
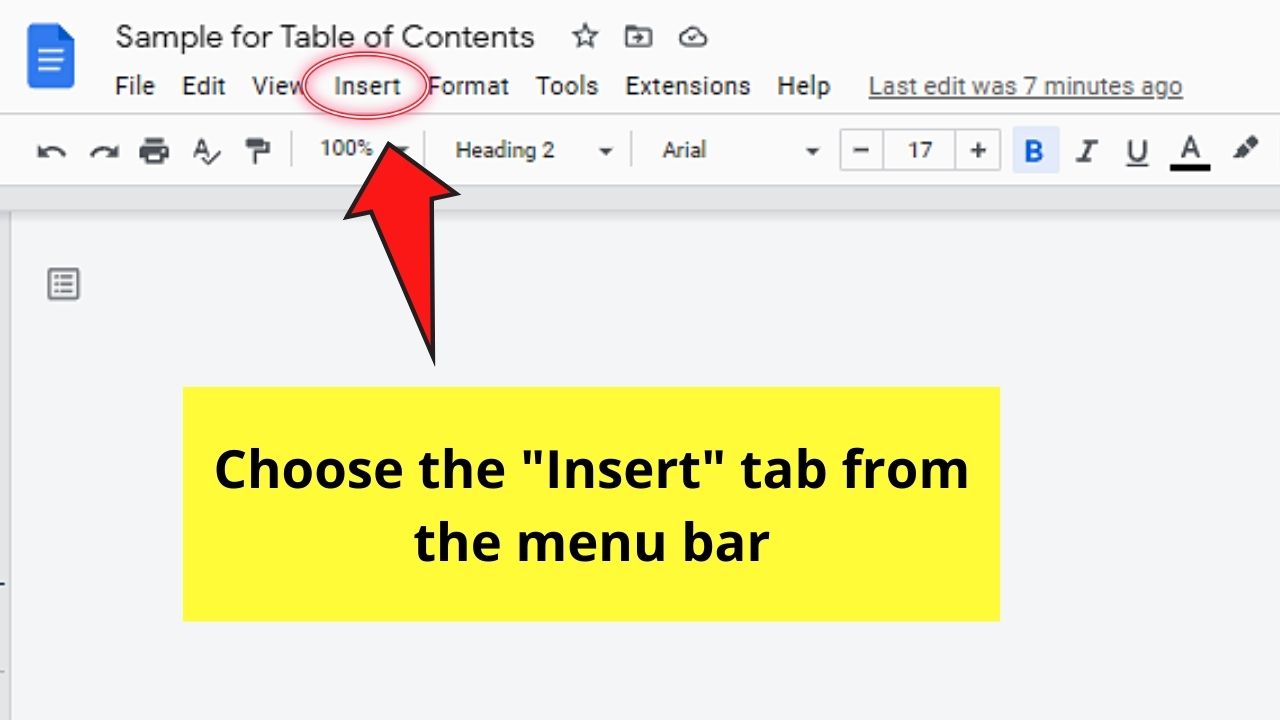
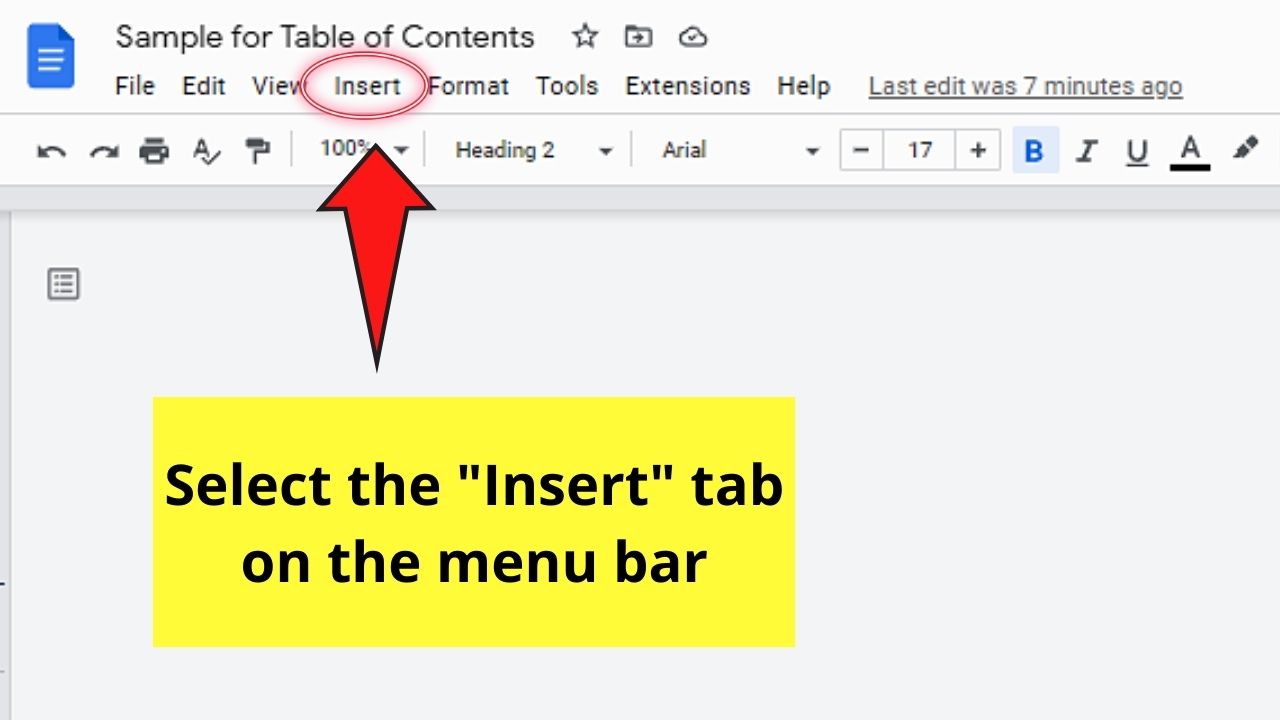
- Select the “Insert” button on the menu bar.
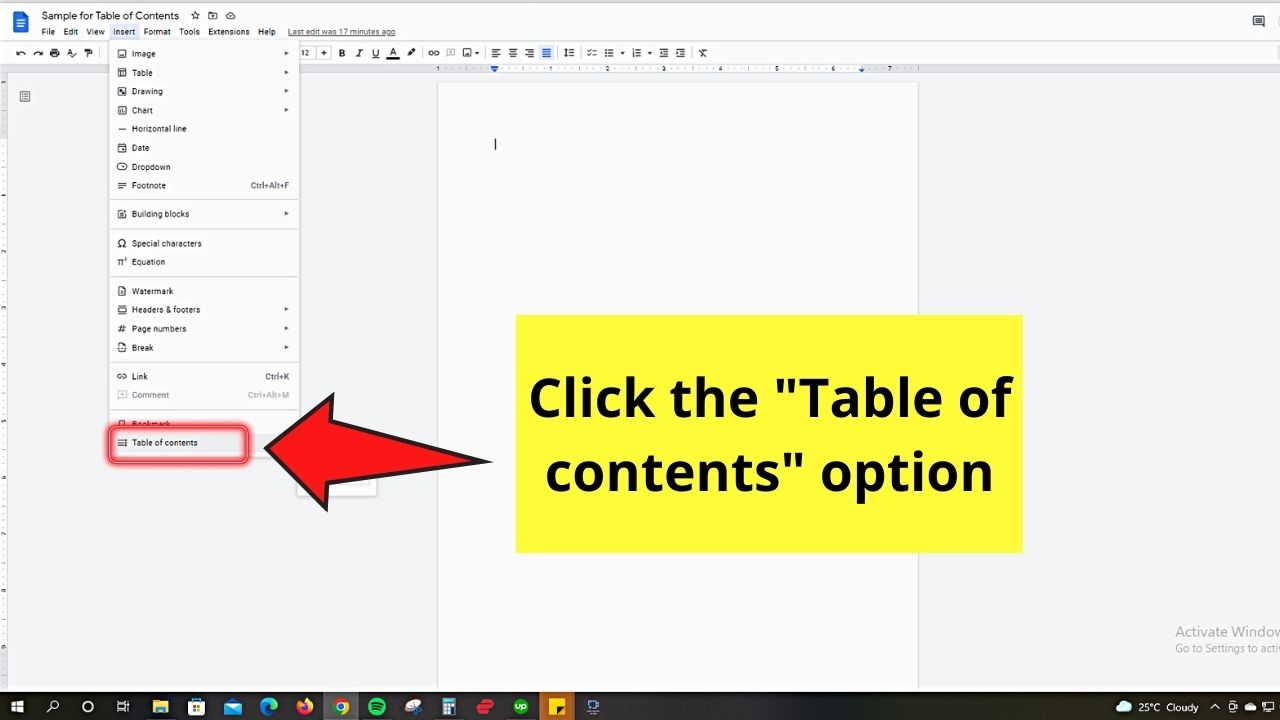
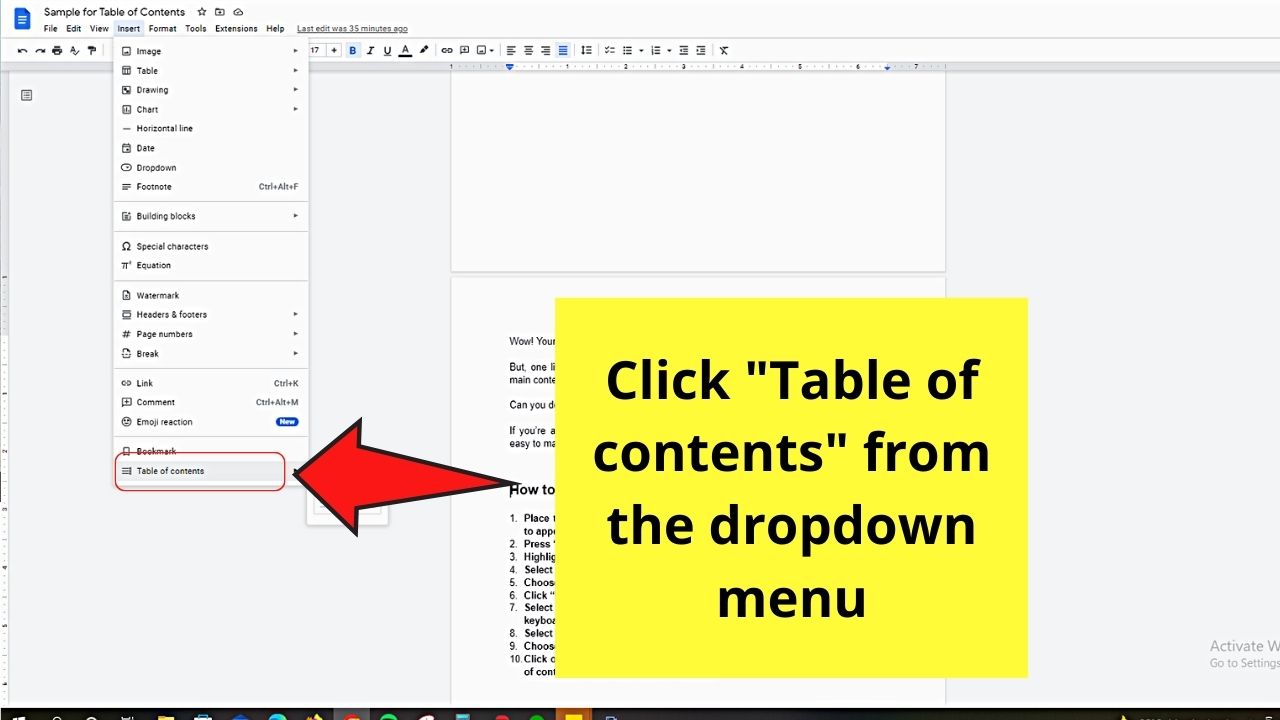
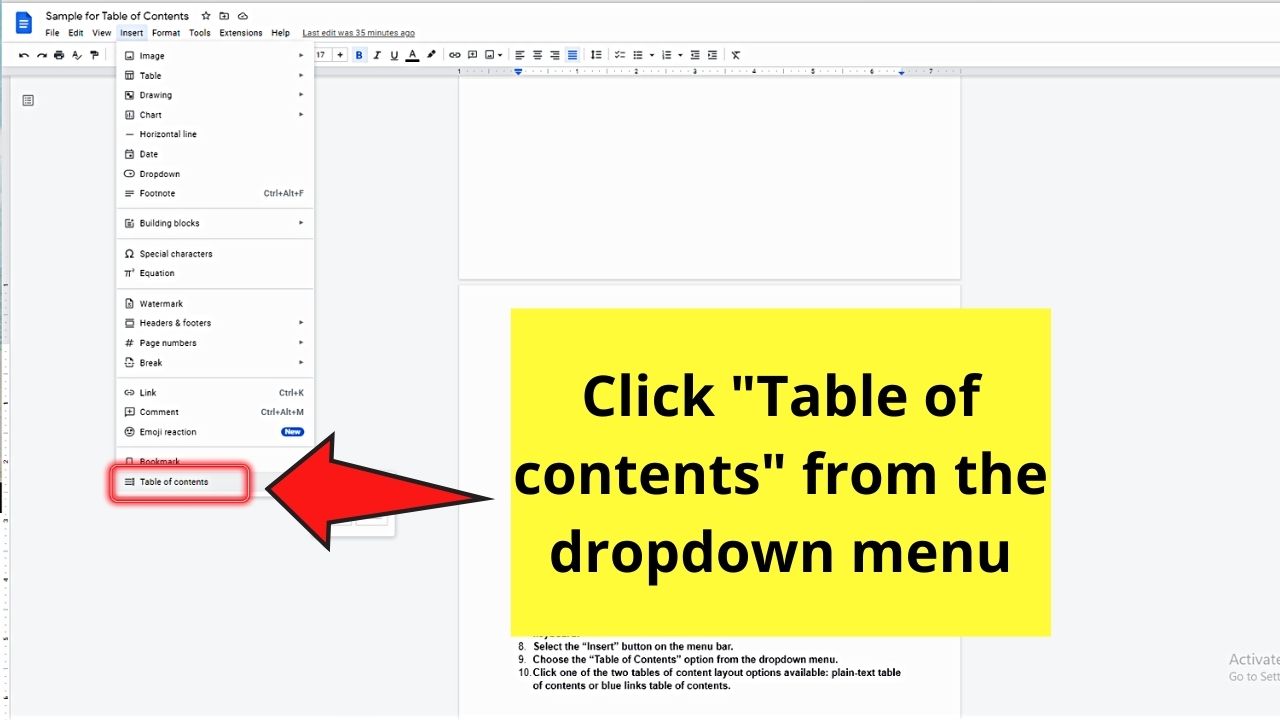
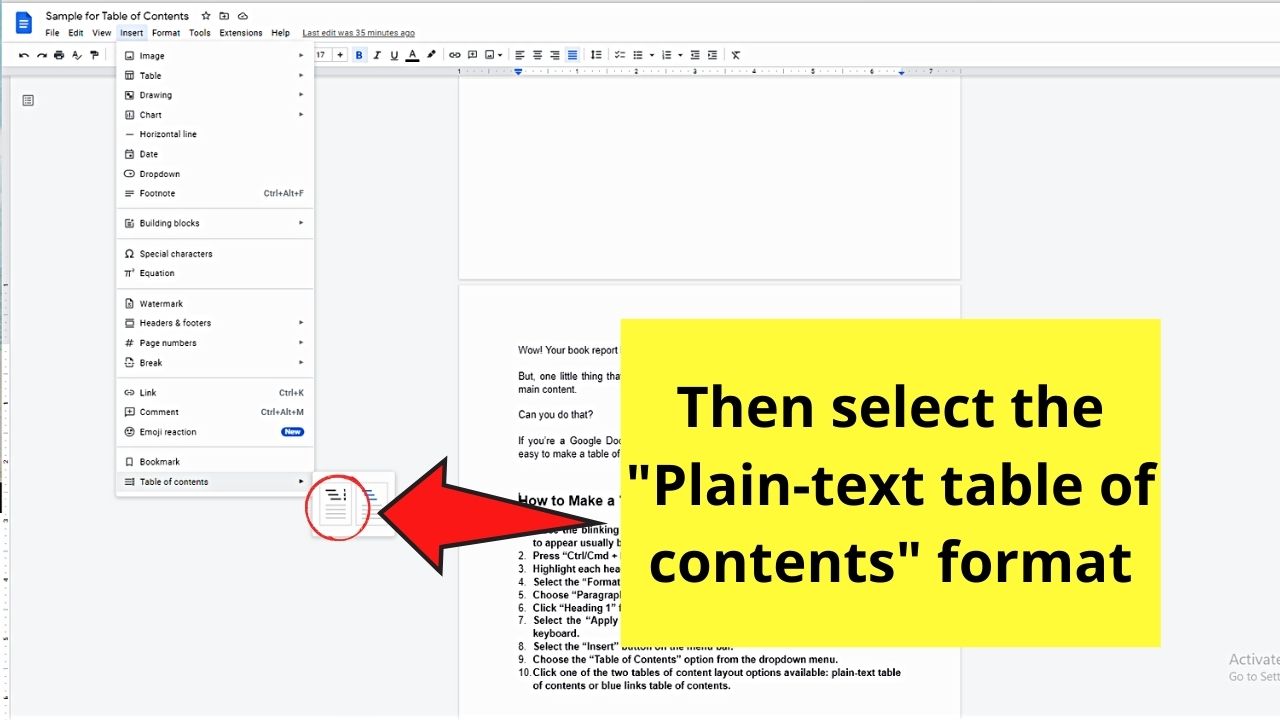
- Click “Table of Contents” from the dropdown menu.
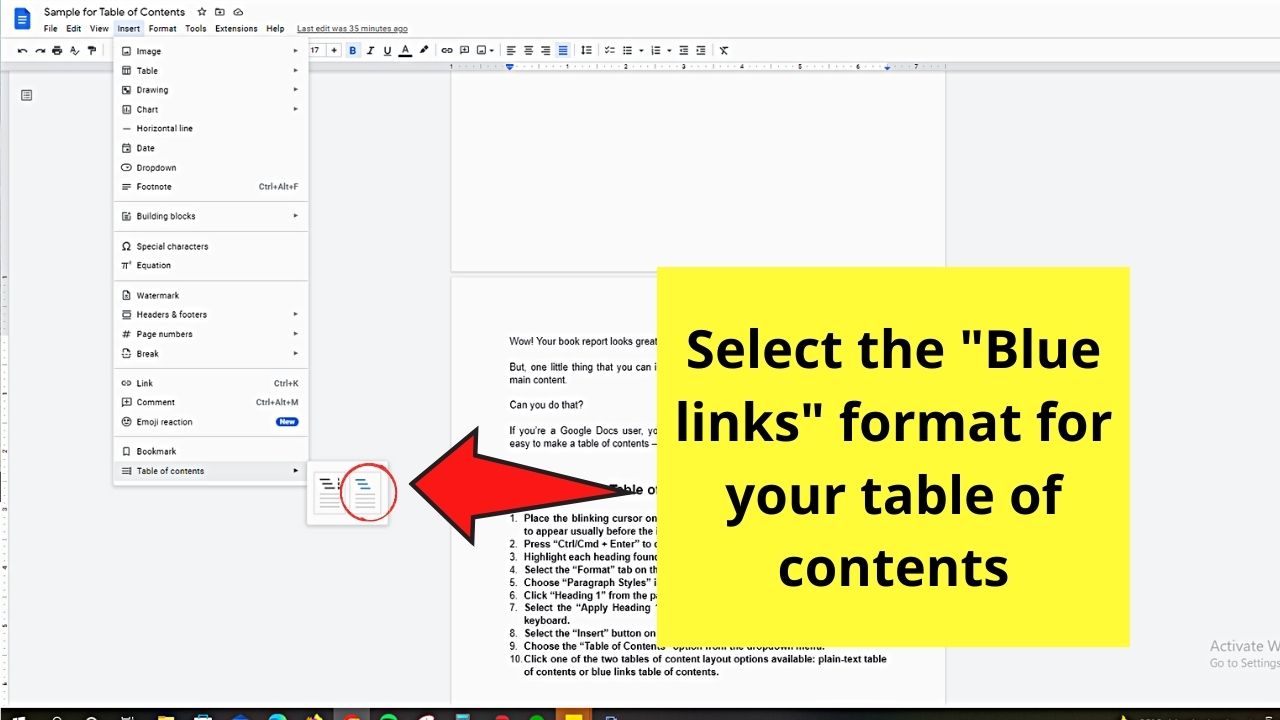
- Click one of the two tables of content layout options available: plain-text table of contents or blue links table of contents.
If you’re new to Google Docs, you’d probably think that you’d need to manually input all the headings and their corresponding page numbers.
But, you can automate the process so you can save your energy for the customization part instead.
If you’re stunned by this possibility, then keep reading below so you’ll unlock the secret to making a table of contents in Google Docs.
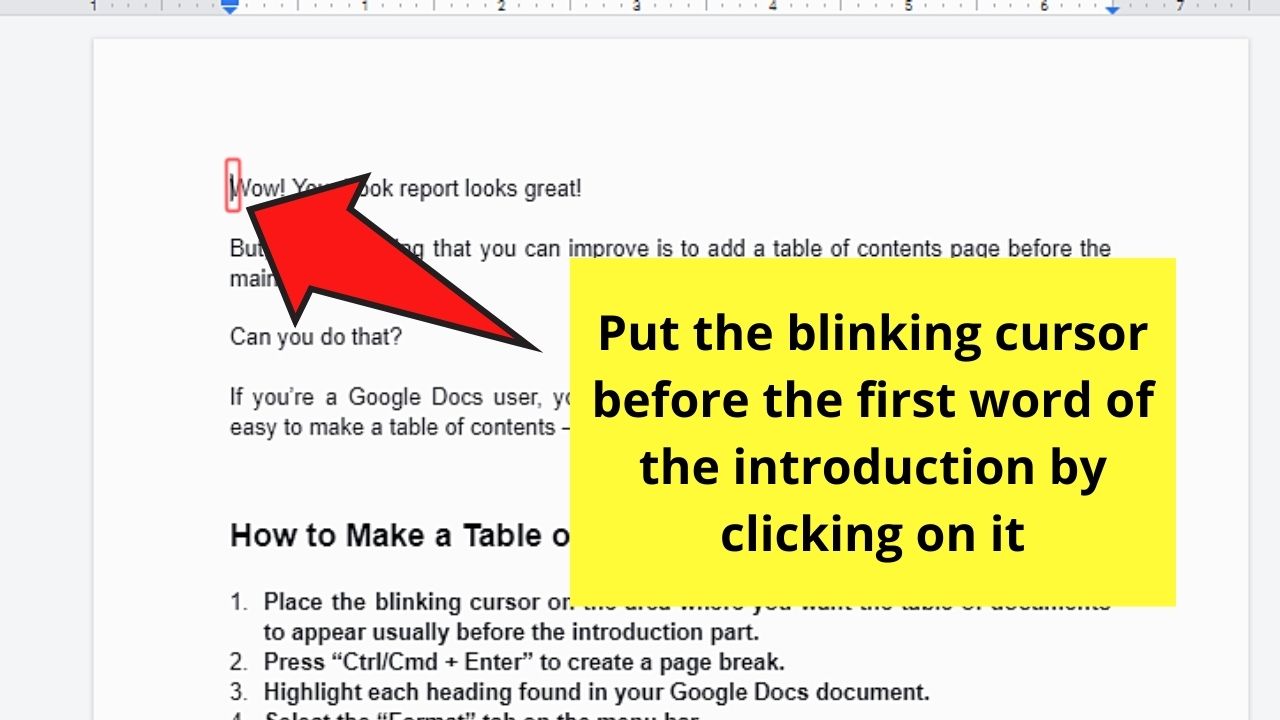
Step 1: After opening a Google Docs document, place the blinking cursor in the part of the document you want to insert it into.
As most tables of contents are found before the introduction part, then it’s safe to place the blinking cursor before it then.
Step 2: Once the blinking cursor’s in place, press the “Ctrl/Cmd + Enter” keys together.
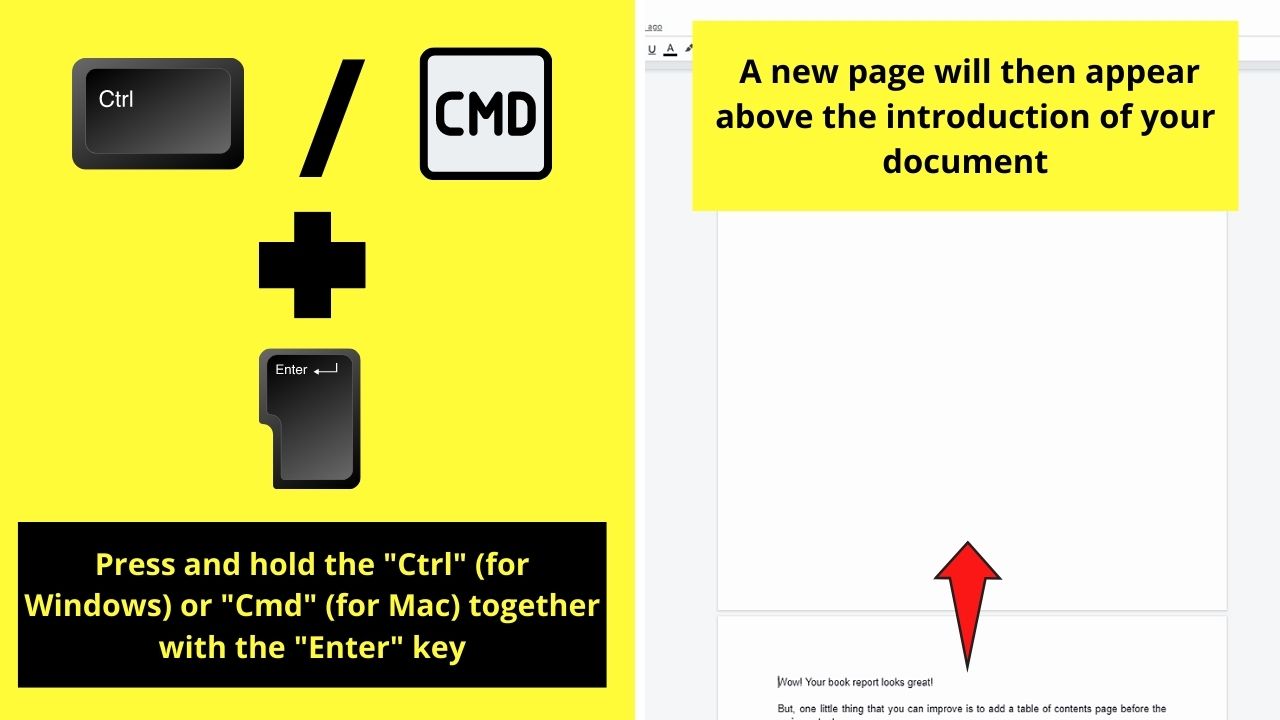
This move will automatically create a page break, adding a new and blank page before the introduction of your document.
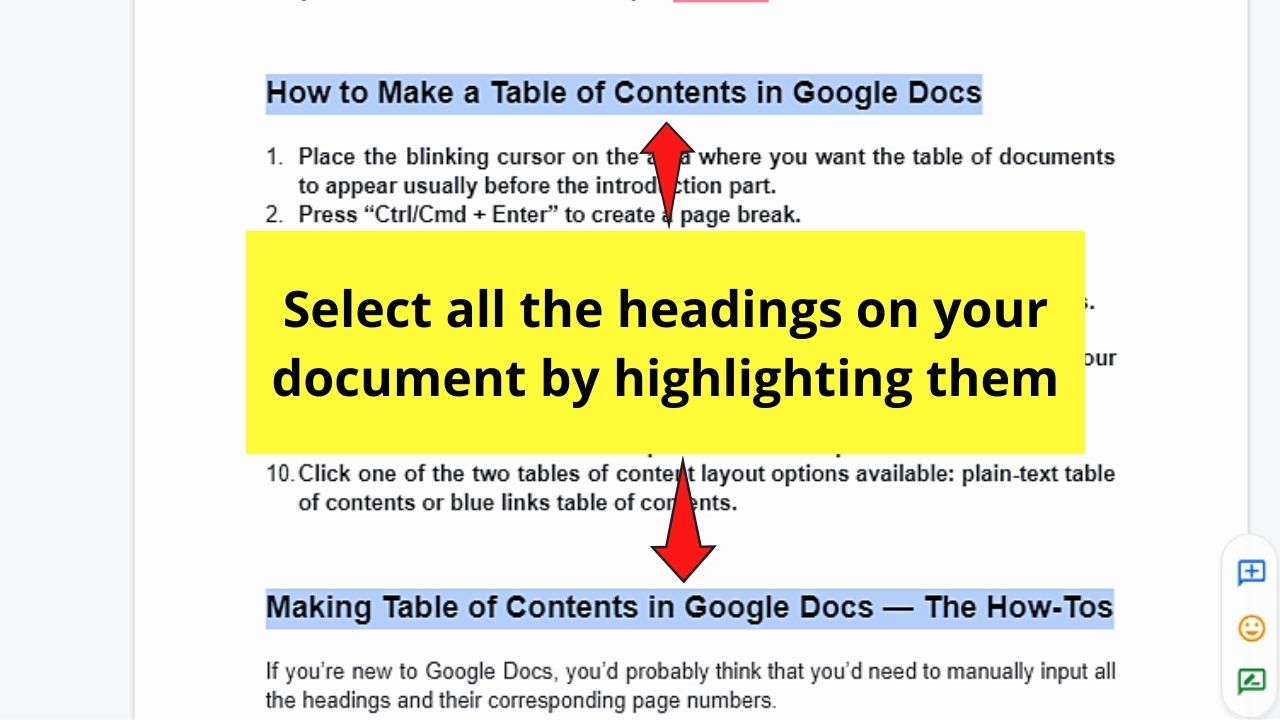
Step 3: If you haven’t formatted your document using the header system, you better do it now.
Not only does it make your content more organized, but it will also help later on in making the table of contents.
After which, begin highlighting all the main headings by selecting multiple items in Google Docs (better read on about it if you don’t know how yet).
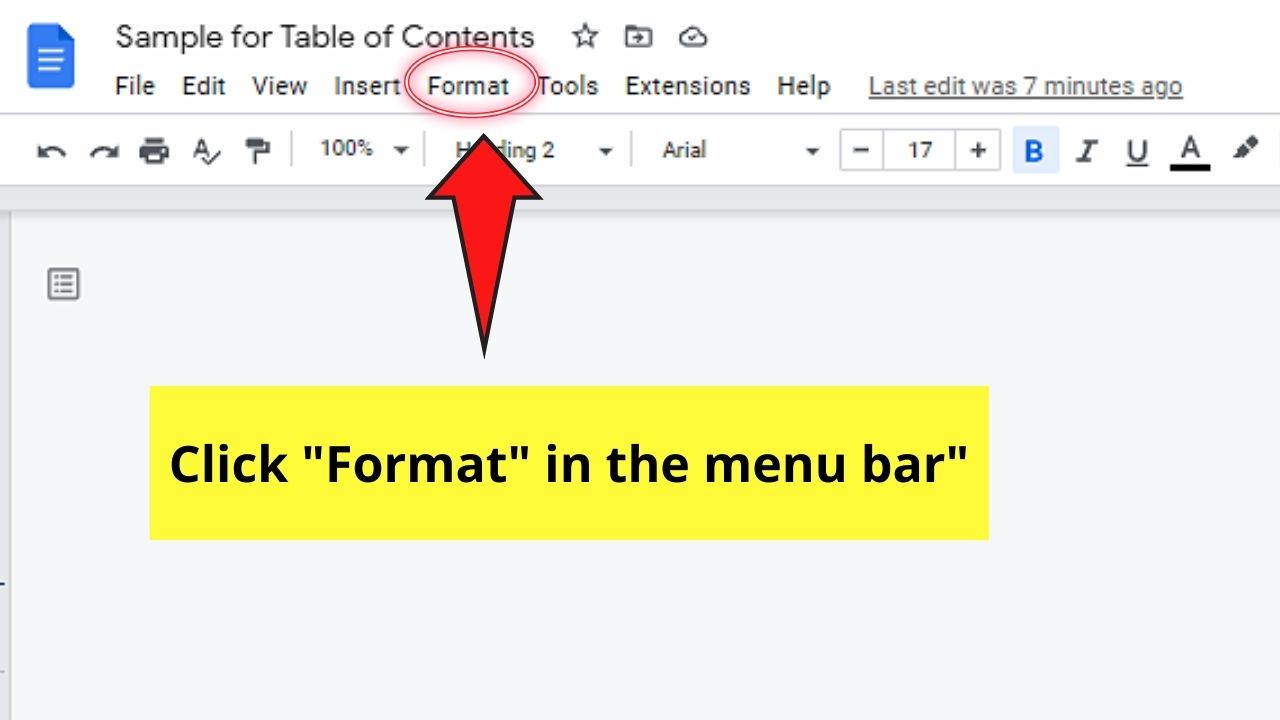
Step 4: After selecting all the main headings in the document, head back to the menu bar and click “Format.”
Step 5: On the dropdown menu that appears, select the “Paragraph Styles” option. This will then prompt another dropdown menu to appear beside it.
Step 6: Choose the “Heading 1” option from the various header styles available.

Step 7: Now, on the third dropdown menu that appears, click the “Apply Heading 1” option.
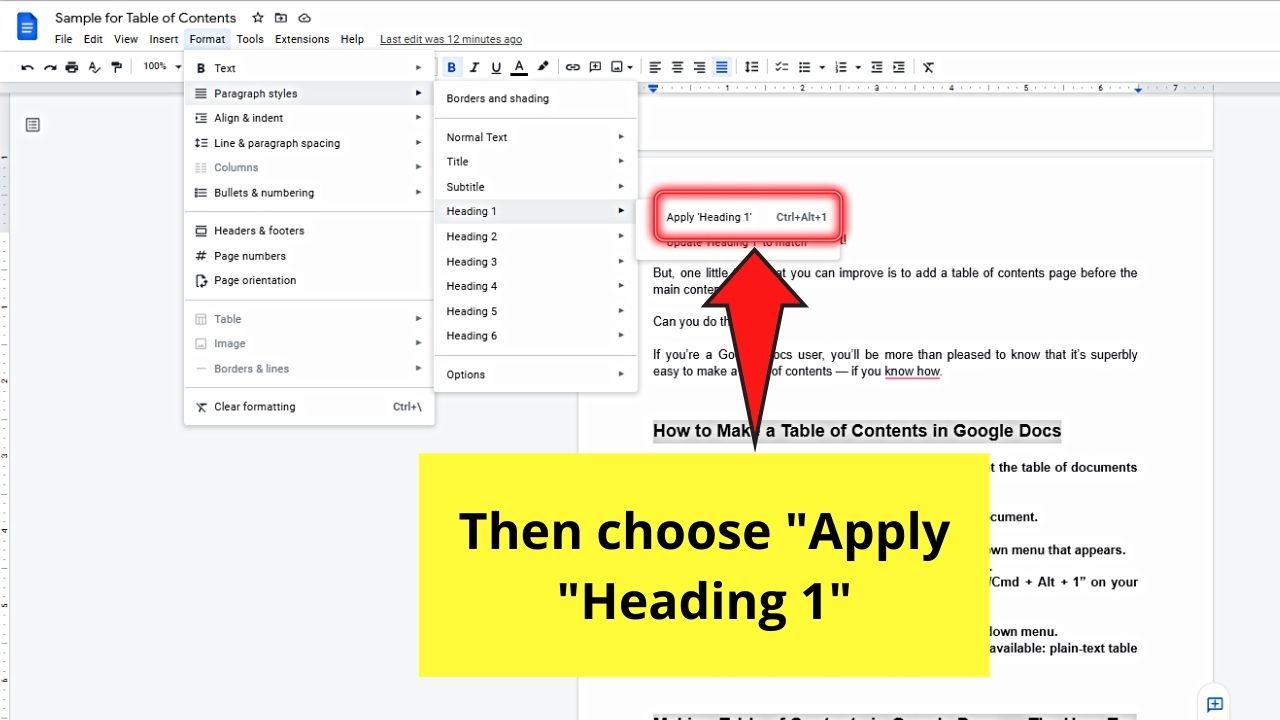
This move will automatically format the selected headings using the Heading 1 form.
But, if you prefer using a keyboard shortcut, then better press “Ctrl/Cmd + Alt + 1” simultaneously.
Repeat steps 3 to 7 for all the other subheadings in your Google Docs document.
Step 8: Once you’ve finished formatting your headings accordingly, it’s time to create the table of contents.
Now, place the blinking cursor on the blank page you created earlier before selecting the “Insert” tab.

Step 9: In the dropdown menu that appears, choose the “Table of Contents” option.
Step 10: Now, you’ll see two tables of content format options beside it.
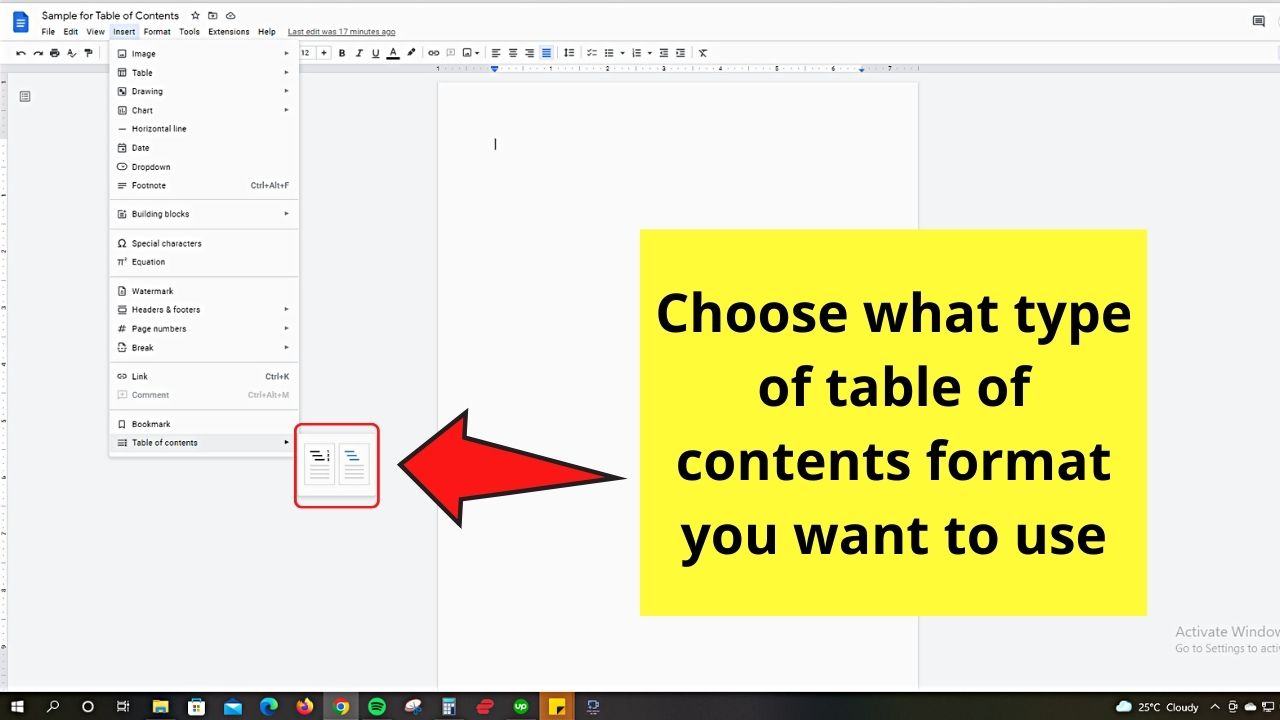
If you prefer to have the usual table of content format, then choose the “Plain-text table of contents” option.
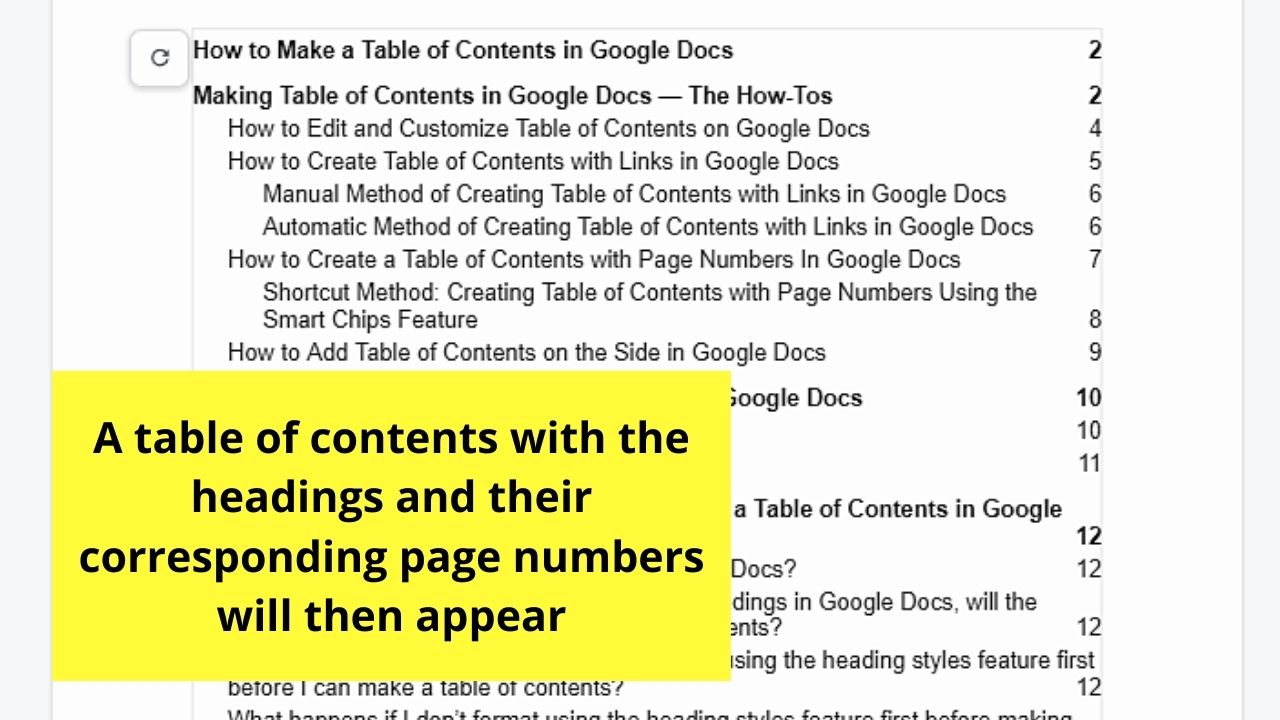
You will then find the headings of your document on the left side with their corresponding page numbers on the right side.
If you prefer to link the headings directly to the specific section on your document, then select the “blue links” option instead.
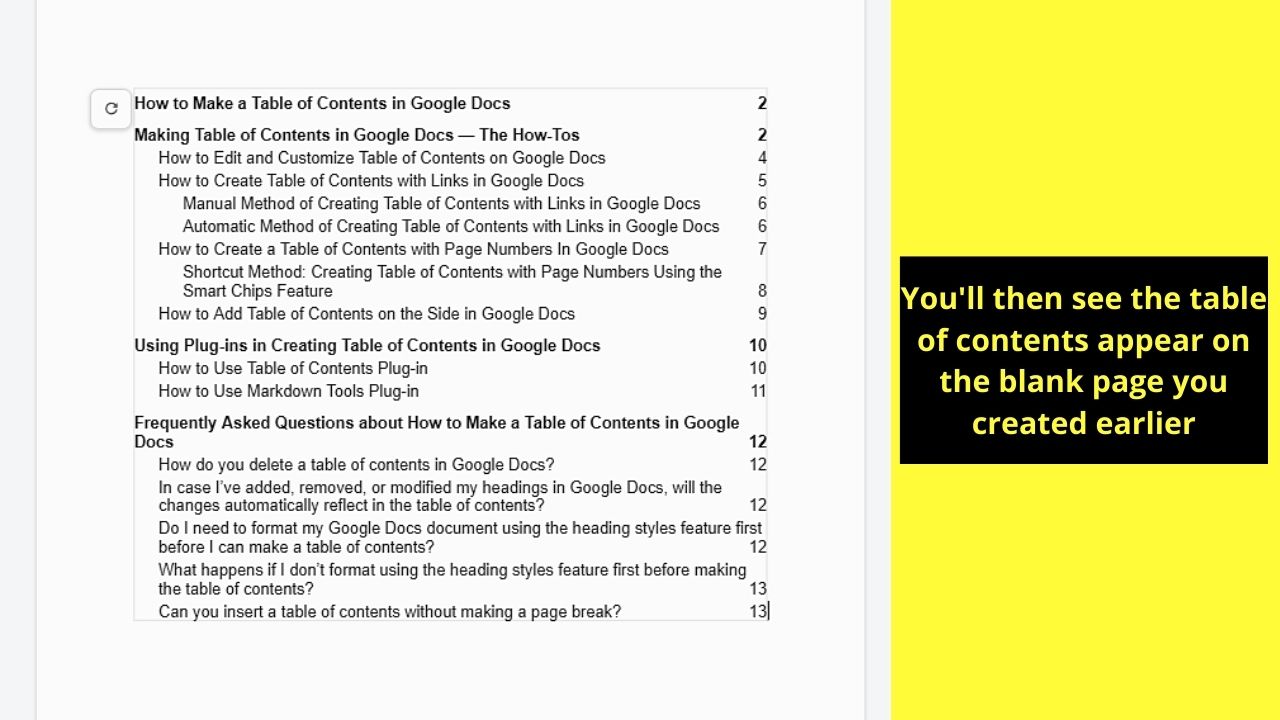
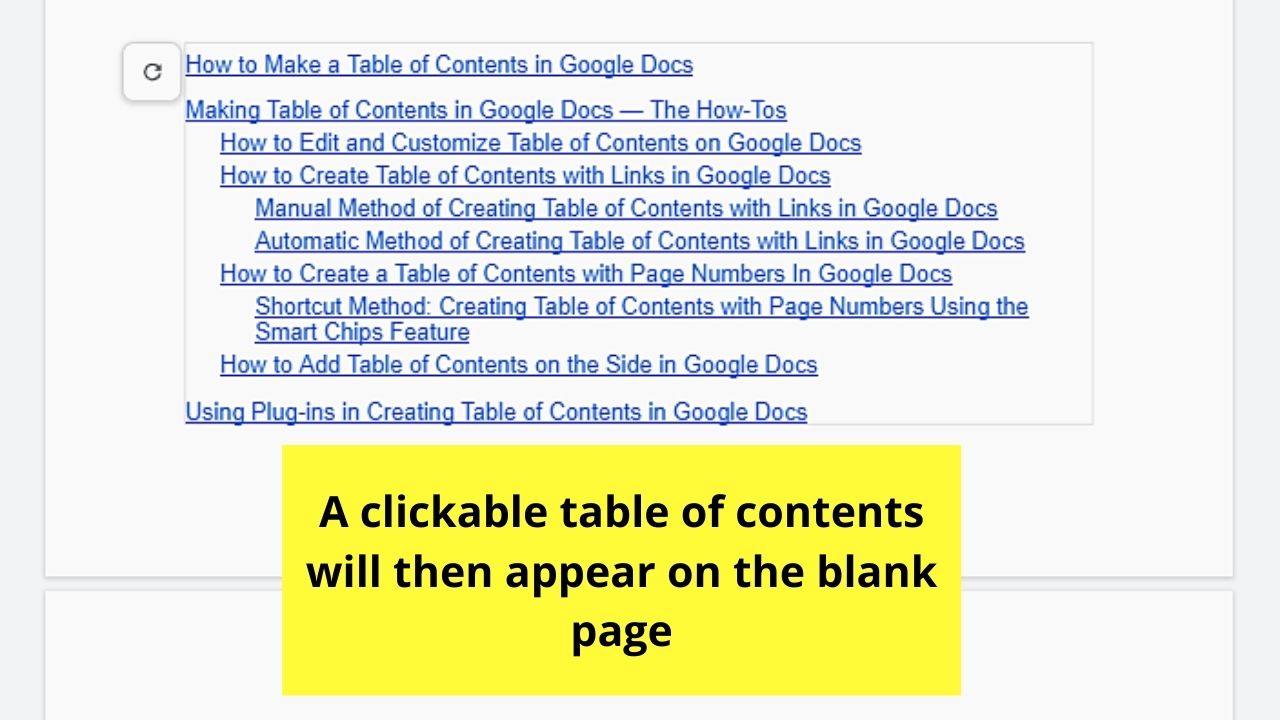
After which, you’ll then see your table of contents appear on the previously blank page after a few clicks.
Very simple, right?
But, for a more customized look for your table of contents, then head to the next section below to find out just how to do that.
Editing and Customizing Table of Contents on Google Docs
First, click on one of the entries in the table of contents. Then, choose the “Edit” option in the hyperlink menu that appears. Type in the new heading in the “Text” box provided before selecting the “Apply” button.
Ideally, you’ll need to format your document first so that when you create the table of contents, everything’s on point.
But, in case you need to do some tweaking after the table of contents has been made, here are the steps you’ll need to follow:
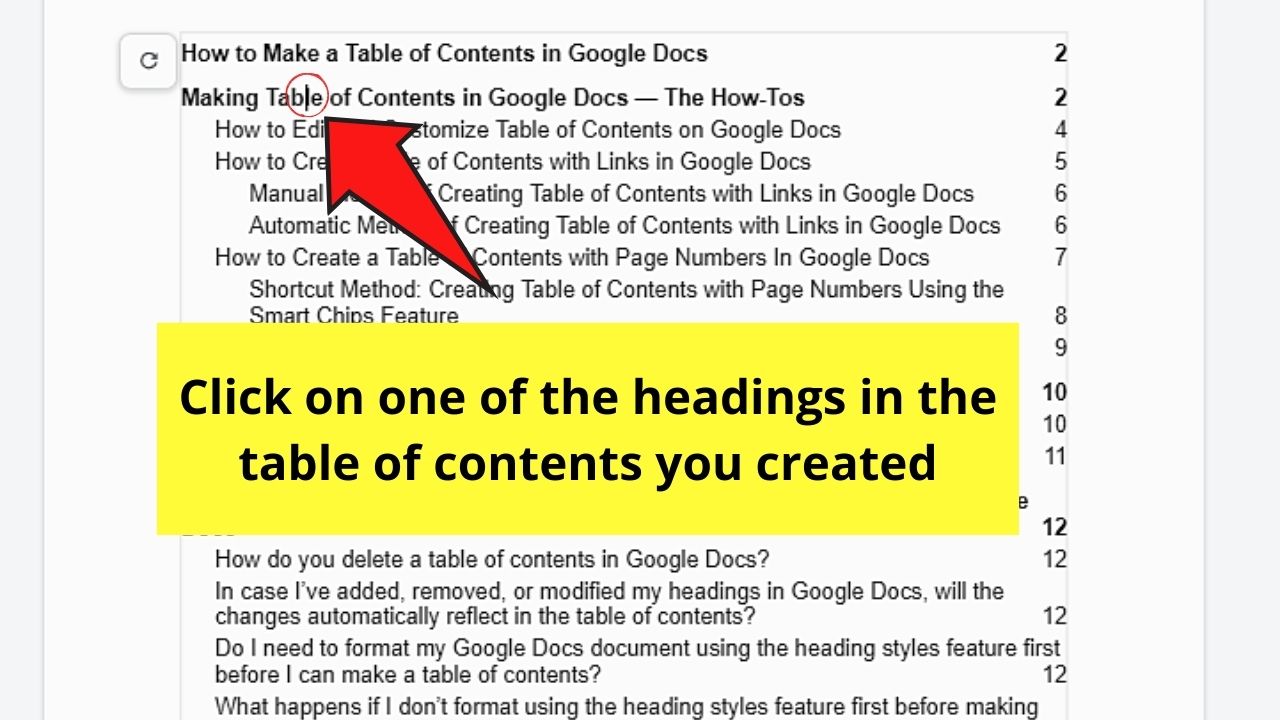
Step 1: Head to the table of contents you created and click on the heading you want to edit or customize.
Step 2: The “hyperlink” menu will then appear below it. From the 3 options available in the said menu, click the “Edit” button which takes the shape of a pencil.

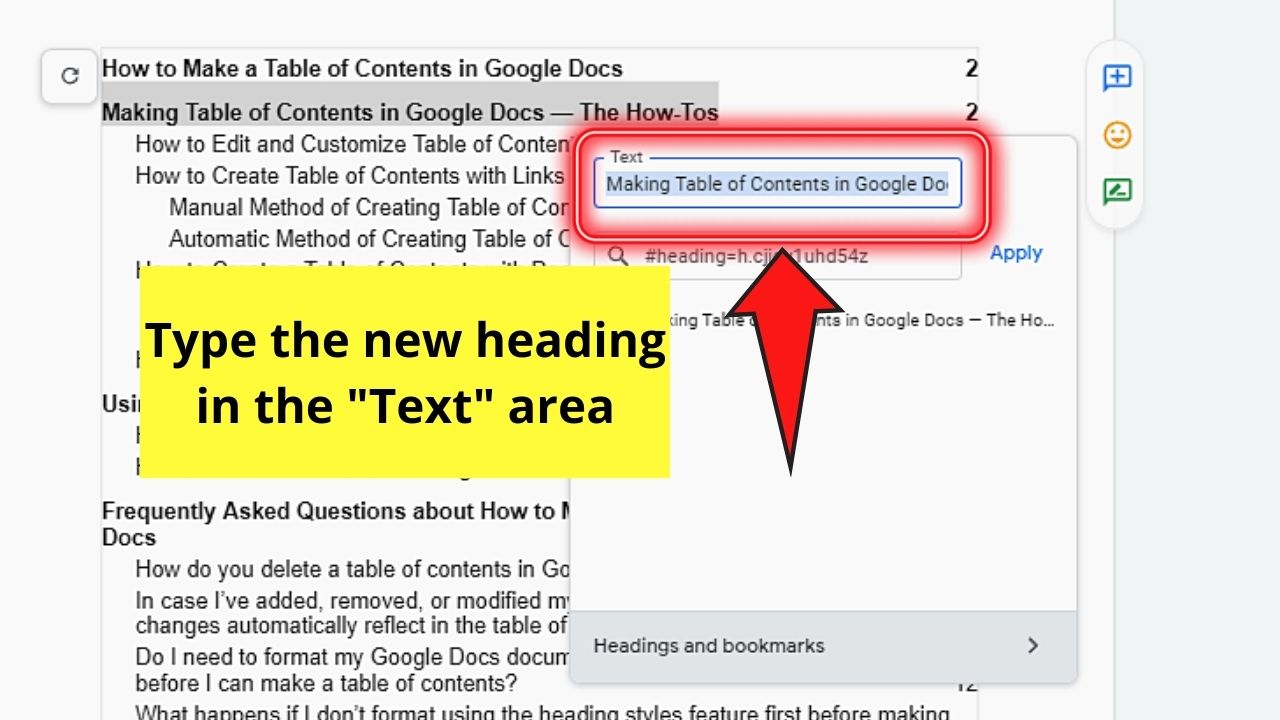
Step 3: A pop-out window will then appear with 3 notable sections in it: “Text,” “Link,” and the “Apply” button.
Since you aim to edit the table of contents, head to the “Text” box and type the new heading in it.
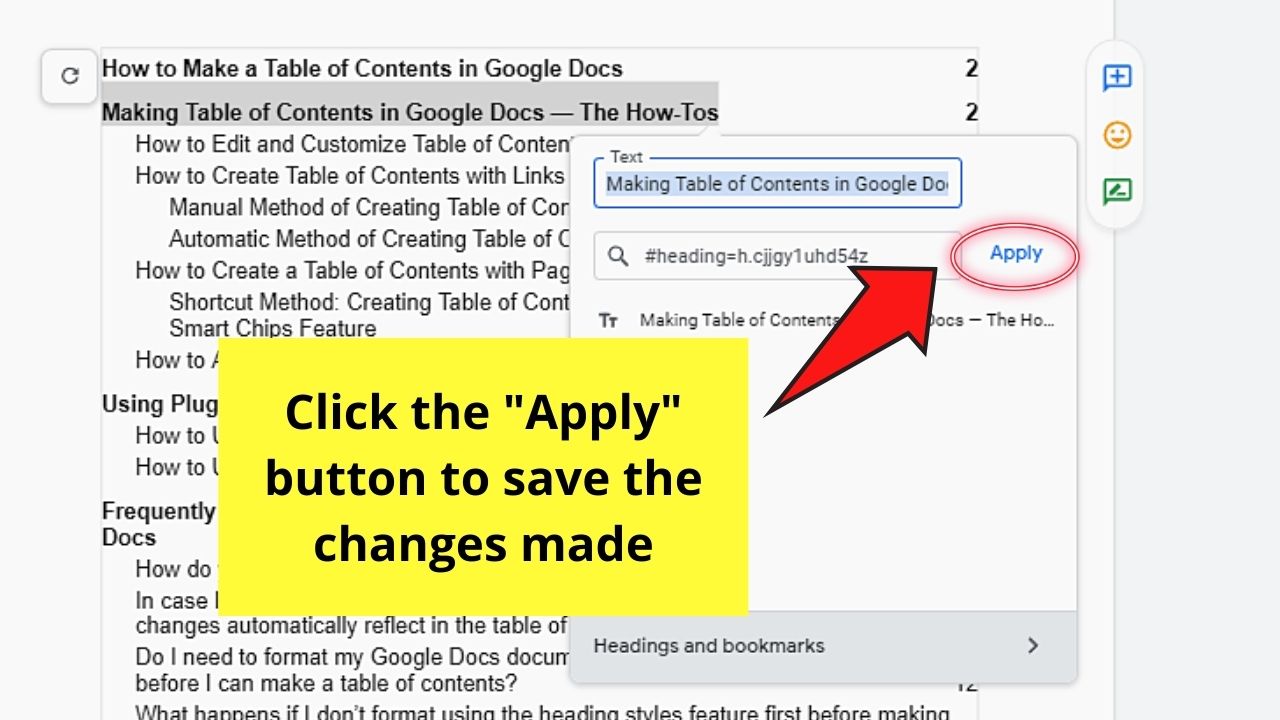
Step 4: Once you’re done editing the heading, click“Apply” to save the changes.
Do note though that editing or customizing any entry in the table of contents doesn’t change the document itself.
For the other headings and subheadings in your document, you only need to follow the 4 steps mentioned above when editing your table of contents.
But what if you prefer to have a clickable type table of contents? Is that even possible?
Again, with Google Docs, you can always opt to swap out page numbers for links instead — and here’s how you do it.
Creating Table of Contents with Links in Google Docs
To create a table of contents with links manually, highlight the heading before pressing “Ctrl/Cmd + K”. Then, choose from the suggested links or click “Headings and Bookmarks” to view all the available headings. For the automatic method, select “Insert” > “Table of Contents” > “Blue links.”
The table of contents with links, or clickable table of contents, is very useful if you’re creating content you’ll post online.
It will greatly help your readers locate specific topics in the post without having to manually skim through the entire page.
But, as mentioned above, there are 2 ways how you can create a table of contents with links in Google Docs.
You only need to choose whether you’d want to make one manually or automatically.
Manual Method of Creating Table of Contents with Links in Google Docs
The manual method of creating a table of contents with links uses the same concept as hyperlinking within the document.
But, to make the entire process clearer, let’s break it down into the following steps below.
Step 1: After creating your table of contents, click on one of the headings and highlight it by dragging the cursor over the text.
Step 2: Once you’ve selected the heading, press the “Ctrl/Cmd + K” keys on the keyboard to bring up the “Add Links” menu.
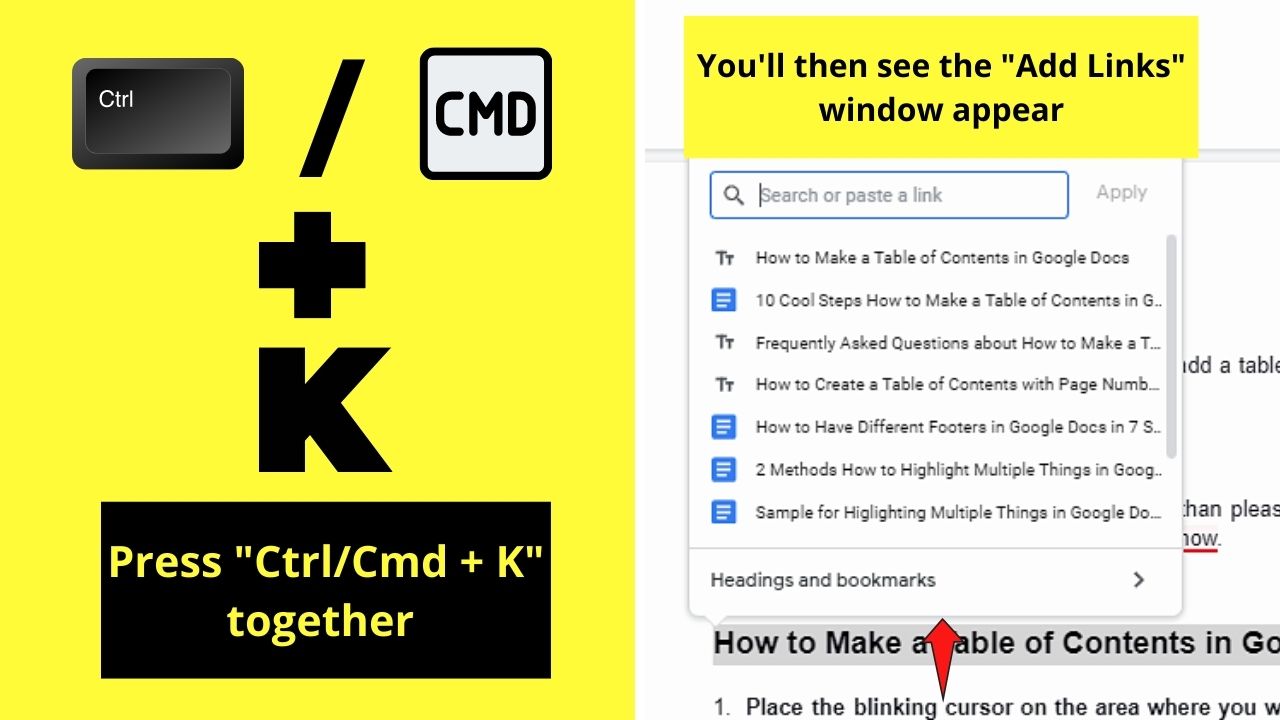
Step 3: In the “Add Links” menu, there are 2 ways to create a hyperlink.
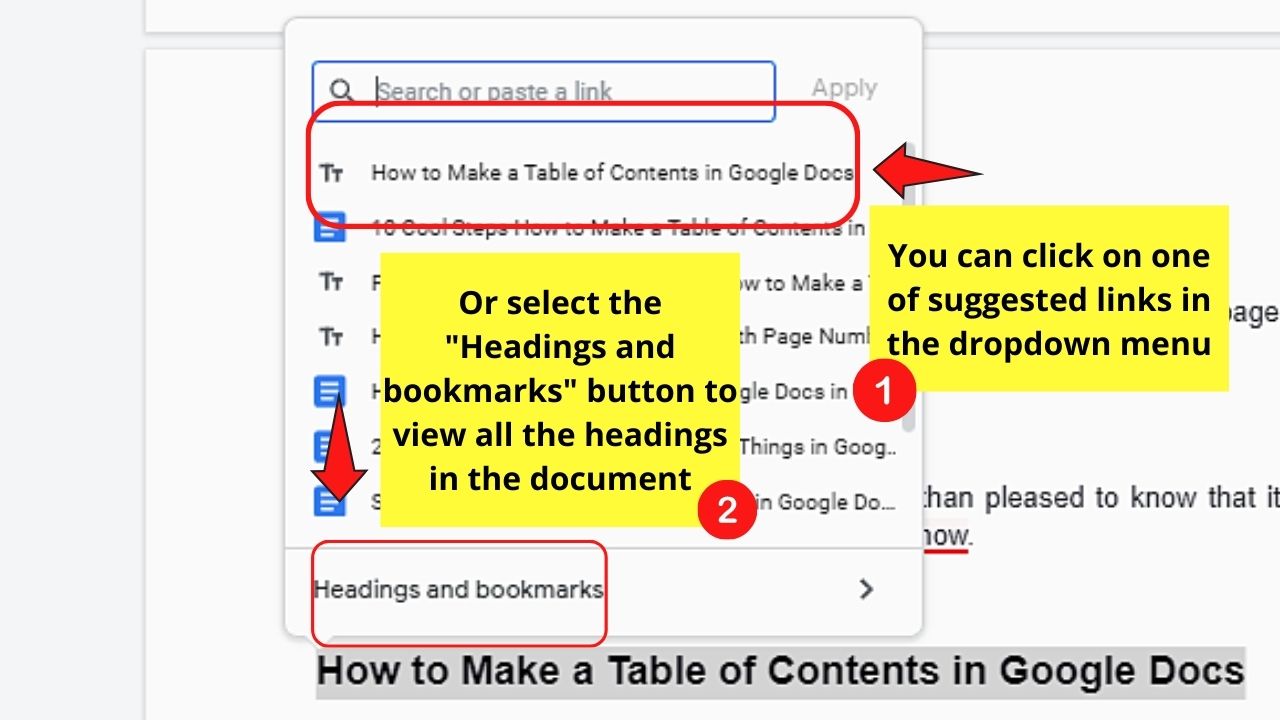
One way is by selecting one of the suggested links that appear below the blank space where you’ll place the link into.
Usually, the first suggested link is the most similar to the heading you highlighted.
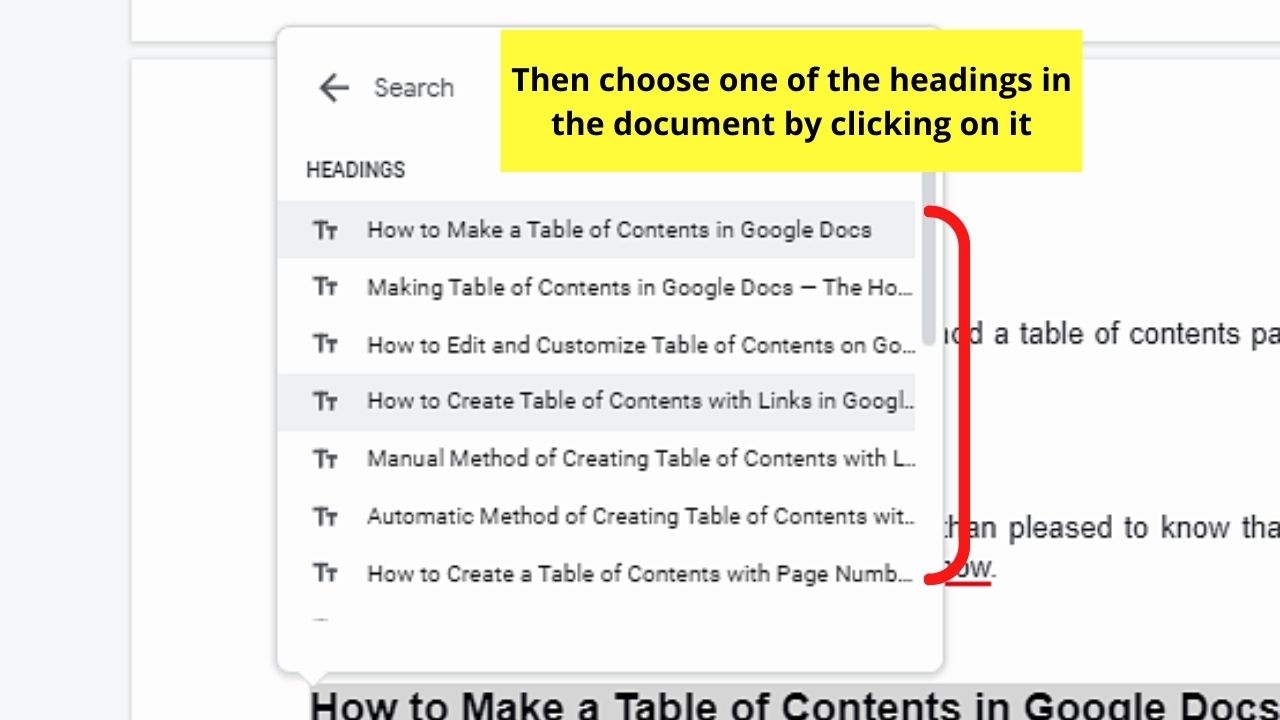
If you cannot find the heading you’re looking for, then select the “Headings and Bookmarks” button found below the suggestions box.
All the headings available in the text will then be viewable. Just click on one of the headings from the list.
But, if you prefer to simplify the process, then use the automatic method below.
Automatic Method of Creating Table of Contents with Links in Google Docs
Step 1: After formatting the headings of your document in Google Docs, place the blinking cursor before the first heading.
Step 2: Create a page break by hitting “Ctrl/Cmd + E” simultaneously on the keyboard.
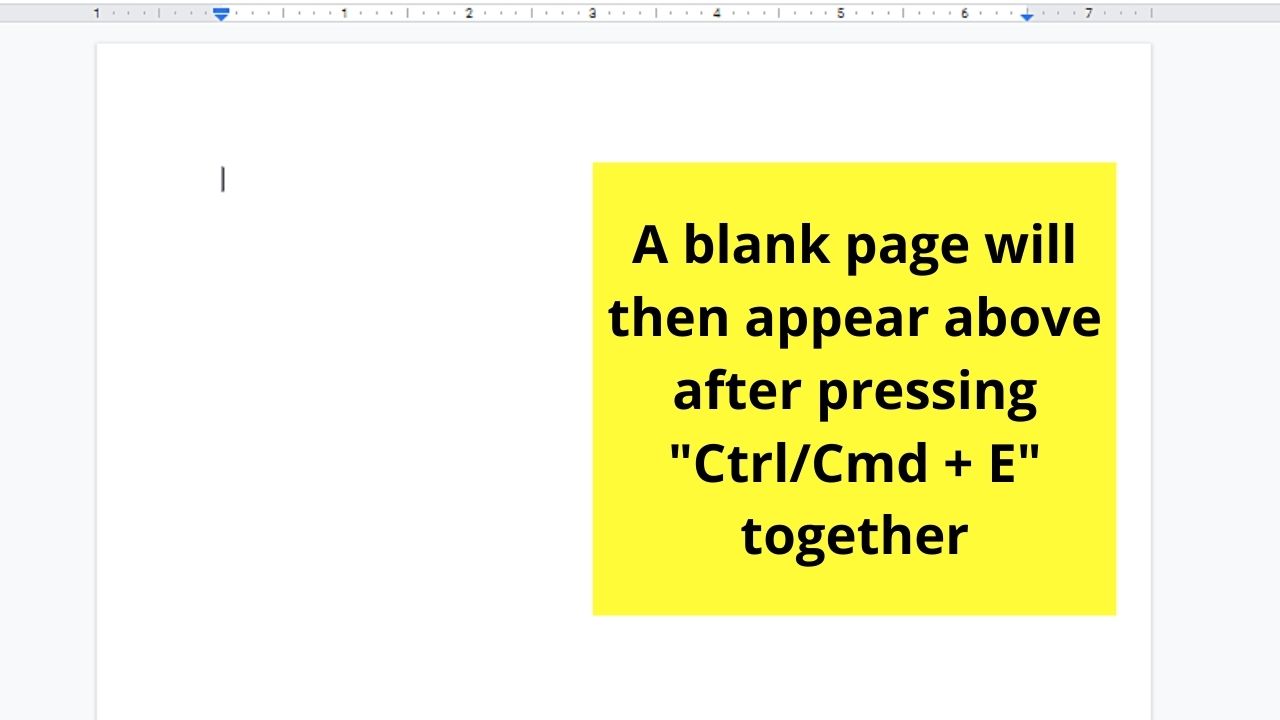
You’ll then see a blank page appear above the current page where the blinking cursor is.
Step 3: Now, head to the menu bar and select the “Insert” tab. A dropdown menu will then appear below it.
Step 4: Click the “Table of Contents” option for another dropdown list to appear beside it.
Step 5: From the two tables of contents formats available, select the “Blue links” option.
After clicking that formatting style, a table of contents with clickable headings will then appear.
Amazing, right?
While having a hyperlinked table of contents is nifty, you won’t need those links if you’re printing the document.
So, here’s when a table of contents with page numbers comes in handy.
Also, you are surely aware that making use of a table of contents in Google Docs is by far not the only way to make your texts and articles more organized in Google Docs.
For instance, another great thing you can do is to make horizontal lines in Google Docs to separate different sections.
Creating a Table of Contents with Page Numbers In Google Docs
After formatting the headings and adding a page break, head to the menu bar and click the “Insert” tab. Then, choose the “Table of Contents” option before selecting the “Plain-text table of contents with page numbers” format.
So, to begin creating a table of contents with page numbers in Google Docs, read the steps below:
Step 1: Format and edit all the headings on your Google Docs document.
Step 2: Put the blinking cursor in the area where you’ll insert the table of contents into. Usually, you’ll insert it before the first heading of the document.
Step 3: From the menu bar, click “Insert.”
Step 4: From the dropdown menu that appears, click “Table of Contents.”
Step 5: From the table of contents formatting options available, choose the “Plain-text table of contents with page numbers” button.
This will then insert a table of contents with the headings on the left and their corresponding page numbers on the right side.
If, however, you want to use Roman numerals as page numbers, you need to customize the footers of your Google Docs document accordingly.
But unknown to everyone, there is a shortcut method of inserting a table of contents with page numbers.
Shortcut Method: Creating Table of Contents with Page Numbers Using the Smart Chips Feature
The smart chips feature of Google Docs allows its users to quickly access certain functions without navigating through the usual tabs and menus.
If you’re eager to learn how to use this smart chips feature, stay tuned and keep reading.
Step 1: Place the blinking cursor where the table of contents will appear later on.
Step 2: Type the symbol “@” by pressing “Shift + 2” simultaneously.
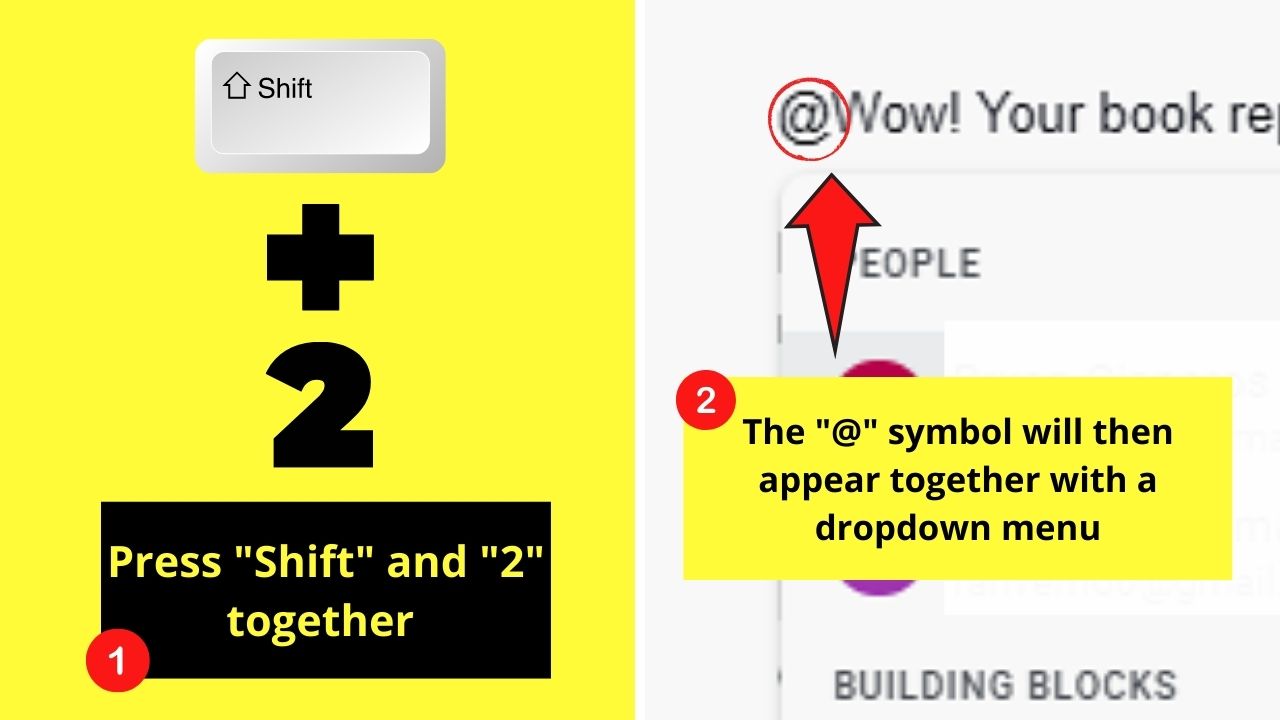
Step 3: Type beside the “@” symbol “table of contents.”
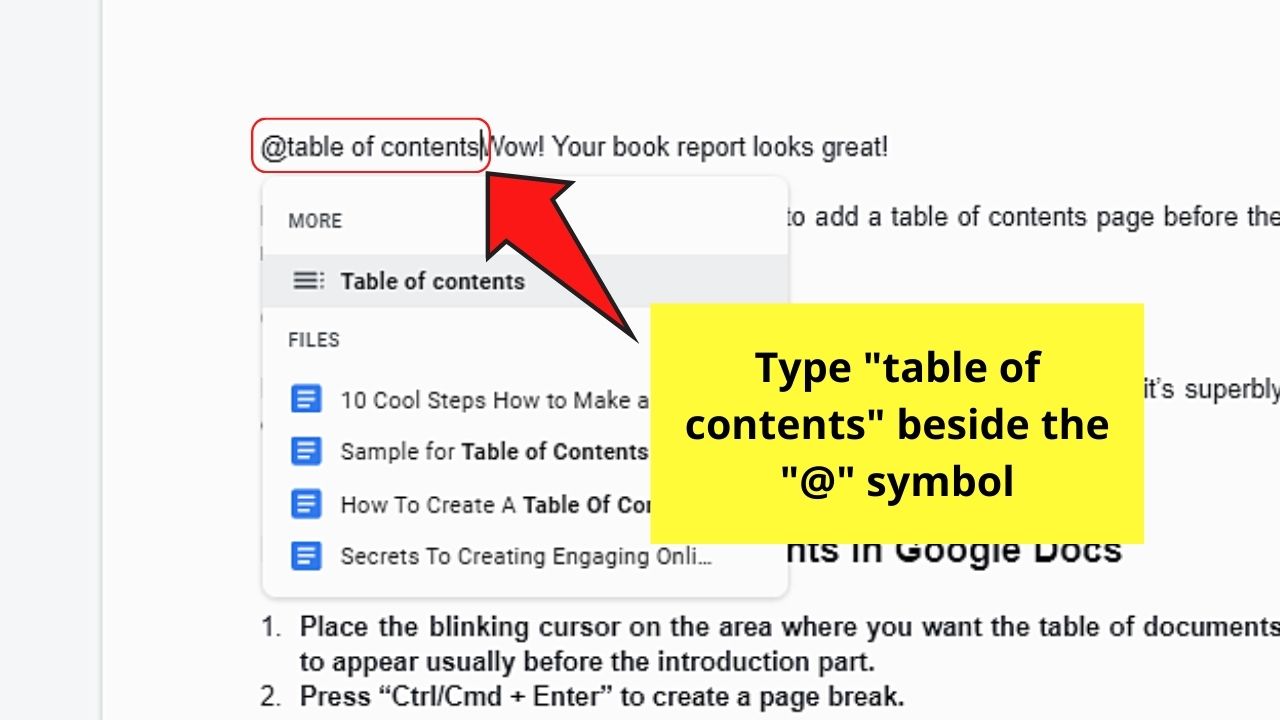
A dropdown menu then appears.
Step 4: Click “Table of contents.” This will then prompt another dropdown menu to appear beside it.

Step 5: On the second dropdown menu, click the “With page numbers” option.
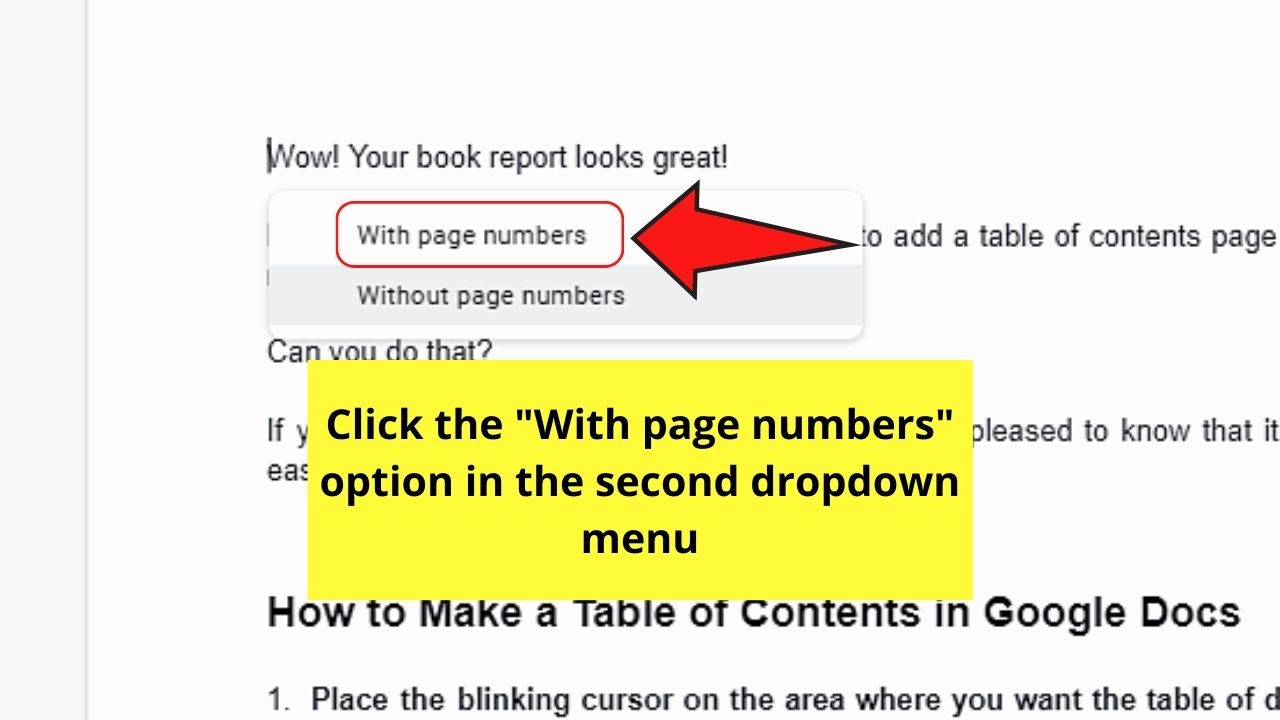
Your table of contents will then appear in the area where the blinking cursor is placed.
Mindblown already with the various methods of creating a table of contents in Google Docs?
Well, there are still a few more you’ll need to learn, particularly on how you can add a table of contents on the side.
How to Add Table of Contents on the Side in Google Docs
Click “View” on the menu bar. Then, choose “Show document outline” in the dropdown menu. The document outline will then appear on the left of the document. To hide or close the document outline, click the left-facing arrow.
For those who are new to Google Docs, you might wonder what you call the table of contents that appears on the side of the document you’re working on.
Yes, it’s a table of contents in terms of format, but it’s technically called a document outline.
And, like what all outlines do, they show to you the various sections of your document.
Plus, you can even click on the hyperlinked entries to quickly navigate to that section.
But, like inserting a table of contents on the main Google Docs document, you’ll need to format the entries first using the header system.
After which, follow these steps below:
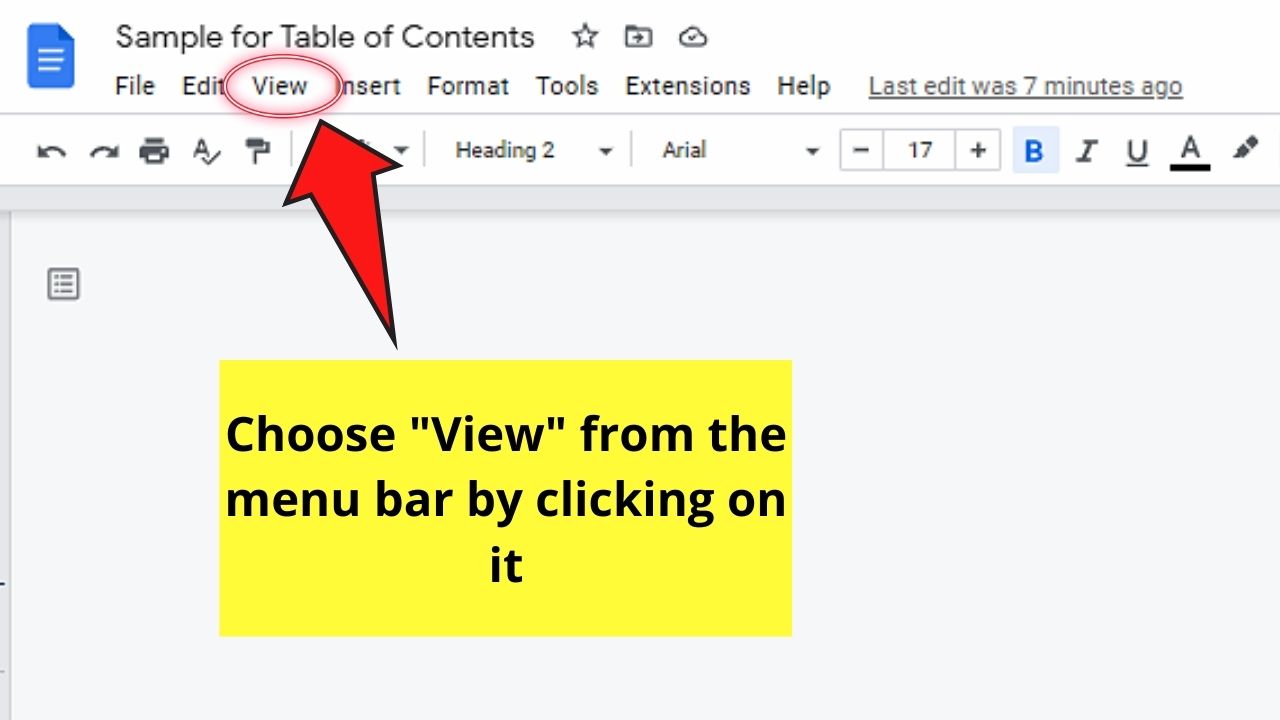
Step 1: Head to the menu bar and click the “View” tab. A dropdown menu will then appear below it.
Step 2: Click “Show outline” in the dropdown menu.
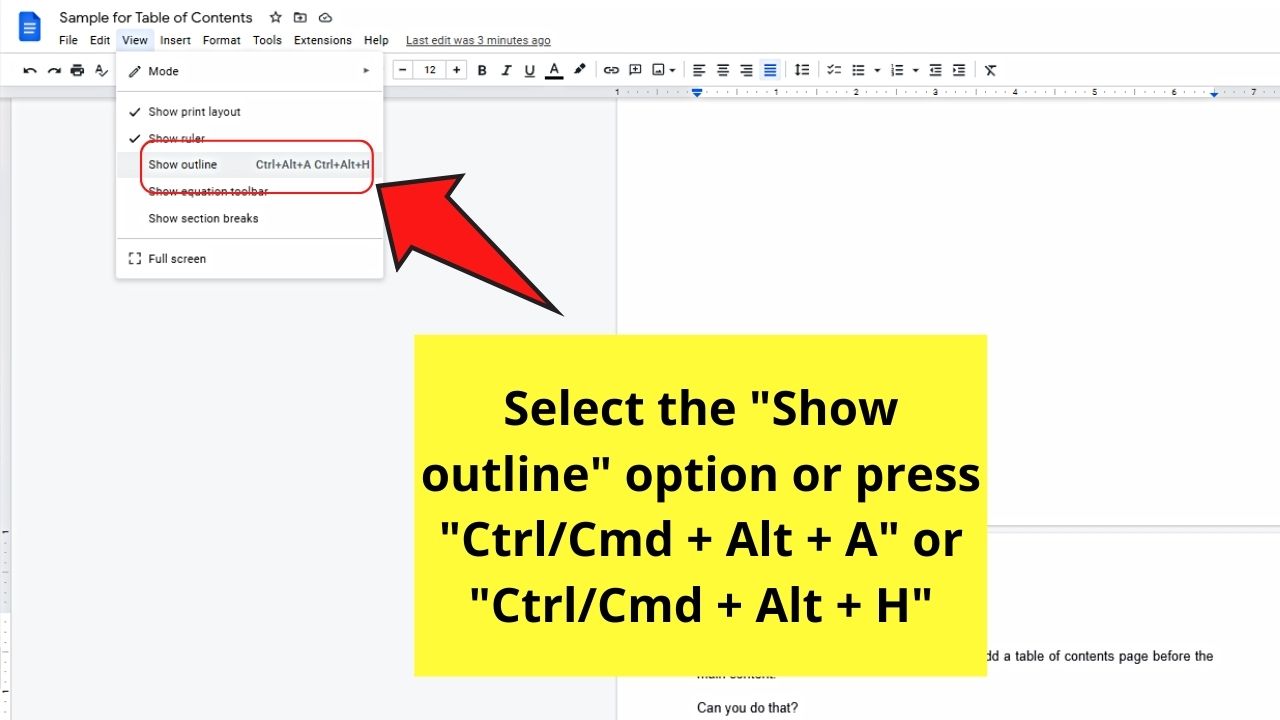
Alternatively, you can activate this feature by pressing “Ctrl/Cmd + Alt + A” or “Ctrl/Cmd + H” on your keyboard.
Step 3: The document outline will then appear on the left side.
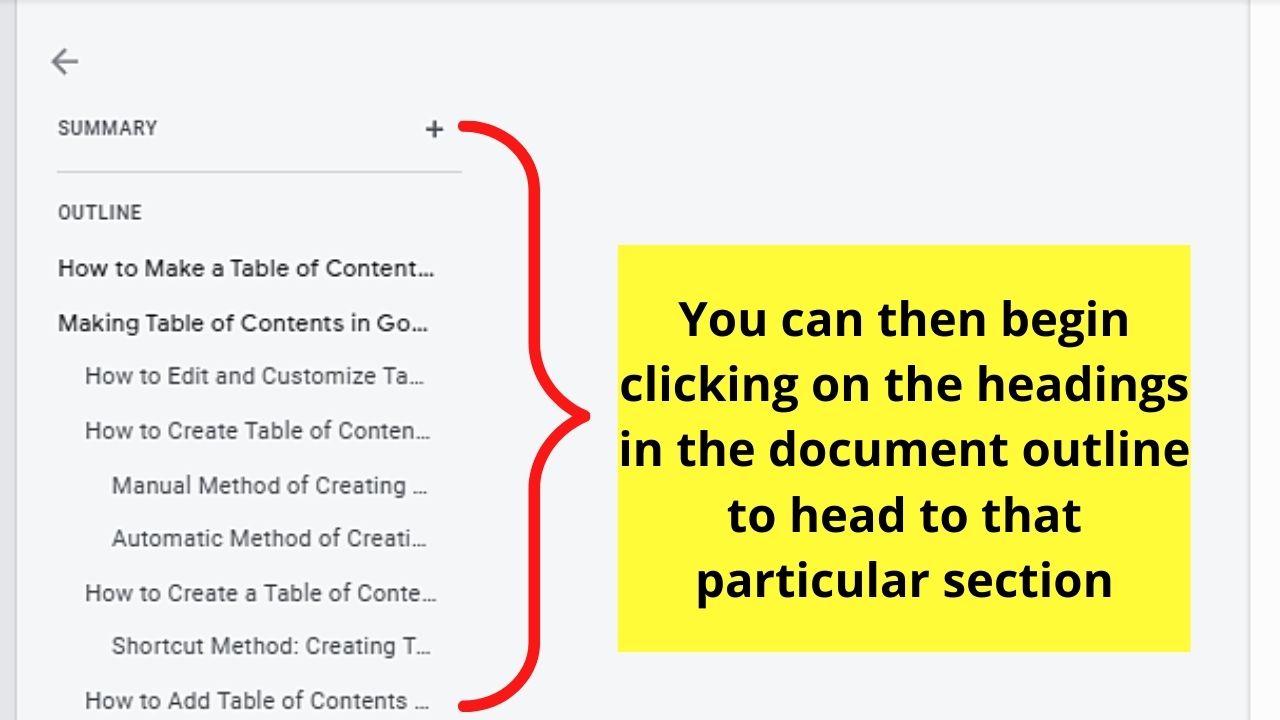
From there, you can begin clicking on the headings and subheadings to head to the section where they’re found on the Google Docs document.
Step 4: If you wish to hide the document outline, just click the left-facing arrow, the “Close Document Outline” button.
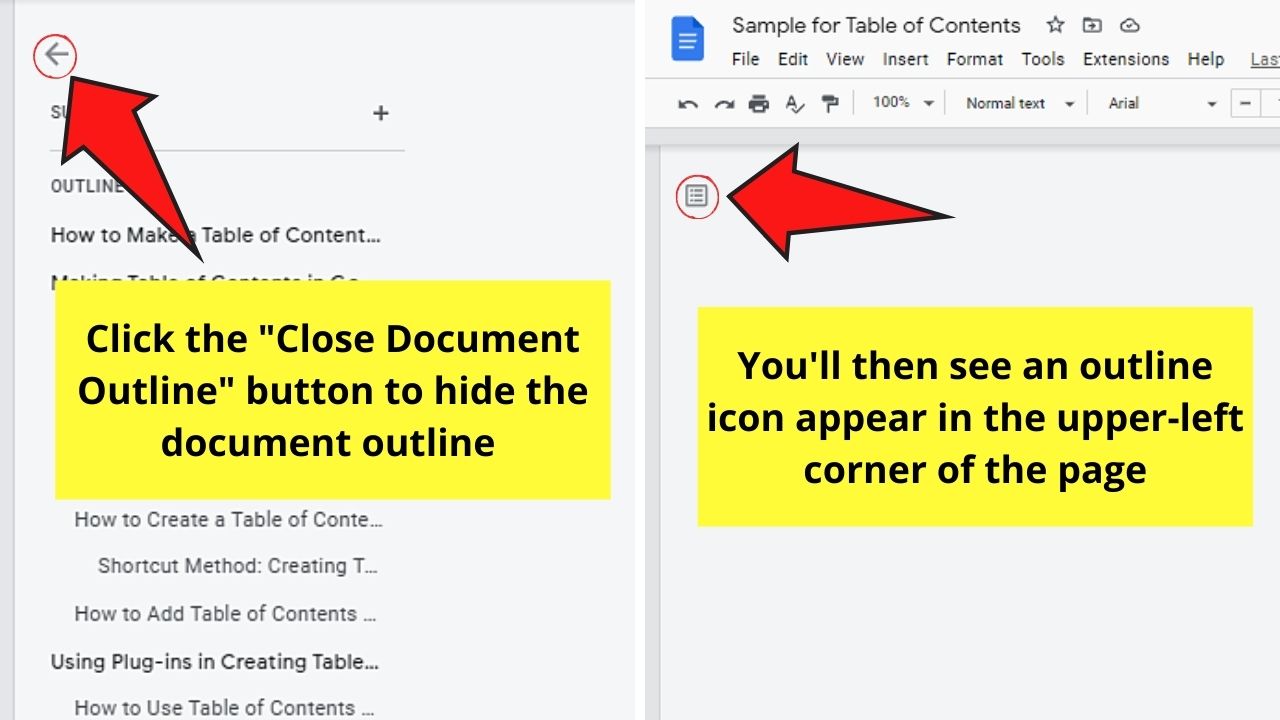
The said document outline will then appear as a small outline icon at the top left corner of the page.
Amazed at how easy it is to make the table of contents appear on the side in Google Docs?
Go ahead and try this nifty feature.
But, while we appreciate how easy it is to create tables of contents in Google Docs, is there a possibility that you can make them through plug-ins?
Using Plug-ins to Create a Table of Contents in Google Docs
A table of contents in Google Docs can be created using one of 2 plug-ins. For the “Table of Contents” plug-in, click the “Heading Numbers Format menu” and choose the “1.2.3” format option. For the “Markdown Tools,” select “Heading numbers” before choosing the numbering style you want.
Generally speaking, if your only aim is to create a simple table of contents in Google Docs, you won’t need to install plug-ins just to create one.
Google Docs already has such a nifty feature in place as explained in previous sections here.
But, if you aim to number the headings made in your Google Docs document, then that’s where plug-ins come in handy.
If you do a quick search on Google Workspace Marketplace and type “Table of Contents” on the search bar, you’ll see 4 options to choose from.
But, there are only 2 plug-ins that are quite known to Google Docs users: “Table of Contents” and “Markdown Tools.”
Granting that you’ve already installed these plug-ins by clicking “Extensions” > “Add-ons” > “Get add-ons” from the menu bar, let’s take a look at how you can use them.
How to Use Table of Contents Plug-in
The “Table of Contents” plug-in allows you to have a table of documents appear on the sidebar.
Think of it like the document outline that Google Docs features, except that it has numbers for each heading.
Step 1: Once you successfully install “Table of Contents” to your Google Docs, head to the table of contents that appears on the sidebar area.
Step 2: On the said table of contents, select the “Heading Numbers Format menu” and choose the “1.2.3” formatting.
Step 3: Sometimes, you might need to reformat the document to “Refresh” the numbering on it.
But, like other plug-ins, you may encounter a message of not being able to install the said plug-in due to authorization issues.
If that’s the case, use the second plug-in below instead.
How to Use Markdown Tools Plug-in
Like the “Table of Contents” plug-in, “Markdown Tools” helps in adding numbers to your headings.
After you’ve successfully installed the said plug-in to Google Docs, here’s what you need to do next:
Step 1: Format your document’s headings by applying the header system, or what’s commonly known as the native heading styles.
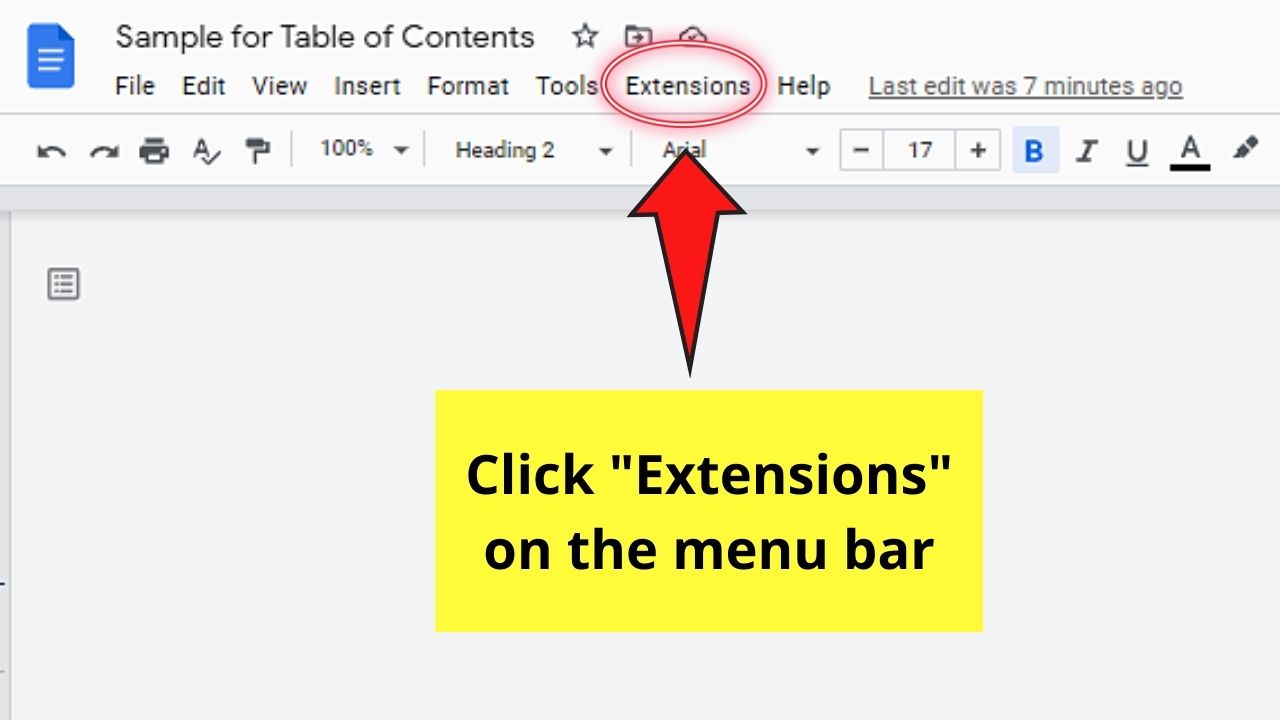
Step 2: Now, head to the menu bar and click “Extensions.”
Step 3: On the dropdown menu, select “Markdown Tools.”
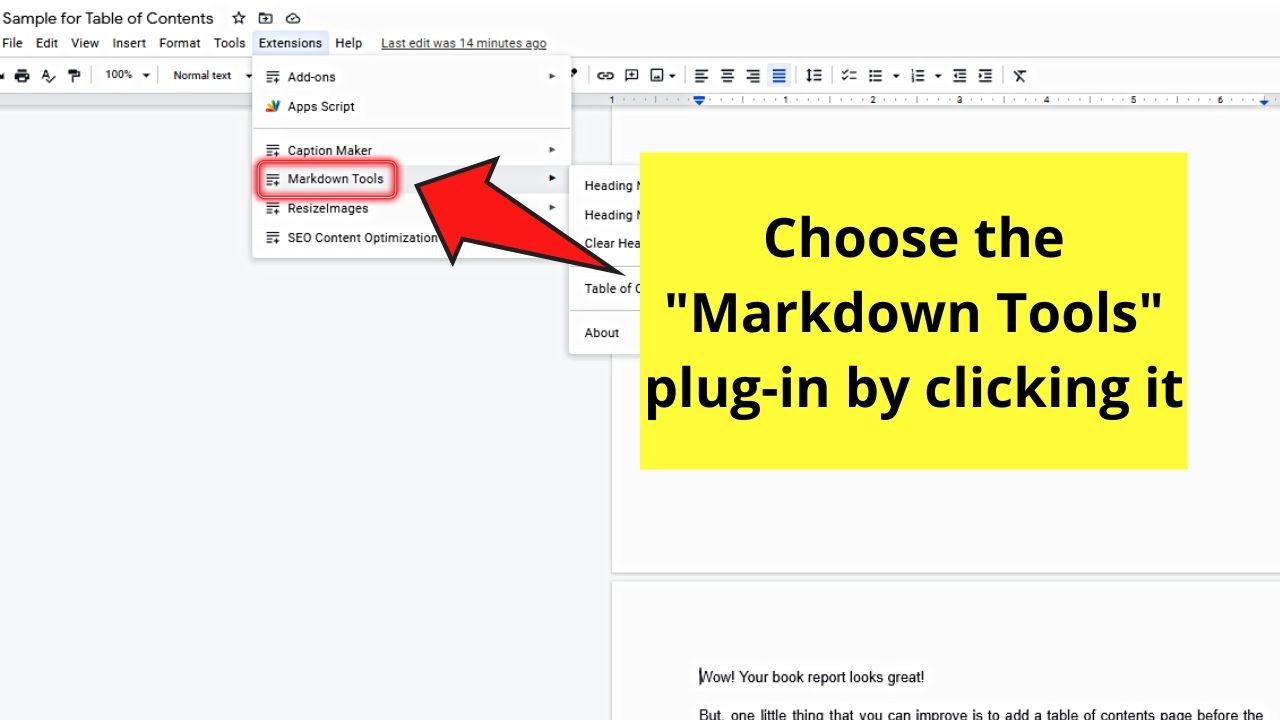
Step 4: Then, choose the “Heading numbers” option on the second dropdown menu.
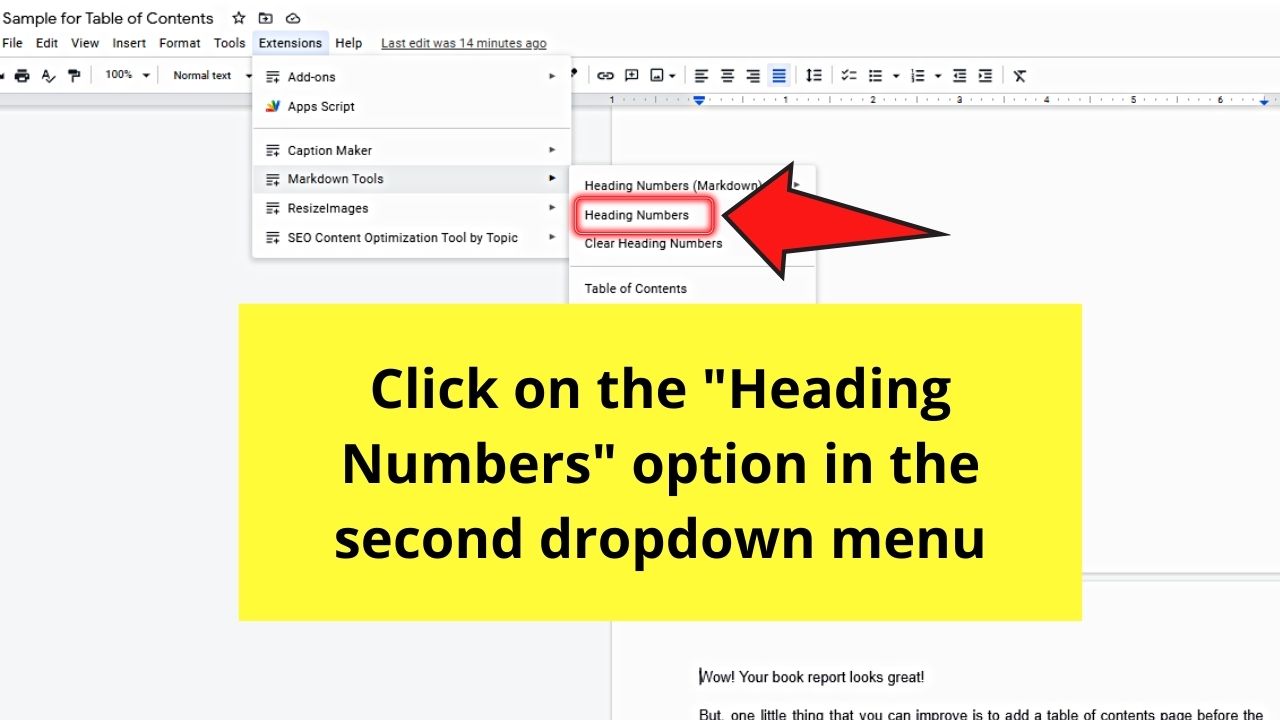
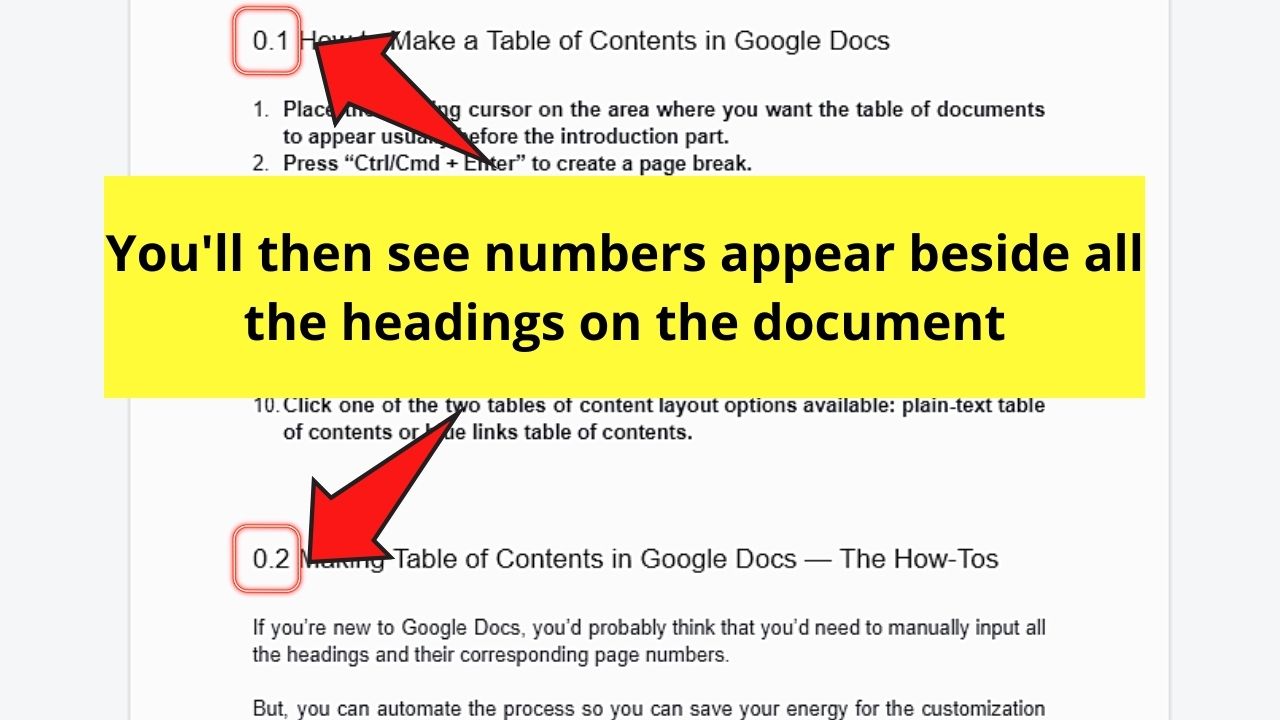
From there, select the numbering style you’d want to use.
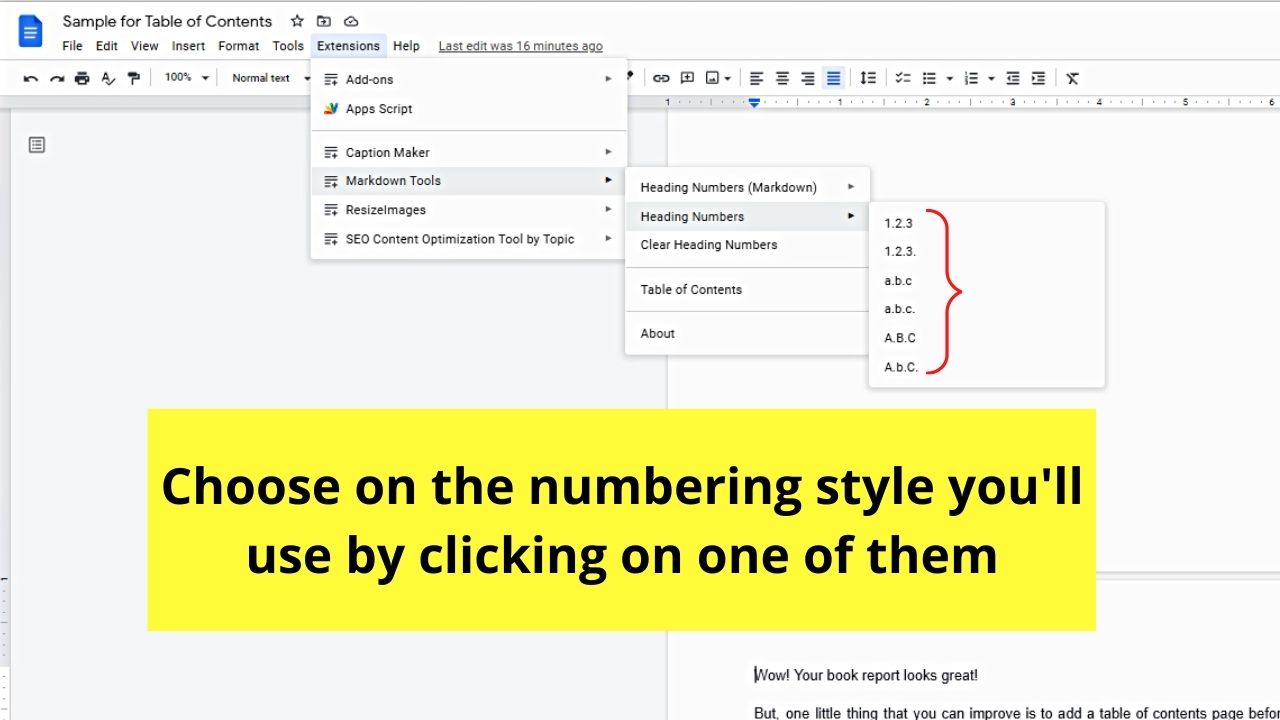
The chosen numbering style will then be applied to all the headings in that particular Google Docs document.
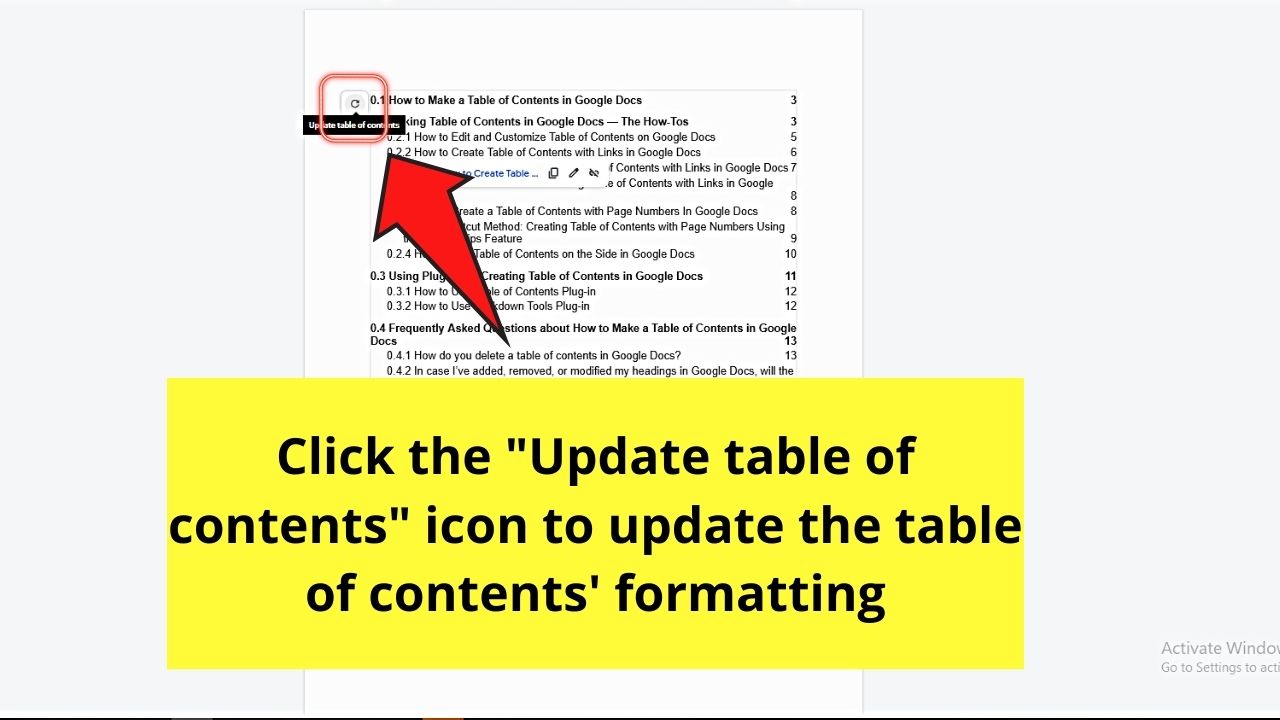
Step 5: Click the “Update table of contents” icon (which takes the shape of the “Refresh” icon) to update the formatting of the table of contents.
And, that’s just how you create a Google Docs table of contents in various methods.
Which among those methods above will you use for your future Google Docs document?
Also, now that you are familiar with making tables of contents in Google Docs, why not have a look at yet another advanced Google Docs topic such as “How to make a fillable form in Google Docs?
Frequently Asked Questions about How to Make a Table of Contents in Google Docs
How do you delete a table of contents in Google Docs?
To remove or delete a table of contents in Google Docs, left-click on any heading entry. Then, click “Delete table of contents.” This move will automatically remove the table of contents previously added.
In case I’ve added, removed, or modified my headings in Google Docs, will the changes automatically reflect in the table of contents?
Any changes made on the Google Docs headings don’t reflect automatically in the table of contents. But, you can click the “Update Table of Contents” button (looks like the “Refresh” icon). The changes created on the headings will then reflect in the table of contents as well.
Do I need to format my Google Docs document using the heading styles feature first before I can make a table of contents?
You must format each heading and subheading in Google Docs using its built-in “Heading Styles” feature. This will help Google Docs automatically generate the table of contents entries.
What happens if I don’t format using the heading styles feature first before making the table of contents?
If you haven’t formatted your document with the head styles feature, Google Docs won’t be able to generate the table of contents. Hence, use the head styles feature first, then click the placeholder text. Then, select the “Update Table of Contents” button for updating the table of contents entries.
Can you insert a table of contents without making a page break?
You can make a table of contents without adding a page break. Just place the blinking cursor to where the table of contents should appear before clicking “Insert” > “Table of Contents.” The table of contents will then occupy the space above the first heading in your text.