
Inserting images in Google Docs is easy. Just head to the menu bar, click “Insert,” and choose “Image” before selecting where to source the picture from.
However, what if your professor or client asks you to provide captions for the photos you insert in Google Docs?
Do you know how to do it?
If you’re one of the few (or many) who aren’t sure what to do to caption an image in Google Docs, stay here and keep reading.
How to Caption an Image in Google Docs
Captioning an Image in Google Docs with Caption Maker
Captioning Images in Google Docs with the Drawing Tool
Captioning Images in Google Docs by Using a “1 x 2” Table
Frequently Asked Questions about How to Caption an Image in Google Docs
How to Caption an Image in Google Docs
The easiest way to caption an image in Google Docs is by using the “In Line” Tex Wrap Tool.
To caption an image in Google Docs, follow these steps:
Step 1: Left-click on your image


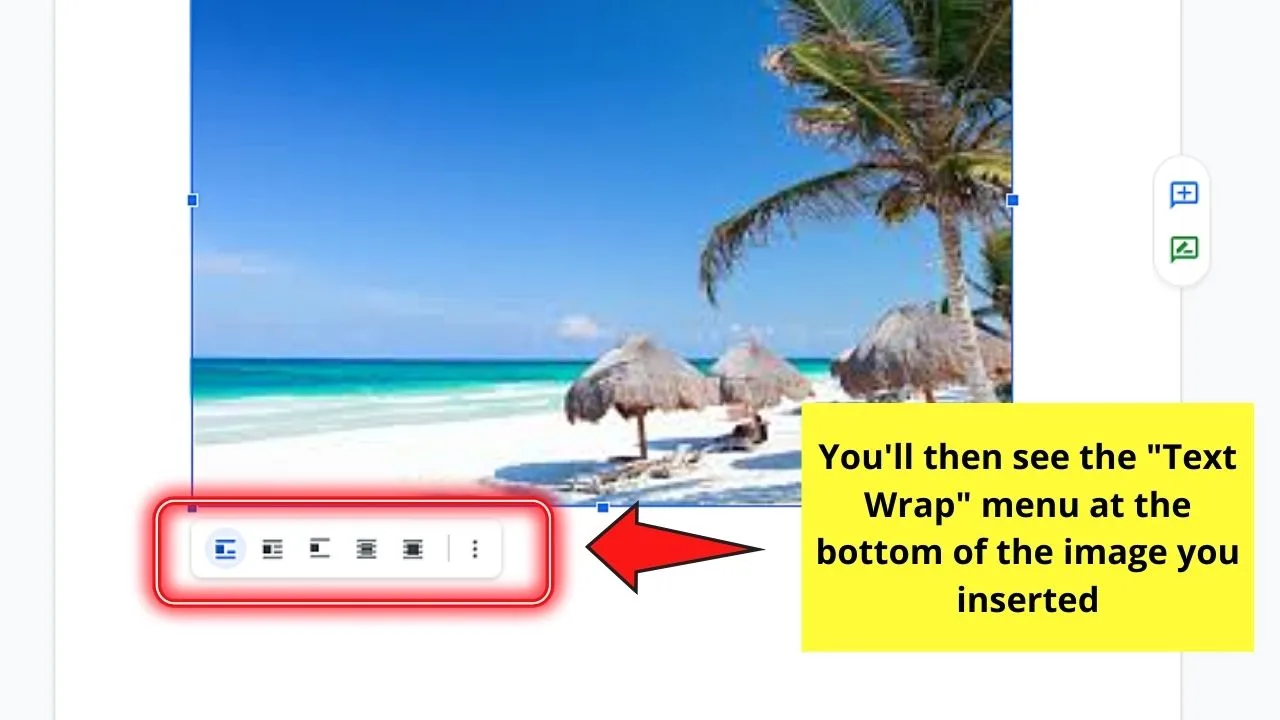
You’ll then see small blue arrows surrounding the entirety of the image.
But, other than highlighting the photo, you’ll also see the “Text Wrap” menu activated.

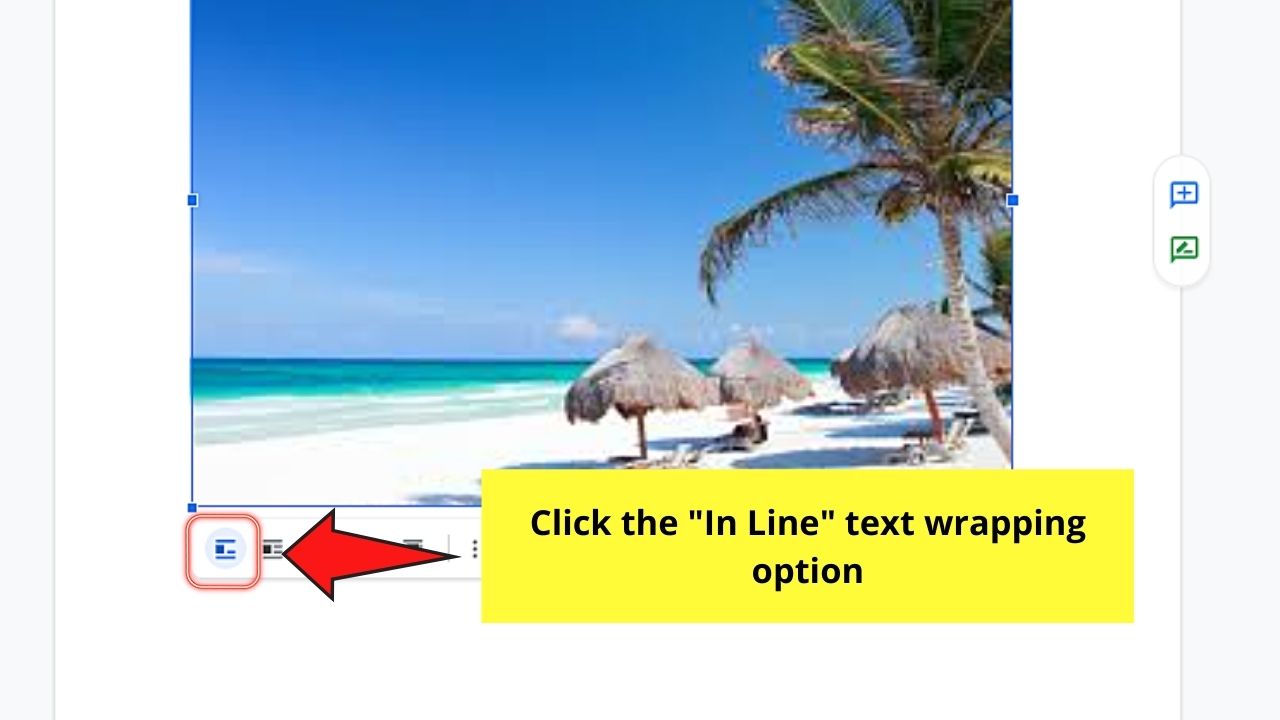
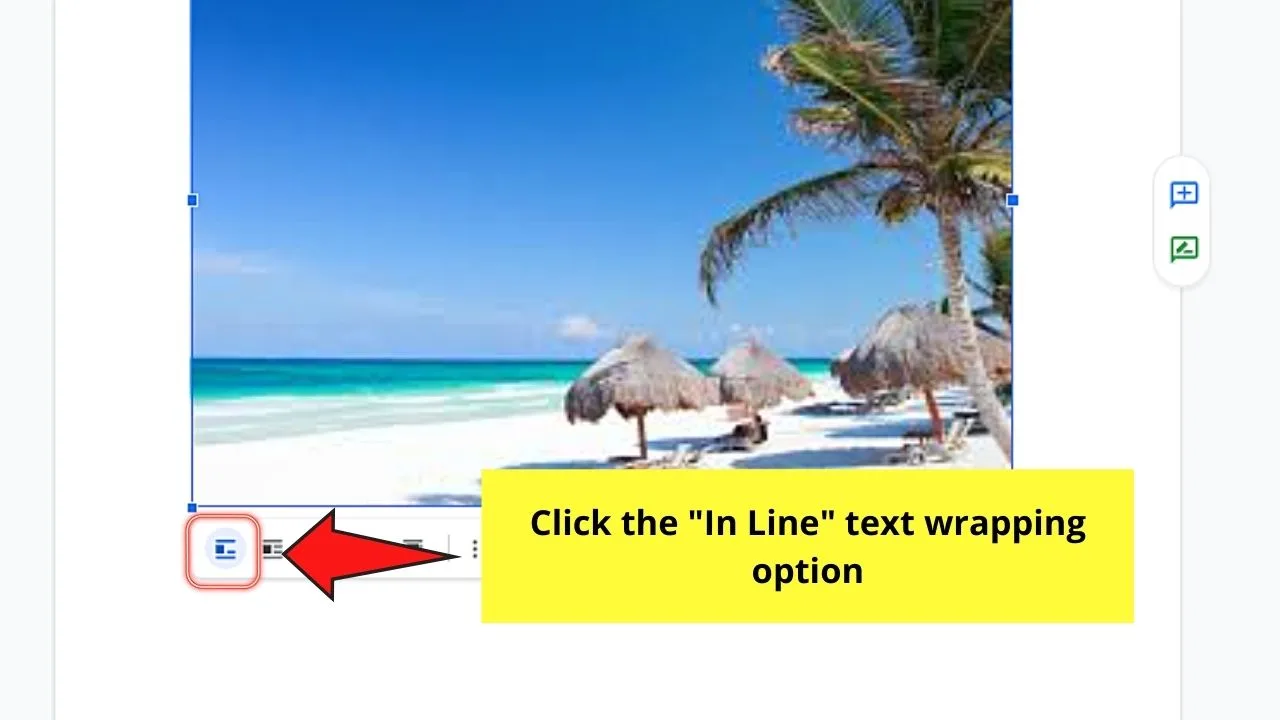
Step 2: In the “Text Wrap” menu, select the “In Line” text wrap option
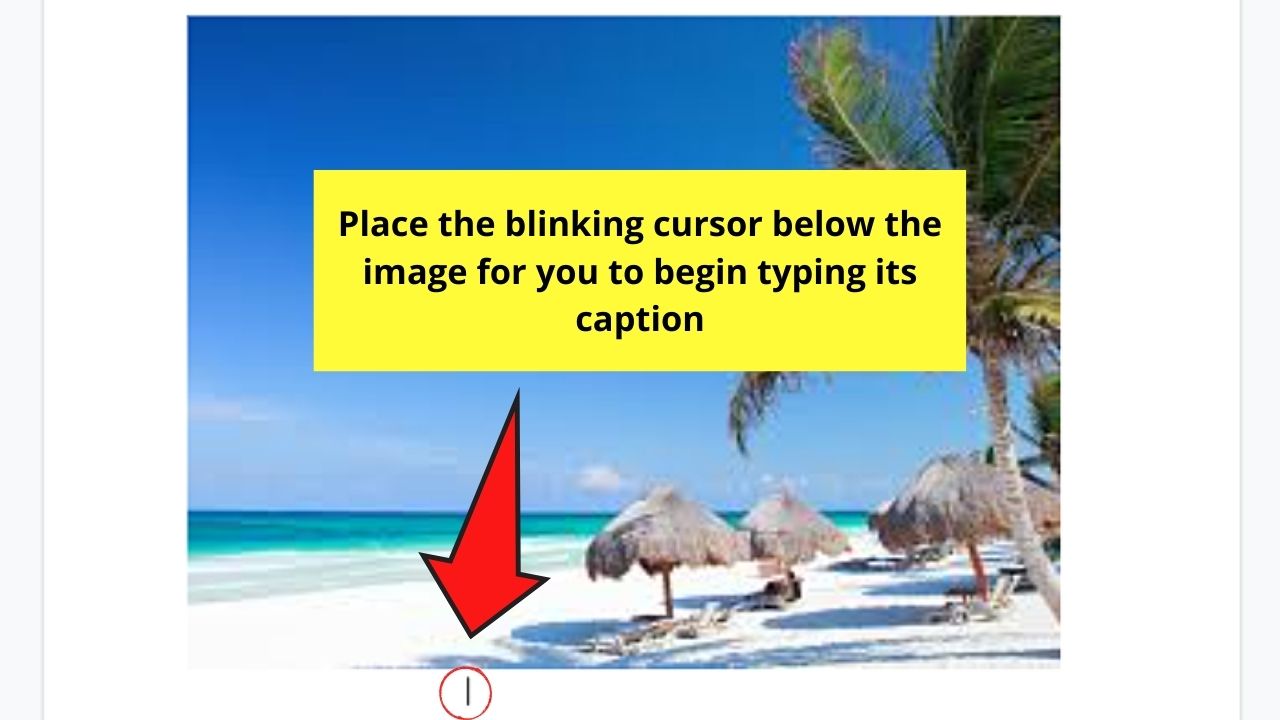
Step 3: After selecting the “In Line” text wrap option, place the cursor below the image and type your caption

After encoding the caption, format it by adjusting its alignment, size, and style from the toolbar.

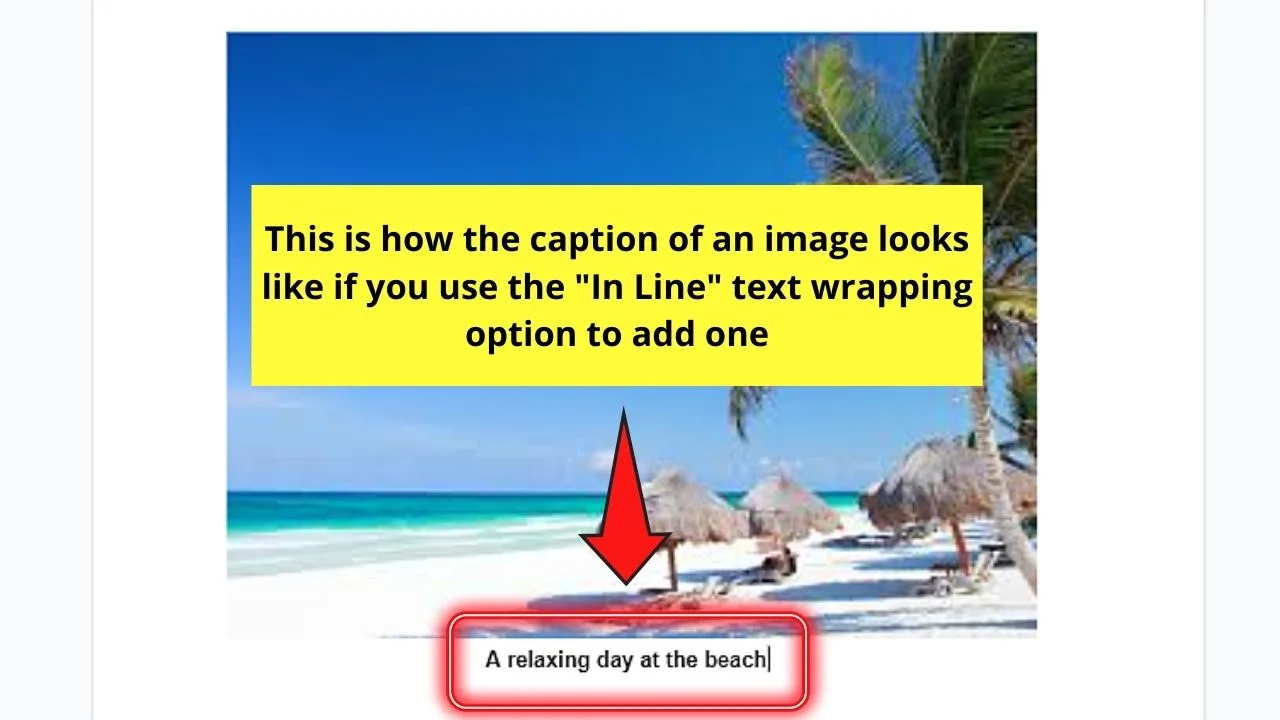
Very simple, right? With only 3 steps, you’re able to add captions to your images in Google Docs by adjusting their text wrapping.
But, the one setback this method has is that you can’t easily move the photo in your Google Docs document.
Yet, if you feel the need to move around the photos you added and captioned, this second method is the one for you.
Captioning an Image in Google Docs with Caption Maker
For those unfamiliar with Google Add-ons, these are tools that you can seamlessly integrate to help you with your writing.


And one of those helpful add-ons is Caption Maker.
From the name itself, Caption Maker aims to place captions on the images you inserted in Google Docs.
However, you cannot insert a specific text for the images you want to caption; the photos will only be labeled by number.
To caption an image in Google Docs with Caption Maker, follow these steps:
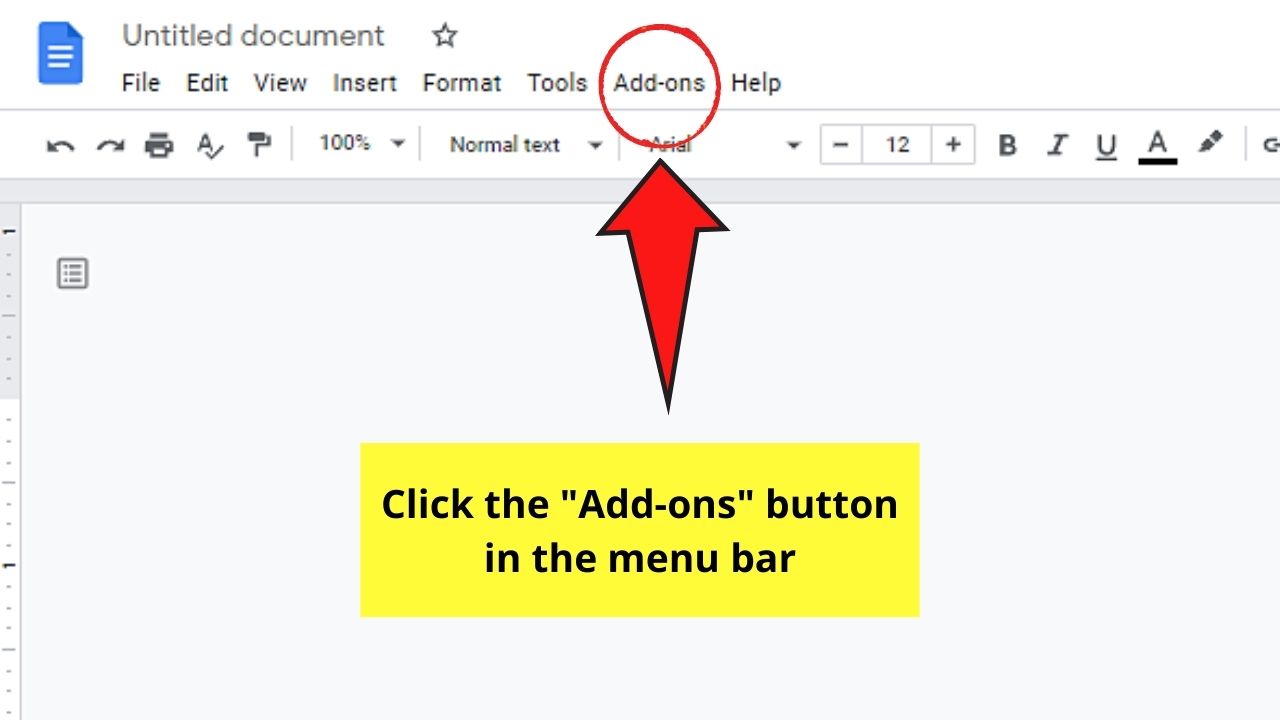
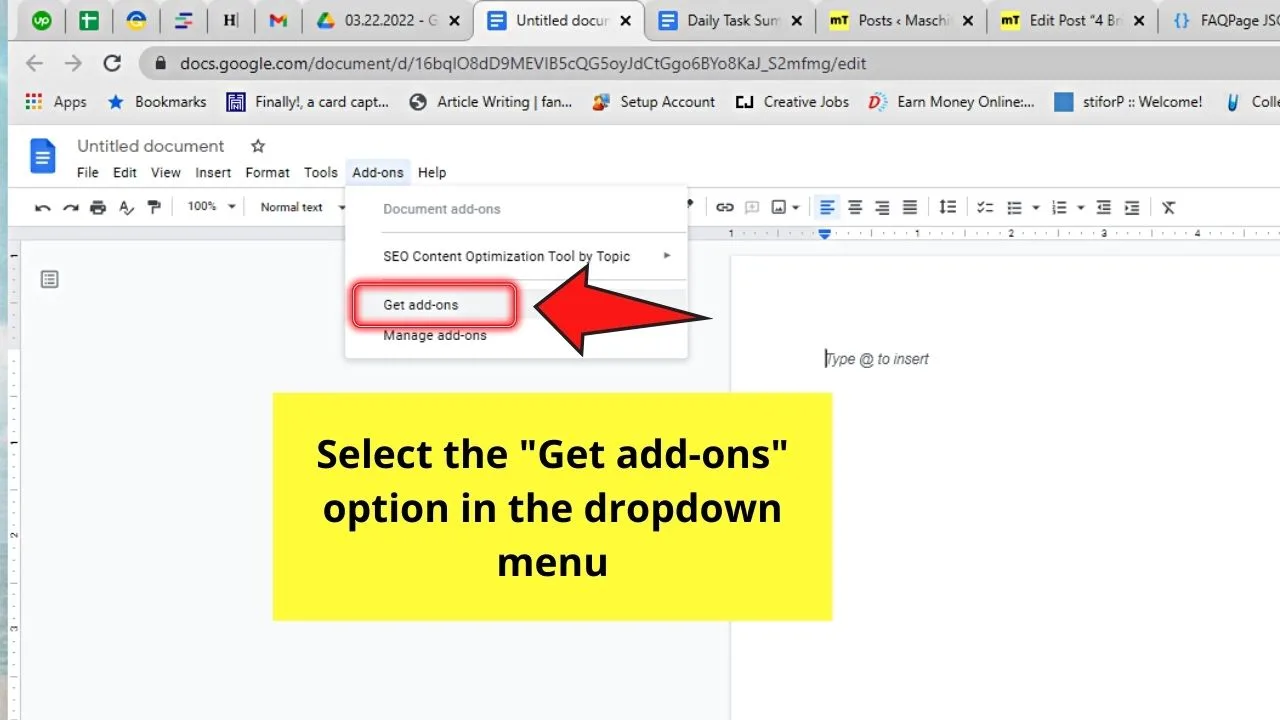
Step 1: Go to “Add-ons” in the main menu

Step 2: In the dropdown menu that appears, click “Get add-ons”
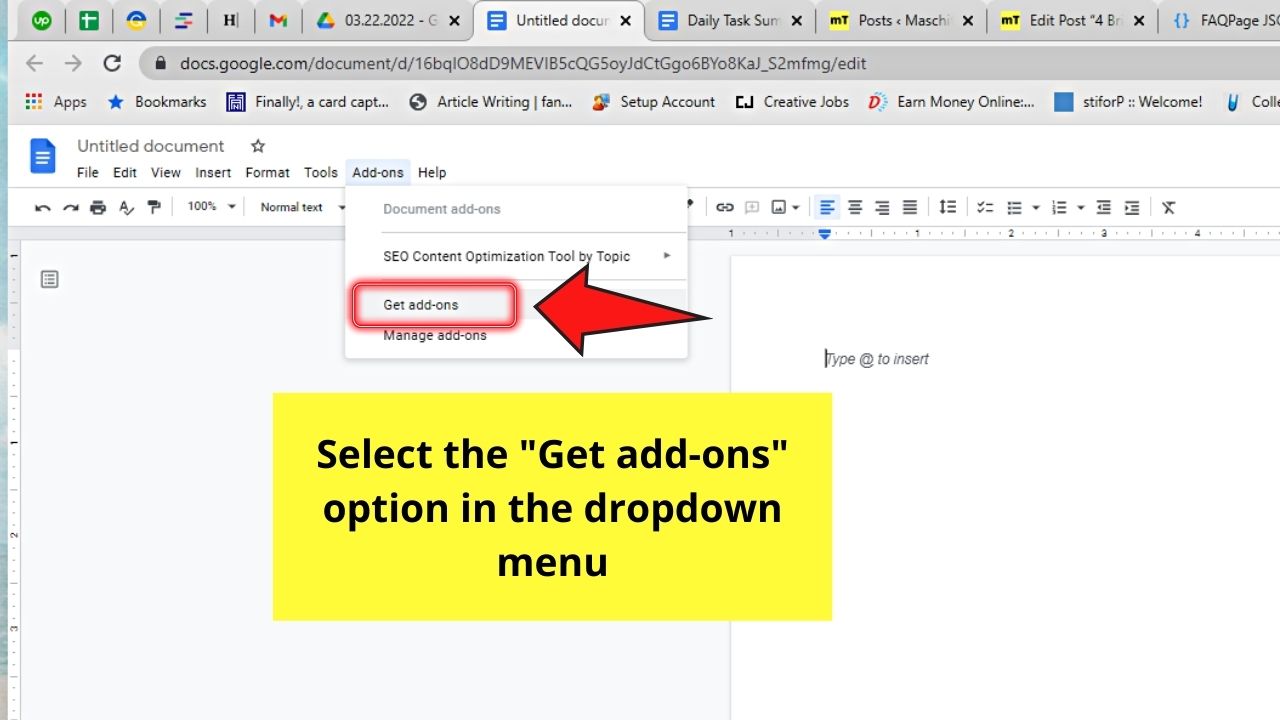
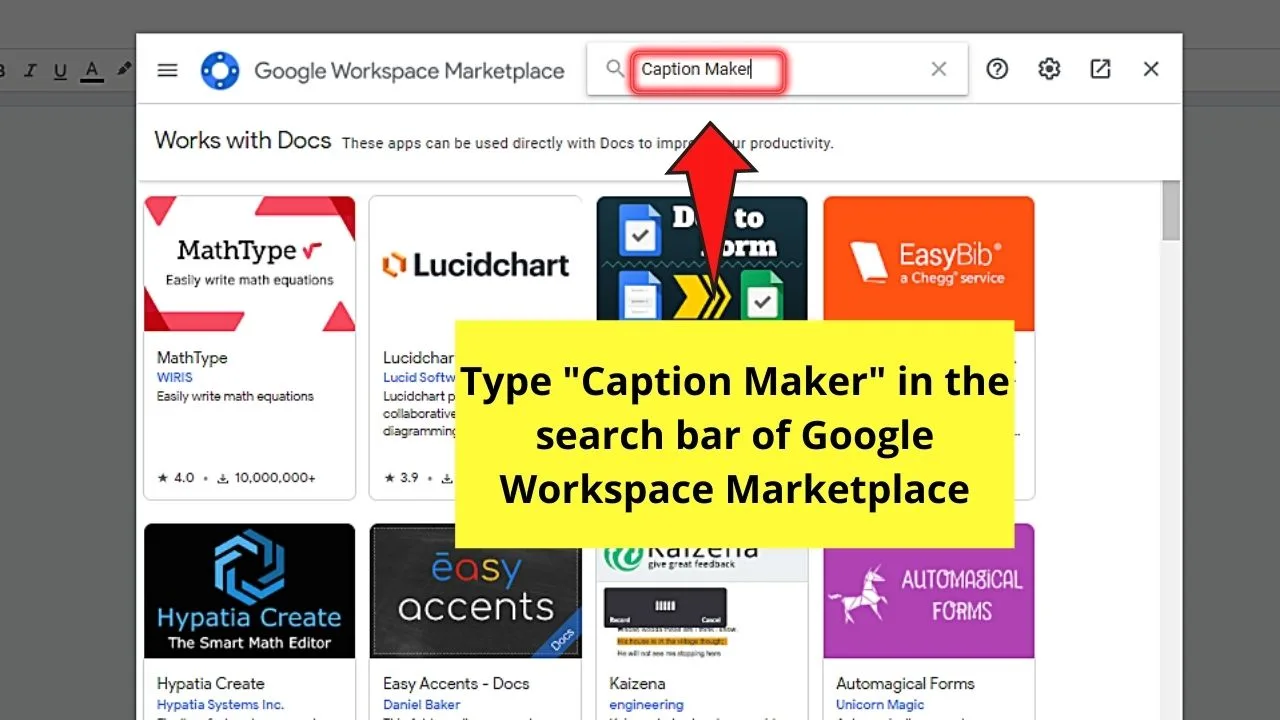
You’ll then see a dialog box listing all the Google add-ons that you can integrate into the word processing tool.
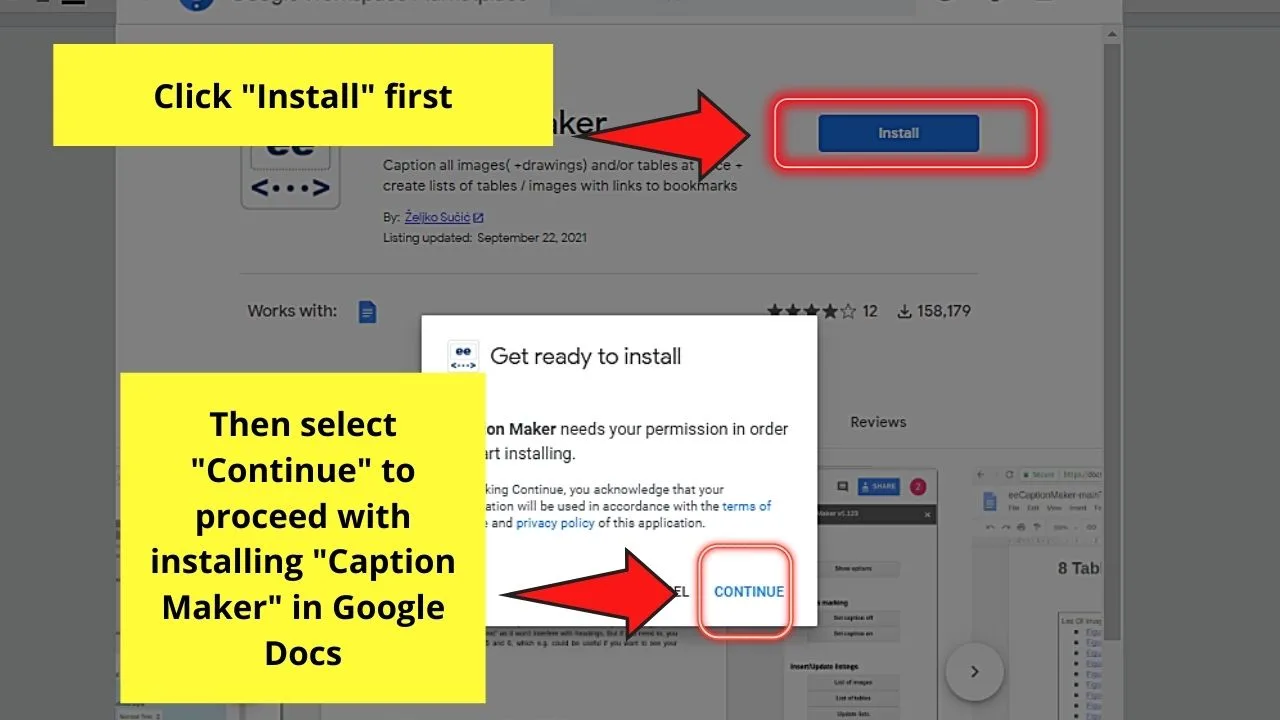
Step 3: Type “Caption Maker” and then install the add-on

Then, follow the prompts that appear to fully install “Caption Maker” into Google Docs.

Step 4: Head back to the “Add-ons” tab on the menu bar and hover over “Caption Maker”
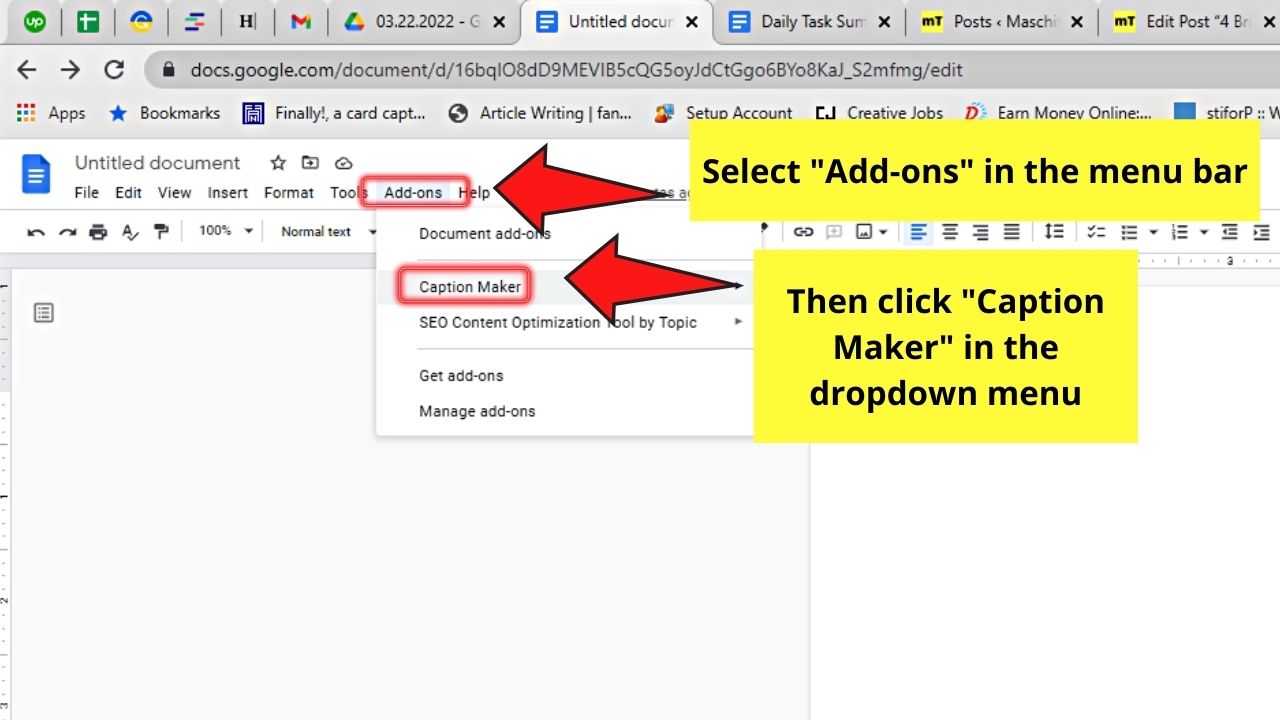

Then, select “Caption Maker.” Click the “v” icon to activate the second dropdown menu.
Step 5: Choose the “Start” option

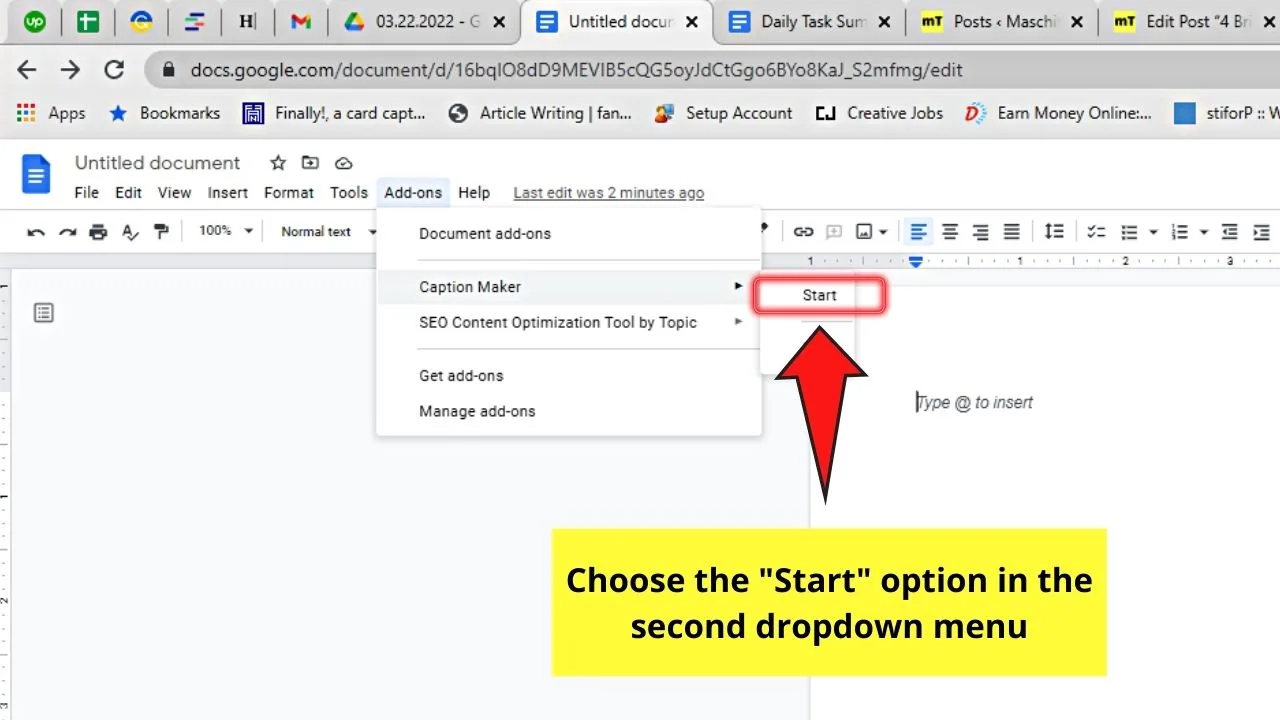
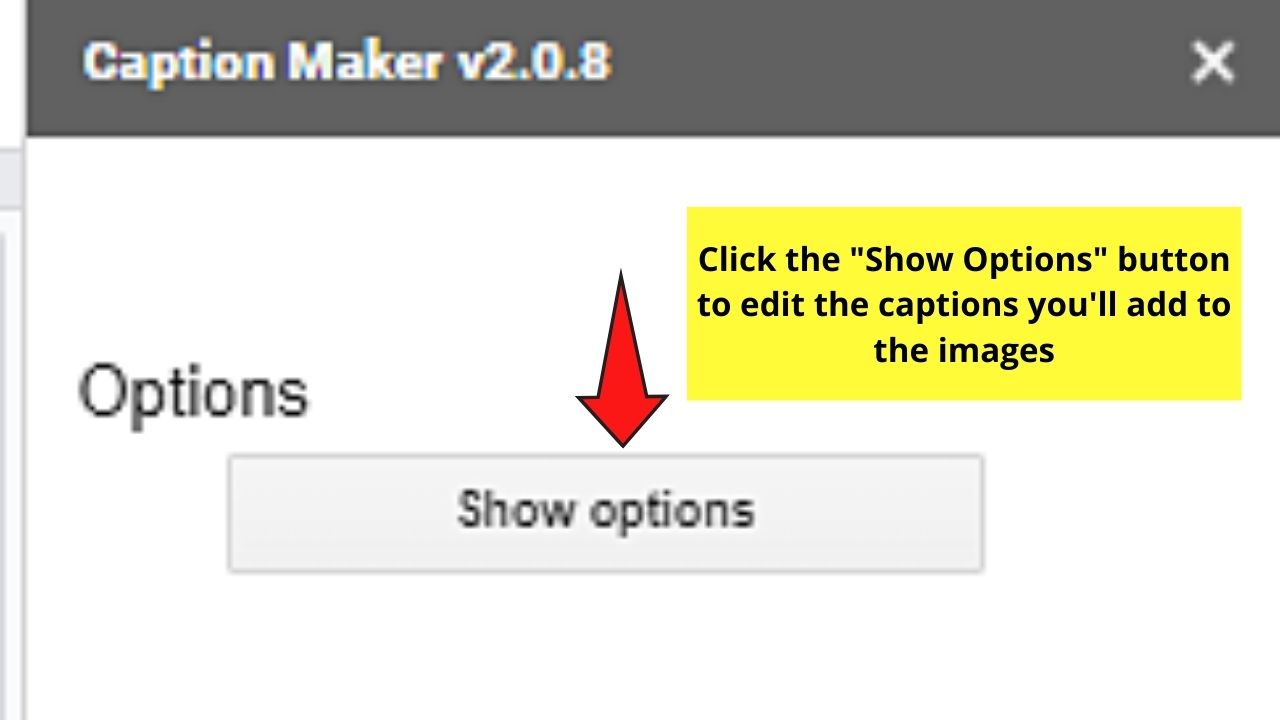
A dialog box will then appear to show you options for captioning your images.
Step 6: Select “Show options” button to format the captions you’ll eventually add to the image

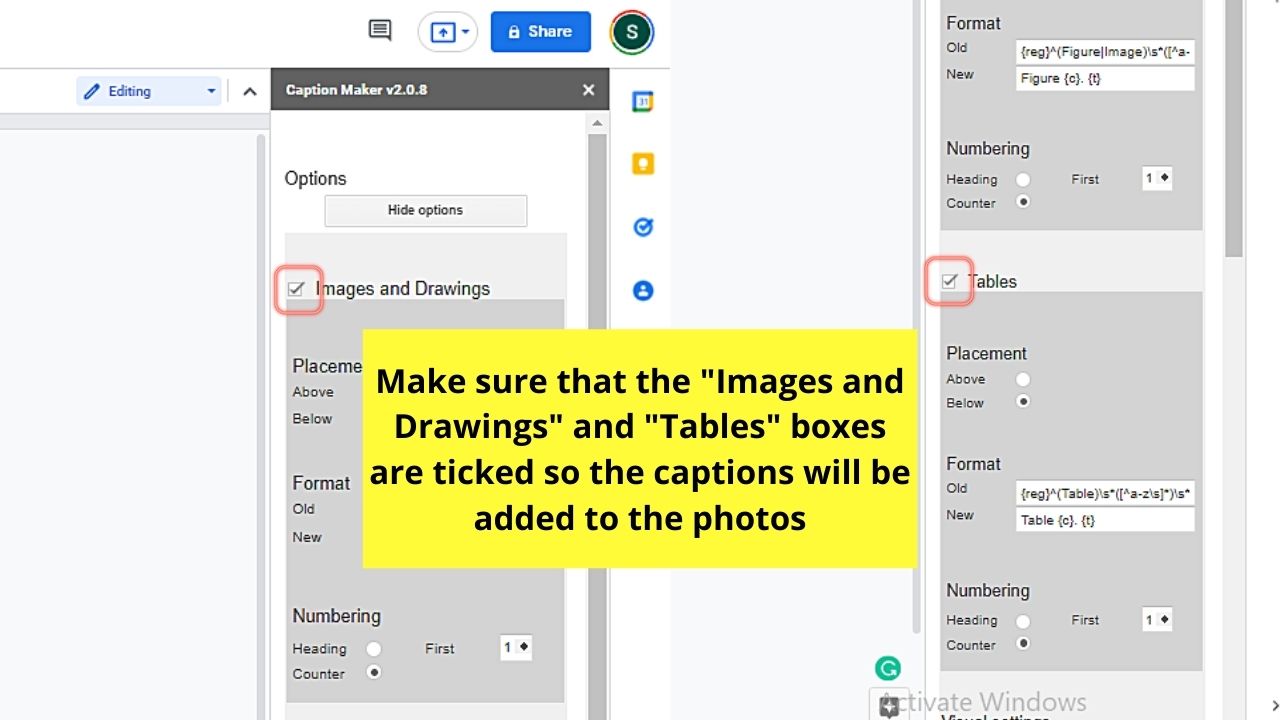
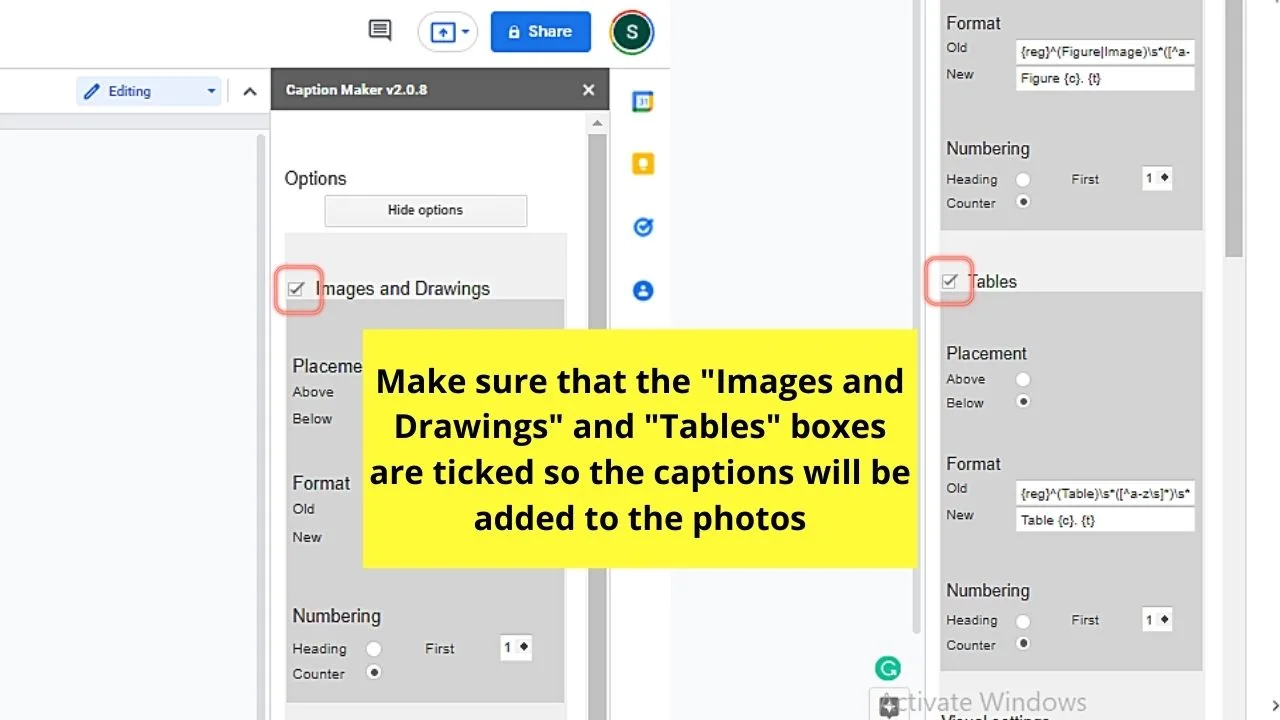
You can even add captions to the tables you moved in Google Docs to make everything in the document more organized.
Just tick the “Images and Drawings” and “Tables” boxes for you to edit the caption format.
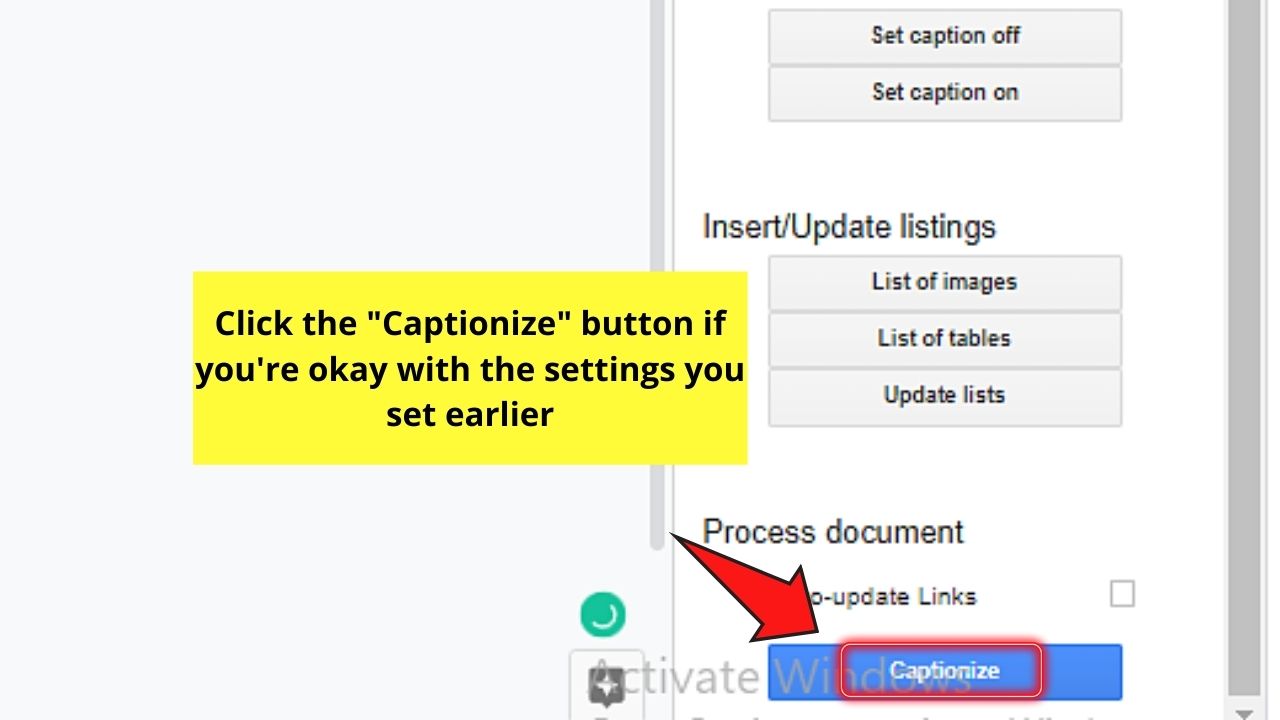
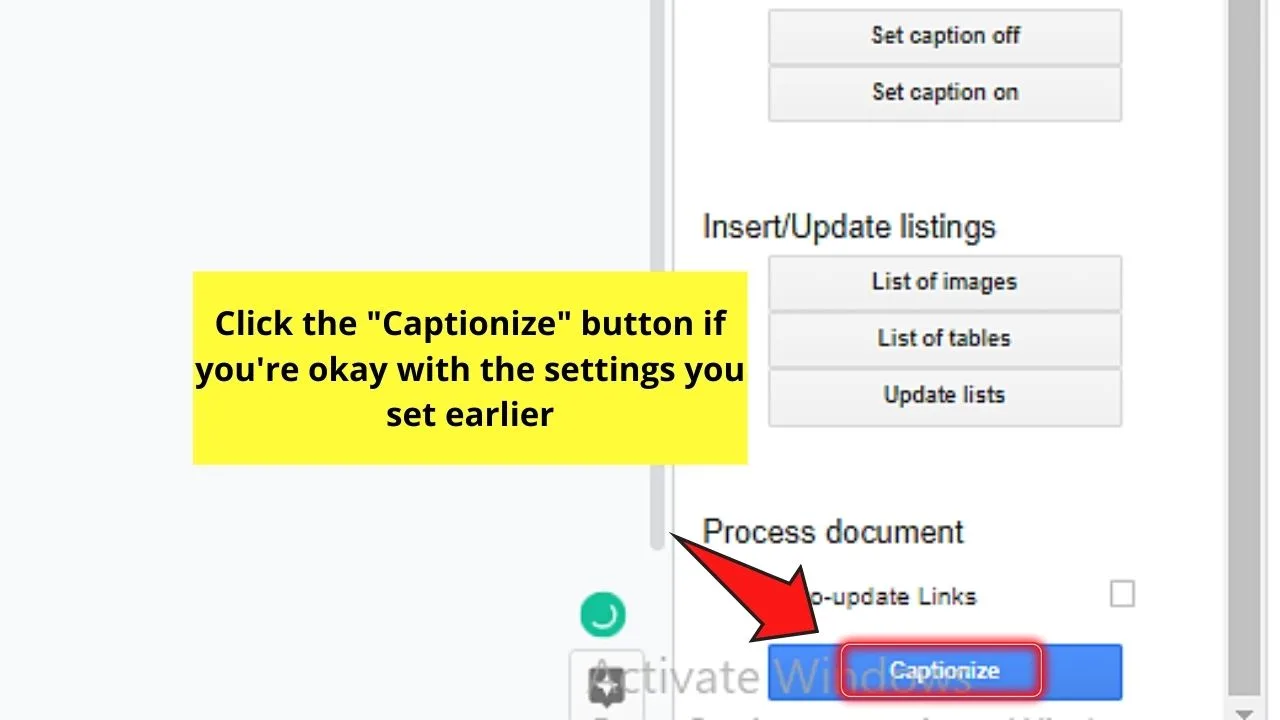
Step 7: If you’re good to go with your captions, click the blue “Captionize” button
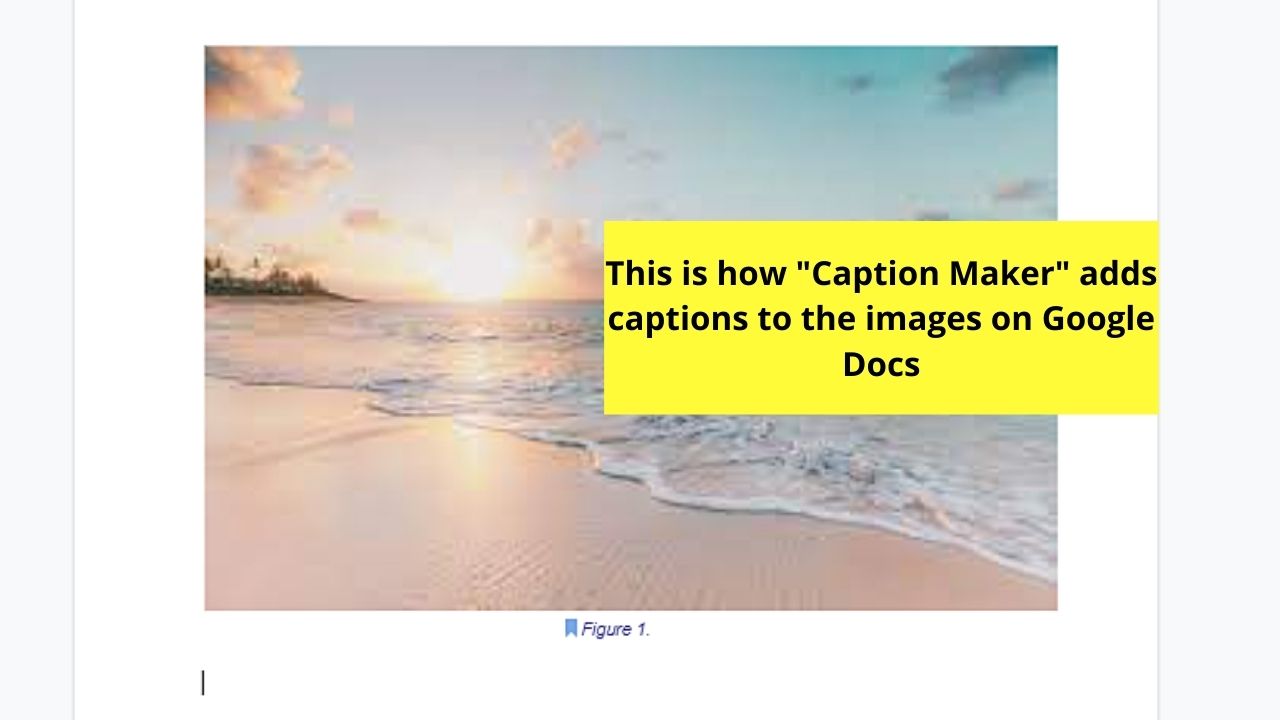
With those 7 steps, you’re able to insert captioned photos in Google Docs.

But, if you prefer adding a more specific caption other than plain numbers, the second method might be the one for you.
Captioning Images in Google Docs with the Drawing Tool
Who says the “Drawing” tool in Google Docs is for free-form drawing and adding of special characters only?
Well, you’ll now discover that you can caption an image in Google Docs using the very same tool.
To caption images in Google Docs with the drawing tool, follow these steps:
Step 1: Scroll down and place the blinking cursor in the location where you want to insert the image into


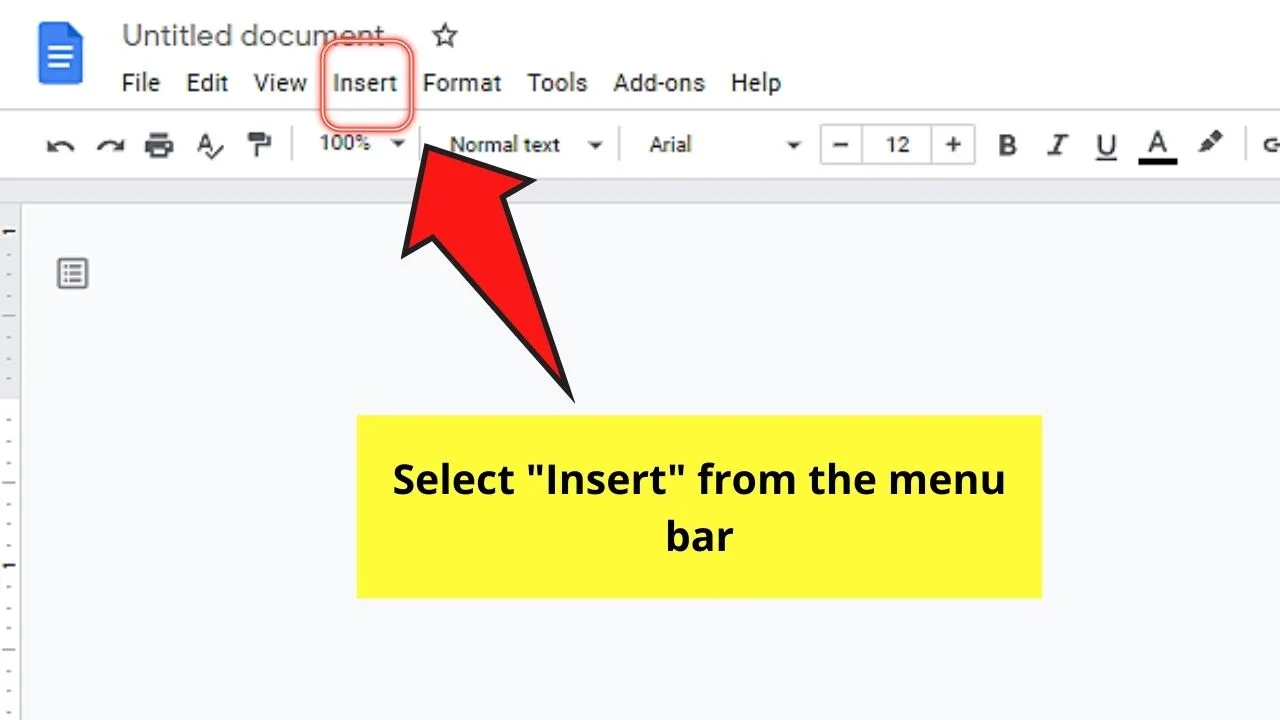
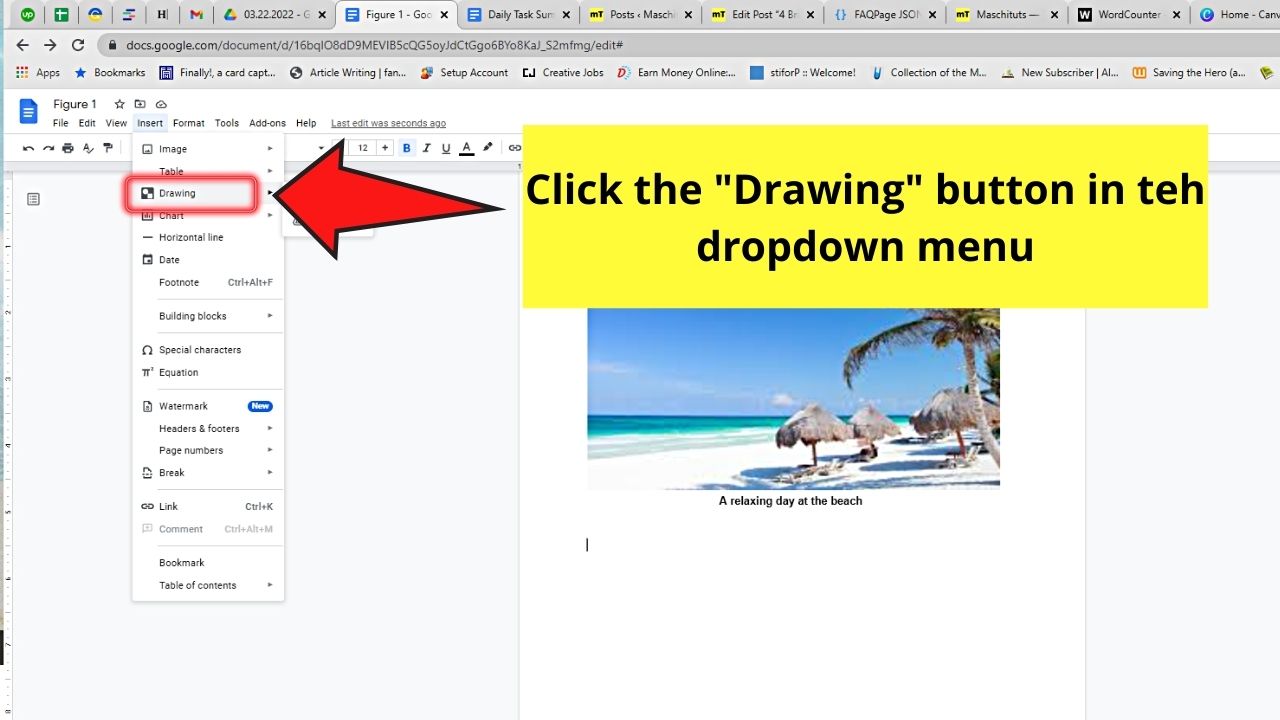
Step 2: Head to the menu bar and click “Insert”

Step 3: Go to “Drawing”

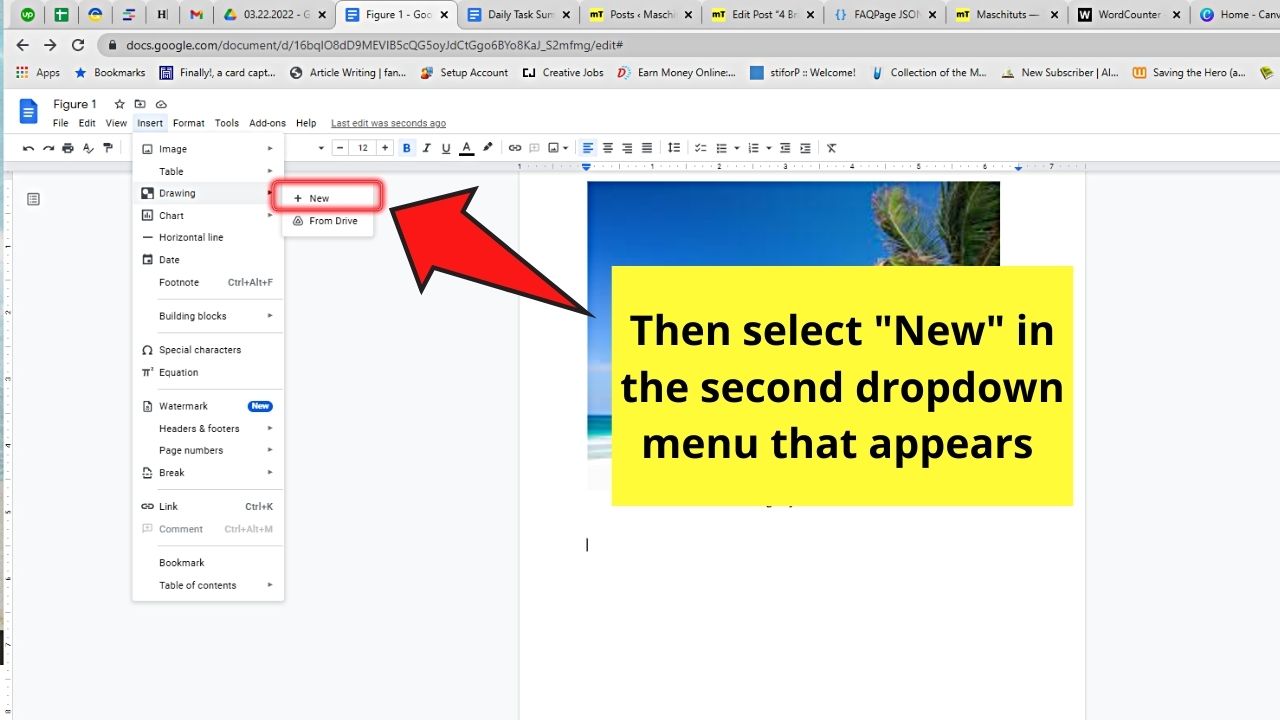
Step 4: Select “New”

Step 5: Head to the toolbar and select the “Image” button
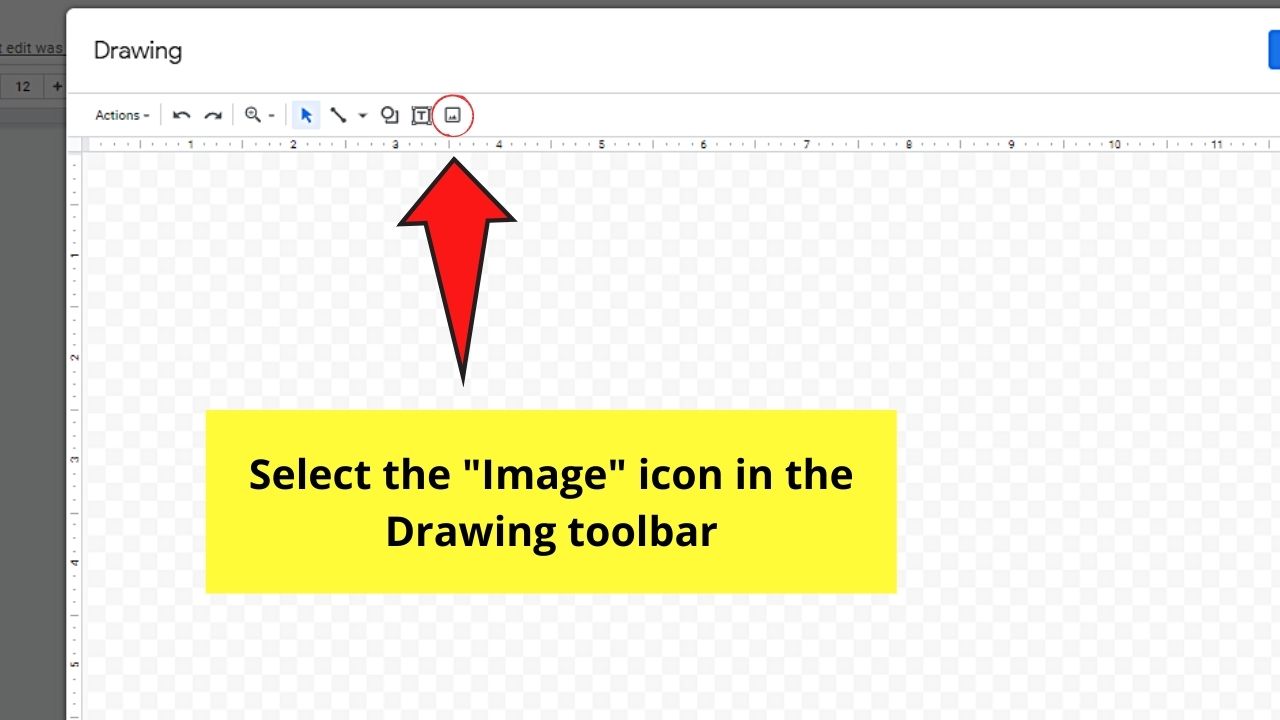
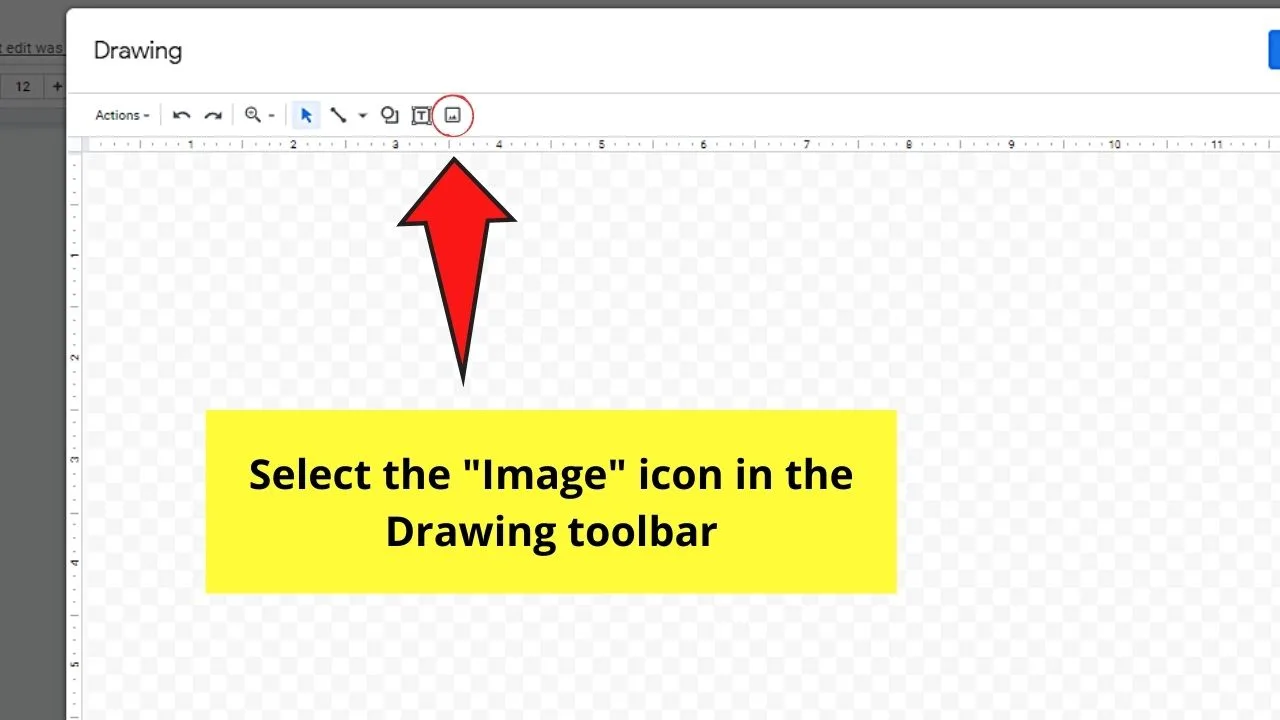
You’ll then be asked to choose where to source your photo from — “Upload,” “Search for,” or “Add the URL for the image.”


For example purposes, I’ll go with the “Upload” option.
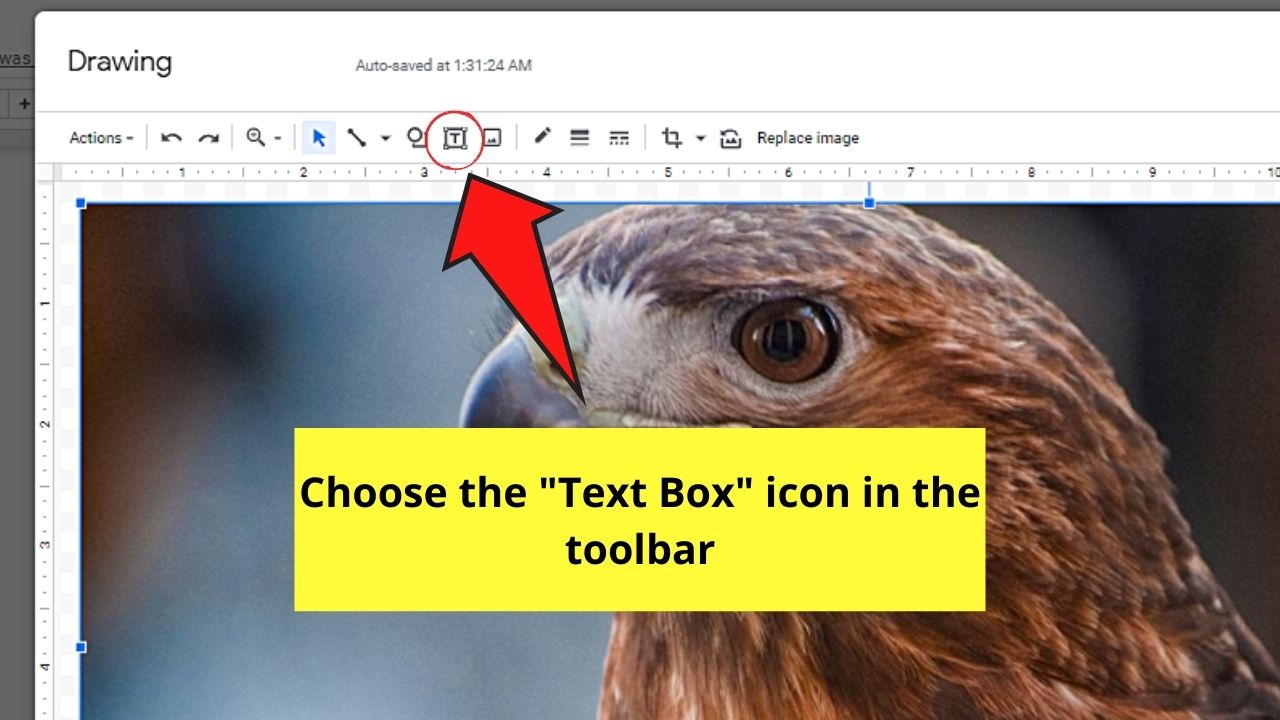
Step 6: After inserting your image, head to the toolbar again and click the “Text box” icon

Step 7: You’ll then see a “+” type of cursor appear instead of the usual arrow one. Draw the caption box where you want it to appear

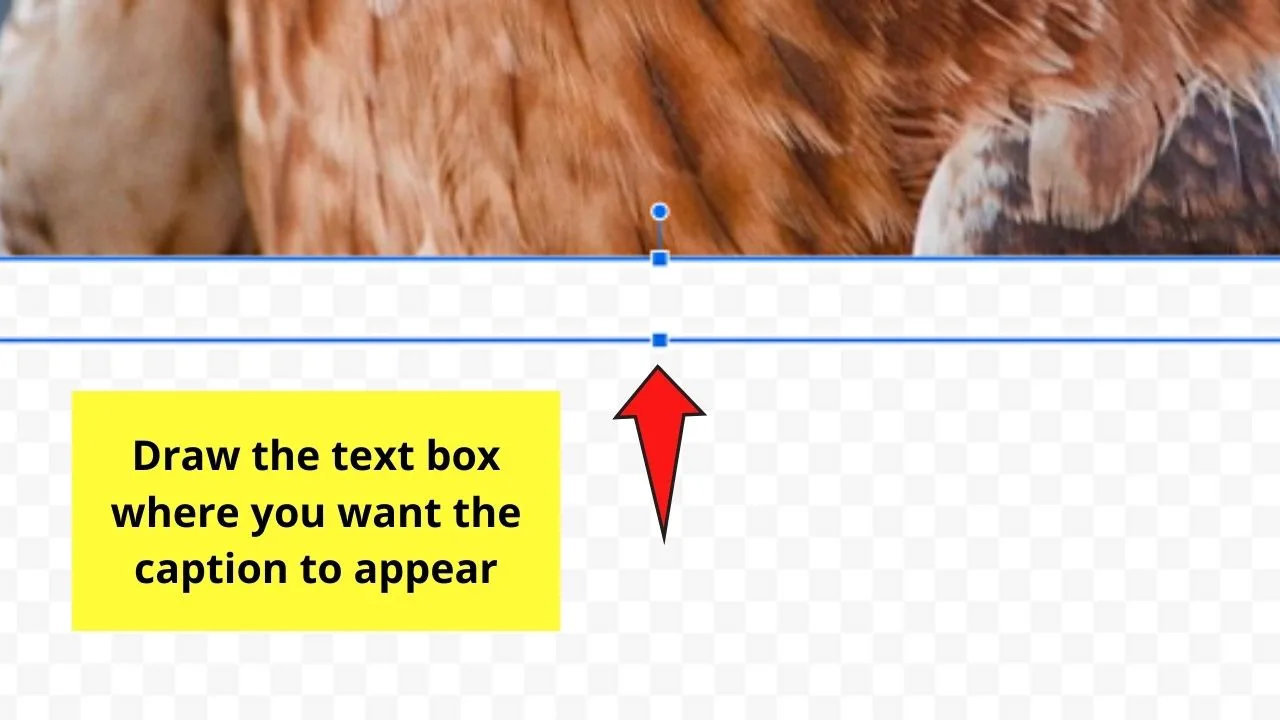
But, you can add the text box to the bottom area of the photo itself and adjust its color and transparency to make it blend seamlessly with the picture.
Step 8: After drawing the text box, type the caption you want for your photo
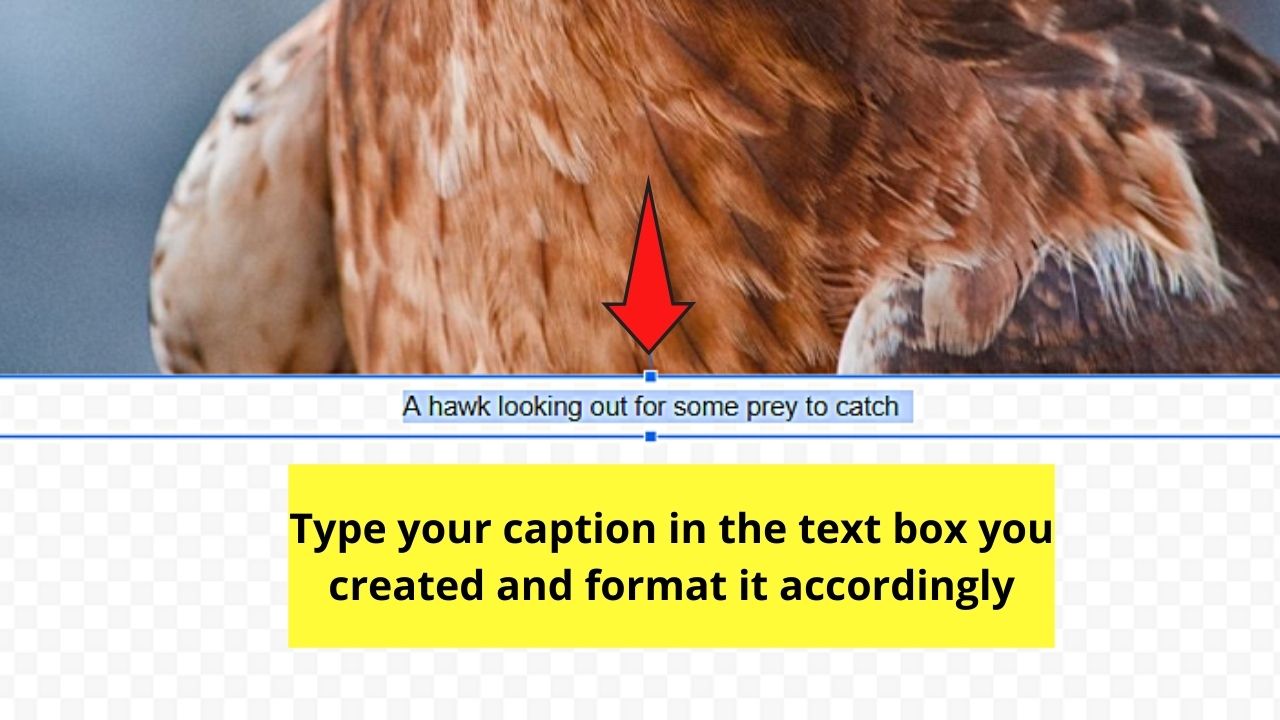

Format the caption’s font style, size, and color in the font options available in the toolbar.
After typing the caption inside the text box, move the text box by dragging it where you want it to appear (if you haven’t done this in Step 7).
Step 9: Once you have finished your caption, click on “Save and Close”
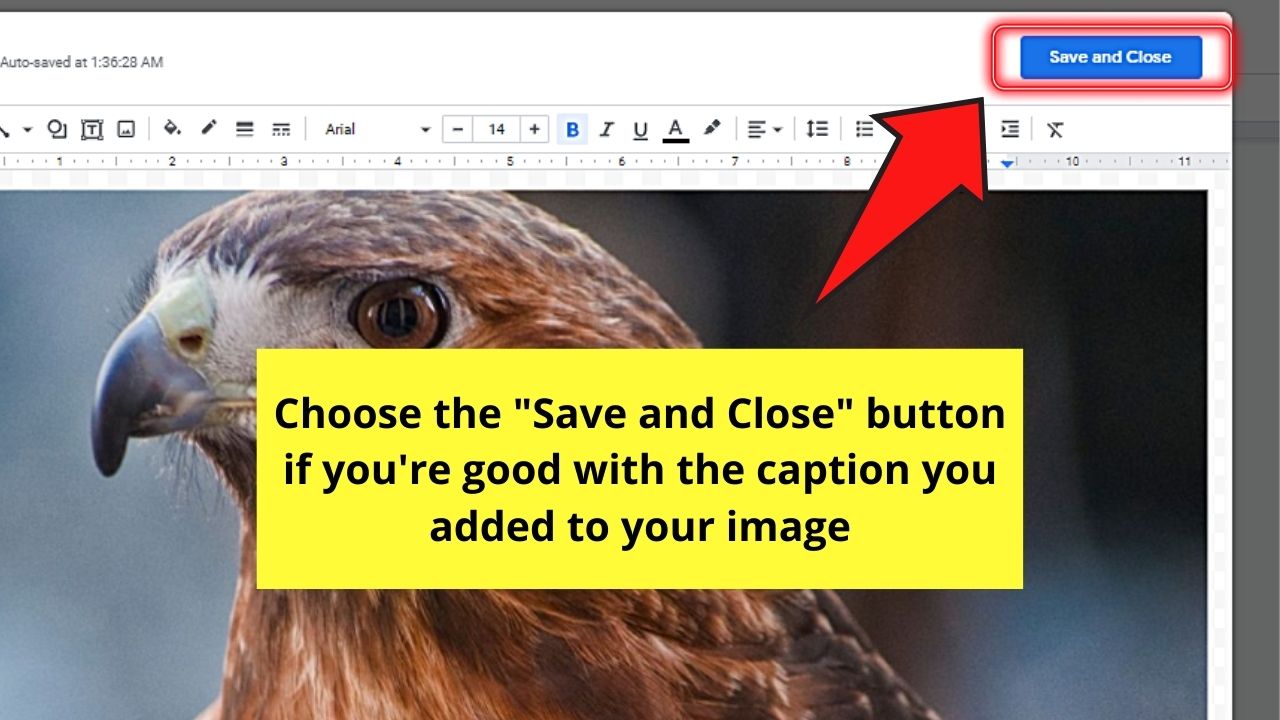
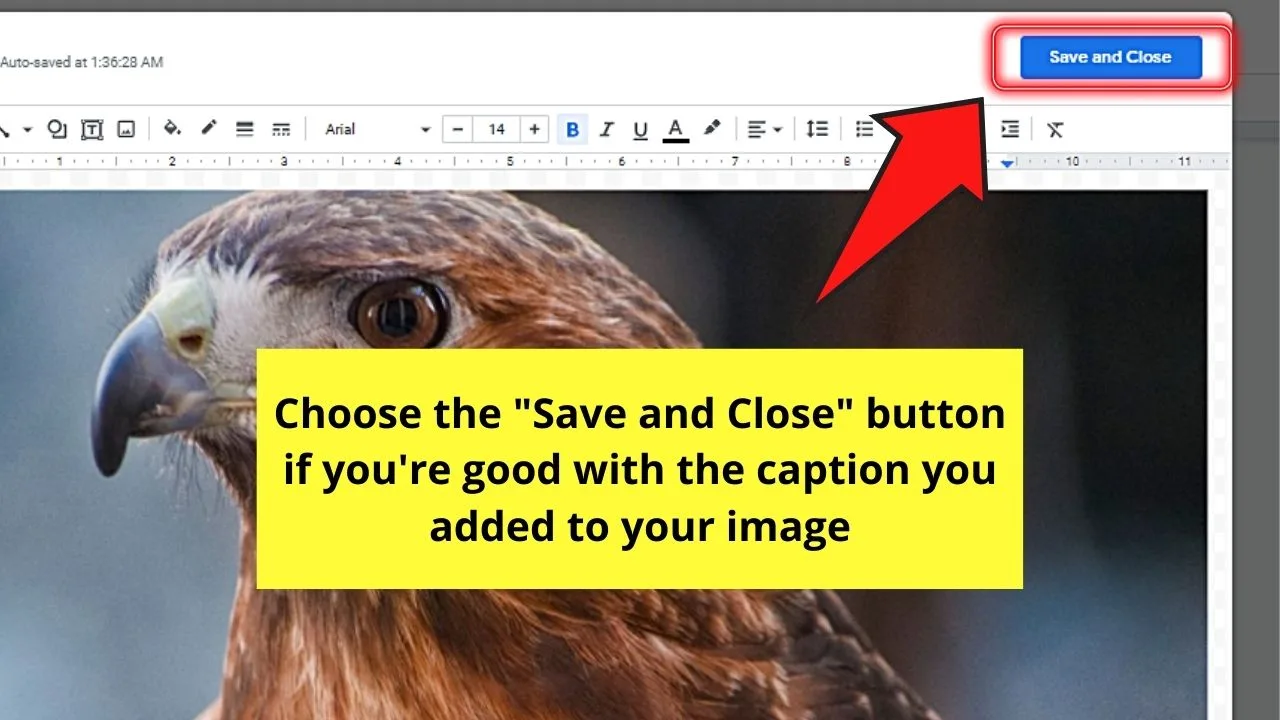
You’ll then see the newly-captioned image inserted in the part of the document where you placed the cursor earlier.
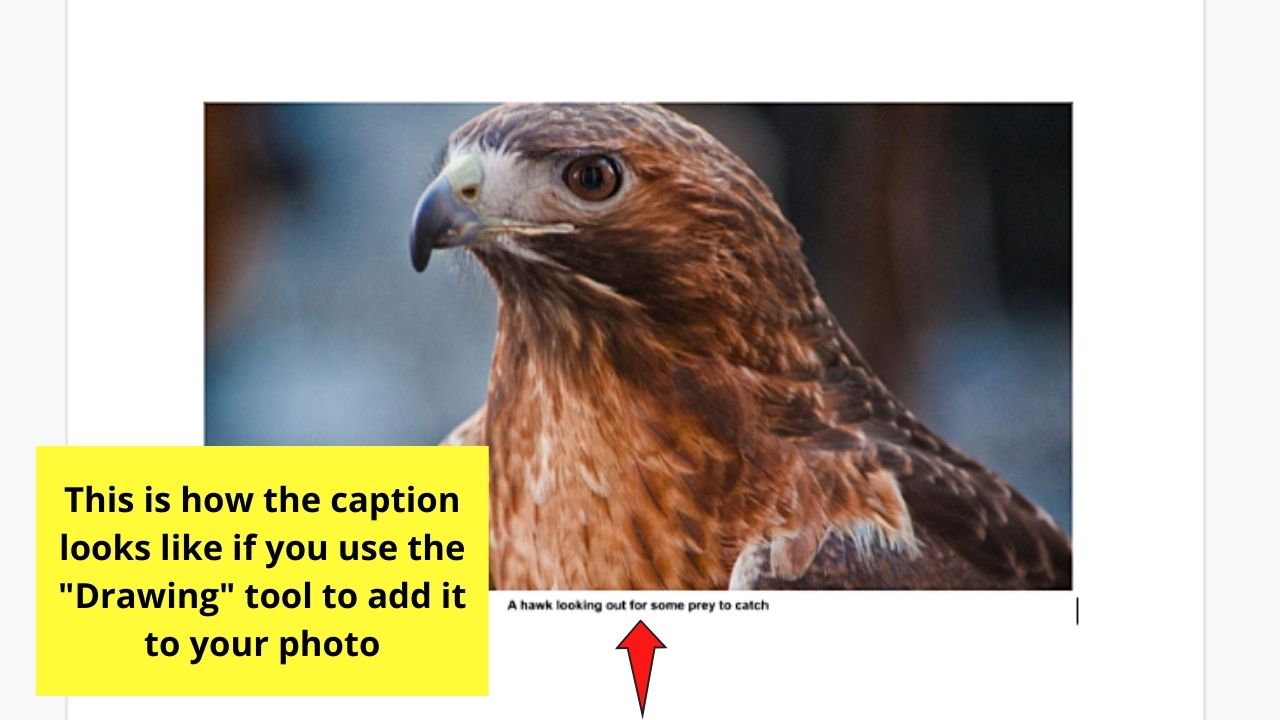

Do note, though, that the caption will stay with the picture even if you move the latter to another location in the document.
But, if you think the third method’s too complicated, then the fourth one below might be what you’re looking for.
Captioning Images in Google Docs by Using a “1 x 2” Table
To caption images in Google Docs by using a 1 x 2 table, follow these steps:
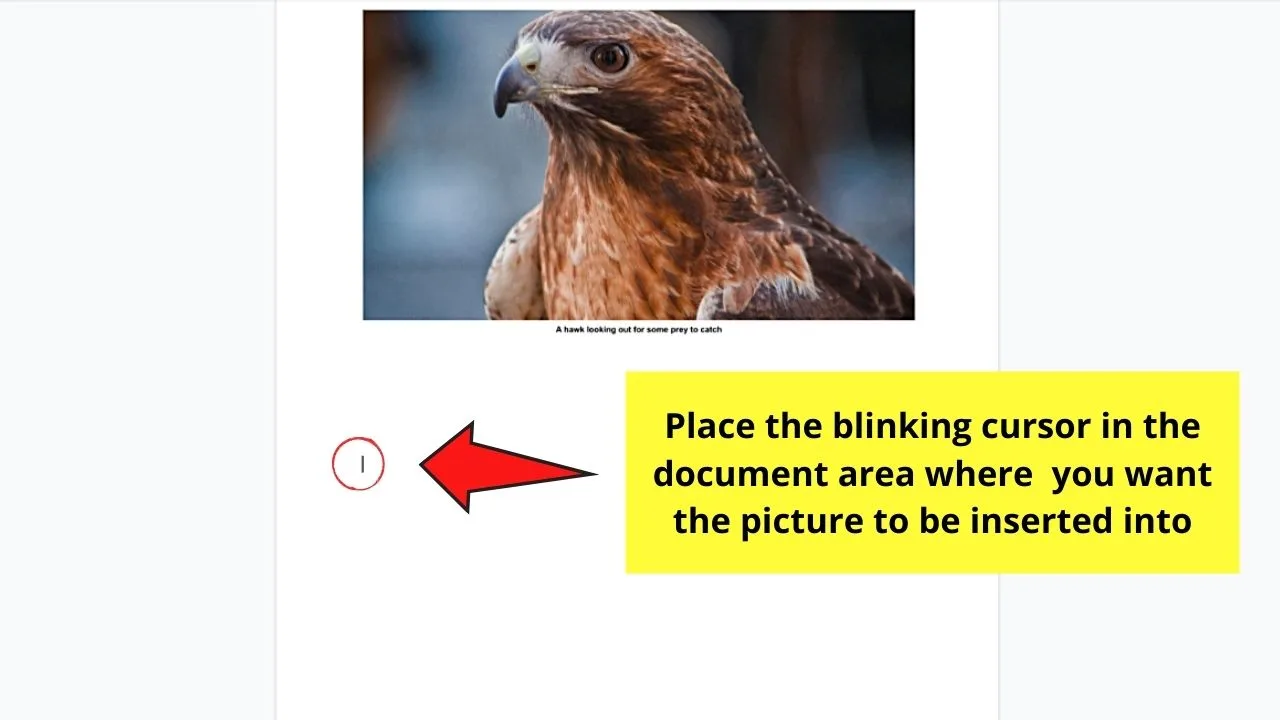
Step 1: Place the blinking cursor in the area you want to insert your image and caption

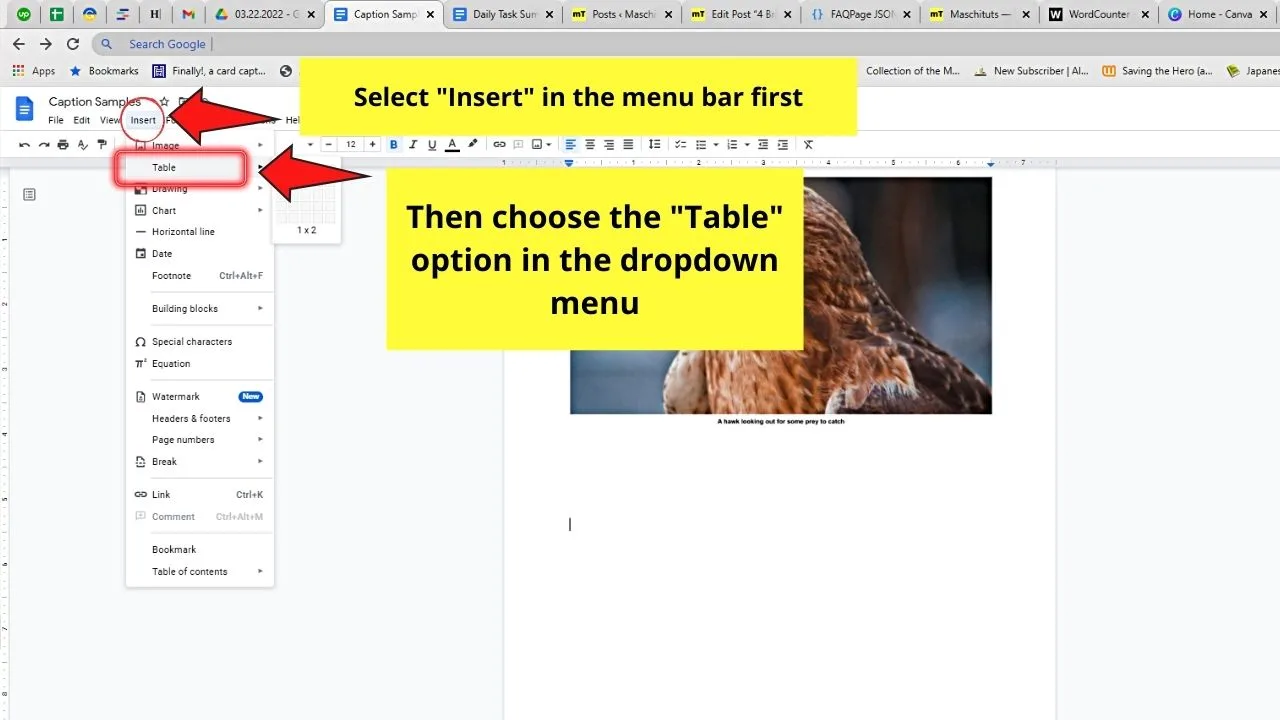
Step 2: Head to the menu bar and select “Insert.” Then, click the “Table” option in the dropdown menu that appears

Step 3: Hover the cursor over the “>” button in the “Table” option to choose how many rows and columns you’ll add
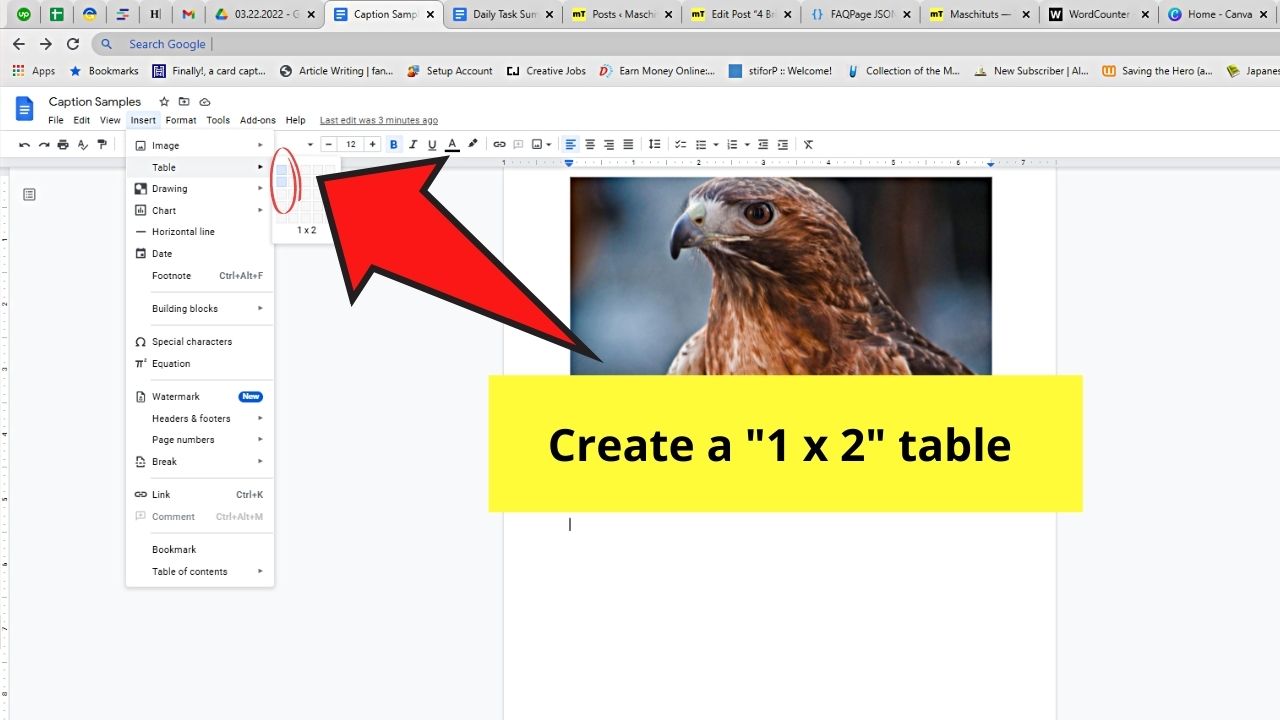
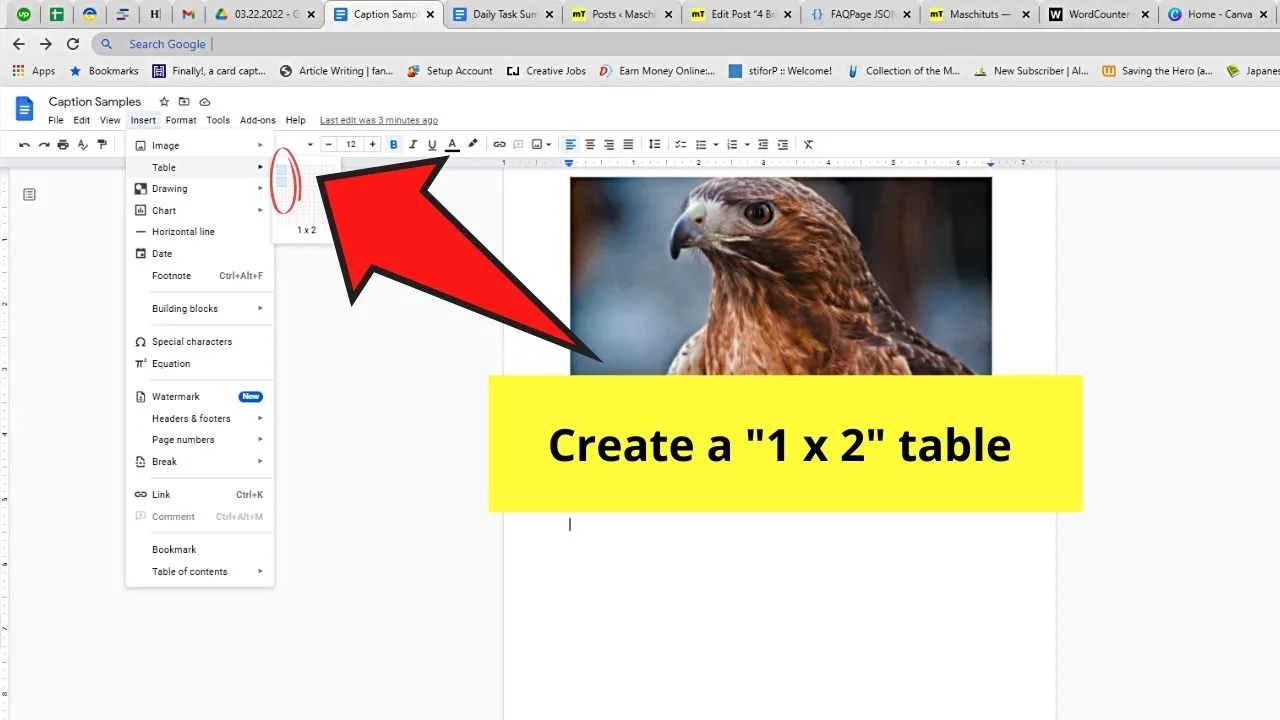
Since you won’t really be using a table with its usual functions, choose a “1 x 2” table.
“1 x 2” means that the table you’ll create has 1 column and 2 rows or cells.
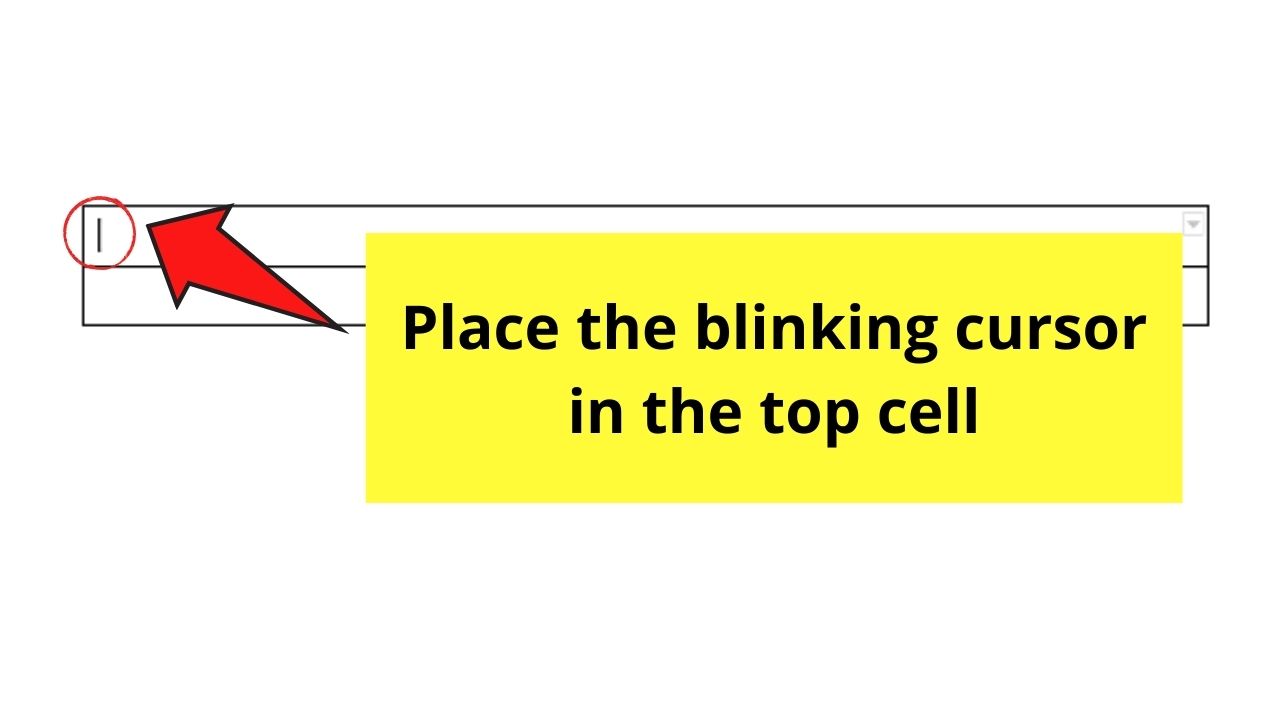
Step 4: After creating your table, put the blinking cursor in the top row or cell

Then, insert the photo you want to use following the usual process of inserting images in Google Docs.

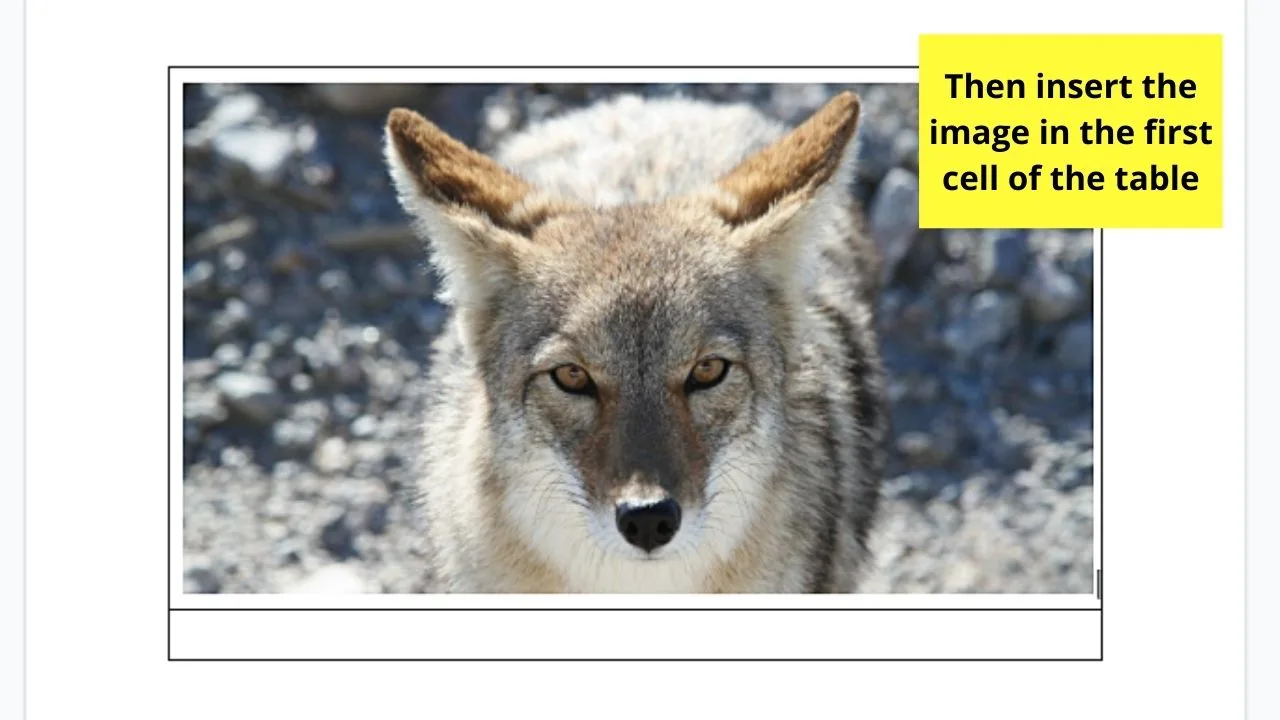
If, however, the picture you’ll use is already in the document, click and drag the said image to the top cell of the table.
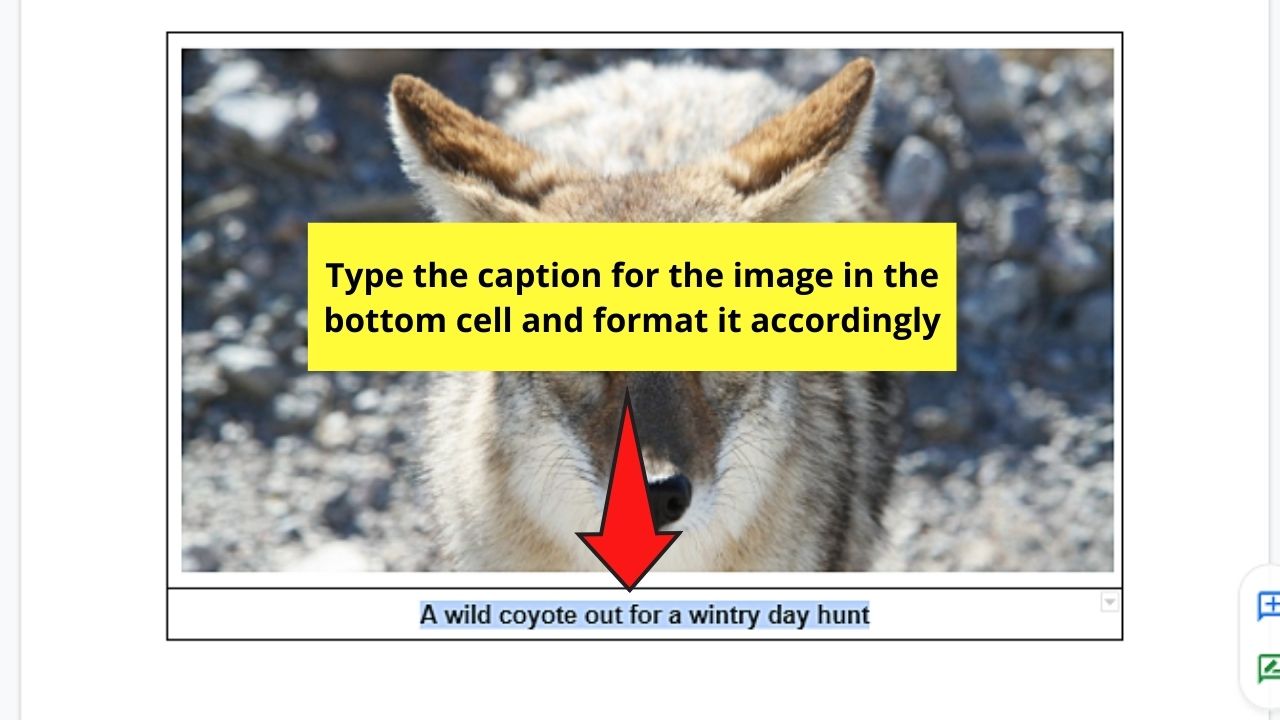
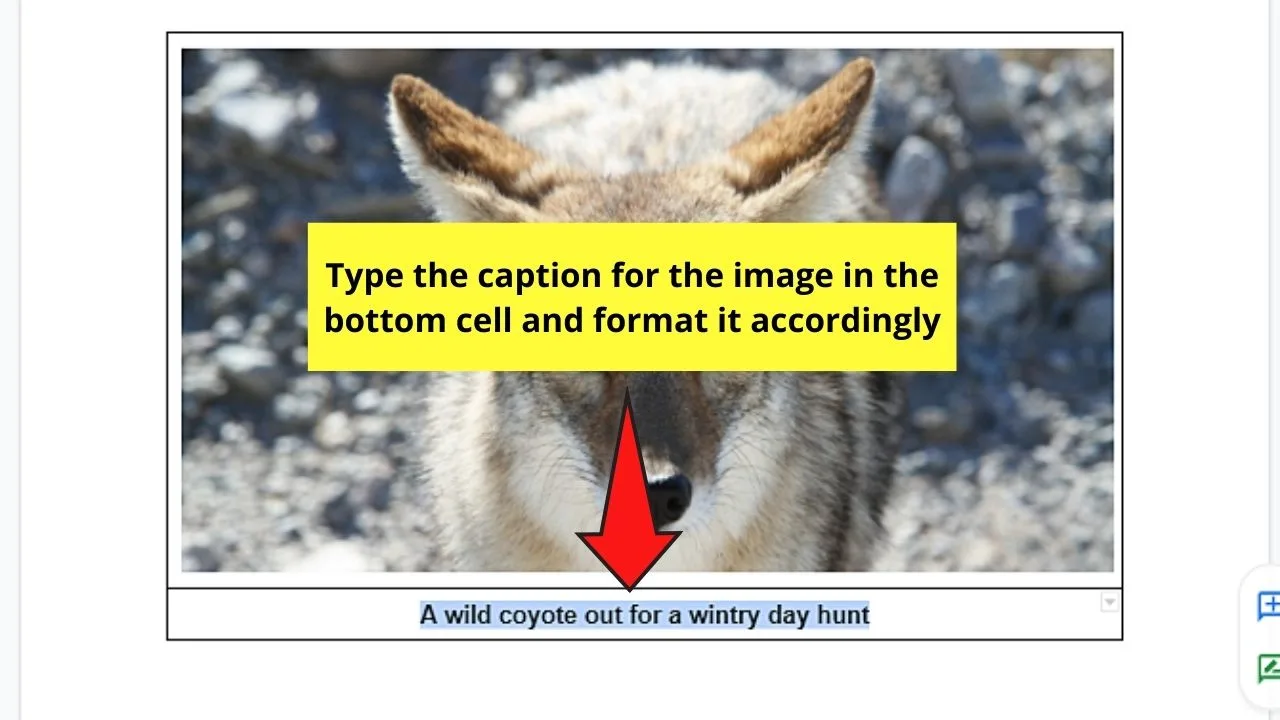
Step 5: Place the blinking cursor in the bottom cell of the table you created and type the caption in it

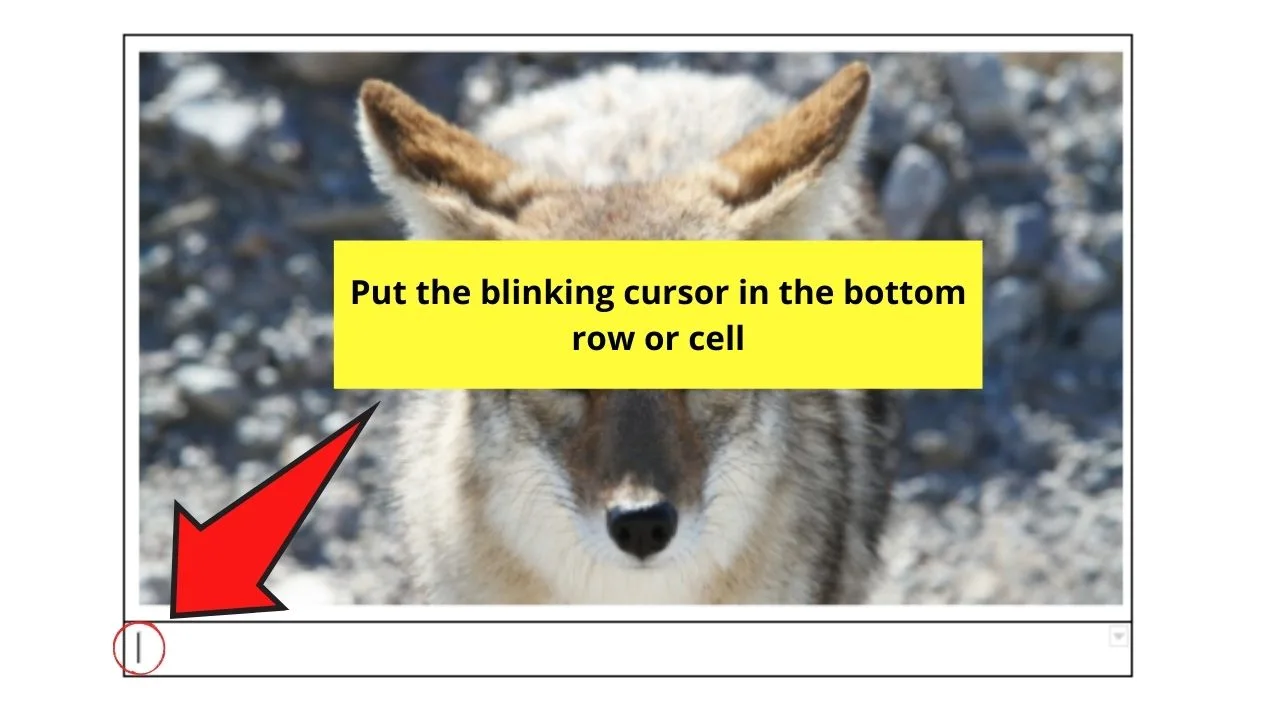
You can even adjust its alignment, font size, and style if you head to the toolbar after highlighting it.
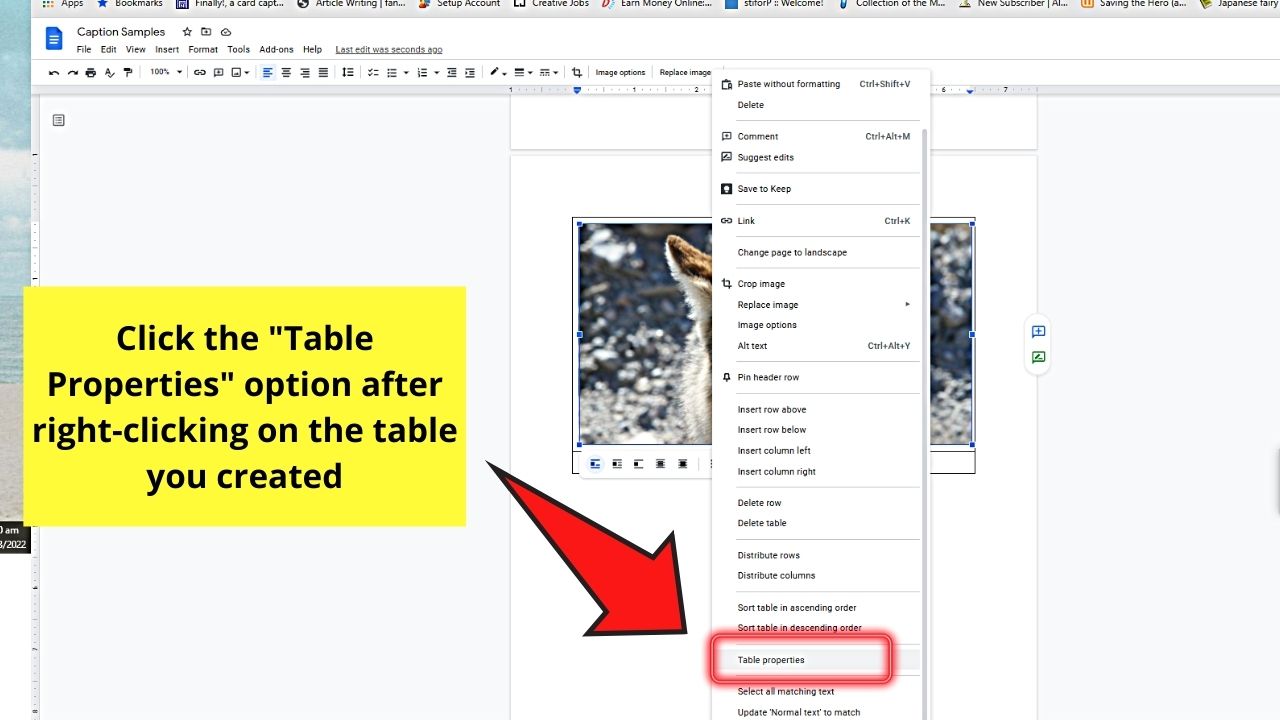
Step 6: Right-click the table and select “Table Properties” in the dropdown menu

Step 7: Head to the “Color” section, then click “Table border”
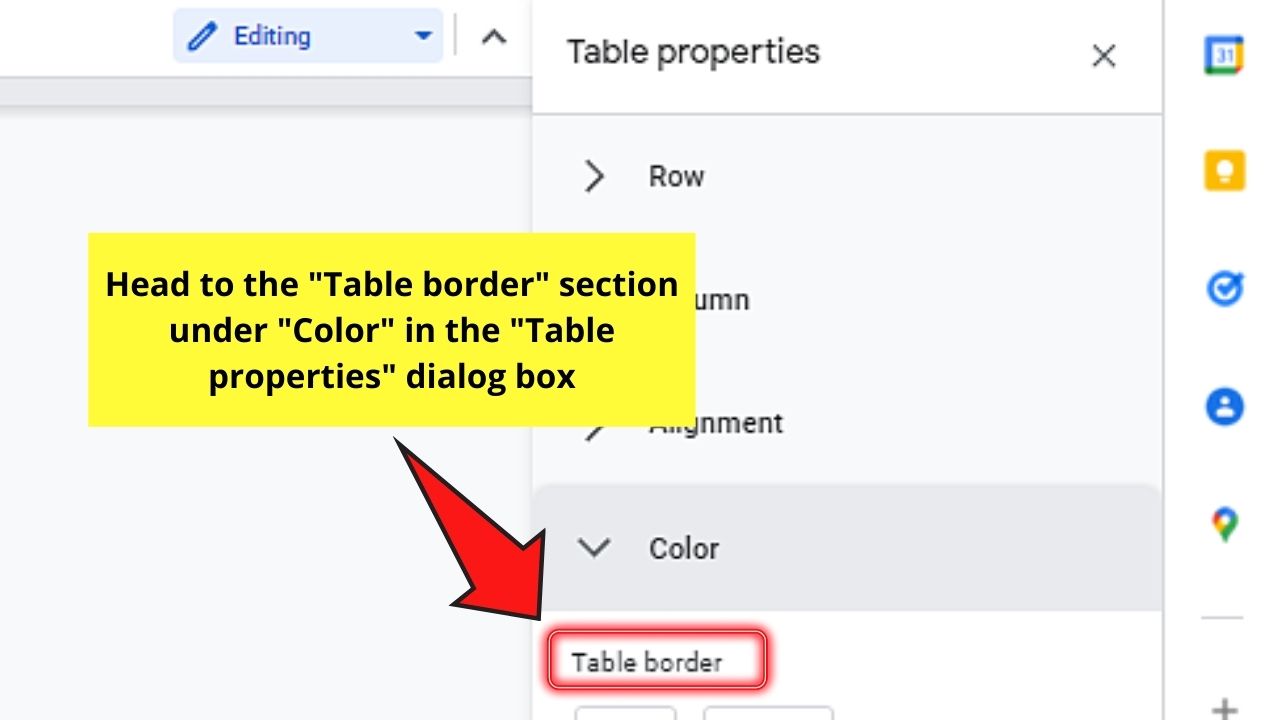
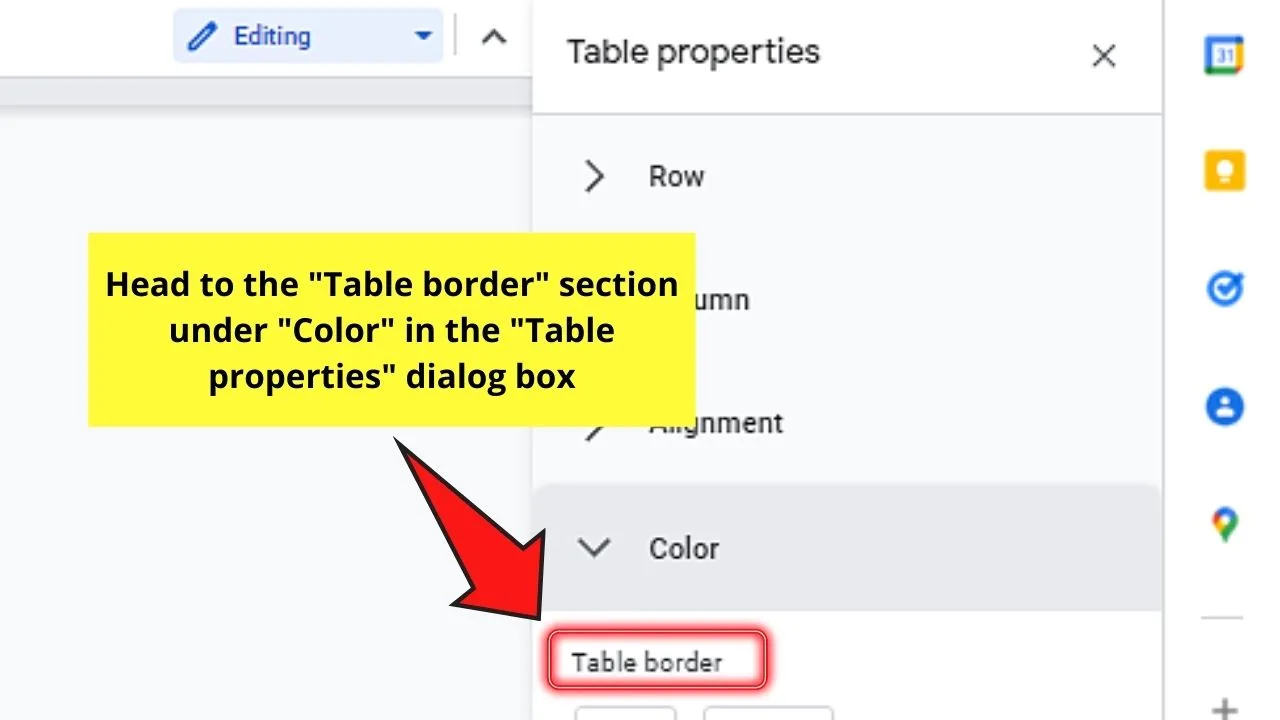
Select the “v” button, and choose “0 pt.”

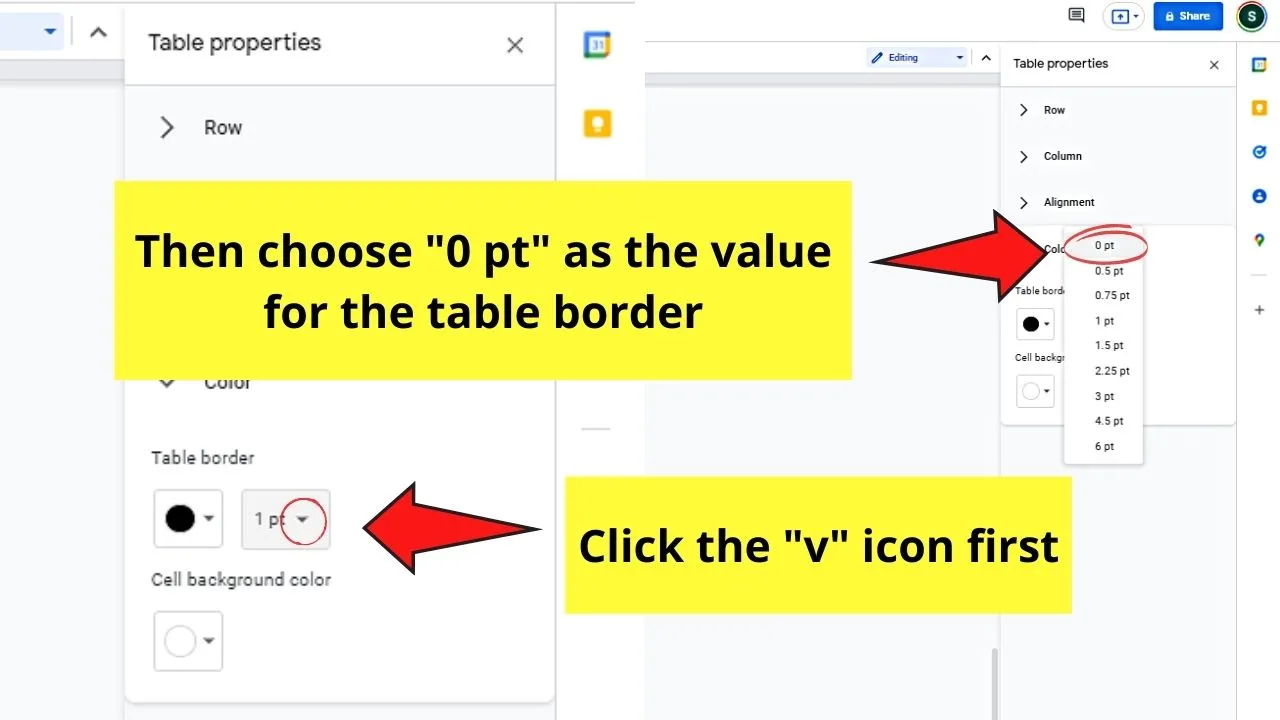
This makes the border of the table invisible so that you can only see the image with its caption.

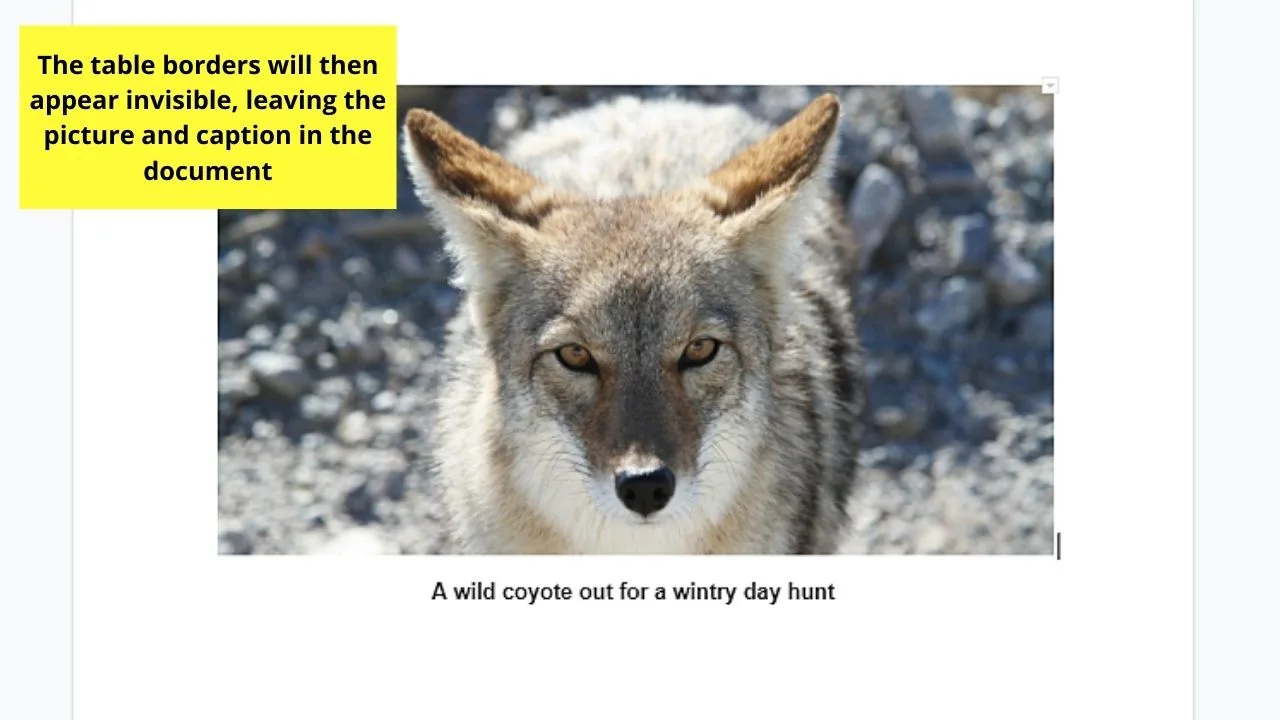
And, like captioning an image with the “Drawing” tool, you can move the photo without worrying about the caption being left behind.
Now that you know all these techniques in captioning images in Google Docs, which among the four are you inclined to use?
Frequently Asked Questions about How to Caption an Image in Google Docs
Where can you install the “Caption Maker” tool from?
The “Caption Maker” tool is an app that allows Google Docs users to add captions to all the images in the document at once as numbers. To install this, head to “Add-Ons,” > “Caption Maker” > “Start” in the dropdown menu.
What methods can I use if I want the caption to move together with the image I inserted in Google Docs?
If you want to ensure that the caption stays with the image when you move it, use the “Drawing” tool and the table insertion technique when adding captions to the photos.


Hey guys! It’s me, Marcel, aka Maschi. On MaschiTuts, it’s all about tutorials! No matter the topic of the article, the goal always remains the same: Providing you guys with the most in-depth and helpful tutorials!

