

To move images in Google Docs, begin by clicking on the image you wish to move. Then, locate the “Wrap text” option below the selected image. This option enables you to freely relocate the image within your text document by simply dragging it to your desired location.
To move images in Google Docs, follow these steps:
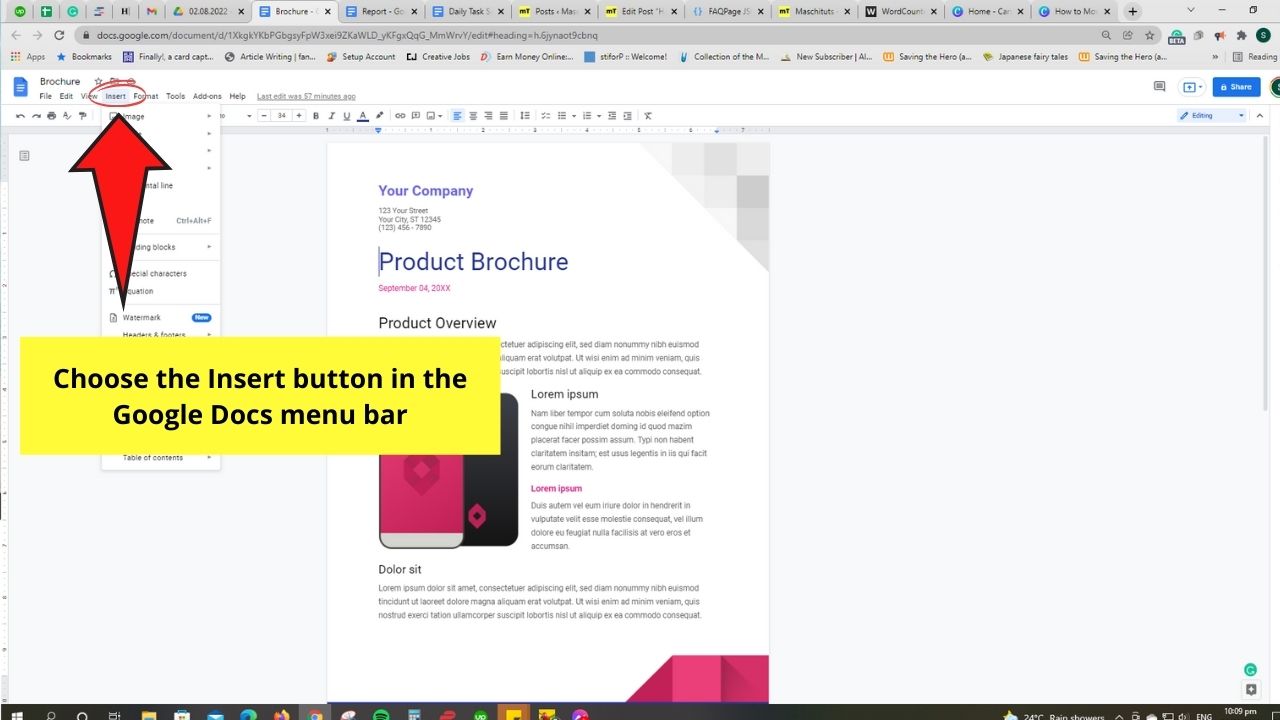
Step 1: First, import your image by clicking on “Insert” in the main menu

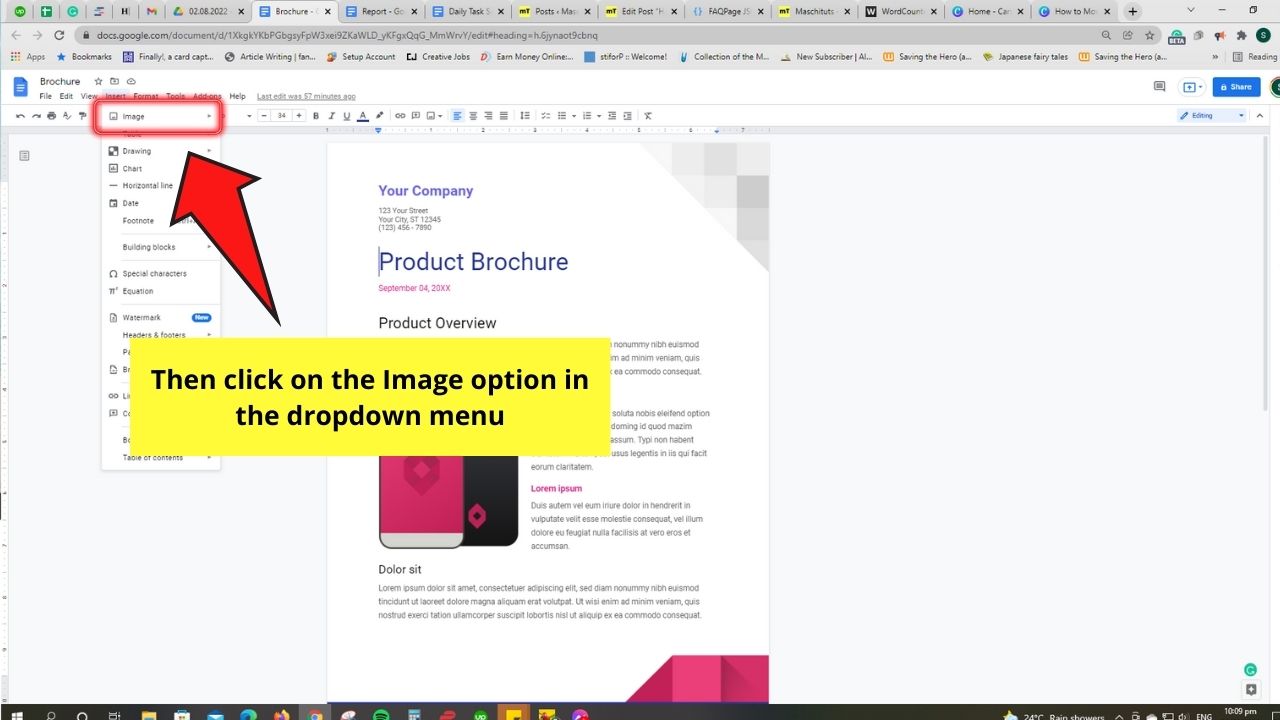
Step 2: On the dropdown menu that appears, select “Image” and then “Upload from Computer”

Step 3: After opening the image, you’ll then see it on the document where you left the blinking cursor
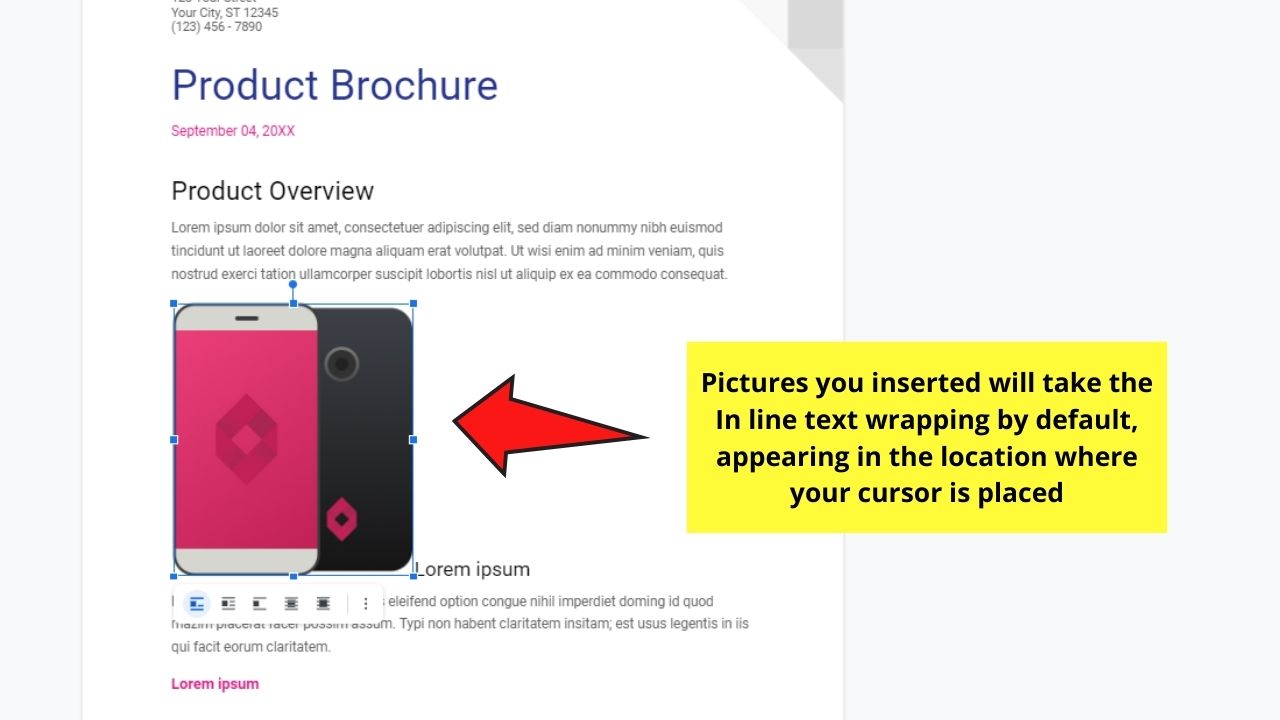
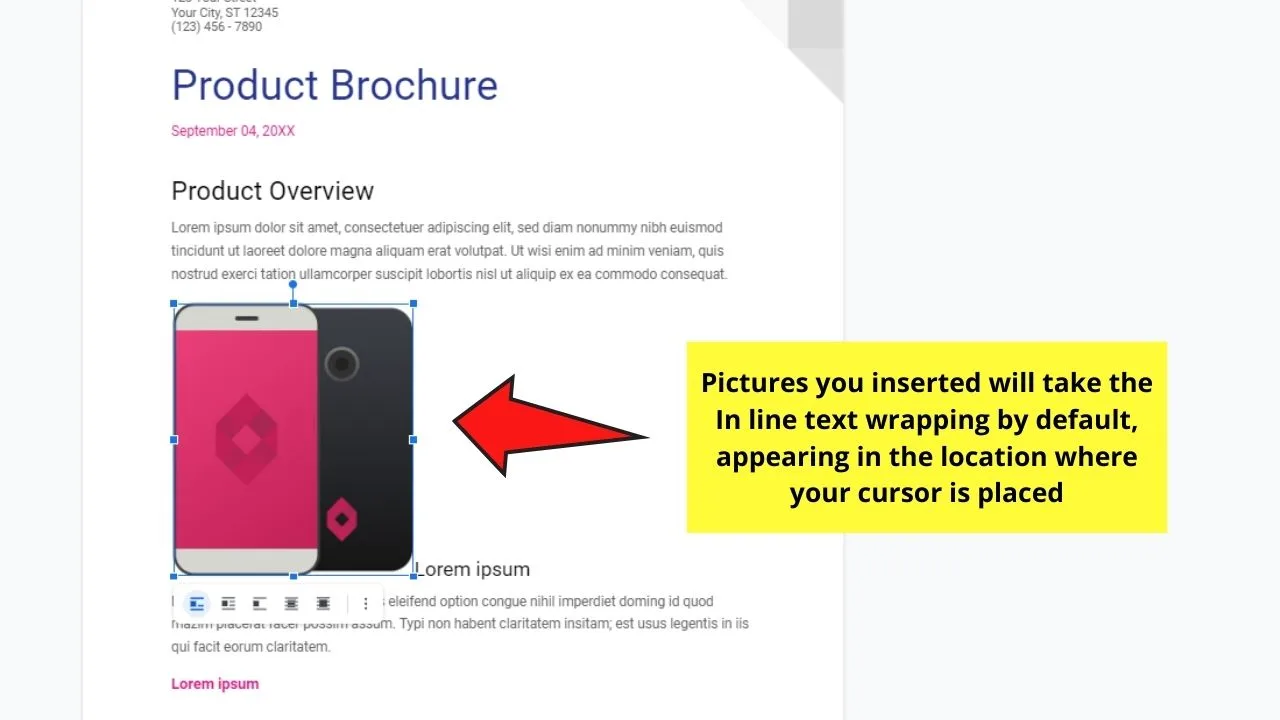
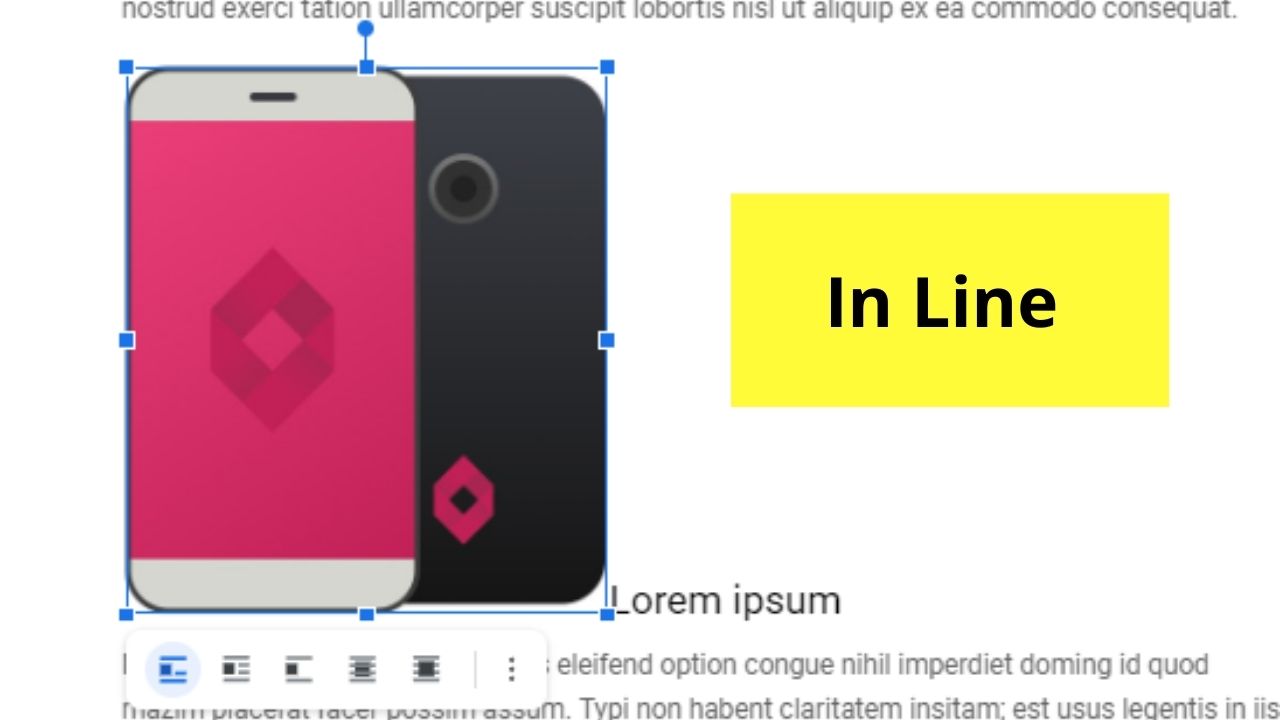
By default, Google Docs places the pictures you add in line with the text.
If, however, you don’t want to keep this kind of text wrapping on the image, head over to the next step.
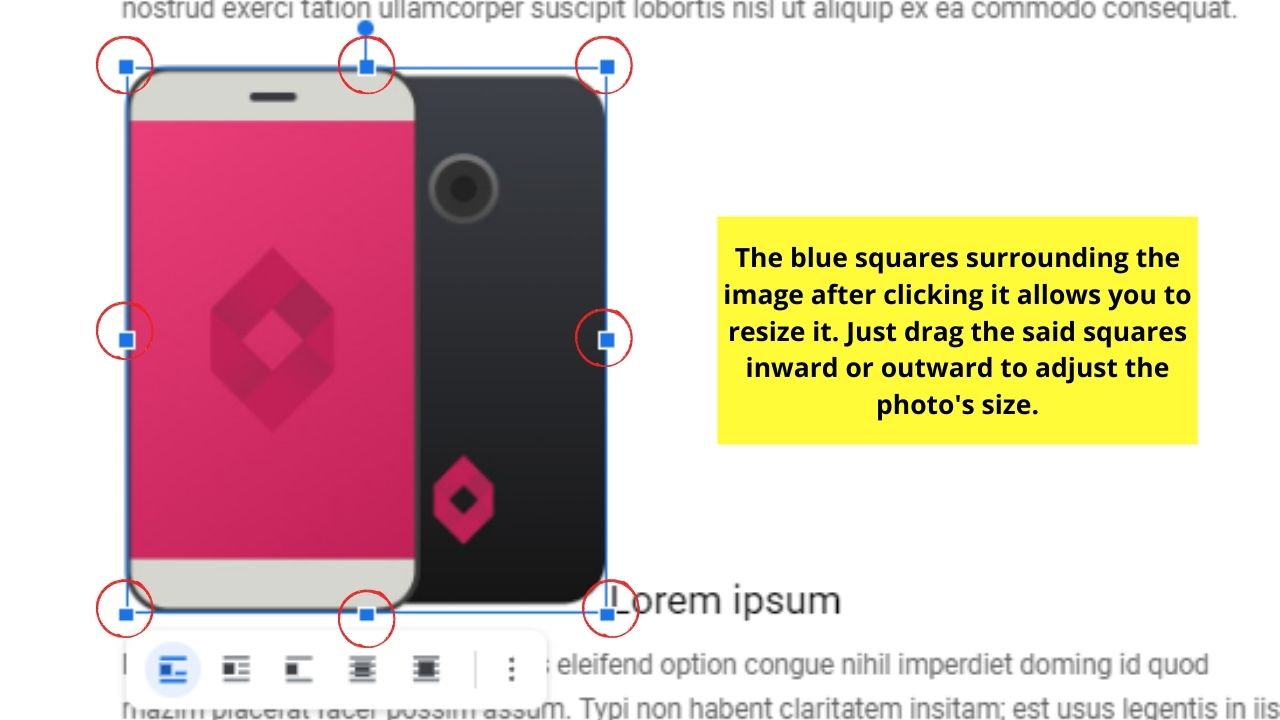
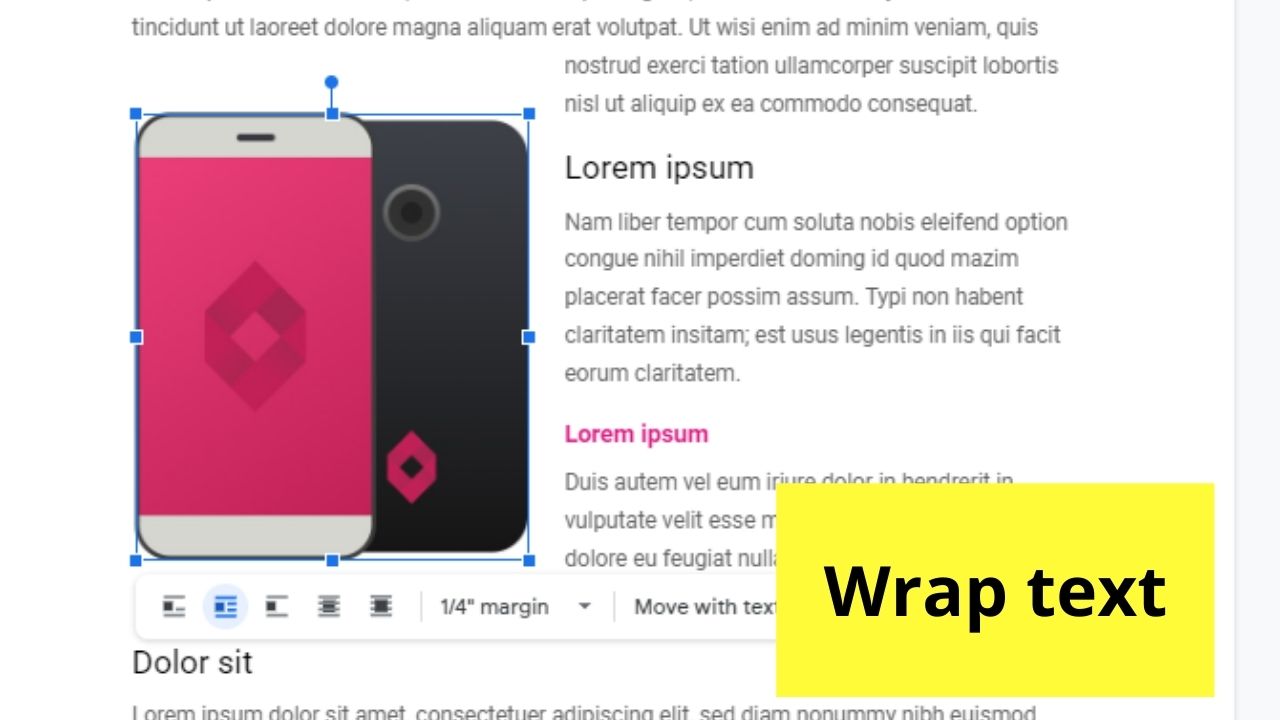
Step 4: Select the photo by clicking on it once. You’ll then see blue squares surrounding the image.

In the positioning menu, below your image, you’ll then see five options: In line, Wrap text, Break text, Behind text, and In front of text.
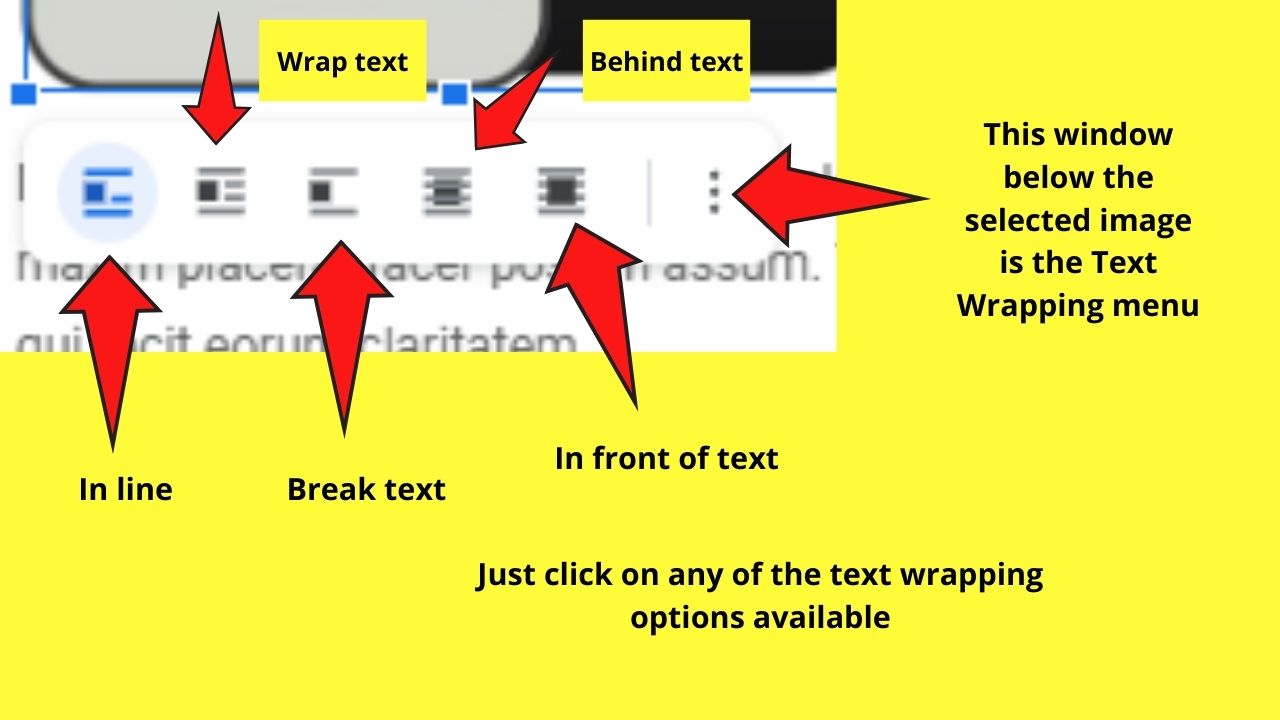
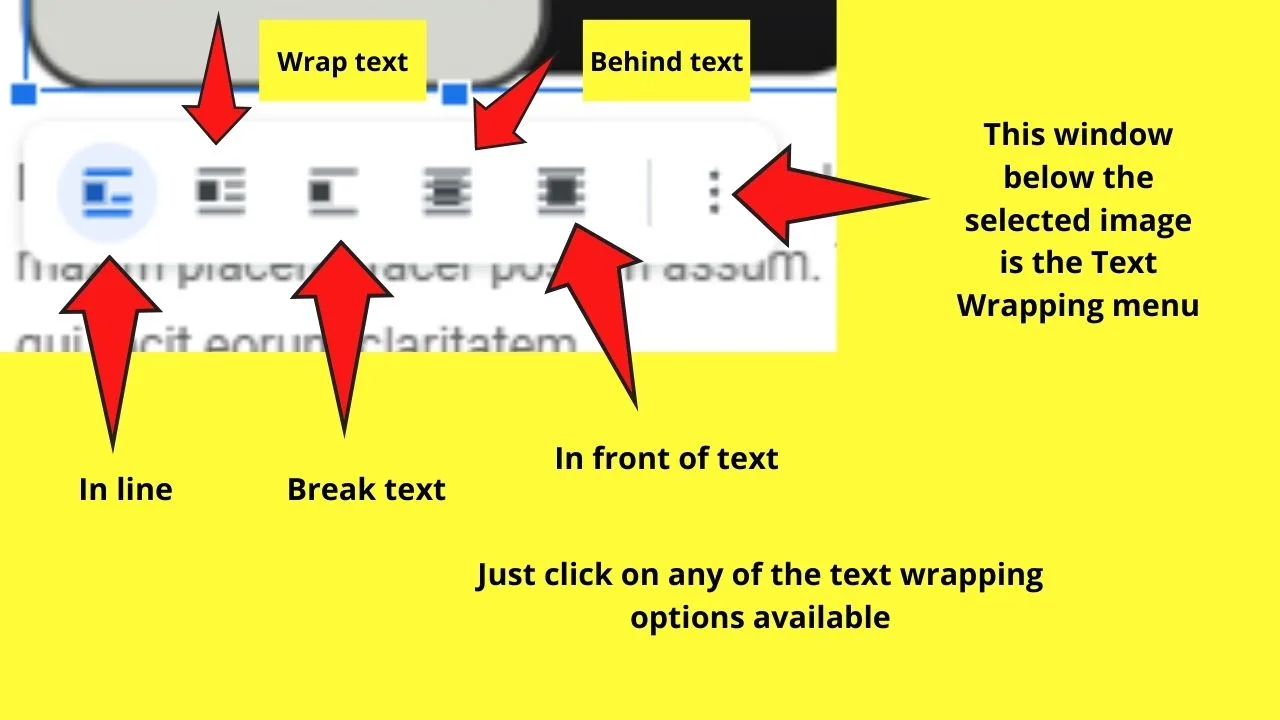
If you want to place the image on a sentence line on the document, select the “In-line” option.

If you want to be more flexible with the image placement, choose the “Wrap text” option instead.


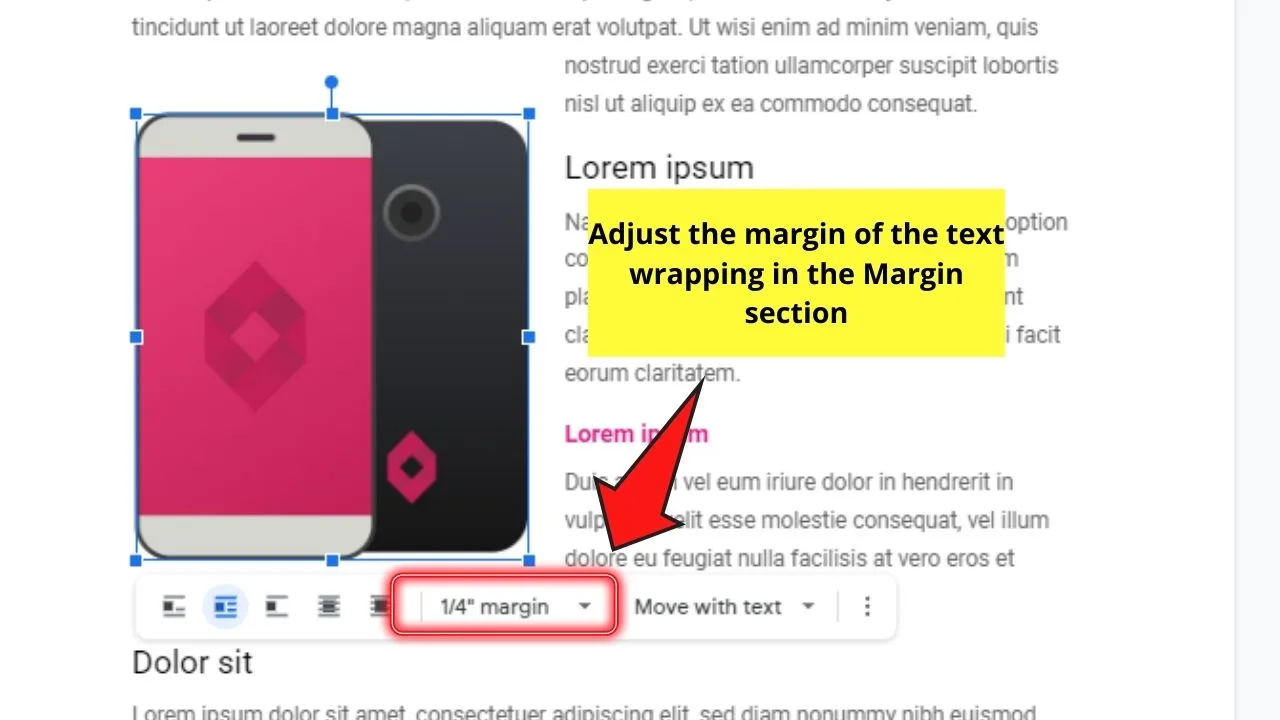
Aside from easier moving of the image, you can also adjust the margin size surrounding it.

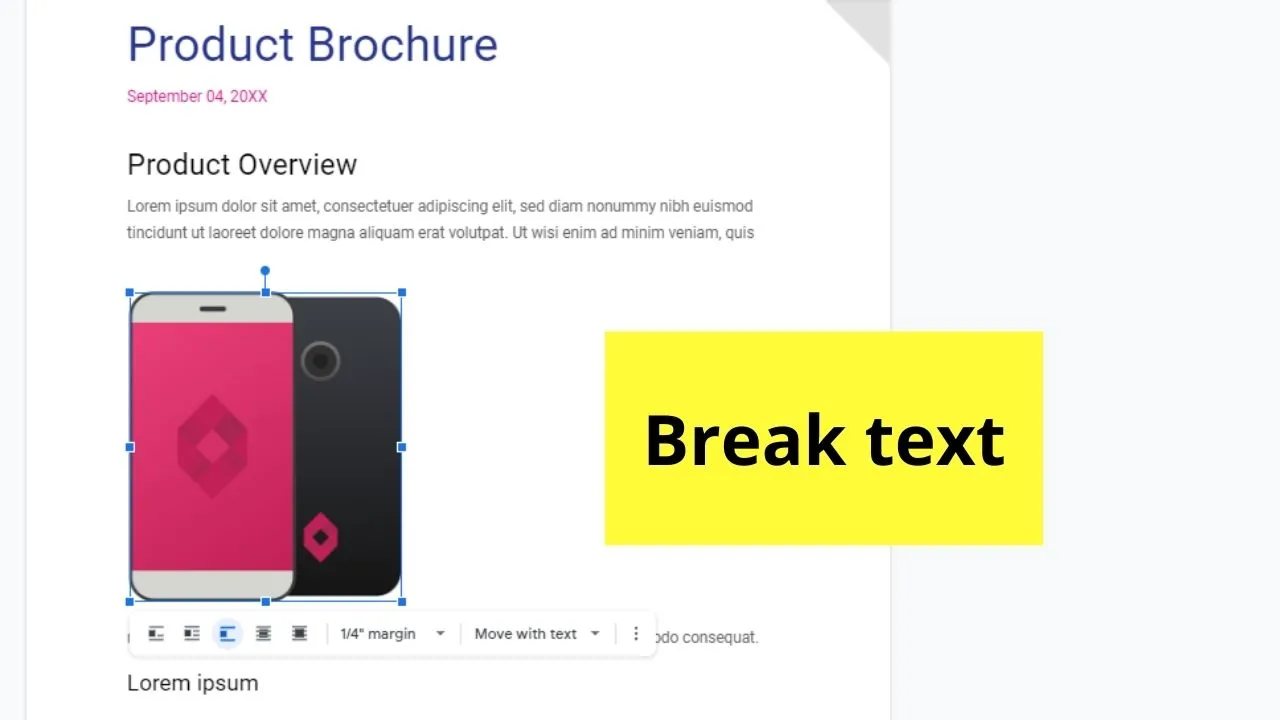
Now, if you prefer to place the photo between text but not allow it to be moved to the left or right, choose the “Break text” option.

The last 2 options, “Behind text” and “In front” of text, allow you to place the photo behind the text for a background effect, or when you aim to achieve a watermark effect.


Since we want to have more flexibility with moving the photo across the document, your best option is selecting the Wrap text option.
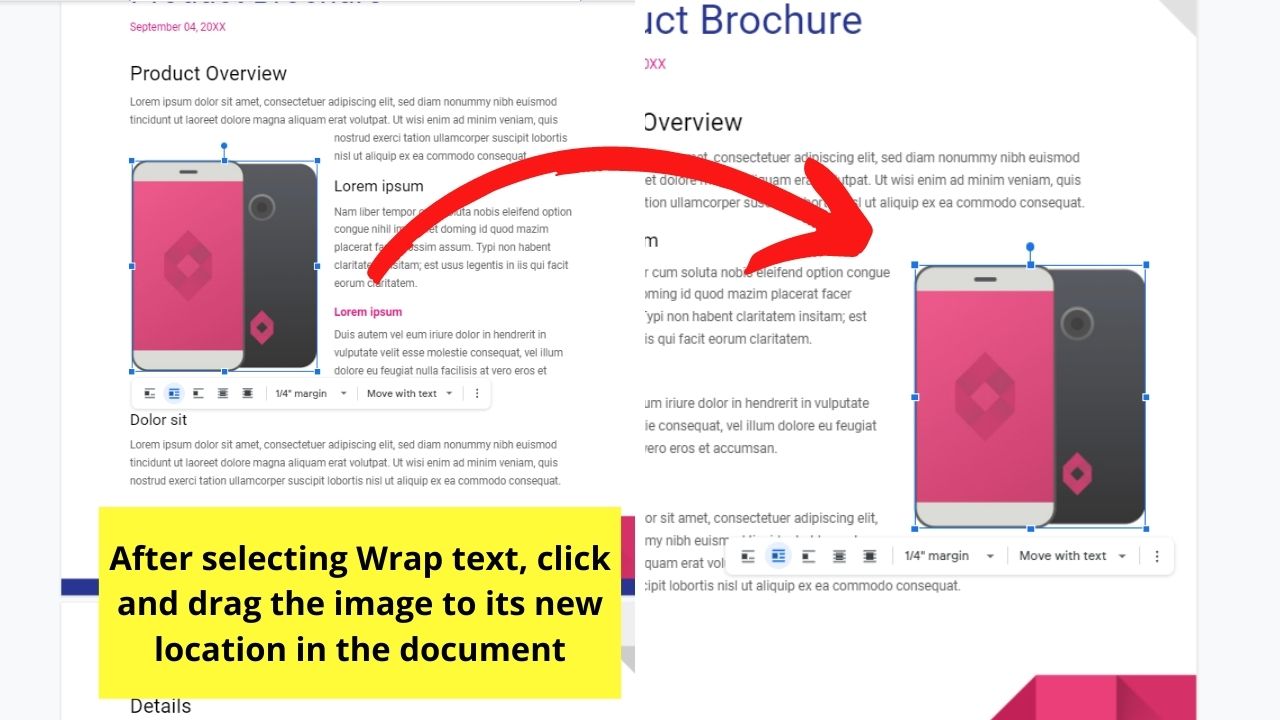
Step 5: After selecting the “Wrap text” choice, click and drag the photo to its newest location. The text will then position itself around the photo.

And, with those four simple steps, you can move images in Google Docs without any hiccups.
Frequently Asked Questions about How to Move Images in Google Docs
What positioning option should I select if I want to make the photo appear like a watermark on the document?
To achieve a watermark effect, select the In front of text positioning option. After you place the image in front of the text, click on it once and select the 3-dot icon on the menu. Choose the All image options button before adjusting the transparency slider under the Adjustments section.
Can you click and drag the image across the document without changing the text wrapping?
You can still move the photo across the Google Docs file without changing the default text wrapping. But you won’t be able to adjust the photo’s positioning as flexibly as compared to selecting the Wrap text option.
What other editing options are available aside from moving images across a Google Docs file?
Aside from moving an image and adjusting its text wrapping, you can rotate and resize it as well. Just click and drag a corner box away or toward the photo to resize it. Click and drag the circle button found at its top to rotate the image.


Hey guys! It’s me, Marcel, aka Maschi. On MaschiTuts, it’s all about tutorials! No matter the topic of the article, the goal always remains the same: Providing you guys with the most in-depth and helpful tutorials!

