
Uggh! I need to post unique content on my social media accounts every day and make my customers more engaged.
But, the problem is, I’ve got different designs created for each social media account.
Is it possible for me directly post my designs to the platform in one go?
Well, can start using the Content Planner feature that Canva’s offering for this very purpose.
So, how exactly can this Content Planner help you schedule your social media posts directly from Canva?
How to Schedule your Social Media Posts Directly from Canva
On Canva’s homepage, tap Content Planner. Click the “+” icon beside the date to add a design and set the time of posting. Add captions and hashtags before choosing what channel to share your design into. Then, tap the Schedule Post button to finish setting up your social media post.
Scheduling Social Media Posts in Canva: The How-tos
Scheduling when to post your designs on social media directly from Canva isn’t as hard as it seems.
But, depending on where you’re situated (granting you’re using the web version), there are slight differences in how you can access the content planner.
Scheduling Social Media Posts from Canva’s Homepage
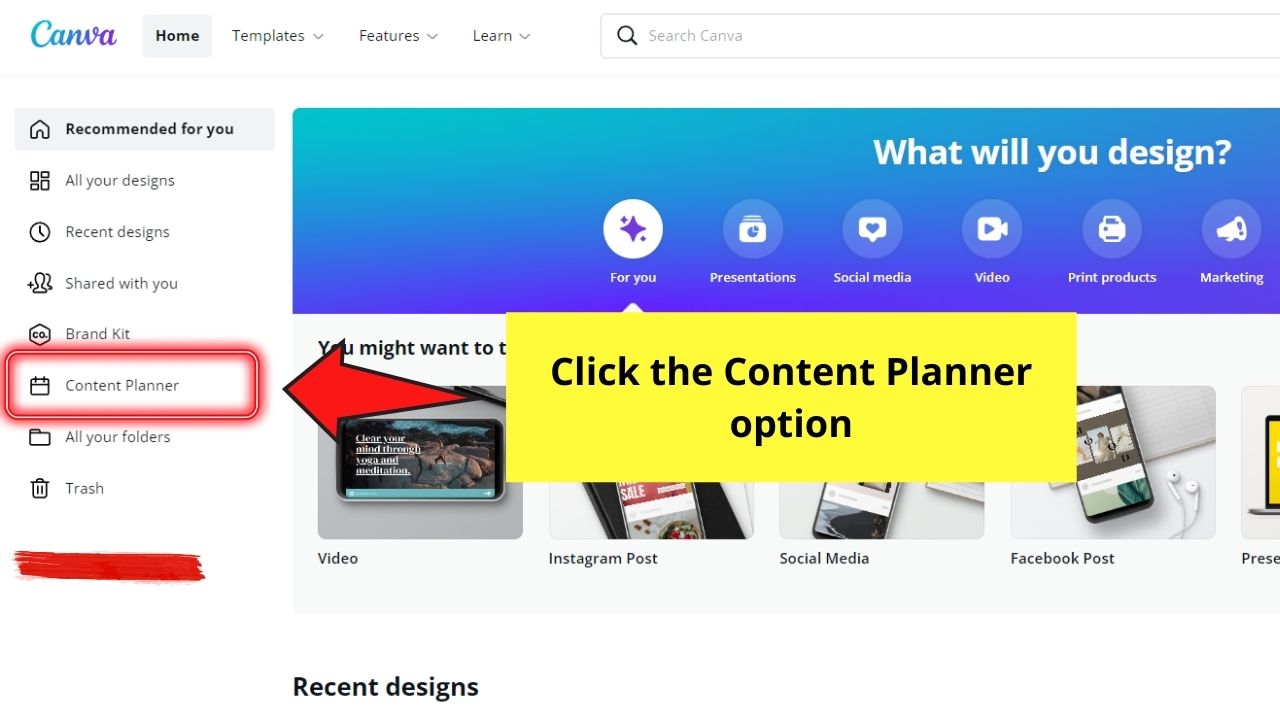
Step 1: On the left-side menu, tap on the Content Planner option. This will then lead you to a calendar layout.

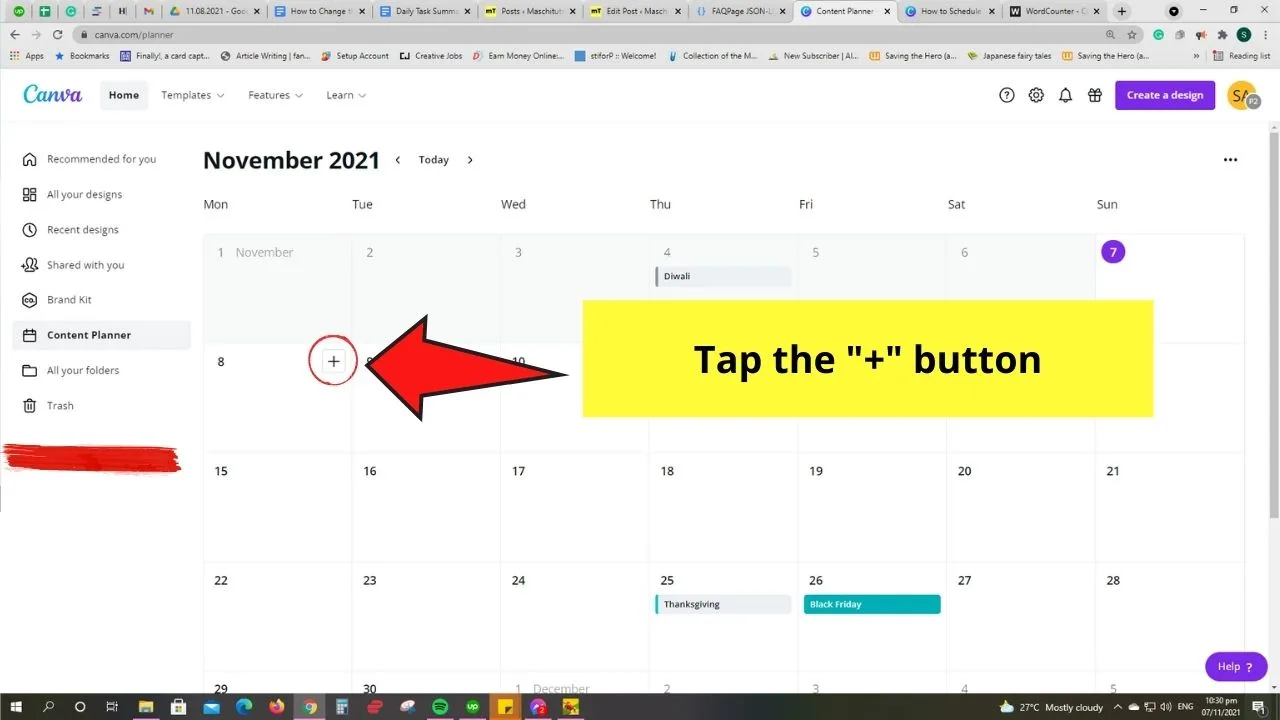
Step 2: Once you’ve selected a date, click the “+” icon you’ll see beside the date. A dialog box will then appear.

Step 3: In the dialog box that appears, select whether you’ll use an existing design or create a new design.
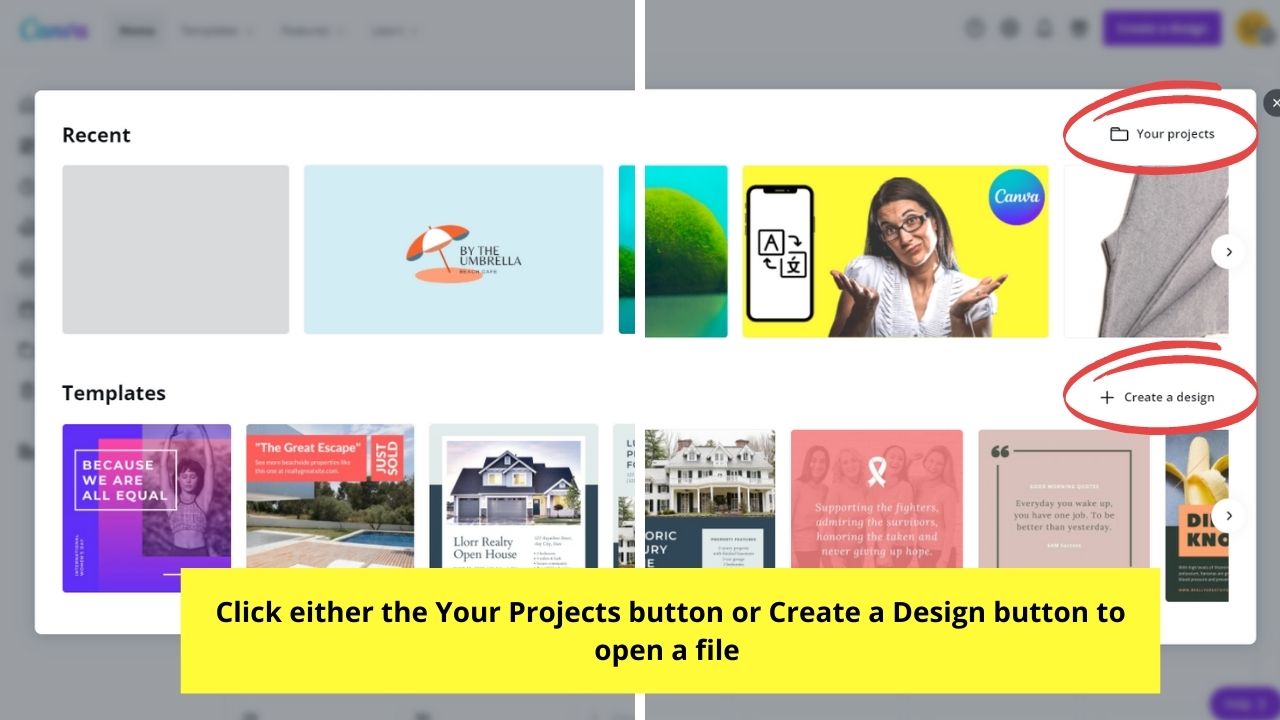

For this step, we’re going to select an existing design and click on it.
Step 4: After selecting the Canva design to post, tap the ellipsis icon to set the time. Do note that the time is automatically set to your local time.

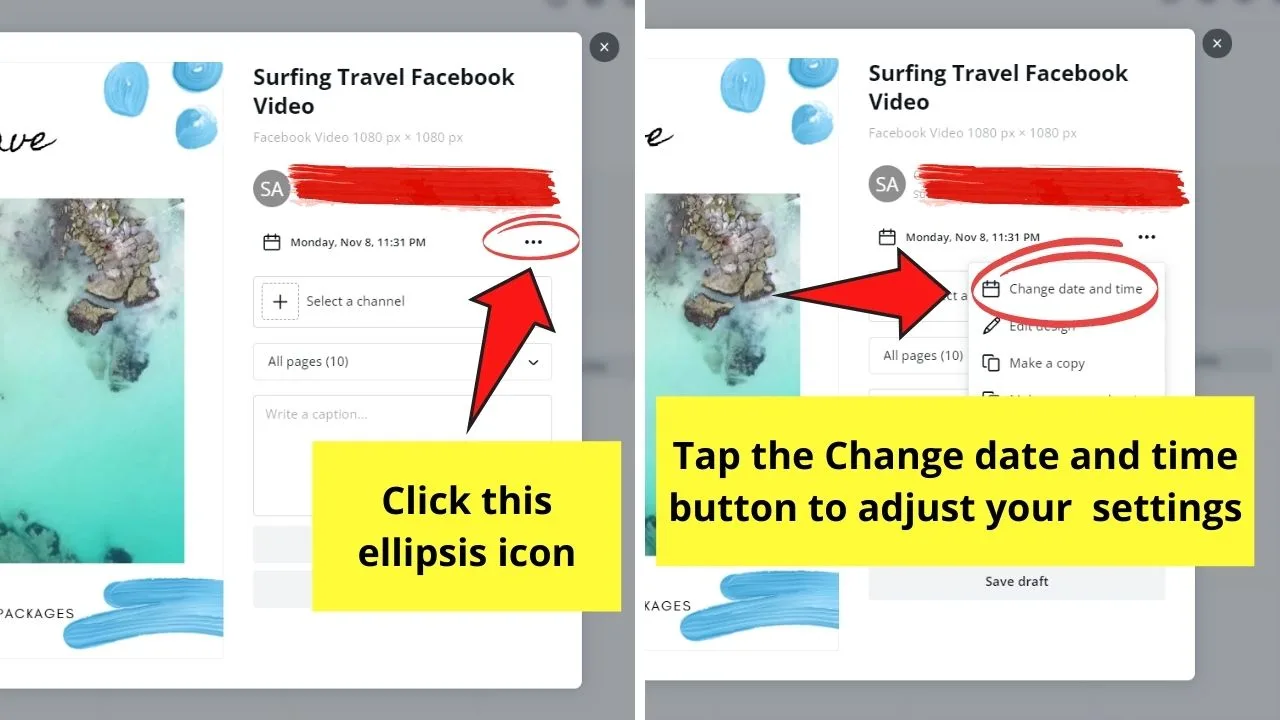


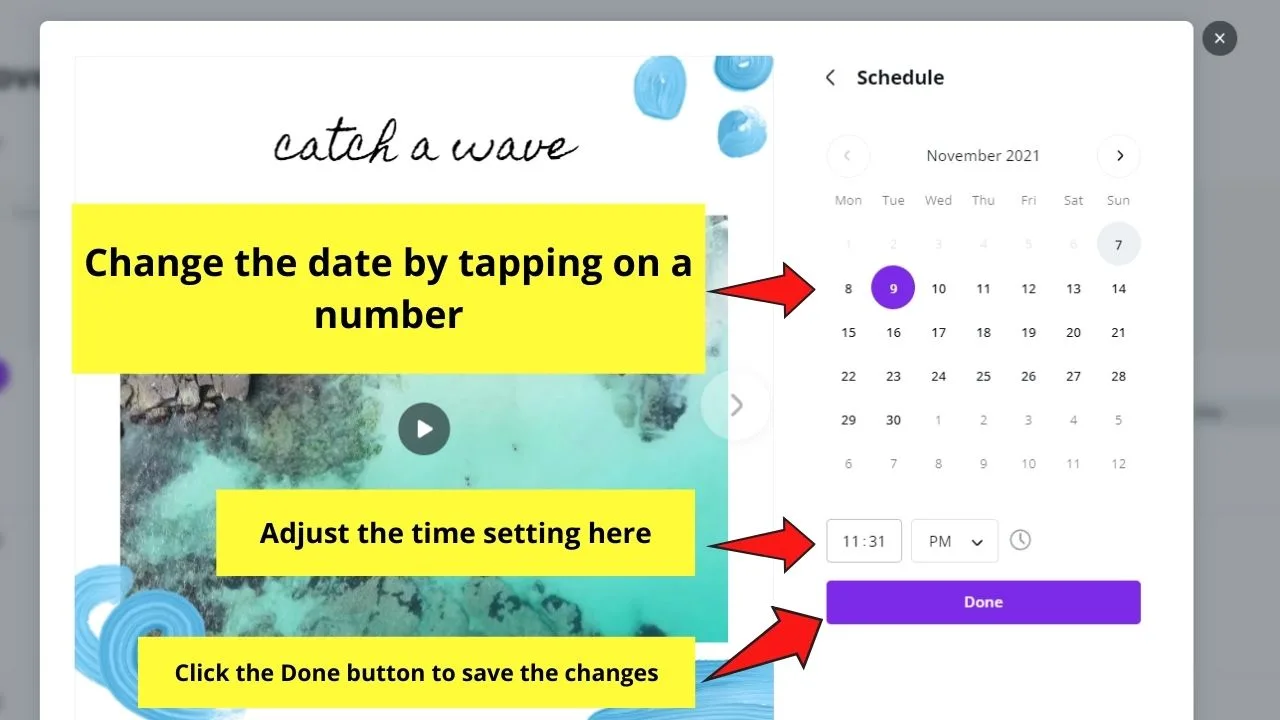
You can also change the date when you’ll schedule the post here as well. Click the Done button to save your date and time settings.

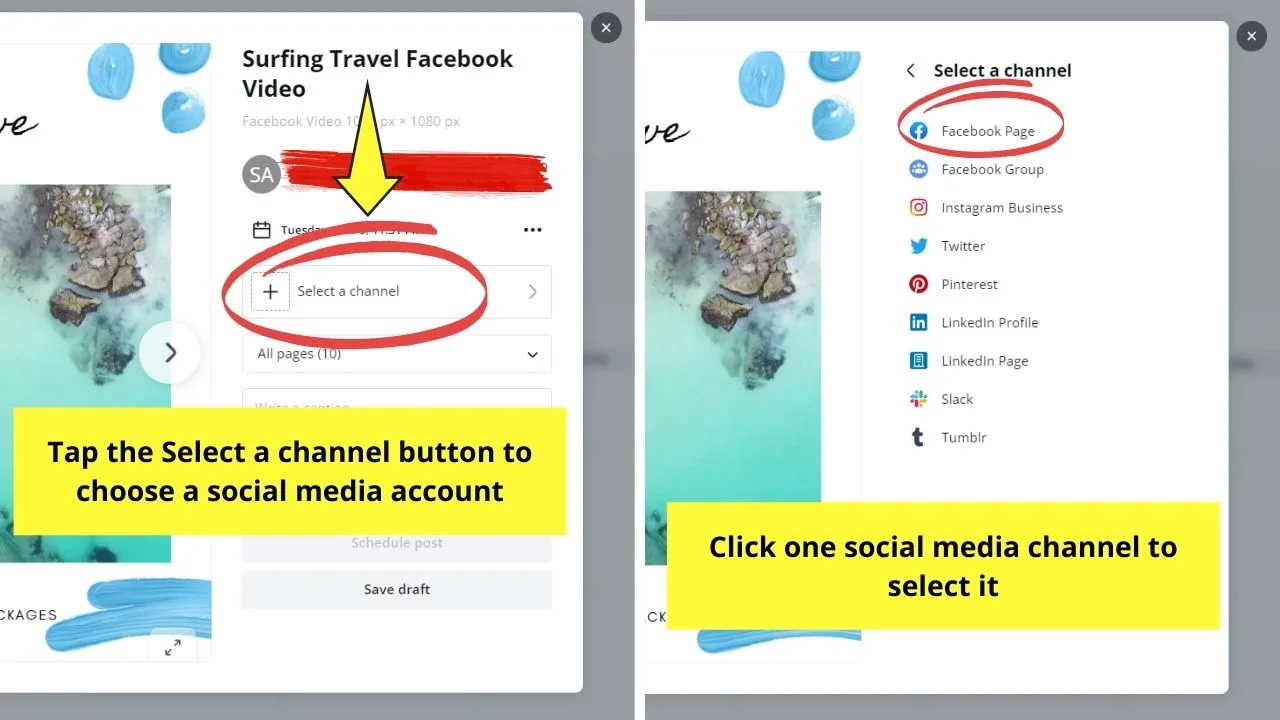
Step 5: Once you’ve set the time and date, tap the Select a Channel button to select the social media account you’ll post into.

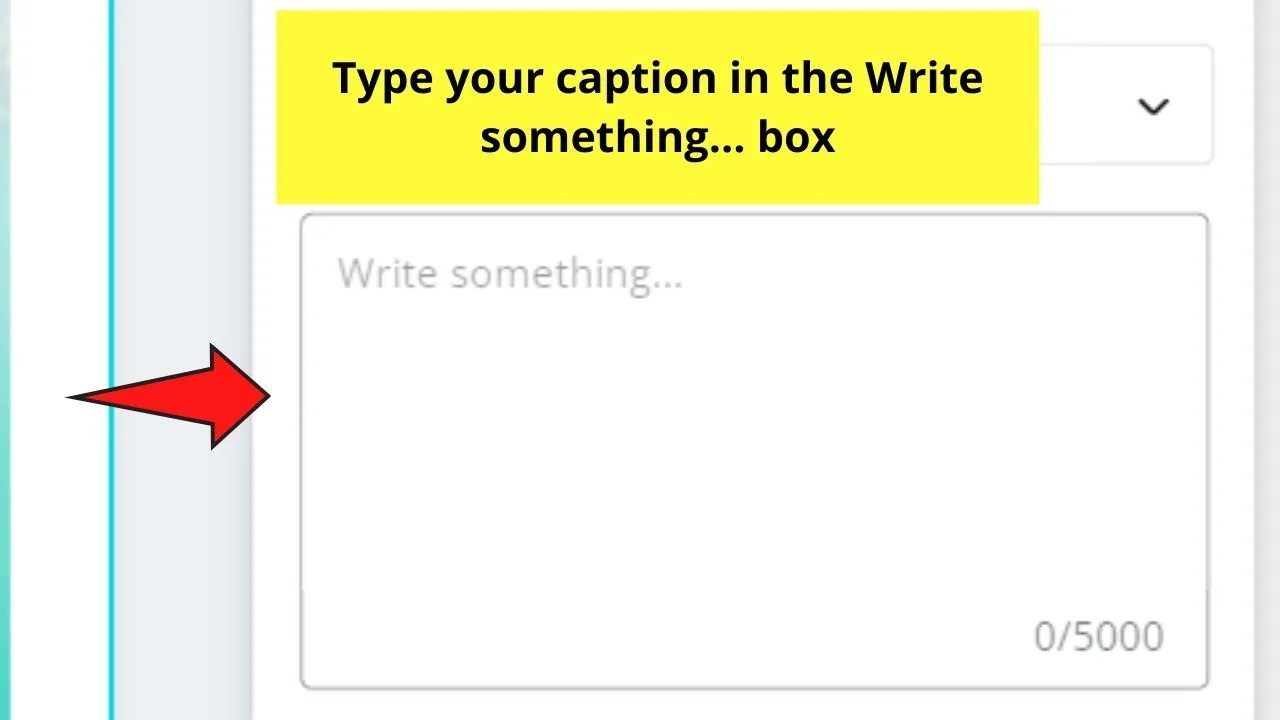
Step 6: Add captions and hashtags onto the Write something… box.
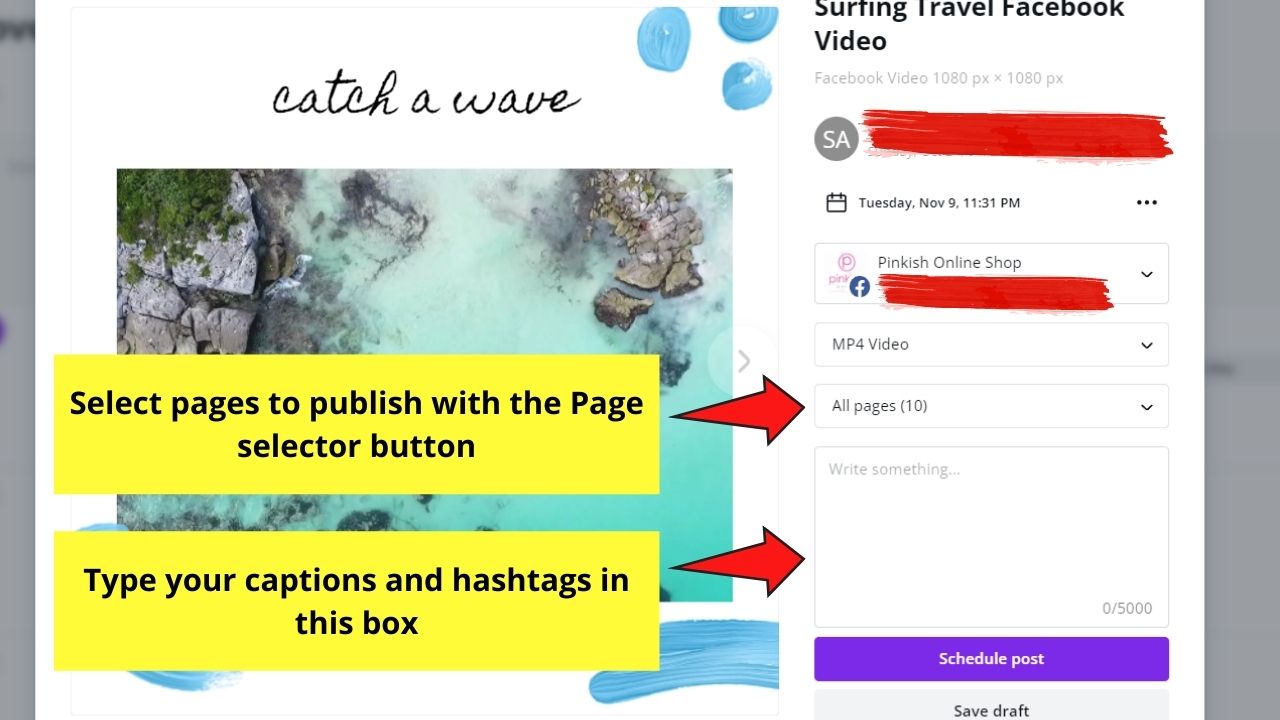

You can also choose to publish all pages or select a few pages only through the Page selector button.
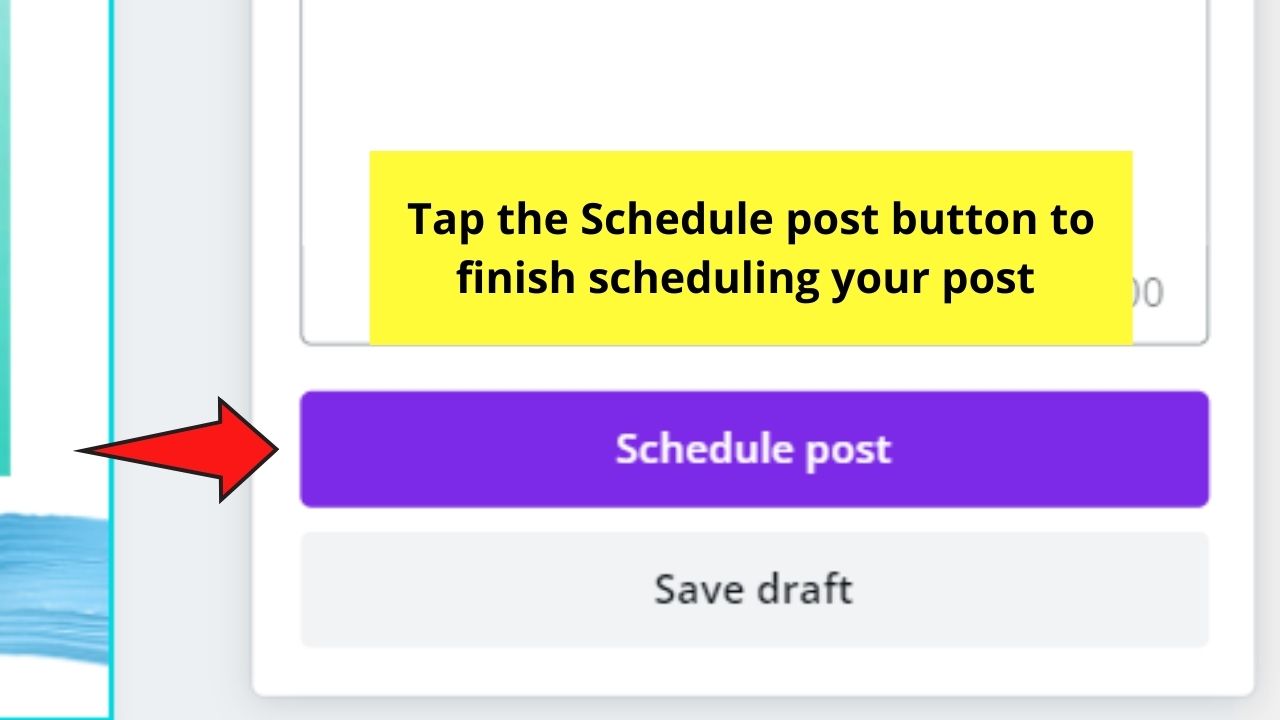
Step 7: Once you’re satisfied with what you wrote, you can choose to tap the Schedule Post to finish the process.
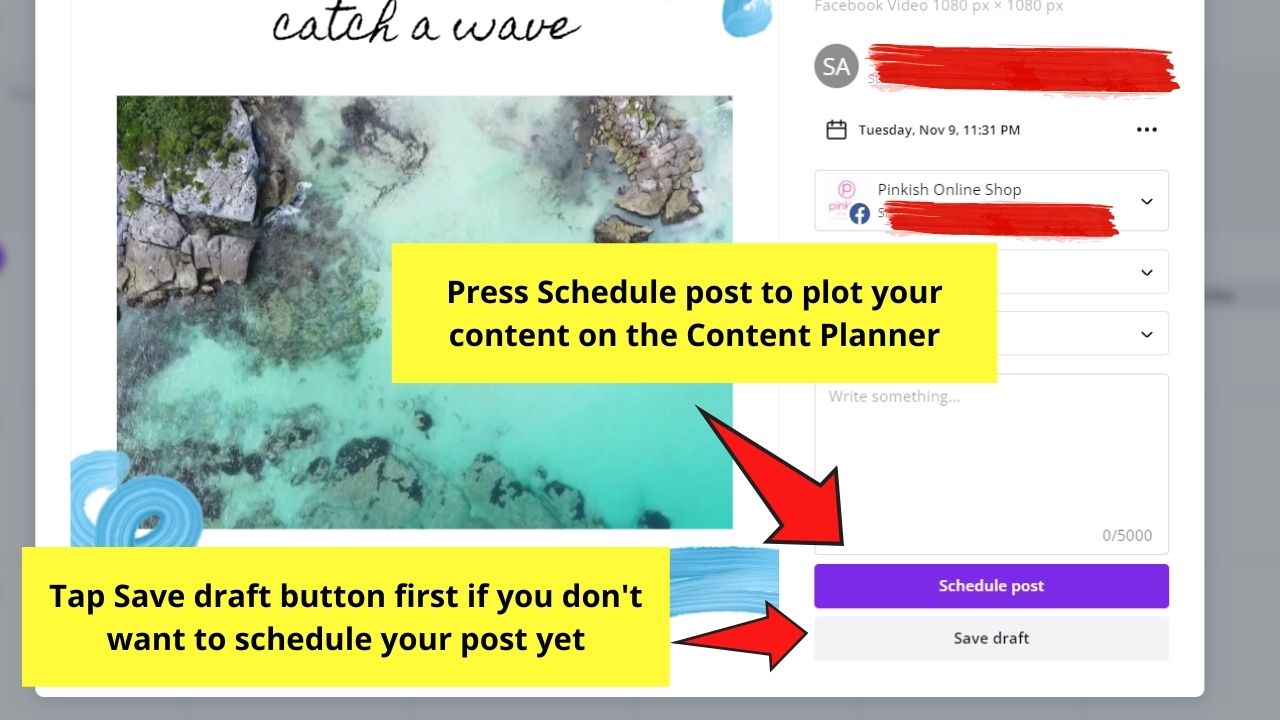

But, if you don’t want to finalize things yet, you can opt to tap the Save draft button first.
Pretty quick, right?
But, if you’ll still create one for that particular date and time, better read up on the next section.
Scheduling Social Media Posts from Canva’s Editor Page
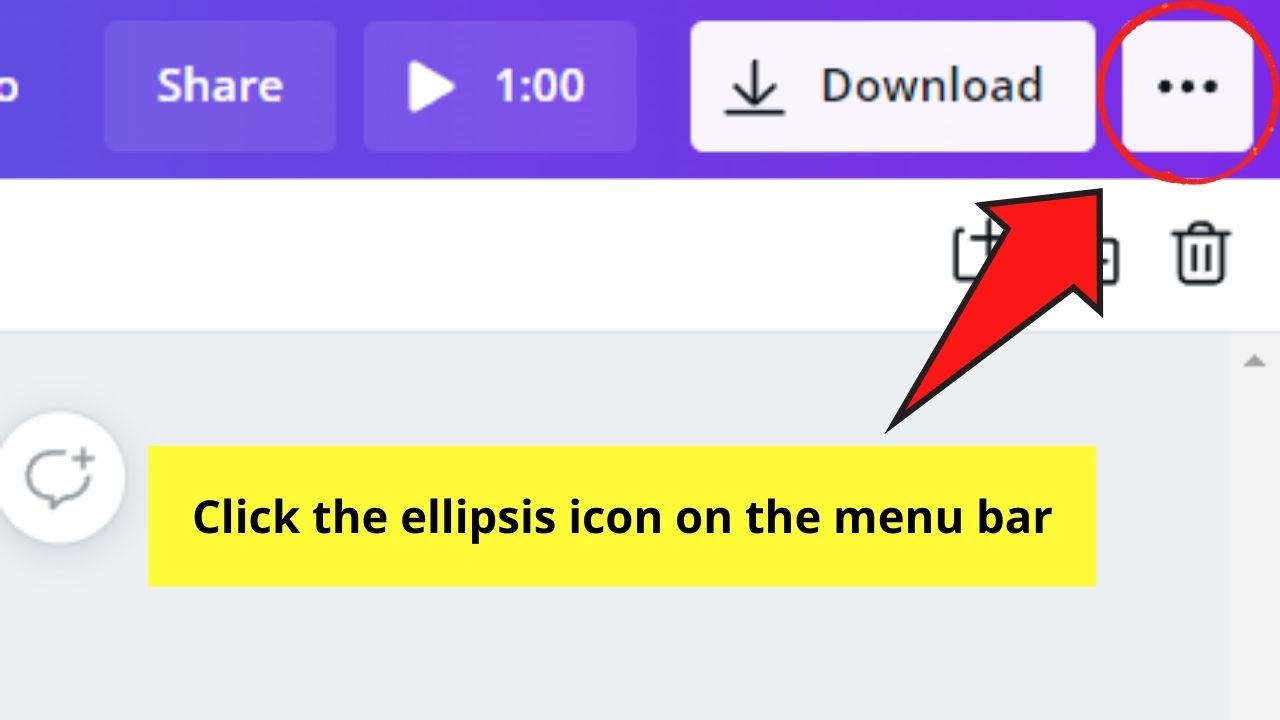
Step 1: Granting you’re done making your Canva design, head over to the menu bar and click the ellipsis (or the 3-dot) icon.

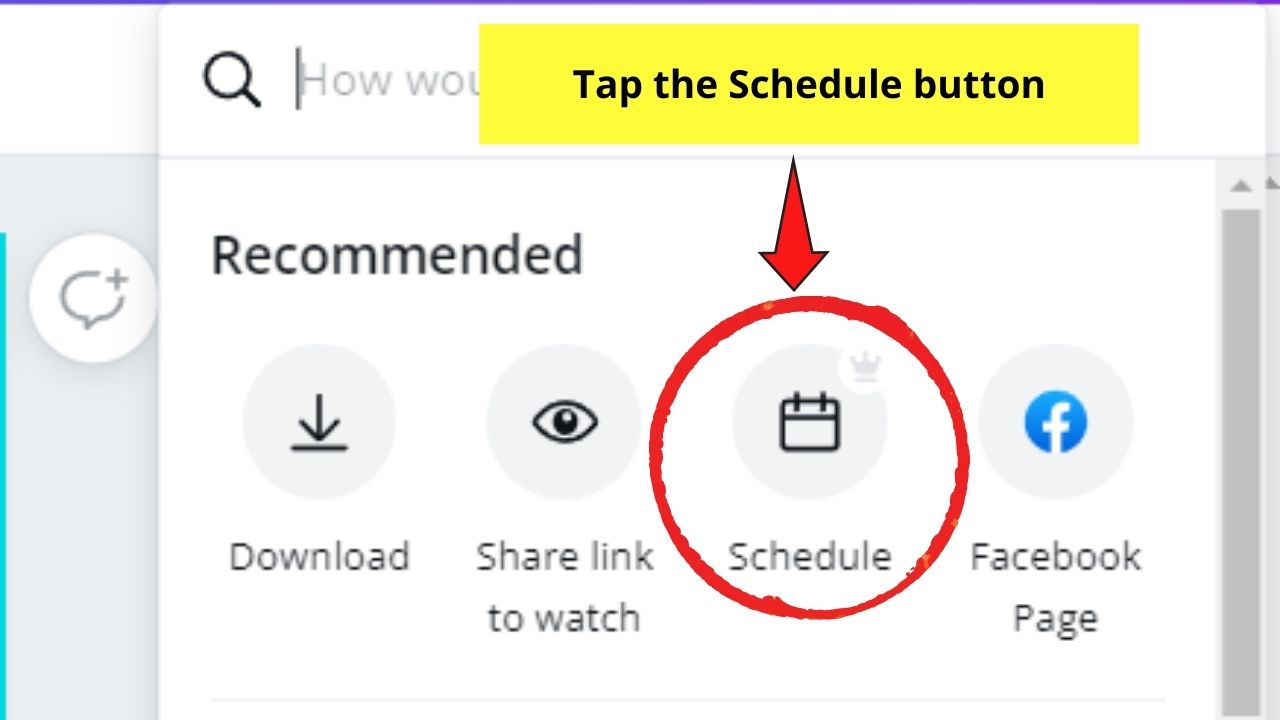
Step 2: Head over to the Recommended category and tap the Schedule button (the one that looks like a calendar).

Step 3: Select the month and date on the calendar layout that appears.
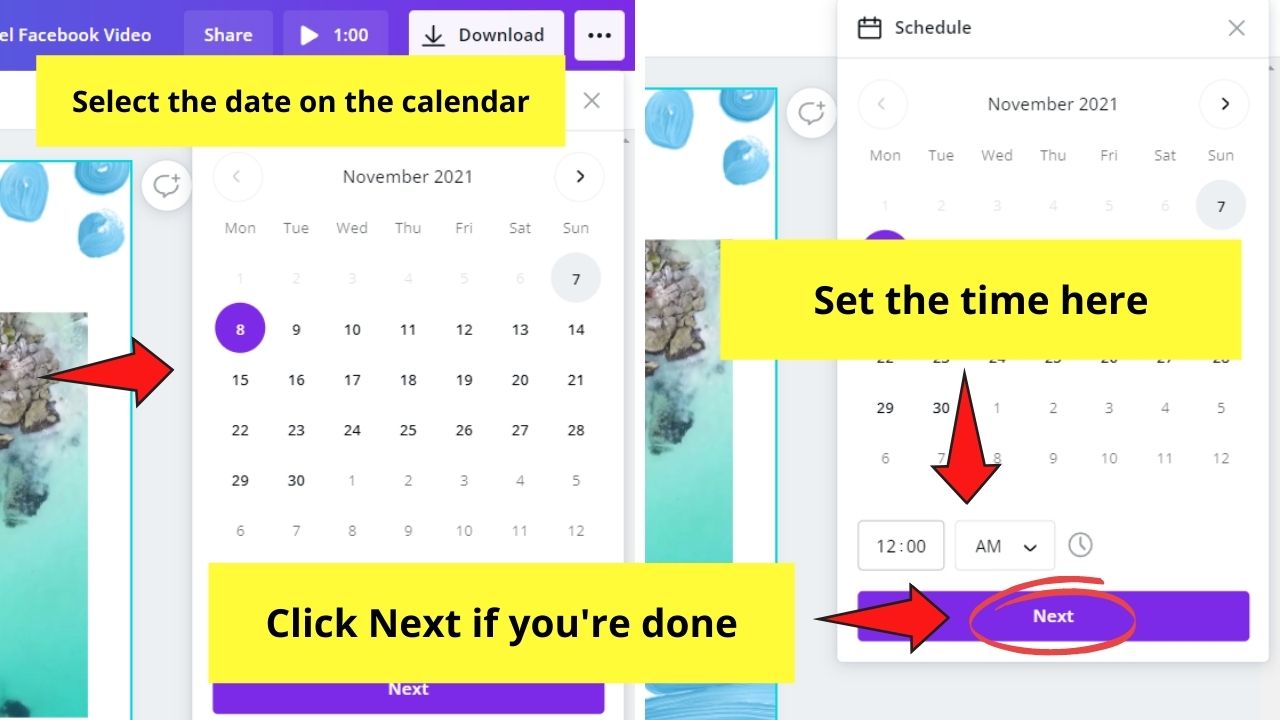
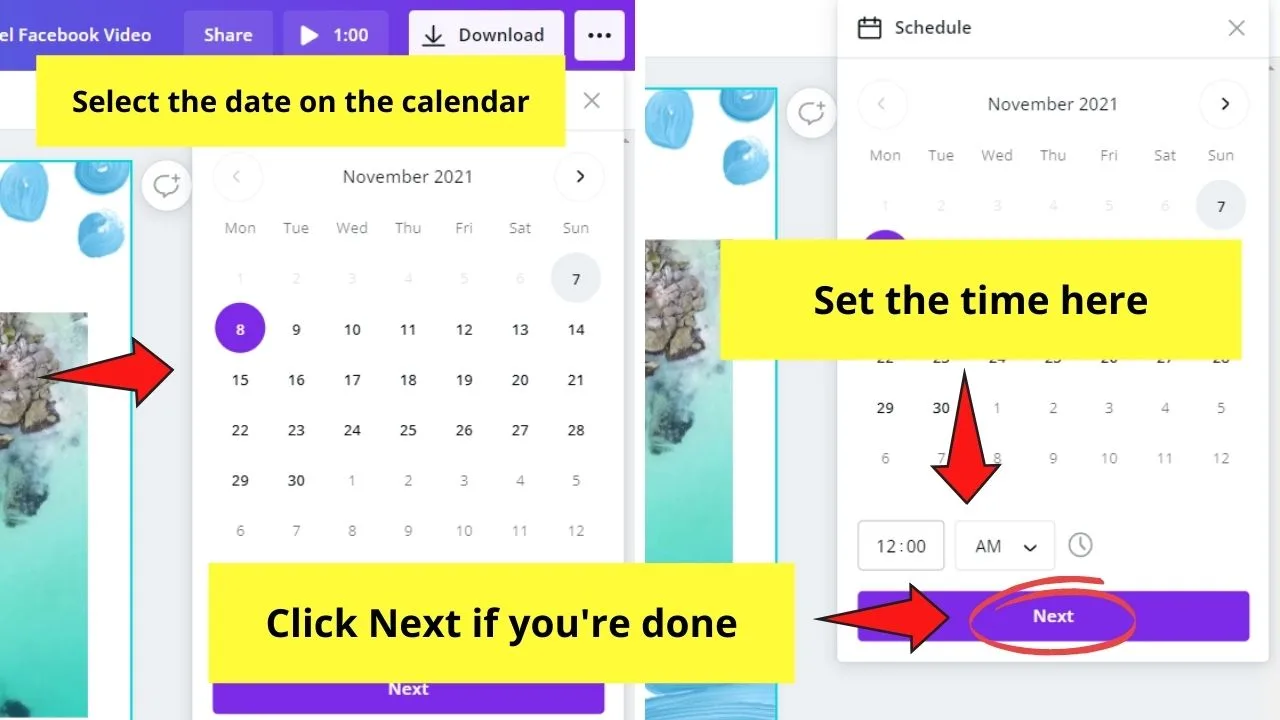
Once you’ve highlighted that particular date, set the time you want to post your design. Do remember though that the time you see is in your local timezone.
Tap Next to proceed.
Step 4: Click on the Select a Channel button to choose what social media account you’ll share the design into.

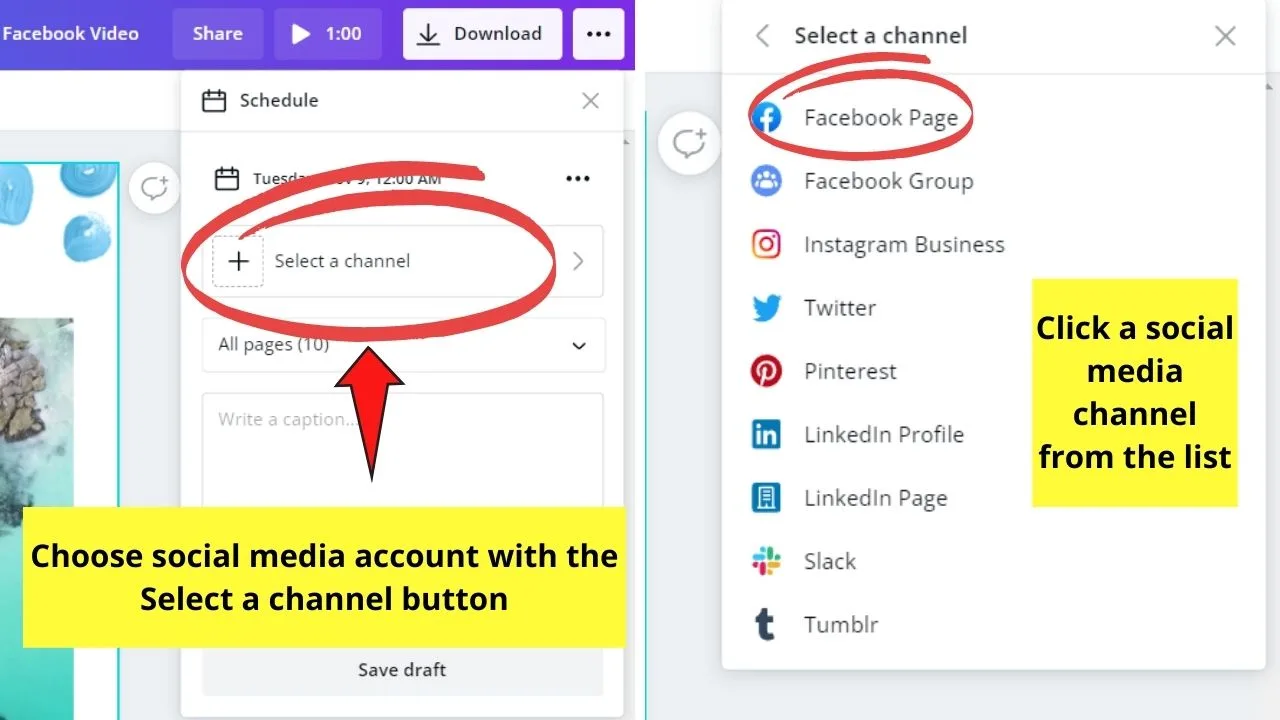
If you haven’t connected that channel with Canva, just tap the purple Connect button and follow the next instructions.
Step 5: After selecting the social media channel, select the pages you’ll publish.
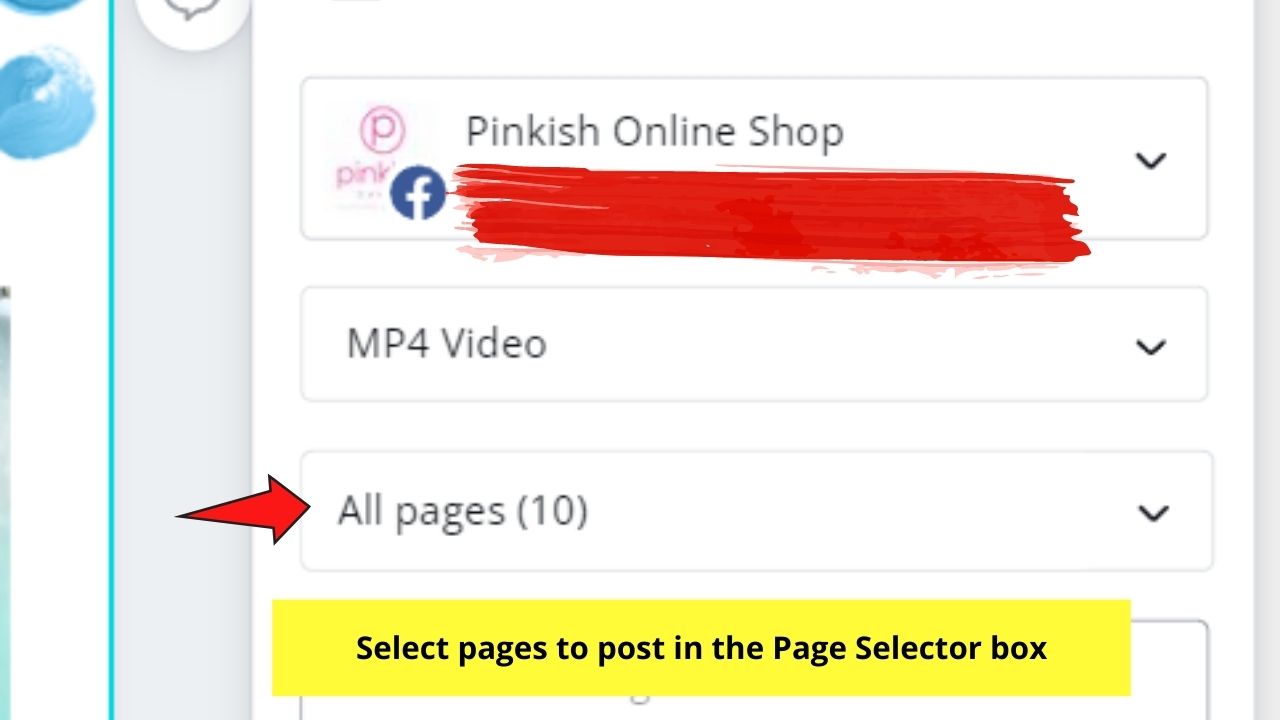

You can opt to post multiple pages, but depending on the platform, there can be limitations to the number of pages you can post at a single time.
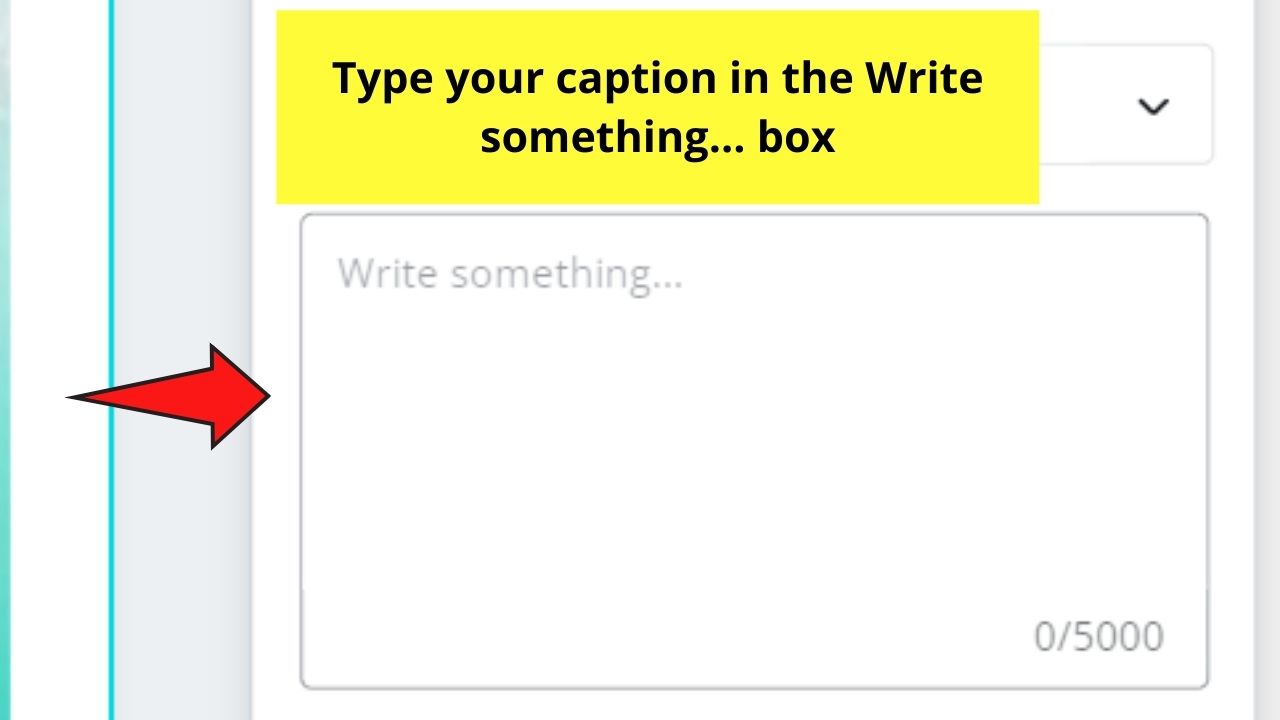
Step 6: Add a caption in the Write something… box.
Step 7: If you’re satisfied with the settings, tap on the Schedule post button to finish the process.

And, there you have it! You finally know how to schedule your social media posts directly from Canva.
Even if you’re still a beginner, nothing can stop you from sharing your Canva design ideas with the world if you know how to use the Content Planner tool.
Frequently Asked Questions about How to Schedule your Social Media Posts Directly from Canva
Can Canva free users avail of the content planner tool?
Unfortunately, the Content Planner’s only available to Canva Pro, Enterprises, and Nonprofit users. You need to upgrade to any of these plans first before you can enjoy the content planner feature.
What social media platforms can you schedule your Canva designs into?
You can schedule your designs onto 9 social media apps: Tumblr, Slack, Pinterest, Twitter, LinkedIn Profile, LinkedIn Pages, Instagram Business Account, Facebook Pages, and Facebook Groups.
Is it possible to reschedule your scheduled posts?
It is possible to reschedule already scheduled social media posts. Just click on that particular post on the Content Planner, tap the ellipsis icon, and select a new time and date.
How do you delete already scheduled posts on the content planner?
Like rescheduling your social media posts, head over to the Content Planner option and select that design. Tap the ellipsis icon and click the Delete option to remove the said post permanently.
Can you still change your caption after scheduling it?
You still can. On Canva’s Content Planner section, tap on the ellipsis icon and select the edit caption option.
What’s the maximum number of hashtags I can add to my social media post?
The maximum limit of hashtags you can add is 20.


Hey guys! It’s me, Marcel, aka Maschi. On MaschiTuts, it’s all about tutorials! No matter the topic of the article, the goal always remains the same: Providing you guys with the most in-depth and helpful tutorials!

