

Whoah! I’ve got to plan out my Instagram content for this month!
Is it even possible to get all those Instagram posts up and ready way in advance?
Well, if you’re using Canva, you won’t have to fret.
But, how exactly you can use Canva for Instagram, that we have to find out in a jiffy.
How to Use Canva for Instagram
First, design your Instagram posts with templates or from scratch. Tap the ellipsis icon, then the Schedule button to set a date and time of posting the design on Instagram. You can also post it immediately with the Publish now button. But, you need to have a business account to use Canva for Instagram.
Using Canva for Instagram — Everything Beginners Should Know
If you’re still feeling confused about how you can create daily Instagram posts without having to be online all the time, you don’t have to fret.
All you need is some creativity and mastery of navigating Canva for you to post even a month’s worth of Instagram posts with less stress.
So, let’s start with creating the design.
Creating Instagram Posts in Canva
To create stunning Instagram posts on Canva, you first need to log in to your account.
After which, head over to the Templates tab and click it.
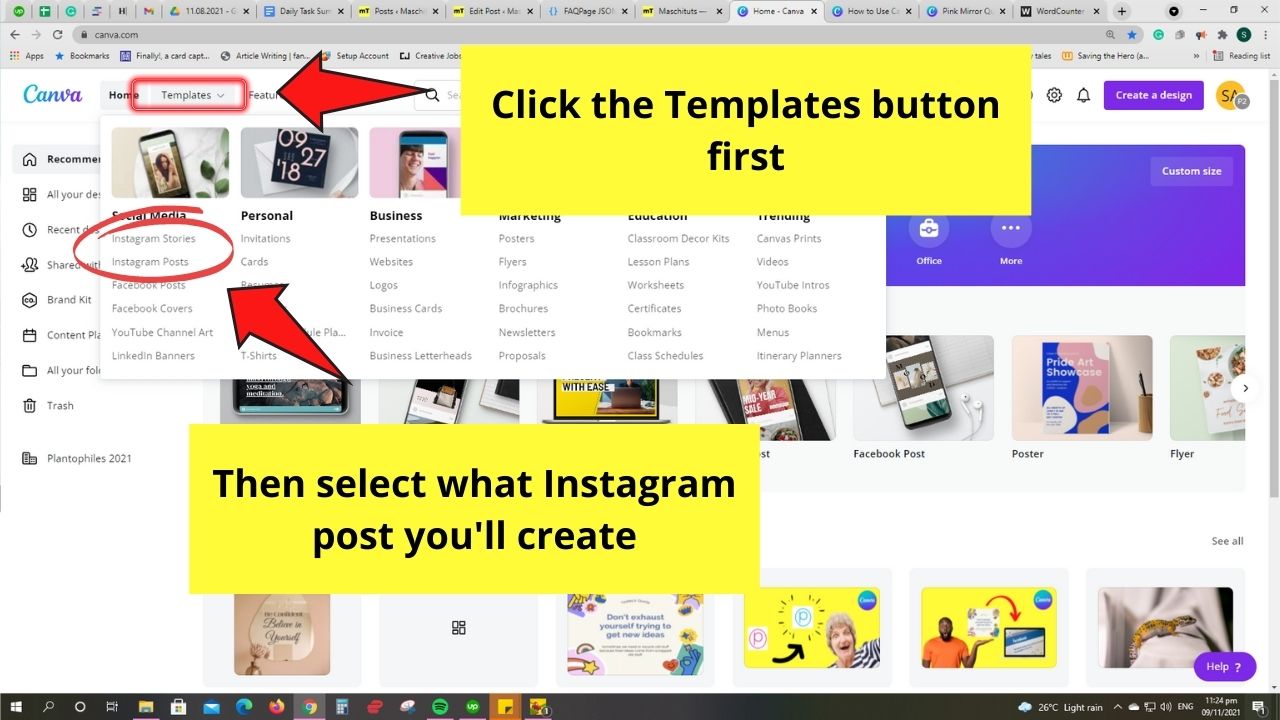

On the dropdown menu, go to the Social Media category and choose what kind of Instagram design you’re planning to make.
From the get-go, you’ll see the following templates available for Instagram:
- Instagram Posts
- Instagram Stories
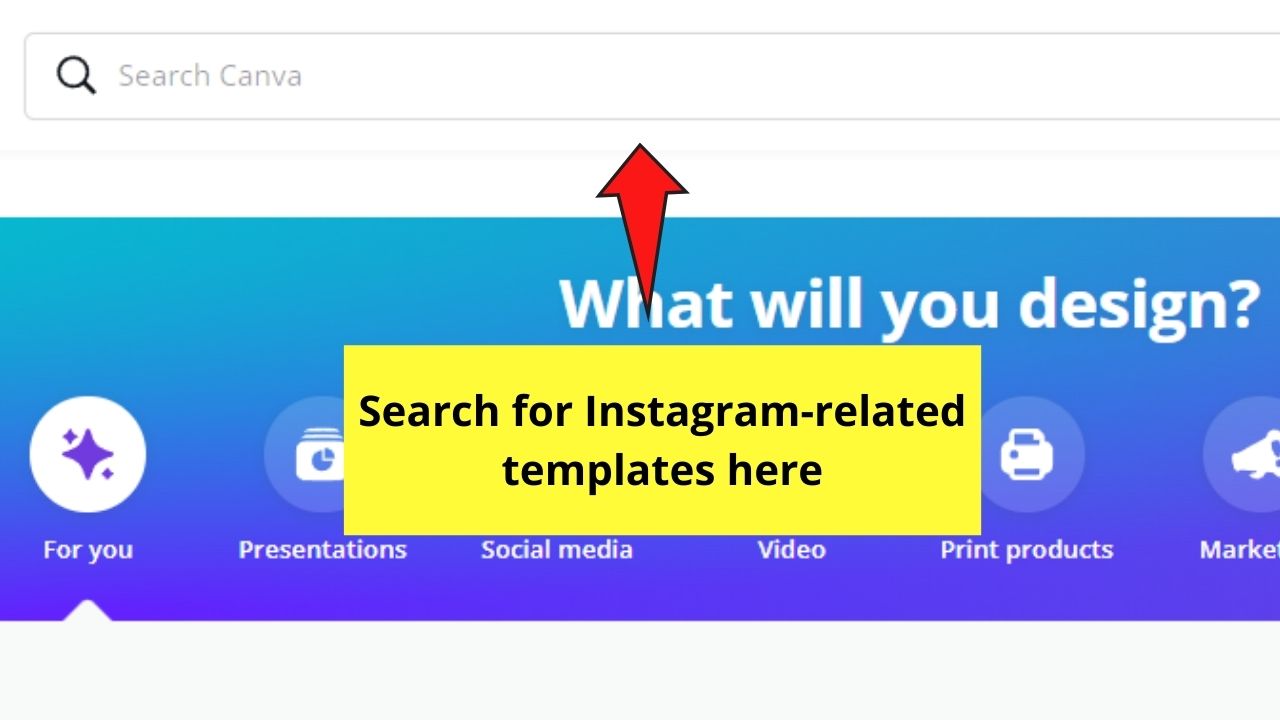
If you opt to create other designs for Instagram not mentioned above, you can always use the search bar function to narrow down your choices.

But, for sample purposes, let’s tap on Instagram Posts.
After which, select the template you’d like to use, making sure to hit the Customize this template button.


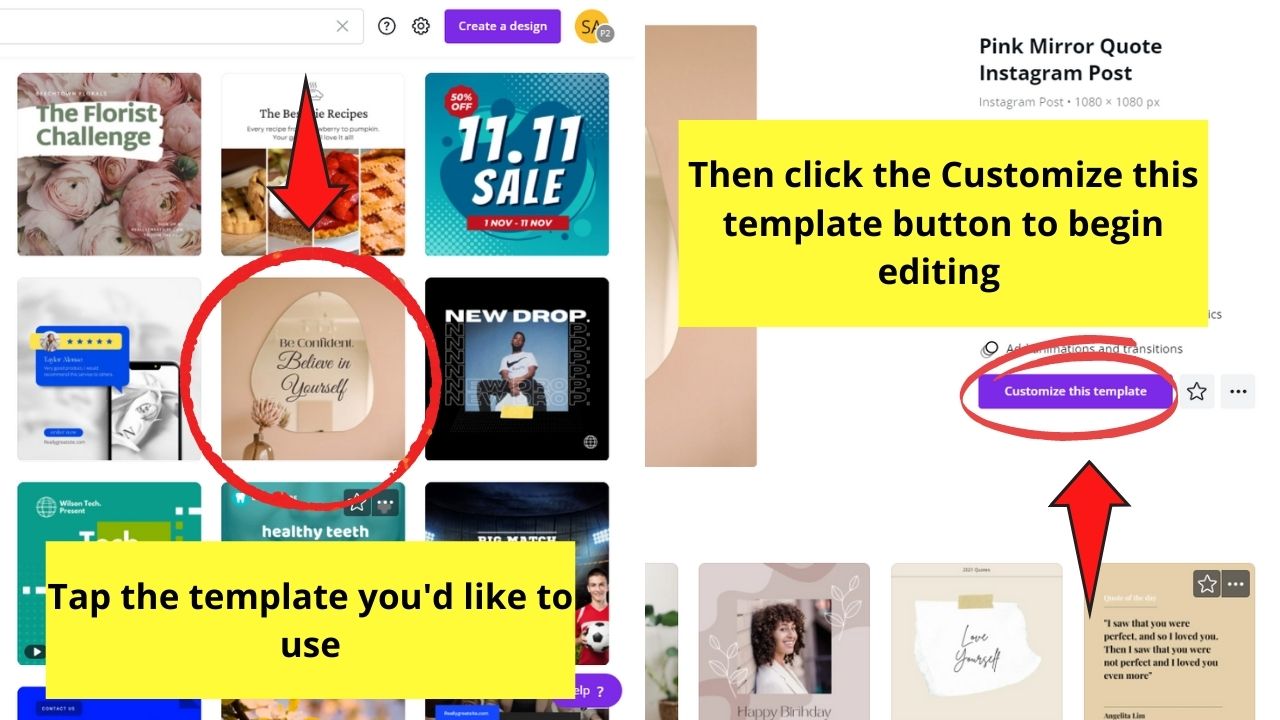

From there, you’ll be redirected to the editor page, where you can start customizing the content using the Canva brand kits you’ve added.
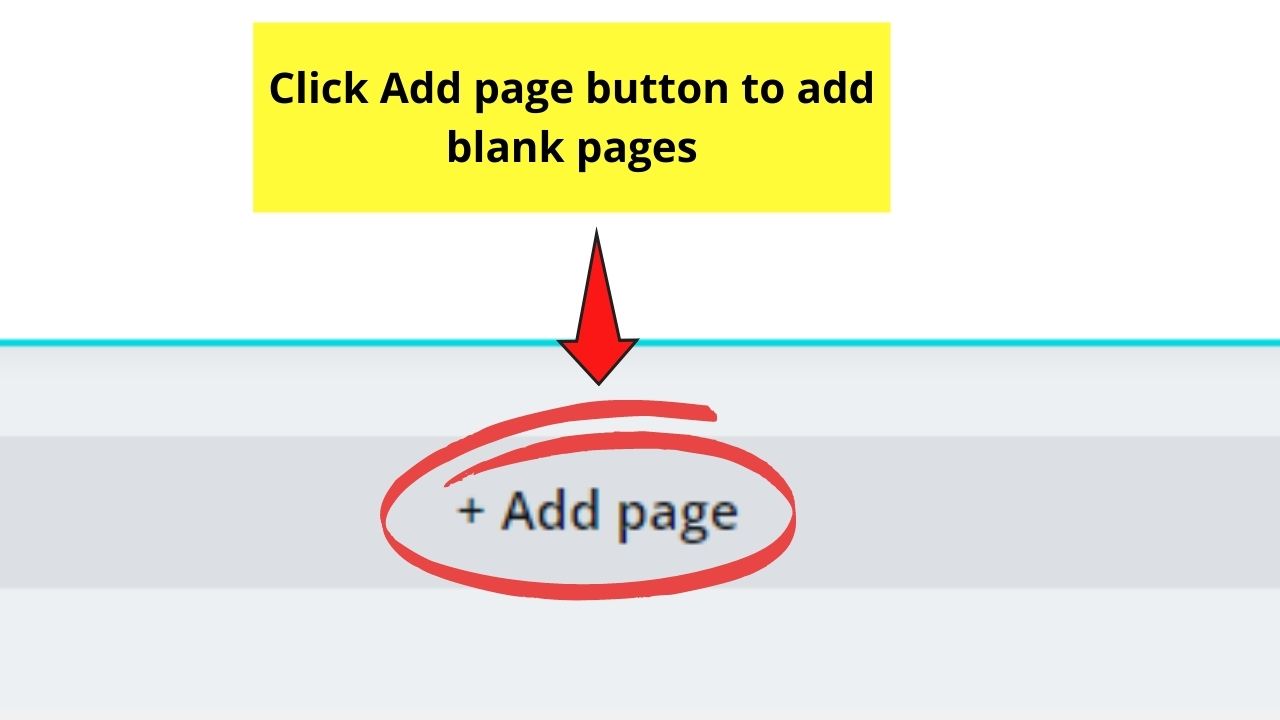
To speed up your design process, you can first, add up to 7 templates to go with your planned theme.
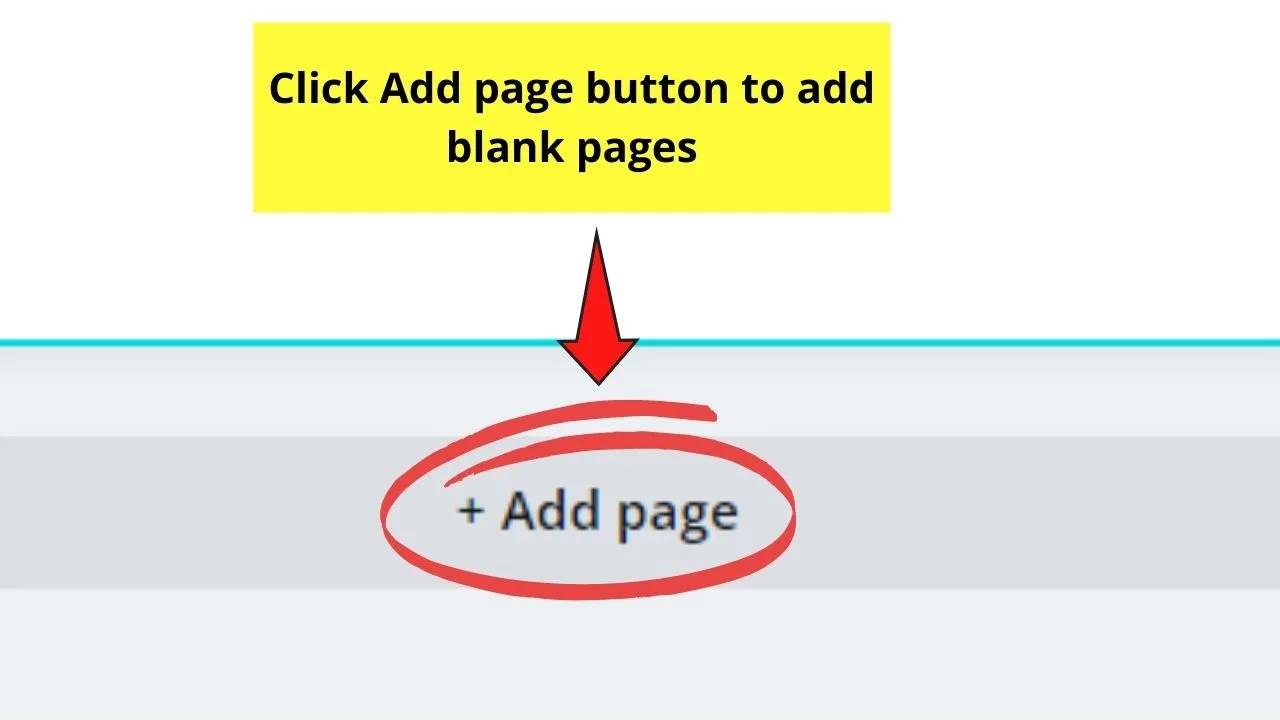
Simply tap the Add a page button to keep adding blank pages.
Then, head over to the Templates gallery on the left-side menu and choose another template.
Repeat those previous steps until you reach 7 pages. With this, you already have enough Instagram posts to run for a week.
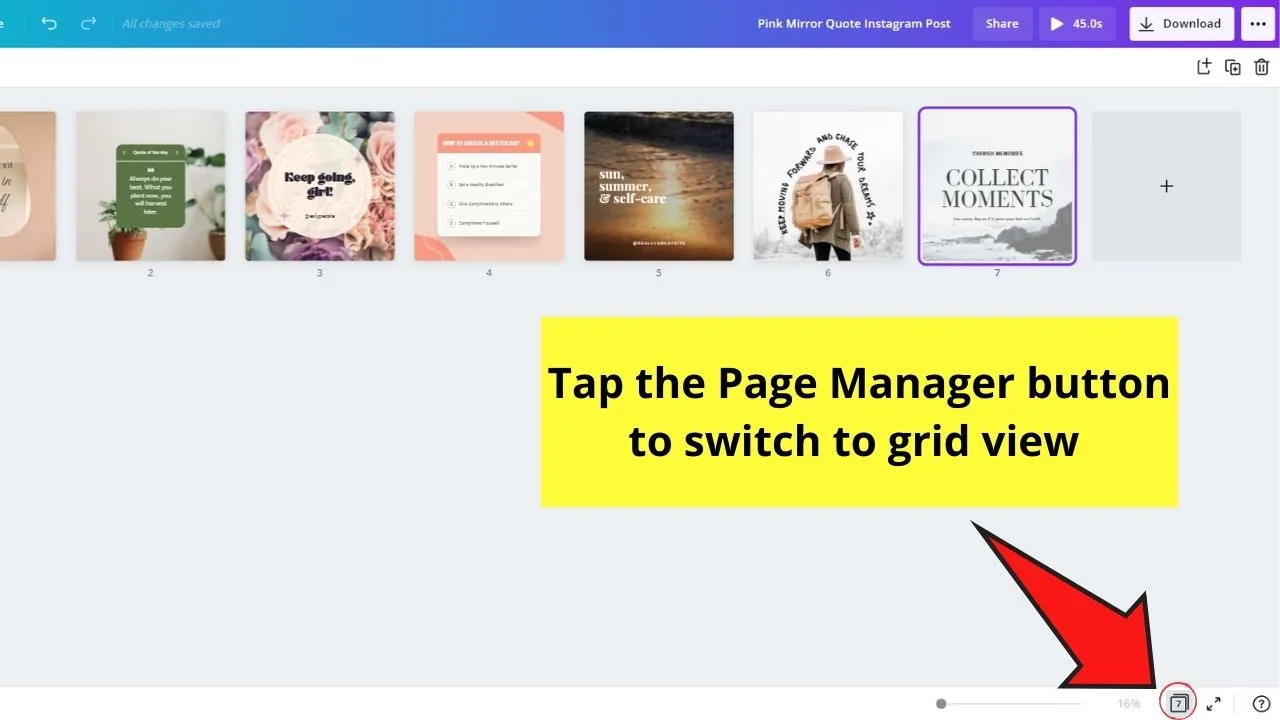
Then, on the lower right of the editor page, click the Page manager option so you can view all the pages you’ve created.

Add, duplicate, or even delete some of the templates you’ve added until you reach the desired number (which is about 28-30 pages, one for each day of the month).
After which, exit the page manager view so you can begin editing the elements, text, and colors in line with your branding and messaging style.
Now that you’re done creating your Instagram posts, it’s time you post them!
Posting Instagram Posts from Canva
When you post your designs to Instagram using Canva, you have two options to choose from: publish it now or schedule it for a later date and time.
But, do note though that you can only post on Instagram if it’s a business account and not merely a creator one.
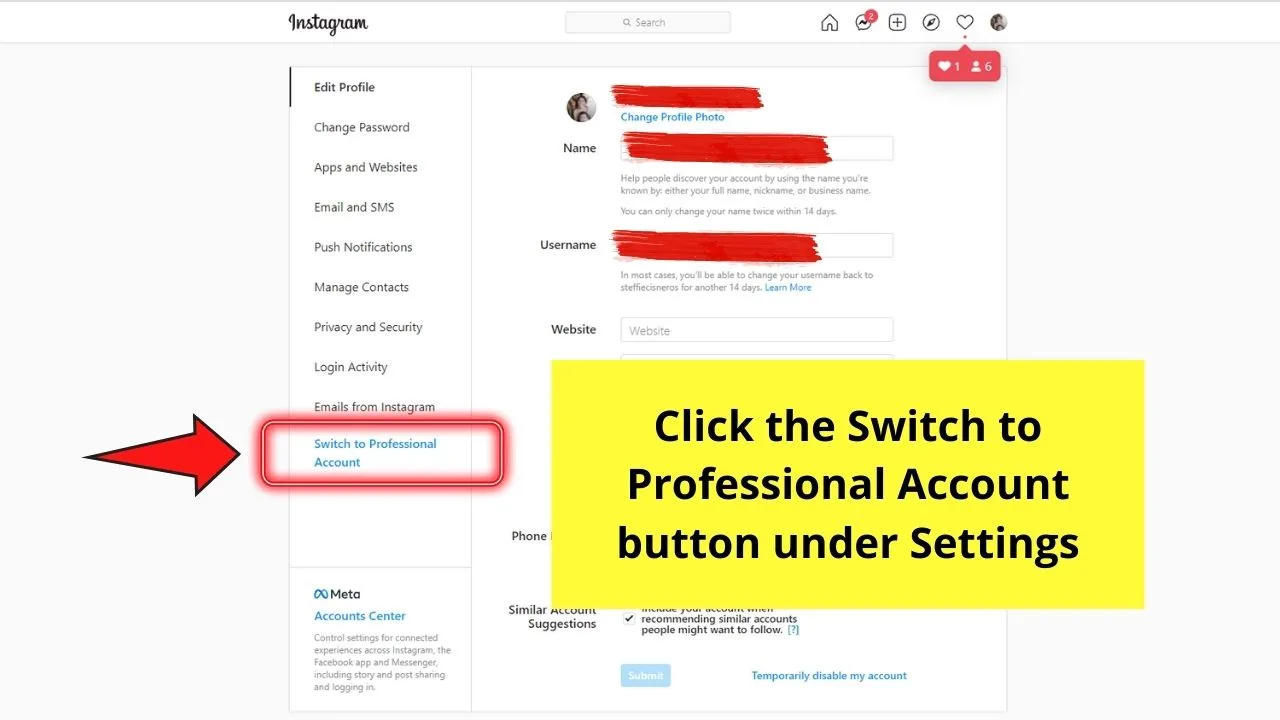
If, however, your Instagram account’s a creator one, you need to head over to the Settings part of Instagram first and switch to a Business one.

Plus, you’ll need to link your Facebook account to Canva for you to be able to directly post your designs on Instagram.
After which, you can smoothly proceed with posting your posts on Instagram.
Publishing Canva Designs to Instagram Now
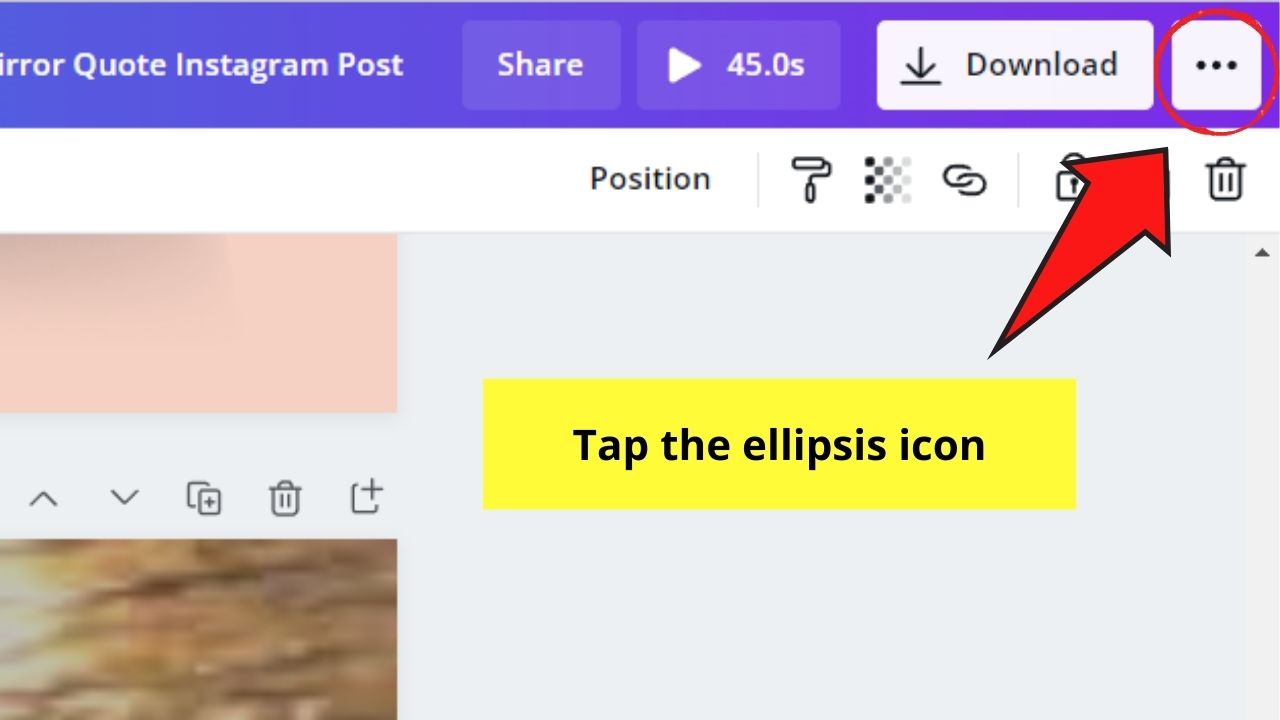
Step 1: On the upper-right corner of the editor page, tap the ellipsis icon.

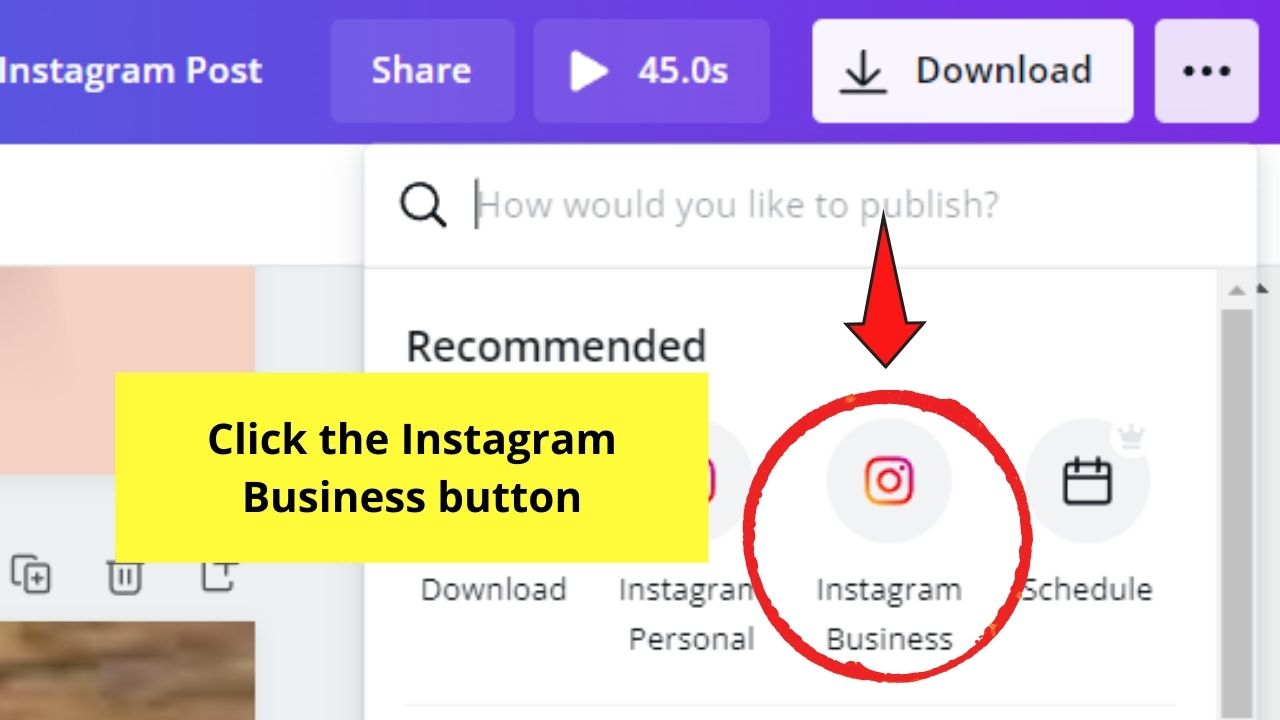
Step 2: Search for the Instagram Business icon and click it.

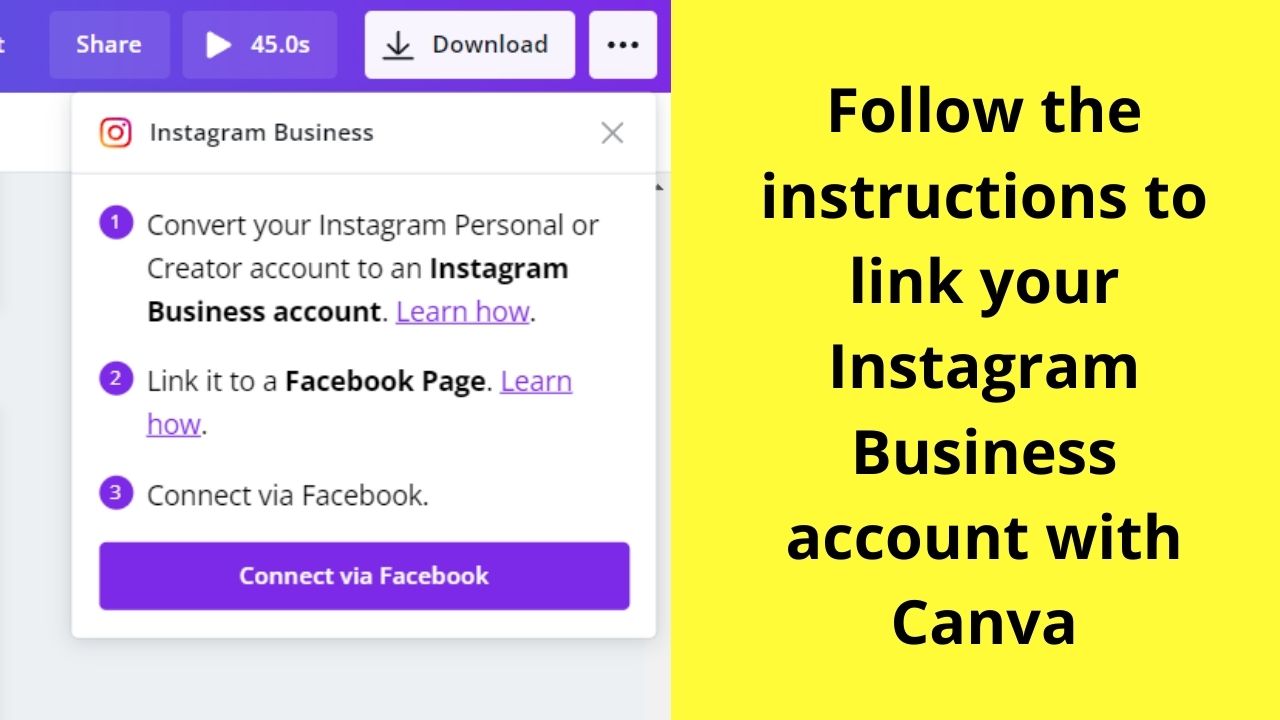
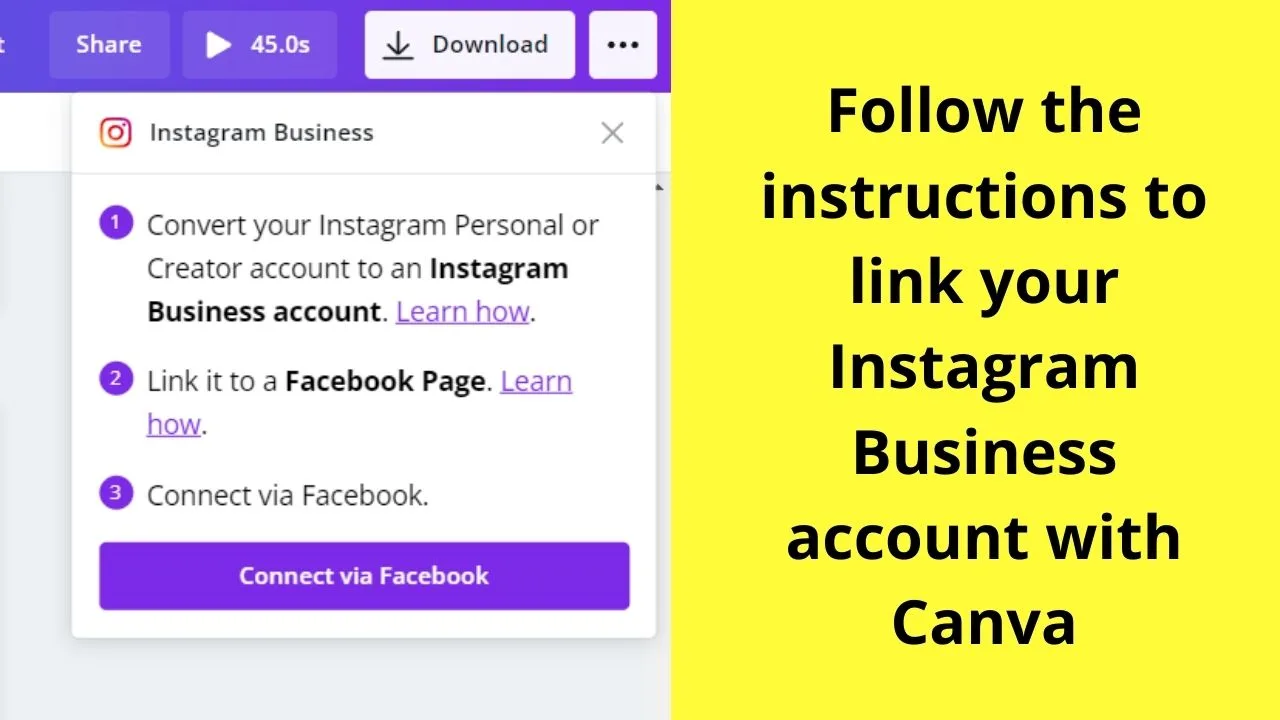
Step 3: If your Instagram Business account isn’t connected with Canva yet, follow the instructions for linking them.
Step 4: After successfully linking your Instagram page with Canva, select the page or pages you’d like to publish.
Tick on the boxes of the corresponding pages for this step.
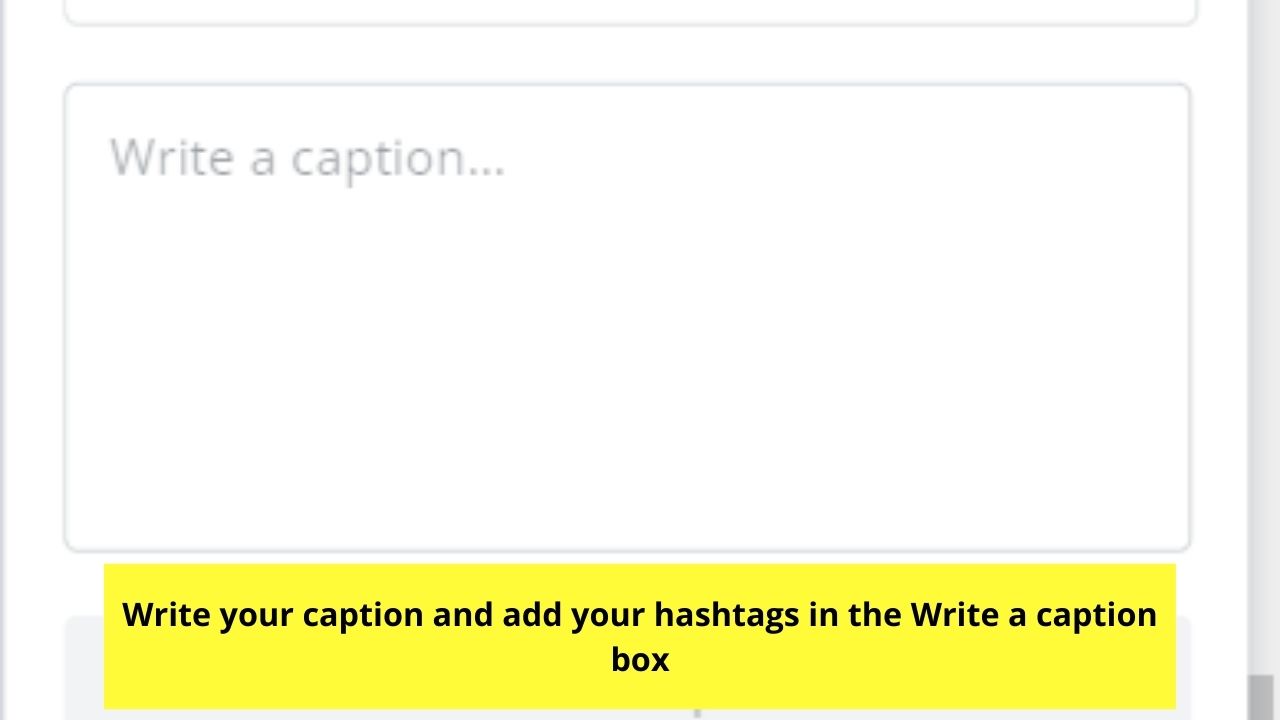
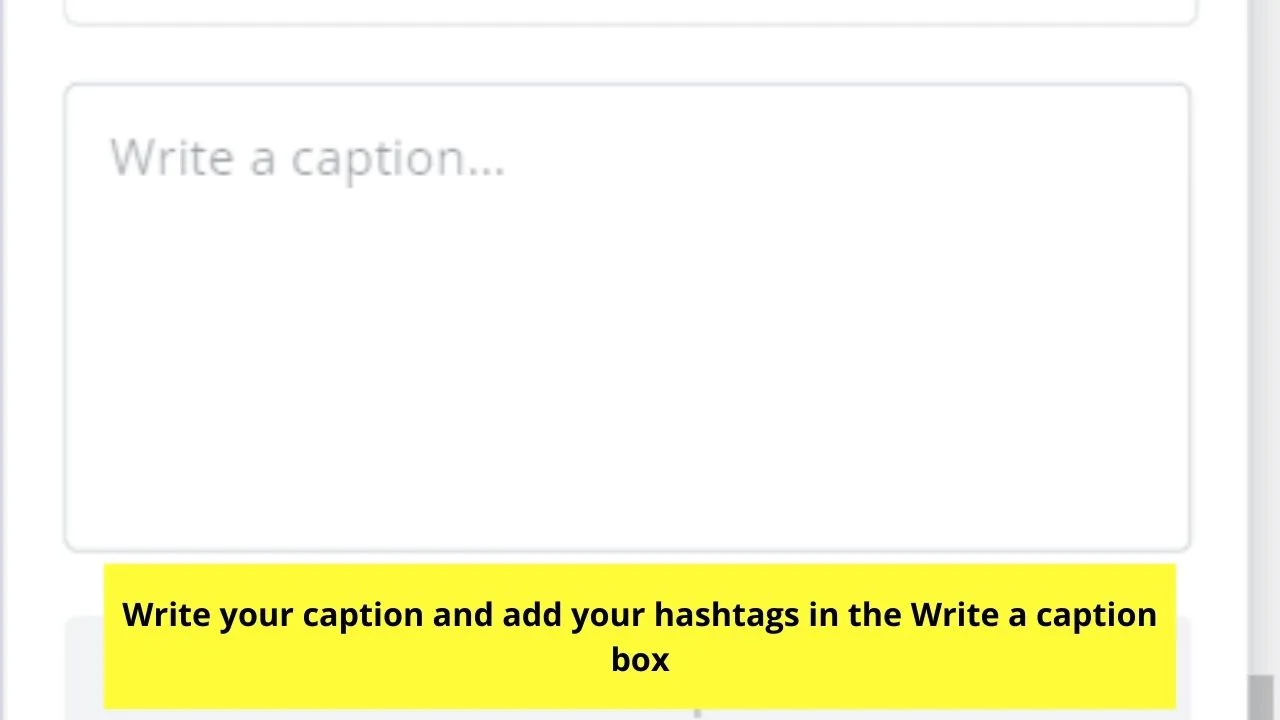
Step 5: If you want to add a caption before publishing, you can do so by typing inside the Write a caption box.
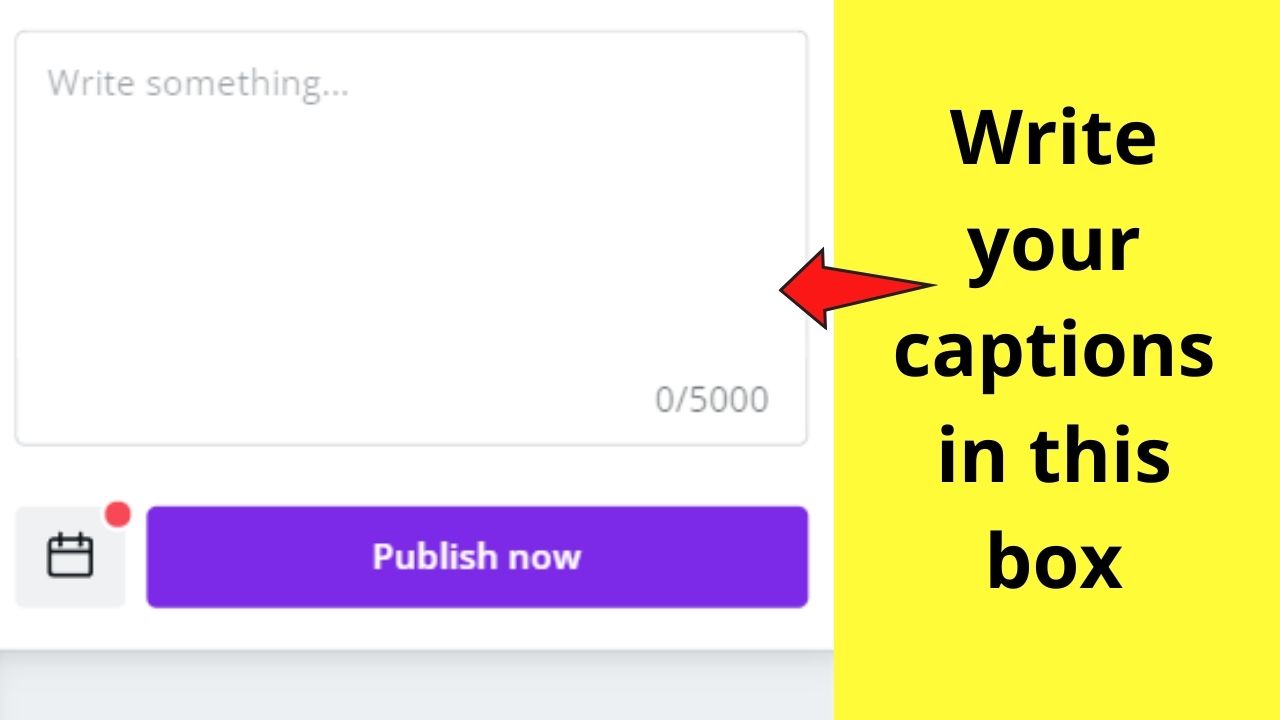
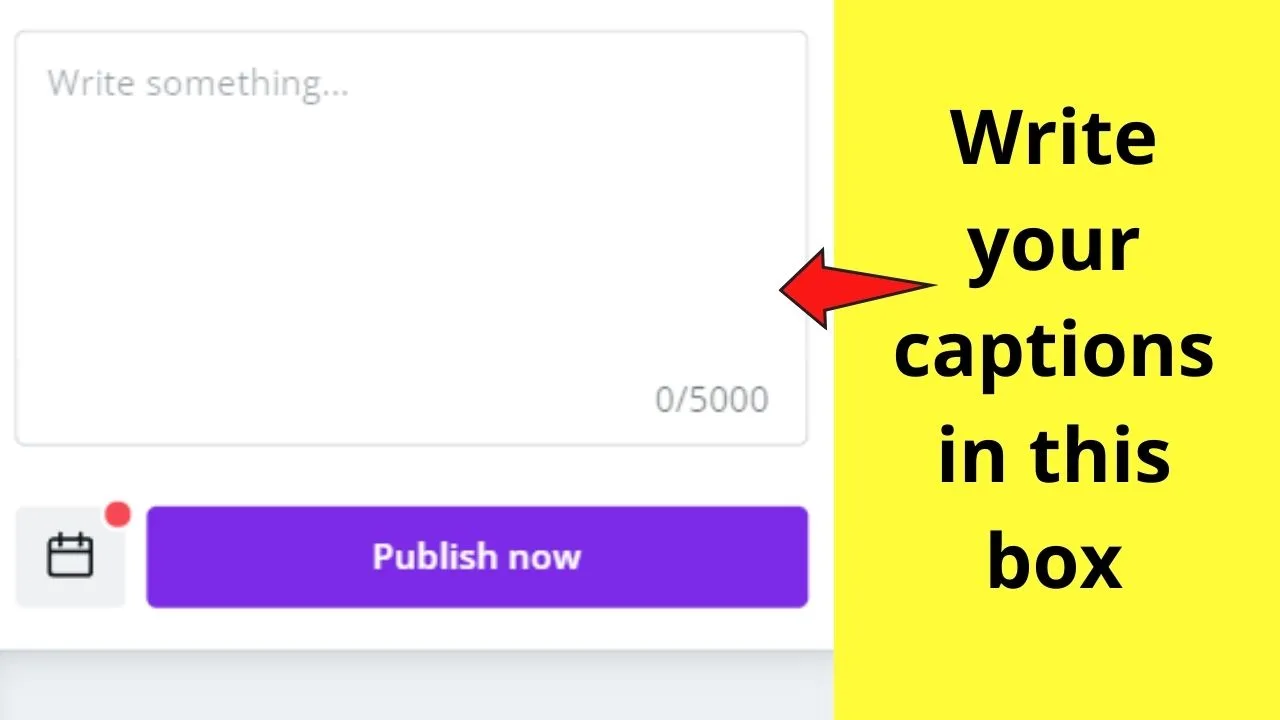
This is also where you add up to 20 hashtags to make your Instagram post visible to your potential audience.
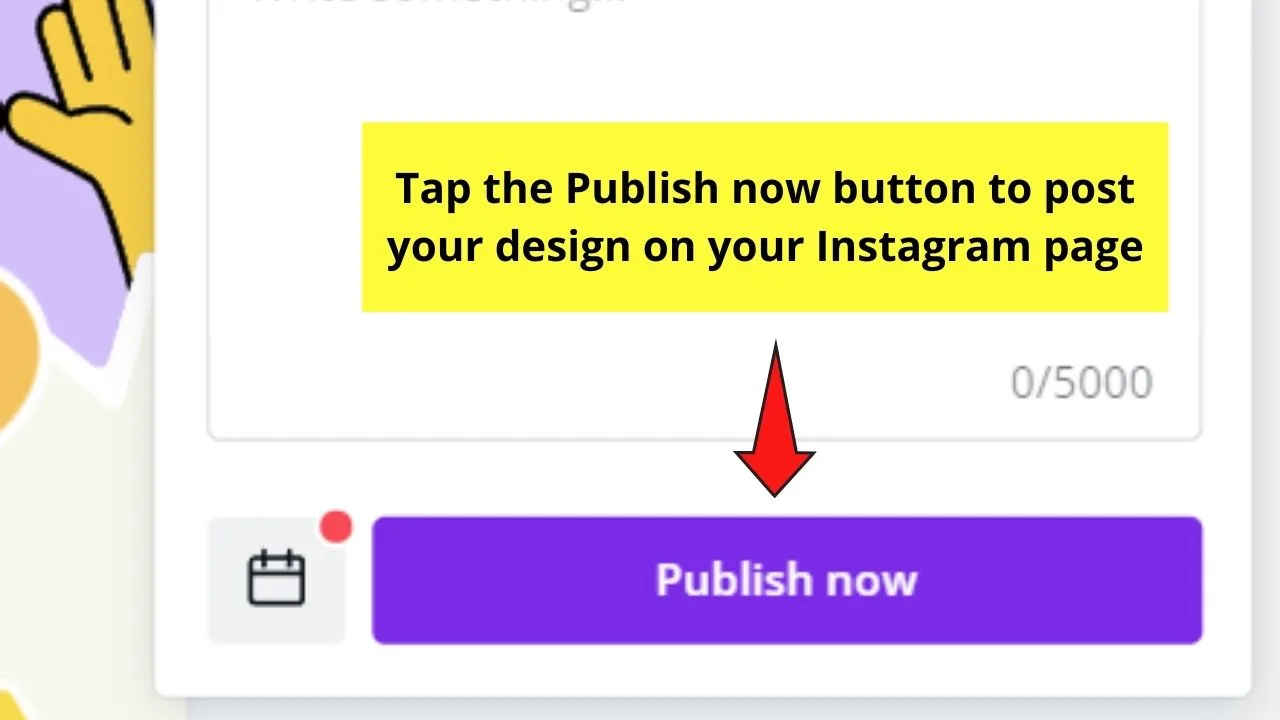
Step 6: Click the Publish now button to post your Canva designs directly to Instagram.

Once the process’ successful, you will then see a link that allows you to see how your newly-published post looks like on Instagram.
But, if you’re merely designing your Instagram posts for a later date, it’s better to take advantage of the Content Planner tool and schedule them.
Scheduling Instagram Posts in Canva
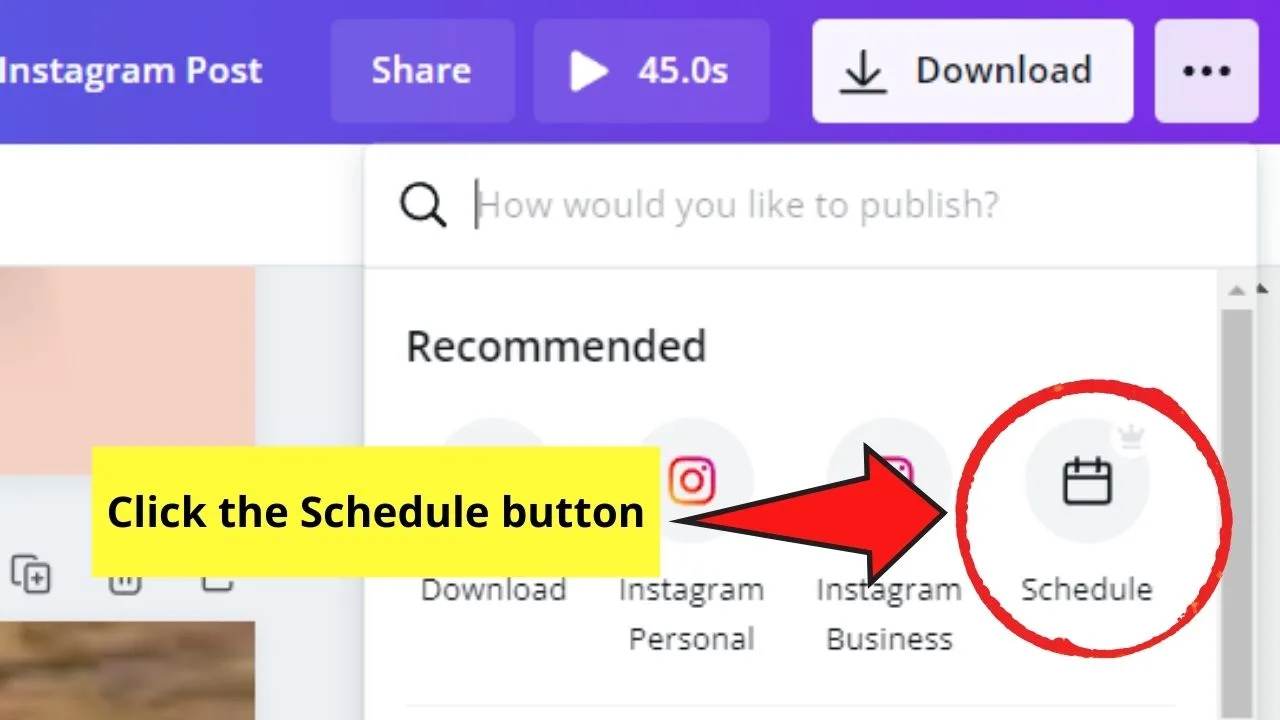
Step 1: Tap the ellipsis icon on the upper right of the menu bar.


Step 2: On the Recommended category of the dropdown menu, tap the Schedule button.

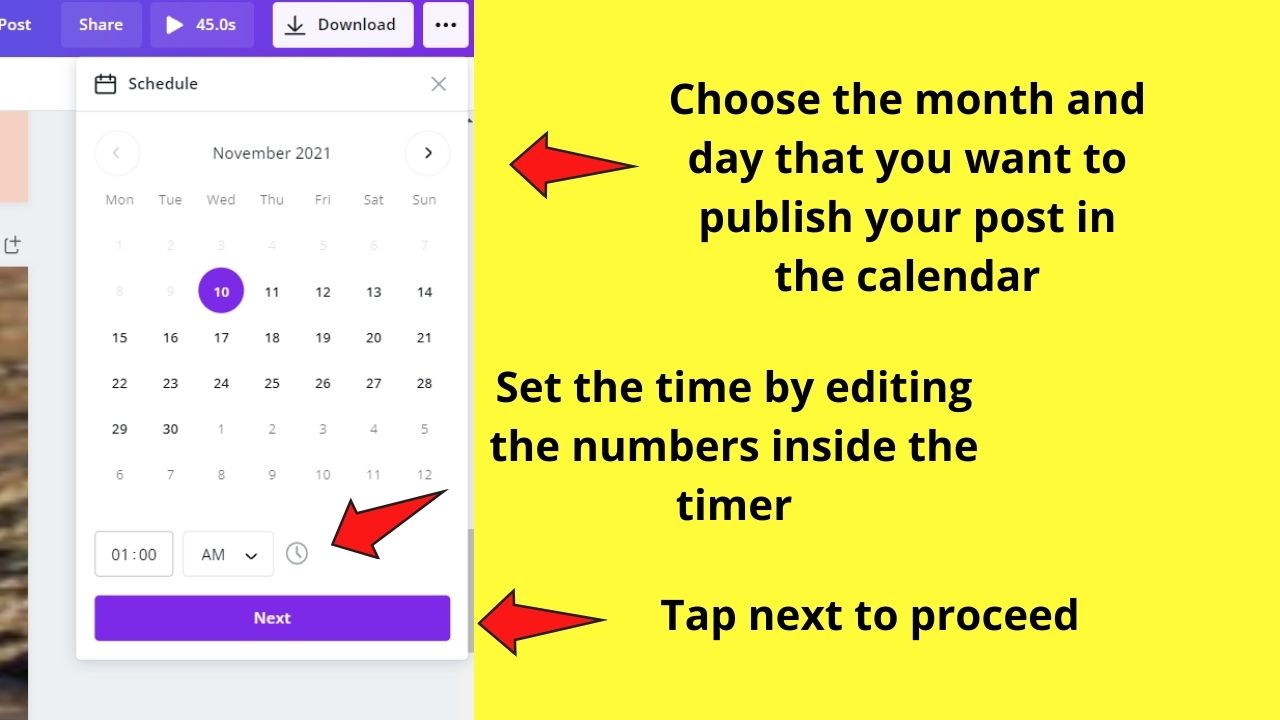
Step 3: Select the time and date (which is set automatically to your local time zone) you’d like to post your design on Insta. Then, tap the Next button.

Step 4: You will then be asked to select what channel you’ll publish your posts into. Select your Instagram Business account.

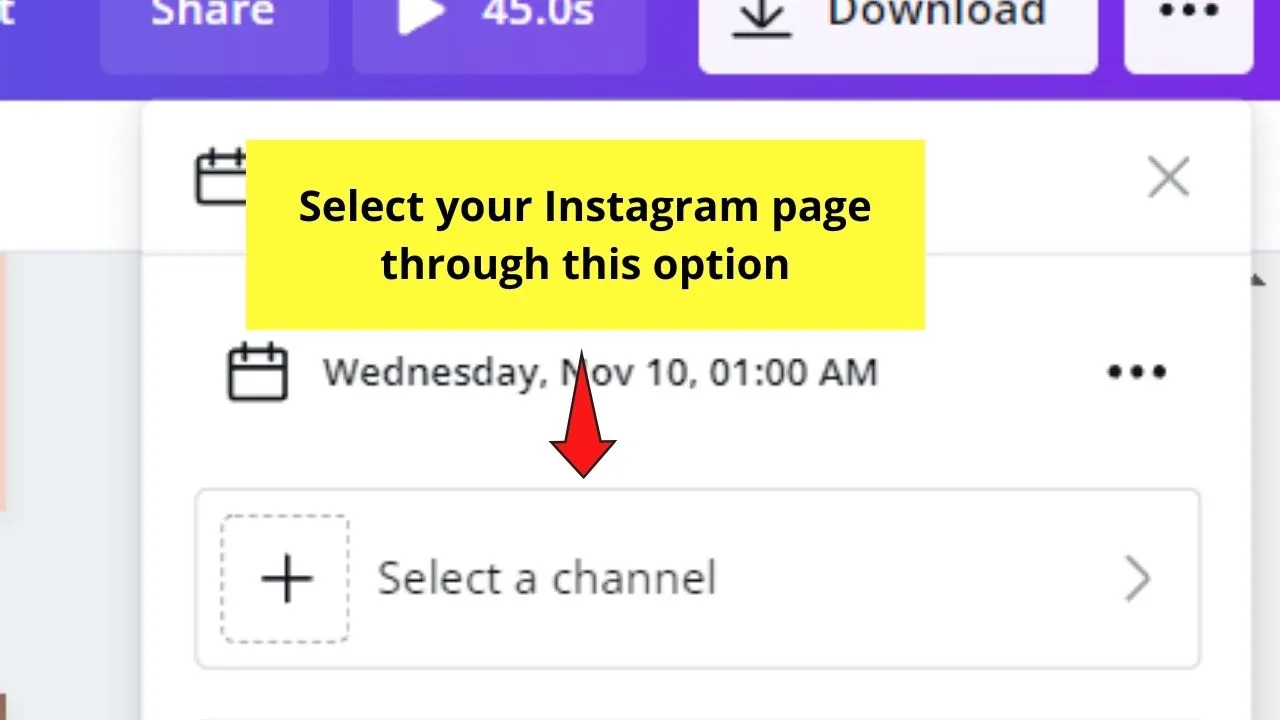
If your Instagram account isn’t connected to Canva yet, just click the Connect button and log in to your account.
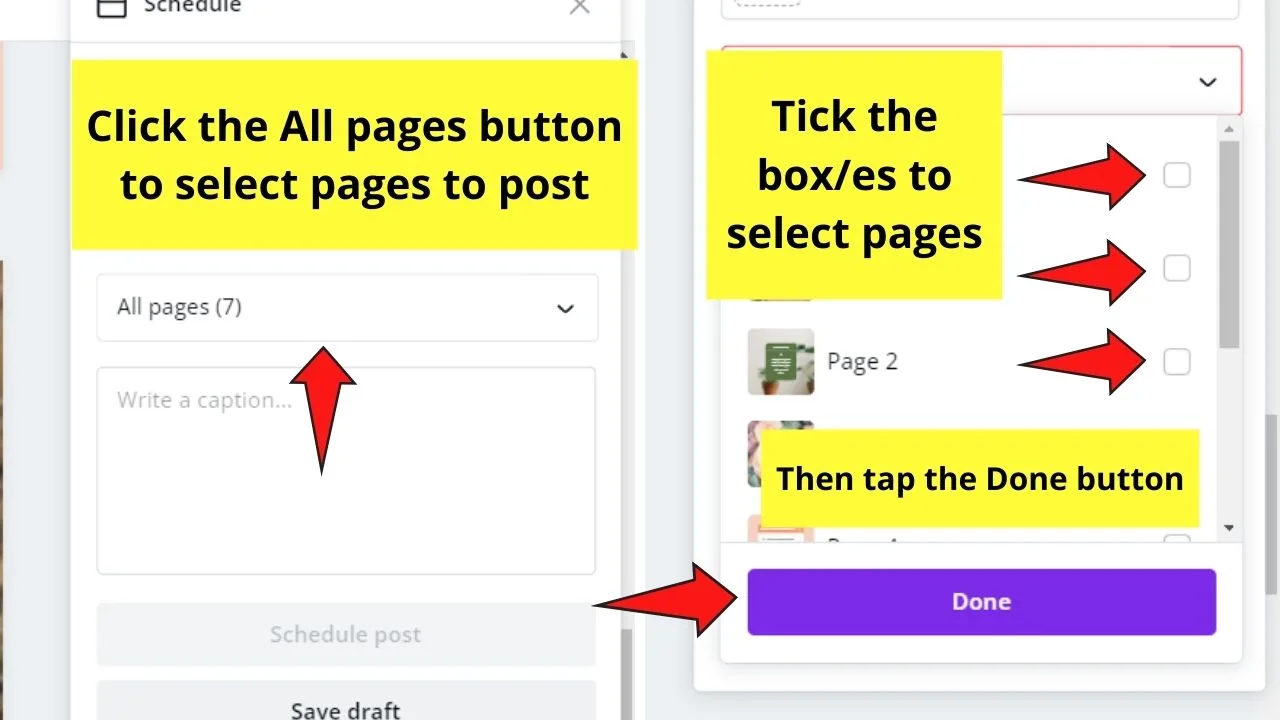
Step 5: Select the page or pages you’d like to publish by ticking on the corresponding boxes. Then tap the Done button.

Step 6: Type in your caption in the caption box provided.
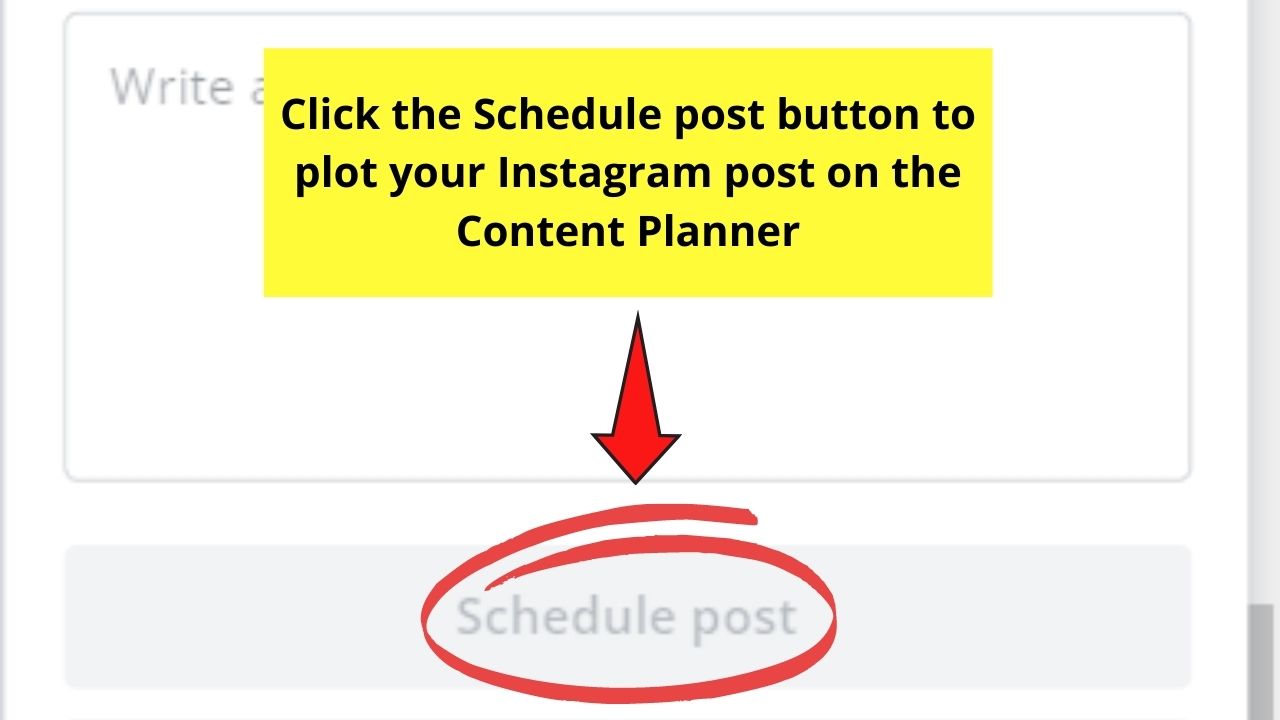
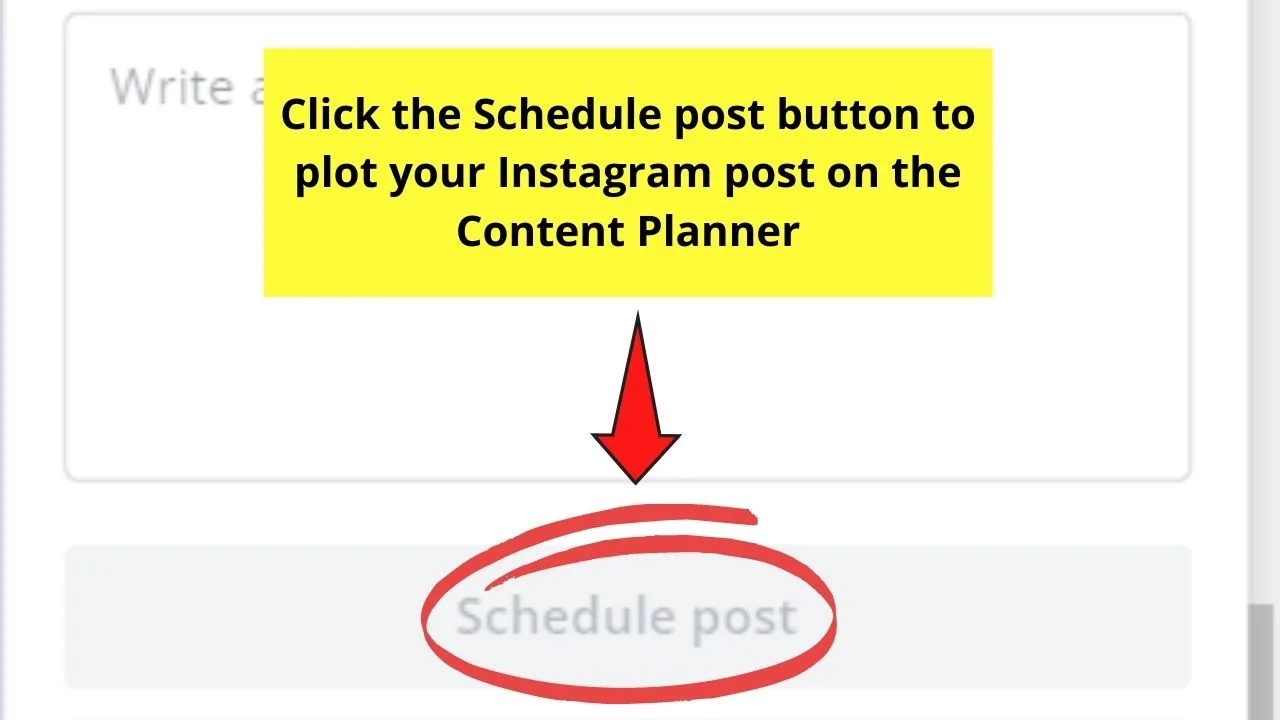
Step 7: Once everything’s set up, you can now click the Schedule post button to plot it on the planner.
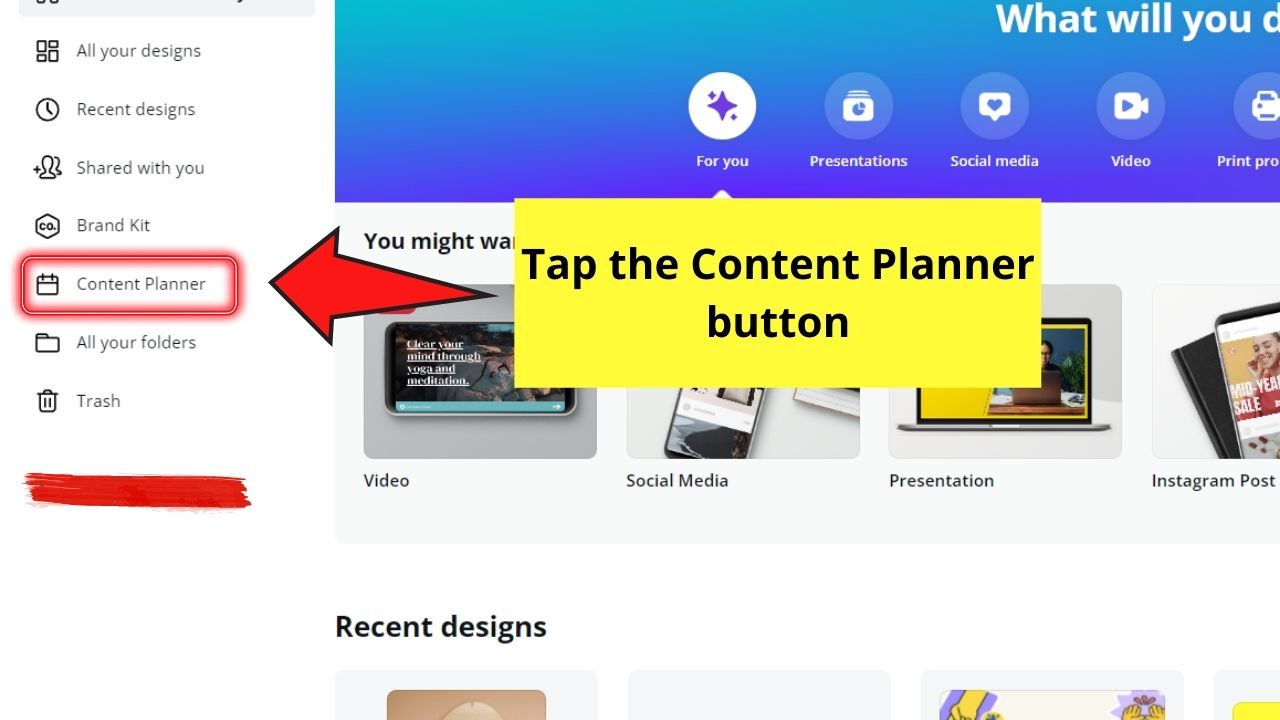
If, however, you’re on Canva’s homepage, tap the Content Planner tab on the left side menu.

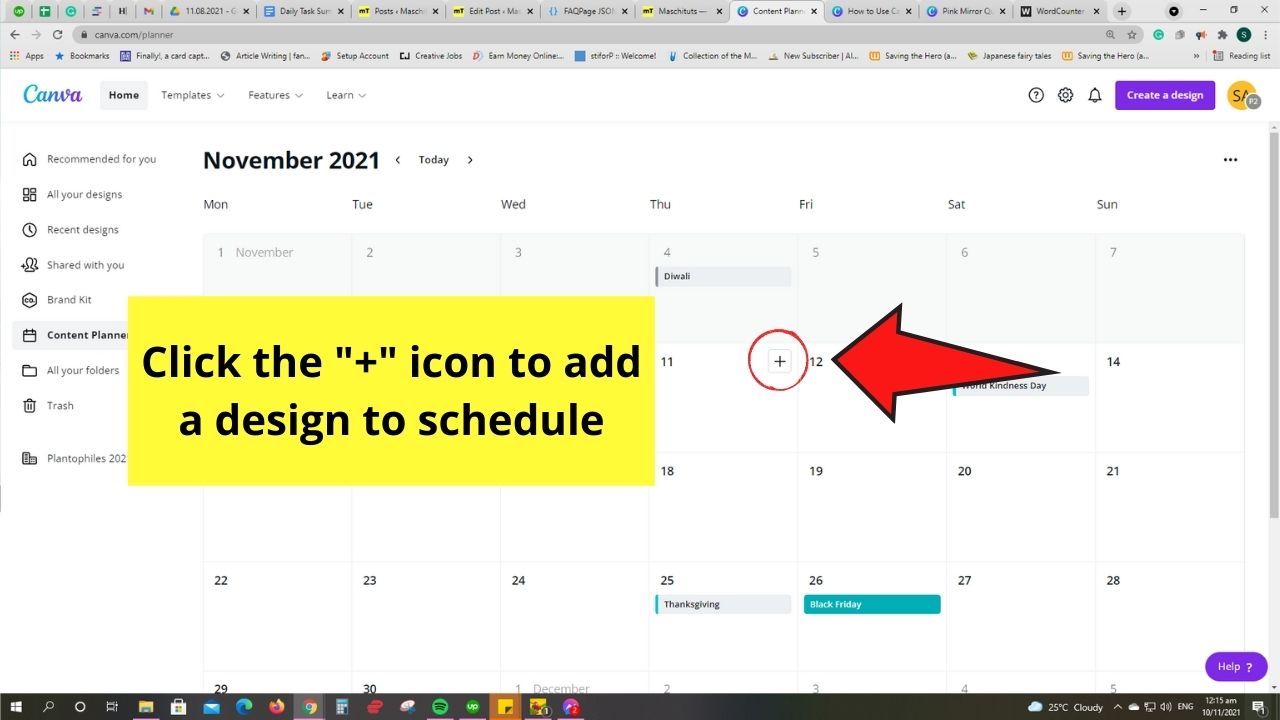
You will then see the calendar layout of the month you’re in. Just tap the “+” icon beside the date to directly schedule an Instagram post on it.

Pretty cool, right? So, don’t wait too long before you try this nifty feature out.
Frequently Asked Questions about How to Use Canva for Instagram
How will you connect your Instagram page to Canva?
First, you need to convert your Instagram personal account into a Professional, particularly a Business, one. After which, connect it with your Facebook page. Once you’ve successfully linked your Instagram page with Facebook, connect your Canva account with your Facebook page.
Is it required to link your Facebook page when switching into Instagram business?
Linking your Facebook page with your Instagram account isn’t necessary to switch into a business account. But, you’ll need to connect the two if you’re going to schedule posts to Instagram via Canva.
How many Facebook accounts can you connect with your Instagram Business page?
Only one Facebook account is allowed to be linked to a Business page on Instagram. Instagram currently doesn’t support multiple Facebook accounts associated with an Instagram account.
How many Instagram posts can you schedule in a day?
Canva currently allows up to 25 Instagram posts to be scheduled in 24 hours.
Can I connect my personal Instagram account to my Canva account?
Unfortunately, linking personal Instagram accounts to Canva can only be done in the Canva mobile app. You’ll need to switch to a Business account to fully enjoy the content planner feature that Canva offers for the web version.


Hey guys! It’s me, Marcel, aka Maschi. On MaschiTuts, it’s all about tutorials! No matter the topic of the article, the goal always remains the same: Providing you guys with the most in-depth and helpful tutorials!

