
You’re sitting in front of your Adobe Illustrator file. You did a good job, and you’re one step away from finishing your artwork, but maybe you feel like you can still play around with it a bit more, break things up a little to see what comes up.
You could also just need to refine and adapt an object or a group that you already made. Maybe you could cut some stuff out, divide some elements, and edit them separately so the whole design stands out more.
In Adobe Illustrator, the “Knife” is a useful tool for quickly dividing a shape or a path by simply drawing a cutline that can divide any shape into two or more parts.
It can cut any, and as many shapes as it’s dragged over (as long as they are unlocked).
Keep in mind that if nothing is selected previously, it will cut all available paths that you drag over. However, if you decide on a particular object before using the tool, it will only cut that one, leaving the rest of the elements on the canvas unbothered.
You can use the “Knife” tool by drawing a freehand cutline, and a straight line one if you hold the “Alt” or “Command” key while drawing it.
You can also make a cutline with a 45-degree angle, by holding the “Alt” or “Command” key and the “Shift” key at the same time you’re drawing the cut.
Now, this tool is one of the few in Adobe Illustrator that lacks settings. So, keep in mind that you’ll need to adjust the accuracy of it by adjusting the zoom. The closer you are, the more precise it becomes.
Simply follow the steps below to learn how it works; it’s really simple, and once you learn it, you’ll want to use it all the time!
How to use the Adobe Illustrator Knife Tool
Start by selecting the “Knife” tool from the main toolbar. Now, drag the mouse above the shape or path that you want to cut, making sure you begin and end your cutline away from the shape. Once you are done, the shape will be divided into two or more different new shapes, and you can work on them as separate objects.
How to use the Adobe Illustrator Knife Tool: Step-by-step guide
Before you start testing the tool also know that this is never going to work over open paths without a fill, and neither over other objects, such as pixel images or text that isn’t converted to outlines yet.
It will also not work if you draw the cut from the inside of the shape and do not get it outside of the edges.
This tool can be a lot of fun to use because it gives you a lot of freedom when using the freehand line. The sky is the limit!
The best part is that you can draw across two or more paths at the same time to cut them with the same line! And, while in freehand mode, the line will automatically simplify on the fly to make it look clearer.
Just keep in mind that once the cut is made, the path cannot be changed. But don’t worry, because you can always use the beloved “Ctrl+Z” keyboard shortcut (or “Command+Z” if you’re a Mac user) to undo any mistakes you made and try again as many times as you need!
Step 1:
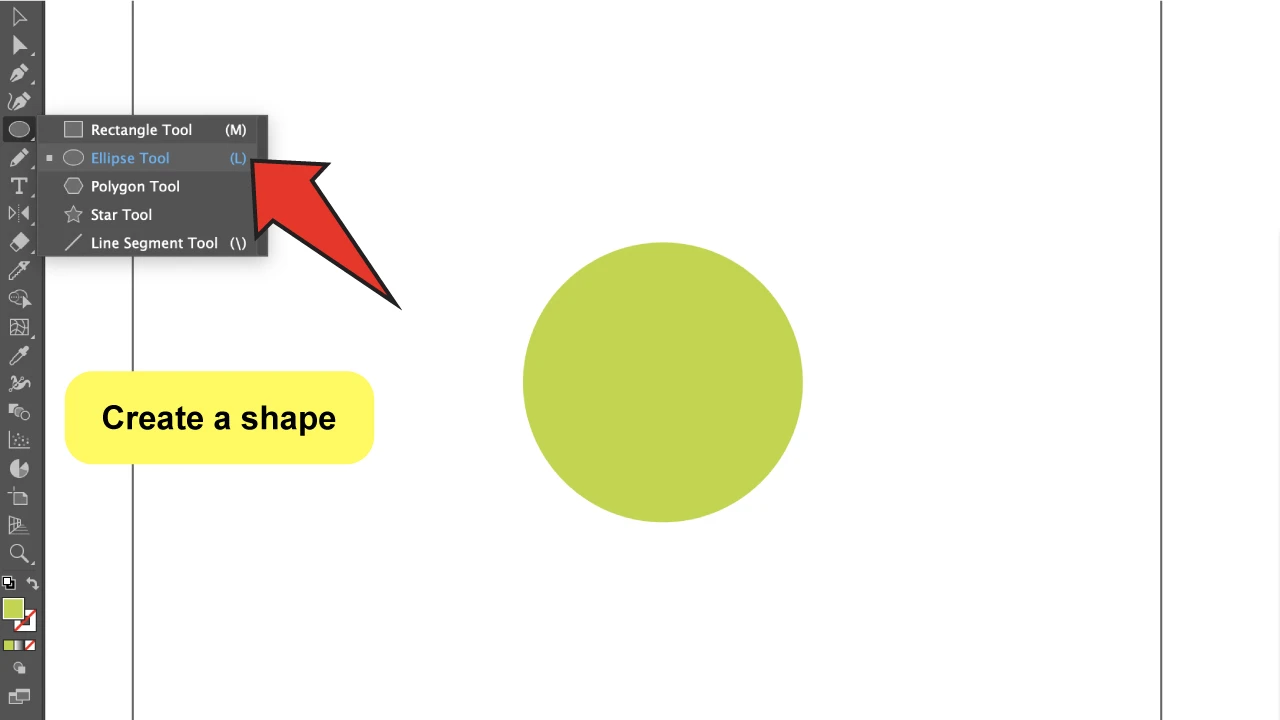
Find or create the shape you want to cut. First you are going to need a shape.


You can use any of the preset shapes in the toolbar or create your own. It doesn’t matter if you select it or not, the tool will work either way.
If you only want to cut just one (or more) of the shapes in a group, just select the shapes you want to cut and the rest will remain unaffected. But if you drag the tool over multiple shapes, it will cut them all.

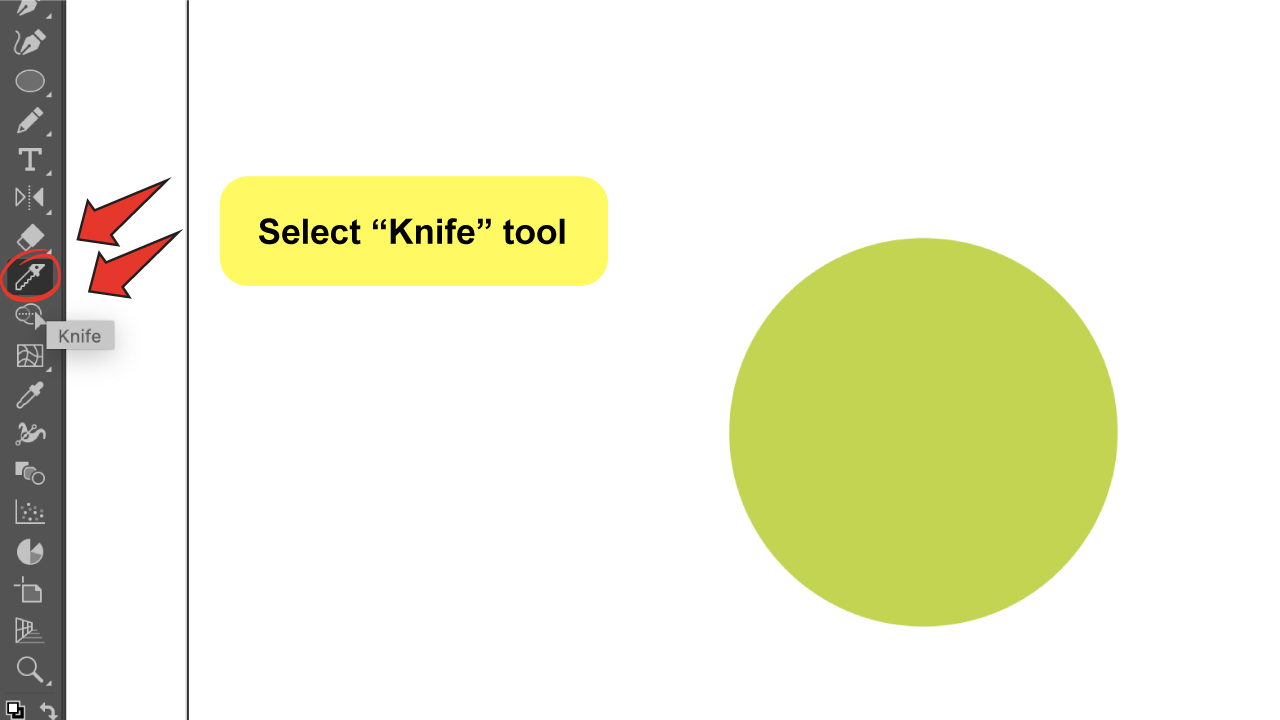
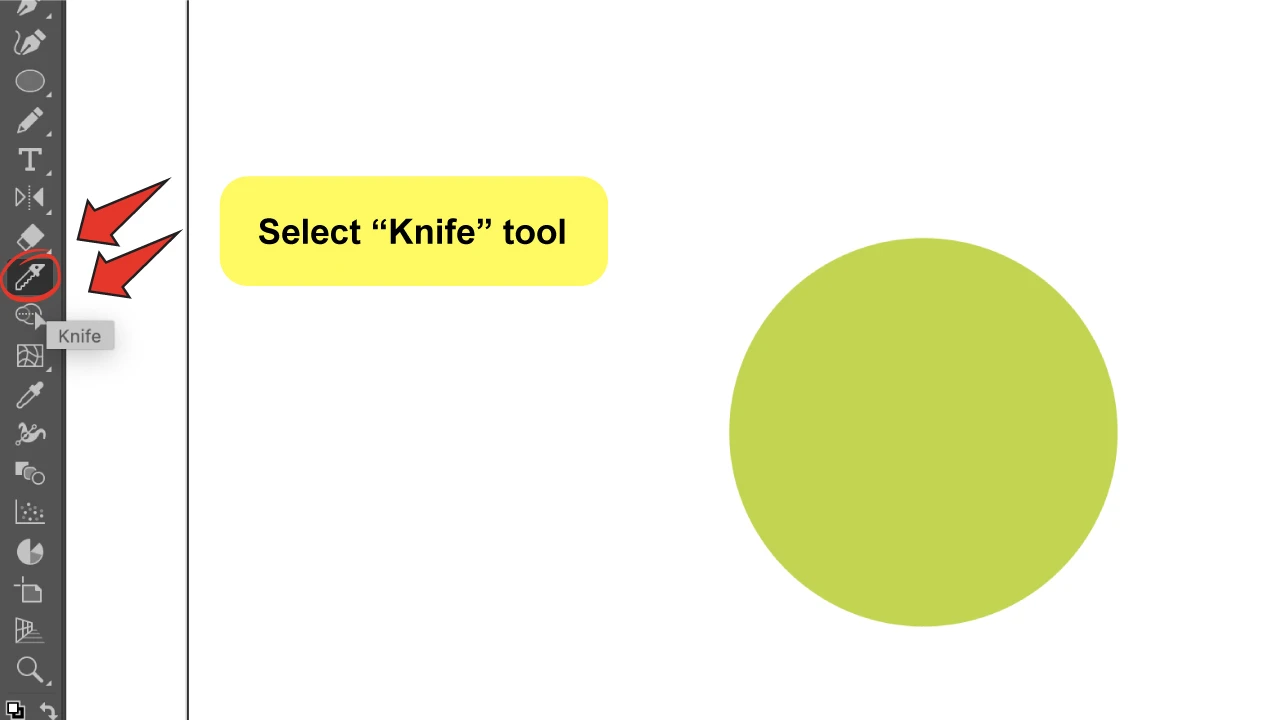
Step 2:
To find and select the tool. Be aware of confusing the “Knife” tool with the “Slice Tool.” The “Knife” tool should be placed near the “Eraser Tool,” in the sub-menu that we previously explained how to open.
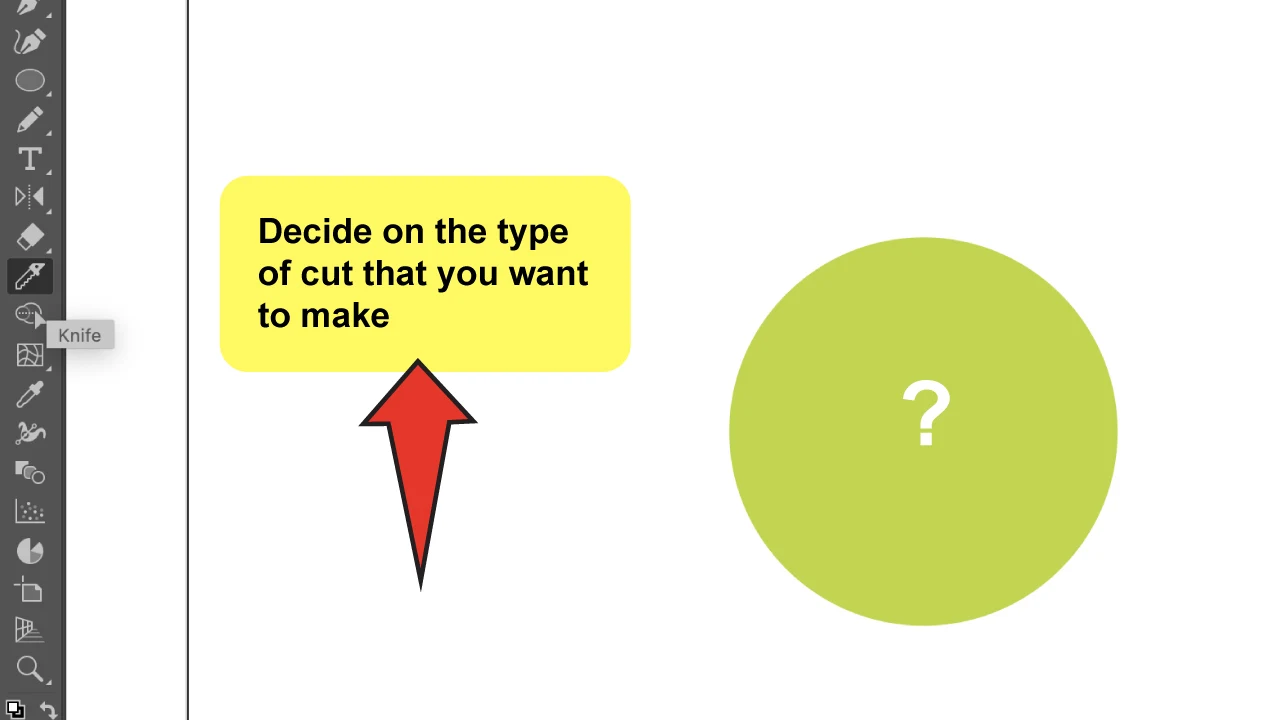
Step 3:
Decide on the type of cut you want to make.
It’s necessary to take into consideration that you can use this tool freehand or make a straight cut in any direction by holding down the “Alt” key while cutting.
By pressing the “Alt” and “Shift” keys together, you can also create a straight horizontal line, a 45-degree line, or a straight vertical line.
So, before you get started, I recommend deciding what kind of end result you want.

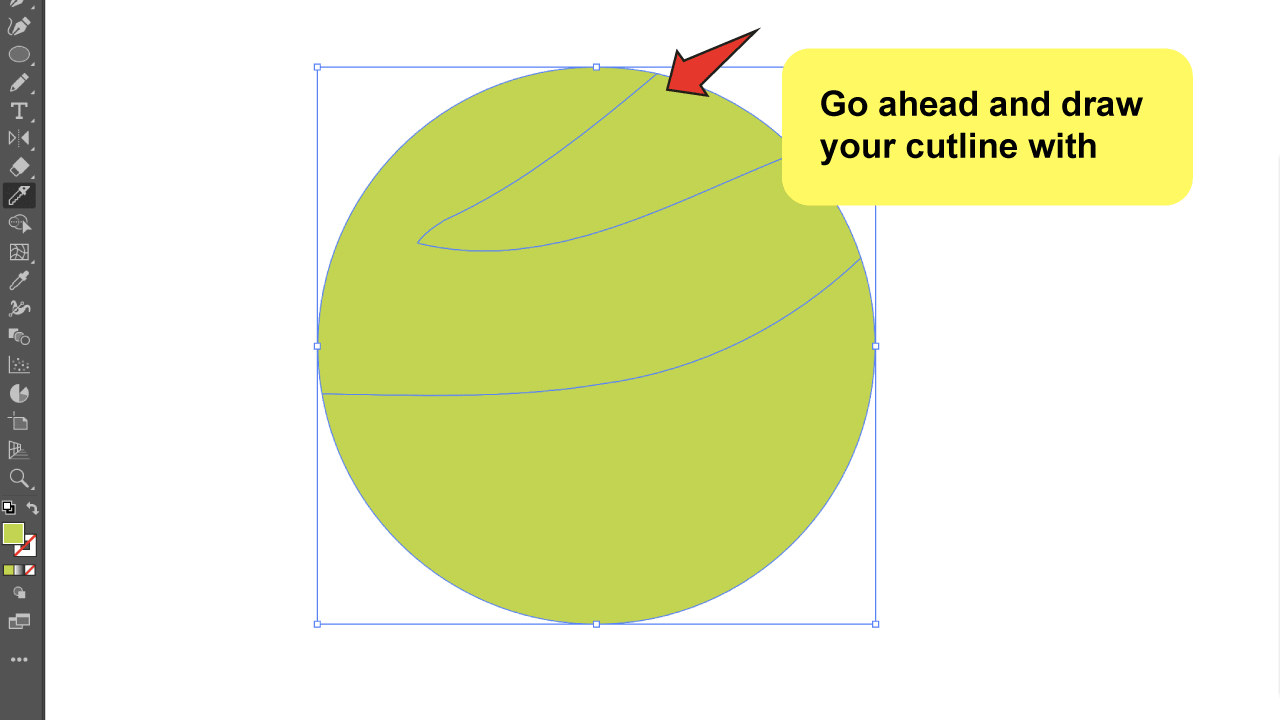
Step 4:
Draw your cutline.
You can hold and drag to draw a first cutline while moving your mouse, pad, or digital pen, just make sure to start and end the cutline away from the shape to ensure the cut was successful. You can do as few or as many cutlines as you want!
This tool gives you a lot of flexibility, and you can get really good and quick results.
And wow, you did it!

Frequently Asked Questions About How to Merge Layers in Illustrator
What’s the difference between the “Slice Tool” and the “Knife Tool” ?
Even though “Slice Tool” sounds similar to the “Knife”, it’s a tool used for web design, and it has nothing to do with the use of the “Knife” tool.
Why can’t I find the “Knife” tool on my Toolbar?
If the tool isn’t paired with the “Eraser Tool,” look for it at the bottom of the toolbar under the three dots icon. You can see all of the available tools. Find the “Knife” and drag it to your toolbar.


Hey guys! It’s me, Marcel, aka Maschi. On MaschiTuts, it’s all about tutorials! No matter the topic of the article, the goal always remains the same: Providing you guys with the most in-depth and helpful tutorials!

