Canva is an amazing tool.
I actually use Canva on a daily basis to run my blogging business.
Compared to professional software such as Adobe Photoshop and Adobe Illustrator, working in Canva is extremely fast & efficient.
Everything can be done really really fast…
…really?
Well, almost everything.
It seems that there are still a couple of basic functions missing in Canva, though.
For instance, when creating video slideshows, there is currently no option to change the duration of each individual slide.
But also when adding and editing text, there used to be a couple of very basic functions that just simply did not exist in Canva (yet).
One of these things was the ability to underline text. Canva simply didn’t offer this function..
…until very recently!
Now, they actually added it to Canva.
Finally.
So how do yo underline text in Canva, then?
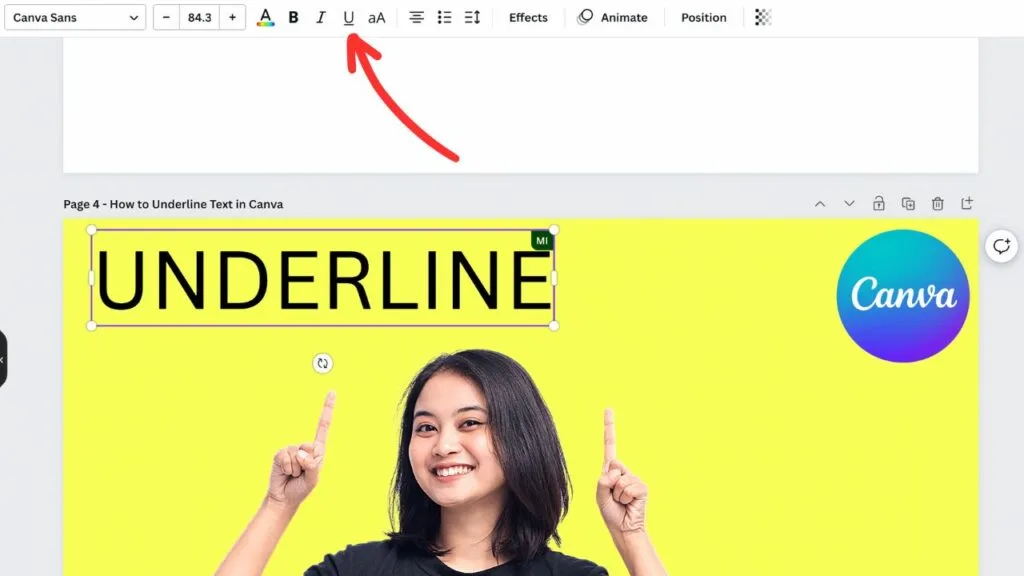
To underline text in Canva, select your text and then click on “Underline” in the top toolbar. Alternatively, you can also just select your text and then press COMMAND + U (MAC) or CTRL + U (WINDOWS) to underline text in Canva.
Changes are that you have simply missed the “Underline” button in the top toolbar. Or maybe, if you have been a long-time user of Canva and experienced the times where the Underline feature was simply not present, you might have thought that there simply is easy no way to underline text in Canva.
Well, as you know now, there is one. Let us quickly have a look at the steps to underline text in Canva.
Step 1: Left-click on your text to select it

Step 2: Click on “Underline” in the top toolbar

Canva just recently introduced the underline feature
It is hard to believe that Canva did not have an option to underline for a pretty long time.
Back in the days, underlining in Canva could only be done by using a little workaround…
Let’s have a look at how this was done in ancient times:
Underline text in Canva the Old-School Way

Instead of using the official underline function of Canva (just select text and press cmd + u or ctrl + u if you are on a Windows PC), you can also add an underline to your text by doing the following:
In your Canva Dashboard, choose “Elements” from the left sidebar. Type in “line” in the search field.
Now, select the first line that Canva will present to you.
Add this line to your project.
You can now simply resize that line and then stretch it out to your liking (to match the length of your text).
Once you have the ideal size, just move that line beneath your text and you got your underline.
The advantage of doing it this way is that you can actually change the color of this underline.
For more tutorials on Canva and blogging in general, please visit Maschituts on Youtube.

Hey guys! It’s me, Marcel, aka Maschi. On MaschiTuts, it’s all about tutorials! No matter the topic of the article, the goal always remains the same: Providing you guys with the most in-depth and helpful tutorials!


