

Did you write a text in Adobe Photoshop and now you need to underline it?
You would think that this would be an easy feat…
Well, think again.
While underlining text in Photoshop is not difficult, it is just not that straightforward.
Nothing to worry about, still. Just read through this article and you will know how to underline any kind of text in Photoshop without any issues.
How to underline text in Photoshop
Type the text with “Type Tool”. Open the “Character Panel”, by going to the main menu. Click on the “Window”, select “Character” and the options panel will pop up. Select the text that needs to be underlined and choose the underlined option from the panel.
Step 1:
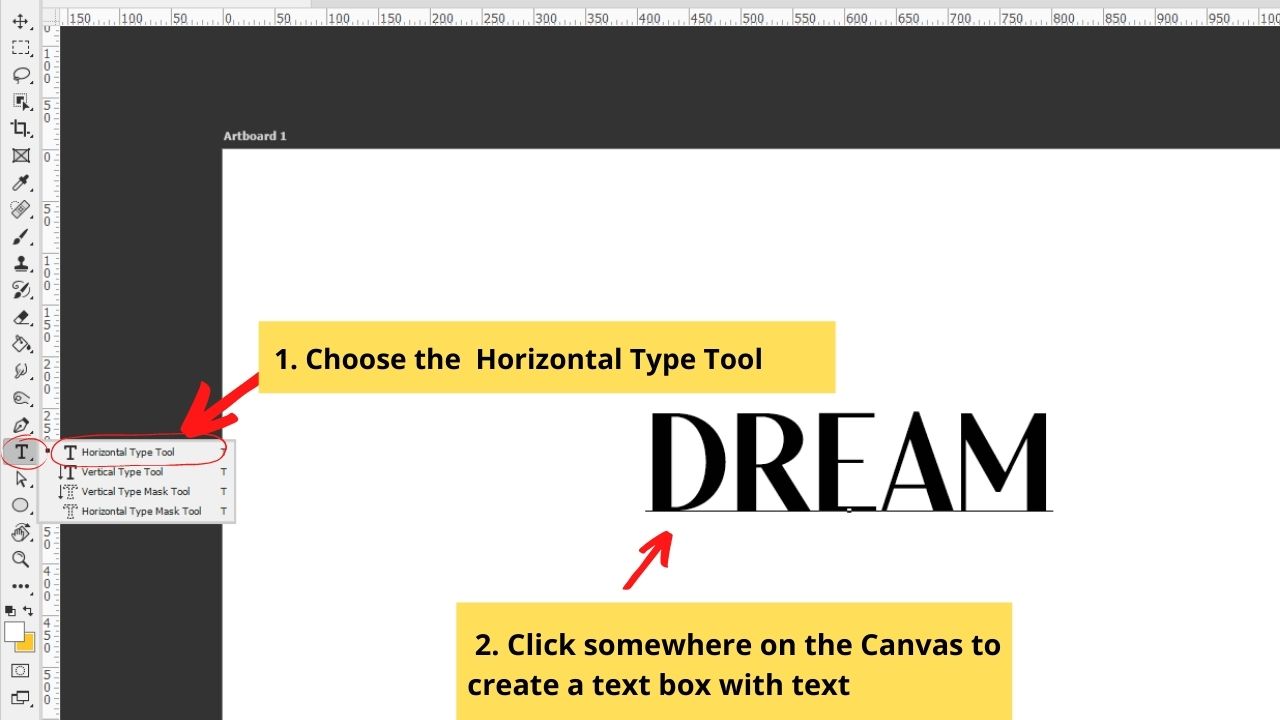
Create a text box and text. In the Tools menu, select the “Horizontal Type Tool”, click anywhere on the canvas and start typing your text. The shortcut for “Horizontal Type Tool” is the letter T on your keyboard.

Step 2:
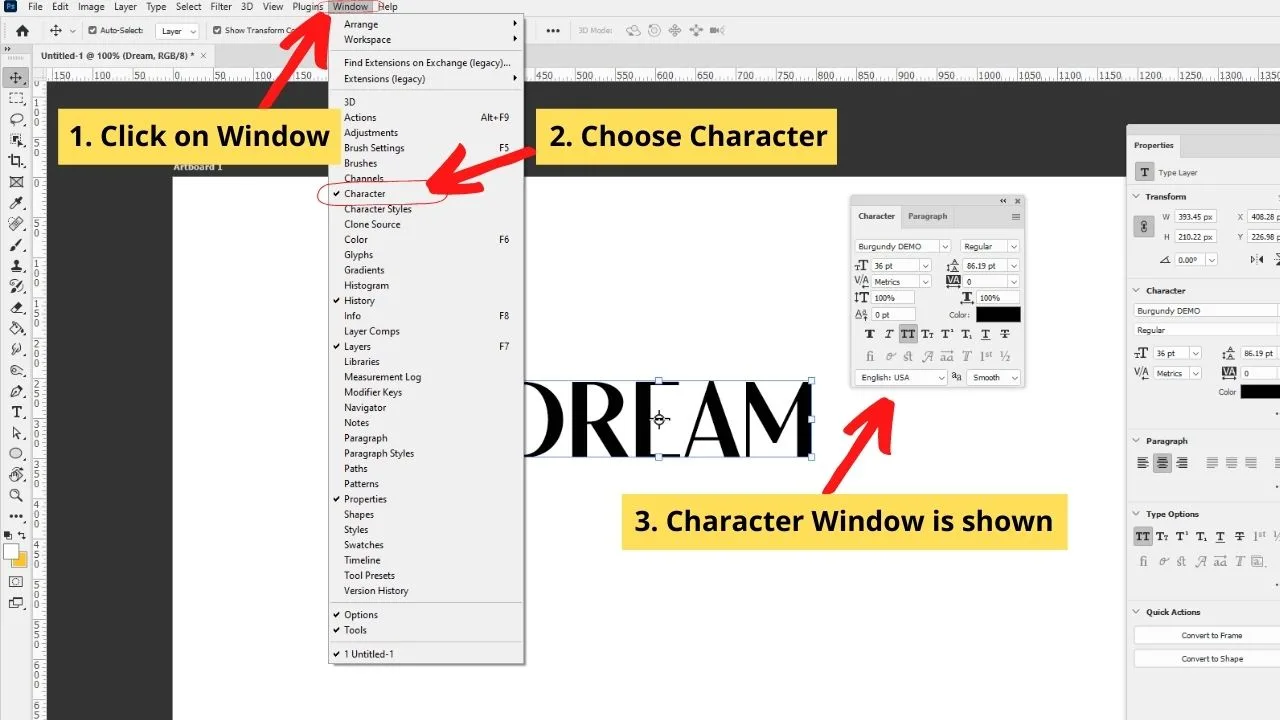
Open the Character Panel. If you cannot find the “Character Panel” in your workspace, you can open it. To do so, go to the main menu on top and click on “Window” and then select “Character” to open up the Characters window.

Step 3:
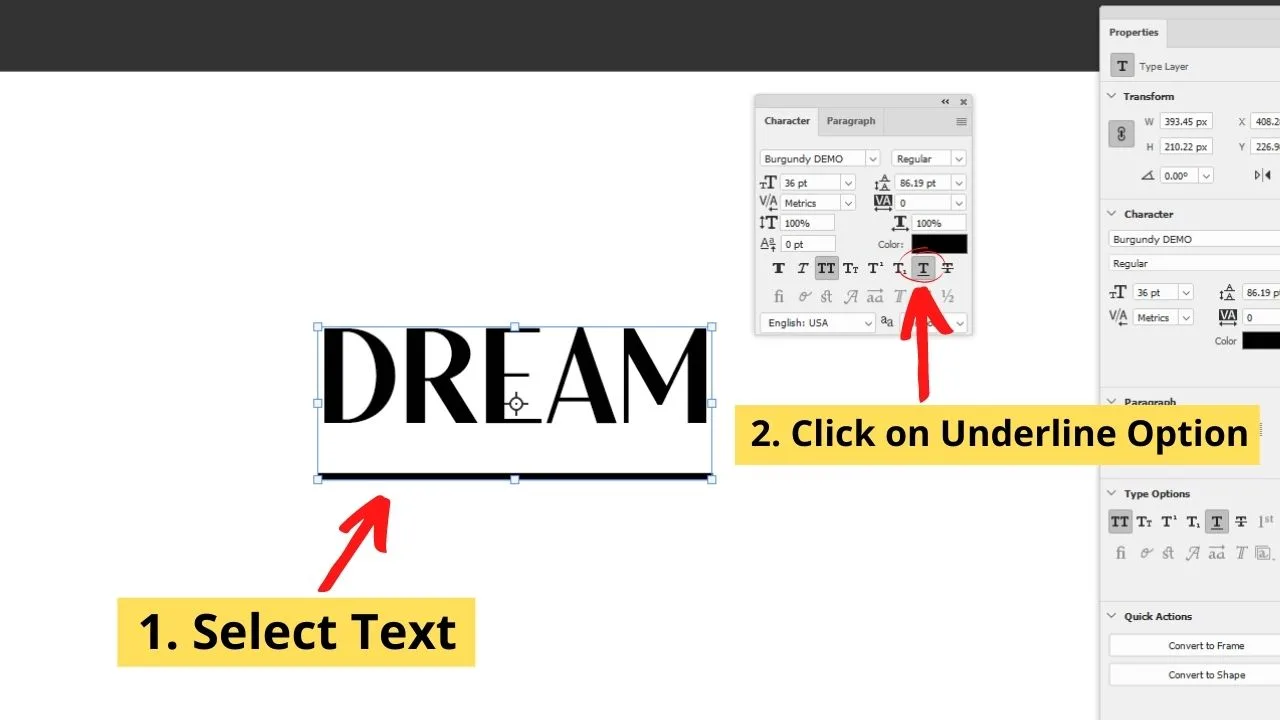
Adjust the Text. Select the text layer from the “Layers Panel” or simply double-click on your text to select and highlight it. Then, in the “Character Panel” find the options for changing the text, presented with different types of the letter T.
To underline your text, use the underlined letter T.
After clicking on the option, your text will be underlined immediately.
If you want to underline just part of the text, then this is possible as well. To do so, make sure to only select (highlight) the part of the text that you would like to underline and then press on the underlined T-Symbol in the “Character Panel.”


How to underline text in Photoshop using the Line Tool
- Select the Line Tool in your toolbar
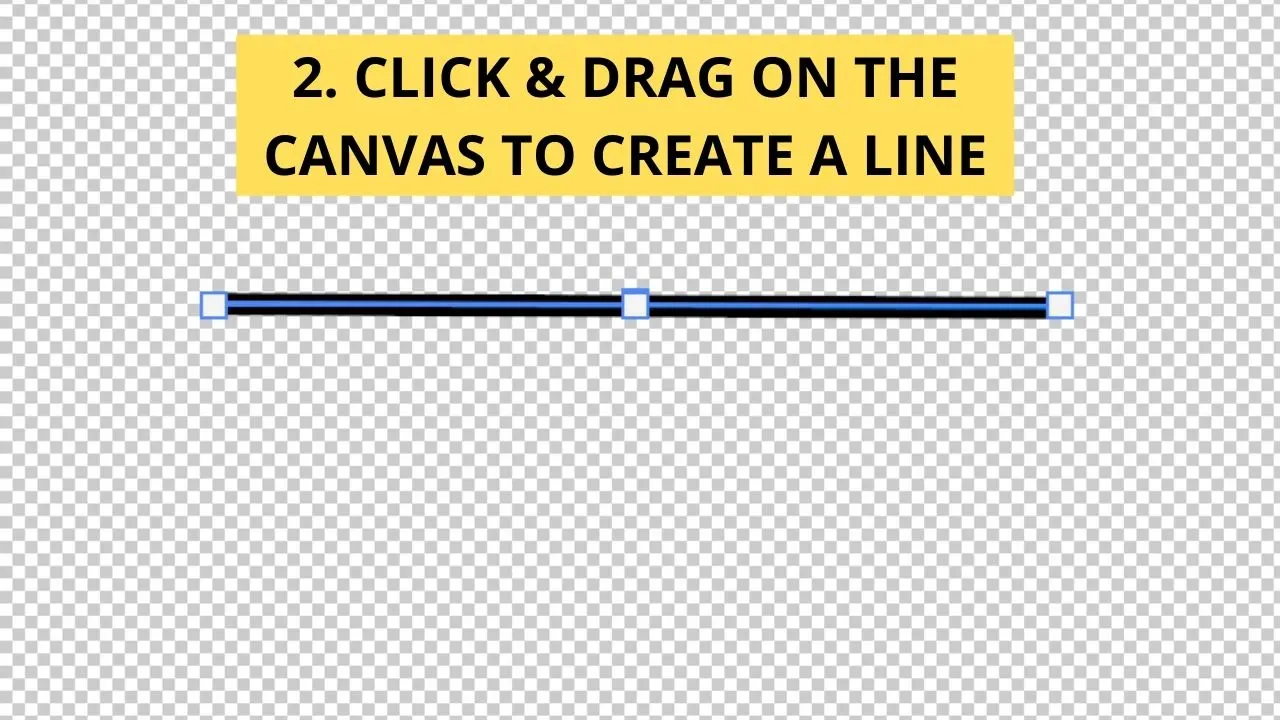
- Then, click and drag on the canvas to create a line
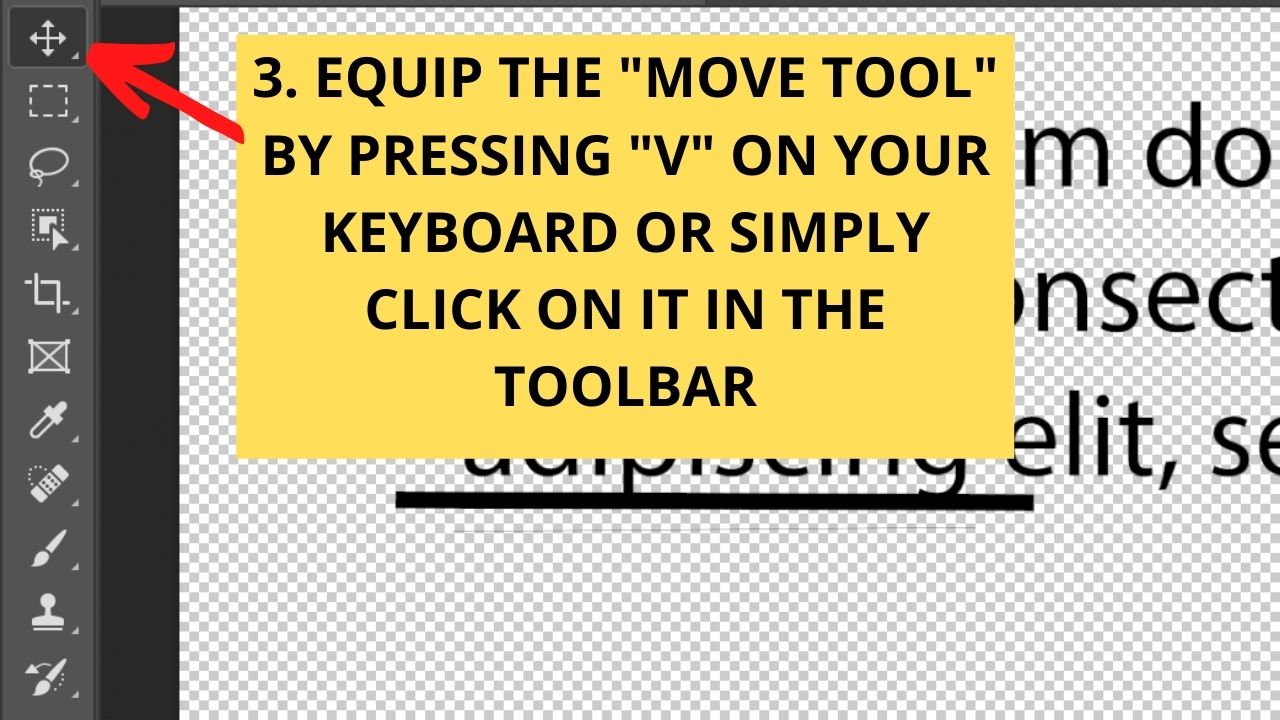
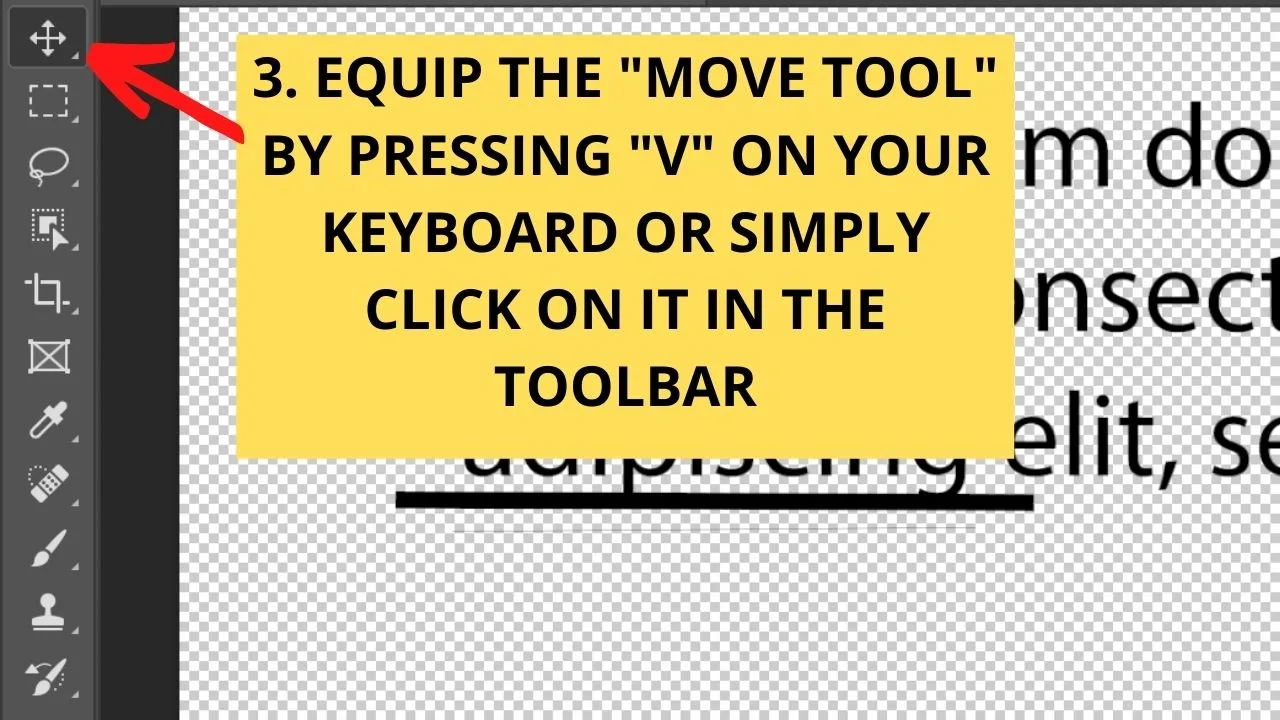
- Make sure to equip the Move tool by pressing V on your keyboard
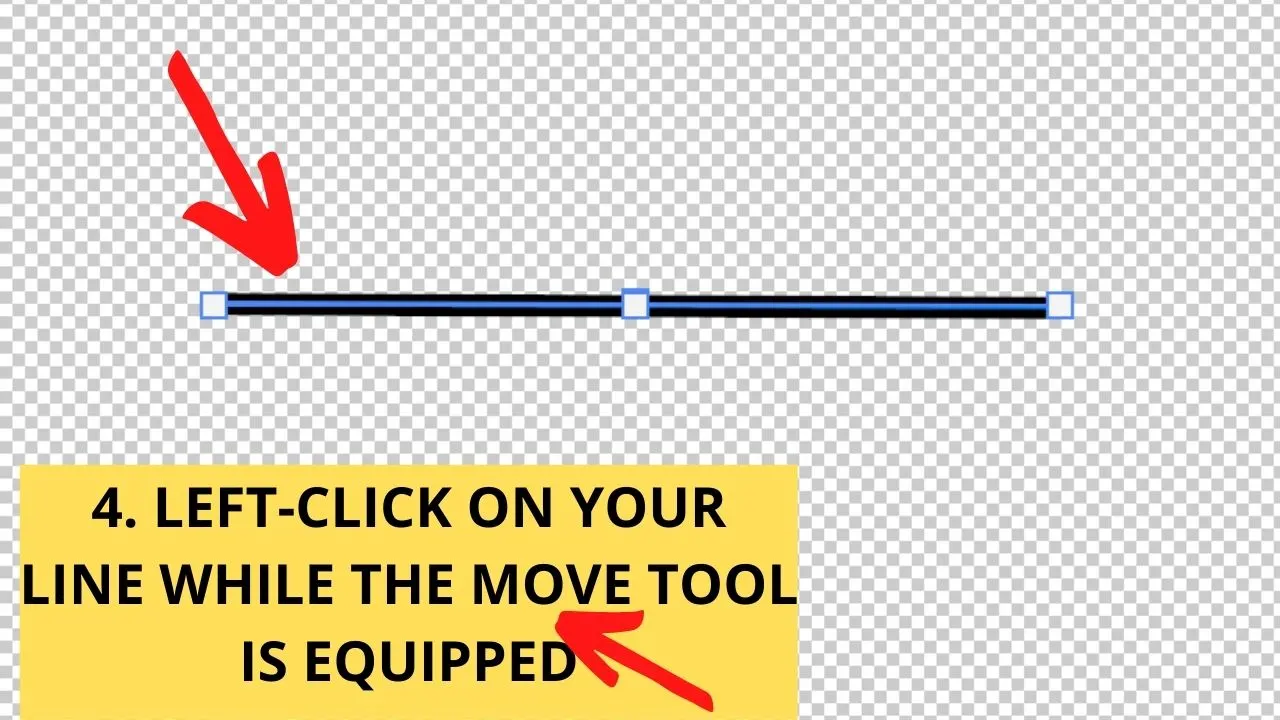
- Left-click on your line
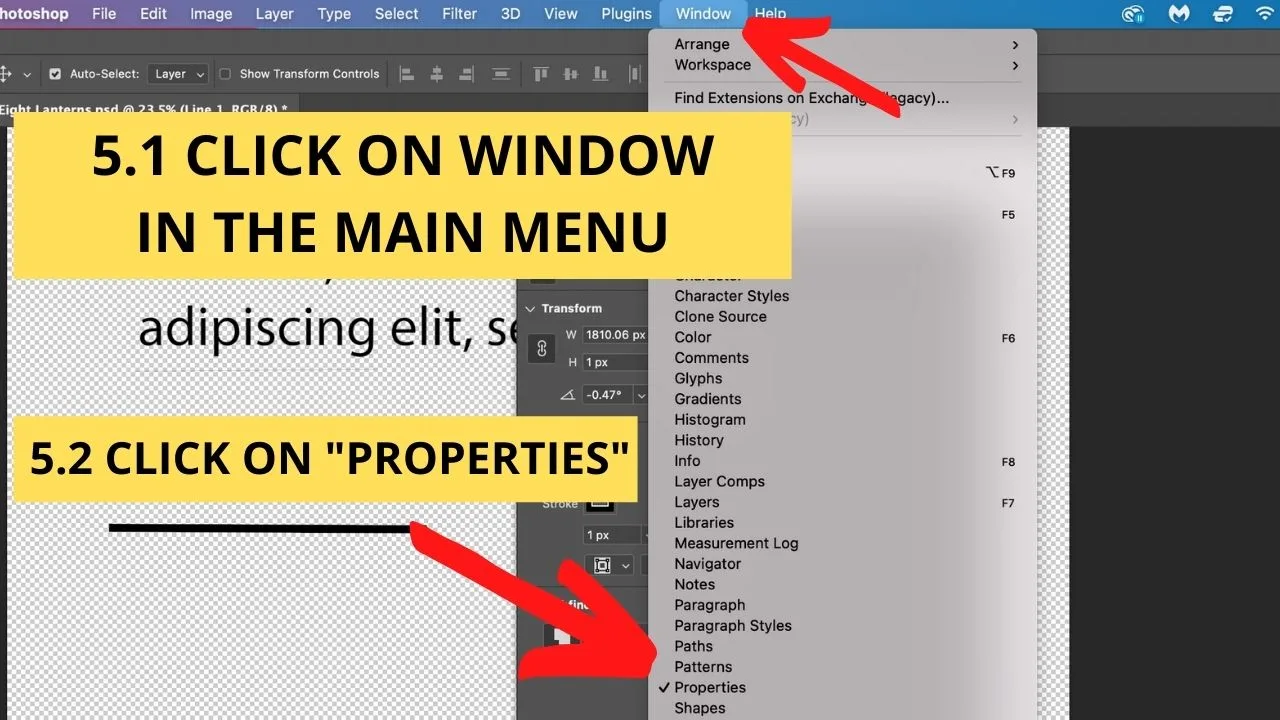
- Open the Properties window by clicking on Window in the main menu, followed by “Properties”
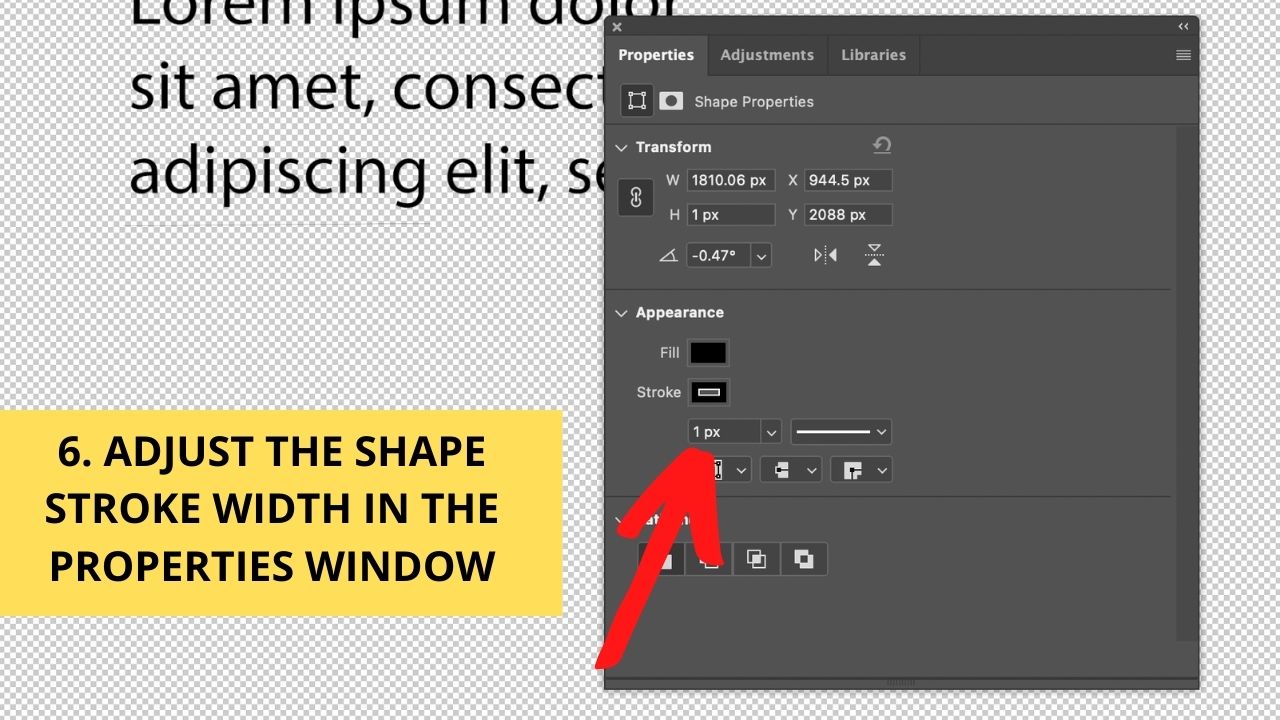
- Adjust the Shape stroke width
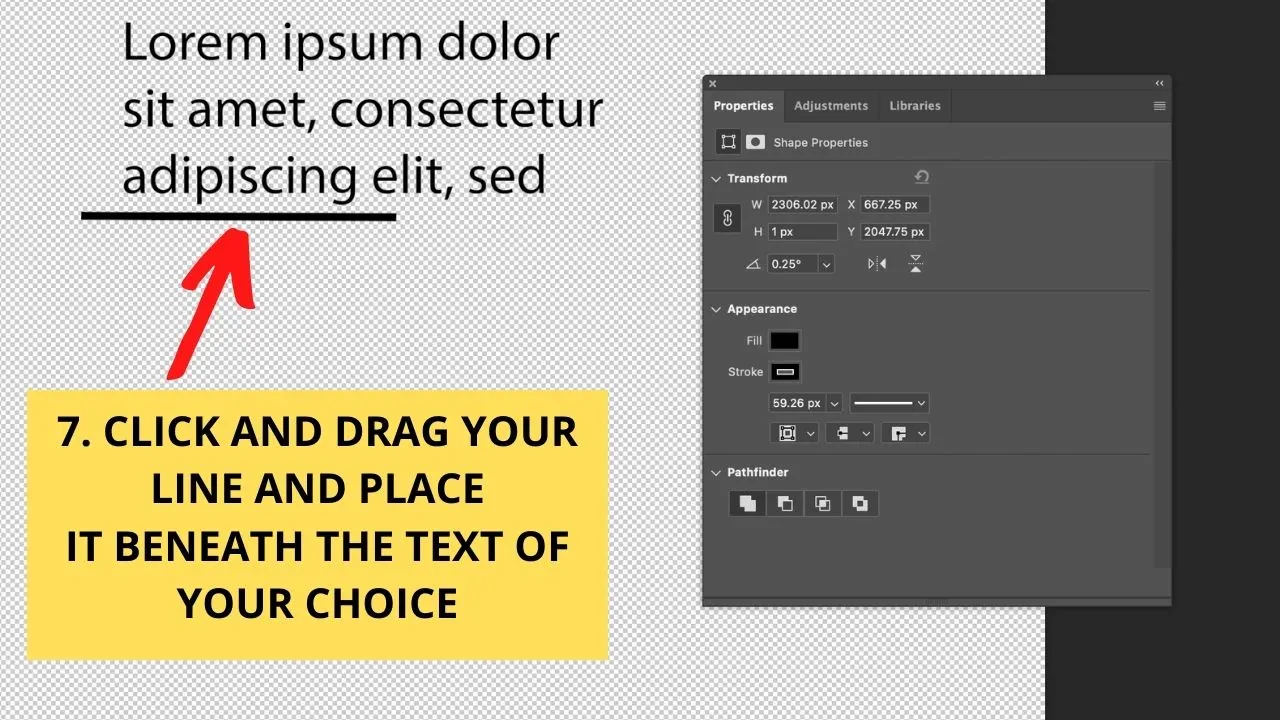
- Click and drag your line and place it beneath the text of your choice
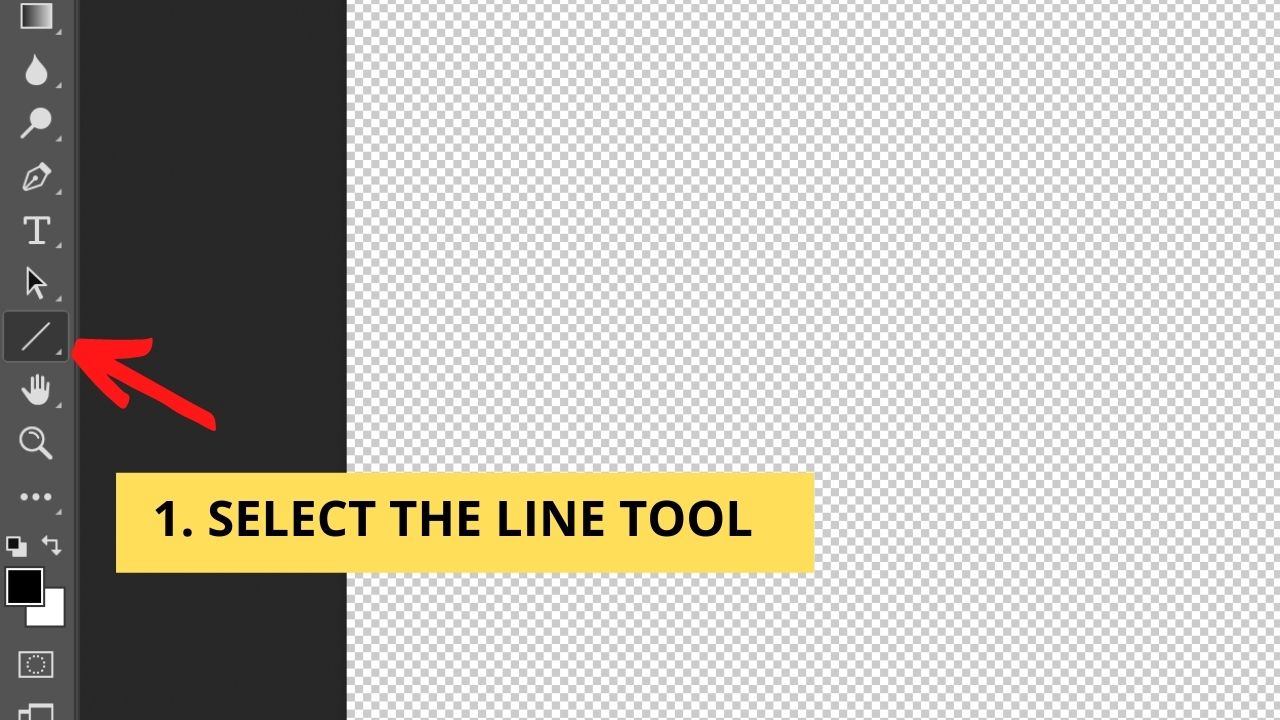
Step 1: To underline text with the Line Tool, first make sure to select the Line Tool in your toolbar. You can do so by either clicking “U” on your keyboard (and then you might need to right-click on the selected tool and choose the Line Tool from there) or by directly clicking on the Line Tool in the toolbar in case it is already located there.

Step 2: Now click and drag on the canvas to create a line on your canvas.

Step 3: Equip the Move tool by either pressing V on your keyboard or by simply clicking on the Move Tool directly in the toolbar.
Step 4: Left-click on your line (The Move Tool still needs to be selected!).

Step 5: In the main menu on top, choose “Window” and then select “Properties.”

Step 6: Adjust the thickness of your line by adjusting the shape stroke witdth in the “Properties” window. To start off with, your line will most likely be too thin (1 px). Change the px size to make it more thick if necessary.

Step 7: Now move your line by clicking on it (hold!) and then drag it to your desired location on the canvas (drag it beneath the text of your choice, so that it can function as a text underliner).


Hey guys! It’s me, Marcel, aka Maschi. On MaschiTuts, it’s all about tutorials! No matter the topic of the article, the goal always remains the same: Providing you guys with the most in-depth and helpful tutorials!

