

Everyone knows that Google Docs is Google’s counterpart of the famous Microsoft Word.
At first glance, there’s not much difference in the functionality of both word processing tools.
But, when you try viewing two pages side by side in Google Docs or overlapping images, you’ll find that Google Docs is somehow lacking in these areas.
Yet, you still can overlap images in Google Docs as easily as 1-2-3.$
Here’s how.
How to Overlap Images in Google Docs
Another Method: Overlapping Images by Adjusting Text Wrap
Frequently Asked Questions about Overlapping Images in Google Docs
How to Overlap Images in Google Docs
To overlap images in Google Docs, follow these steps:
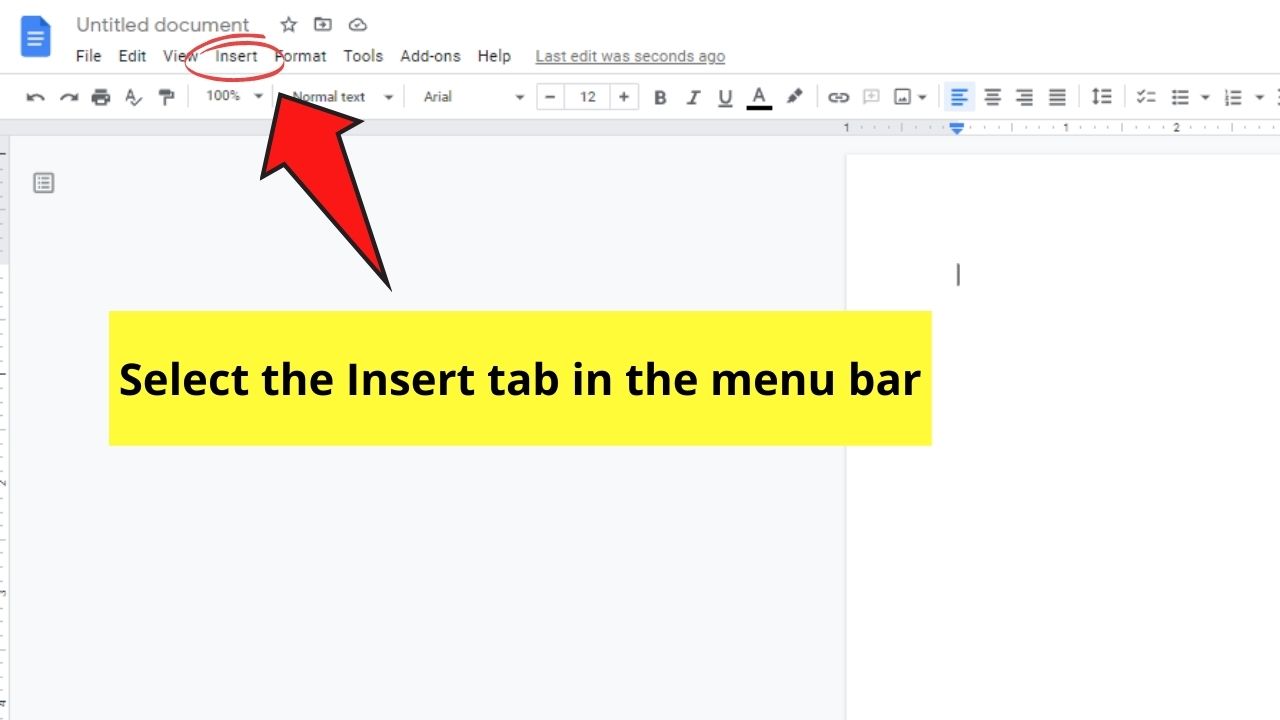
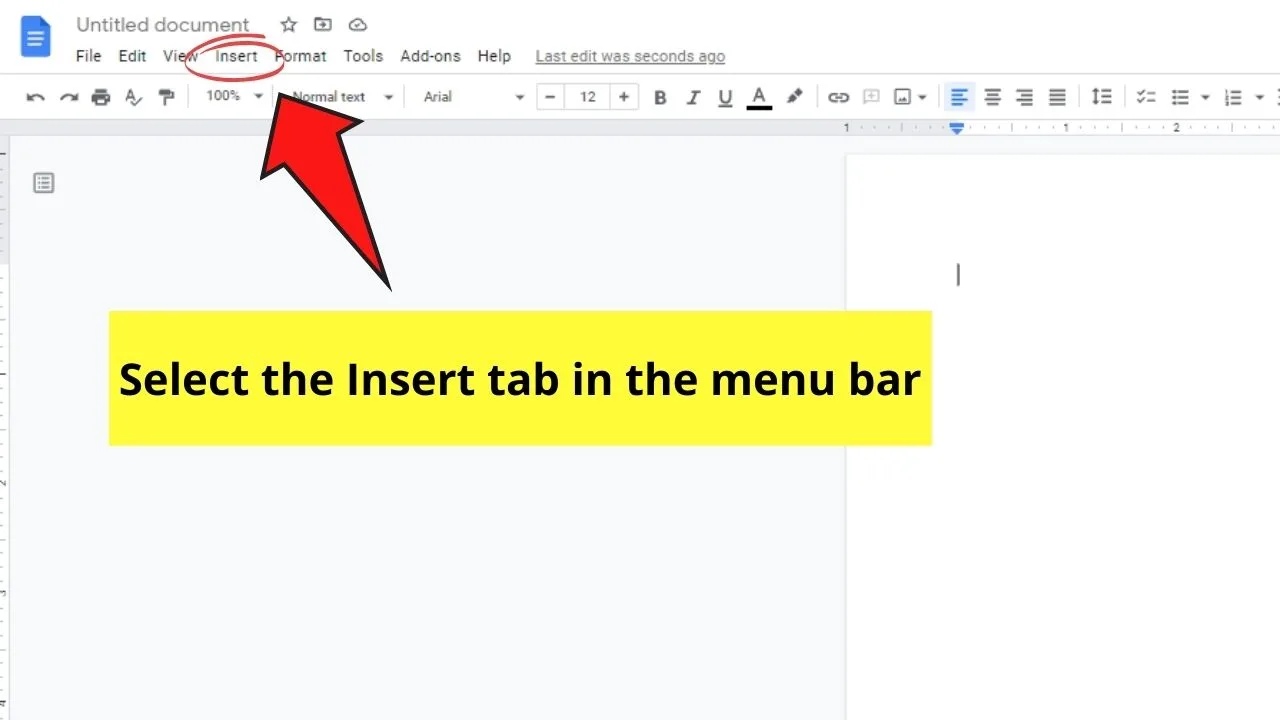
- Go to the menu bar and click the “Insert” tab
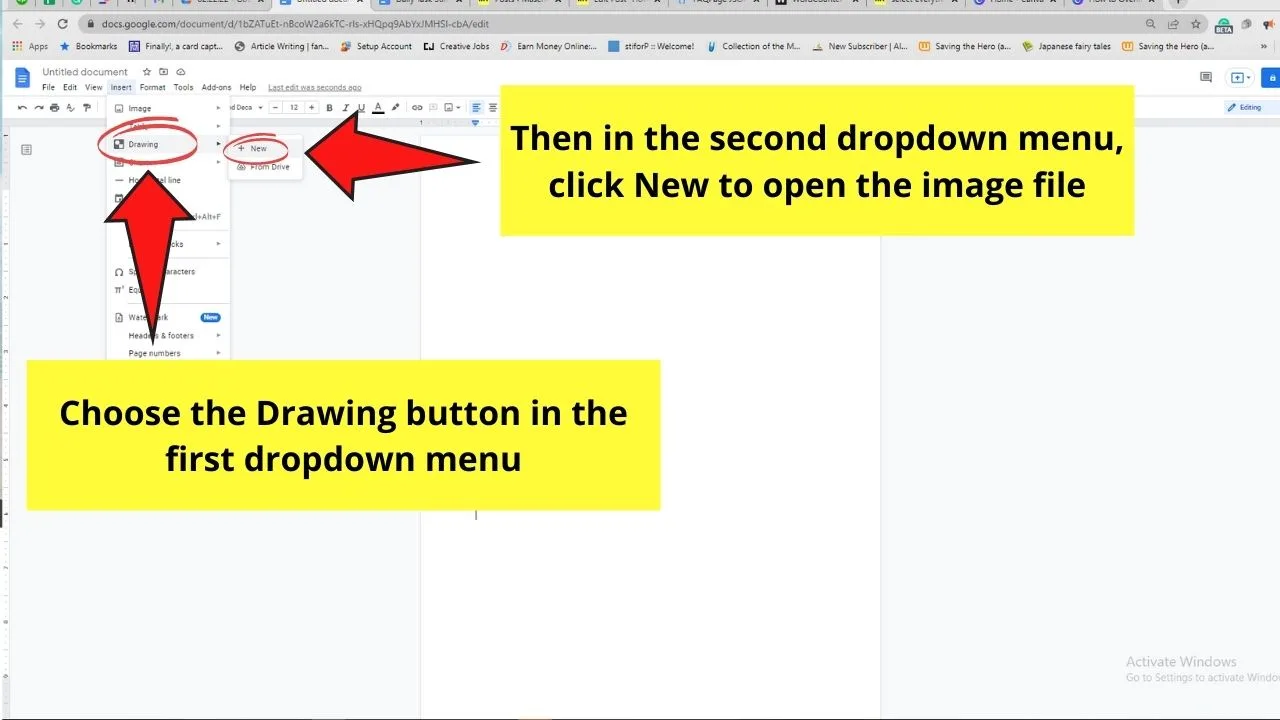
- Choose “Drawing” from the dropdown menu and then select “New”
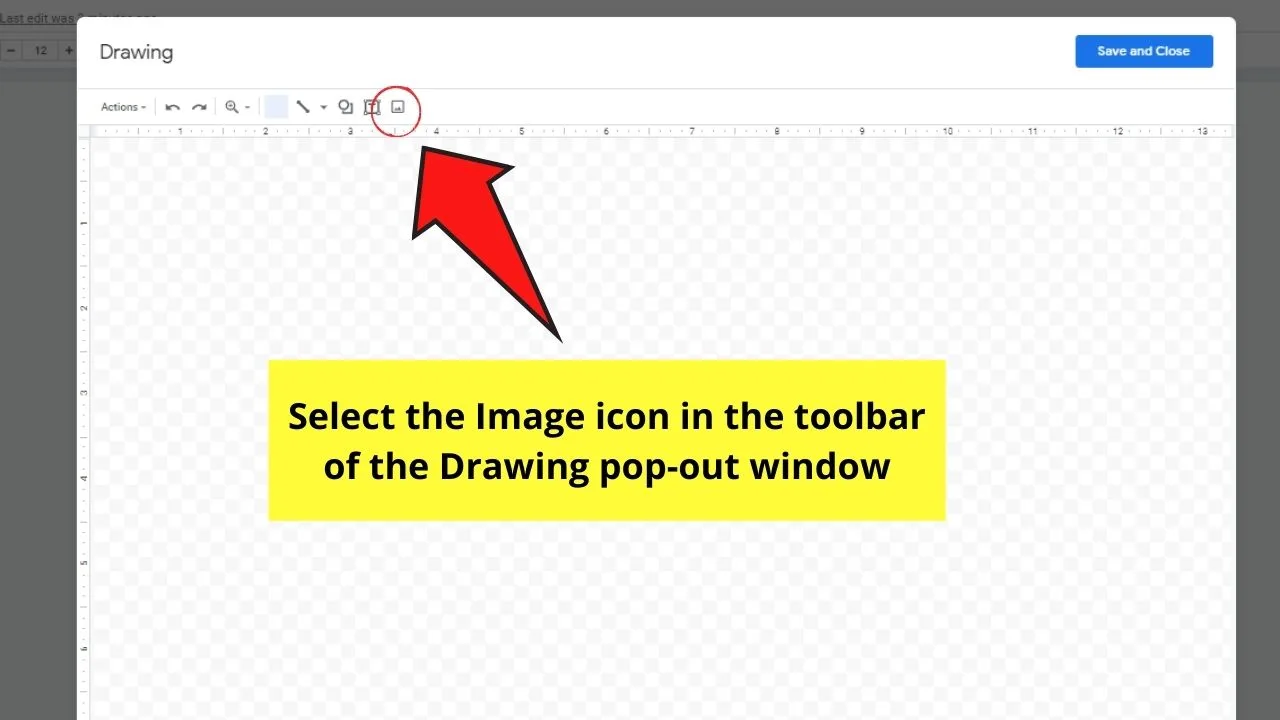
- Insert your first image by clicking the Image icon and selecting the source
- Add the second image and adjust its size and position
- Click on “Save and Close”
Here are the steps together with screenshots:
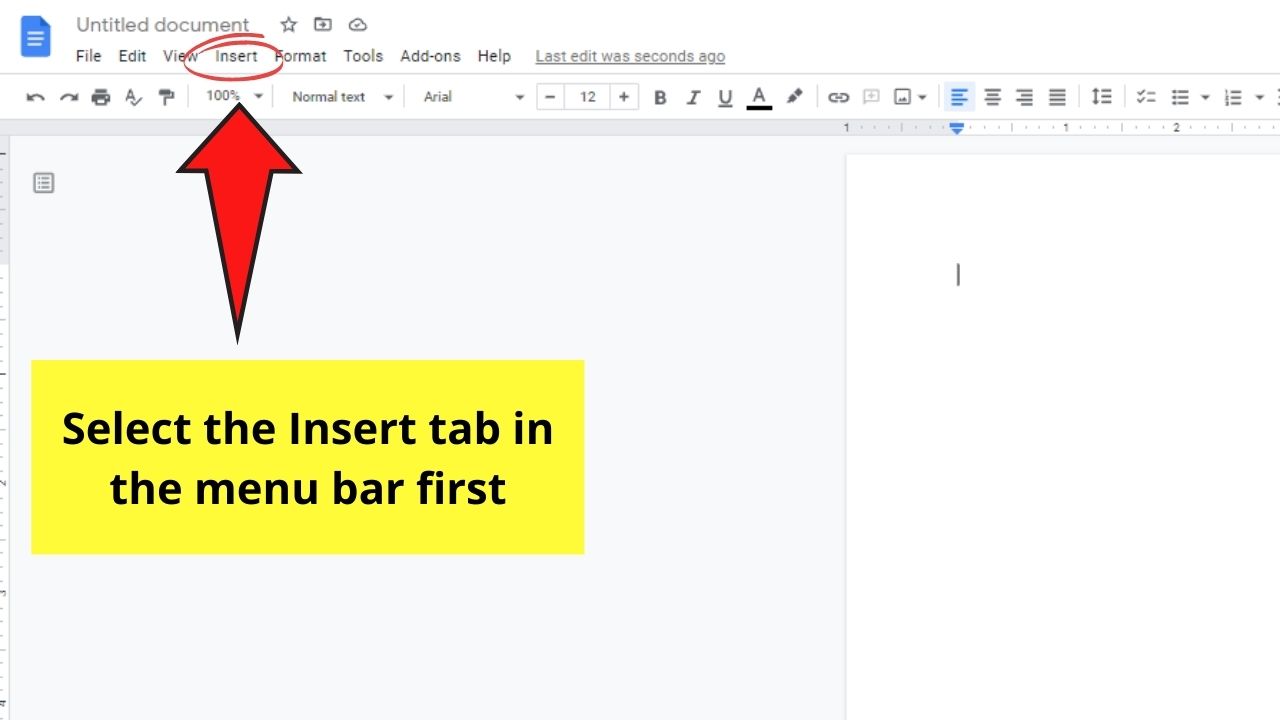
Step 1: Granting you’ve already opened a new or existing file in Google Docs, head to the menu bar and select the Insert tab.
Step 2: Choose “Drawing” from the dropdown menu and then select “New”

Step 3: Insert your first image by clicking the Image icon and selecting the source

Step 4: Add the second image and adjust its size and position
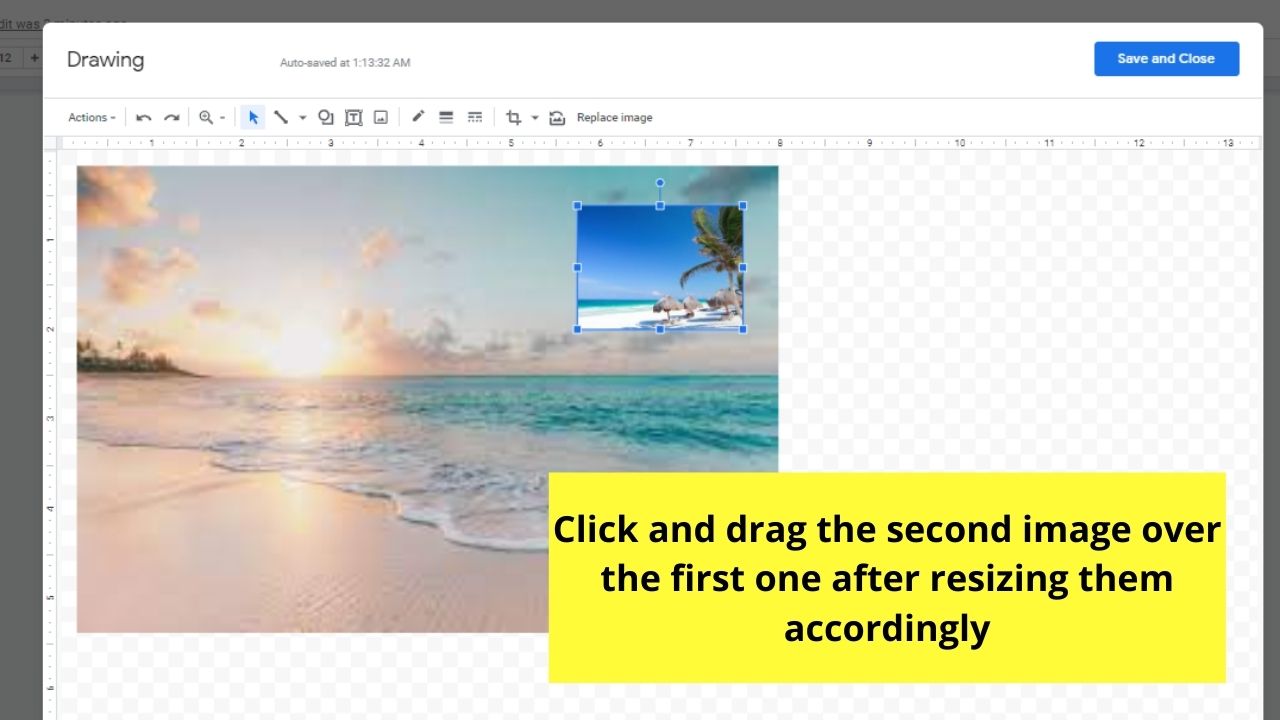
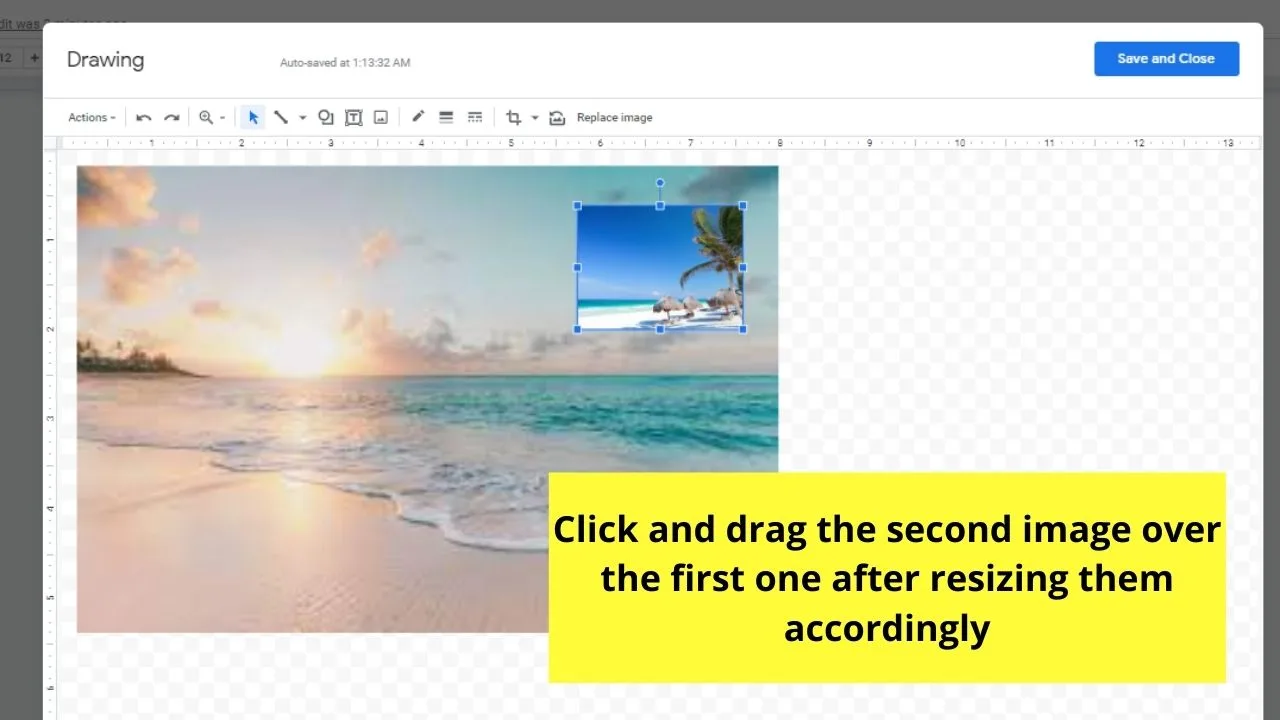
Select and drag the second image to where you want it to be placed. You can easily make it overlap that way as you can see in the screenshot below
Then, if you want to adjust the second photo’s size, just click and drag on one of the blue squares found in the corners.
Step 5: Click on “Save and Close”


This was easy, right?
Let us now have a look at yet another method to overlap images in Google Docs.
Another Method: Overlapping Images by Adjusting Text Wrap
To overlap images in Google Docs by adjusting text wrap, follow these steps:


Step 1: Head to the menu bar and click the Insert tab

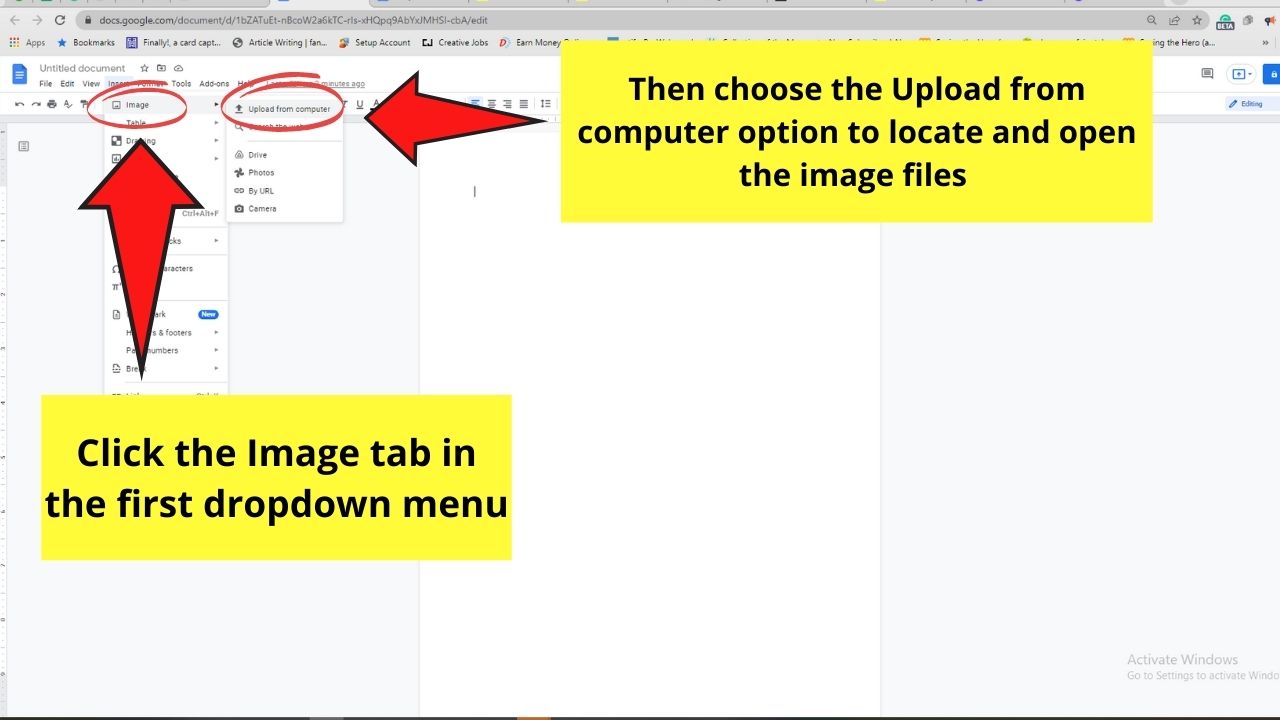
Step 2: Hover over “Image” and then choose “Upload from computer”
Then, in the succeeding dropdown menu, select where you’ll source the photos from. For example purposes, I’ll select the Upload from computer option.

Repeat the step to add the succeeding images in Google Docs. But, for this example, we’ll work with 2 pictures.
Step 3: Select the image you added
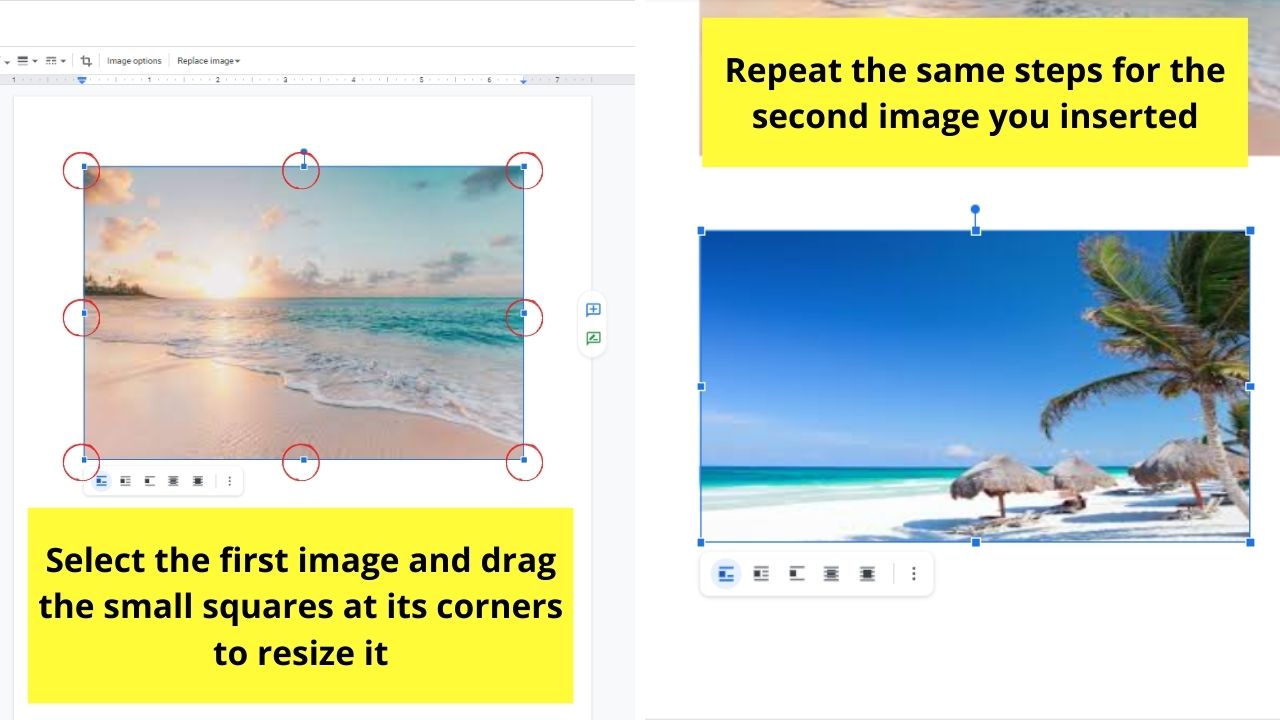

If you need to resize the picture, click and drag the blue squares surrounding it. If you need to rotate the image, just click and drag the Rotate icon (blue circle above the middle square).
Repeat this step for the second image you inserted in the tool.
Step 4: Adjust the text wrapping


The easiest way to tweak the image’s text wrapping is to select it. You’ll then see the Text wrap menu appear below it.
From the 5 text wrapping options, select the Wrap text option so you can freely move the photo anywhere.
The other way is to select the All Image Options icon after clicking the three-vertical-dot icon in the Wrap Text menu.

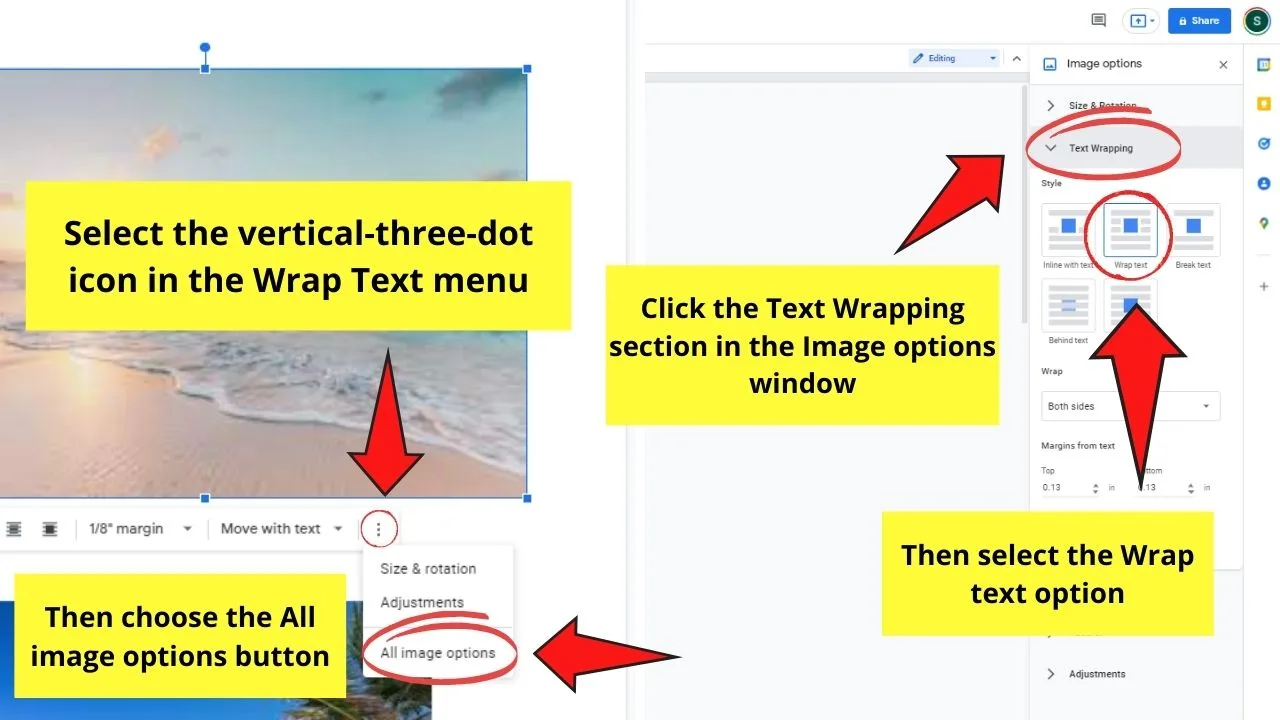
Then, head to the Text Wrapping section in the Image options panel and choose the Wrap text option.
Whichever of the two processes you use, repeat this step for the second image you inserted.
Interestingly, you can also use the text wrapping feature to put an image behind text in Google Docs.
So, you better remember how to access this function in the future.
Step 5: Adjust the margins
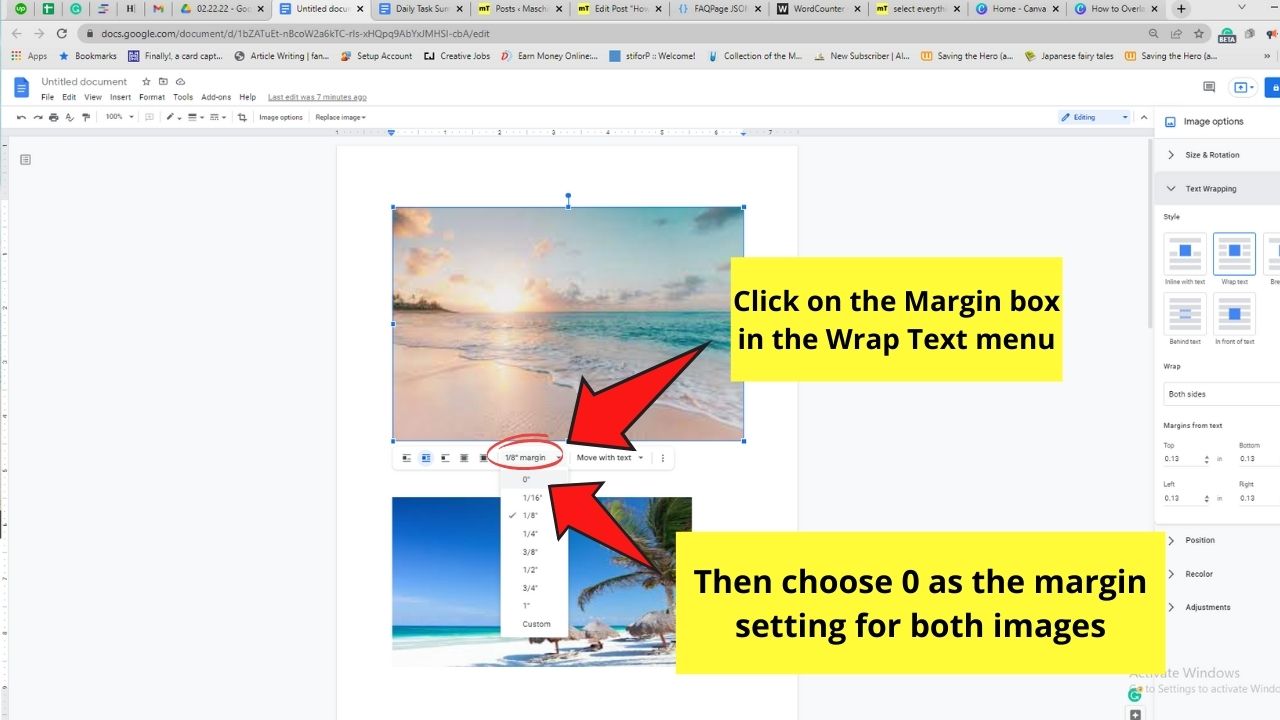
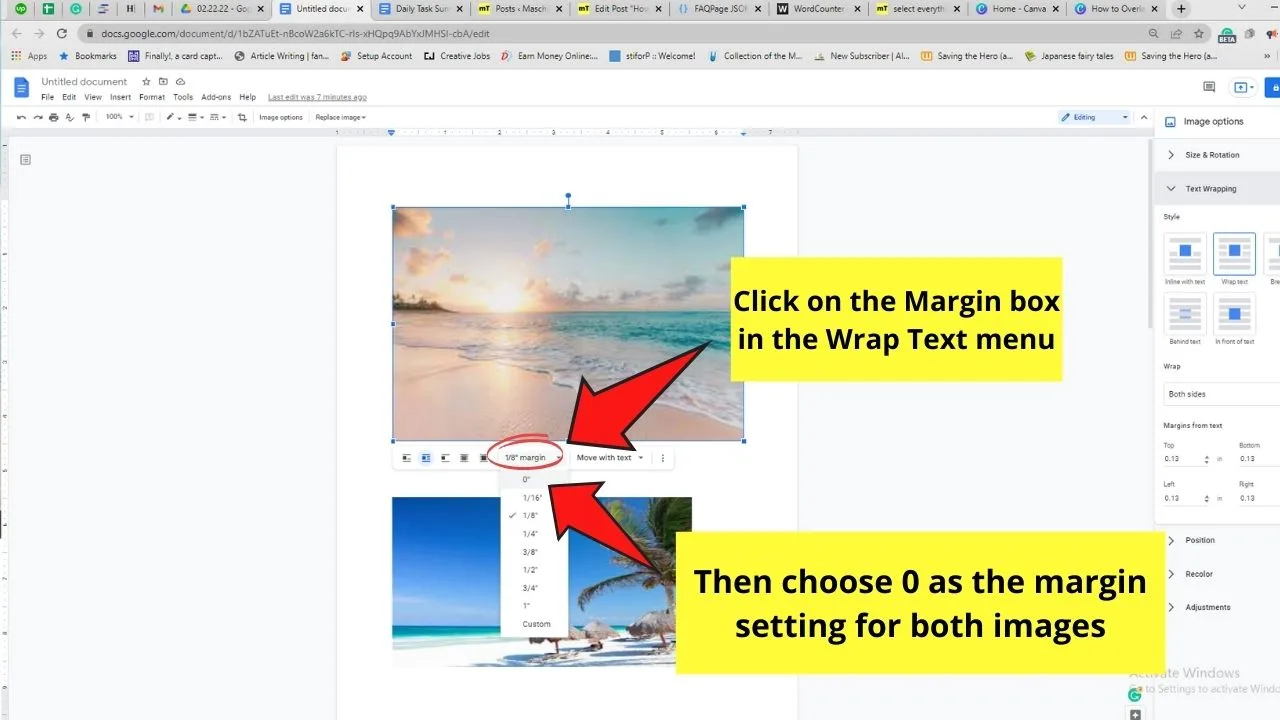
To do this, head to the Margins section in the same Text Wrap menu that appears below the photo selected and click it.
You’ll then see a dropdown menu appear with the margin settings available. Select the 0 option.
Repeat this step for the second photo as well.
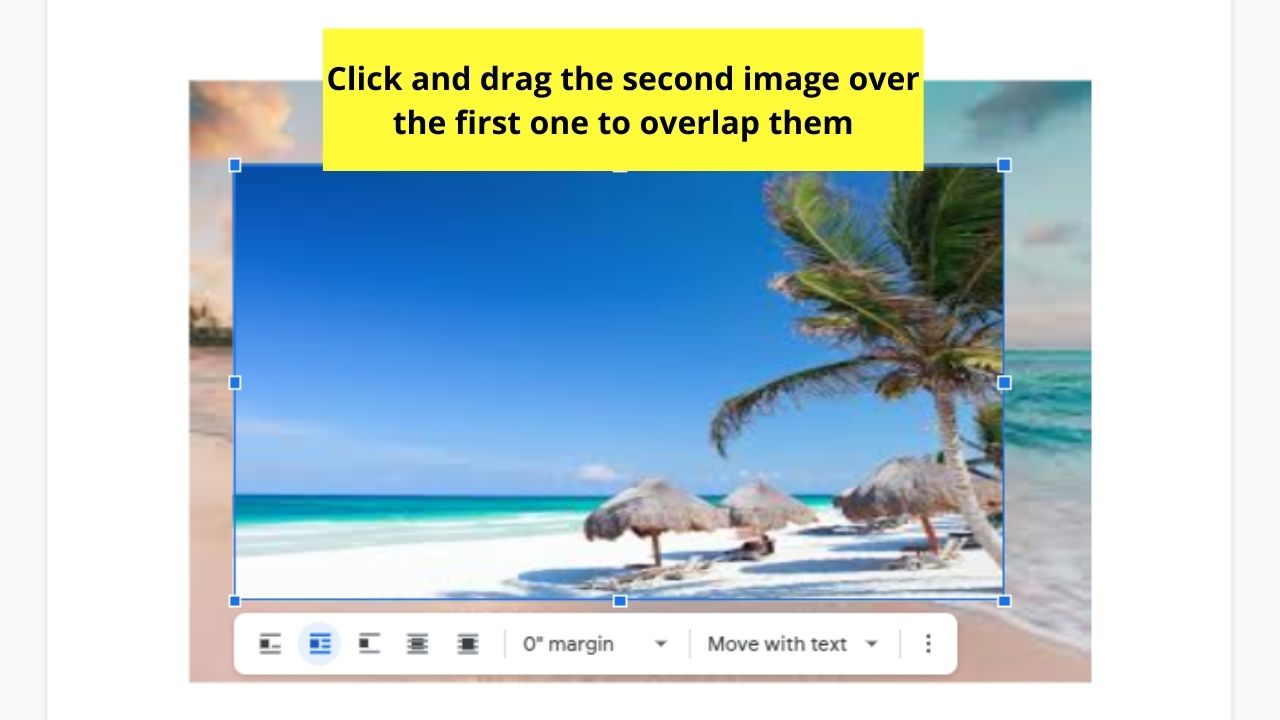
Step 6: Click and drag the second image over the first one to overlap them

Such an easy process, right? Well, as mentioned earlier, there’s another way to overlap your images in Google Docs.
Frequently Asked Questions about Overlapping Images in Google Docs
What should I do if the text moves with the photo when I attempt to place it on top of the background image?
When the text moves with the image after its text wrapping, head to the Positioning option in the Text Wrap menu. Then, choose the Fix position on page option to make the text stay in place while moving the pictures.
Can I simply replace one of the photos I added anytime during the overlapping process?
You definitely can replace a photo you inserted even if you’re in the middle (or even when you’re done) of the overlapping process. Right-click on the photo you’ll swap out before selecting the Replace image button.
Is it possible to add a watermark to images in Google Docs?
It is possible to add a watermark to a photo in Google Docs. Just click the watermark, then choose the three-vertical-dot icon in the Text Wrap menu and select the All image options. Click Adjustments in the Image options window and adjust the Transparency slider.


Hey guys! It’s me, Marcel, aka Maschi. On MaschiTuts, it’s all about tutorials! No matter the topic of the article, the goal always remains the same: Providing you guys with the most in-depth and helpful tutorials!

