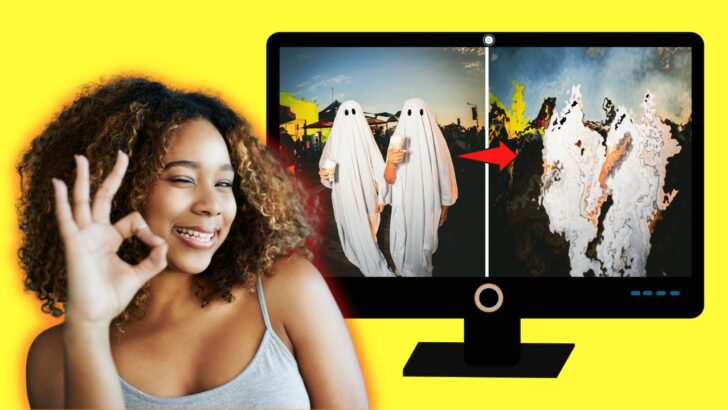

Have you ever seen images that are curved even when they aren’t? If you’ve seen such kinds of images, you might be wondering why they exist.
By dictionary definition, distortion means a twist, change, or exaggeration that makes an image appear different.
Photography-wise, image distortion happens when the straight lines of the said picture or photo are unnaturally curved. In short, the images are deformed.
However, distortion has a beautiful purpose in photography and anything related to images. Distortion is sometimes needed to change the perspective of that photo.
So, if you want to try this distortion technique, you can do so in Canva. How? Well, you’ll know by continuing to read below.
How to Distort an Image in Canva
- Upload a photo from your computer through the “Uploads” tab or choose one from the “Photos” tab.
- If you haven’t added “Liquify” to your “Effects” menu, click “More” and select “Liquify” from the “You may also like” section.
- Select “Use” to add liquify to your “Edit image” menu.
- Click the image you added to select it.
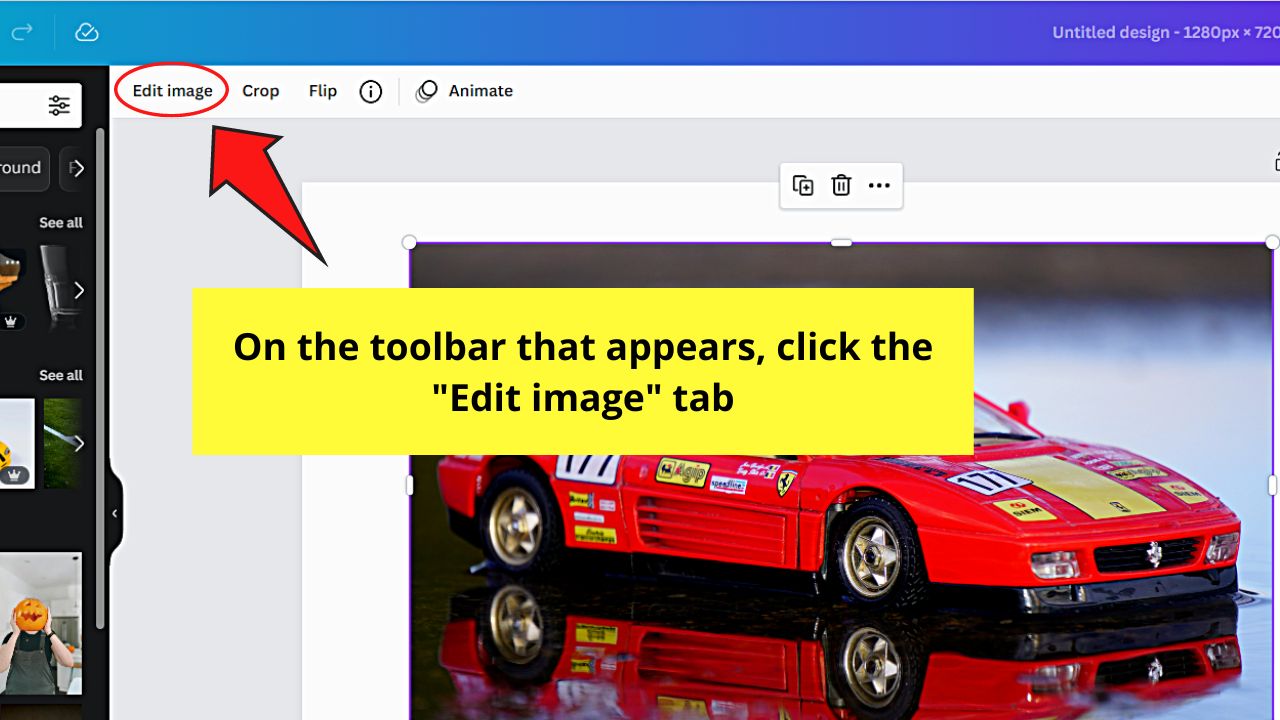
- Choose the “Edit image” tab on the toolbar.
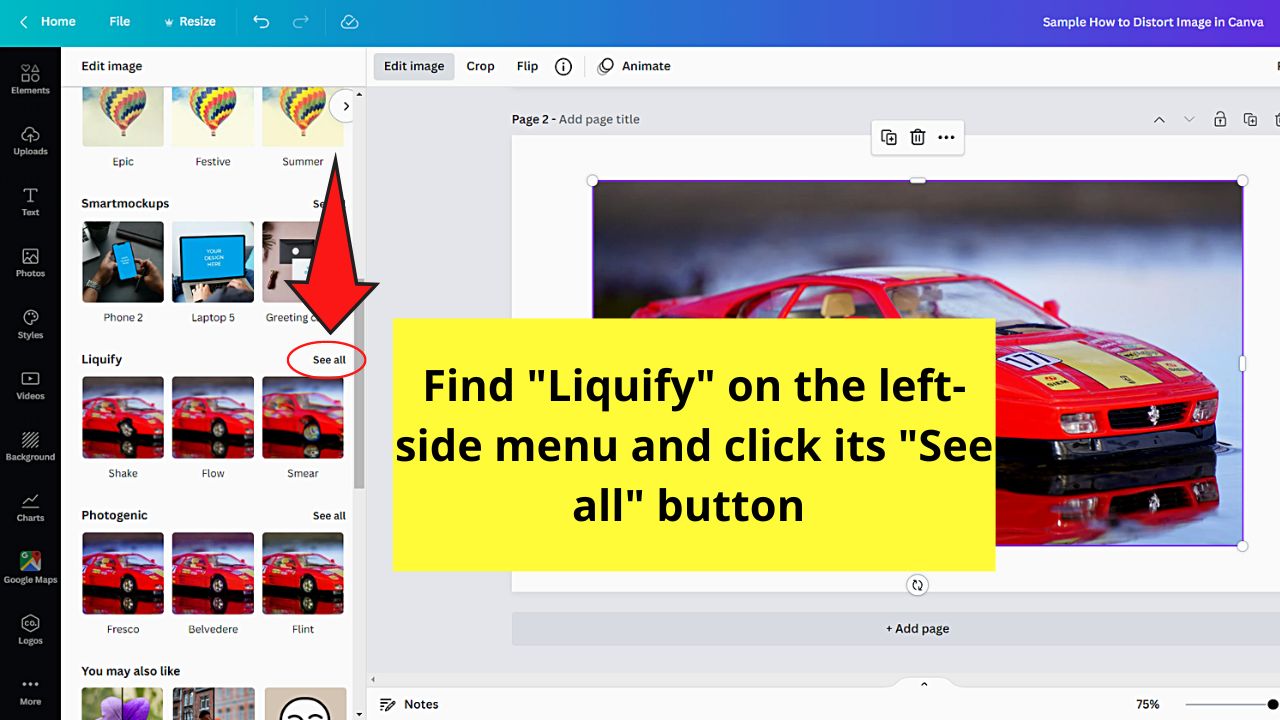
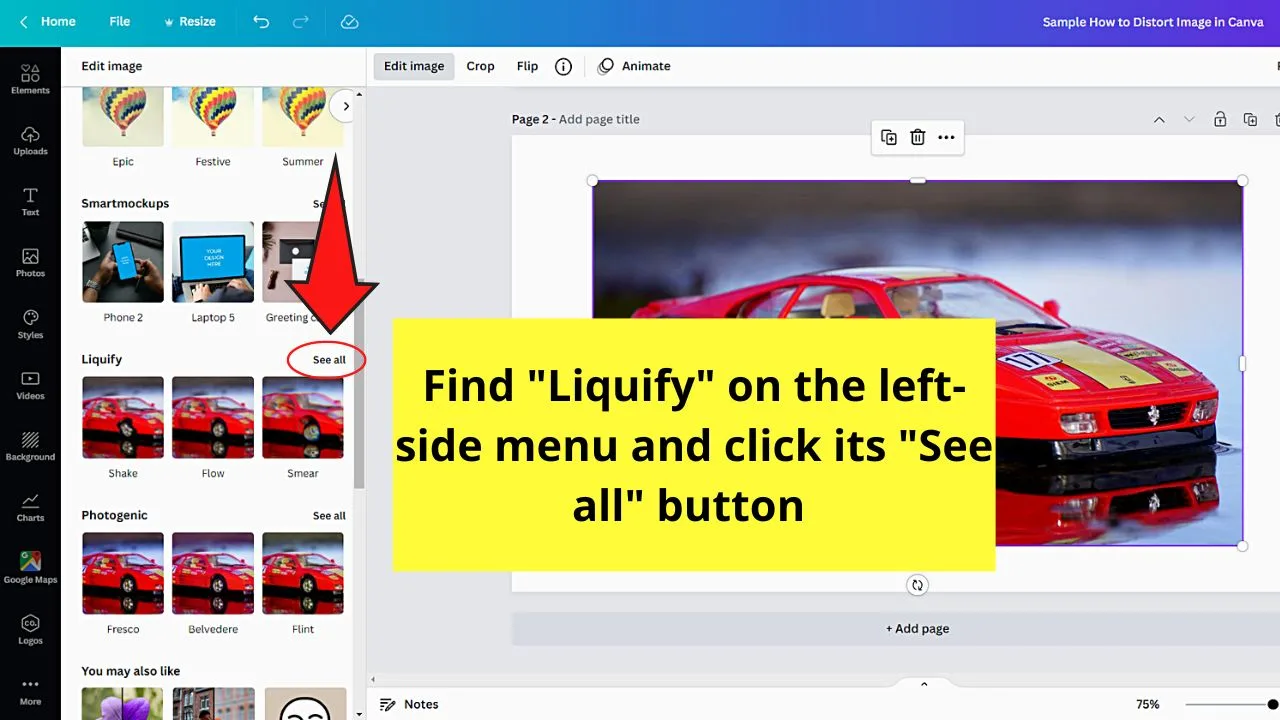
- Scroll down until you see “Liquify” and click the “See all” button.
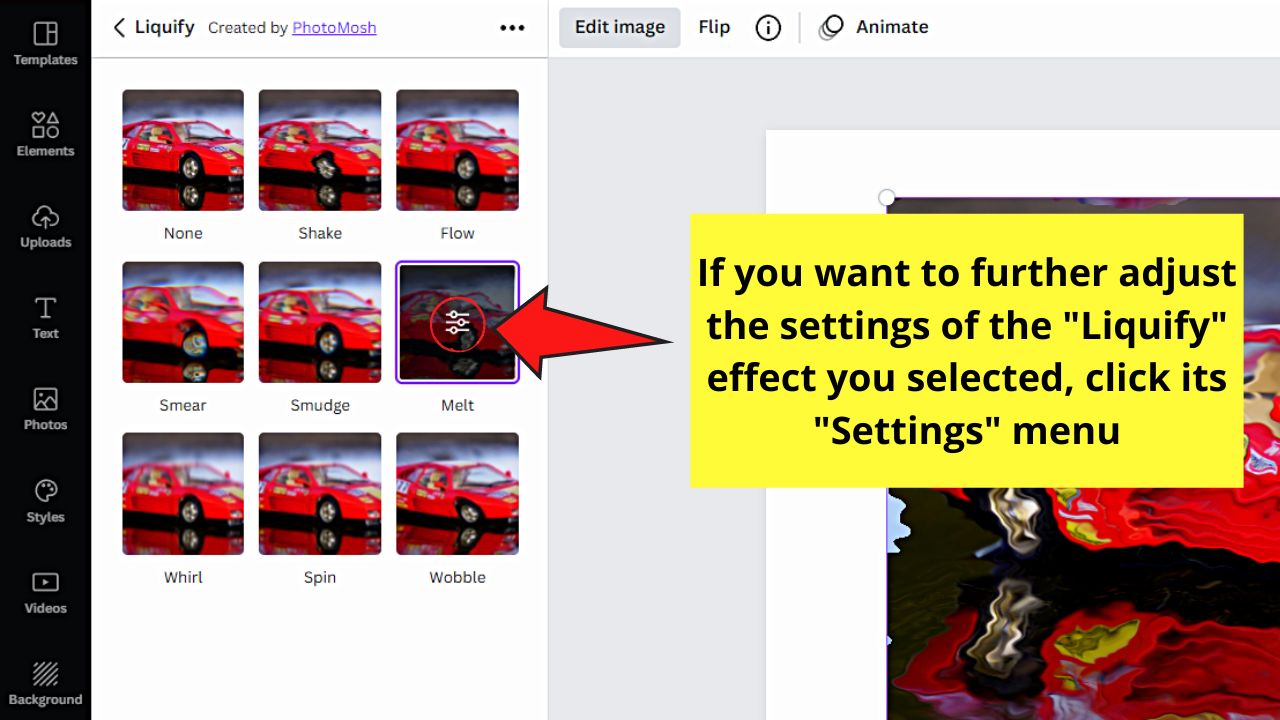
- Choose the “Liquify” effect you’d like to use on the image.
- If you need to adjust the “Liquify” effect you selected, select its “Settings” button.
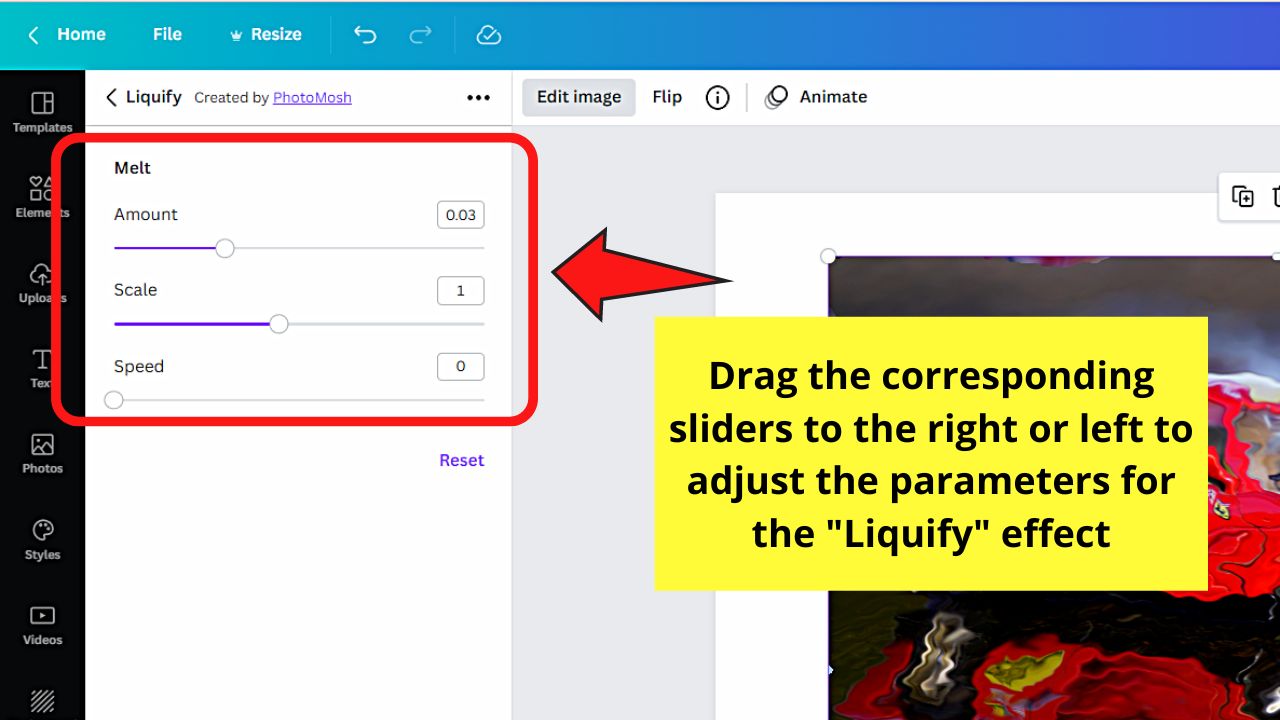
- Drag the corresponding sliders in that particular “Liquify” effect to adjust them.
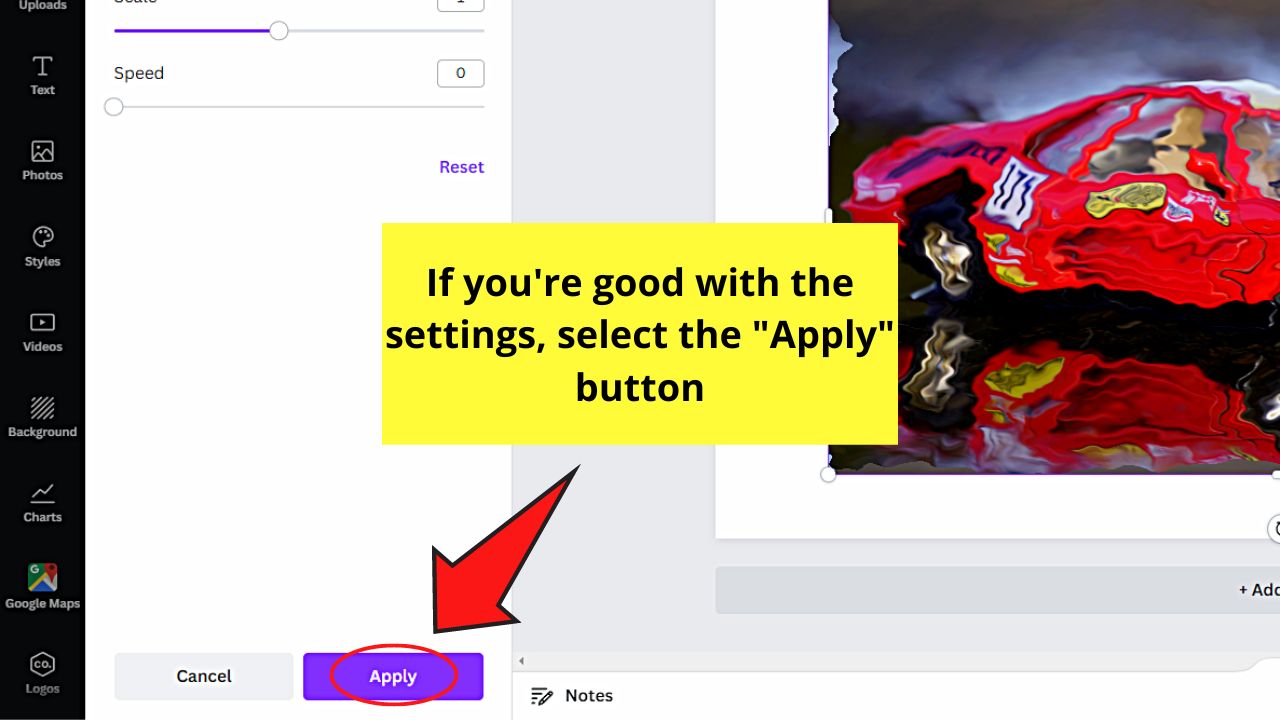
- Click “Apply” to apply the “Liquify” effect’s settings to the image.
- Save the newly-distorted image by clicking “Share” and “Download” consecutively.
You might think the process is challenging, but it’s actually simpler after more practice.
So, if you’re curious about how to distort images in Canva, refer to the detailed steps below.
Step 1: Click the “Create a design” button to open a new project.


You can opt to use a custom size or select one of the options shown in the dropdown menu.


Once you’re inside the editor page, go to the “Uploads” tab and click the “Upload file” button.
If you prefer to use Canva’s stock images, go to the “Photos” tab instead and select an image you’d like to use.


Step 2: After selecting the image, add the “Liquify” effect to your “Edit image” menu if you haven’t added it yet.


Choose “More” on the left-side panel. Keep scrolling until the “You may also like” section appears.
Then, find the “Liquify” thumbnail and click it.


Step 3: You’ll then decide whether to add “Liquify” to your “Edit image” menu. Since you do want to use it, click “Use.”
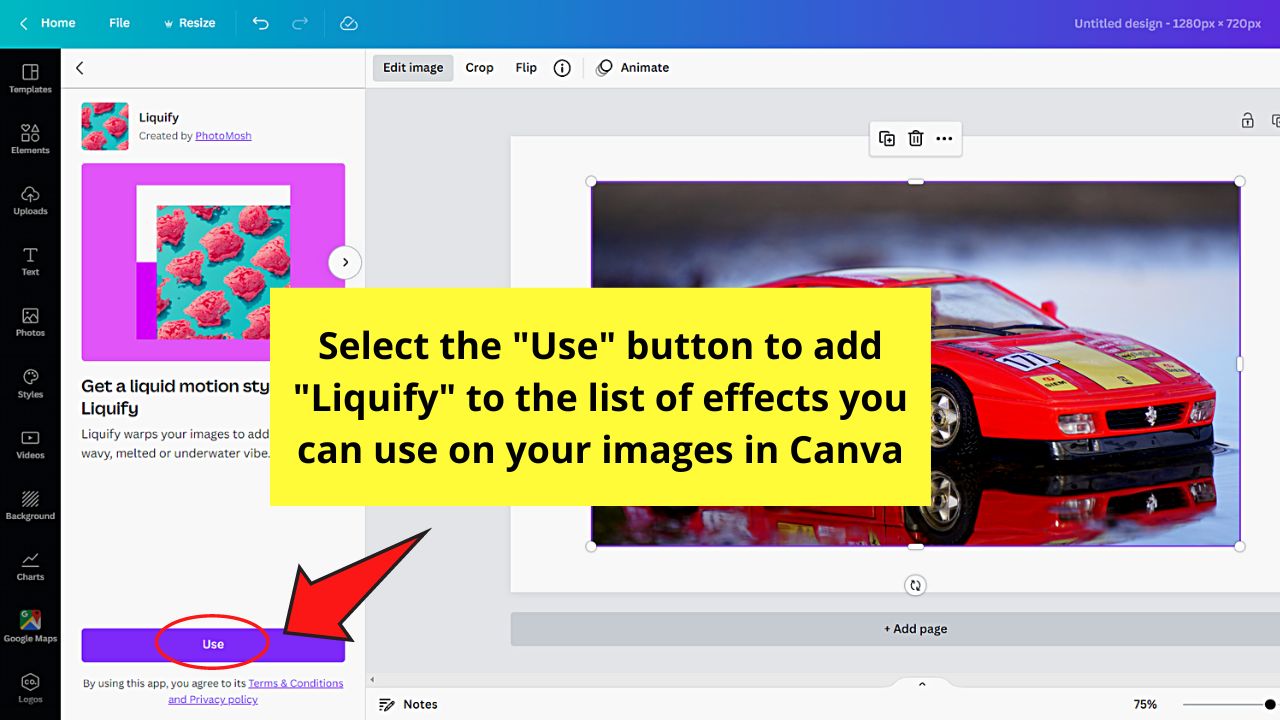

This move will automatically add “Liquify” to the photo editing effects you can use.
Step 4: Go back to the image you selected earlier and click it.
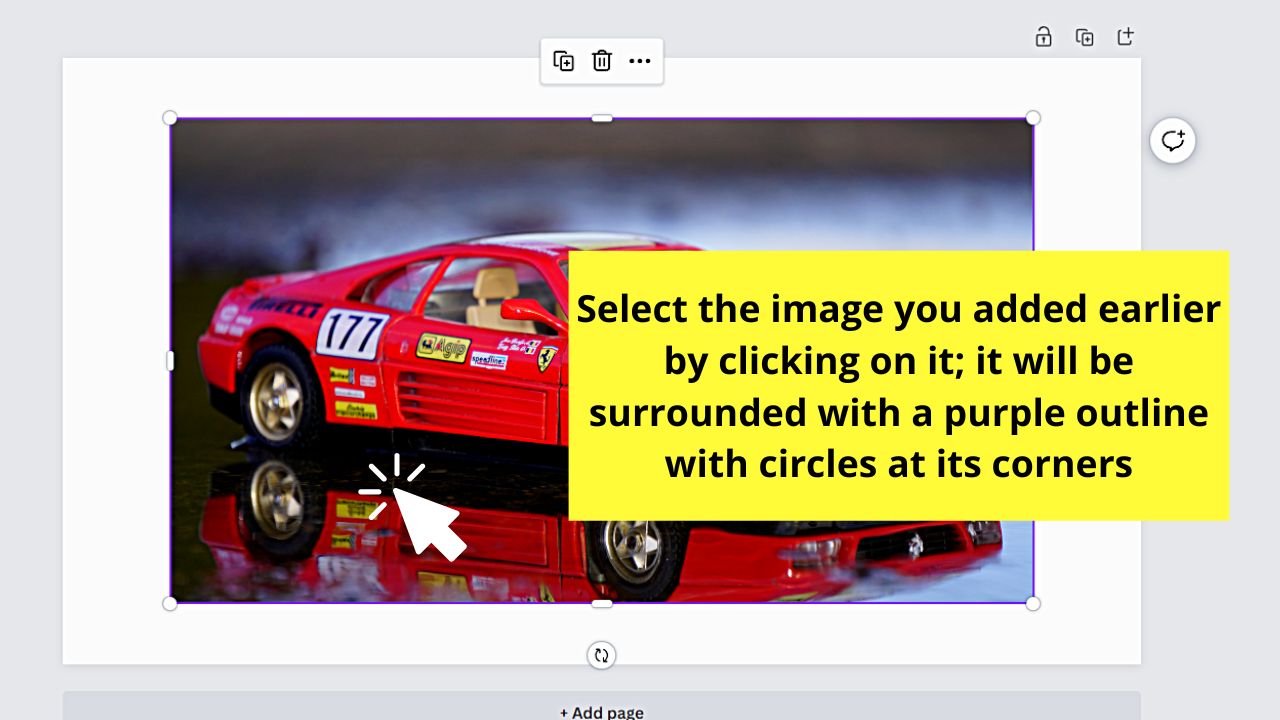
You’ll then see the said photo surrounded by a purple outline with circles at its corners.
Step 5: Once you see the image having the purple outline, go to the toolbar that appears and click “Edit image.”

Step 6: If you haven’t used “Liquify” before, scroll down the menu that appears and click the “See All” button of the “Liquify” section.
Step 7:Experiment with what “Liquify” effect you’ll by clicking on each of the “Liquify” effect thumbnails to apply it.
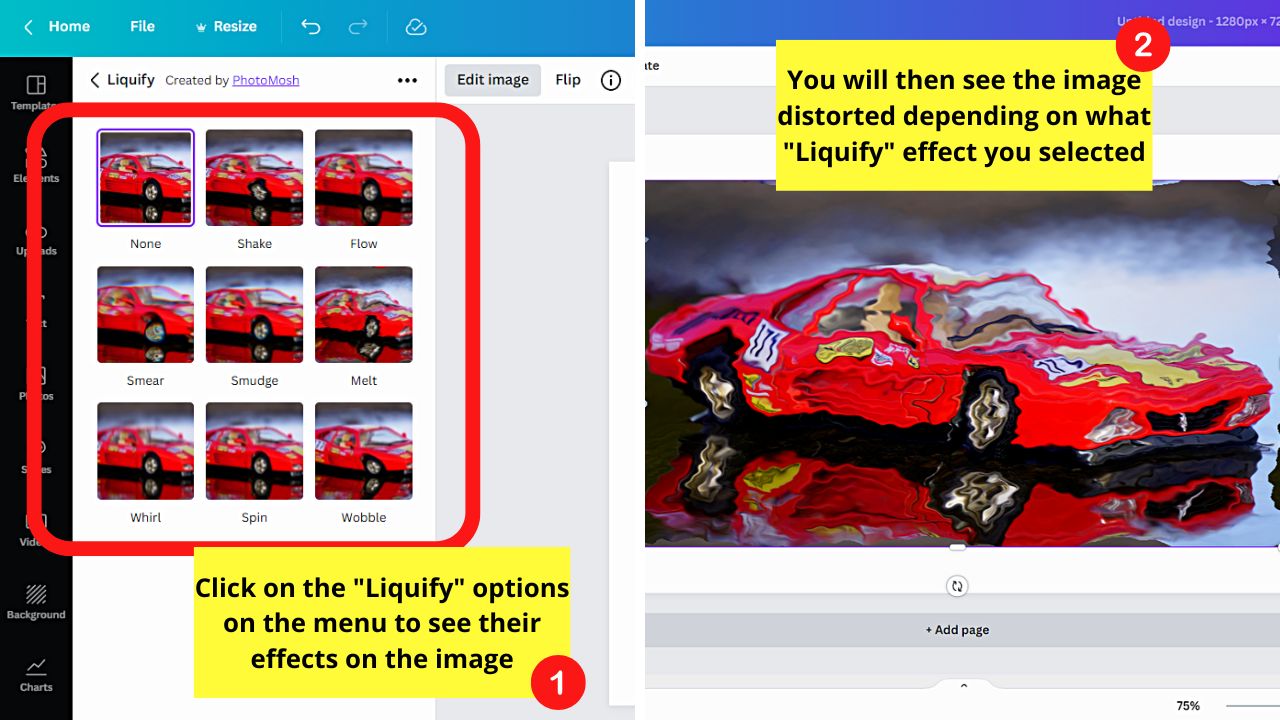

You’ll immediately see how the image looks the soonest you click the said “Liquify” effect.
Step 8: If you want to further adjust the “Liquify” effect you selected, click “Settings” found in the middle of its thumbnail.

Step 9:Drag the sliders on the “Settings” menu to the right or to the left to see how it affects the image you selected.

Step 10: Once you’re okay with the distorted look of your picture, choose the “Apply” button.

Step 11: If you have no further editing to do, proceed by clicking the “Share” button on the menu bar.


Then, click the “Download’ option in the dropdown menu. Select the file type that will allow you to download the picture in good quality.


Once everything’s set, select “Download” to save the newly-distorted image to your computer.


Now that you’re armed with this knowledge, better try this “Liquify” effect on your image to give it the distorted look you so crave to achieve.
How to Skew an Image in Canva — Alternative Ways
There are many ways to distort and skew an image in Canva. Probably the easiest and most common way to skew images is to use one of the many apps that Canva offers you. So far, in this tutorial, we have seen how to use the Liquify effect to distort an image in Canva.
However, there are many other apps that can be used to create similar effects.
For instance, there is the “Slice” app that you can use to distort an image in Canva.
Here’s how you do it:
- Left-click on your image
- Click on “Edit image” in the top toolbar
- On the left side, in the search field called “Search effects” search for Slice
- Click on one of the Slice effects
- Confirm by clicking on “Apply”
Another way to distort an image is by using the “Pixelate” effect. To use this effect, do exactly the same as for the “Slice” effect but as far step 3 goes, search for “Pixelate” instead.
You can then choose from 8 different pixelate effects: Pixel, Micro, Grain, Pellet, Polar, Shatter, Dots & Matrix.
To skew an image, I found that the effects Shatter and Polar produce pretty interesting results.
Please note that once you clicked on a certain effect, the effect will then be added to your picture but you will still need to press on “Apply” to confirm the changes.
Also, once you have chosen a certain effect, please know that you can click again on the effect and that will take you to the different parameters of the effect. You will get some faders there that you can use to either intensify or diminish the effect.
How to Change the Image Perspective in Canva
There are no dedicated tools in Canva to change the perspective of an image. The only thing you can do is to go to “Elements” and then search for “Perspective” there and you will find some useful perspective elements such as perspective grids that will help you put certain elements in your design into perspective. That’s about it.
Unfortunately, there is no tool like the “Perspective Warp” tool in Adobe Photoshop.
But this should not come as a surprise to you. While Canva really is a pretty simple tool that is geared towards beginners and people who would like to get things done as quickly and efficiently as possible, Photoshop, on the other hand is more like the Swiss Knife of graphic designers that would like to dive deep into image manipulation, photo editing and retouching images, etc.
With that said, if you really want to put things into perspective, Canva will most likely not do the job for you.
You might, therefore, want to look int Photoshop or some free alternatives like GIMP (works both on Mac and on PC.)
Frequently Asked Questions about How to Distort an Image in Canva
Is the “Liquify” effect a Canva Pro exclusive feature?
The “Liquify” effect on Canva is not a Canva Pro exclusive feature. You only need to apply this effect (or more aptly called an app) to your “Edit image” menu for you to use it.
What happens to the image when I use the “Liquify” effect on it?
According to Canva’s definition, “Liquify” will warp the photos you selected. With that, the photo will have a melted, underwater, drippy, or wavy vibe to it.
Can I use the “Liquify” effect on elements or vectors in Canva?
Effects, including “Liquify,” can be applied to certain graphics and flat photos. You cannot use the “Liquify” effect on stickers and vectors.


Hey guys! It’s me, Marcel, aka Maschi. On MaschiTuts, it’s all about tutorials! No matter the topic of the article, the goal always remains the same: Providing you guys with the most in-depth and helpful tutorials!

