Now that we’re all staying indoors, perhaps it’s a good time to fall back into the habit of reading books.
Whether you choose to read a magazine or traditional paper books, it doesn’t matter. As long as it takes your minds off of things, then such a habit’s good to go.
But, while you’re reading, there’s one page that you’ll visit first before diving into the content of the book. Do you have any clue what this page is?
Well, it’s the table of contents! After all, this page of the book gives us a glimpse of the chapters and contents that you’ll find in it.
Plus, if you’re looking for a particular topic, one of the best ways to jump straight to it is by perusing the table of contents.
However, how can you design a table of contents digitally? Like for e-books, perhaps?
Worry no more, as Canva’s got the answer to your woes. You better continue reading below if you want to know how to create one in Canva.
How to create a table of contents in Canva
To create a table of contents in Canva, on Canva’s homepage, search for “table of contents.” Then, scroll down and choose one of the various table of contents templates. Edit the texts and contents according to your needs. Finally, download your table of contents as JPG, PNG, or PDF.
Creating a table of contents in Canva is like creating an e-book. You don’t need to start from zero to make your unique design.
All you need to do is follow these simple steps below to get you started with the process.
Step 1: Log in to your Canva account (or create one if you haven’t yet).
Step 2: Once you’re successfully logged in to your Canva account, click the “Create Design” button to get started. You can choose the template sizes (typically A4 or letter) from the dropdown menu that appears or input the size itself on the corresponding boxes.
Step 3: A blank template then appears. You can choose to rename the file name first on the upper right corner of the Canva screen.
Step 4: Head over the left-side Canva menu and tap on “Templates.”

Step 5: On the menu that appears, key in “table of contents” in the search bar. Choose from the varied array of templates that’ll appear. Just keep scrolling down if you still haven’t found “the one” for you.

Step 6: If you’ve chosen a design, click on it so it’ll appear on your blank project template.
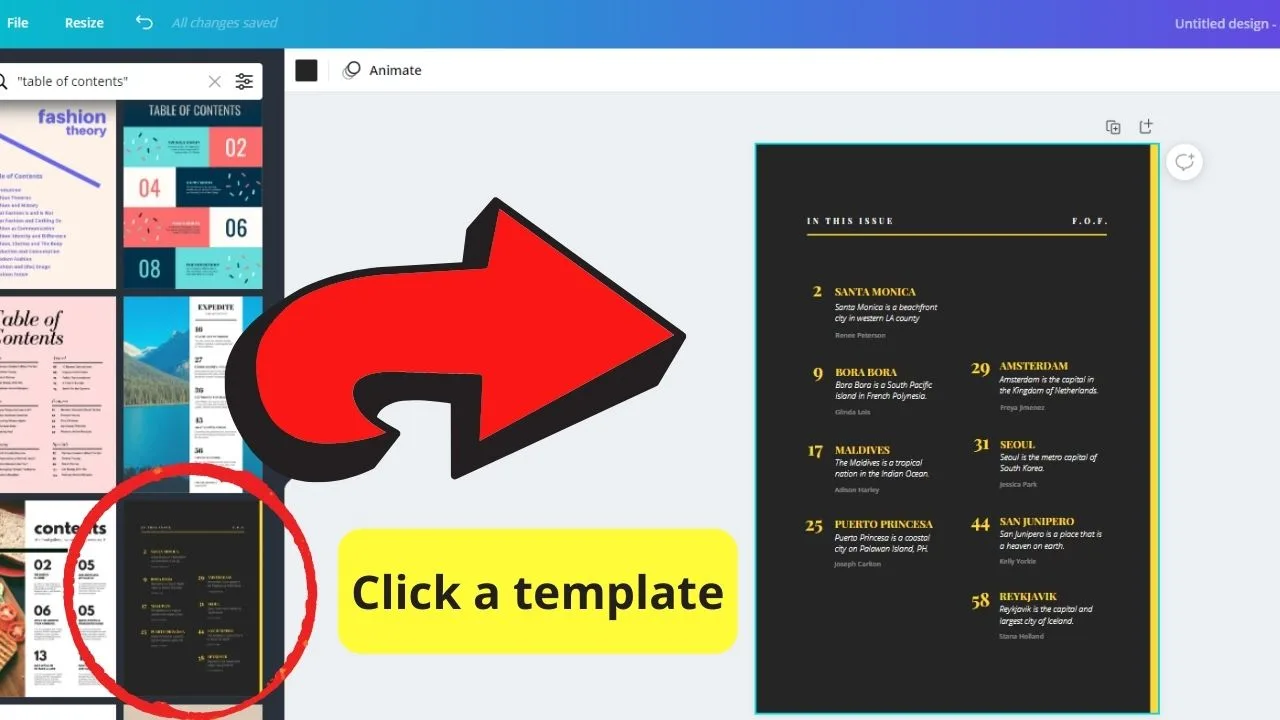
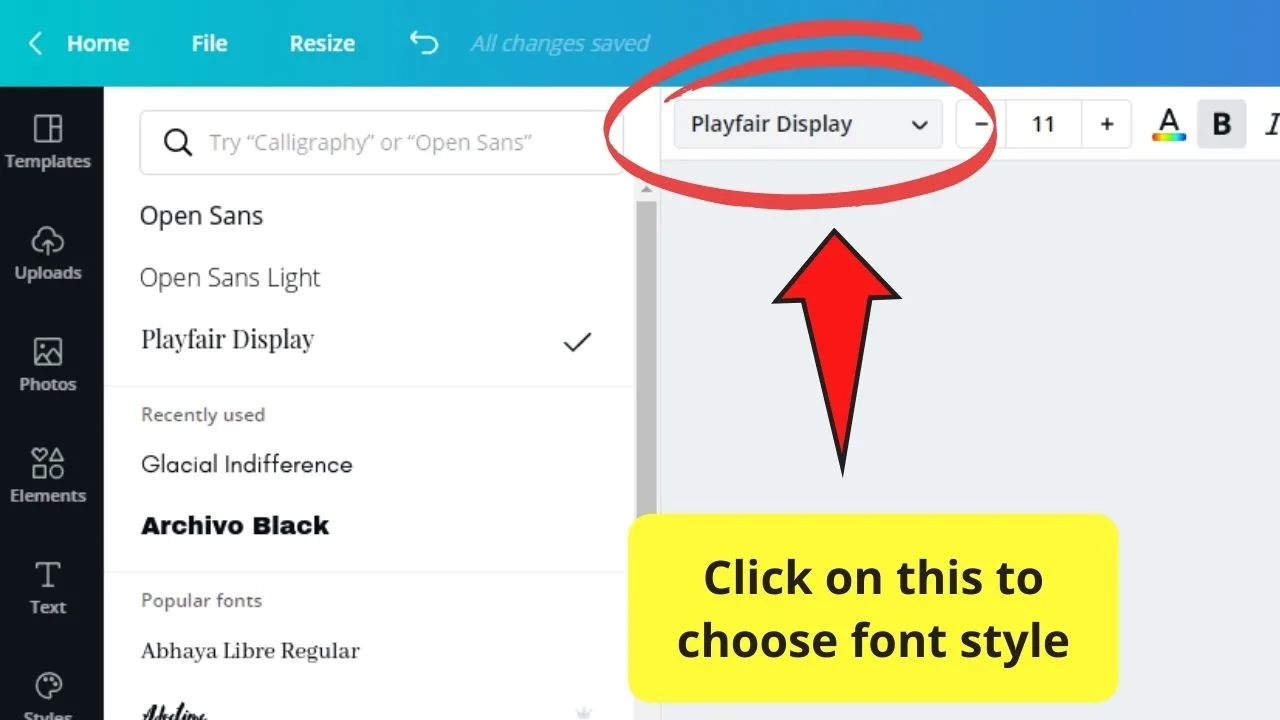
Step 7: Customize your table of contents. Edit the text on the template, as well as its font style. You can do this by tapping on the “Font Style” tab on the white Canva toolbar. Scroll down the dropdown menu until you see the style you’d like to use.
Step 8: Once you’re done inputting the chapter headings and their corresponding pages, add images and elements to make it more eye-catching. But, of course, it should still follow the theme you’re aiming to have for your e-book. You can also add gradients and filters if you think it will make your table of contents more attractive.
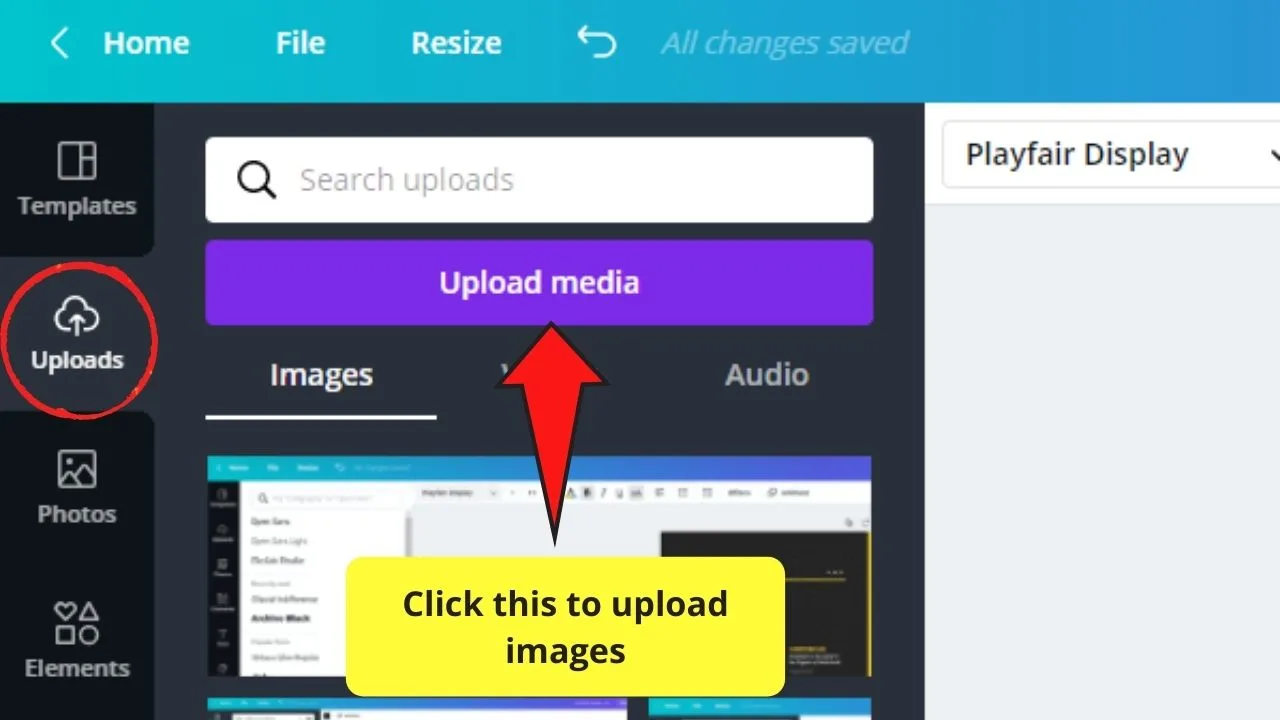
Step 9: You can also use your photos for your table of contents. Simply click on the “Uploads” tab, tap the “Choose file” option, and find the image file on your device. Once uploaded, click on the picture so it’ll appear on the page. Resize and customize accordingly.
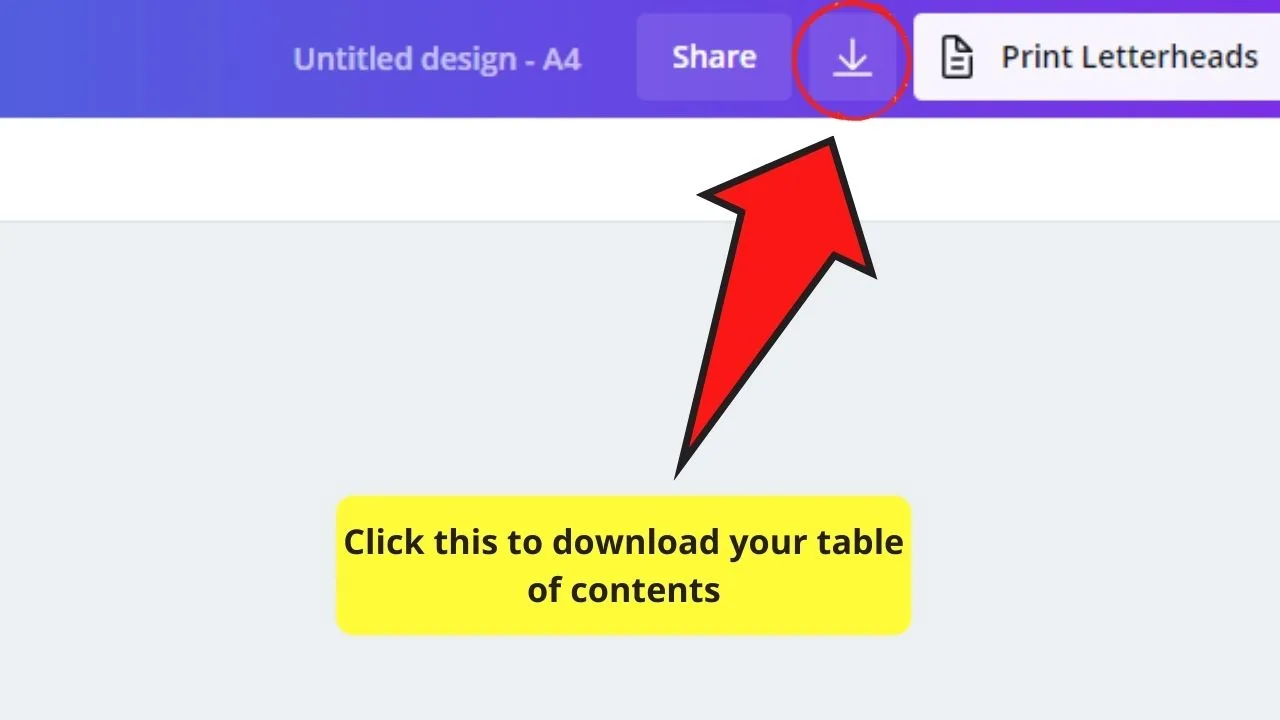
Step 10: Once you’re done customizing your table of contents, click on the “Download” button on the upper right corner of the Canva screen. Choose the file type you’d like to download the page in and tap the “Download” button at the bottom of the dropdown menu.
If you’re not sure what file type you’d download your project in, then read up on downloading files from Canva. Just make sure that the file type you choose will retain the high-resolution quality of the image.
Now, if you’re experiencing a creative block, then you might as well take a look at the 50 best table of contents templates that Canva features on their page.
Who knows, inspiration may strike once you see those stunning templates.
What Goes into the Table of Contents: Purpose and Parts
If you’re paying attention during your English classes, you’ll discover that the table of contents is an essential part of any book and magazine.
After all, the table of contents serves two major purposes in today’s printed and digital media:
- It gives the readers a preview of what’s inside your book or magazine, and
- A tool for marketing your book to potential readers
Gives preview to book or magazine’s content
Technically, a table of contents helps your readers locate information through itemized chapters and subheadings in it. Simply put, the table of contents serves as an outline of what readers can expect to find in the book or magazine they’re reading. With this, they can already tell in a glance whether you’re offering a topic that they’re interested in reading on.
Also, a table of contents allows you as the writer to organize your thoughts and ideas. Since it’s like an outline, it serves as your guide during the writing process, preventing you from failing to write essential topics.
Marketing tool
Does it surprise you that a seemingly dull table of contents can become an effective marketing tool? Well, let’s put it this way.
As mentioned earlier, a table of contents serves as the readers’ glimpse of what they can expect from your book.
Thus, if you can catch their attention with the chapter titles alone, you may convert them to become paying customers.
Also, since you can download it as an image in JPG, PNG, or PDF format, you can upload this on your social media.
In this way, you can allow your followers or potential new readers to have a glimpse of what they can expect from your next material.
What you can find in the table of contents
Whether you read an e-book or a printed version of it, the table of contents is one of the parts that is forever present.
As it serves as a guide for the readers, writers must include this crucial page. No matter what genre that written material belongs to, you can still find a table of contents in there.
This page starts with the title of the book at the topmost portion of the page. You can even underline the text in your title if you’d want to emphasize it.
After that, a chronologic listing of the chapters and subtitles follow it.
With each chapter and subtitle, you can find a long line of ellipses that leads to its corresponding page number.
The abovementioned parts are just the basic things that you can find in a table of contents.
Depending on what material you’re working on, you can find chapter names like introduction, description, summary, and conclusion as part of the headings.
Frequently Asked Questions about Creating Table of Contents in Canva
Can you use your brand fonts and color for your table of contents?
Though there are many font styles and photos available, you can still opt to use the font colors and styles that resonate with your brand. Just make sure that you have a Canva Pro account to enjoy this feature.
Is it a must to put page numbers in the table of contents?
While it’s undoubtedly helpful to add page numbers, you don’t need to add one. Usually, authors skip on this one as you already labeled the chapter names using Roman numerals to state their chronological order.
Where can you usually find a table of contents?
In a typical book or e-book, you can find the table of contents right after the title page and acknowledgments. However, this part shouldn’t be found after the introduction. But, if you’re planning to use this part as a marketing tool, then you can turn it into a book cover itself.
Conclusion
Creating a table of contents in Canva entails the witty use of templates and creativity in combining various design elements.
But, you need to clarify first the purpose of such a part.
Is it merely a guide for your readers in locating certain content, or are you planning it to a subtle form of a marketing tool?
Whatever purpose you have in mind for it, make sure to indicate in chronological order the chapters and subheadings you can find in the book.
After all, you can’t persuade people to read your book if they don’t know how to check at a glance what they’ll find in it.

Hey guys! It’s me, Marcel, aka Maschi. On MaschiTuts, it’s all about tutorials! No matter the topic of the article, the goal always remains the same: Providing you guys with the most in-depth and helpful tutorials!


