

Ever wonder how certain social media posts have that extra oomph element to them?
Well, if you’re up to some learning, better read up and learn about adding borders in Canva.
You’ll be surprised that it’s possible to add borders not only in one but 5 (ore even more) superb methods!
So, if you’re raring to learn all about these 4 methods, scroll down.
How To Add A Border To Canva Designs
To add a border to a Canva design, use one of the following methods: Use squares and rectangles, make a border by adding lines to your design (press “L” on your keyboard to add aline), use templates that already come with borders, skim through Canva’s “Elements” to find suitable border elements or transform Canva shapes (press “R” on your keyboard to add a rectangle) into fitting border elements.
As mentioned earlier, there are 4 ways on how you can add stunning borders to your Canva designs.
It all depends on what you find as the least time-consuming and simplest to use.
To start with, you’ll have to log in to your Canva account and either create a new design or open an existing design file.
Once you’ve navigated to a blank canvas, here’s where the magic happens.
So, buckle up as we’ll learn each of the 4 methods mentioned above now.
How to Add Borders in Canva with Squares and Rectangles
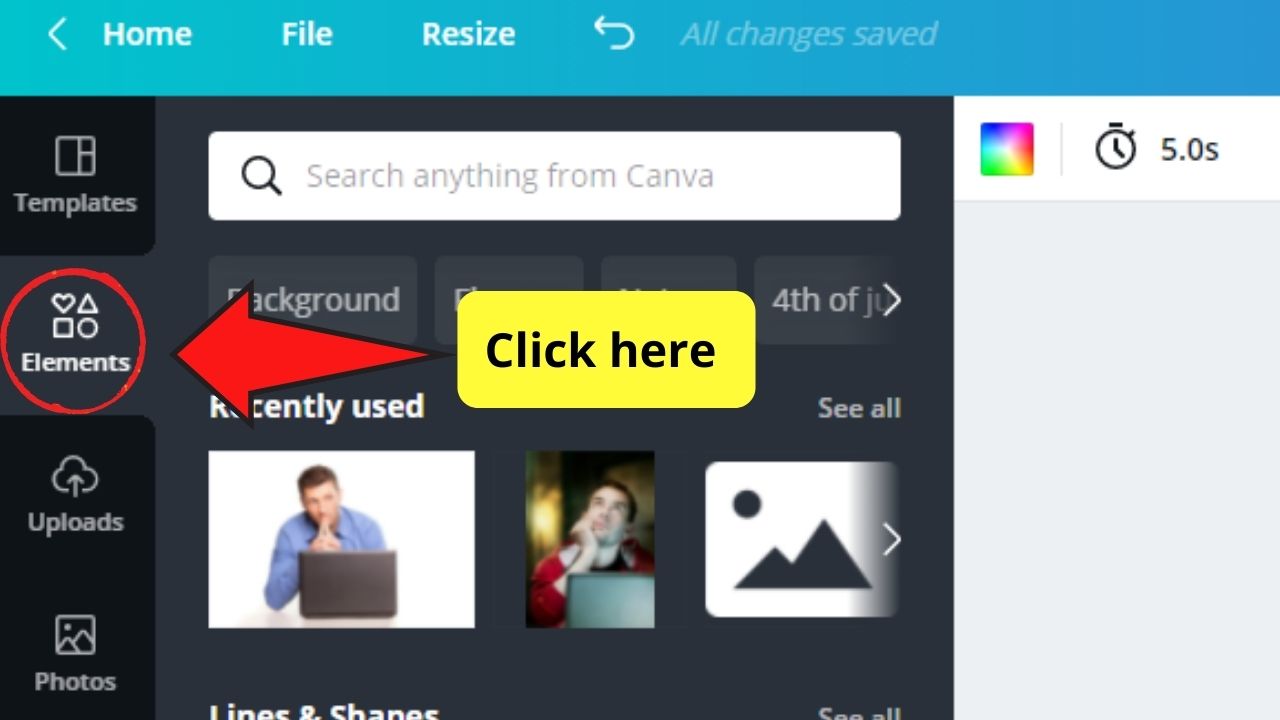
Step 1: Go to the left-side Canva menu and click the “Elements” tab.

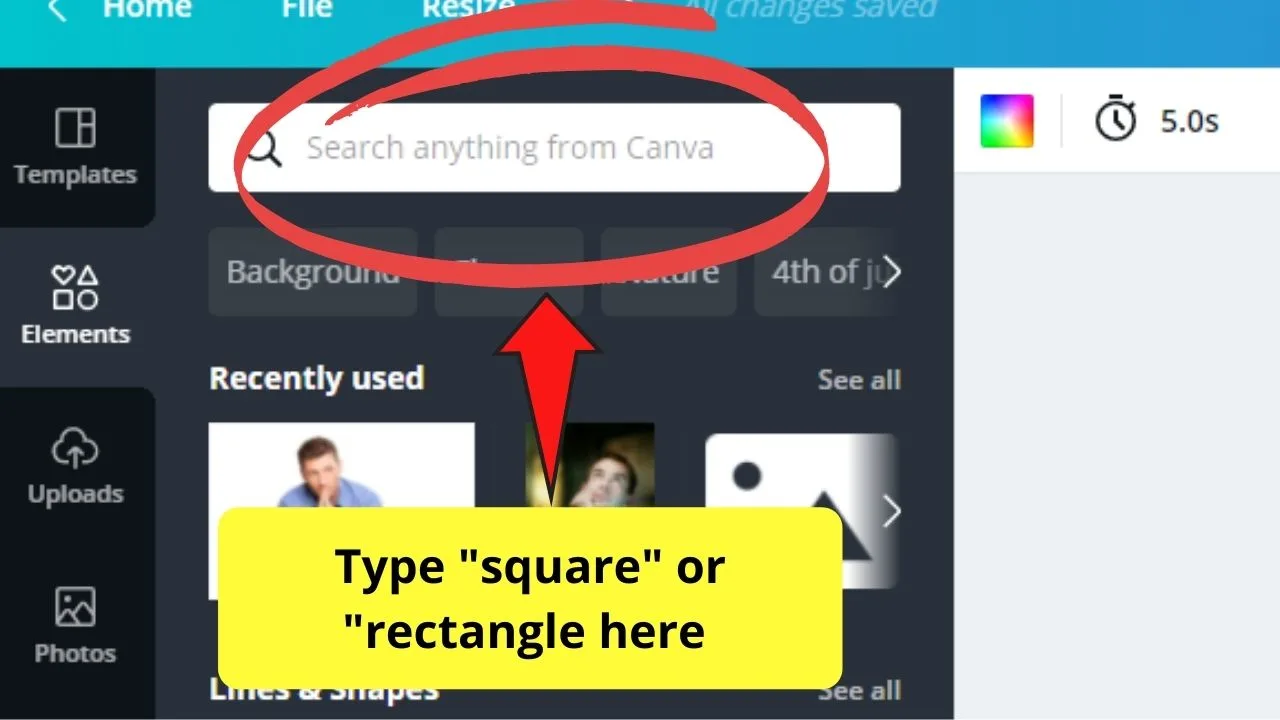
Step 2: Search for a square or rectangle by typing on the corresponding search bar that appears.

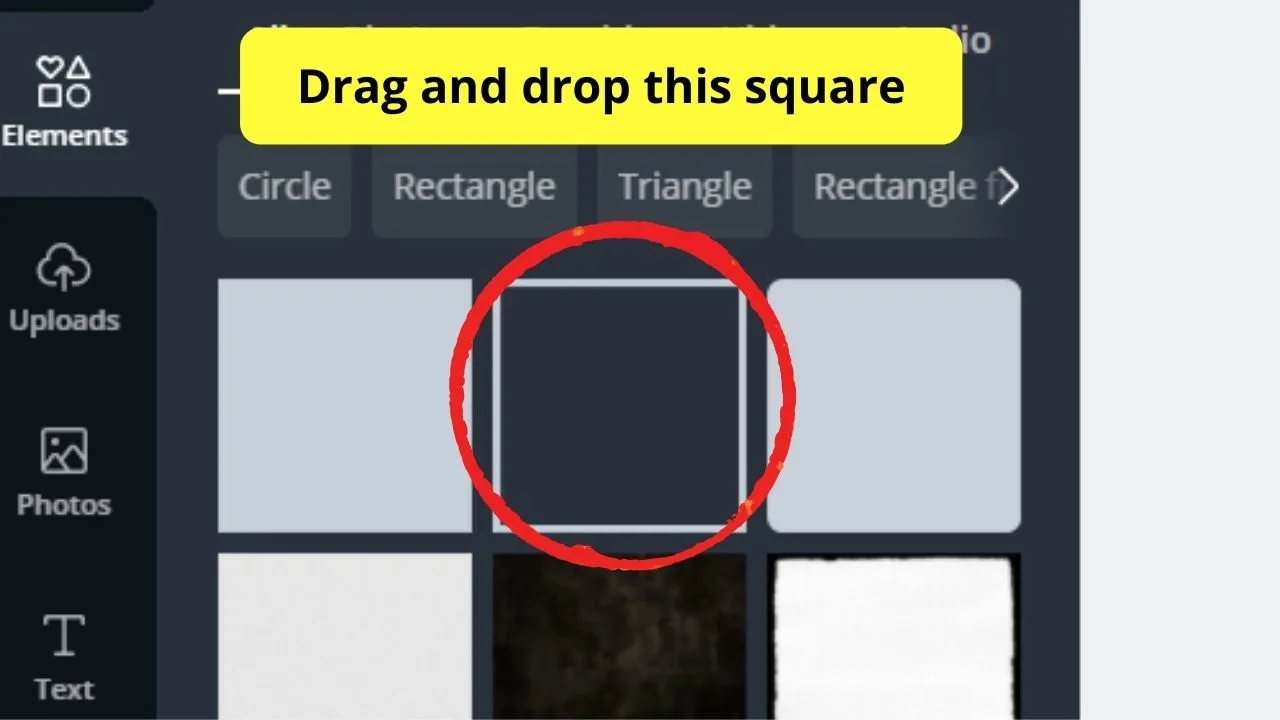
Step 3: Choose the plain-looking square or rectangle in the choices that will appear. Drag the said shape on your project.


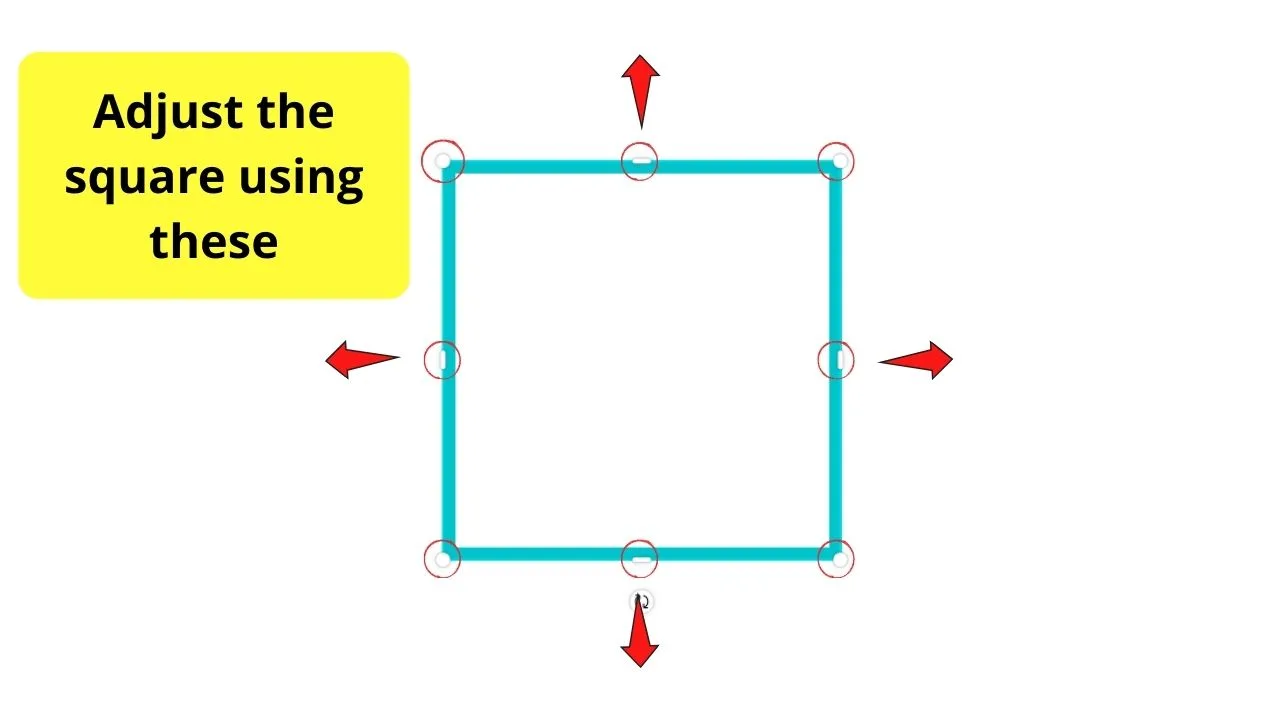
Step 4: Readjust the square or rectangle by dragging the white circles found at the corners. You can also use the white bars in the middle of the square or rectangle to make it stretch up, down, or sideways.

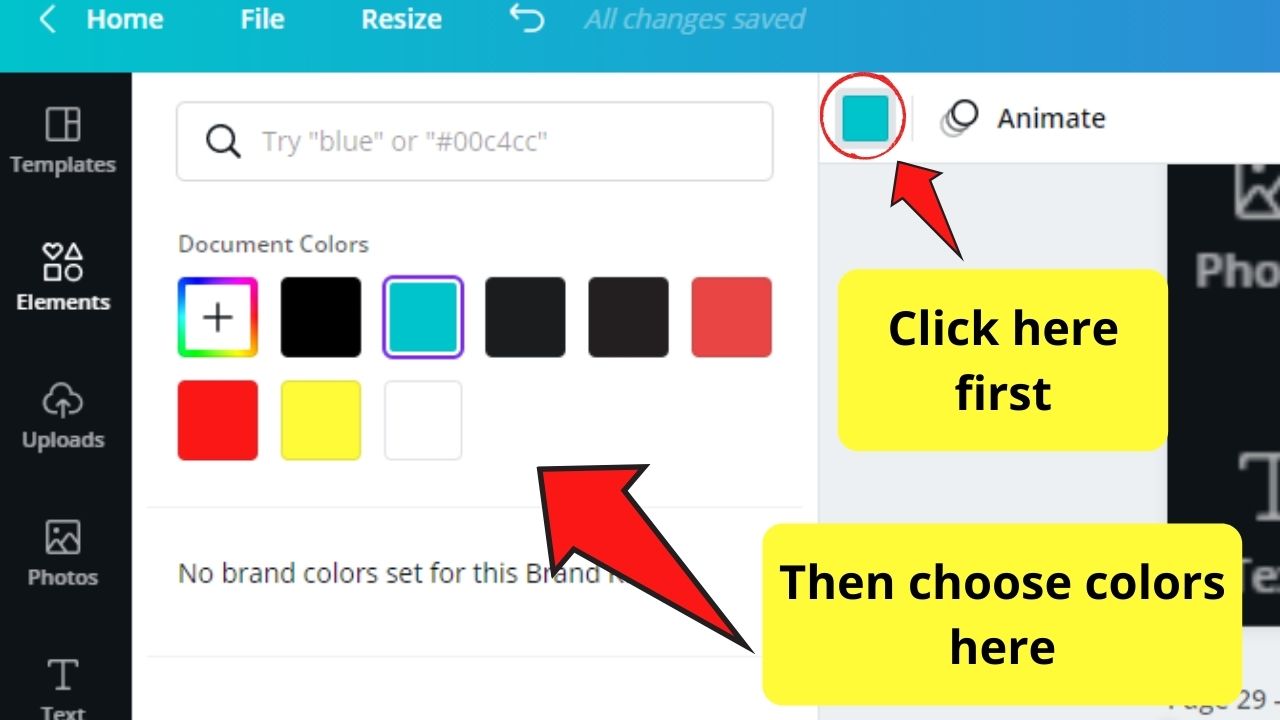
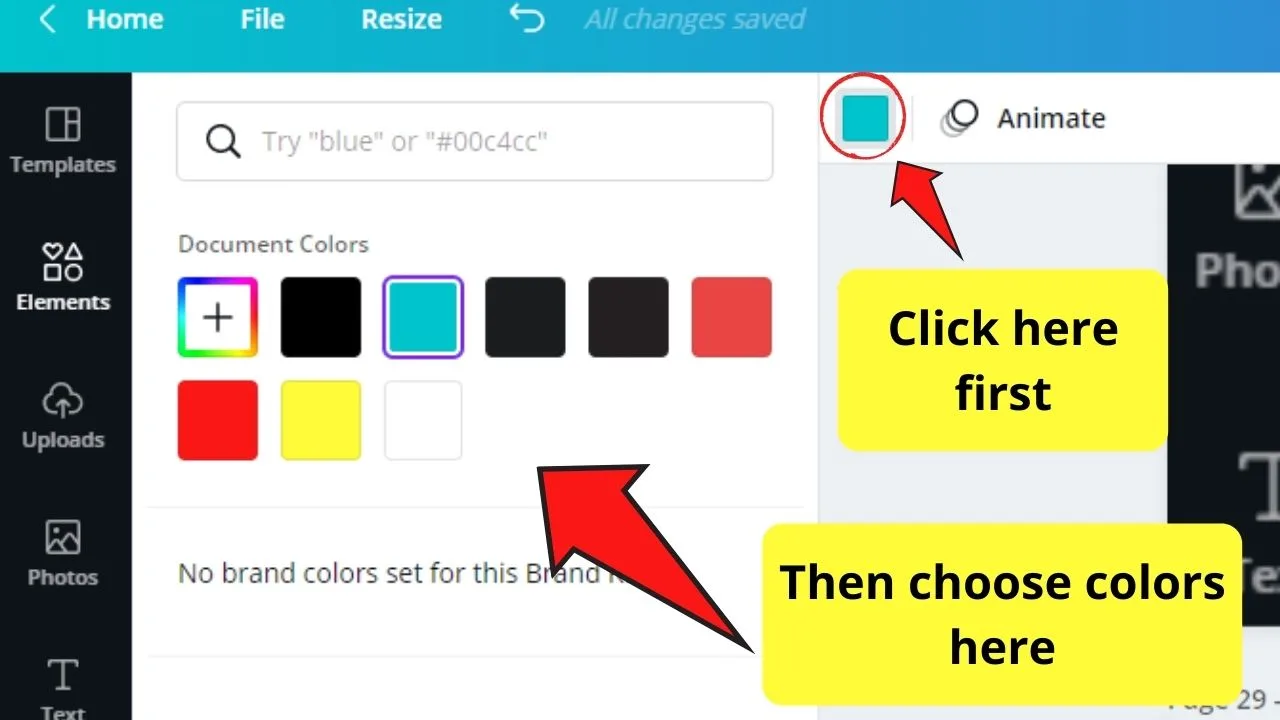
Step 5: If you want to change the color of the shape you’re using, click on the colored box on the toolbar. Choose from the colors available in the gallery by tapping on the one you’d like to use.
Pretty easy, right?
But, if you want a more manual method than adding squares or rectangles to your design, you can use lines instead.
Add Borders to your Canva Design with Canva Line Elements
Step 1: Go to the left-side Canva menu and tap on “Elements”
Step 2: On the search bar that appears, type in “lines.” It will then show you different variations of the lines available in Canva.
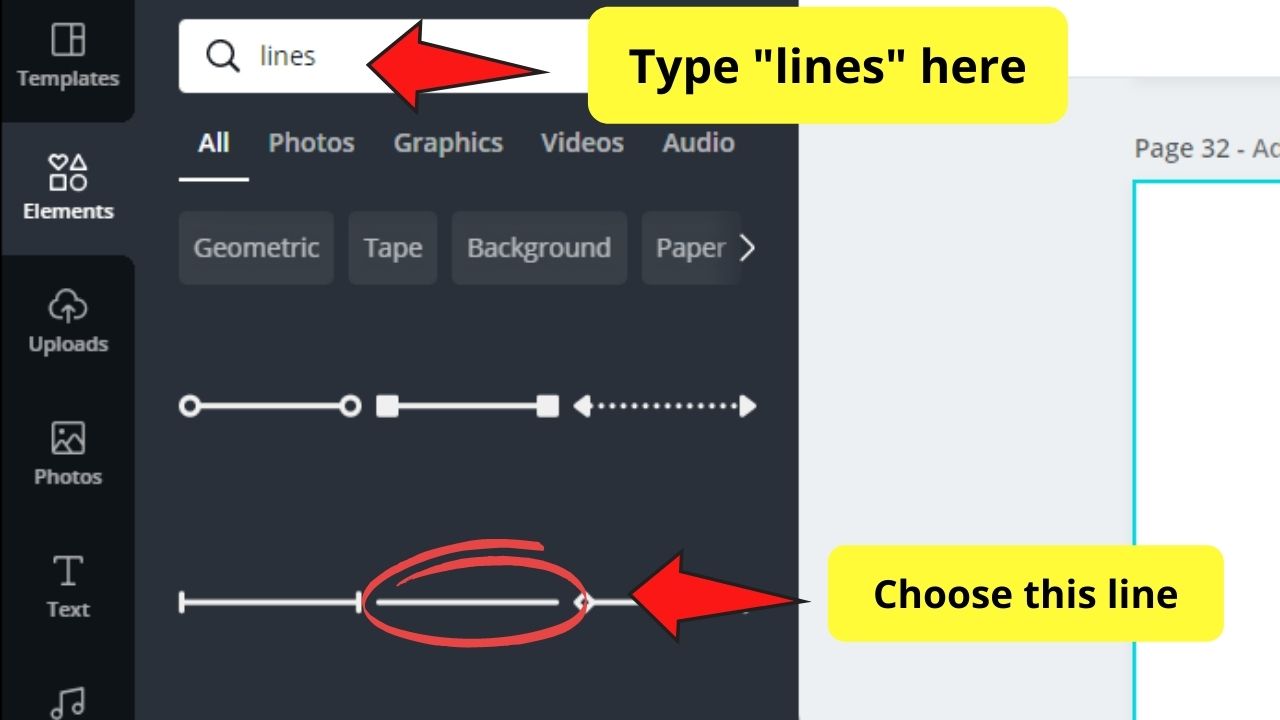

Step 3: Choose the line you’d like to use as a border. Drag and drop the line you’ve chosen for your project.
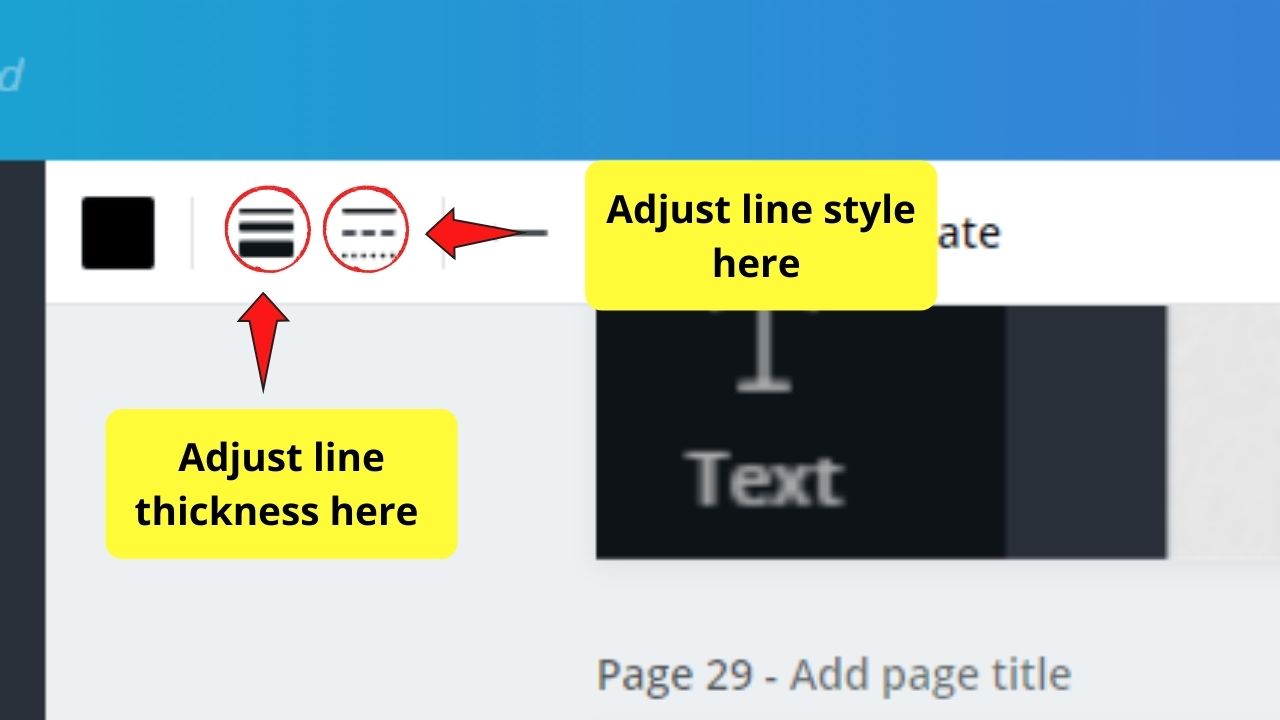
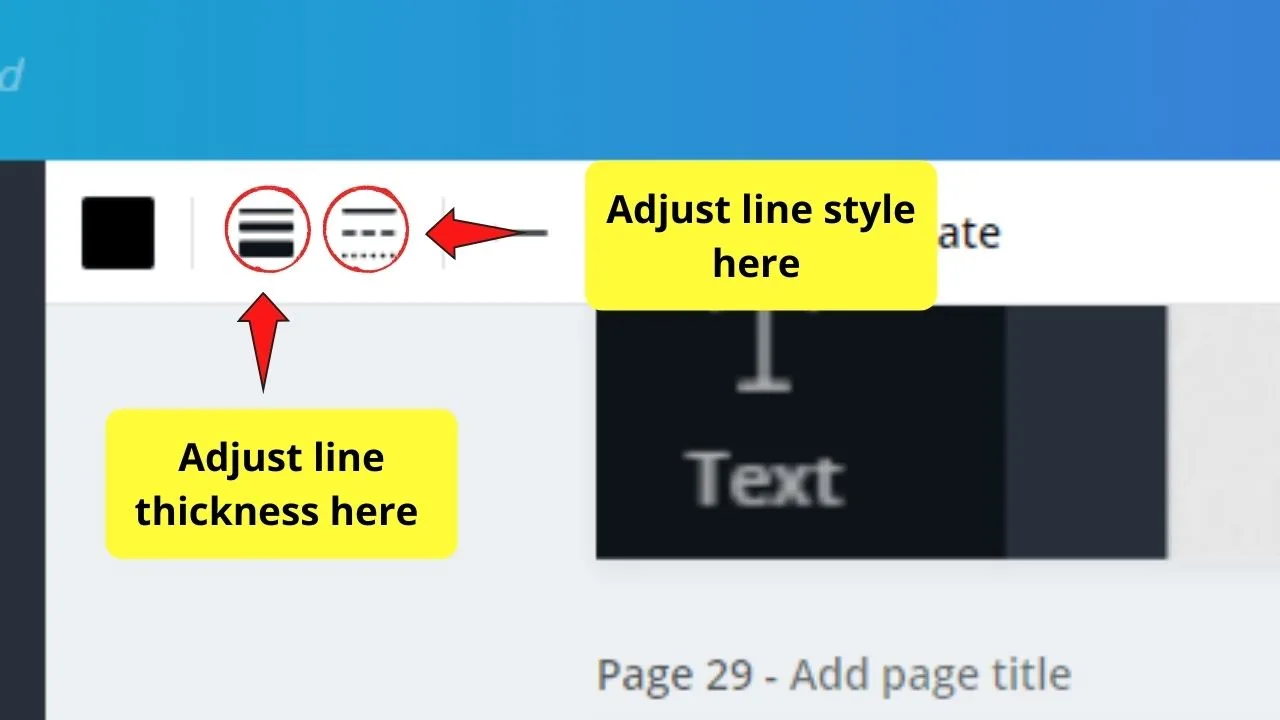
Step 4: Change the line style by tweaking with the style options found at the toolbar above your editor page. You can tap on “Weight” to adjust the line’s thickness or “Style” to change the line type you’re using.
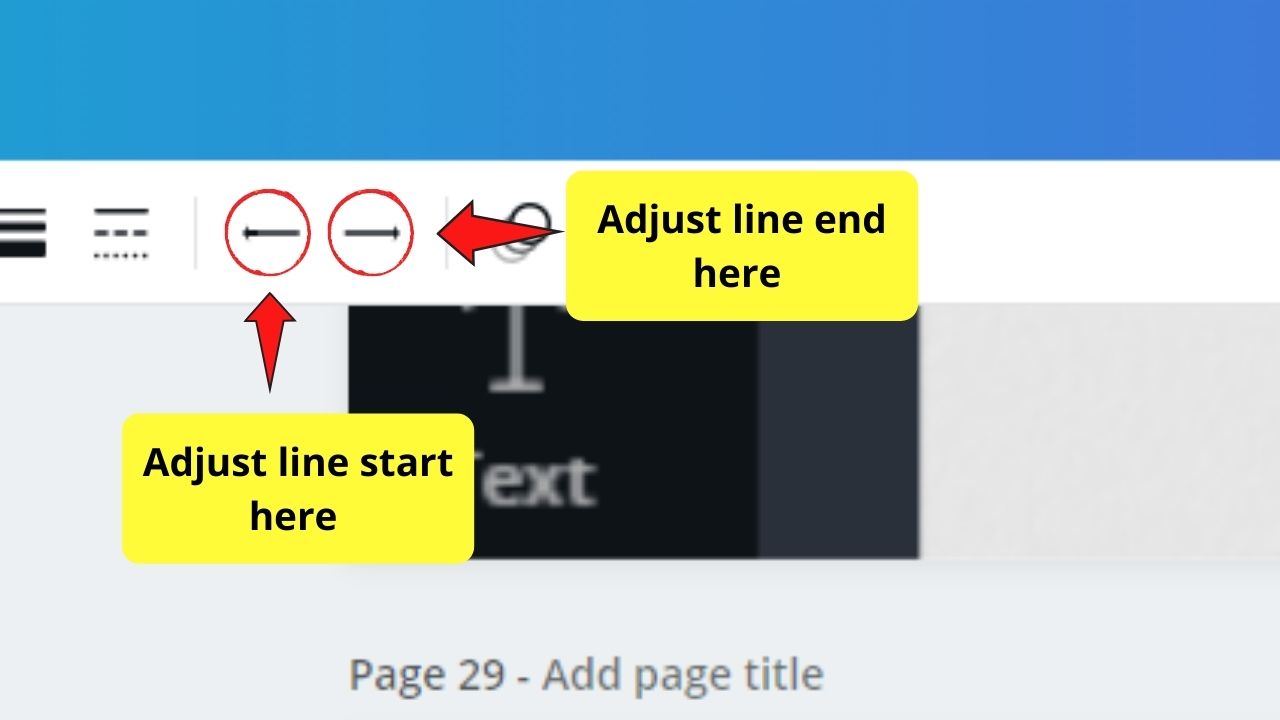
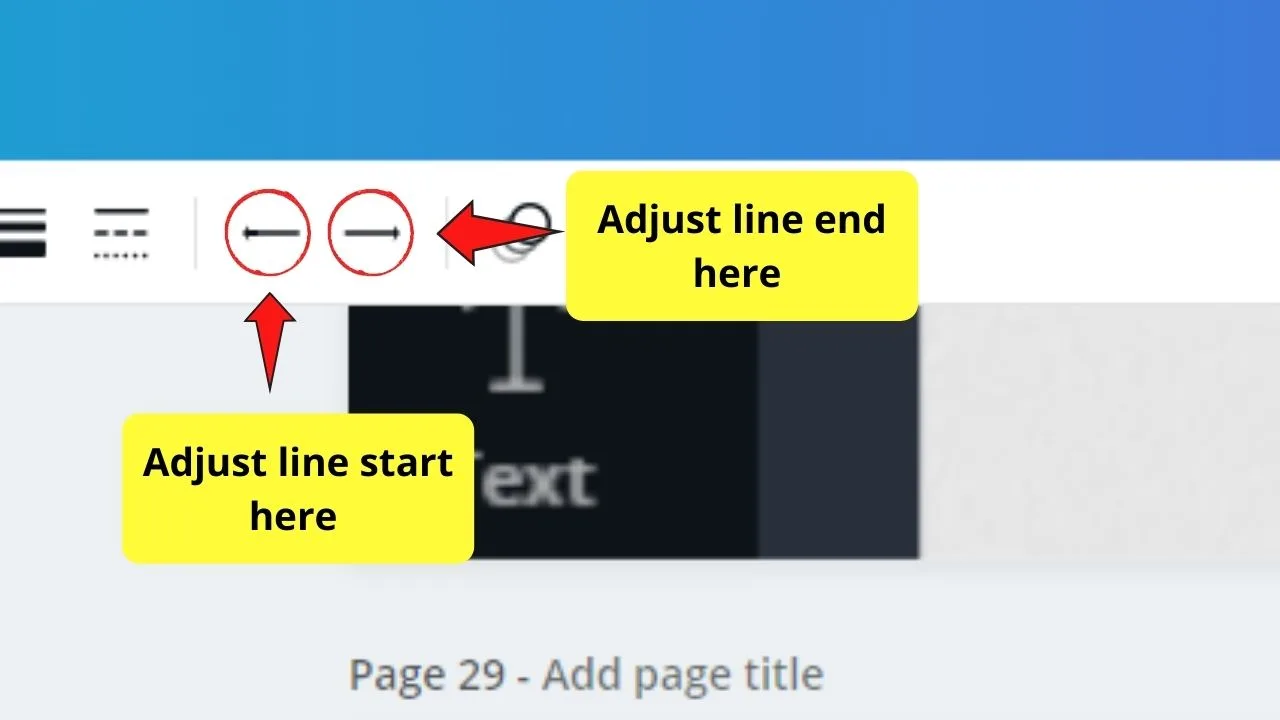
Step 5: If you want to adjust only the start or end of the line, you can do so by clicking on “Line start” or “Line end” respectively.
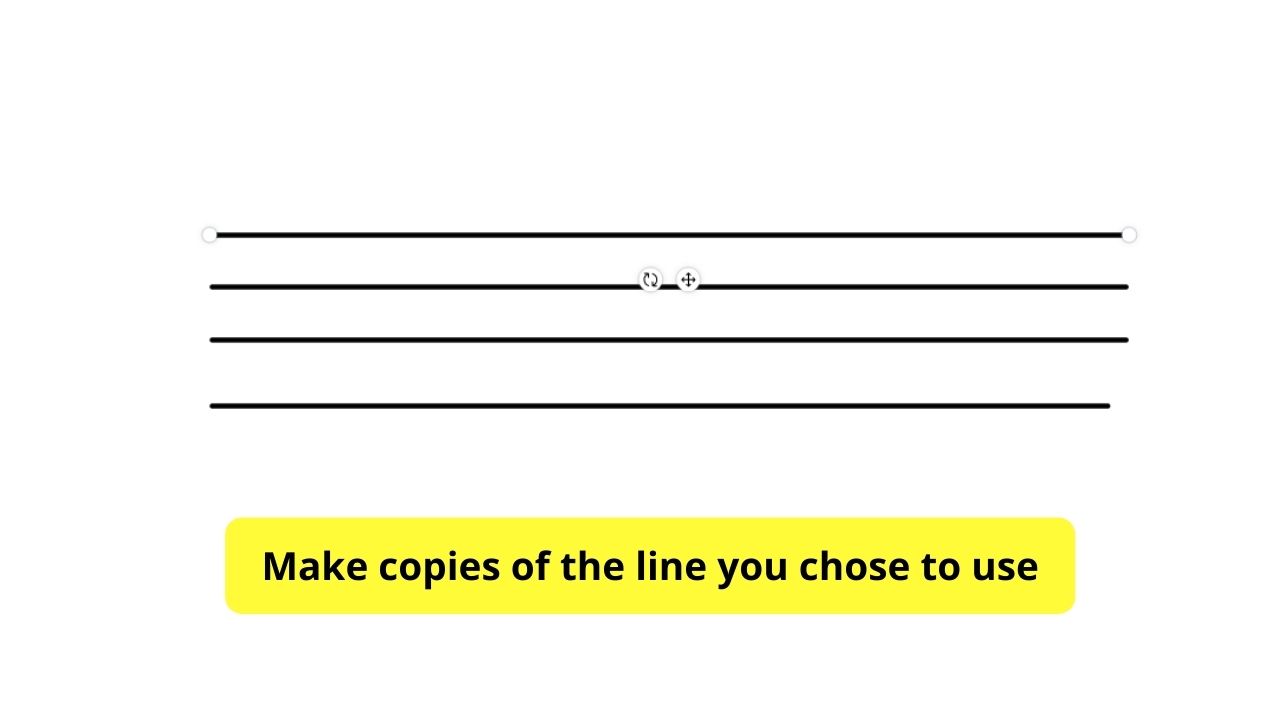
Step 6: Once you’re satisfied with the changes you made on your line, make copies of it. Click on the line you’ve made and press the “Alt” key on your keyboard while dragging downwards. For Mac users, press on “Option” instead.

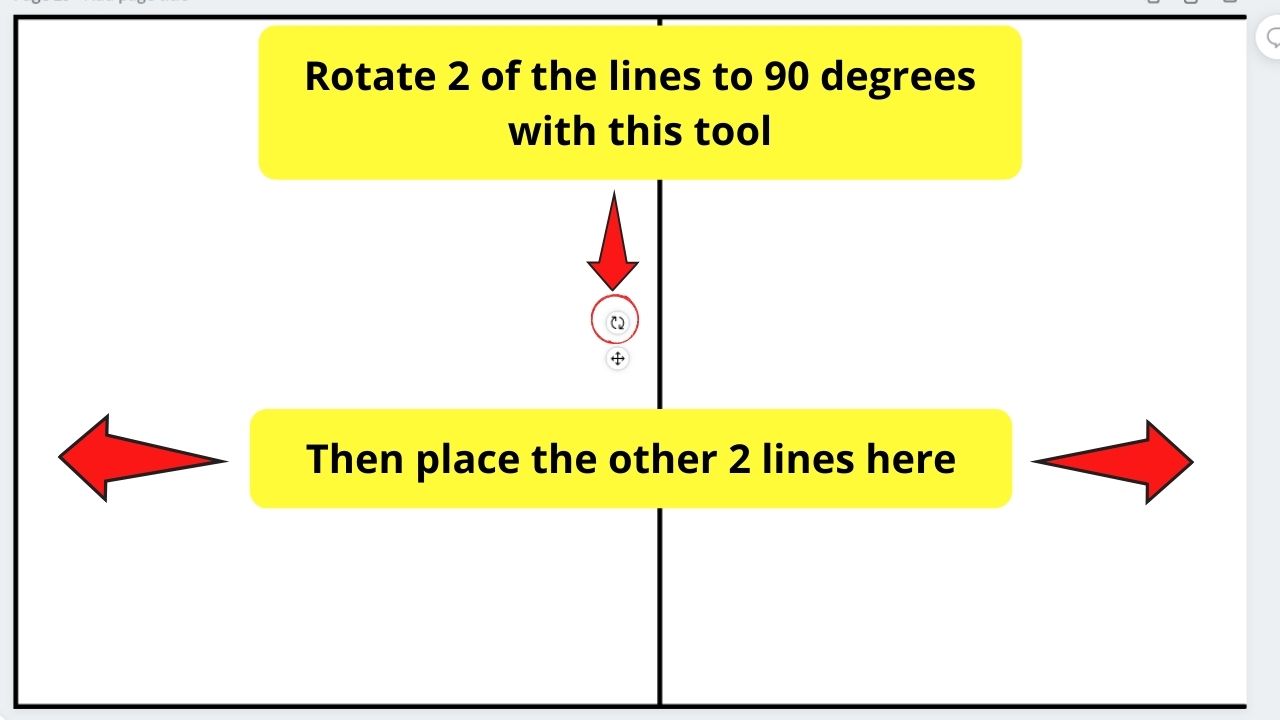
Step 7: Adjust the lines to make them fit your design. To create vertical lines, click on one of the horizontal lines and rotate it 90 degrees using the rotate handle (it looks like two arrows circling).

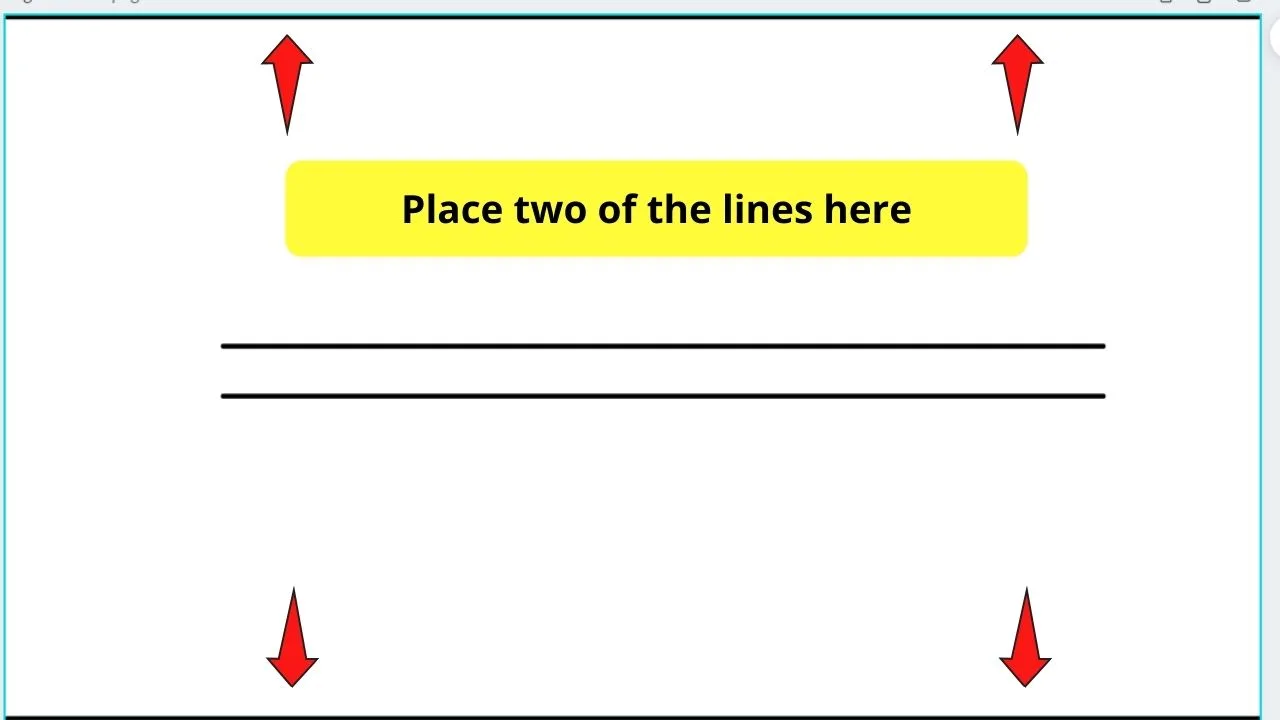
Step 8: Position your vertical lines accordingly on where you’d like to place them on your design.

Then, you can change the lines’ thickness and color in the same way that was mentioned in the squares/rectangles subsection earlier.
Quite lengthy, right?
But, no matter how labor-intensive this method is, it allows you to have total control as to how your border looks.
Now, if you’re just looking for a swift border addition, then the third method might just be the one you’re looking for.
Add Borders to a Canva Design Using Templates
Step 1: On the left-side Canva menu, click on the “Templates” tab.
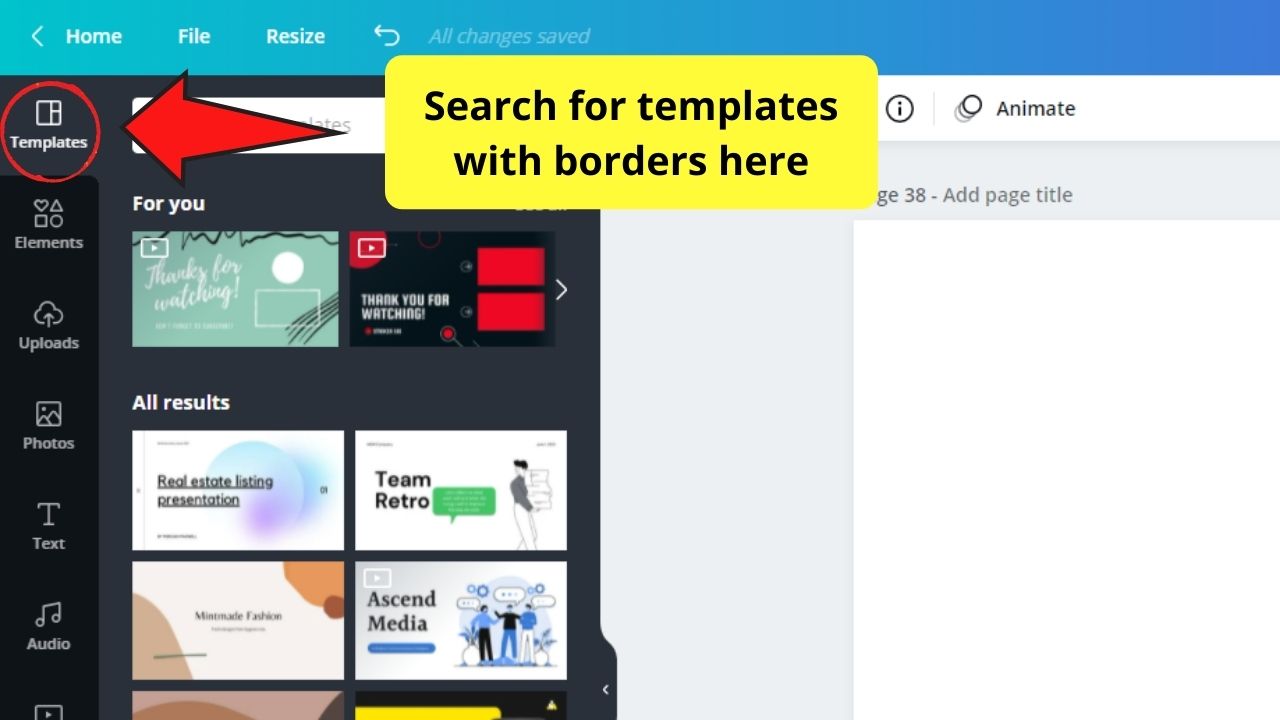
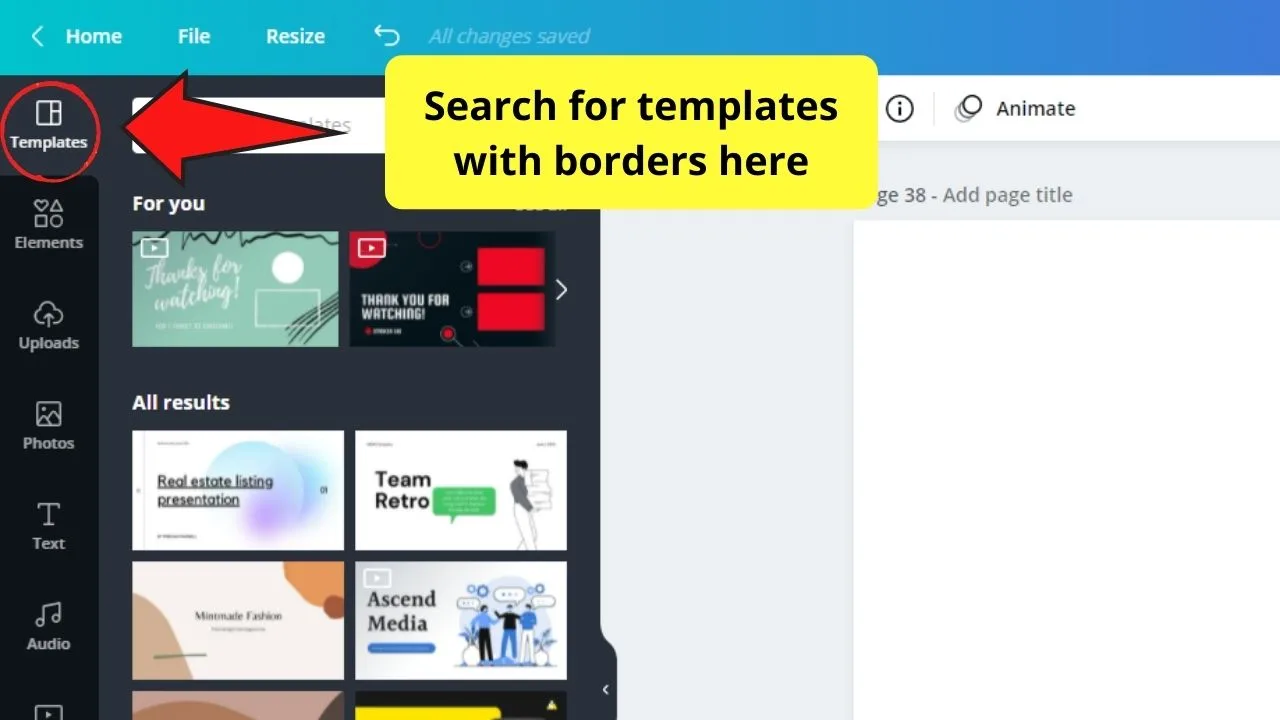
Step 2: On the gallery that appears, search for templates that have borders in them. Continue scrolling down if you haven’t found the border type that you want.
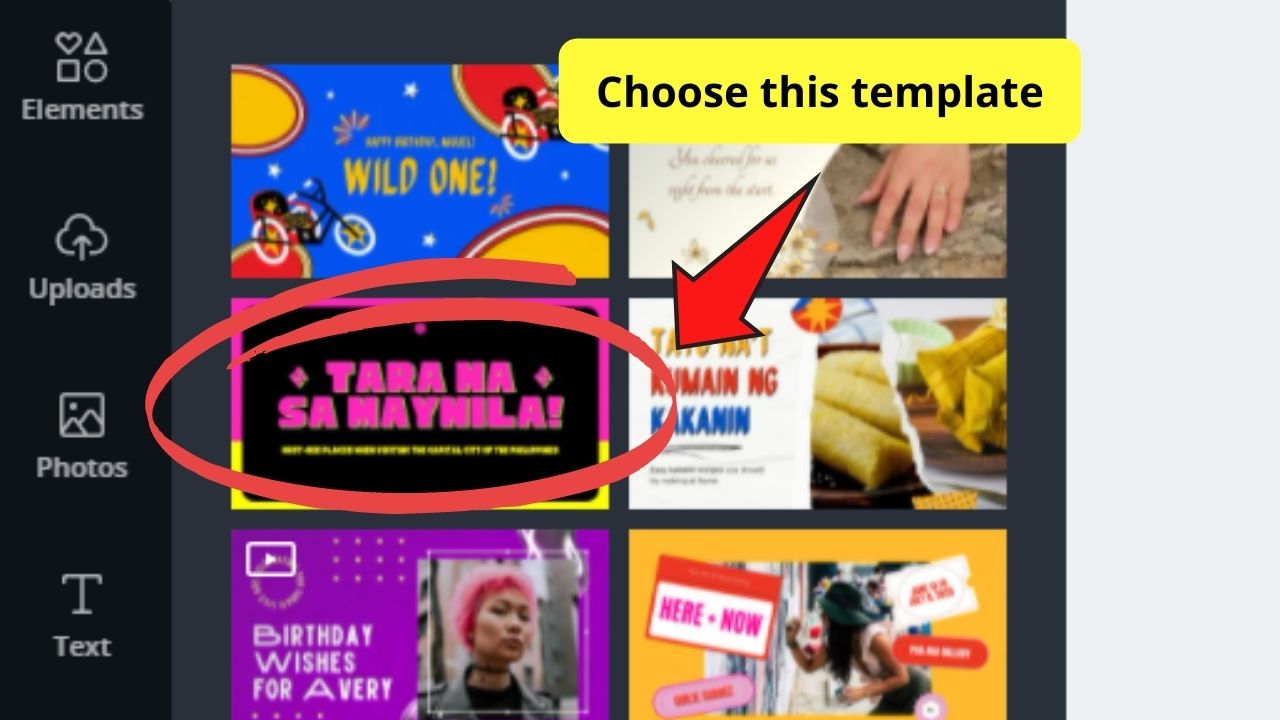

Step 3: Once you’ve found the bordered template you’d like to use, drag and drop the said template to your project.

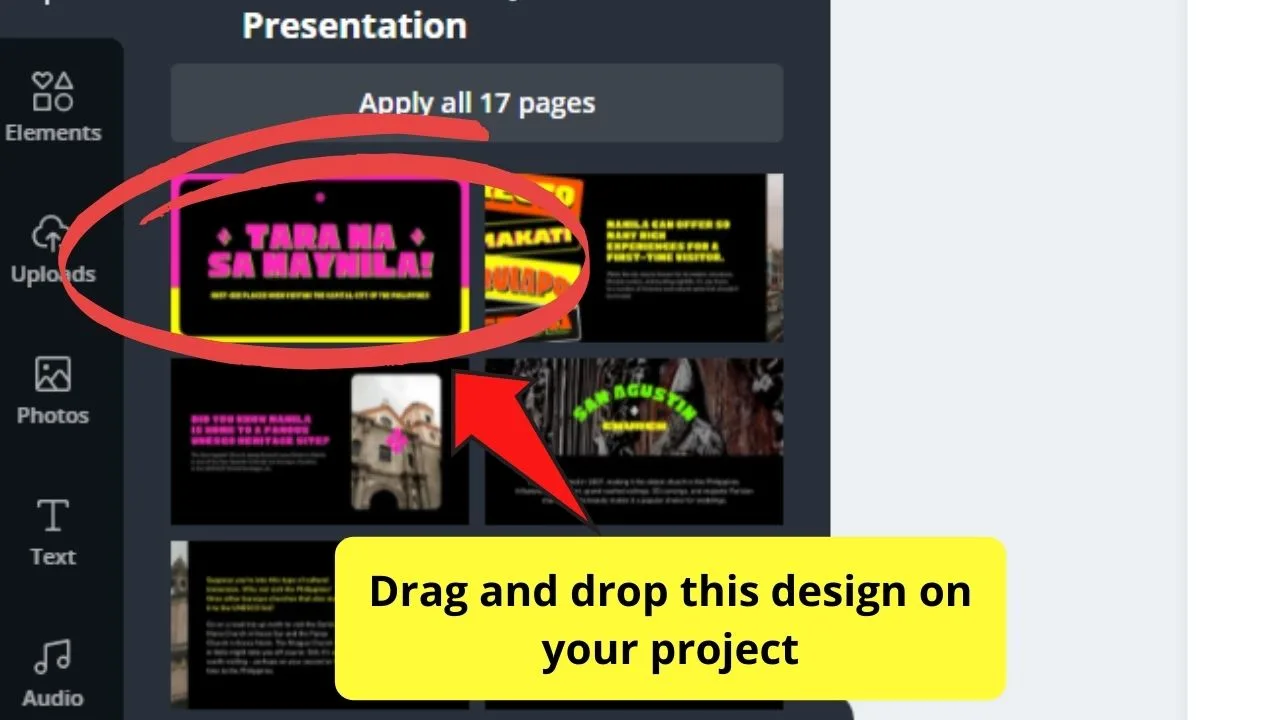
Step 4: Remove the elements that you won’t be using by simply clicking and deleting them manually. This will leave you with the border.


Step 5: Adjust the border by clicking and dragging on the white bars and circles whichever way you want.
Sleek and swift, right?
However, if you want some additional flair on the border you’ll use, better head over to the last method below.
How to Put Borders in Canva using Canva Elements
Step 1: Go to the “Elements” tab on the left-side menu of your Canva screen.
Step 2: On the search bar that appears, type in “borders.” A gallery of borders will then appear.

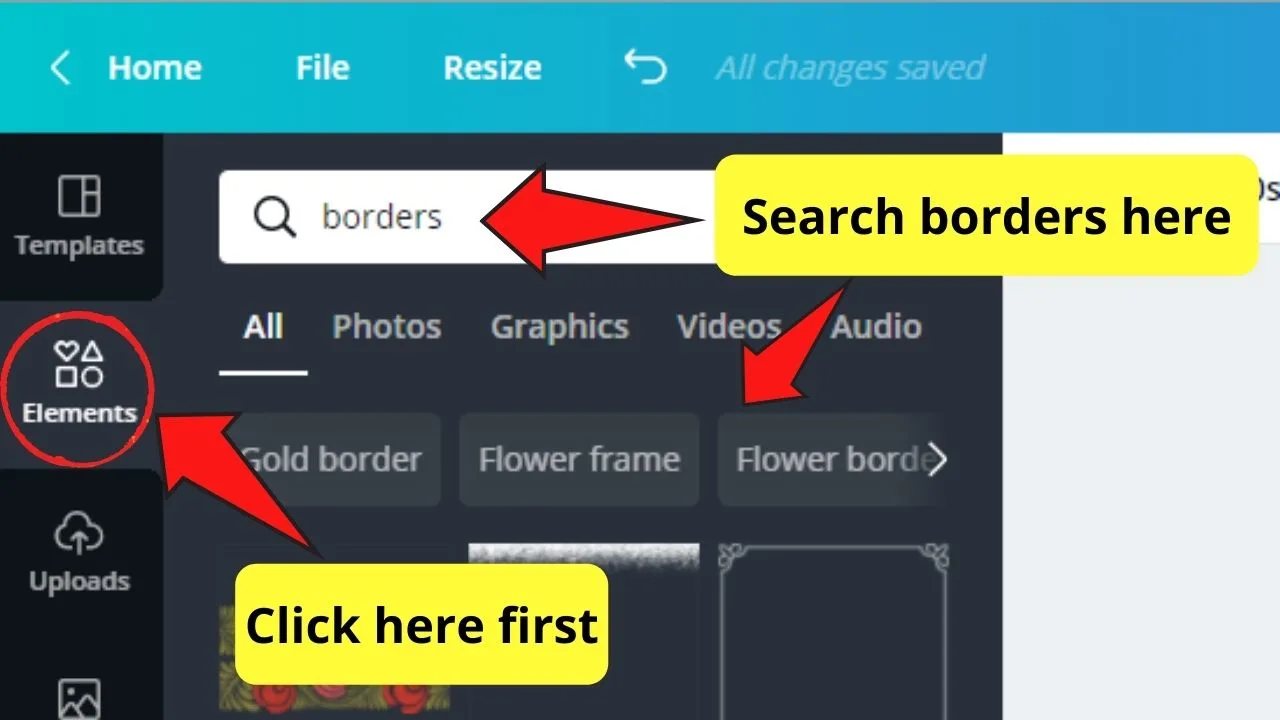
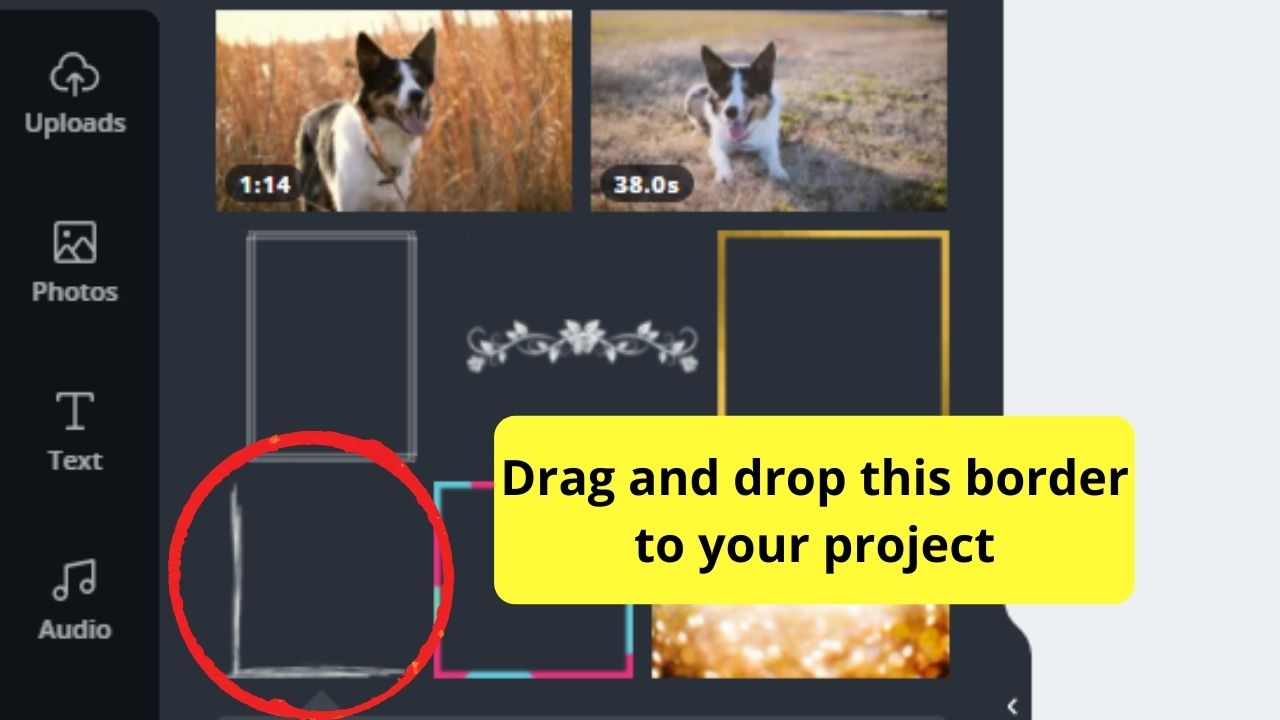
Step 3: Choose what border you’ll use by scrolling down to check out the options. Another way to find a border is by tapping the border recommendations found below the search bar.
Step 4: Once you’ve found the border you’d like to use for your design, simply drop and drag it to your project.

Step 5: Create copies of the border you’ve chosen by simultaneously pressing the “Alt” or “Option” key on your keyboard and dragging the border design.

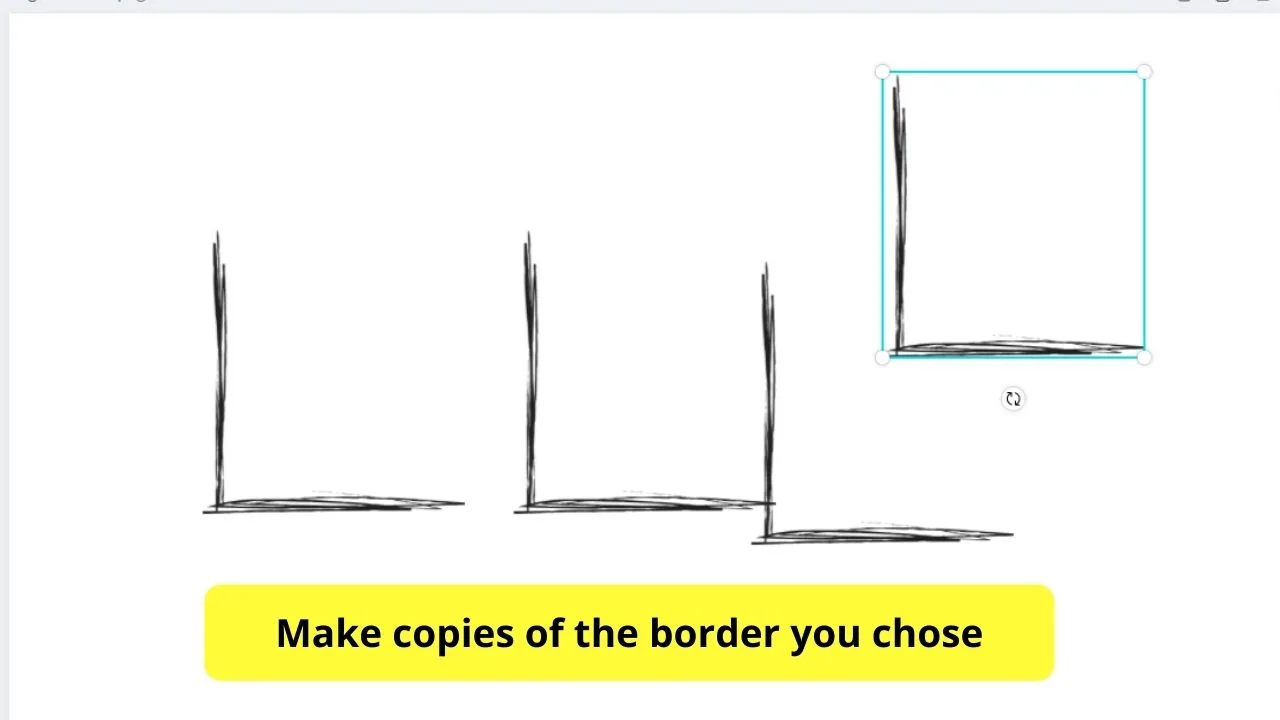
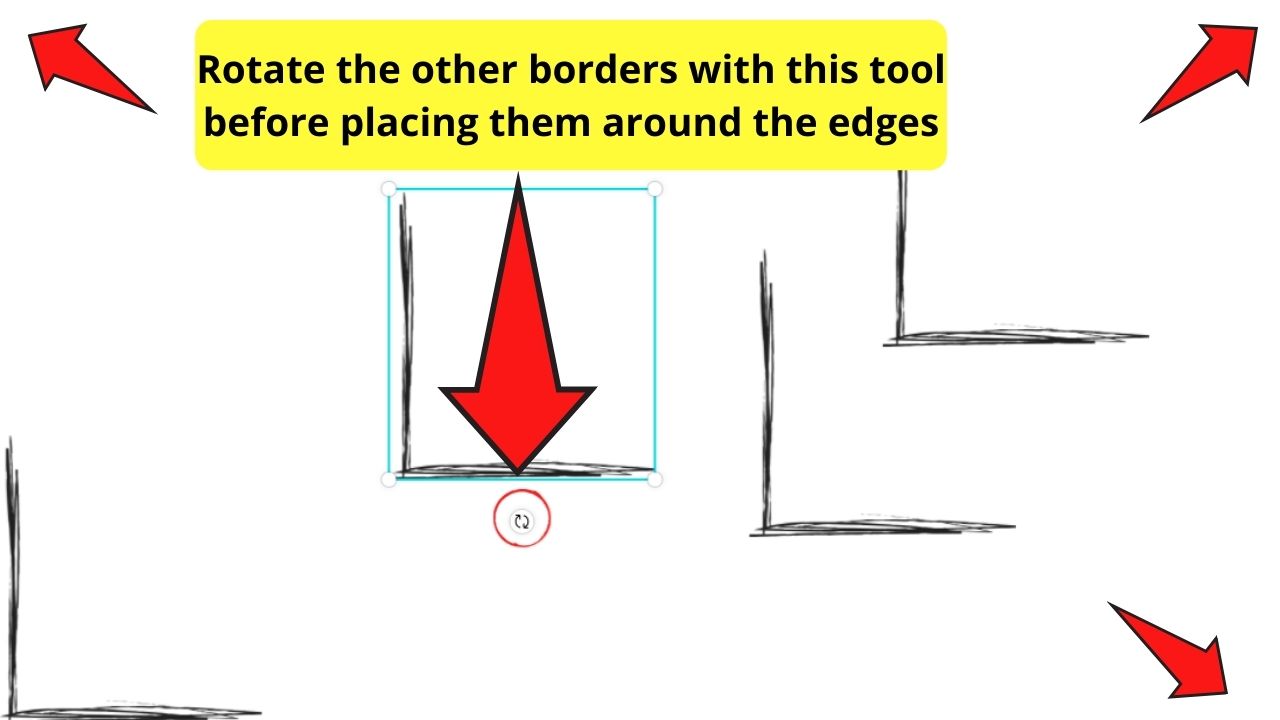
Step 6: Rotate the borders using the rotator handle to change their orientation. Once satisfied, position them accordingly on the corners of your design.

Like in other strategies mentioned, you can always change the border colors by clicking on them and tapping the rainbow-colored tile on the toolbar.
How to make your own borders in Canva using a rectangle from Canva Shapes
In one of Canva’s recent updates, the company introduced “Canva Shapes.”
The easiest way to use these shapes in your design is by simply pressing “R” on your keyboard. This will add a square shape to your project.
This rectangle is actually perfect to create borders for your design elements.
Let me explain.
To transform your rectangle into a fully customizable border, all you need to do is to select the rectangle and then click on “Color” in the top toolbar.
Then, on the left side under “Document Colors” make sure to choose “None.” This will remove the color from your square altogether.
The next step is to click on “Border style” in the top toolbar and then you would increase the “Border weight.” This will bring your border alive.
The cool thing about this method is that you will have handles all around your square that will easily let you adjust the width and the height of your border to ANY size.
In older versions of Canva, you could find such a fully customizable square element also in Canva’s “Elements” tab. However, that is no more. Most, if not all of the “border elements” that you will find under “Elements” will come with certain limitations.
With that said, using the rectangle of Canva Shapes to create your border might be the best and easiest method!
You are welcome.
In case you would like to use other shapes (to make borders in Canva), after adding a square to your design, simply select that square and then click on “Shape” in the top toolbar. You can then easily transform your square into lots of different shapes in 1 click!
How to Make a Page Border in Canva
There is no 1-click page border option in Canva.
With that said, the way to go about this is to create a smaller “border element” and then to adjust that border element to fit the page.
The easiest way to get this done, yet again, is to use “Canva shapes.” Here’s a short step-by-guide for yout o make a page border in Canva:
- Press “S” on your keyboard to adda square shape to your design
- Make sure the square element is selected and then click on “Color” in the top toolbar
- Under “Document Colors,” change the document color to “None.”
- Choose “Border Style” in the top toolbar
- Increase the “Border weight” to bring your border to life
- Use the white square handles to adjust the width and the height of the square to fit your page
Why not just use a border (frame) element from Canva’s “Elements” tab instead?
Well, the answer is customization. The frame/border elements that you find in the Elements tab are not fully customizable. The main problem with these is that these are not fully “resizable.” While you can make these elements bigger, you can’t actually change the aspect ratio for these…
…which makes this border elements completely useless in case you are NOT using the same aspect ratio for your design.
Another problem with these elements is that the border weight of the border will increase when you resize them. We don’t want that.
So, with that said, using our “square” element to get these page borders done is simply the far better way to make a page border in Canva.
How to Make a Border with Rounded Corners in Canva
If your Canva border should have rounded corners, then here’s how you do that.
First of all, add a square to your design by pressing “R” on the keyboard.
Then left-click on the square and click on “Color” in the top toolbar. See where it says “Document Color”? Make sure to select “None” there (=transparent).
After that, click on “Border style” in the top toolbar (it is located just next to the Color square icon). Now, increase the “Border weight” a bit to bring the border alive.
Last but not least, still in the same panel, make sure to increase “Corner rounding” and you will end up with a lovely border with rounded corners.
Also, this newly created border with rounded corners is fully customizable and can be adjusted to any size. Simply use the white handles that you see all around the square to adjust the width and the height of your border.
Frequently Asked Questions How To Add A Border To Canva Designs
Can you undo the changes you made to your border?
Thanks to Canva’s “Undo” option, you can negate the changes you’ve made on your border. Just click on the left-pointing curved arrow icon to undo what you’ve done on your design.
Can borders be used to hold photos in them?
Unlike frames and grids, you cannot use borders to hold images inside them. Borders are only used to outline the edges of your design for a more dramatic effect.
Is it possible to use Premium borders for Canva free accounts?
Though you’ll have to pay a bit, you can most certainly use Premium borders for your design. You’ll just have to purchase those borders you’ve used first before you can download them on your device.


Hey guys! It’s me, Marcel, aka Maschi. On MaschiTuts, it’s all about tutorials! No matter the topic of the article, the goal always remains the same: Providing you guys with the most in-depth and helpful tutorials!

