Gone are the days of snail-mail invoices, telephone calls to chase late payments, and waiting for checks to clear.
With the advancements in technology and the simplistic nature of WordPress (and its integrations), store owners, or even just website owners with a digital product, can be paid instantaneously.
Entire checkout processes can be customized, and more than one payment gateway can be used.
But how do you do all of that on a WordPress-based website?
Let’s find out!
How to accept payments in WordPress
To accept payments in WordPress, follow these steps:
- Secure your website with HTTP over SSL
- Setup a Merchant account to accept debit and credit card payments (not always needed)
- Use an online payment gateway (Stripe, PayPal, etc.)
- Install an ‘approved’ WordPress plugin from the payment gateway provider
The need for an SSL certificate
To accept payments online or to capture any personal information, websites need to be secured with a Secure Sockets Layer (SSL) certificate. This is to encrypt users’ data and to prevent intruders from spying.
Most WordPress hosting providers include SSL certificates in the hosting plans. All payment gateways will require your site to load with an HTTPS connection.
Merchant account requirements
Despite the increase of in-app payments, a vast amount of commercial transactions are still done using credit and debit cards.
These details are sensitive and should not be stored in your WordPress database.
Instead, WordPress websites need to be connected to a payment gateway or payment processor for PCI DSS (Payment Card Industry Data Security Standard) Compliance.
Some payment gateway services require merchants to have a merchant account. Others do not.
PayPal and Stripe are two examples of complete payment solutions that can be used to accept payments on websites without a merchant account.
Choosing a Payment Gateway or Payment Processor
There are many payment gateways ranging from PayPal, Google Pay, Stripe, Amazon Pay, Authorize.net, WorldPay and many more.
Those are only the mainstream providers.
You can go further with crypto payment processors such as Coinbase or Bitpay.
Each will have different fees based on the level of risk.
For online payments, the risk is higher because the card is not physically present. Aside from the merchant account fees (usually a monthly charge), there will also be transaction fees and authorization fees.
A transaction fee is typically up to 3%. An authorization fee is usually up to 0.3%. Fees vary by provider, so it will be worth researching your options.
Other things to consider are if you need a hybrid payment processor to accept online payments and in-store payments, as well as if multi-currency payments are supported, and if so, what the currency conversion fees are.
Ease of setting up on WordPress
Your choice of payment gateway may be limited if you do not have technical knowledge. Without a plugin with all the coding done, your theme will need JavaScript coded to connect your WordPress server to your payment gateway.
Using Google Pay as an example, you would need to create four scripts…
Load pay.js
isReadytoPay()
createButton()
loadPaymentData()
Setting up Google Pay is straightforward in the developer console, but connecting WordPress through the API requires technical knowledge or the assistance of a web developer.
The code below is only a snippet of the JS codes that would need to be added to your theme.
<script async="" src="https://pay.google.com/gp/p/js/pay.js" onload="onGooglePayLoaded()"></script>

function onGooglePayLoaded() {
const googlePayClient =
new google.payments.api.PaymentsClient({
environment: 'TEST'
});
}

isReadytoPay()

clientConfiguration ={
apiVersion: 2,
apiVersionMinor: 0,
allowedPaymentMethods: [cardPaymentMethod]
};

googlePayClient.isReadytoPay(clientConfiguration)
.then(function(response) {
if(response.result) {
// add a Google Pay button
}
{).catch(function(err) {
// log error in developer console
});

googlePayClient.createButton( {
// defaults to black if default or ommitted
buttonColor:'default',
// defaults to long if omitted
buttonType:'long',
onClick: onGooglePaymentsButtonClicked
});

loadPaymentData()

const paymentDataRequest = Object.assign({},
clientConfiguration);

paymentDataRequest.transactionInfo = {
totalPriceStatus:'FINAL',
totalPrice:'123,45',
currencyCode:'USD',
};
paymentDataRequest.merchantInfo = {
merchantID:'012345678',
merchantName:'Company Name'
};

const cardPaymentMethod = {
type: 'CARD',
tokenizationSpecification: tokenizationSpec,
parameters: {
allowedCardNetworks: ['VISA','MASTERCARD','AMEX']
billingAddressRequired: true,
billing AddressParameters: {
}
The simpler method is to use a plugin to make it as easy as form-filling for customers to checkout.
Payment processor plugins for WordPress
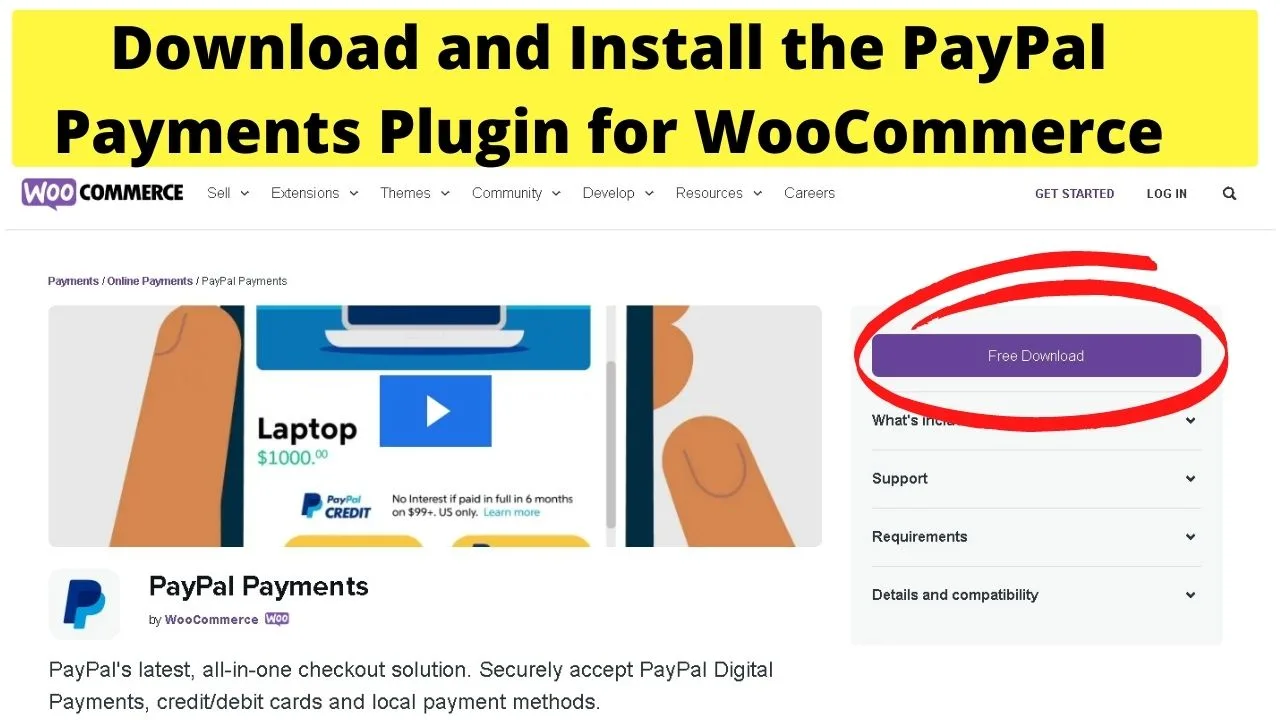
PayPal Payments by WooCommerce

The PayPal Payments plugin for WooCommerce integrates the PayPal Payment Pro service to WooCommerce stores on WordPress.
This is a PayPal merchant account that integrates with WooCommerce stores. One of the key distinctions from this service in comparison to adding a standard PayPal button is that customers can check out on your site.
It gives customers more checkout options. Pay upfront with a Debit Card, use a Credit Card, or depending on your location, PayPal Credit may be available, and it supports phone-based card payments.
When integrated with WooCommerce, it can be configured to support multiple currencies.
Get Paid

WPGetPaid.com started out in 2017 as WP Invoicing. Within a year, they had plugins developed to integrate three payment gateways with WordPress.
Five years later, they have a library of plugins to integrate with all major payment gateways and a suite of add-ons to tailor how you get paid.
From Cash on Delivery (CoD) to adding a wallet to your site, which would be handy for high ticket items by offering split-payment options or even accepting deposits to secure a booking.
Stripe

Stripe powers billions of transactions every year, yet most customers do not even know of Stripe being in the background.
It is like a white-label all-in-one online payment solution.
Shop on Amazon, Stripe is powering the checkout process. Using the Lyft app, Stripe is powering the payments—same with Deliveroo, Boohoo, Salesforce, and the bulk of Shopify stores.
Where Stripe excels is with branding. The entire checkout process can be made on-brand.
Stripe can be integrated with WordPress using a verified Stripe plugin for WordPress.
If you search for Stripe in the WP plugin repository, it shows dozens of pages. Only 39 WordPress plugins (at the time of writing) have been evaluated by Stripe’s engineering team for “quality, security, and utility.”
Should none of the existing solutions be the right fit, developers can use the Stripe PHP SDK to customize the checkout process and connect it to Stripe with the API.

Hey guys! It’s me, Marcel, aka Maschi. On MaschiTuts, it’s all about tutorials! No matter the topic of the article, the goal always remains the same: Providing you guys with the most in-depth and helpful tutorials!


