
Drawing things in Procreate is intuitive and fun.
The same goes for using text in Procreate.
However, using and manipulating text in Procreate is a bit more difficult than simply drawing with a brush.
And this is why in this article, I am going to give you an in-depth tutorial on everything text-related in Procreate, including “adding text”, “curving text”, “moving text”, “aligning text”, “rotating text”, “using alpha lock on text” and finally also a step-by-step guide on “How to delete text in Procreate.”
Enjoy!
Adding Text in Procreate
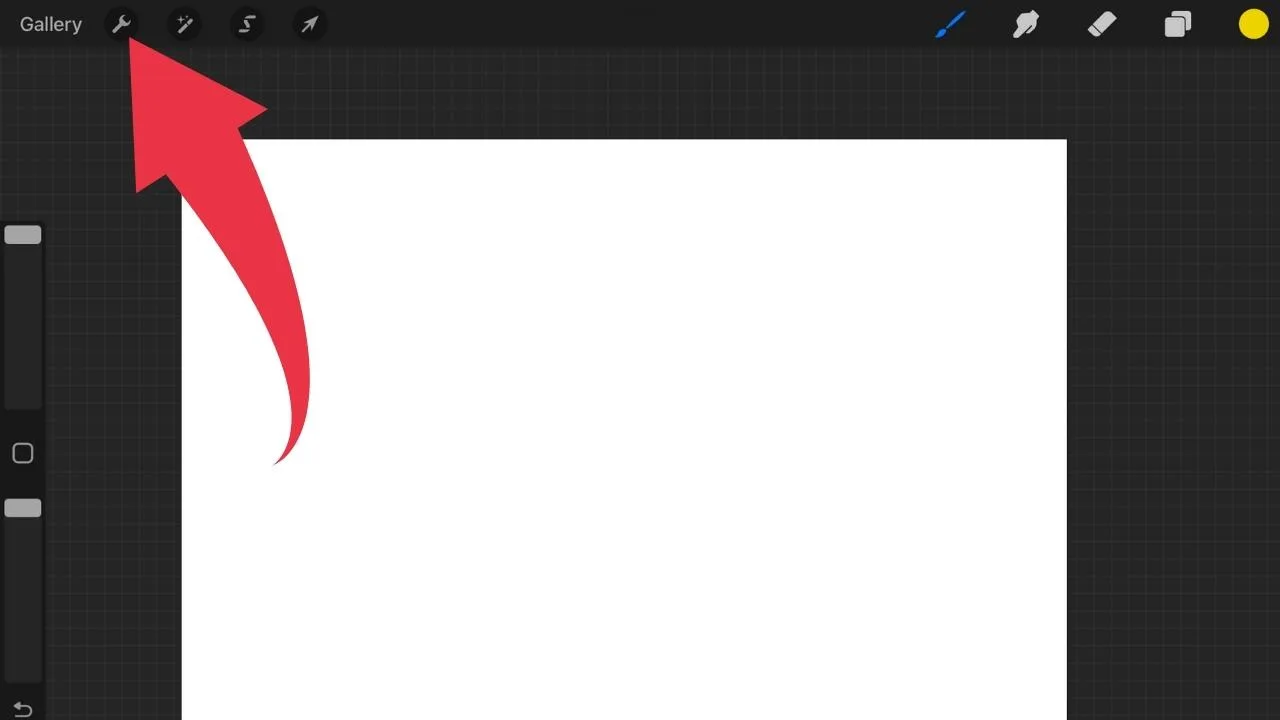
To add text in Procreate, click on the wrench symbol in the top left corner of the screen. Then navigate to “Add” and then tap on “Add text.”
Step 1: Click on the wrench symbol in the top-left corner of the screen.

Step 2: Select “Add.”
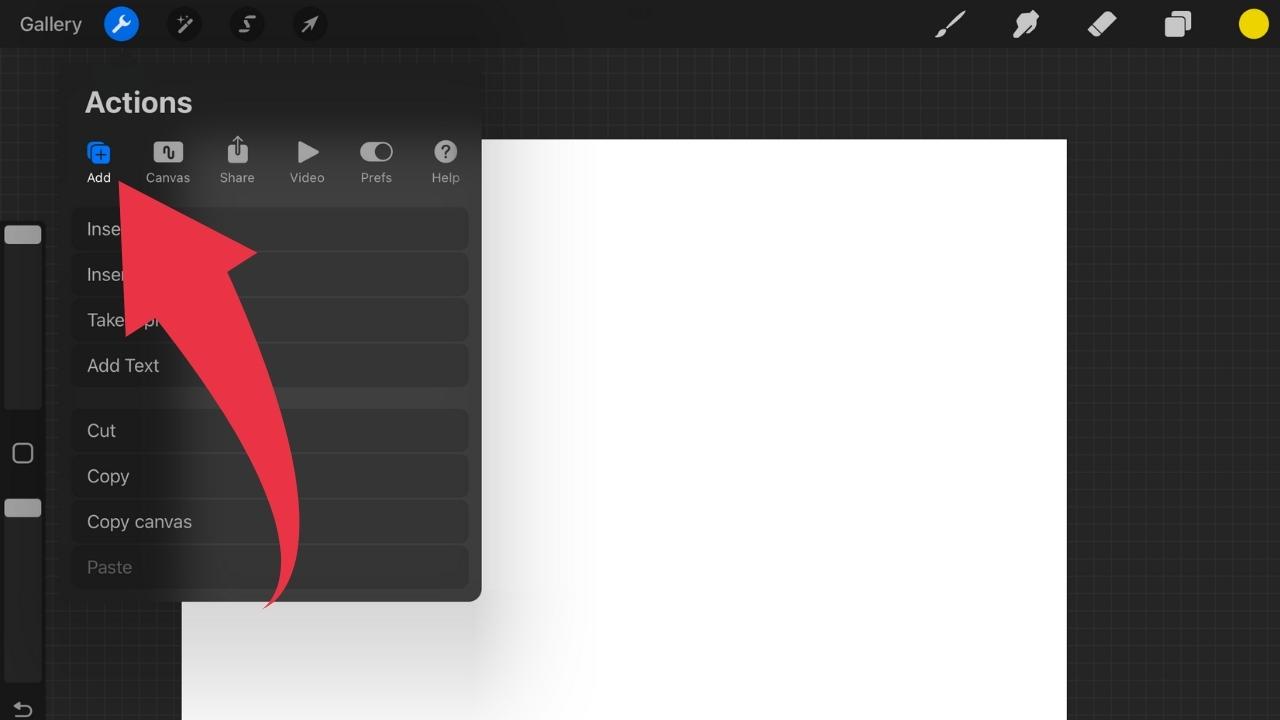

Step 3: Tap on “Add text.” Some dummy text will then be automatically inserted onto your design. You can then go and adjust it to your liking.


Curving Text in Procreate
There really is no easy way to curve text in Procreate. In order to get it done, you will first need to create a circle and then align each letter individually. It goes without saying that this method is very time-consuming but there simply is no other way to get it done as of now.


Moving Text in Procreate
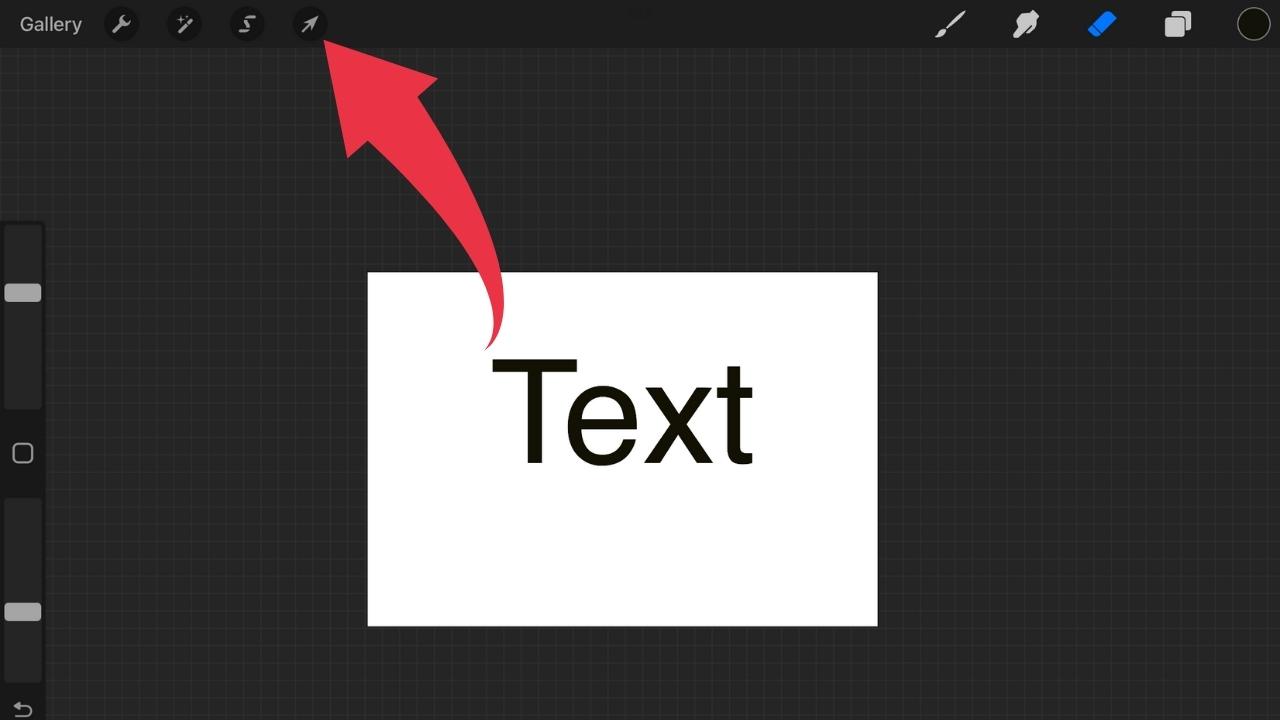
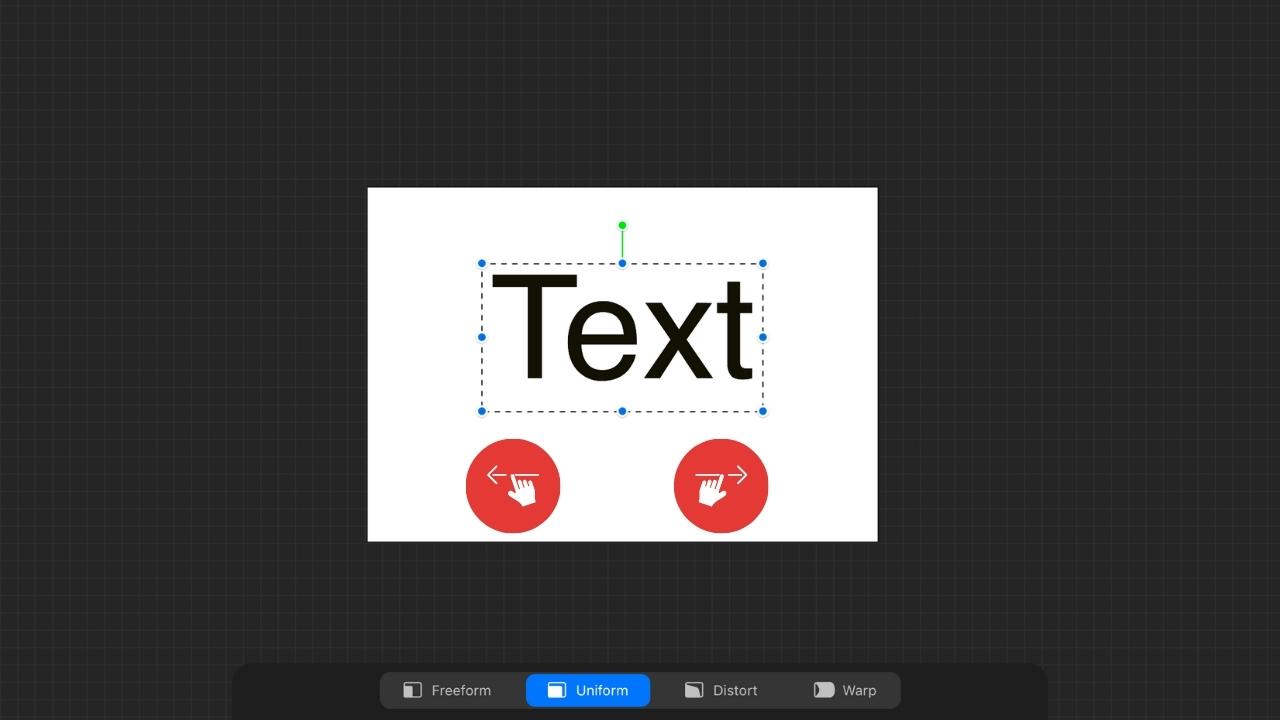
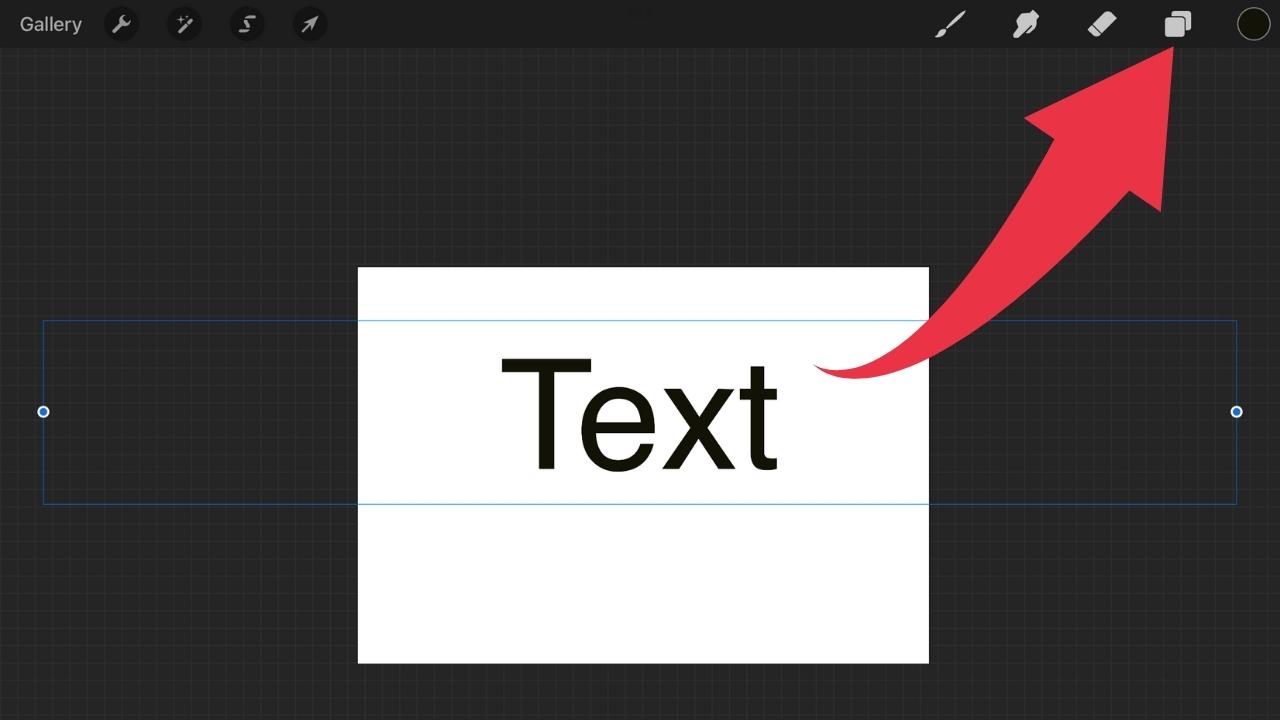
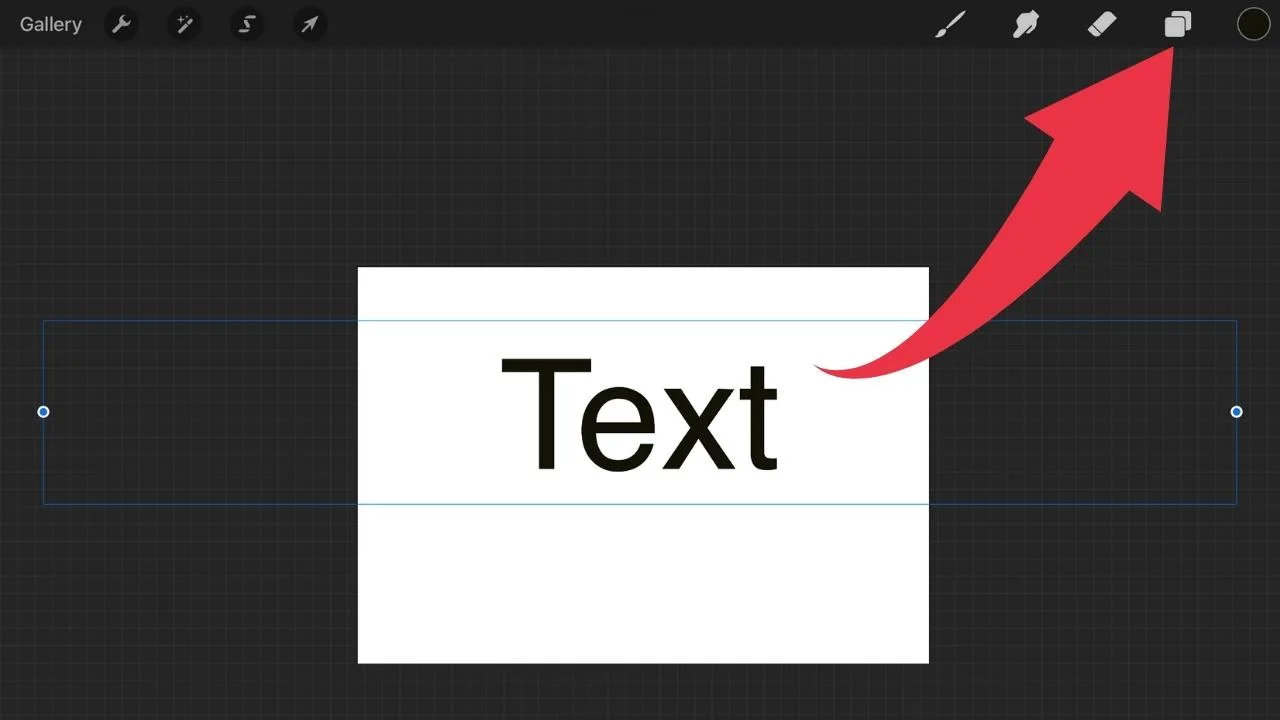
To move text in Procreate, click on the cursor symbol in the top-left corner of the screen. Your text should then be highlighted (you will see a border around your text along with some blue points). Now, to move your text, simply put one finger or your Apple pen on the canvas and then drag. Like this, you can easily move your text around. To lock your text at a certain position, simply click on the cursor symbol again (the blue highlight color will then disappear again).
Step 1: Click on the cursor symbol in the top-left corner of the screen.

Step 2: Put a finger or your Apple pen onto the Canvas and hold.
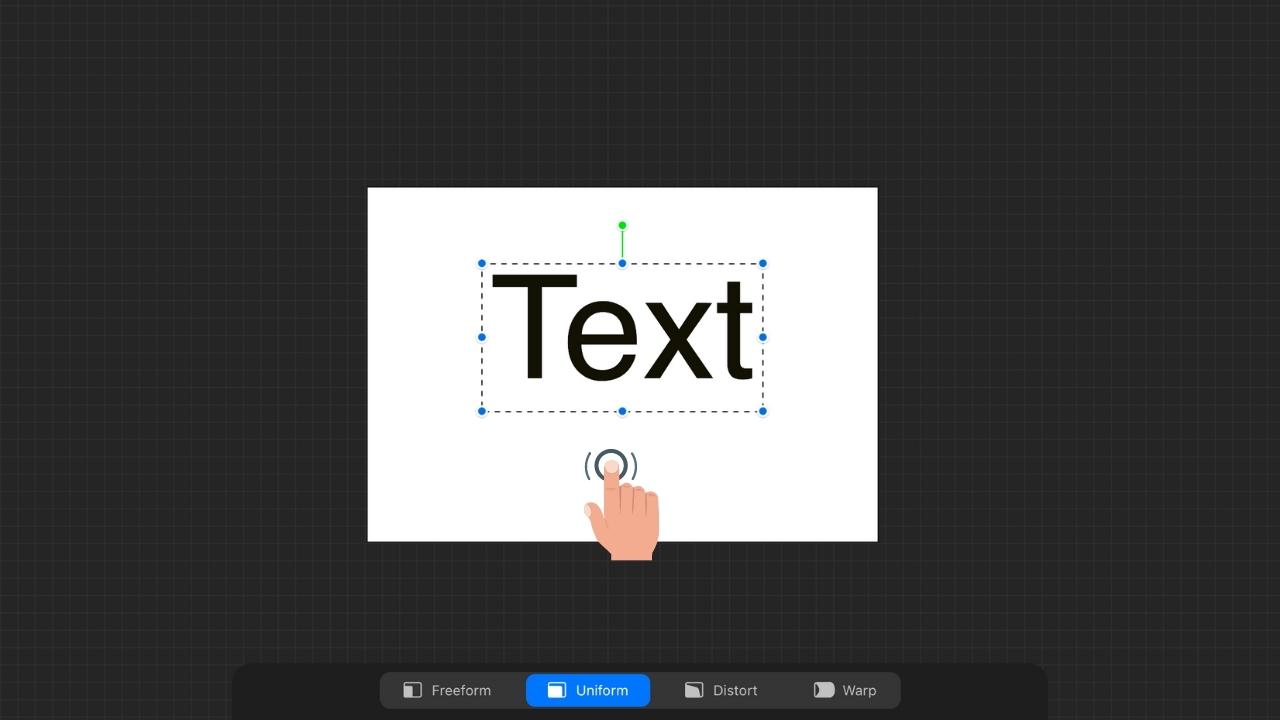

Step 3: Drag to move the text.

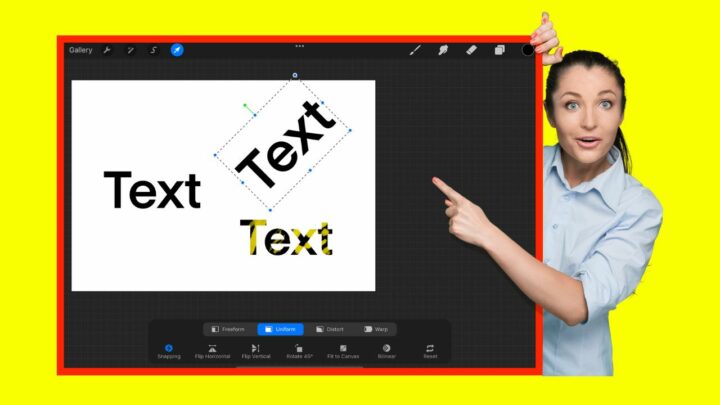
Rotating Text in Procreate
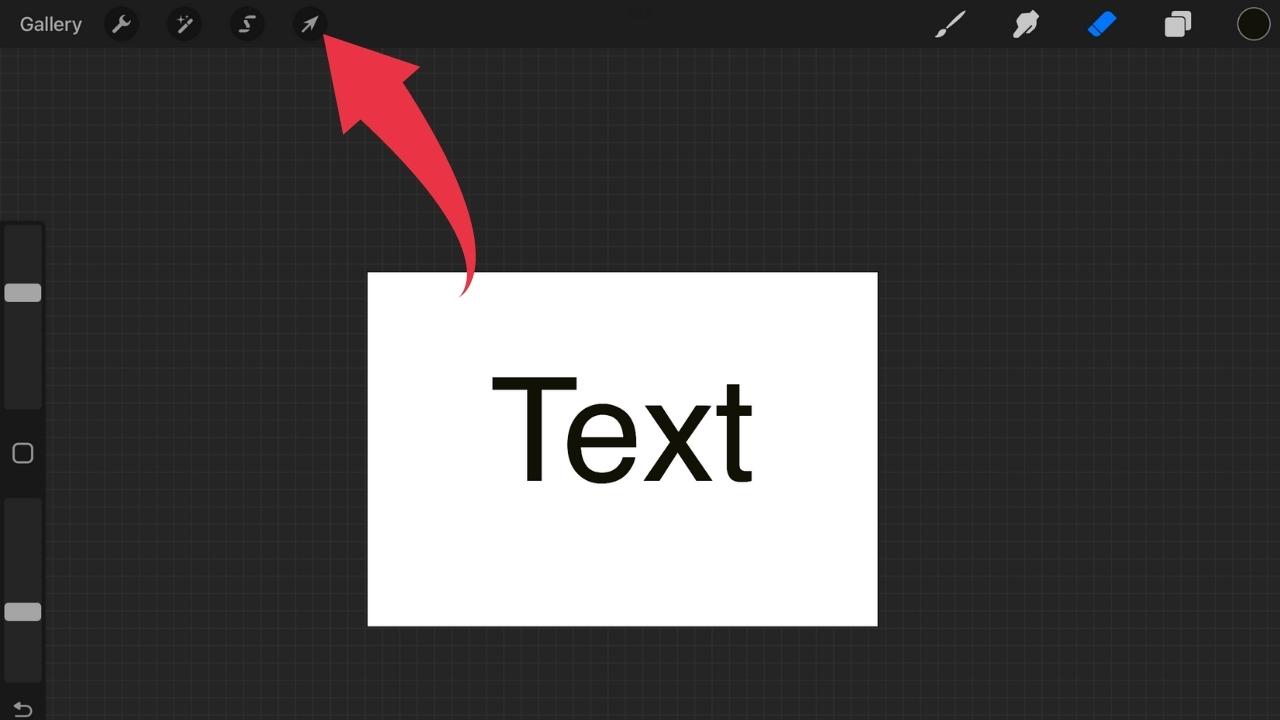
To rotate text in Procreate, first of all, click on the cursor symbol in the top-left corner of the screen. Then, tap & hold on the little green dot that will appear on top of your text (in the middle). Simply drag to the left or right to rotate your text accordingly.
Step 1: Click on the cursor symbol in the top-left corner of the screen.

Step 2: Tap & hold on the litte green dot that will appear on top of your text.

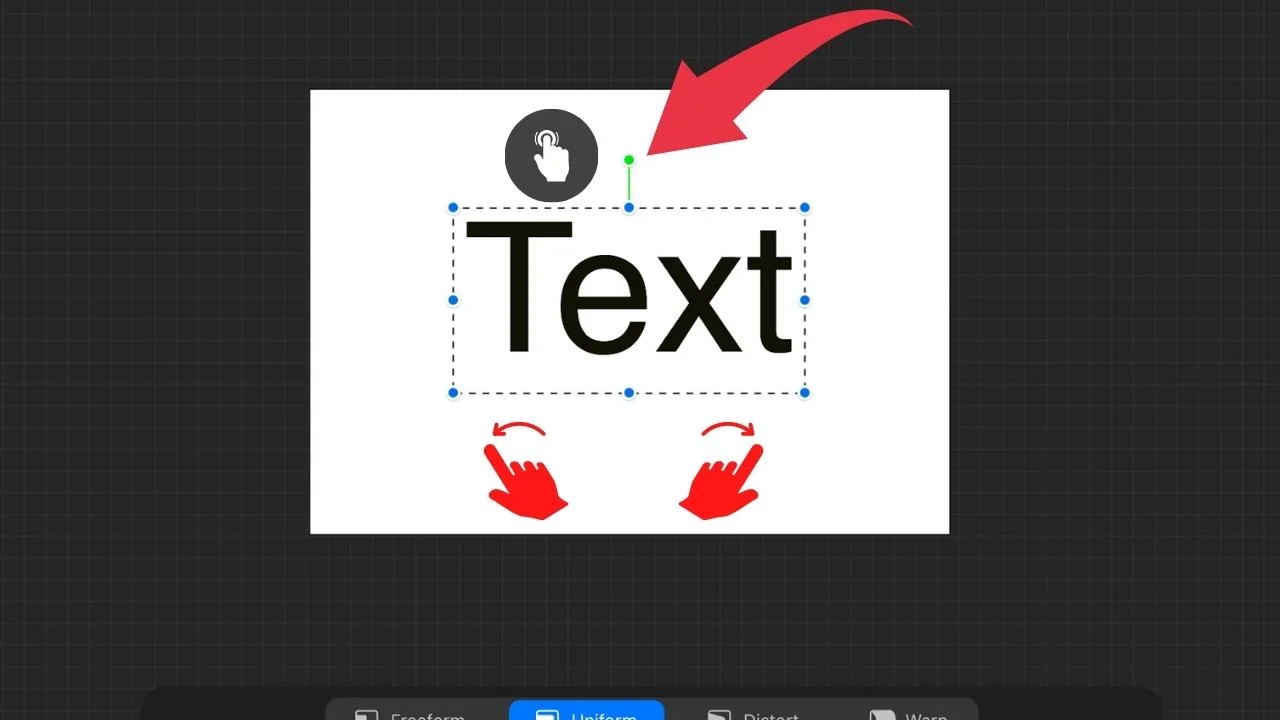
Step 3: Drag to the left or right to rotate your text.
Using Alpha Lock on Text in Procreate
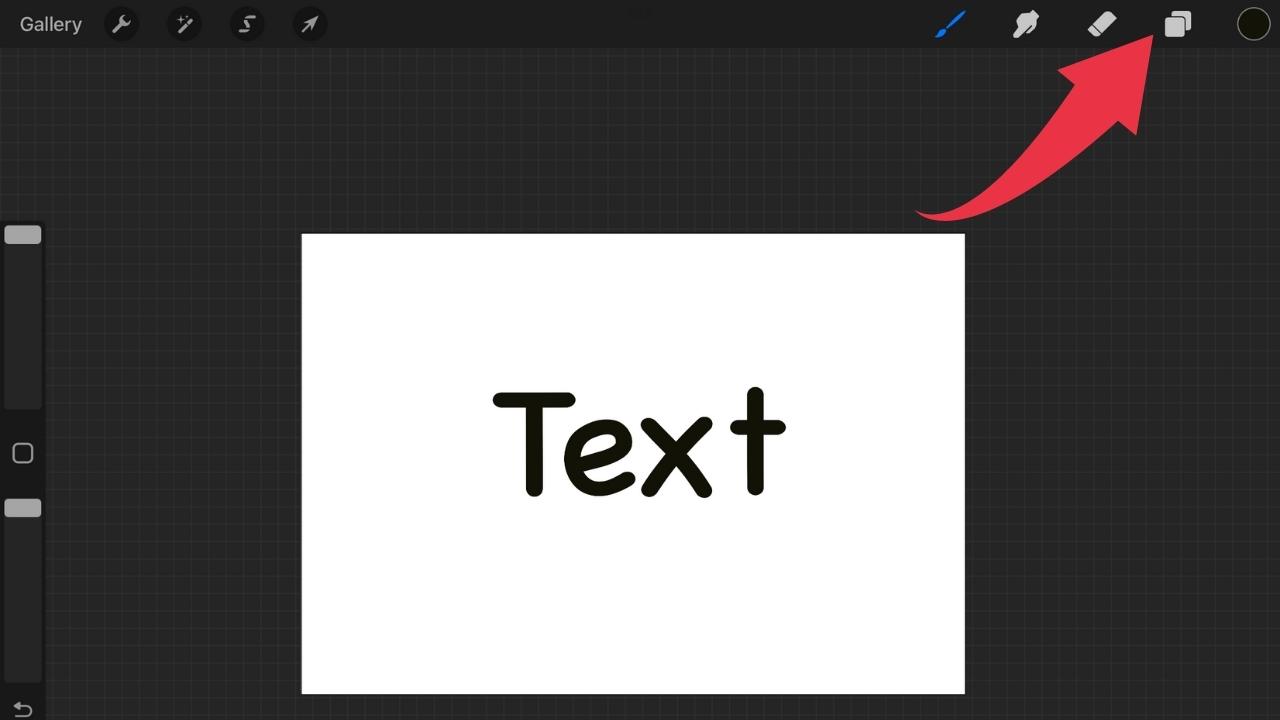
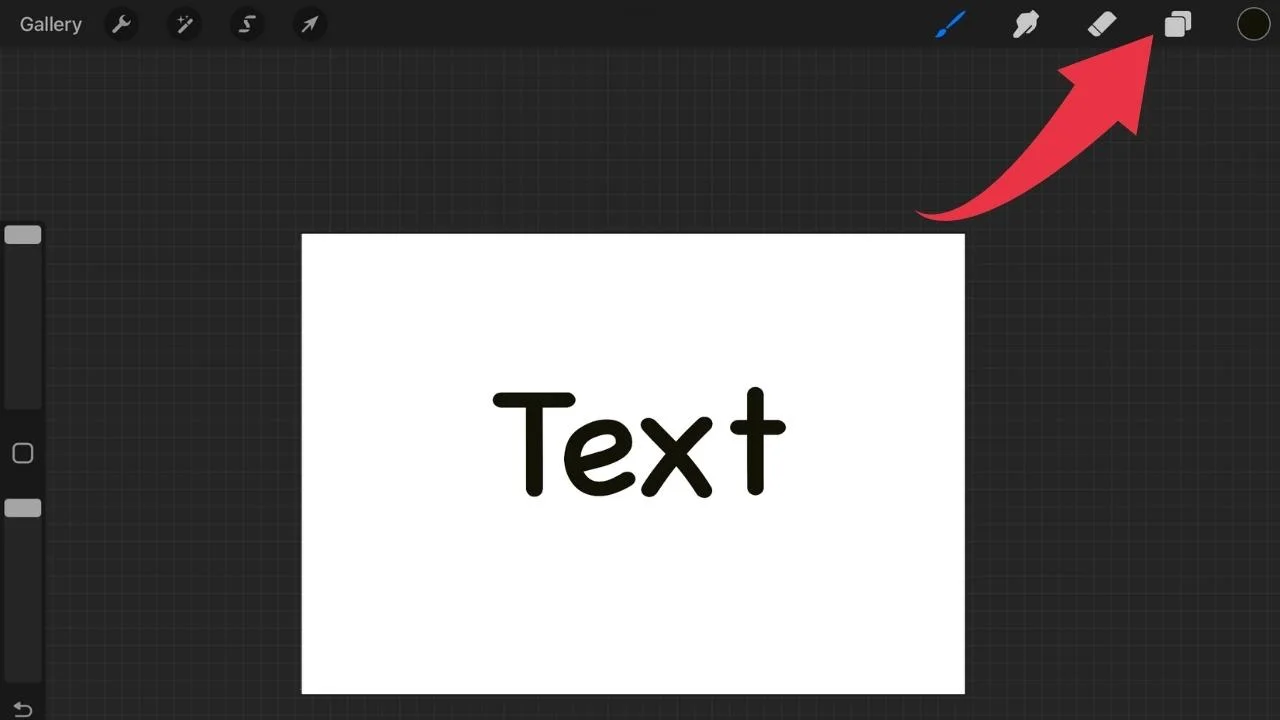
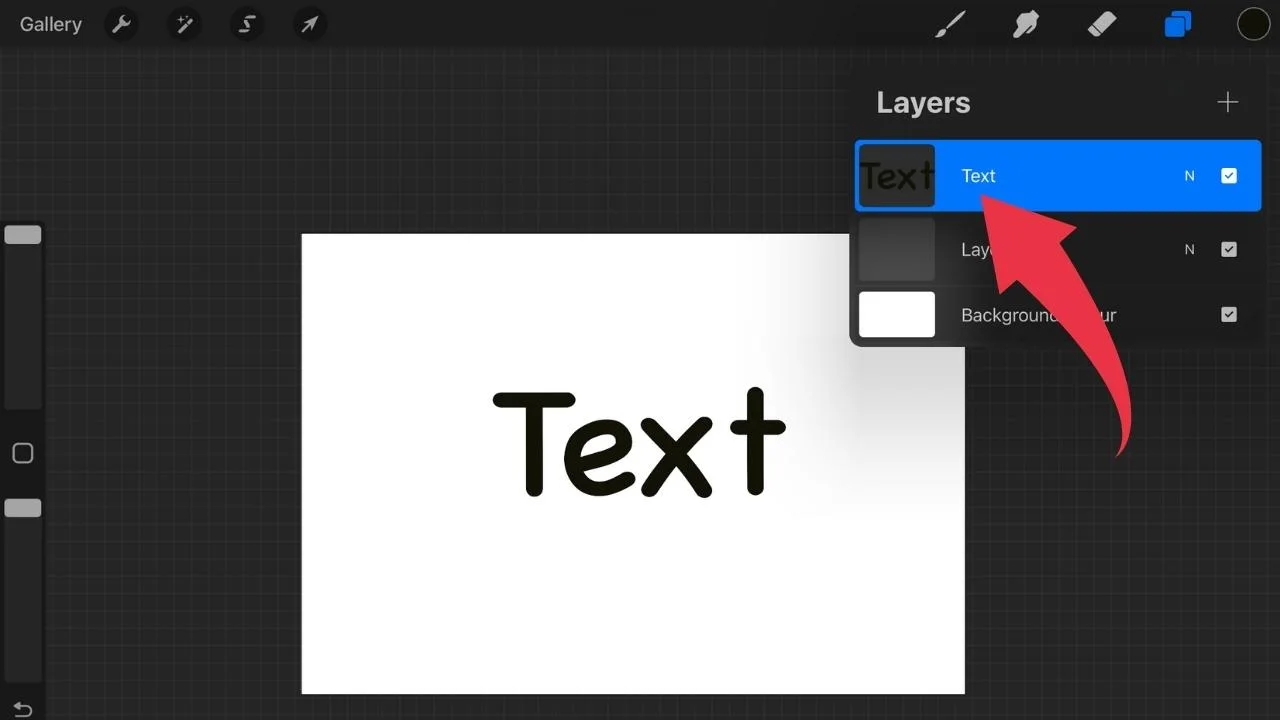
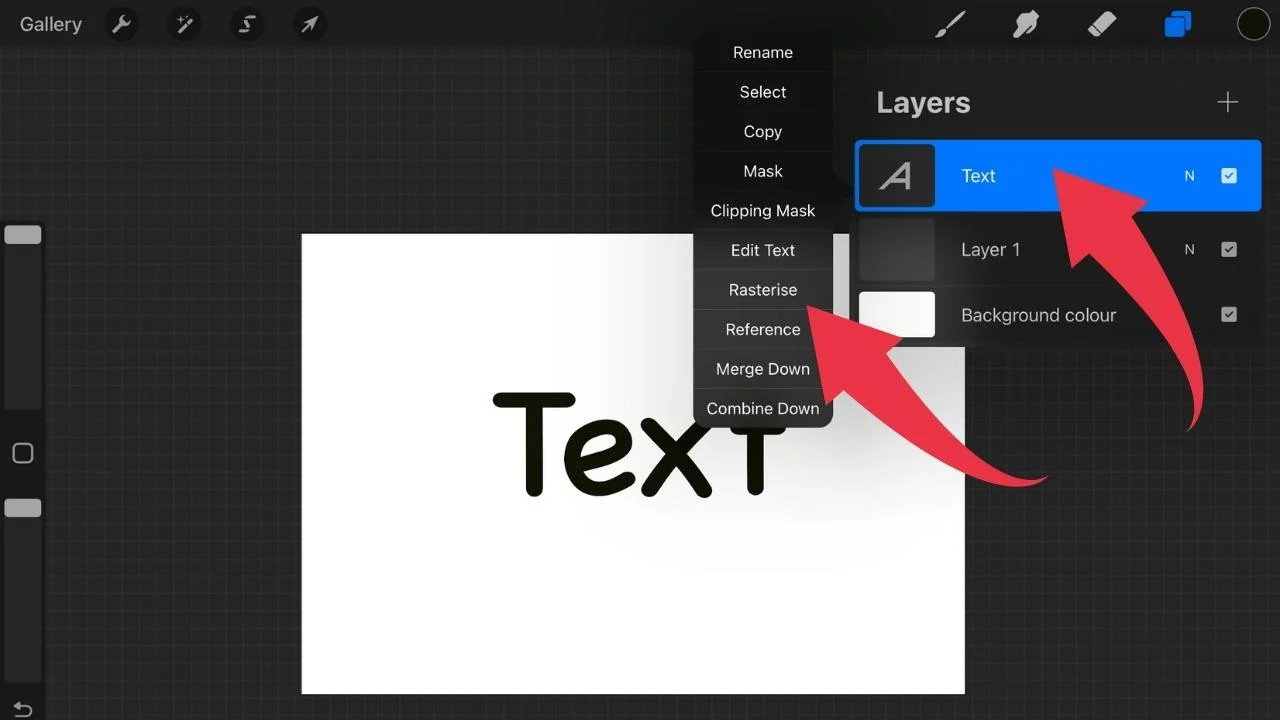
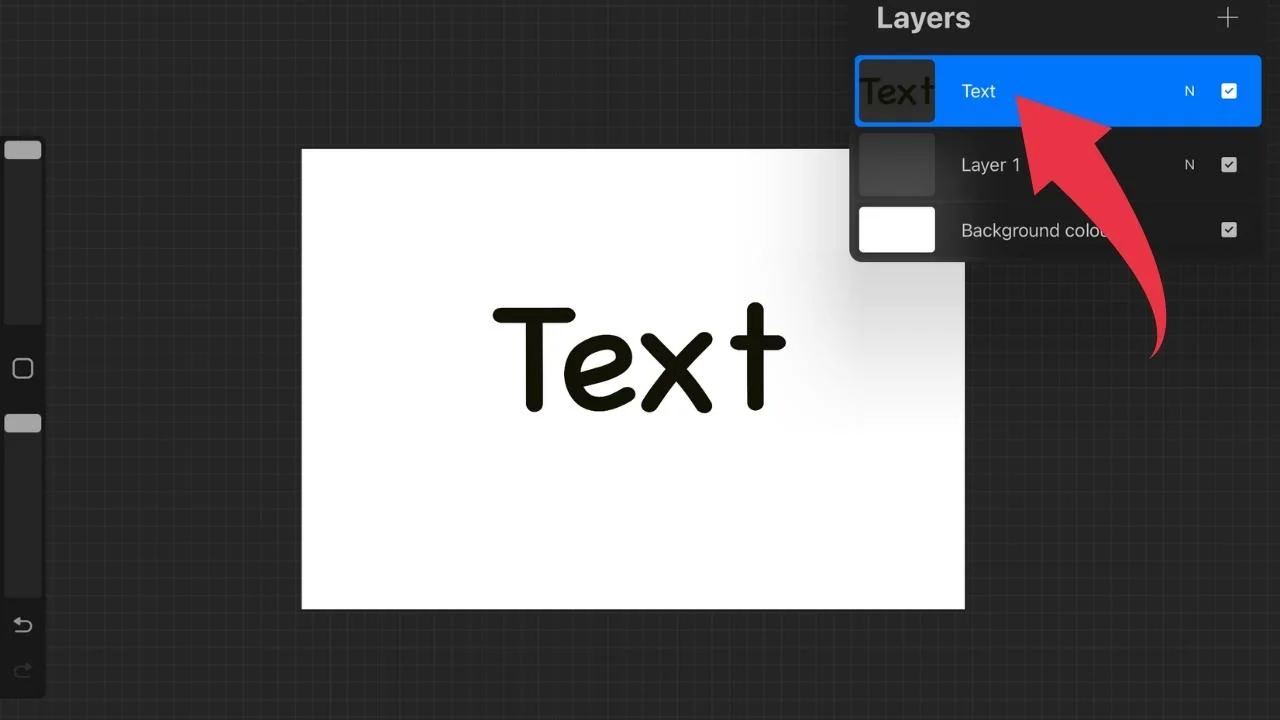
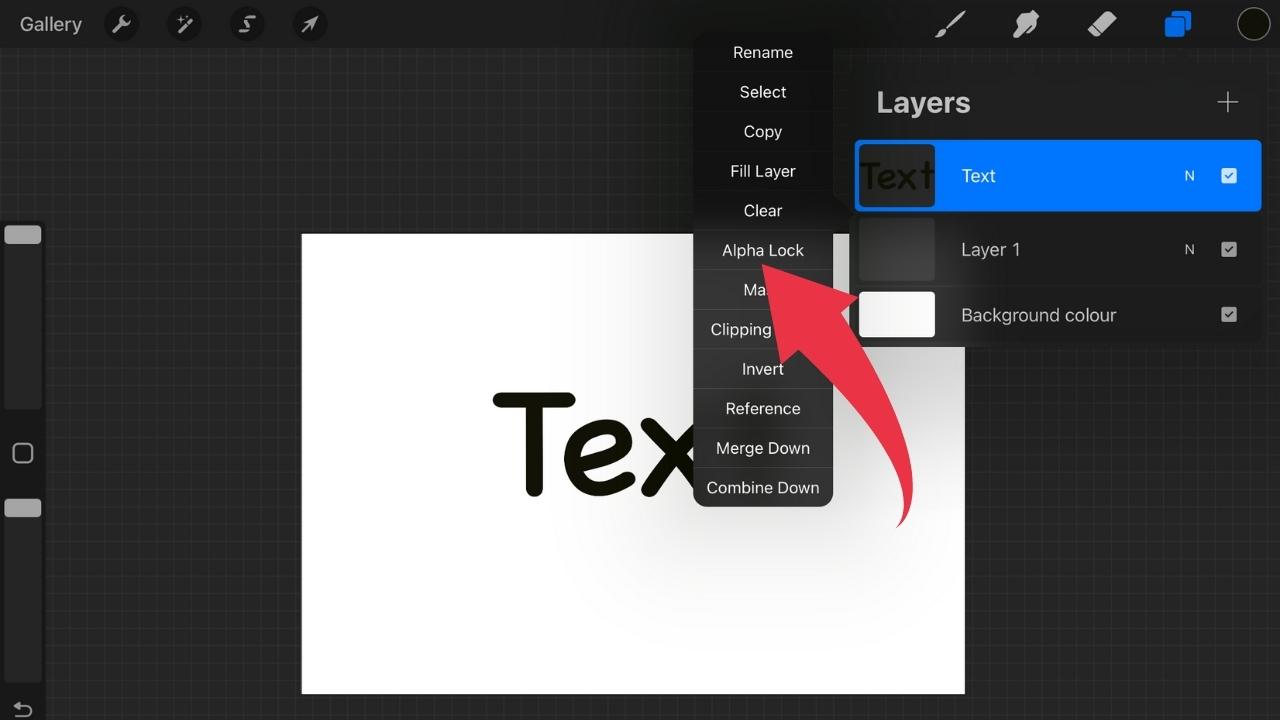
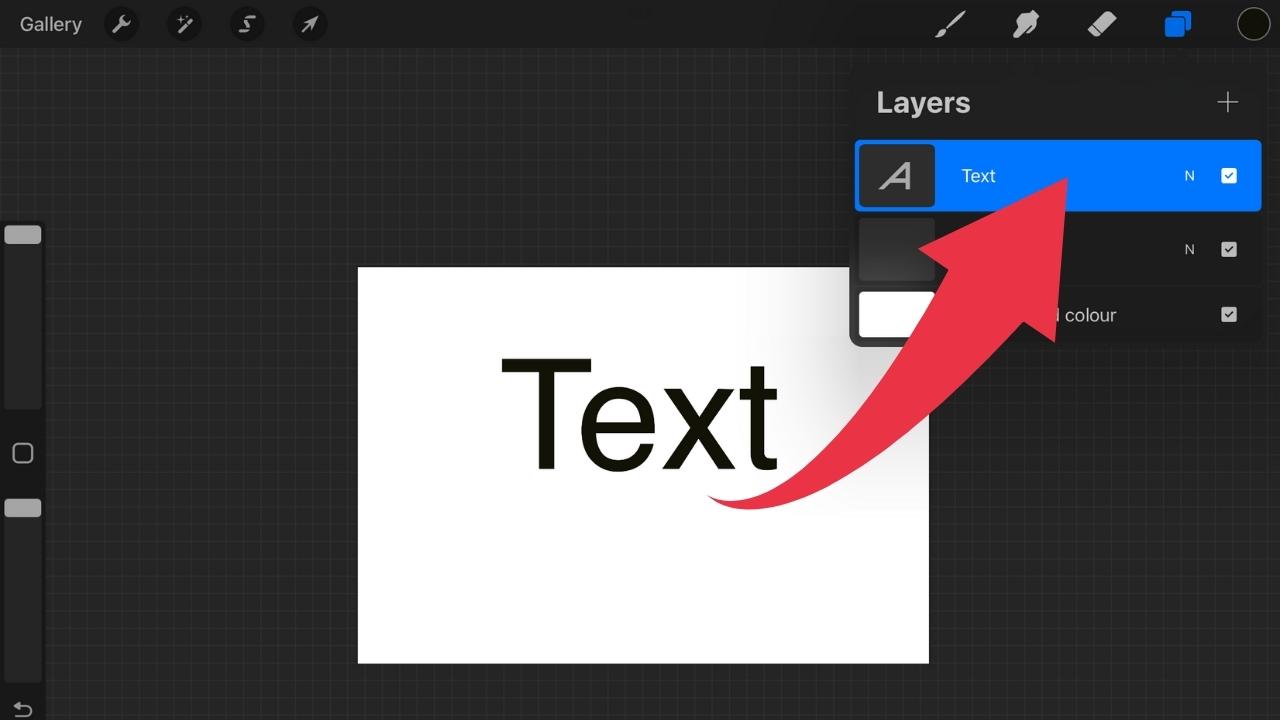
To use Alpha Lock on text in Procreate, you will first need to rasterise the text layer. To do so, click on the “Layers” symbol in the top-right corner of the screen and then select your text layer. Once your text layer is highlighted in blue, tap on it and then select “Rasterise.” Now, tap on the layer again and you will see that the Alpha Lock option is now available. Tap on it to activate Alpha Lock for your text layer.
Step 1: Click on Layers in the top-right corner of the screen.
Step 2: Select the text layer you would like to use “Alpha lock” on.

Step 3: Tap on the layer and choose “Rasterise.”

Step 4: Tap on the layer again.

Step 5: Choose “Alpha Lock.”

Aligning Text in Procreate
To align text in Procreate, first tap on the “Transform” symbol in the top-left corner of the screen. Then, tap on “Snapping” and make sure the “Snapping” option is turned on there.
Step 1: Tap on “Transform” in the top-left corner of the screen.
Step 2: Tap on “Snapping.”
Step 3: Make sure the “Snapping” option is turned on.
After you followed these steps, whenever you are moving text around on the canvas, you will see helping lines appearing on your canvas.
These helping lines make it very easy to align your text with other elements and objects on your canvas (could be other text elements, graphics, etc.).
Changing the Font in Procreate
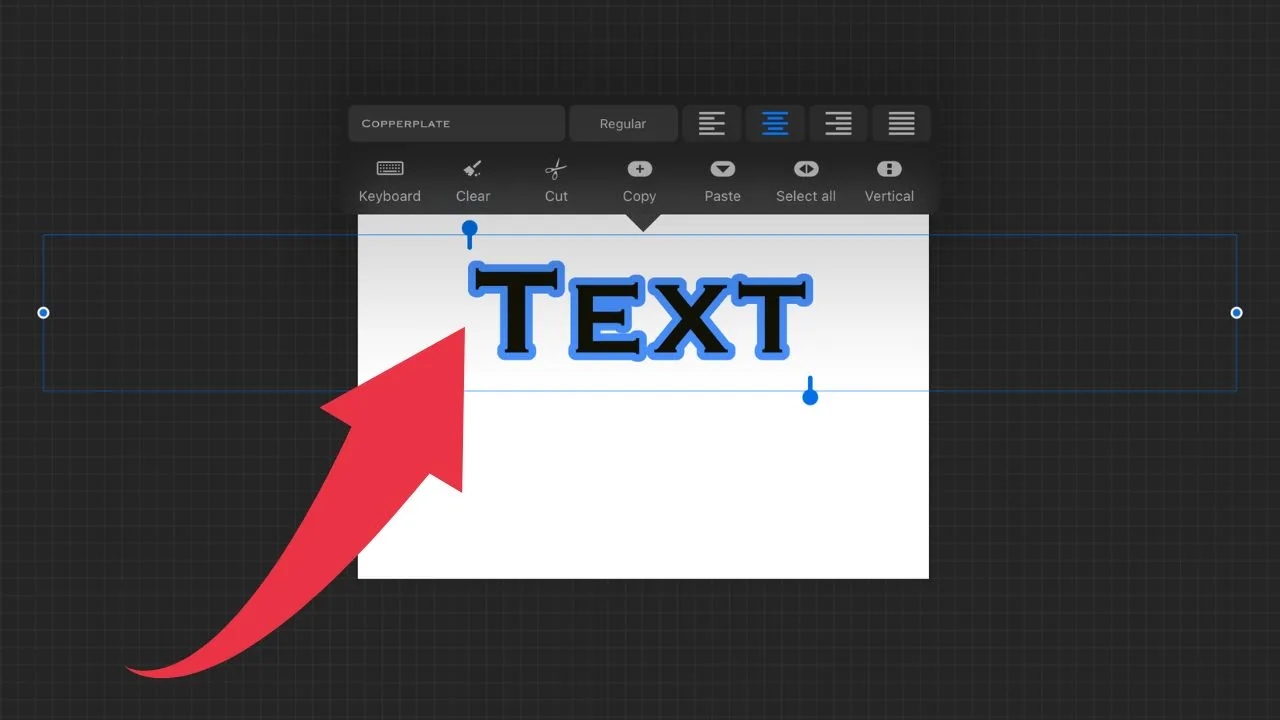
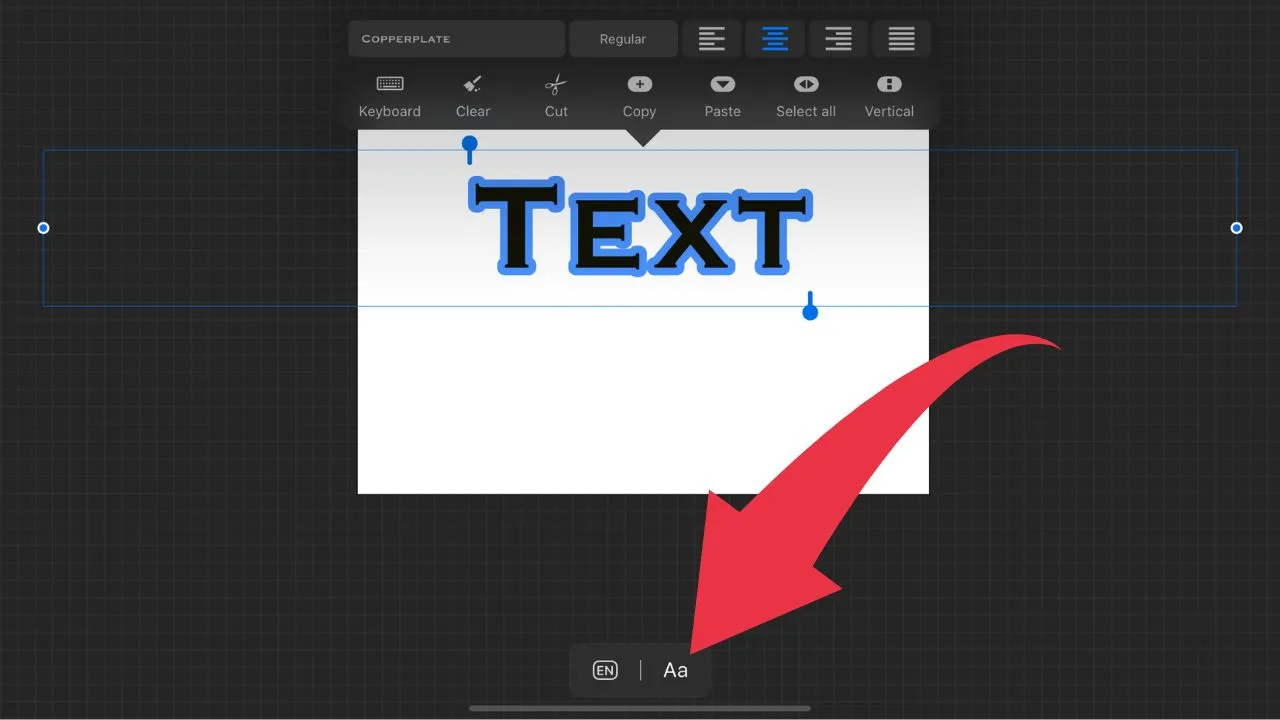
To change the font in Procreate, double-tap on your text and then click on “Aa” on the bottom of the screen. On the left side, you will then find a list with plenty of fonts. Tap on the font of your liking, adjust the font settings if need be and then, finally, tap on “Done.”
Step 1: Triple tap on your text (make sure the text is highlighted in blue!)
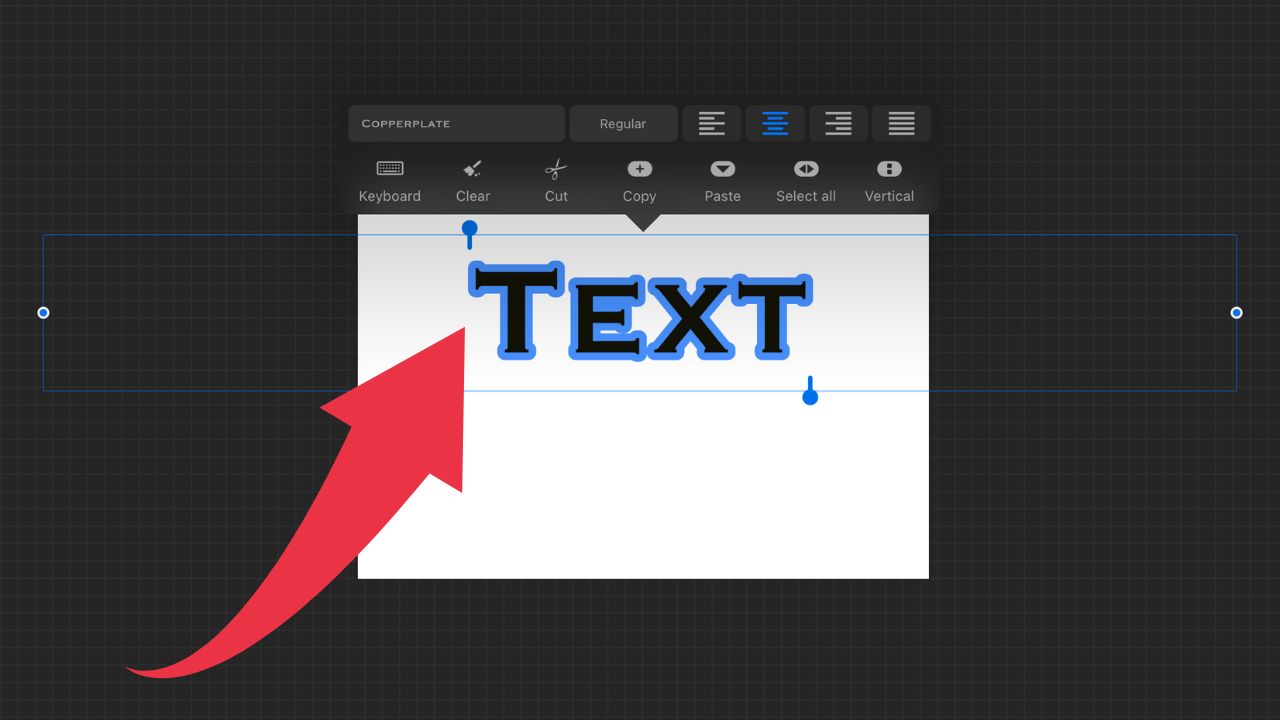
Step 2: Tap on “Aa” on the bottom of the screen.

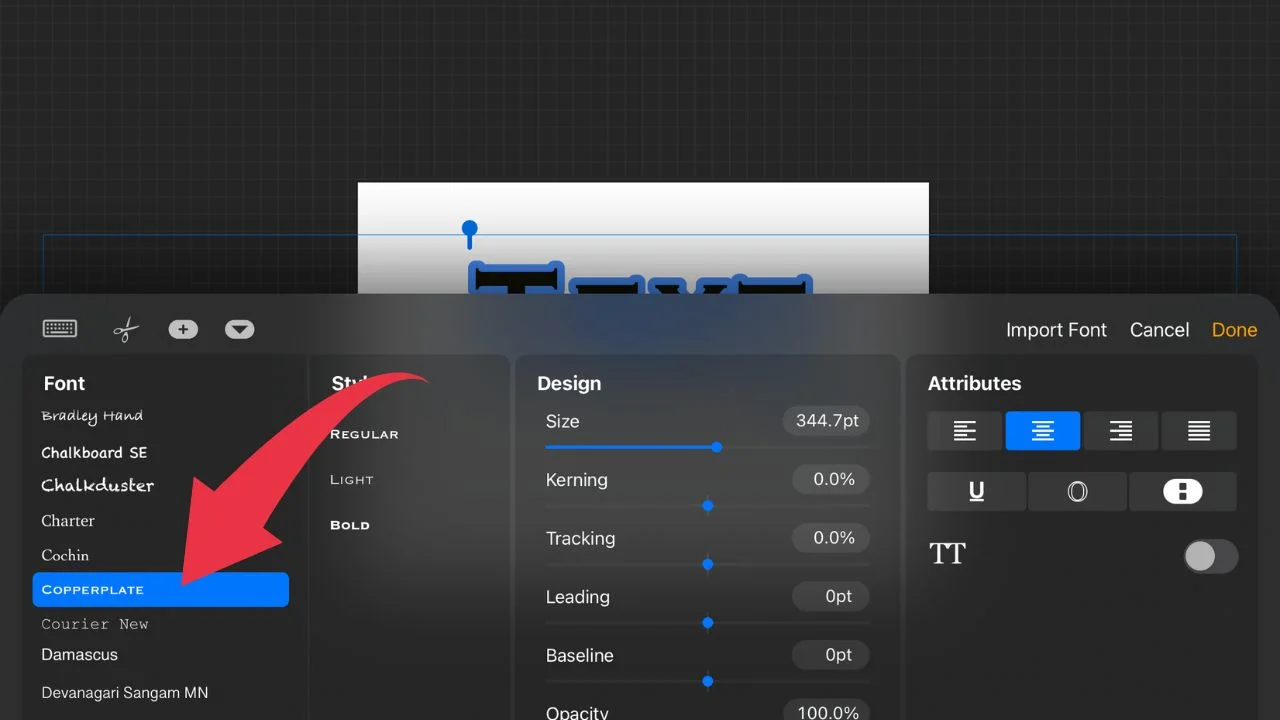
Step 3: Select your font from the list.

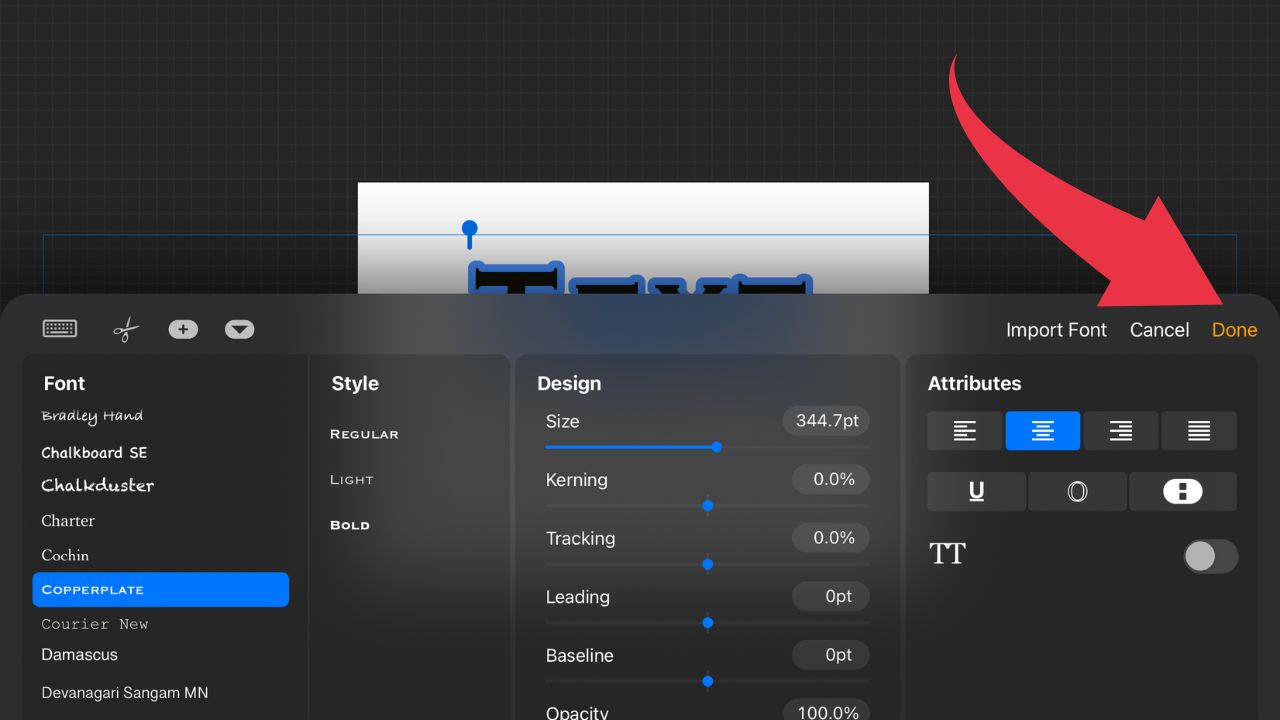
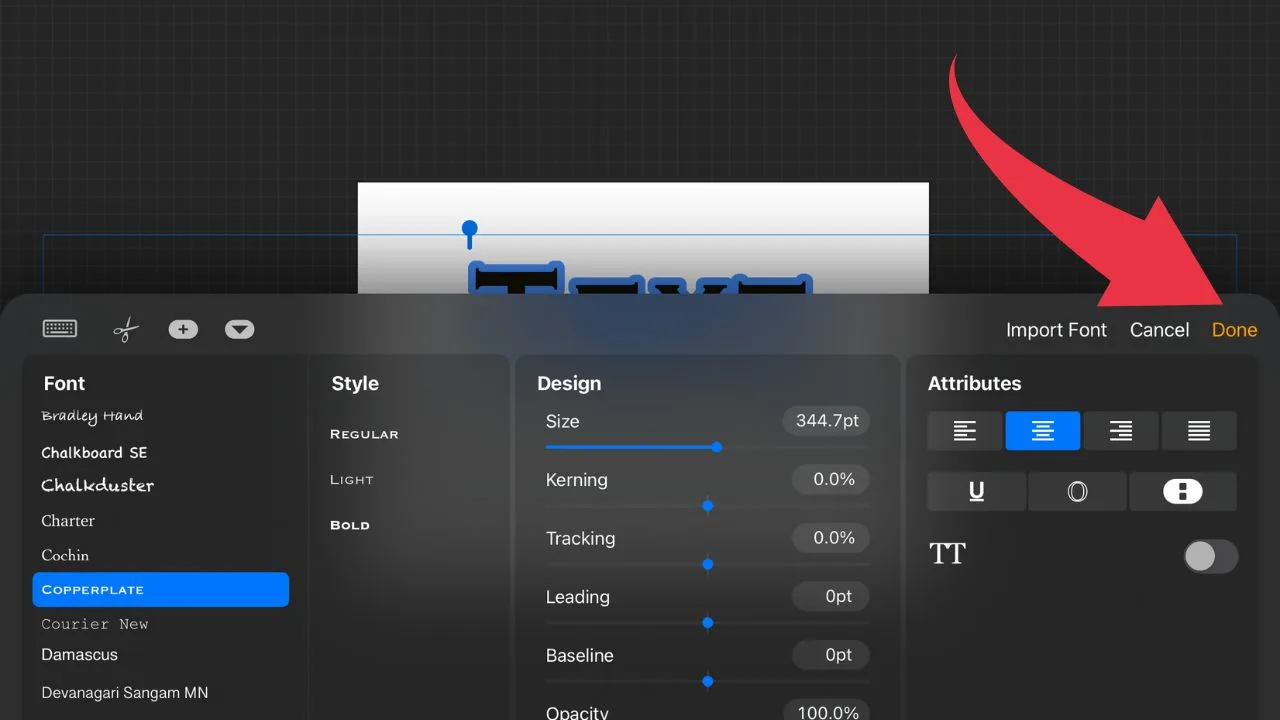
Step 4: Click on “Done.”
Deleting Text in Procreate
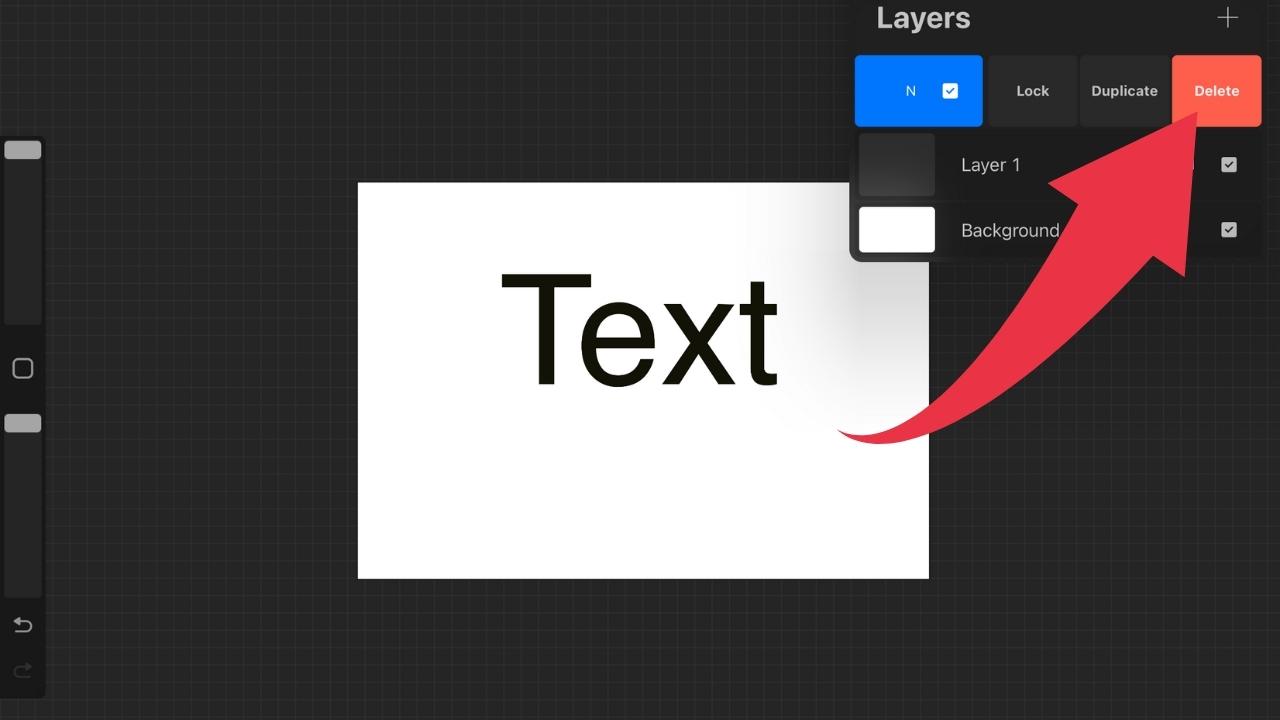
To delete text in procreate, head over to “Layers” in the top-right corner of the screen and then tap on the text layer that you wish to delete. Once the layer in question is highlighted in blue, swipe to the left and choose “Clear.”
Step 1: Click on the layers symbol in the top-right corner of the screen.
Step 2: Choose the text layer that you would like to delete.

Step 3: Swipe to the left.

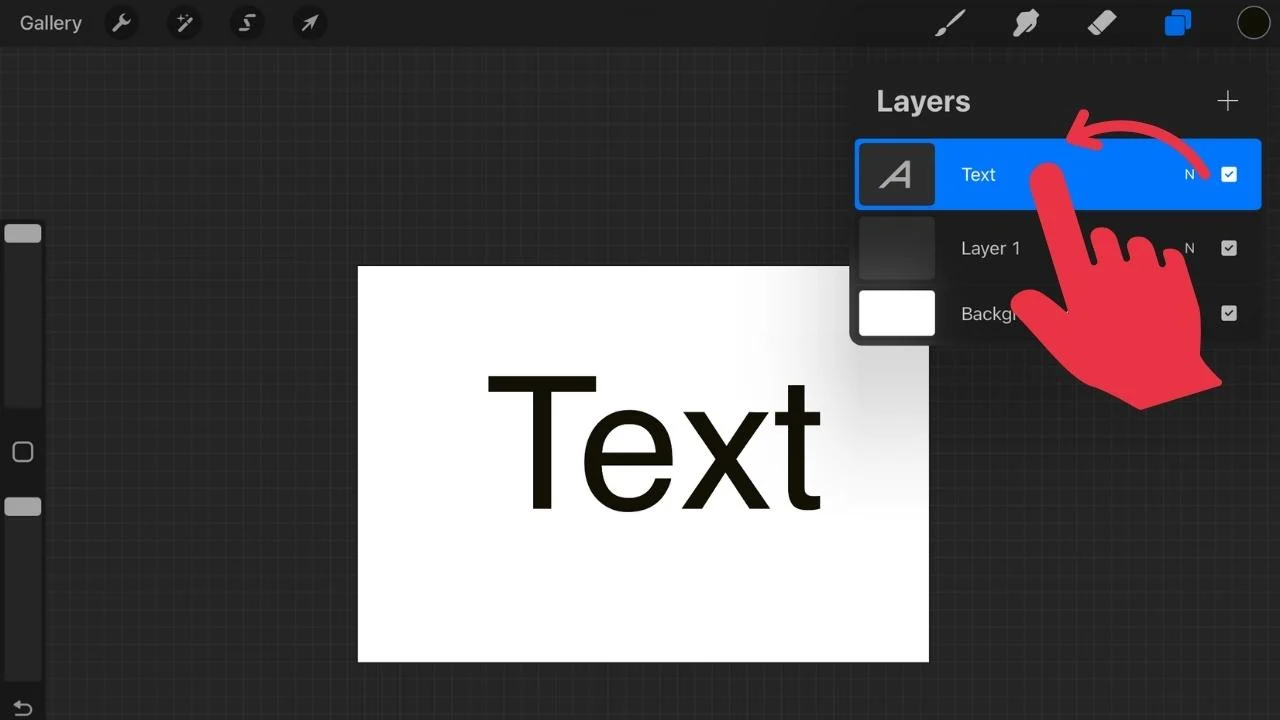
Step 4: Tap on “Delete.”

This should give you a good overview about how text can be manipulated in Procreate.
However, there are obviously even more things that you can do with text. For instance, you can also change the layer opacity of a text layer or any other kind of layer.
Frequently asked questions about using text in Procreate
How can I insert text in Procreate?
To insert text in Procreate, all you need to do is to click on wrench symbol in the top-left corner of the screen, then navigate to “Add” and then choose “Add text.” A text box with dummy text will then be added to your design and you can then adjust it to your liking.
Does Alpha lock also work for text layers in Procreate?
Alpha lock can be used on text layers as well in Procreate. However, the Alpha lock option only appears after you rasterise your text layer. To do so, click on “Layers” in the top-right corner of the screen, switch over to your text layer, tap on it and then select “Rasterise.” Now, if you tap on your text layer again, you will see that the Alpha lock option is now available just as it would be for any other type of layer in Procreate.
Aligning text doesn’t work in Procreate. What’s wrong?
The main reason why people fail to align text in Procreate is that they did not “rasterise” the text first. After rasterising the text, you can easily align text by using the “Snapping” option which can be found under “Transform” > “Snapping.”


Hey guys! It’s me, Marcel, aka Maschi. On MaschiTuts, it’s all about tutorials! No matter the topic of the article, the goal always remains the same: Providing you guys with the most in-depth and helpful tutorials!

