Google Photos is a revolutionary way of saving media files — photos and videos alike — without taking up your phone’s memory. Simply sync all the media from your phone to Google Photos and you’re good to go.
But if you need to delete some (or all) of the media files on Google Photos on your Android phone, you need to select them all. How?
You don’t have to go too far as this article teaches you time-saving techniques in selecting all photos on your Google Photos account.
How to Select All Photos in Google Photos on Android
There is no “Select All” button in Google Photos on Android. One way is to long-press on a photo and scroll down without lifting your finger. Another way is to choose a date to select all pictures under it. Lastly, select an album, long-press on an image, and scroll down until all images are chosen.
But make sure that Google Photos is updated on your Android phone to be able to use all these features.
So granting that you’re done updating Google Photos and launching it, here’s what you can do in the methods below.
Method 1: Pressing and Holding a Photo and Scrolling Down
Step 1: Long-press on an image
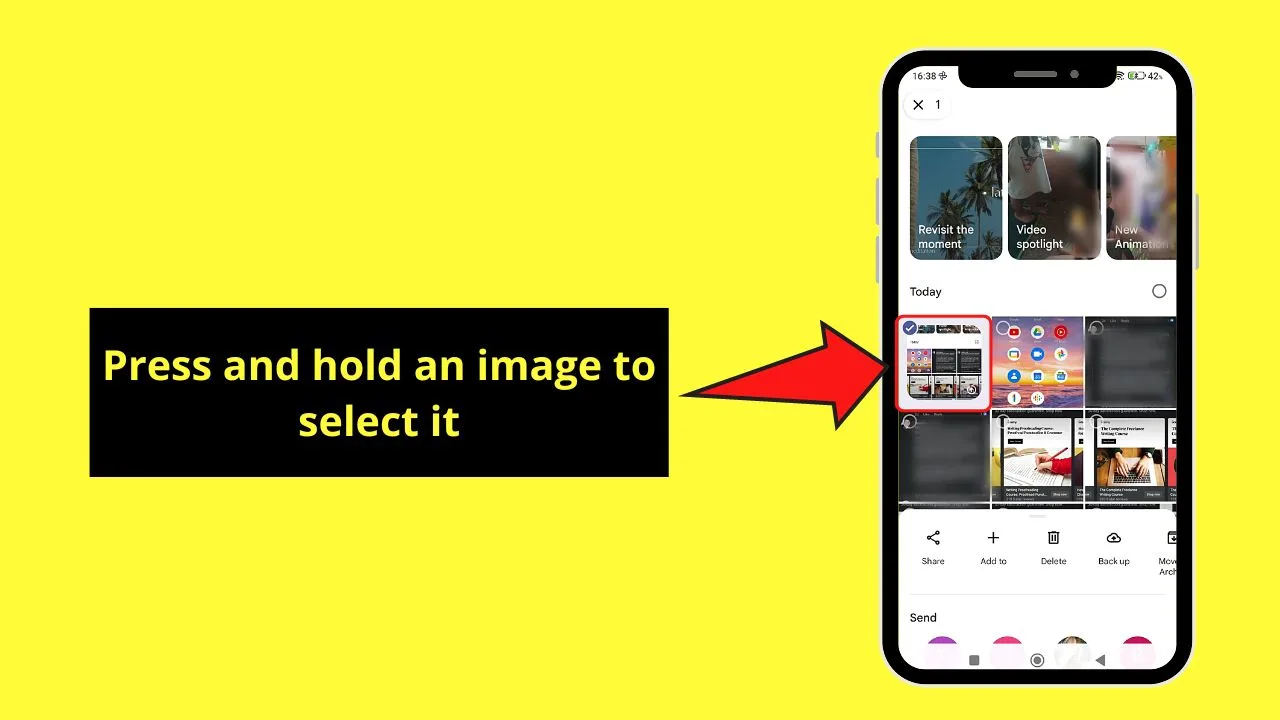
This will make a blue checkmark button appear on the upper-left corner of the photo thumbnail.
Step 2: Scroll down the page without lifting a finger
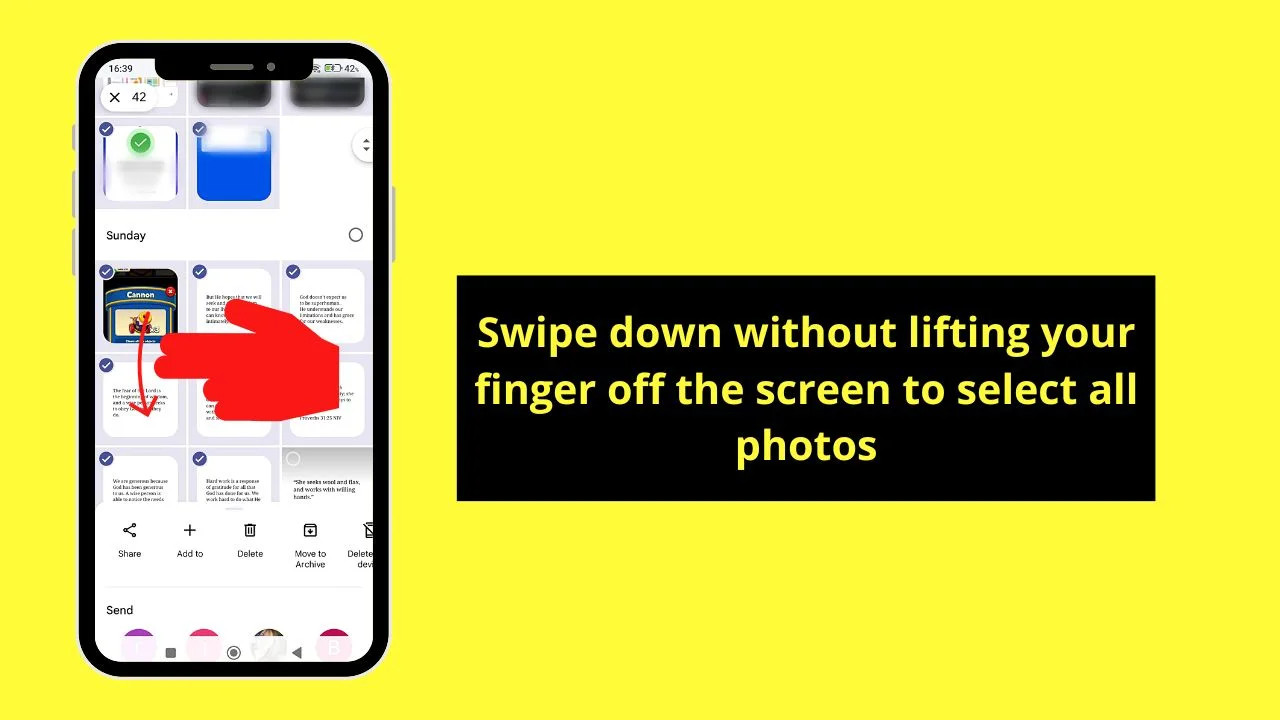
This move will select all the images, making blue checkmarks appear on their top-left corners.
You can also see the total number of photos you selected on the upper left of the page.
Method 2: Selecting a Particular Date
Step 1: Choose a specific date on Google Photos
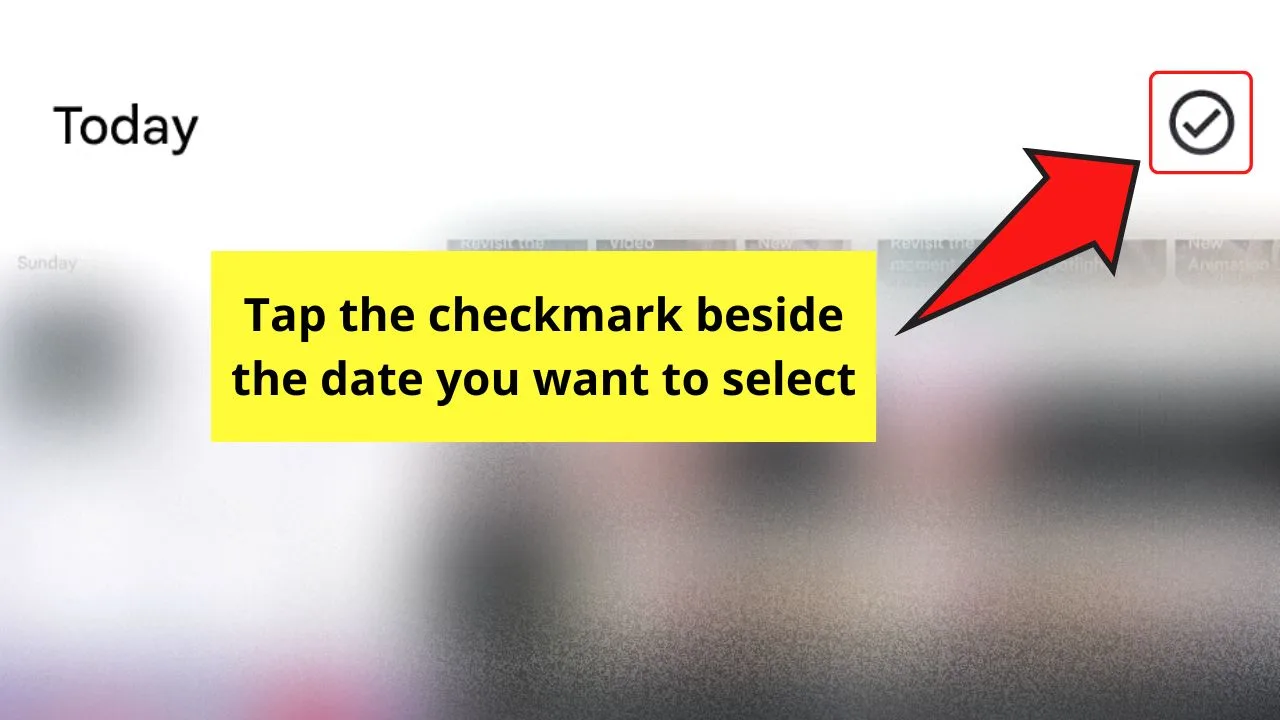
You’ll be able to do this by tapping on the checkmark icon to the right of the date you selected.
Step 2: Press an option from the taskbar that appears
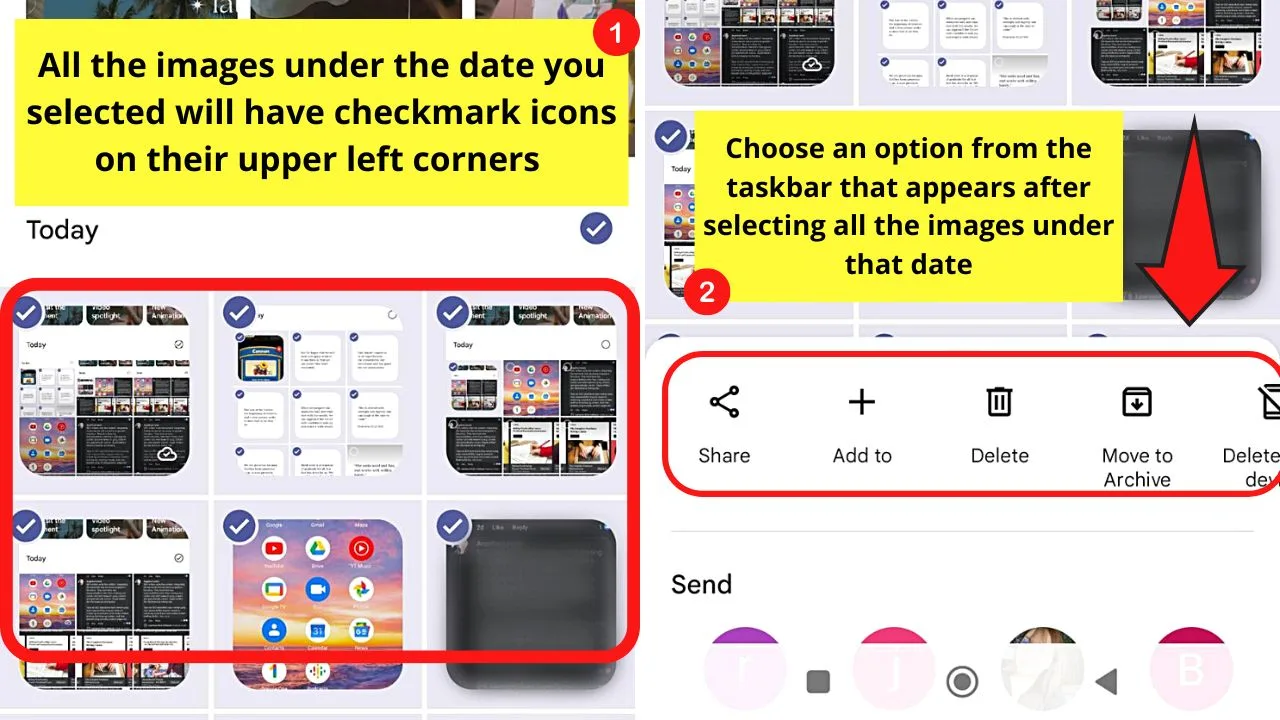
Once you tap on the checkmark icon, all the images under that particular date will be selected. Their top-left corners will have blue checkmark icons and a taskbar appear below them.
From there, you can choose to do a function from the taskbar that appears. These include:
- Share
- Add to
- Delete
- Back up
- Delete from Device
- Move to Archive
- Edit location
- Move to Locked Folder
You can also open the bottom menu further by swiping it up. From there, you can “Send” those photos to an email account or add them to an existing album on Google Photos.
Method 3: Choosing All Images in a Google Photos Album
Step 1: Tap “Library”
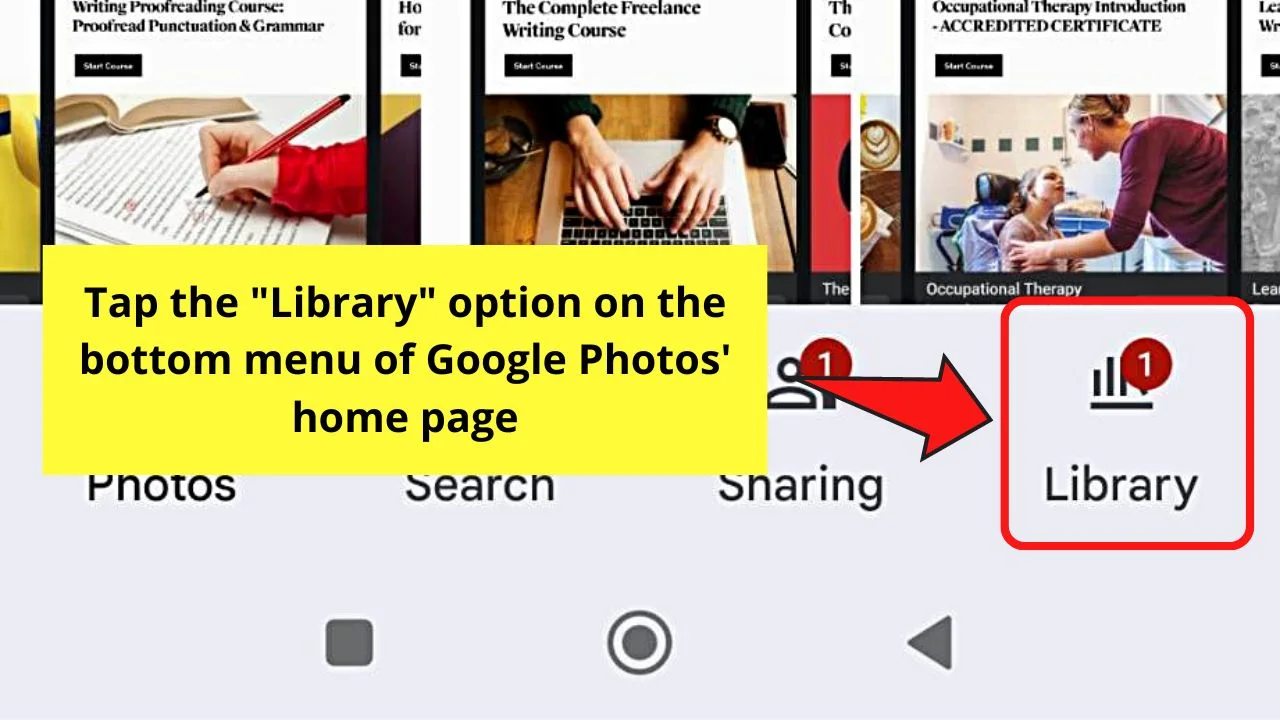
You’ll find this option on the bottom menu of the Google Photos “Home” page.
Step 2: Open an album
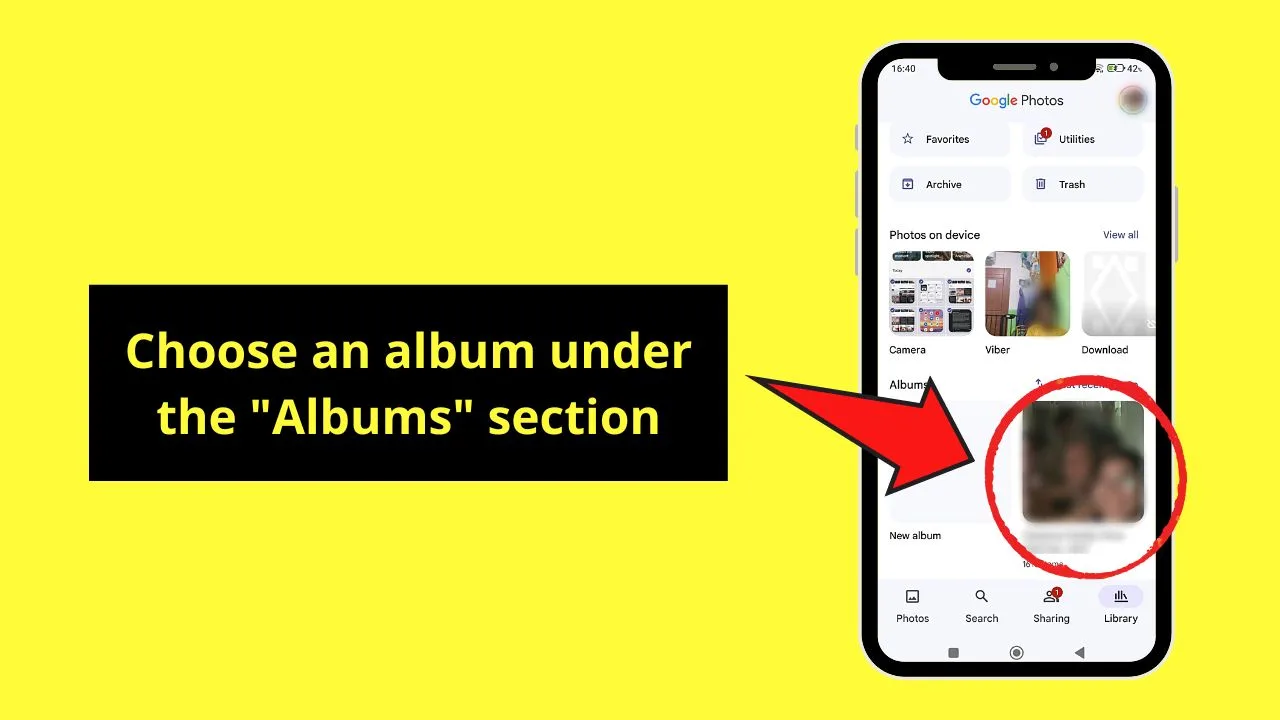
You can do this by going to the “Albums” section and pressing on an album. All the media files (both photos and videos) will appear on the screen.
Step 3: Press and hold on to an image
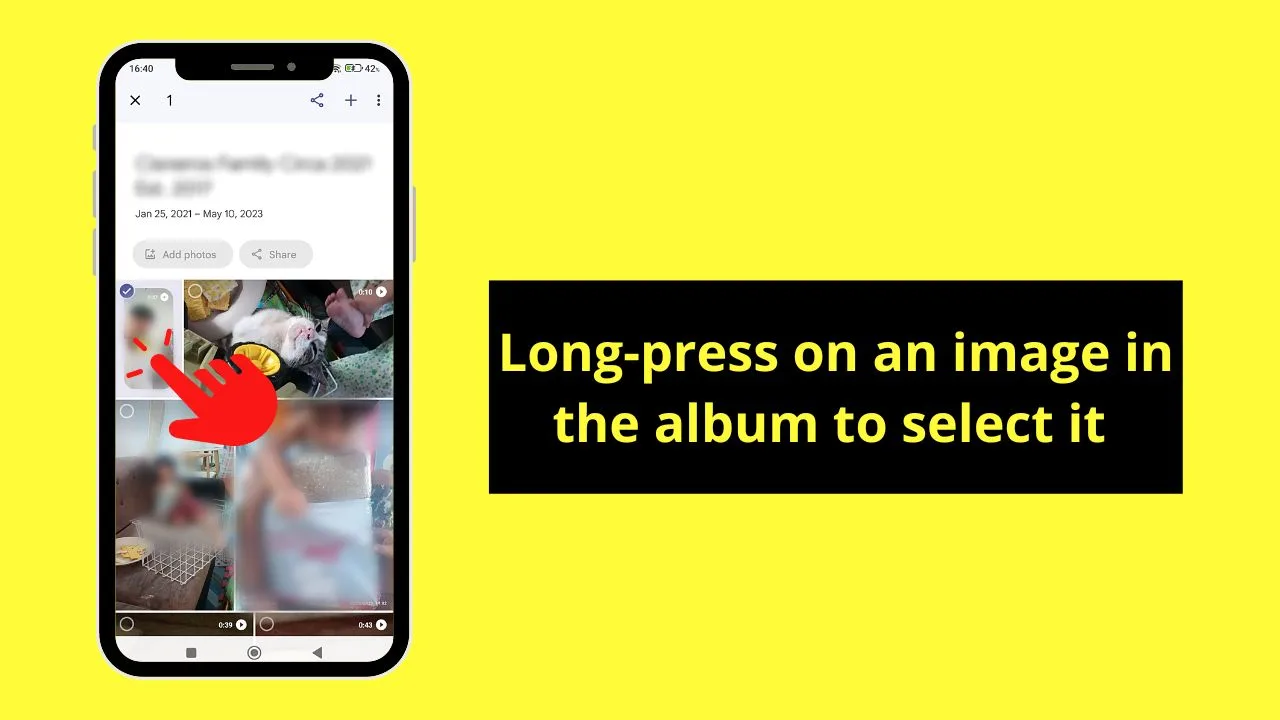
This move selects that photo, making a blue checkmark appear in its upper-left corner.
Step 4: Scroll down the page
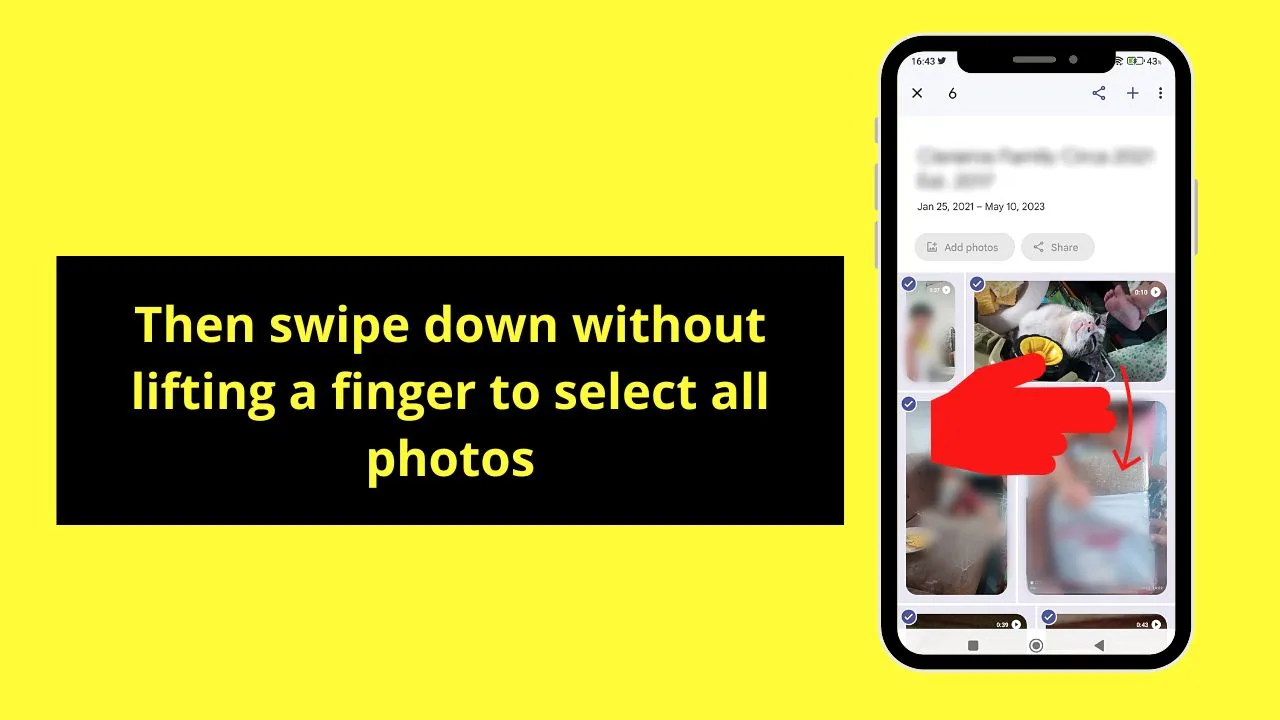
This then selects all the photos inside the album. Blue checkmark icons then appear on their upper-left corners as well.
Just make sure not to remove your finger from the screen while scrolling down until you reach the end of the page.
Then choose what you’d want with the images selected by tapping any of the options on the taskbar that appears.
Now that you know of these 3 nifty methods of selecting all photos in Google Photos Android, which one will you use more often?
Also, if you ever want to do the same from a PC or from an iPhone, here’s how it is done:
- How to Select All Photos in Google Photos on a PC
- How to Select All Photos in Google Photos on an iPhone
Frequently Asked Questions about How to Select All Photos in Google Photos on Android
Can you pick out the images manually in Google Photos on Android?
You can manually pick out the photos you want to be selected by tapping on those pictures on your Google Photos account on Android. But, if you have an extensive collection of images, this can take a long time to select all of them.
How do you delete the photos you selected on Google Photos Android?
Once you have selected all the images, tap the “Delete” button on the taskbar that appears at the bottom of the screen. This icon is between the “Add to” and “Back up” functions.

Hey guys! It’s me, Marcel, aka Maschi. On MaschiTuts, it’s all about tutorials! No matter the topic of the article, the goal always remains the same: Providing you guys with the most in-depth and helpful tutorials!


