

Oh no! My Android phone is running out of storage!
How do I empty my Android device’s trash then?
Does it have a dedicated “Recycle Bin” like our PCs and laptops have?
If you’re a new Android user who’s not familiar with emptying the device’s trash, you better keep reading to learn how to do it.
How to Empty Trash on Android
To empty the trash on Android, as Android devices lack recycle bins due to limited storage, you can clear the trash by uninstalling apps and erasing cache or data from the ‘Storage’ folder or ‘My Files.’ Additionally, you can utilize the ‘Cleaner’ app or delete files from your ‘Google Photos’ account.
Method 1: Tapping the “Cleaner” App on the Android Device
Some Android devices have “Cleaner” apps installed on them the moment you buy them from the store.
If your device has such a tool, here’s what you should do to empty the trash.
Step 1: On the Android device’s home screen, locate the “Cleaner” app. Sometimes, this app goes by names like “Boost Speed,” but the function is still the same.

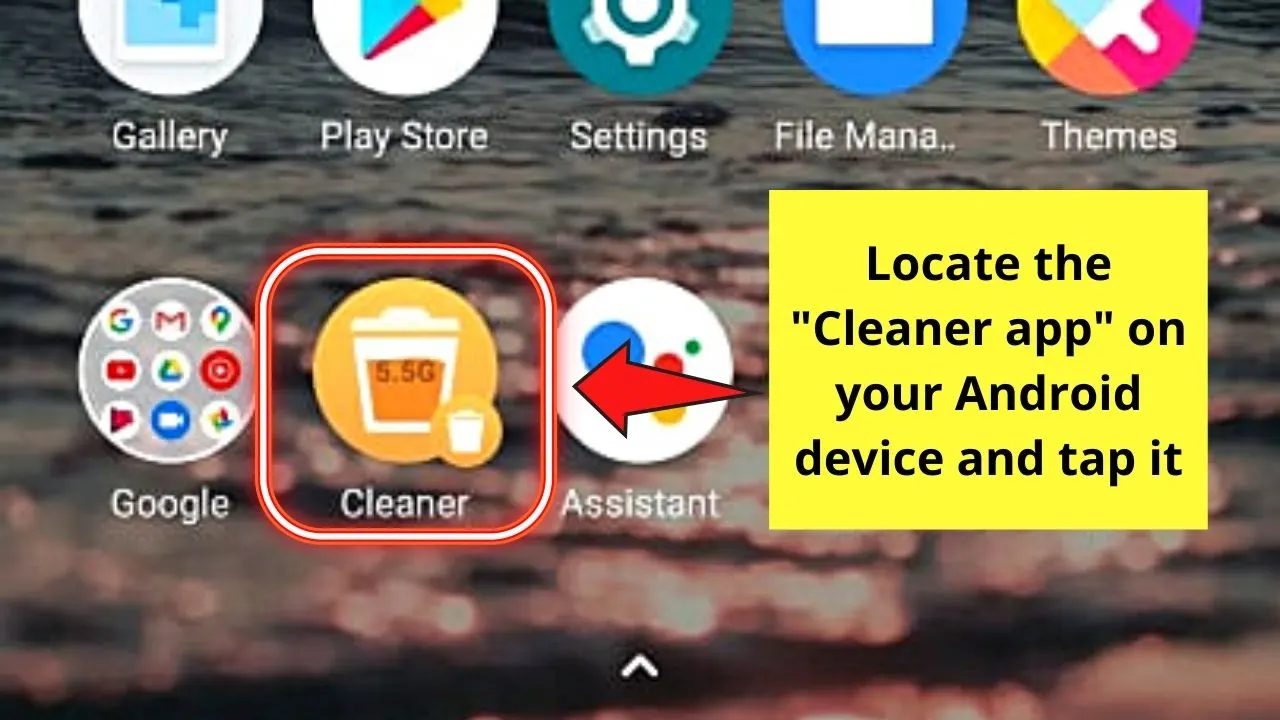
After locating the said app, tap to launch it.
Step 2: Once you tap the “Cleaner” app, it will automatically browse through your device’s files to see if junk files are in it.
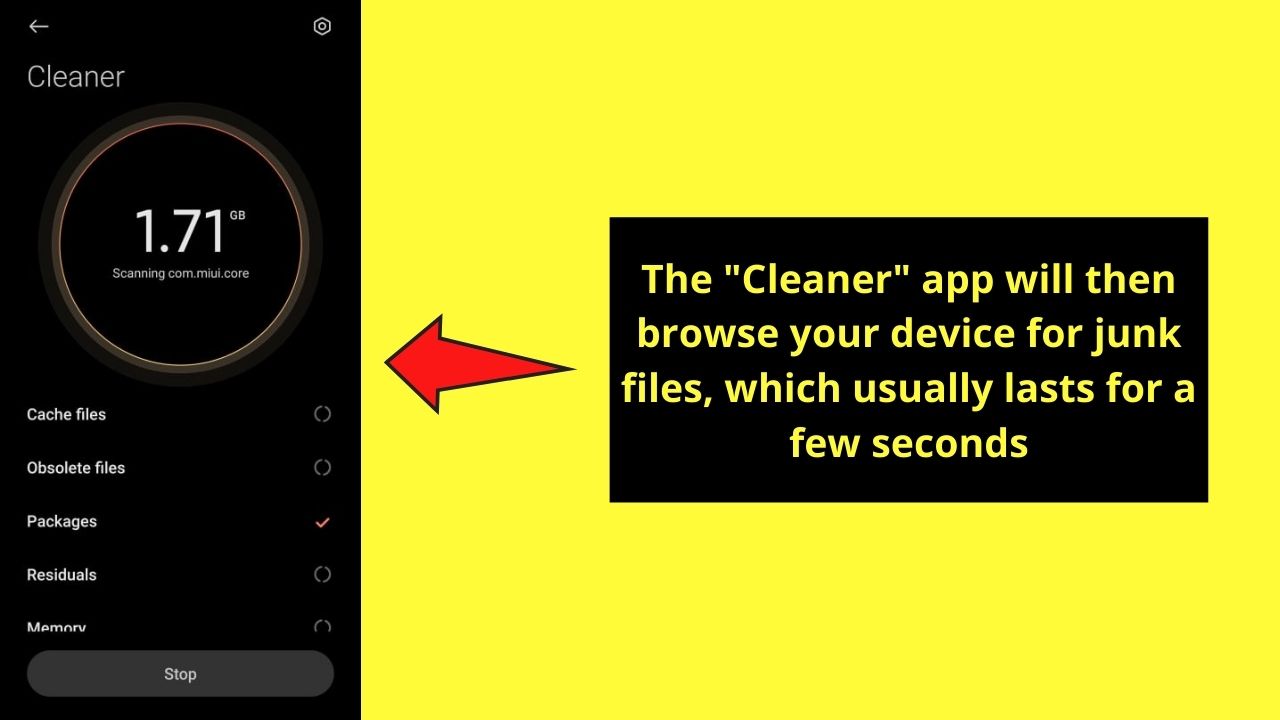
This browsing usually takes a few seconds, so wait patiently.
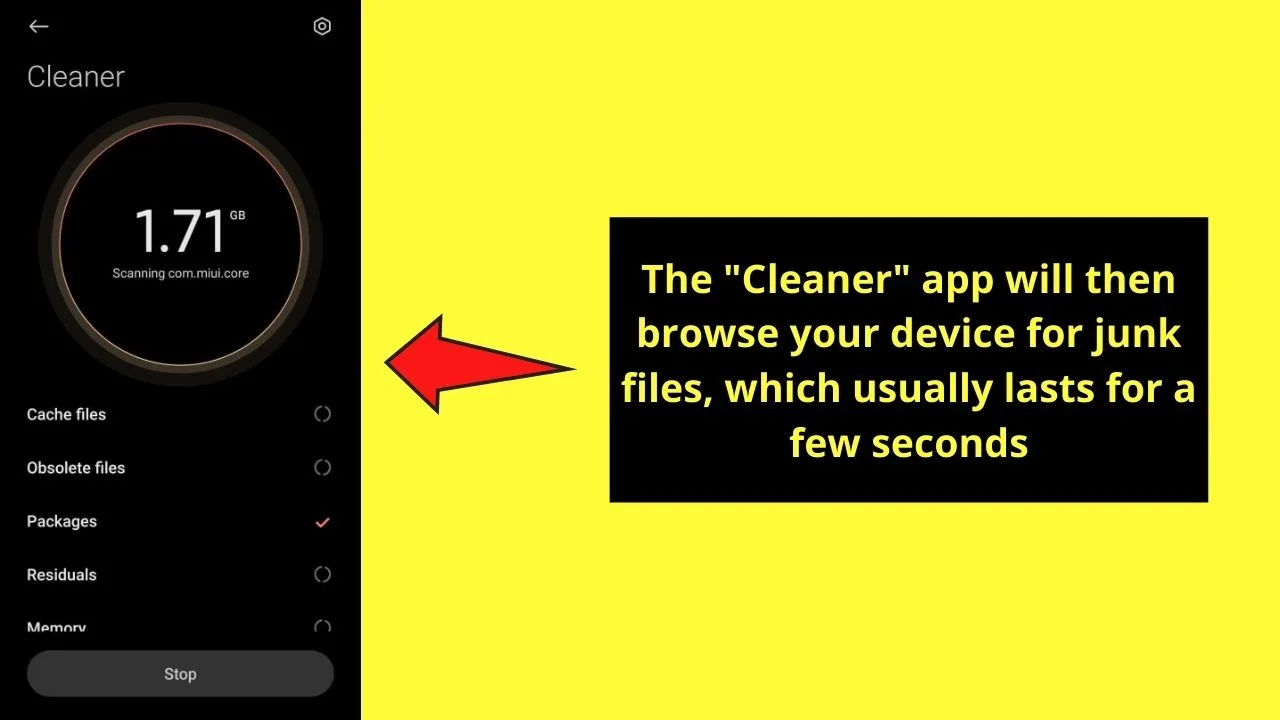
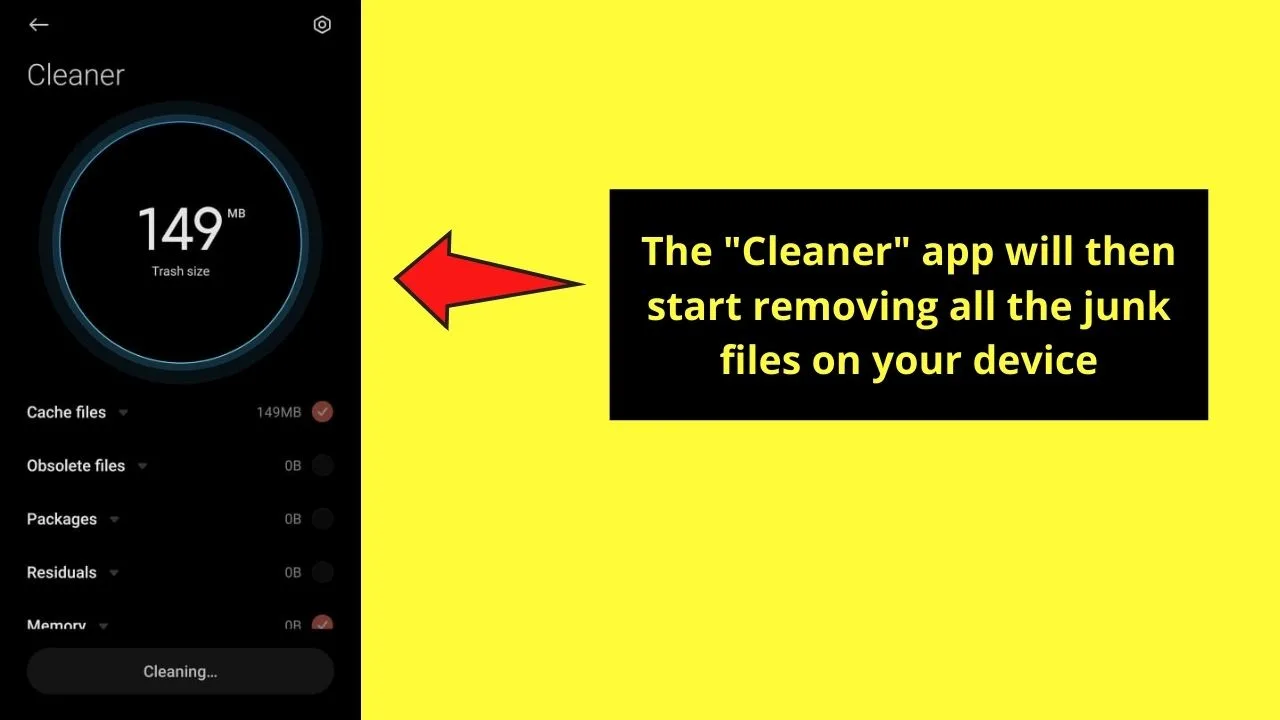
Step 3: After browsing through the device’s files, the app will then show you the size of the junk files found.
Don’t mind much about it, and simply tap the “Clean up …” button.

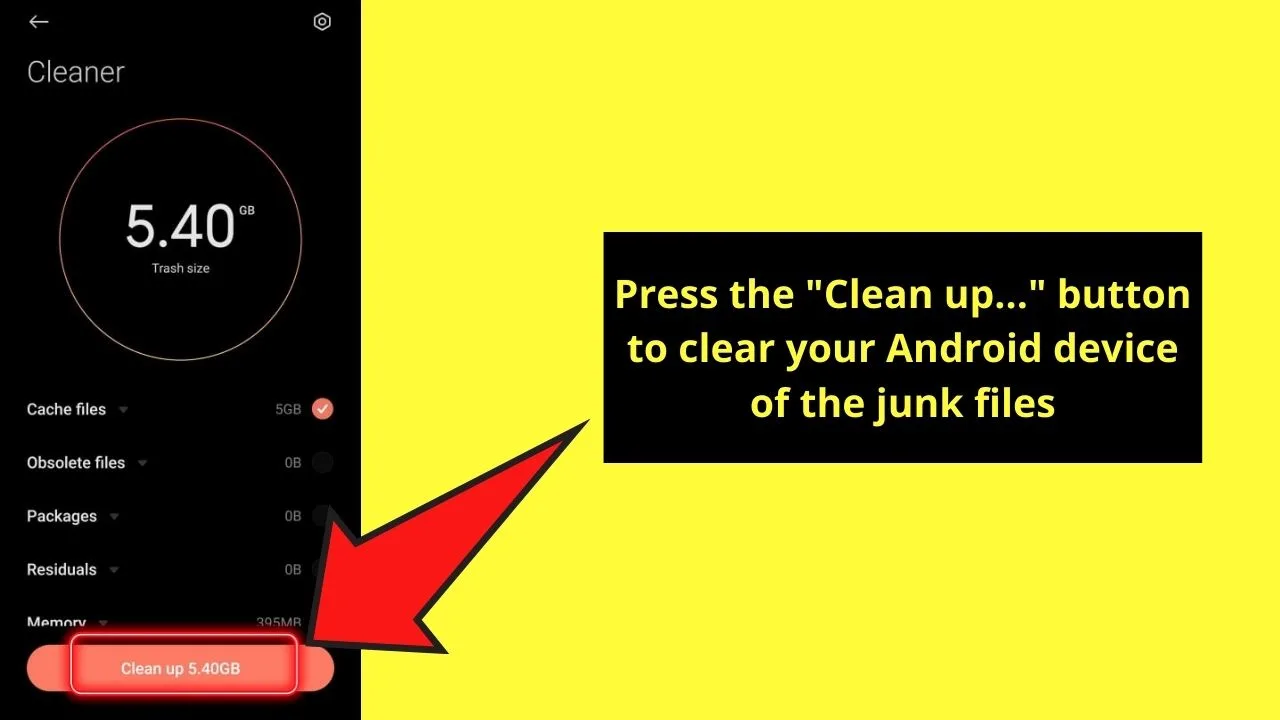
This move will then make the app delete all your device’s junk files.


Once the cleaning’s done, you’ll see a prompt informing you that the app has finished its cleaning process.
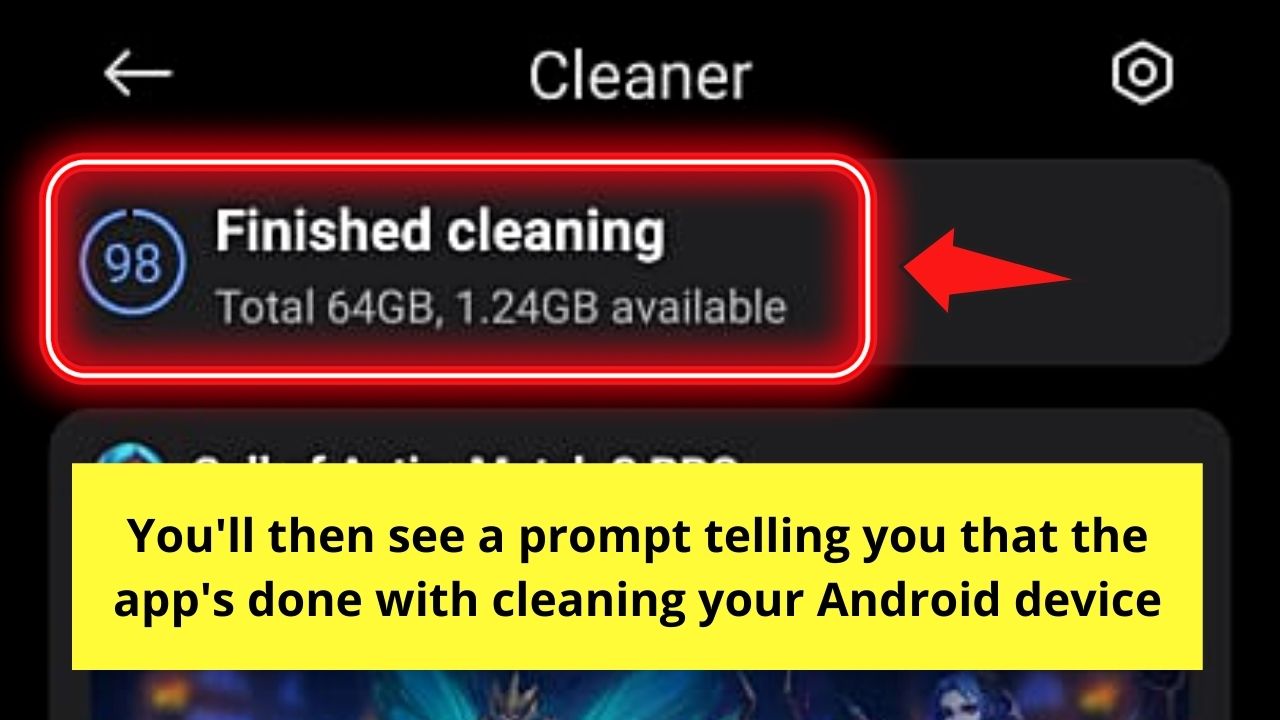
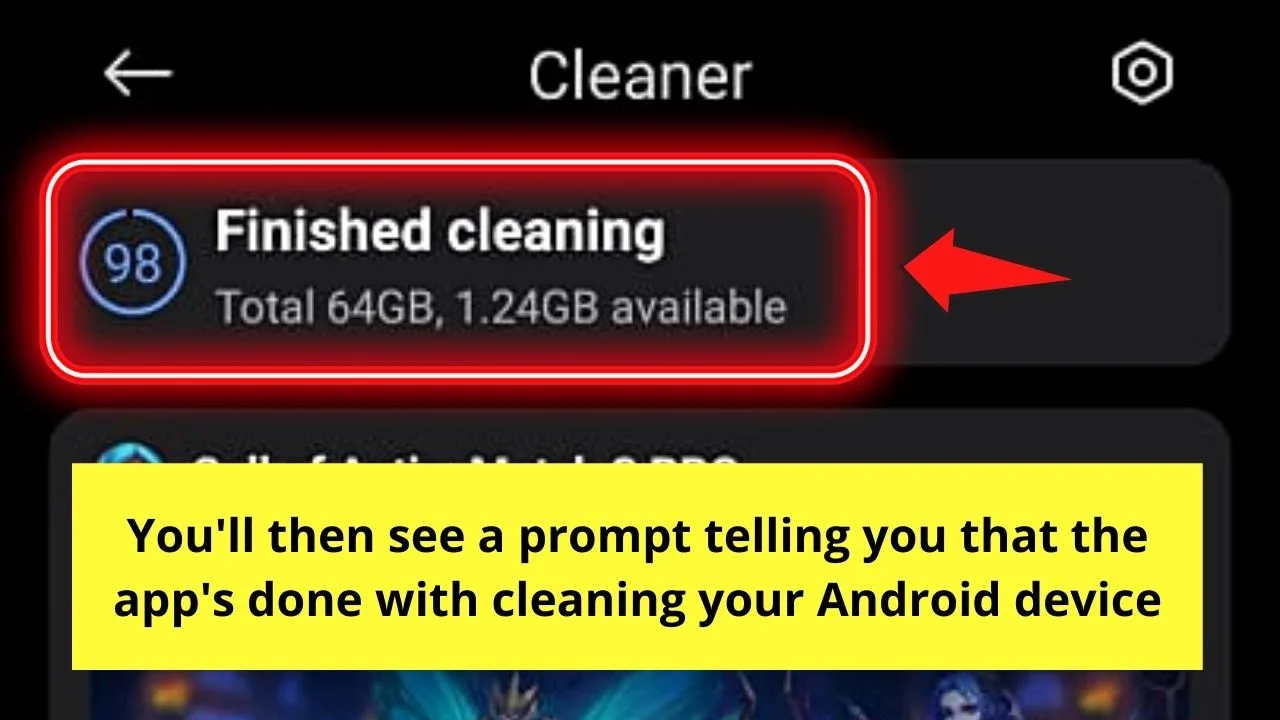
And with those 3 steps, you successfully emptied your device of the junk files accumulated.
You only need to exit the “Cleaner” app to resume using your phone.
But what if you prefer to have more control over what is emptied from your Android device? Head to the next method to learn how to go about it.
Method 2: Empty Trash on Android Device by Clearing Cache and Data Files
Step 1: On your Android device’s home screen, locate the “Settings” app and tap it.

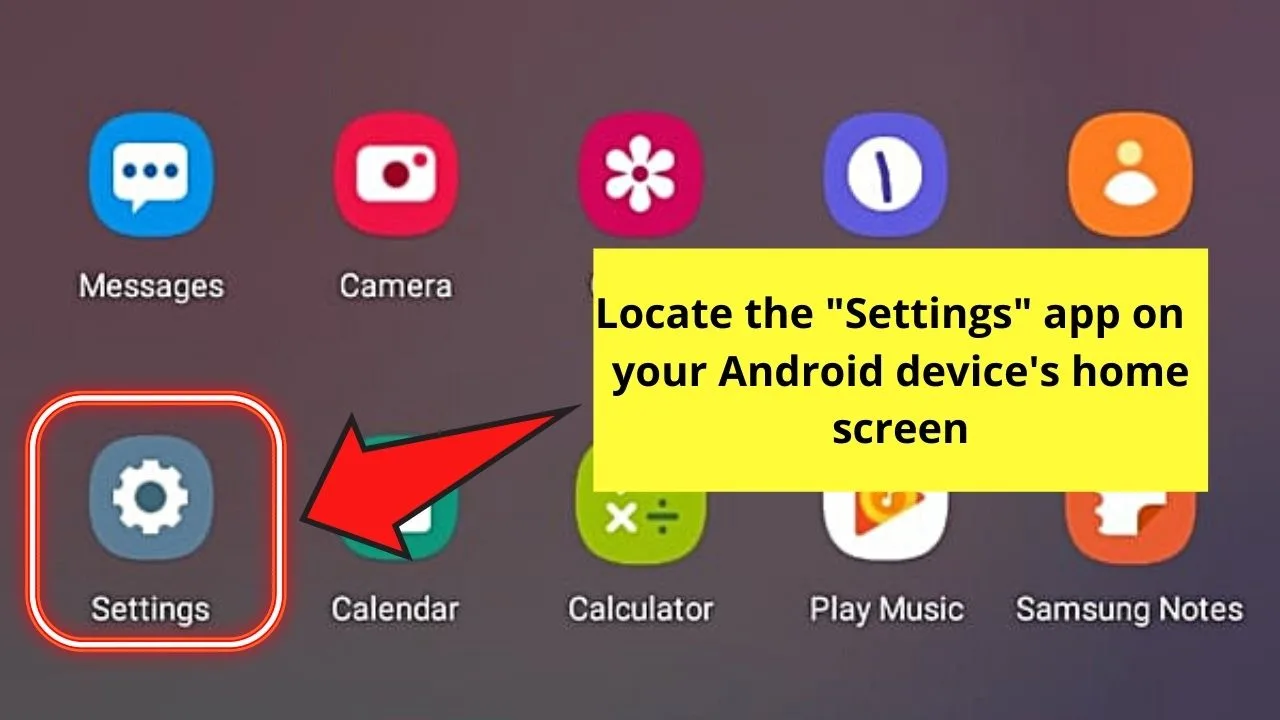
If you can’t locate the app on the home screen, swipe up to activate the app drawer.
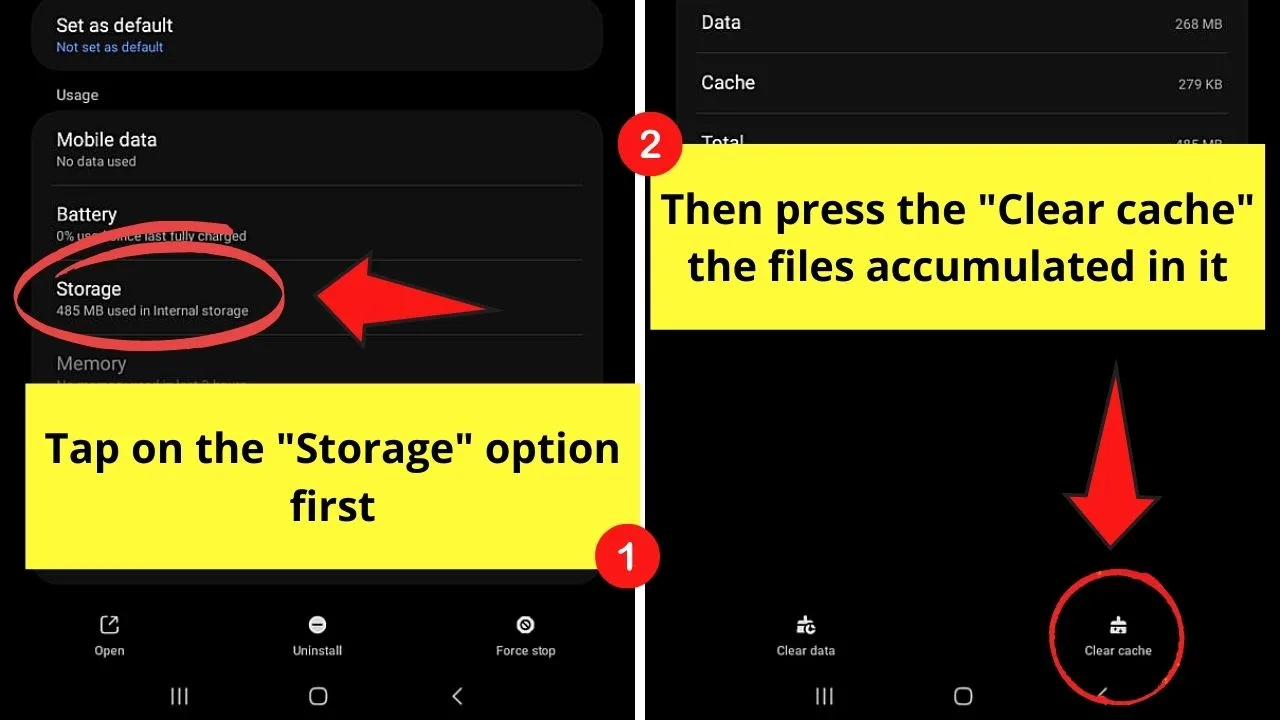
Step 2: Once inside the “Settings” app, you can swipe up until you locate the “Storage” menu. Tap on it.
If, however, you can’t find the “Storage” button, then press the “About phone” option instead.

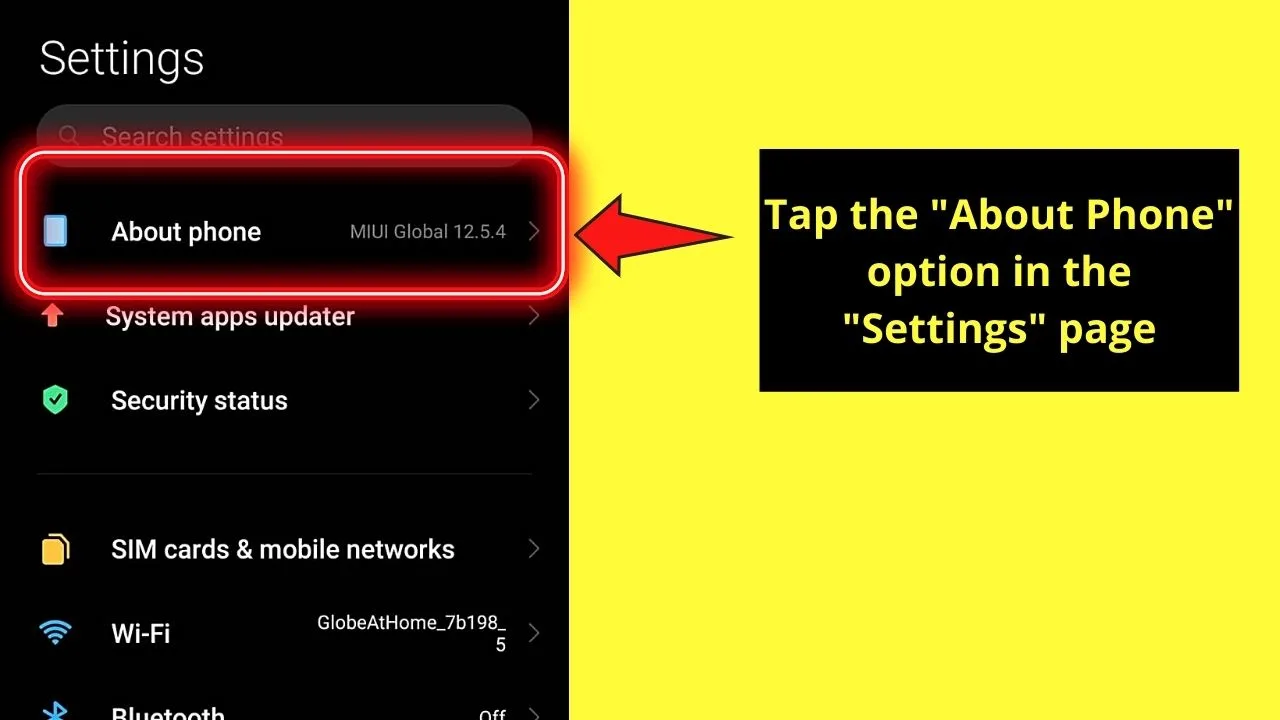
Step 3: On the “About phone” page, tap the “Storage” option to launch it.
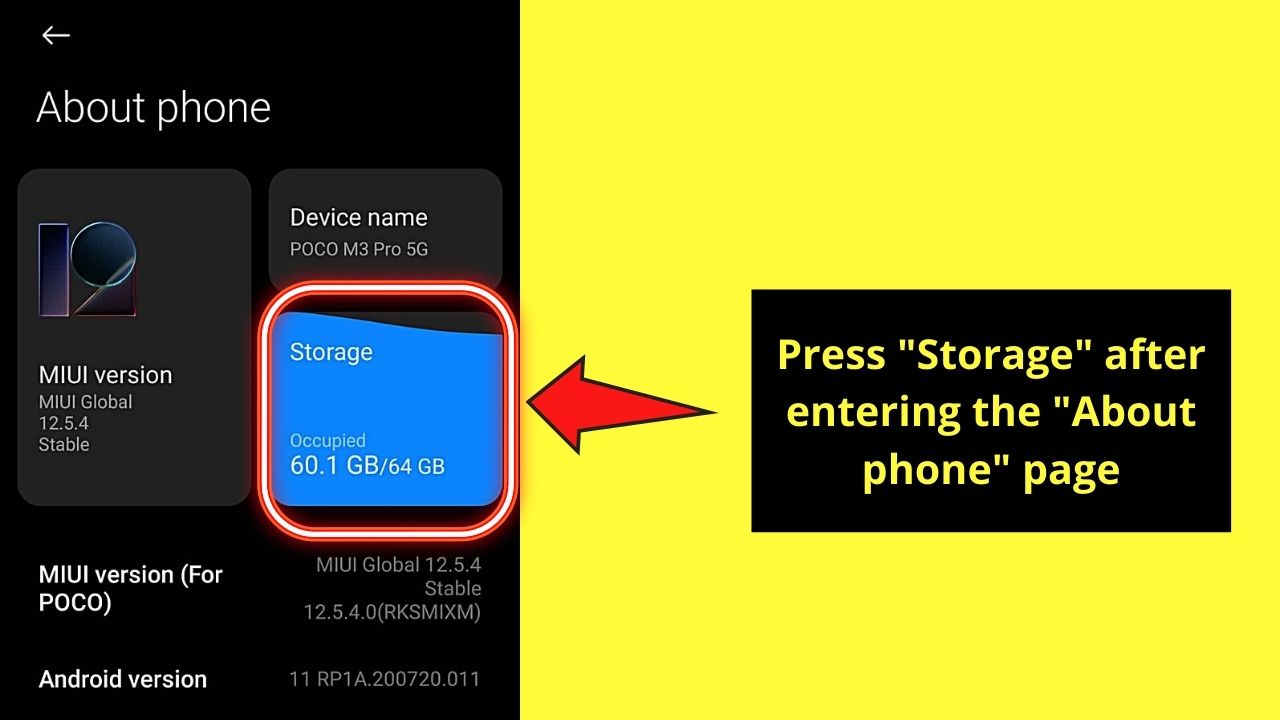

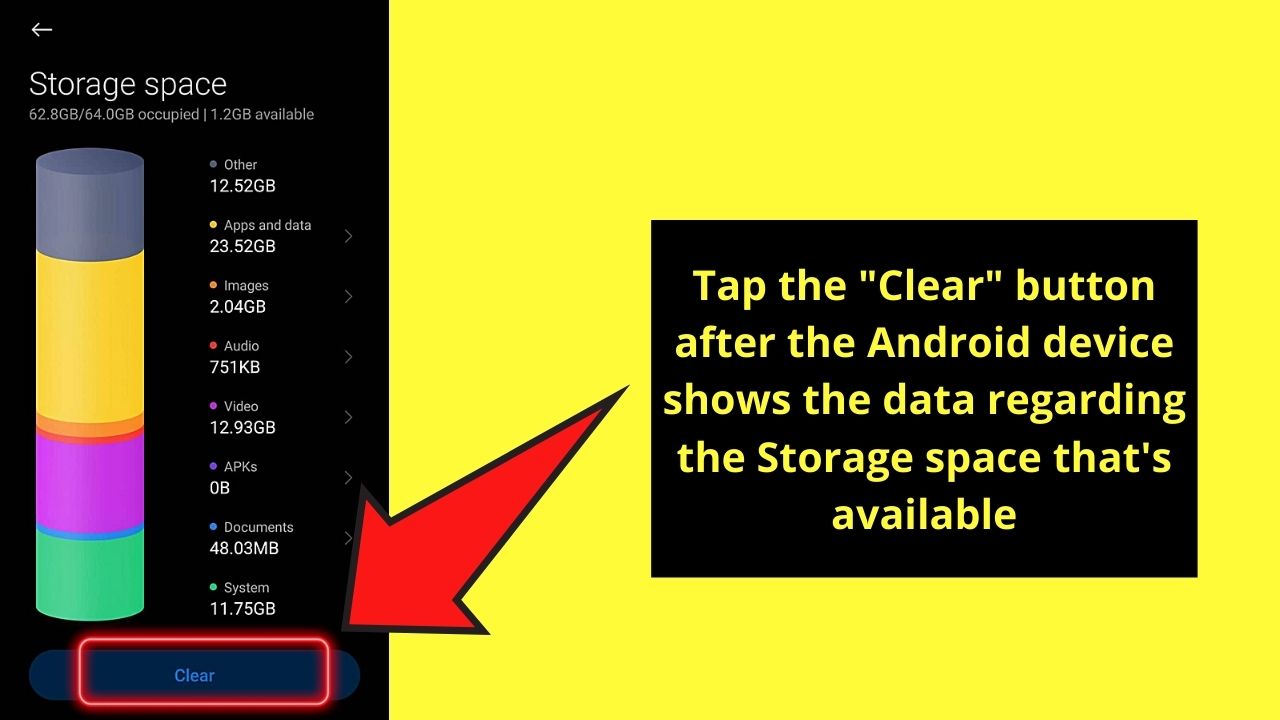
Step 4: Once you’re inside the “Storage” page, wait a few moments for the app to load the data about the storage space available.
Once the data are shown, tap “Clear.” This will then empty the junk files accumulated on the device.

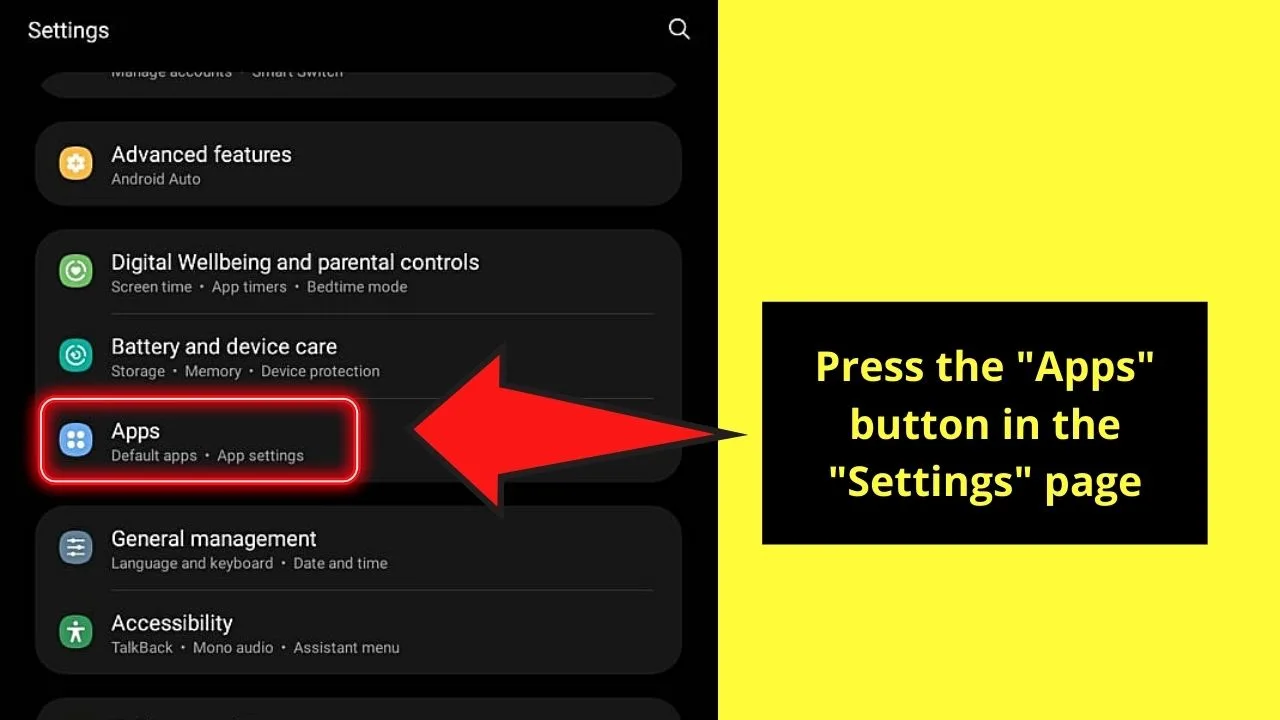
Step 5: Now, if you’re targeting a specific app, tap the “Apps” option instead on the “Settings” page.

Step 6: On the “Apps” page, tap “Manage Apps.”
You’ll then see a list showing all the apps installed on your Android device.
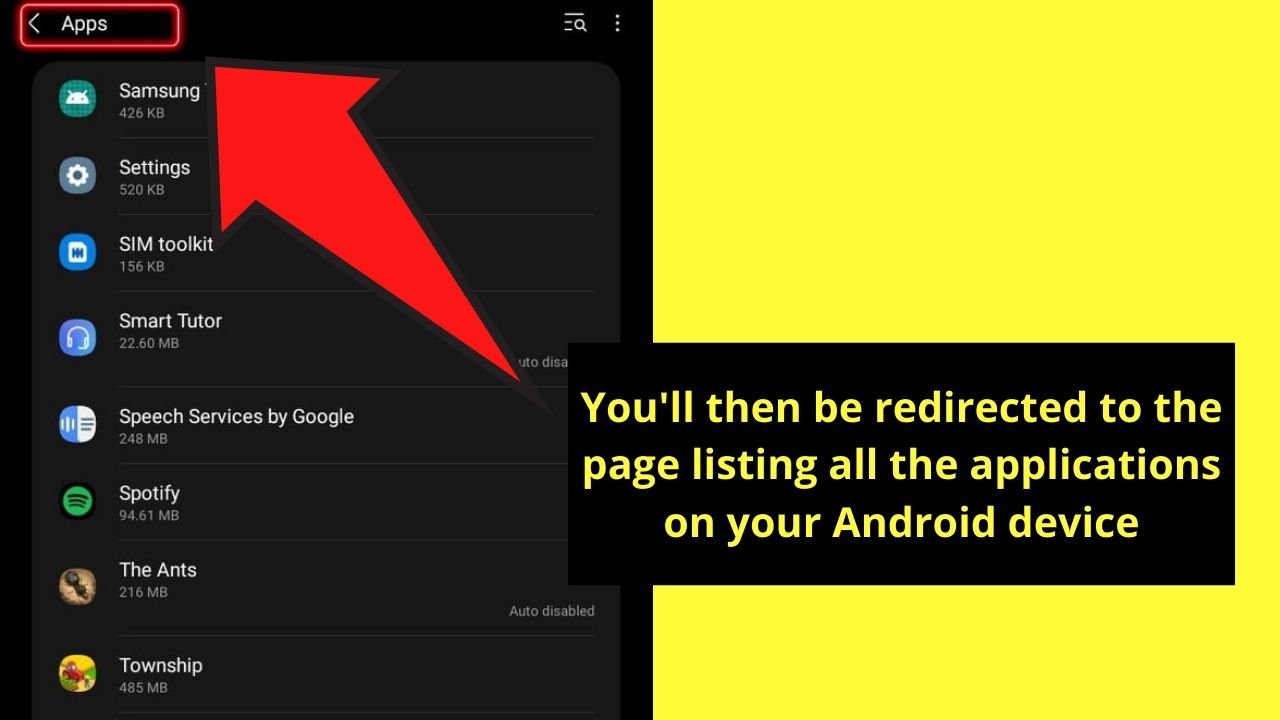
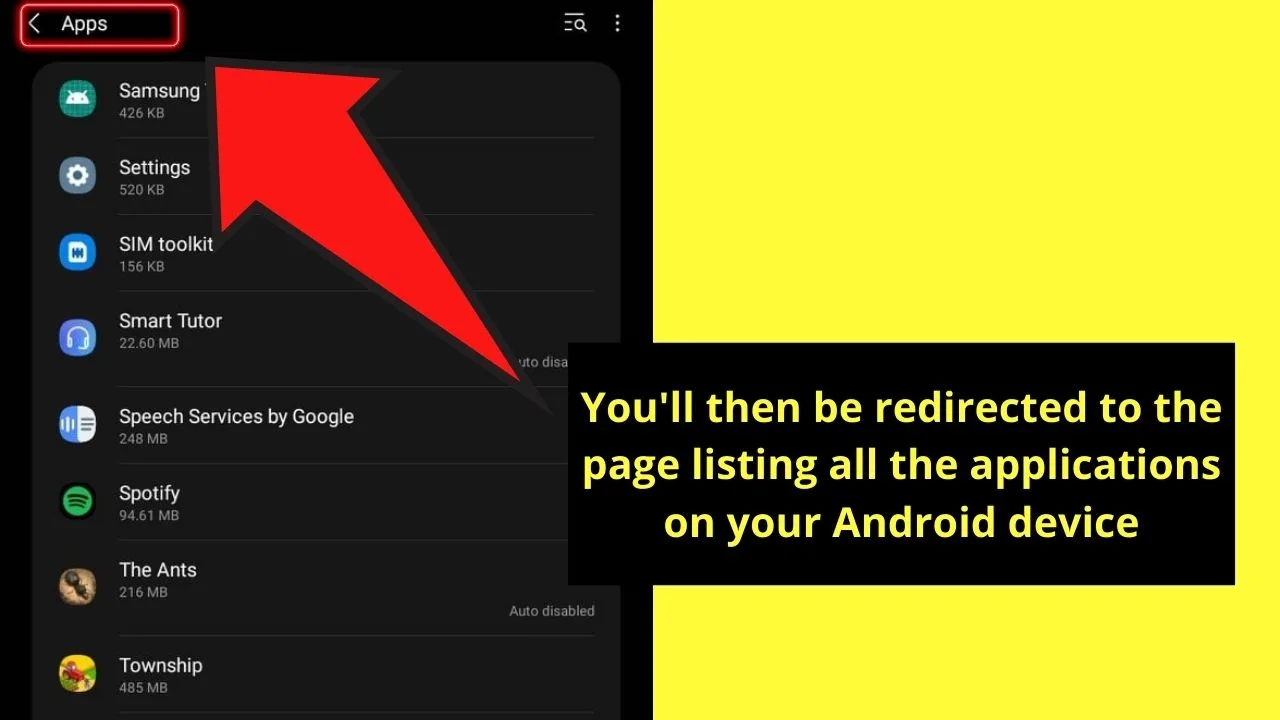
But, sometimes, you won’t have to head to the “Manage Apps” step as you’ll be redirected directly to the “Apps” list.
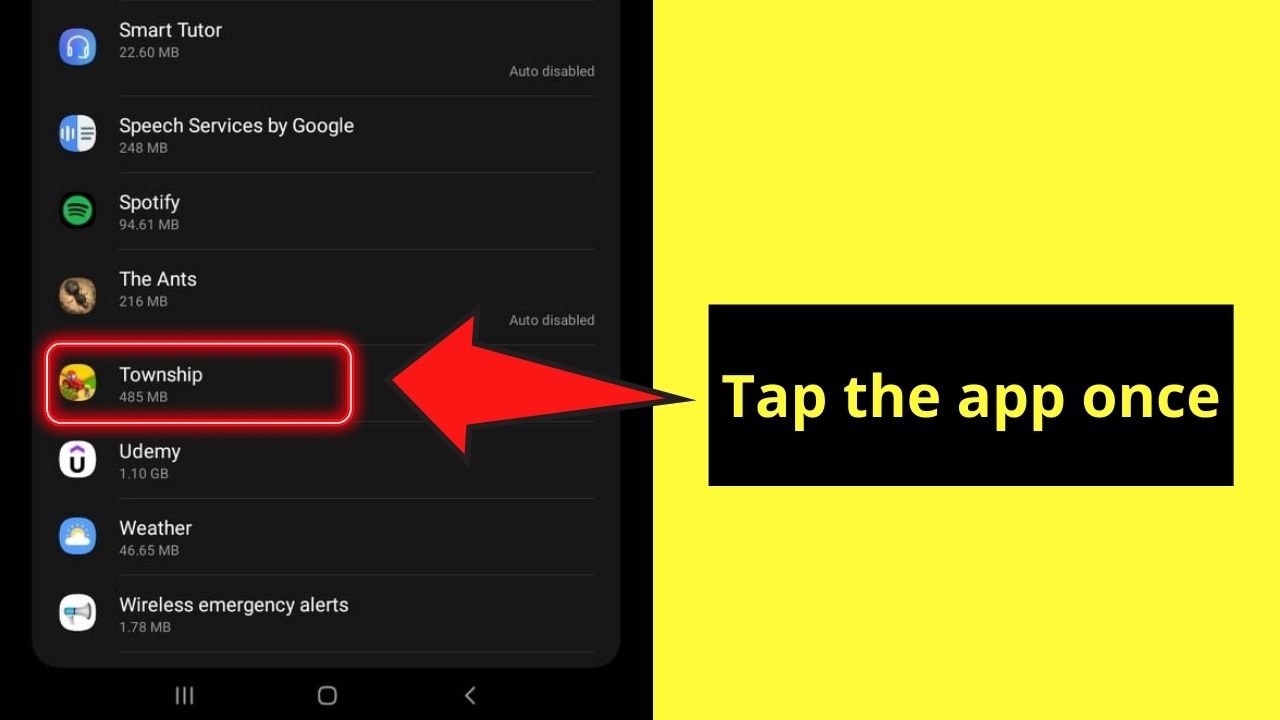
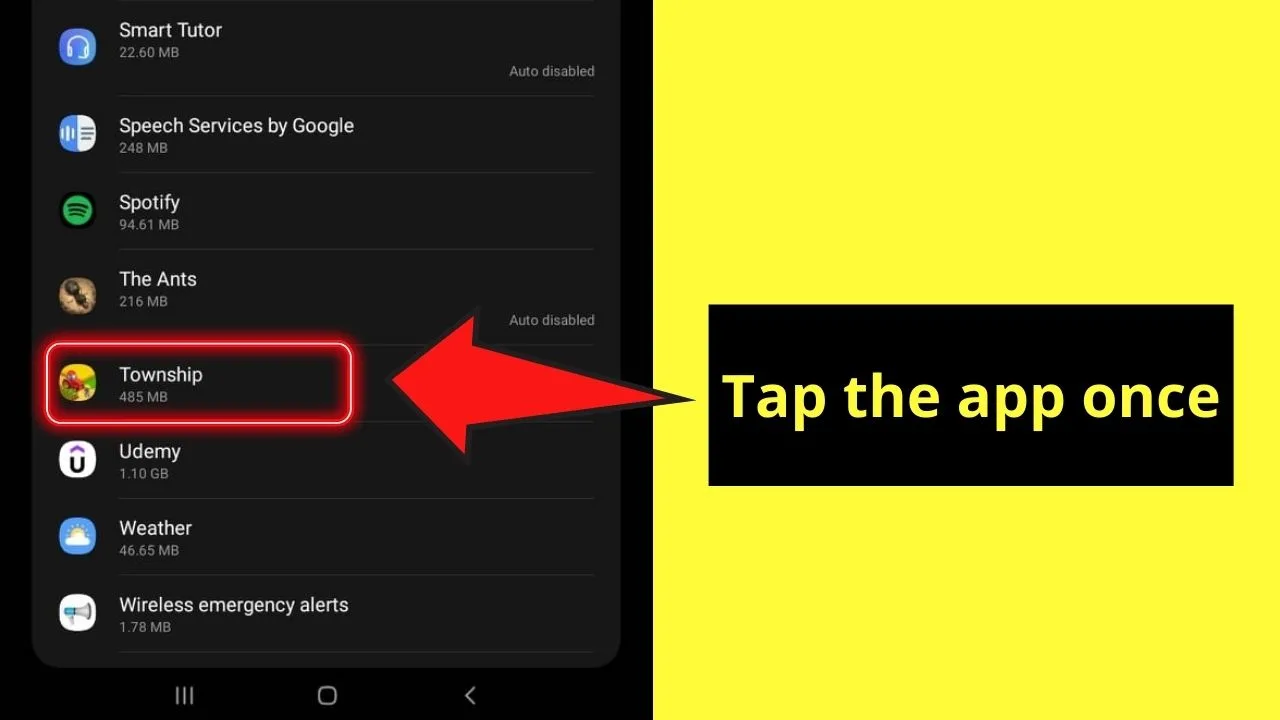
Step 7: Swipe up the apps list until you find the one app you want to empty its cache. Tap to select it.
Step 8: After selecting the app, you’ll then be redirected to the “App info” page. Tap on “Storage” and then the “Clear Cache” option to empty the app’s cache.

If it’s not the app data that’s causing your Android phone to be less responsive, then take a peek at your device’s downloaded files.
Method 3: Deleting Downloaded Files from the “My Files” Folder
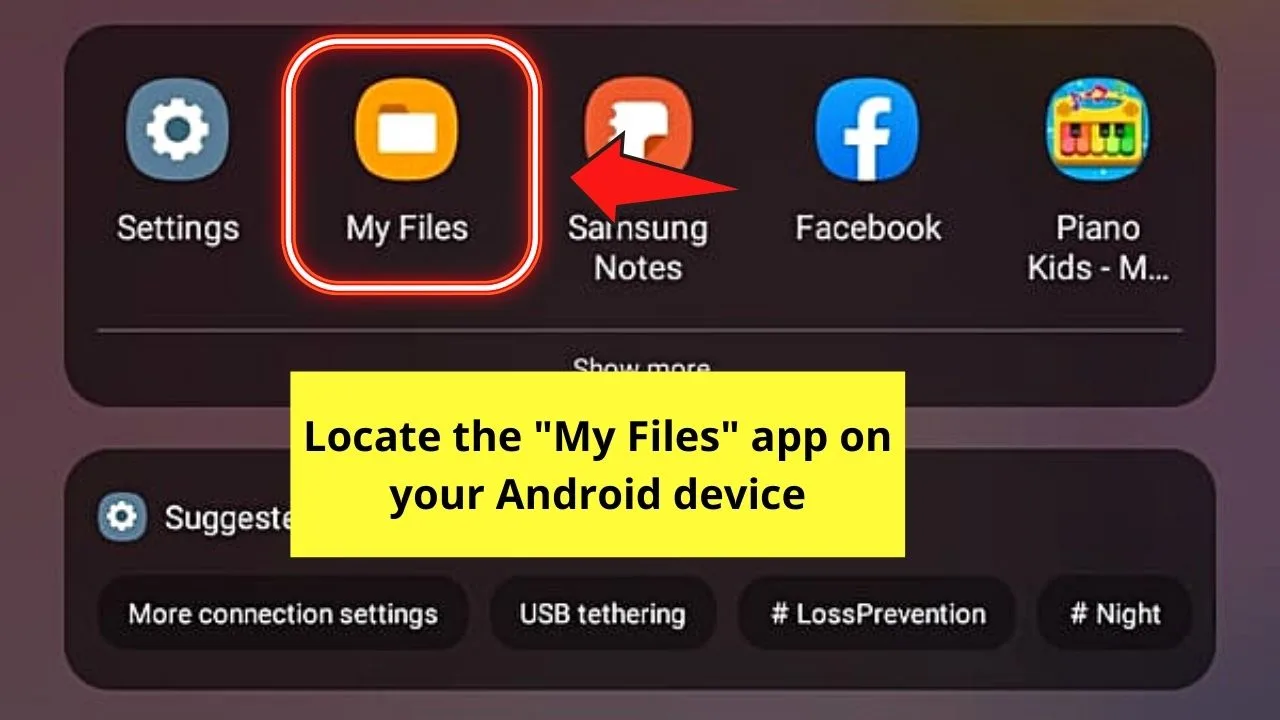
Step 1: On your Android device, locate the “My Files” folder. You usually can find this after tapping the search bar and taking a look at the list of the apps installed on your phone.
Tap “My Files” to launch it.

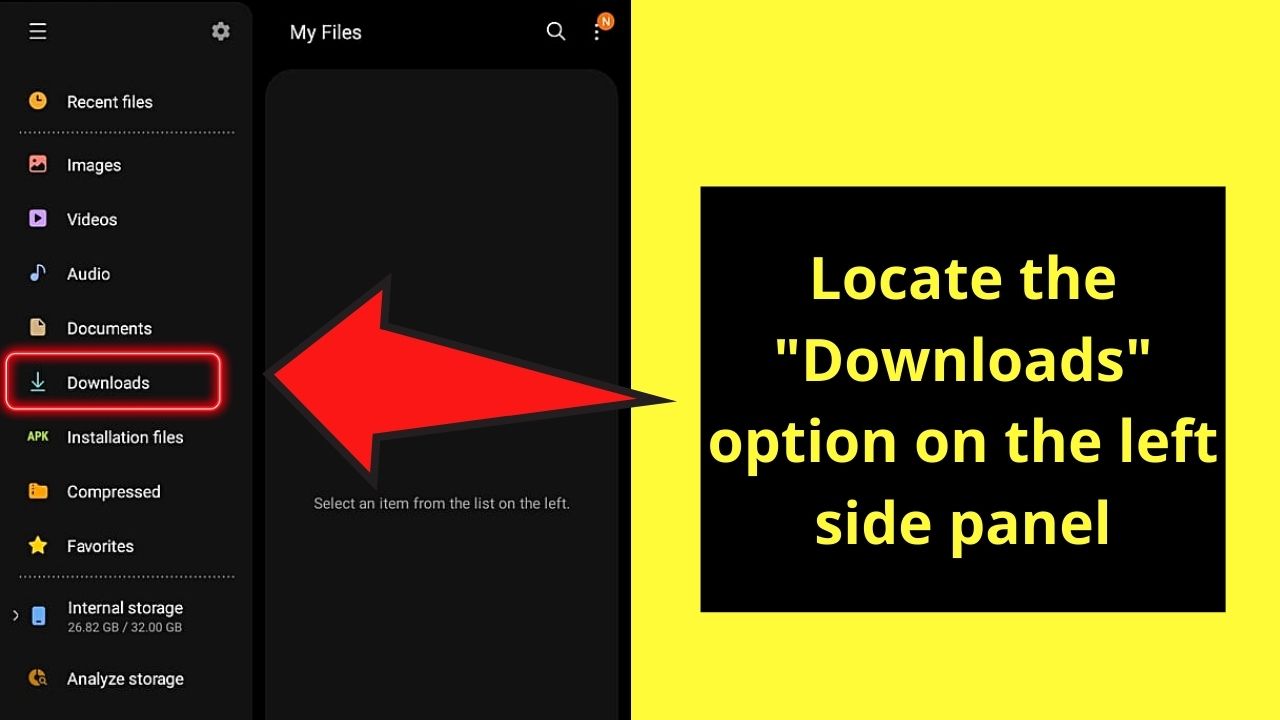
Step 2: Once you’re in the “My Files” folder, press the “Downloads” option.
This move will then prompt your Android device to load the downloaded files.

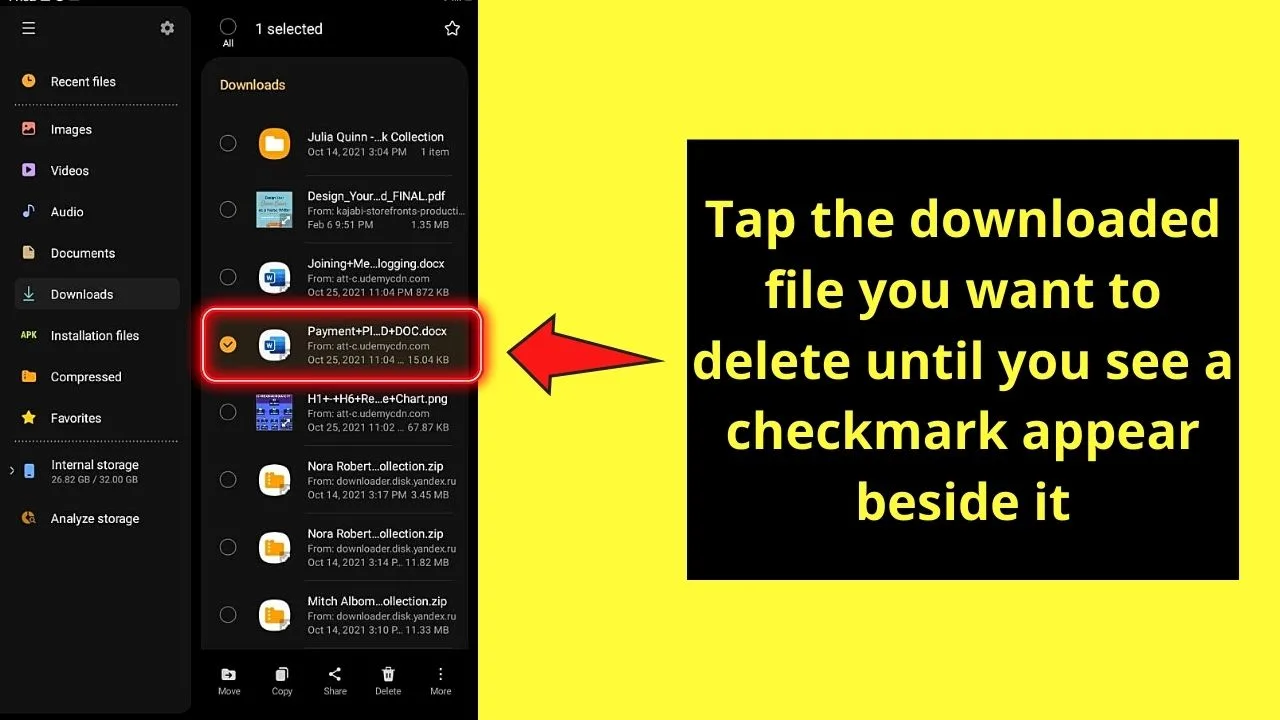
Step 3: Once the “Downloaded Files” list populates, swipe up and locate the files you want to move to “Trash.”
You’ll know you’ve successfully selected the file if a tick mark appears beside it.
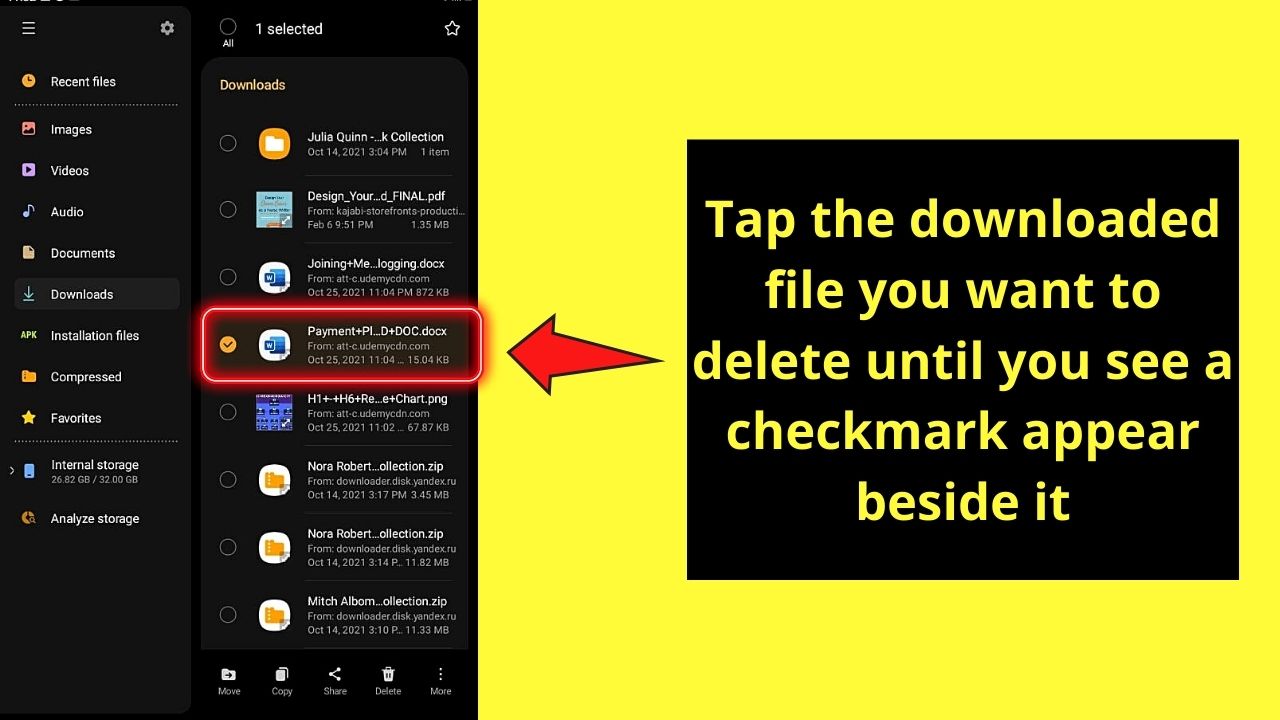
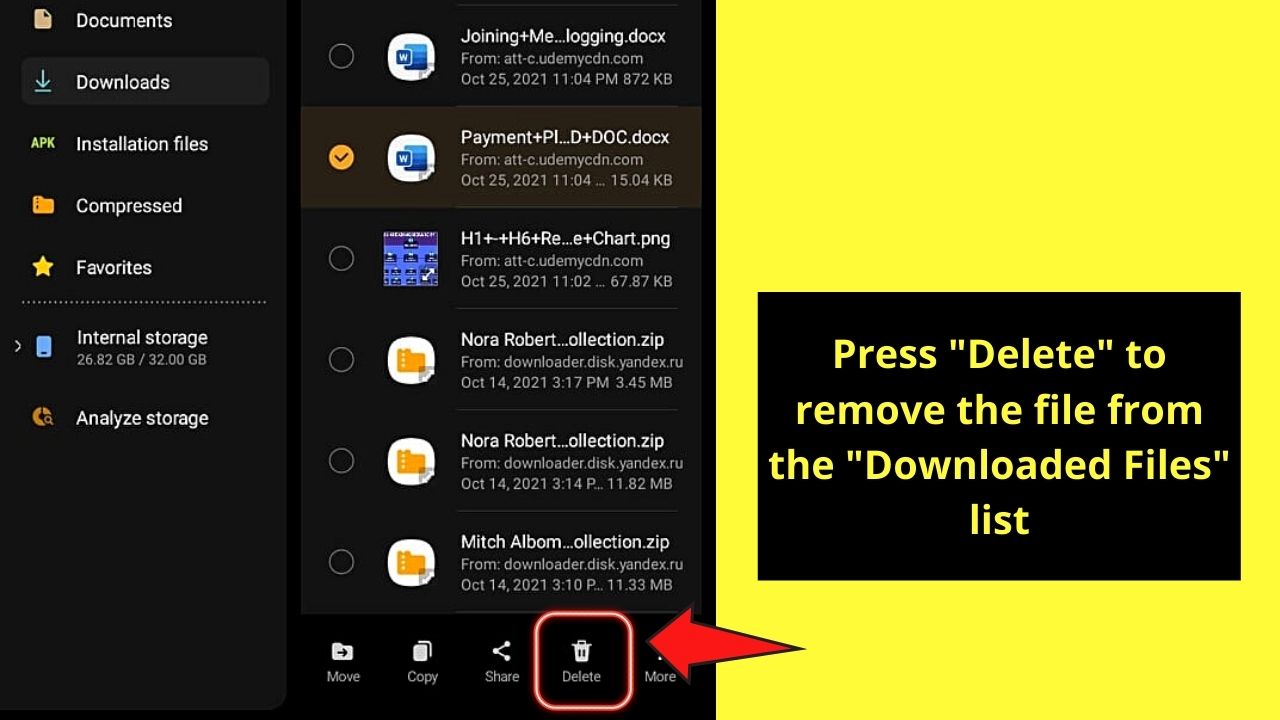
Step 4: Then, either above or below your Android device’s screen, look for the “Delete” button. You’ll never go wrong with this button, as it appears as a trash can icon.

Step 5: After tapping “Delete,” you’ll see a prompt asking whether you want to move the selected file/s to “Trash.”
Press the “Move to Trash” button to continue deleting the file. Then, press “OK” to finalize the action if it warrants such action.
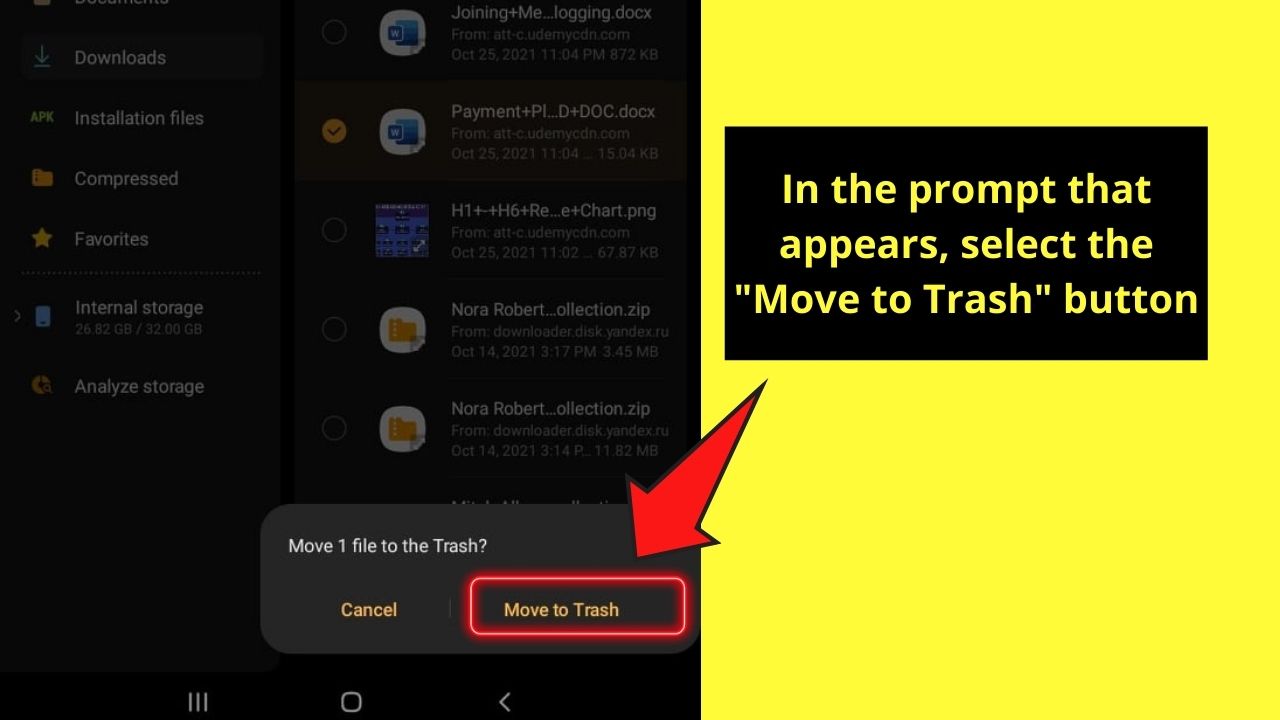

Otherwise, the “Move to Trash” button is enough.
Now, if deleting the downloaded files works to free up space, stop here.
But, if you still lack the storage space you need, then uninstalling rarely-used apps is the key.
Method 4: Emptying Trash on Android by Uninstalling Apps
Step 1: On your Android device’s home screen, locate the app icon you want to delete and long-press on it.
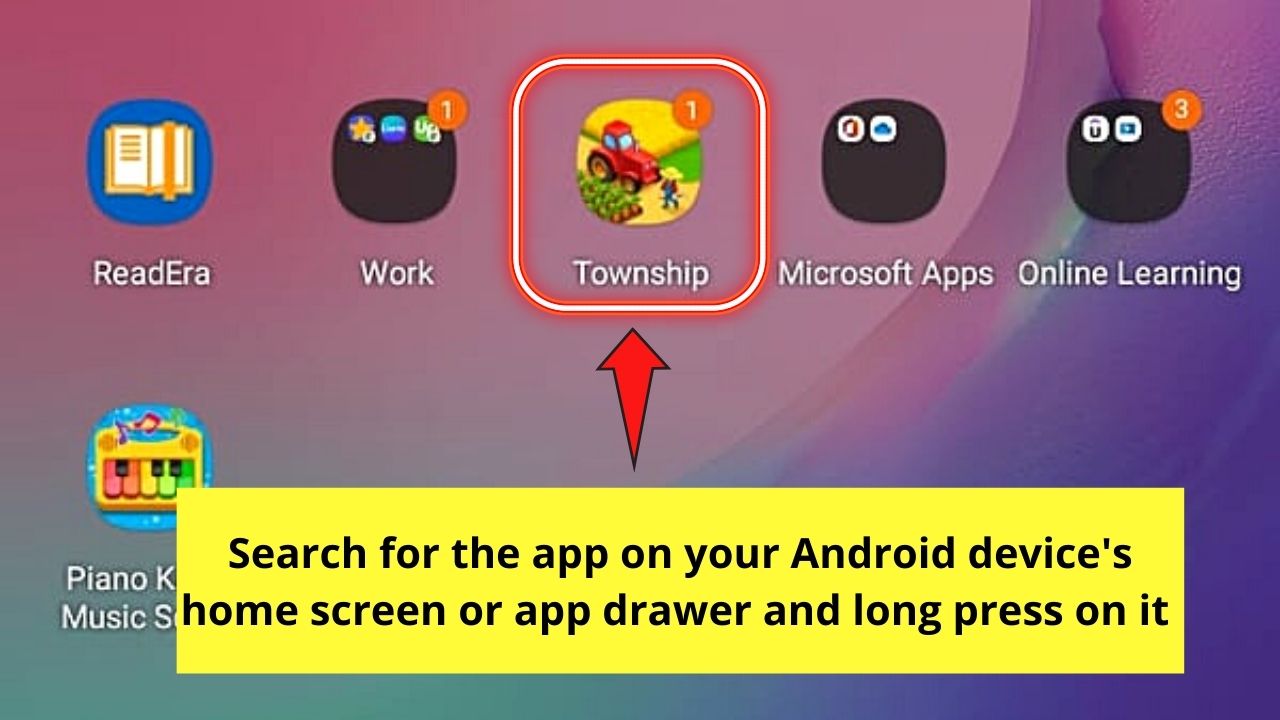

This move will make a pop-out menu appear on top of the said app icon.
Step 2: On the pop-out menu that appears, you’ll notice three options: Select, Remove, and Uninstall.
Since you aim to free up storage space, tap the “Uninstall” button.


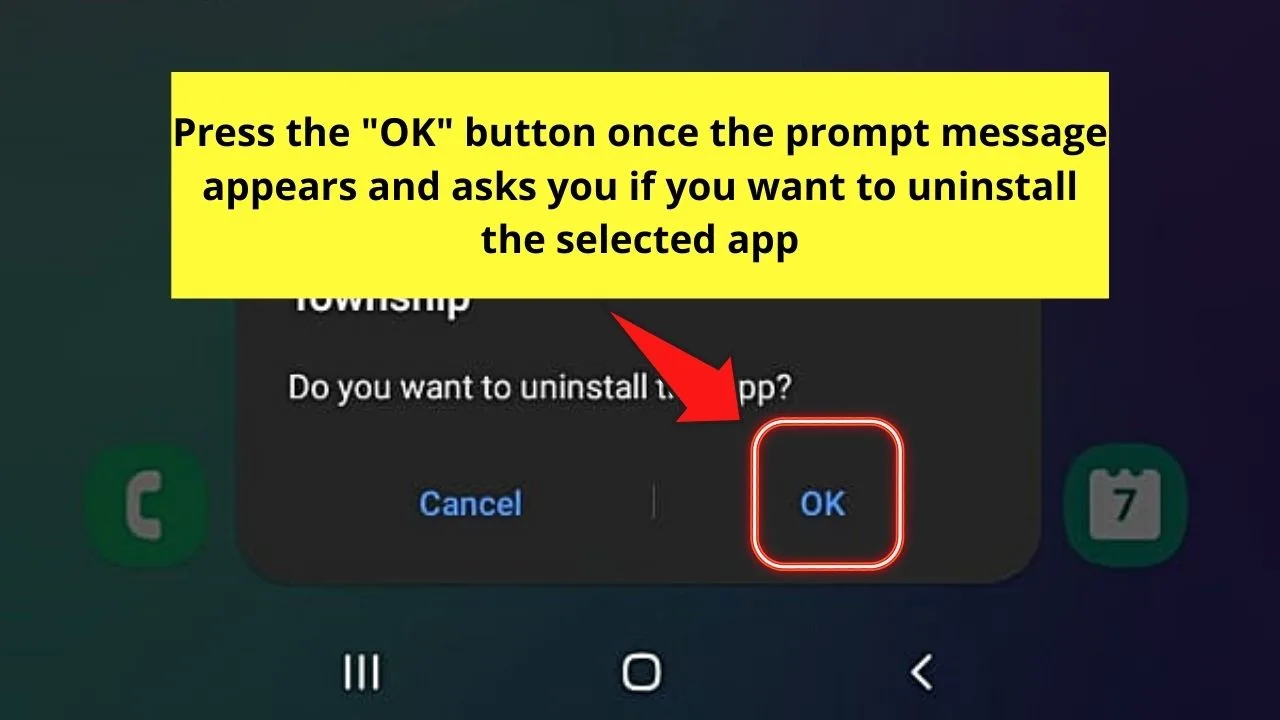
Step 3: After pressing “Uninstall,” you’ll then see another prompt asking you if you want to uninstall the app on your device.
If you do, then tap “OK” for the device to uninstall the said app.

But, if you find that uninstalling rarely-used apps doesn’t free up as much space, then deleting duplicated photos on Google Photos will do.
Method 5: Emptying Trash on Android by Deleting Duplicate Photos on “Google Photos”
Note: Make sure you’ve updated your “Google Photos” app to the latest version to enjoy using its newest features.
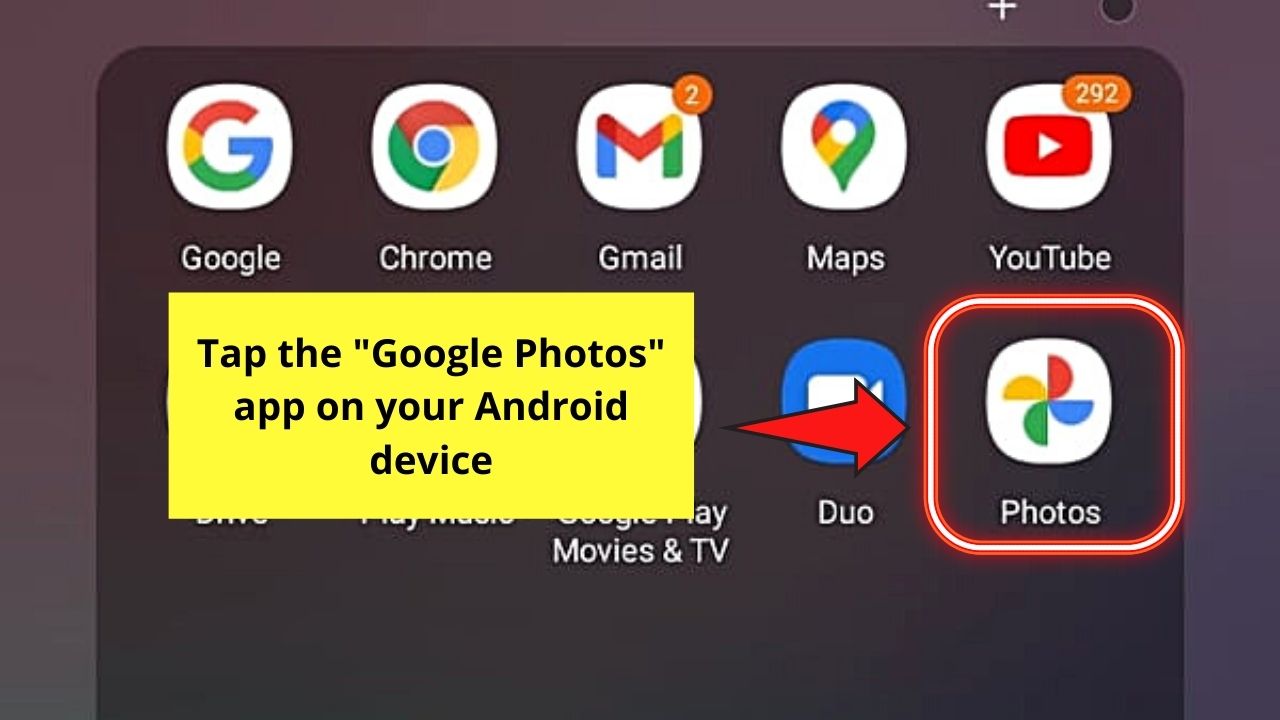
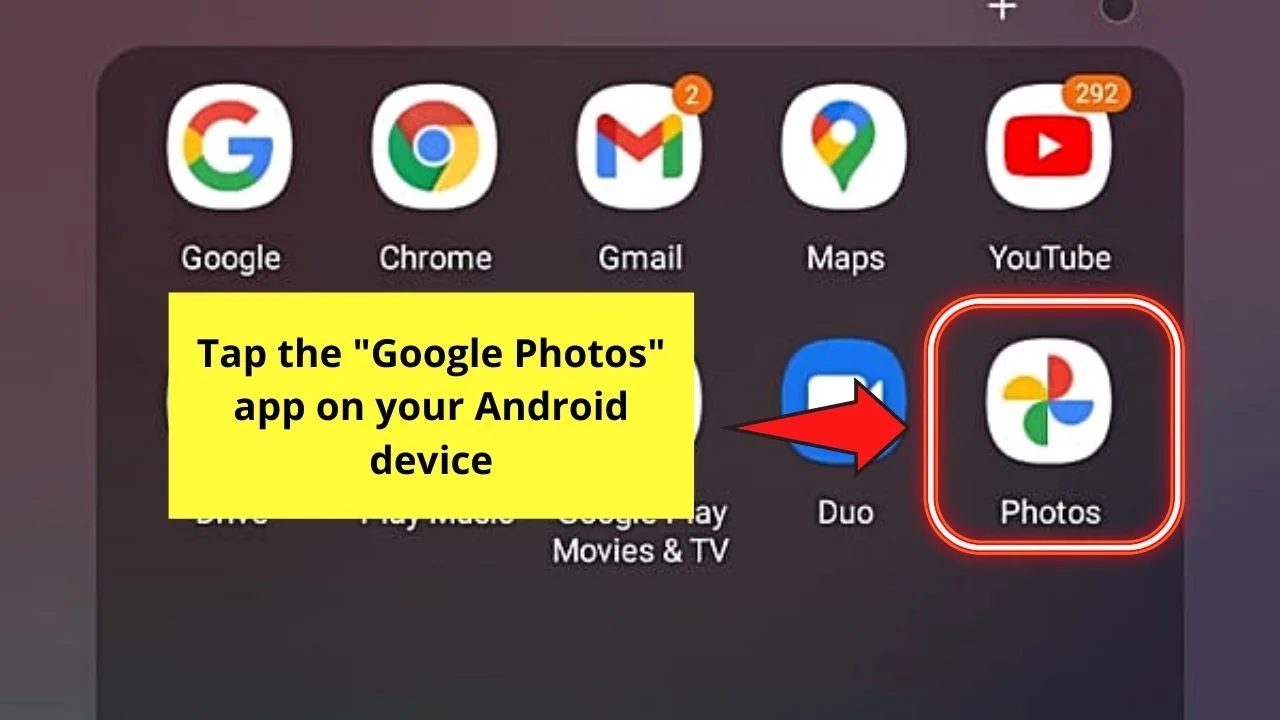
Step 1: On the home screen of your Android device, tap the “Google Photos” app icon to launch it.
Step 2: Once you’re inside “Google Photos,” head to the left side panel and tap “Library.”
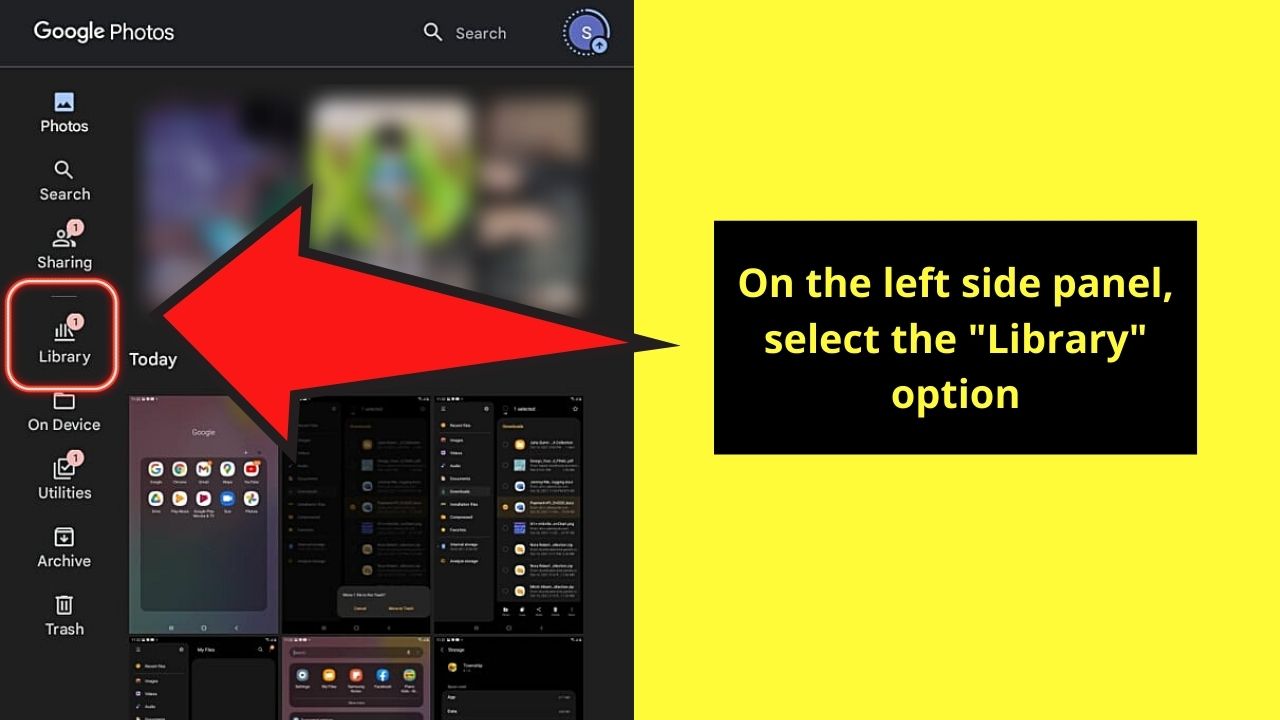

You’ll then see a gallery of the files, images, and videos you’ve saved in “Google Photos.”
Step 3: On the gallery, long-press on a file until it wiggles or you see a blue checkmark appear at the upper left corner.

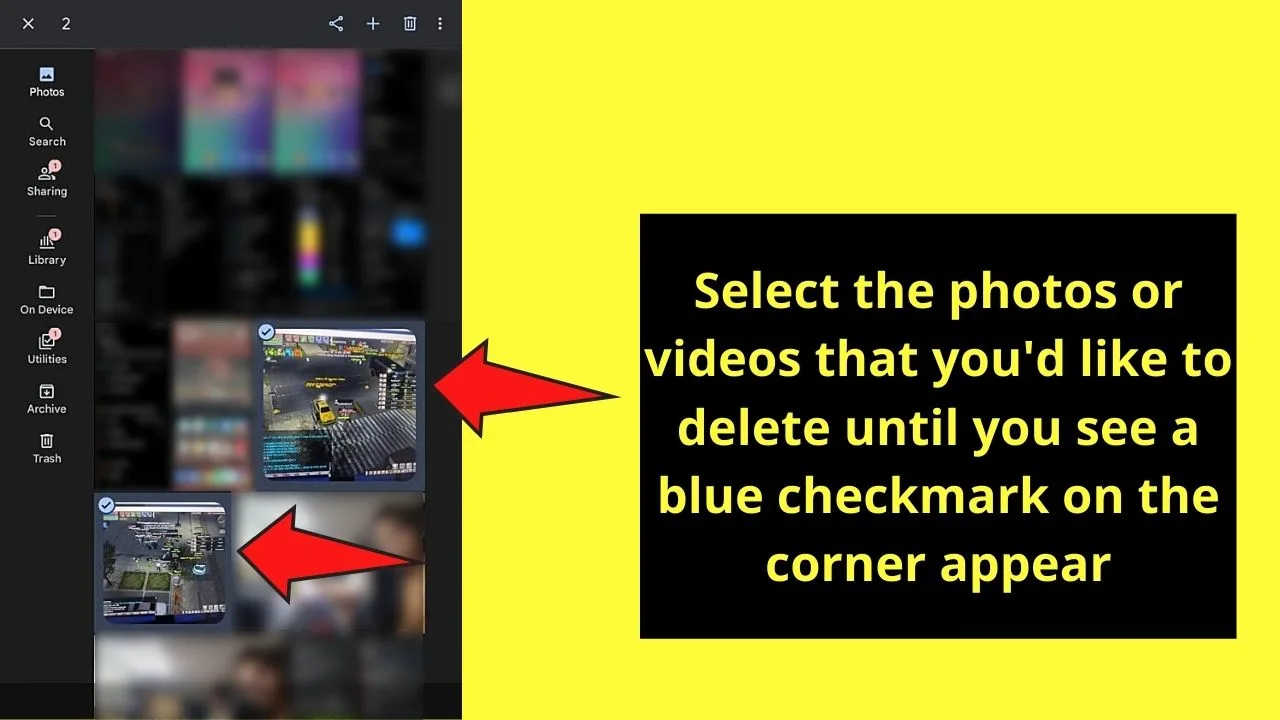
Step 4: Continue selecting photos you want to delete by tapping on each one of them.
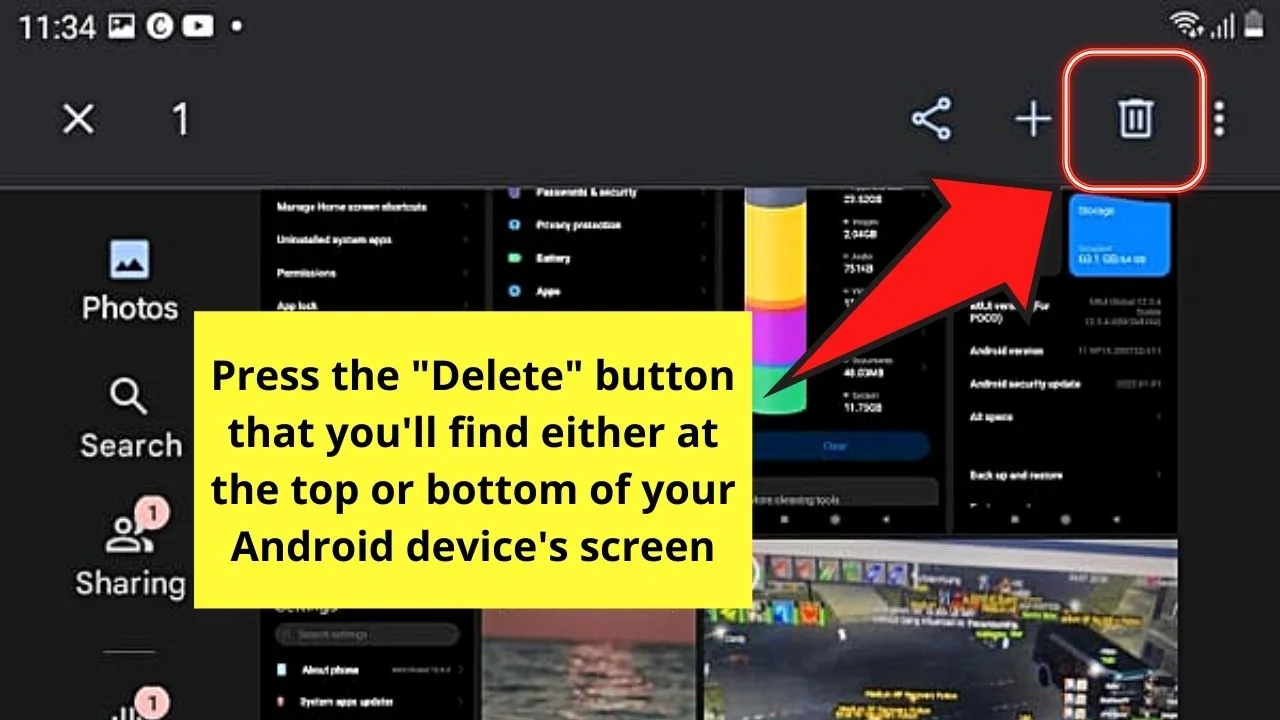
Step 5: After selecting all the photos, videos, or files you want to delete, press the “Delete” button which appears as a trash can icon.

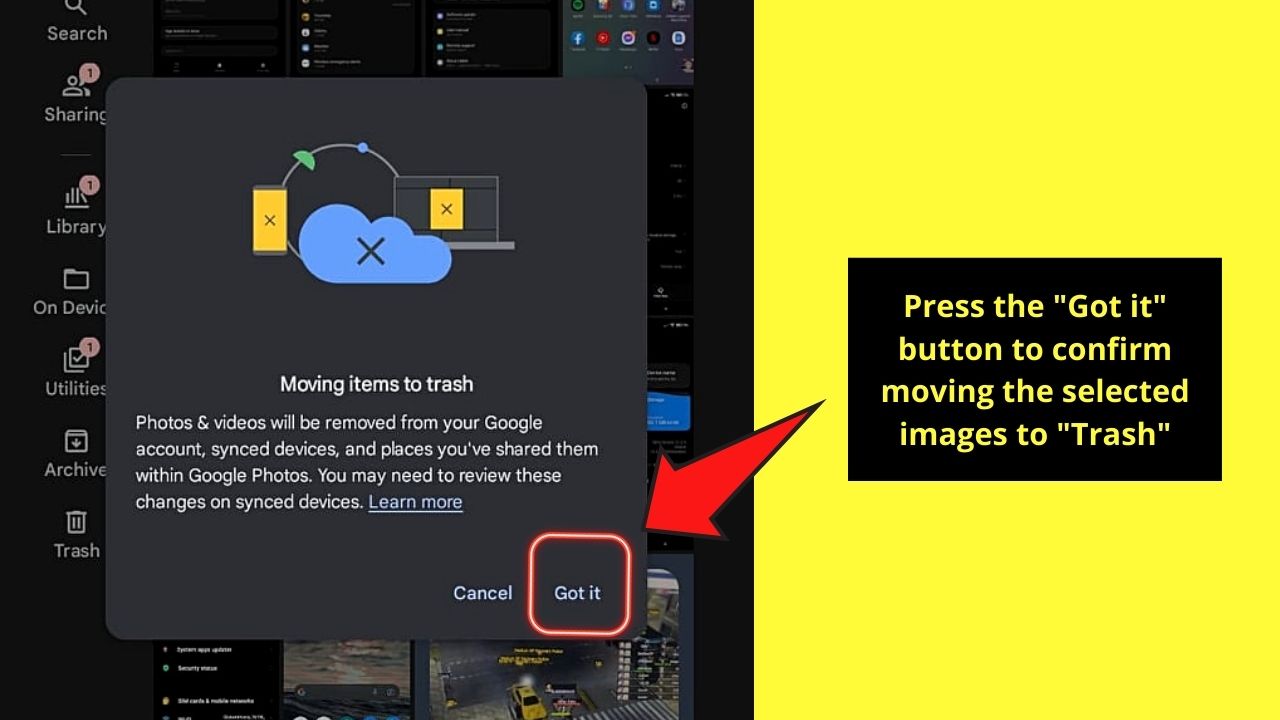
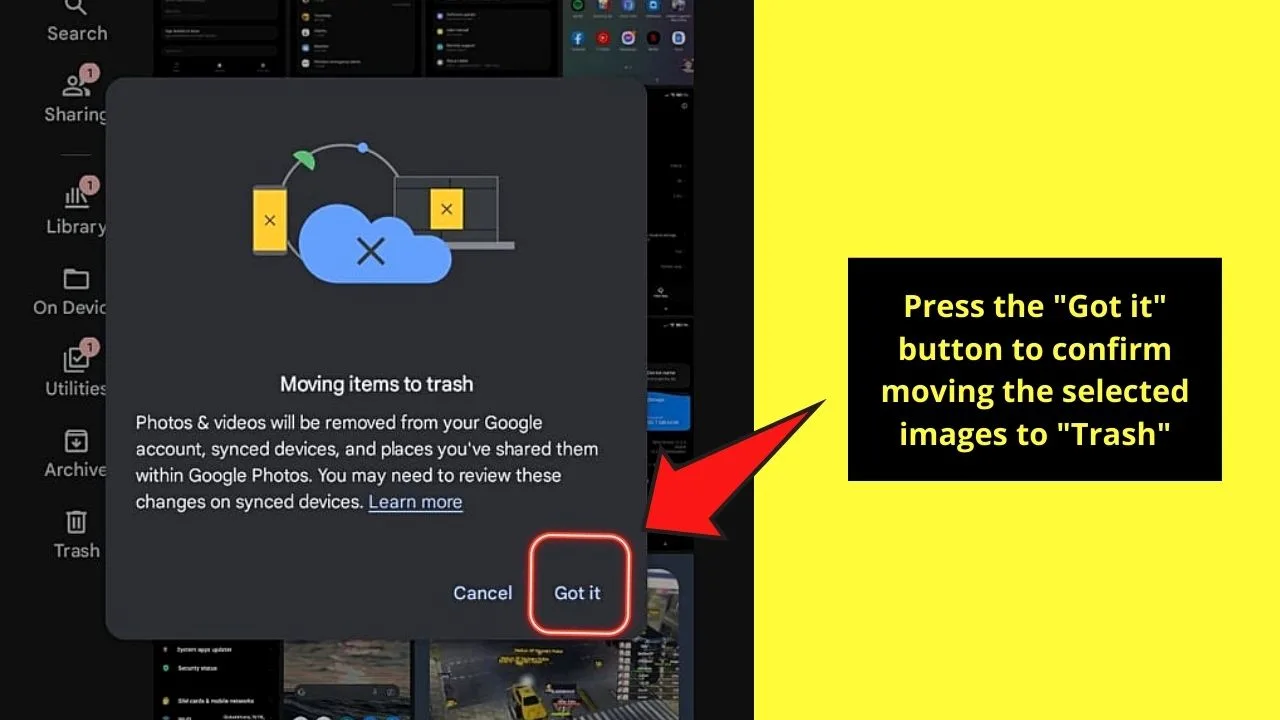
You’ll then see a prompt message that asks you if you want to move those selected files to “Trash.” If you do, then tap the “Got it” option.
Step 6: You’ll then be redirected to the “Trash” page.
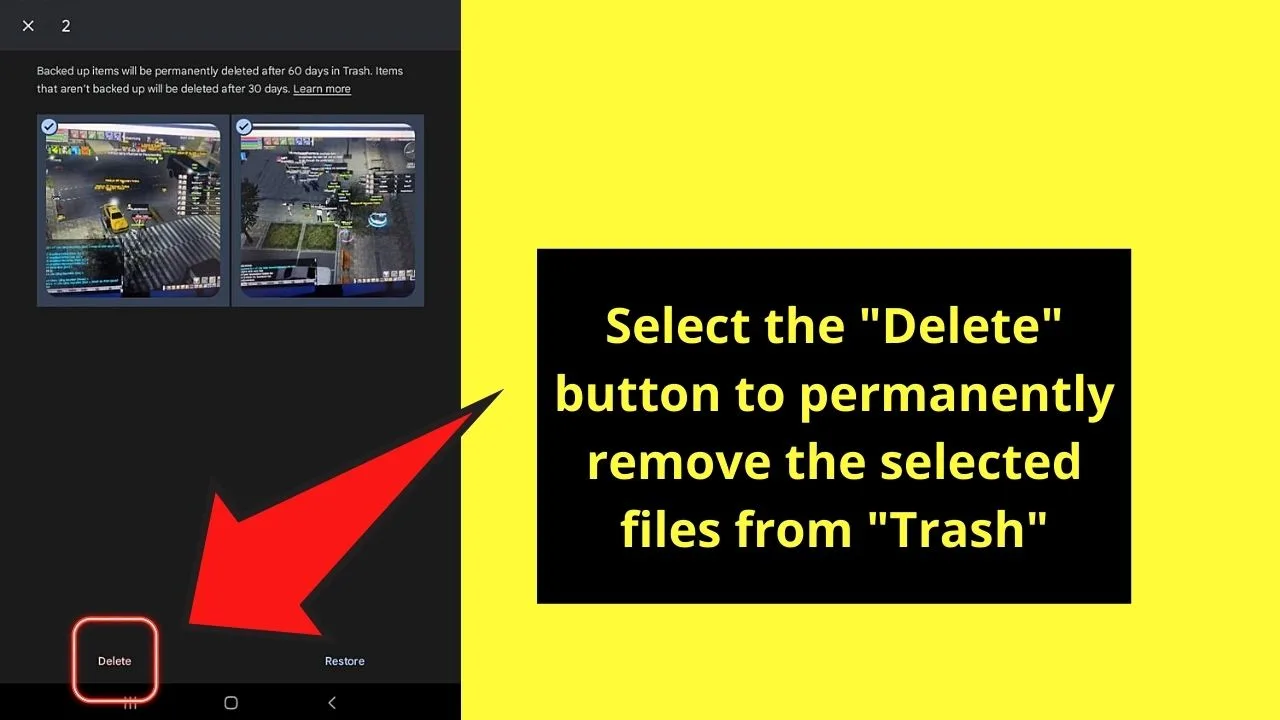
Permanently remove the selected files from “Trash” by tapping on them until the blue checkmark on their upper left corners appears.
Step 7: Tap the “Delete” or “Delete all” button to empty your Google Photos’ “Trash” section.

So, now that you’ve known of these 5 different methods of emptying trash on the Android device, which of these will you try?
Frequently Asked Questions about How to Empty Trash on Android
Can you “undo” deleting a file that you’ve sent to “Trash?”
If you accidentally selected a file and included it among those that you’ll delete, you can “undo” the said action. Depending on the method you used, you can tap “Cancel” or “Restore” to remove the file from the for-deletion items.
Why is it that Android devices don’t have a dedicated “Recycle Bin” like on the PC or laptop?
Since Android devices have limited storage, the developers opted to remove this “Recycle Bin” feature. Adding a dedicated “Recycle Bin” app will just take up more space. But, you can still remove junk files, app data, cache, or delete unnecessary files from the phone to free up some space.
Can you combine the 5 methods of emptying trash on Android to clear up your device’s storage?
While there are various ways of emptying trash on Android, you can combine all five of those methods to free up the most space on your device.


Hey guys! It’s me, Marcel, aka Maschi. On MaschiTuts, it’s all about tutorials! No matter the topic of the article, the goal always remains the same: Providing you guys with the most in-depth and helpful tutorials!

