

When creating presentations, Google Slides is a tool that you shouldn’t miss using. Not only is it simple to use, but it also allows anyone who has a Google account to make presentations on their browsers.
But to create stunning presentations, you have to organize the information in chunks. And, it’s best done if you use bullet points for this purpose.
All you need to do is select the text you want to become a bulleted list, go to the toolbar, and select “Bulleted list.” The text selected will then become bulleted points.
But how do you make sub-bullets under the main points already stated in your presentation?
How to Make Sub-Bullets in Google Slides
To make sub-bullets in Google Slides, first, place your cursor at the beginning or end of the last list item you made. Press “Enter” to make another list item. Then tap the “Tab” key to indent the next line and create a sub-bullet. Repeat the steps to make a sub-bullet of that sub-bullet.
Once you’re done creating those sub-bullets, you can change the bulleted list style afterward.
Granting that you have already opened a new Google Slides template and made a bulleted list, here are the steps you should follow.
Step 1: Place the blinking cursor at the beginning or end of the list item

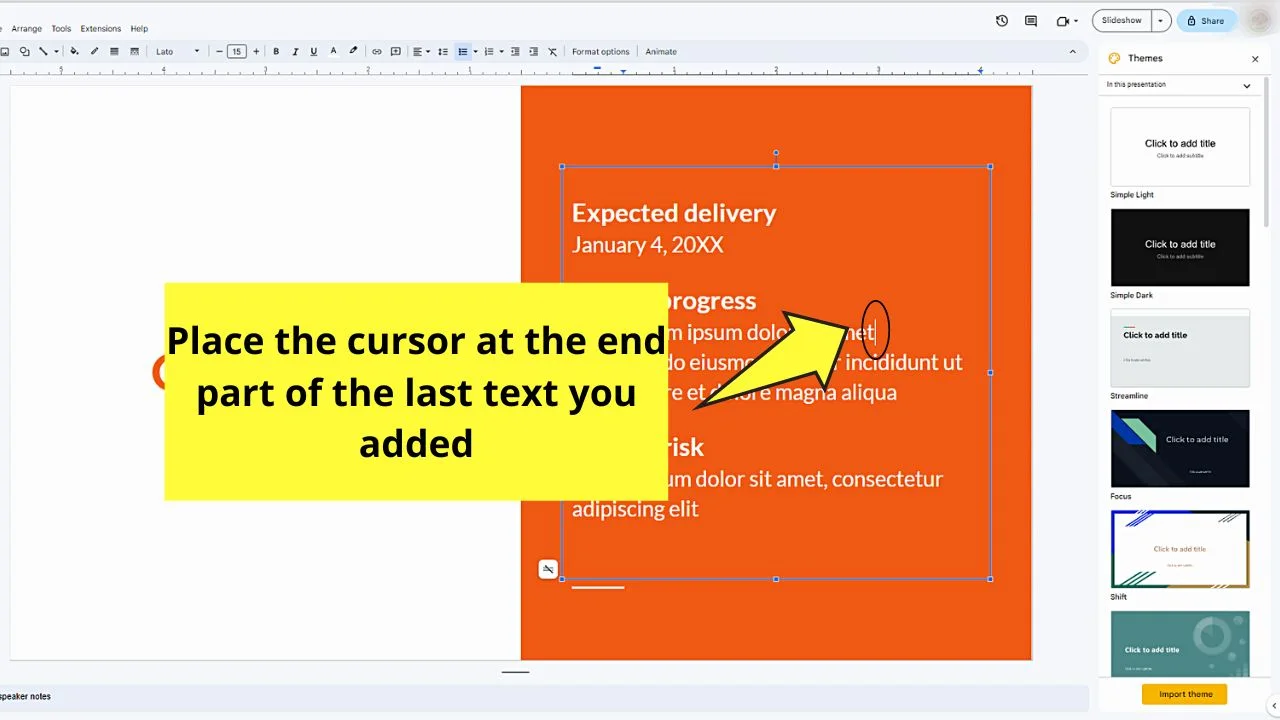
Placing the cursor at the beginning is only applicable if you have typed the text first.
Put the cursor at the end part if you are yet to type a new list item after the last one you made.
Step 2: Press “Enter” on your keyboard
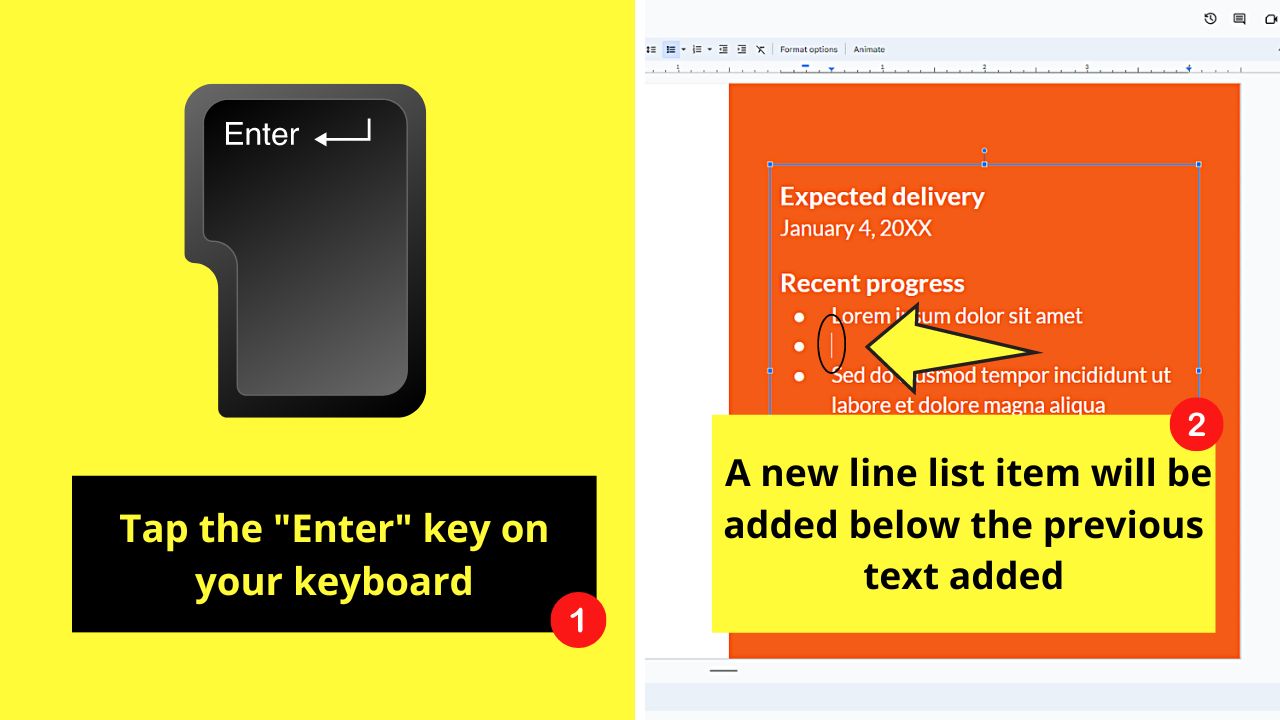

This move will bring make another new item under the last bulleted point you inputted on the slide.
Step 3: Tap the “Tab” key
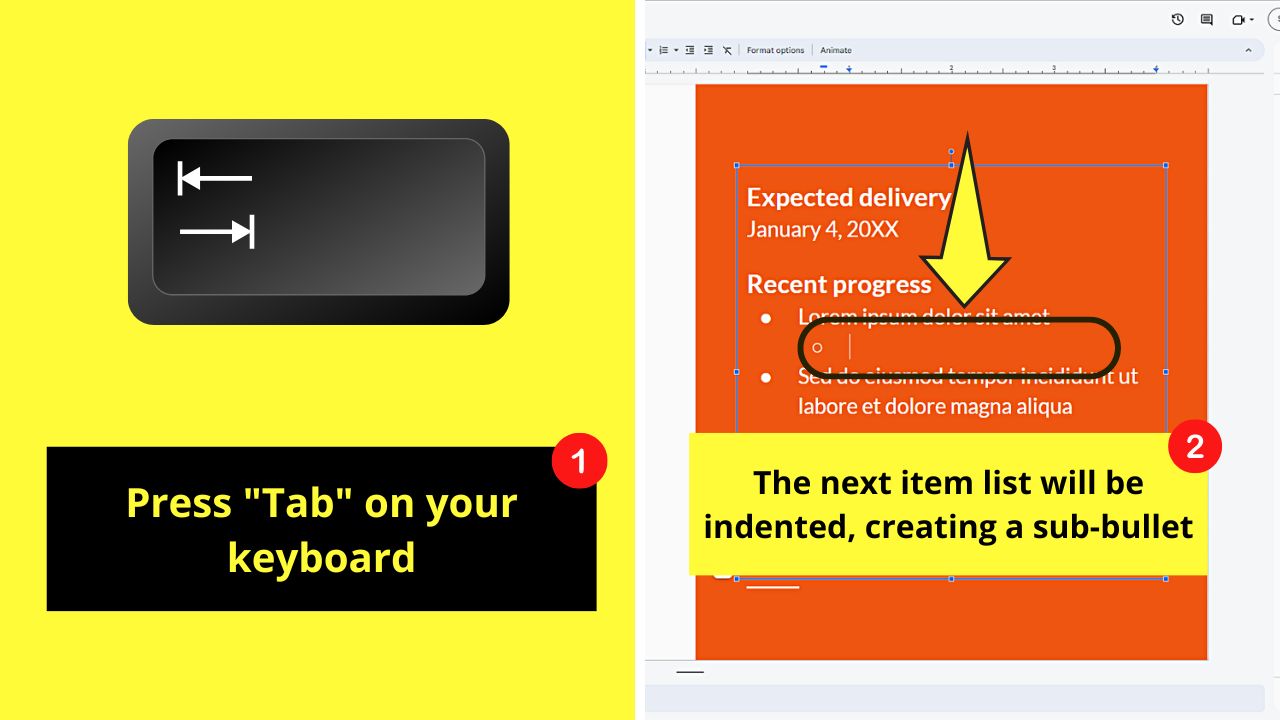

Pressing “Tab” indents the next list item, effectively creating a sub-bullet.
You can then continue typing the new information for that line.


Step 4: Tap “Enter”
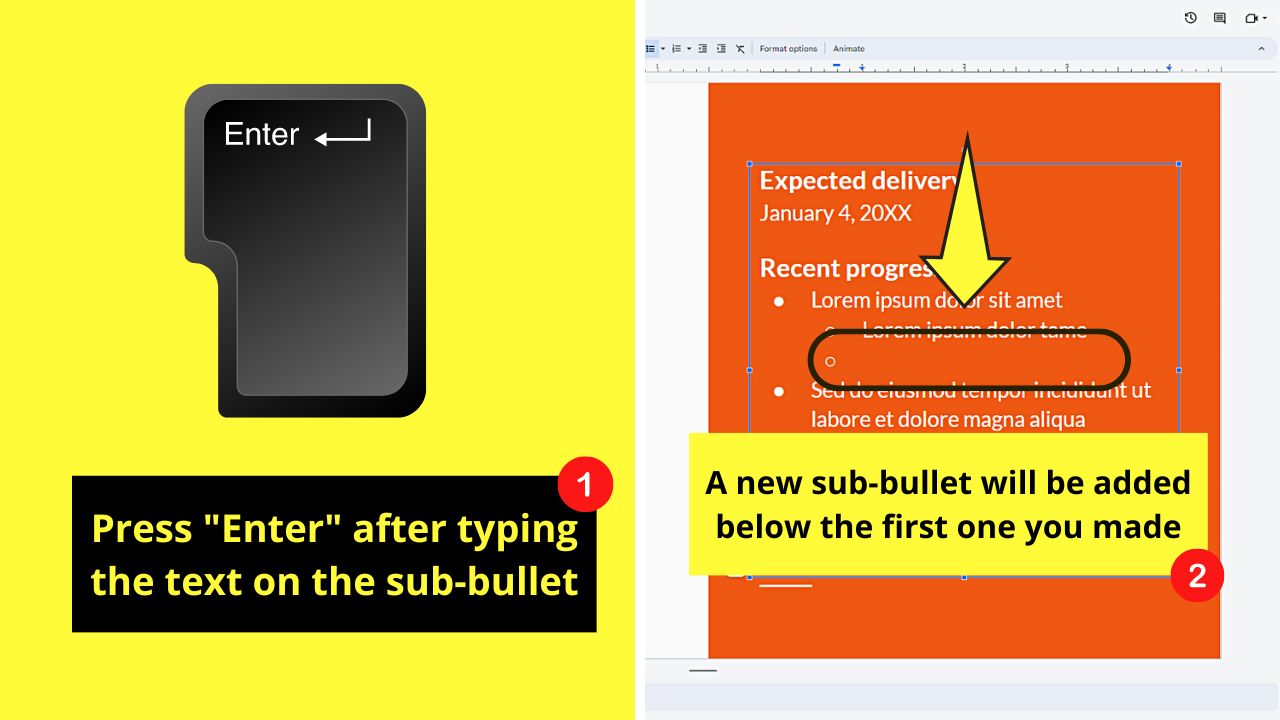

This will make another sub-bullet under the last one you made.
Step 5: Press “Tab”
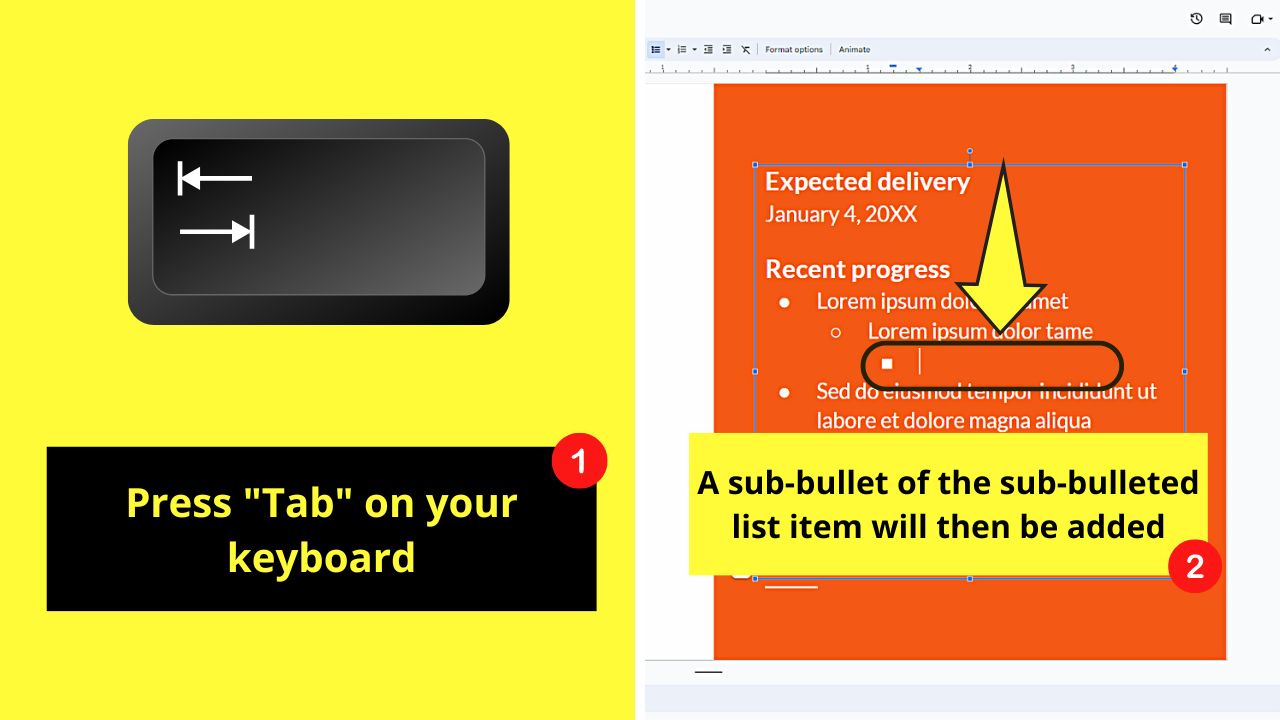

The next line will again be indented, which makes a sub-bullet of the sub-bullet you made earlier.
Then proceed with typing out the information needed for that line. This way, you have categorized and sub-categorized the items in your presentation.
How to Change the Bullet Style in Google Slides
To change the bullet style as a group in Google Slides, highlight the text before clicking “Bulleted List.” Then select a new bullet style. To change the style of only one bullet, right-click on the said bullet and select “More bullets” to choose from the special characters available.
Changing the Bullet Style in Google Slides as a Group
Step 1: Highlight the bulleted points in the slide
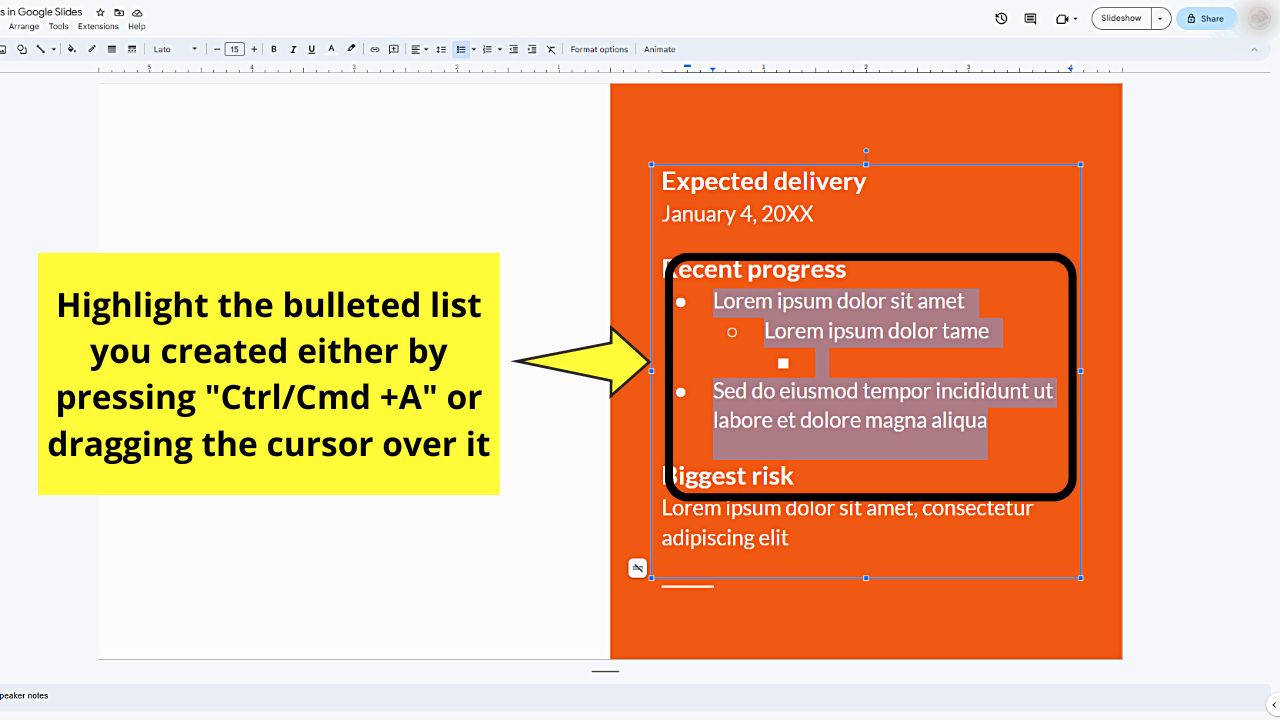

If all the text you inputted in the slide is in bullets, press “Ctrl/Cmd + A” on your keyboard. This is similar to one of the 3 ways you can select everything in Google Docs.
If not all the text is bulleted, click and drag the cursor across the list items to select them.
Step 2: Click “Bulleted List” on the toolbar
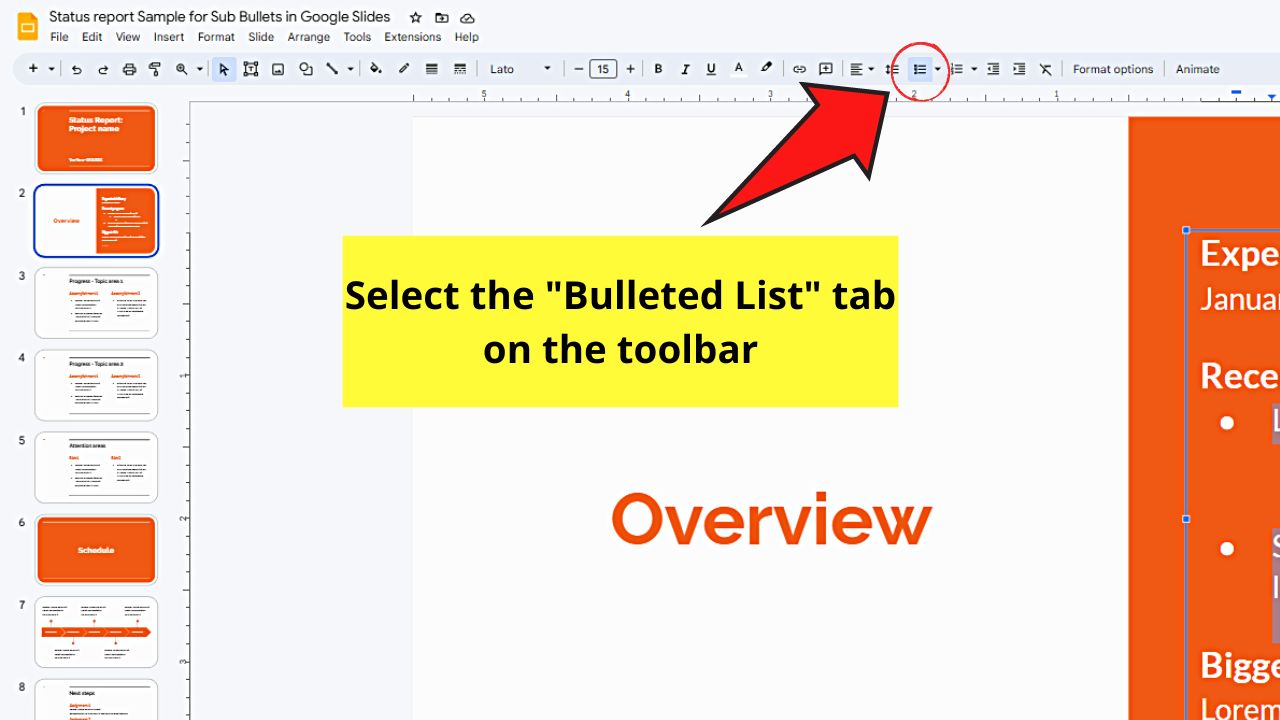

You’ll find this tab between the “Line & Paragraph Spacing” and “Numbered List” tabs.
Step 3: Select one of the bulleted list style options
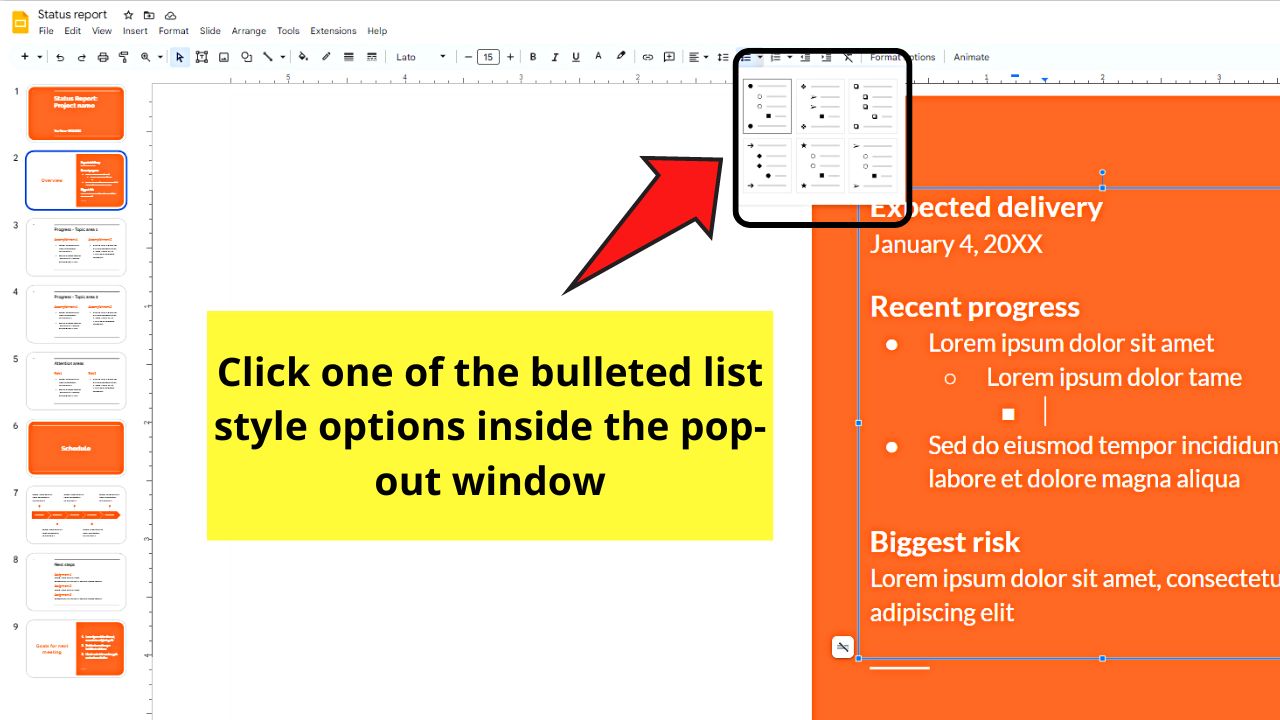

There are 6 bulleted list styles available in the dropdown menu. Just click on one of those options to apply the style to the text you selected earlier.
If, however, you only want to change the style of a single bulleted item, go to the next section instead.
Changing the Bullet Style in Google Slides Individually
Step 1: Right-click on the bullet point
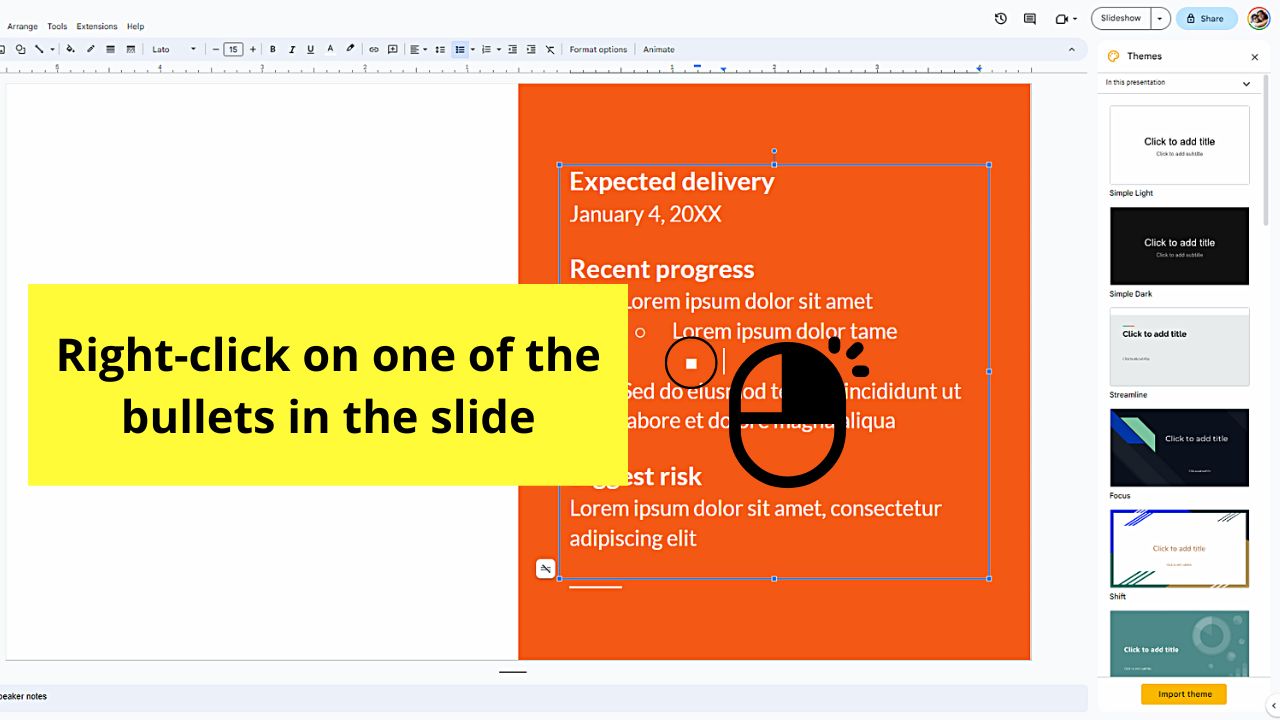

This will make a dropdown menu appear beside it.
Step 2: Choose a bullet style in “Alt text”

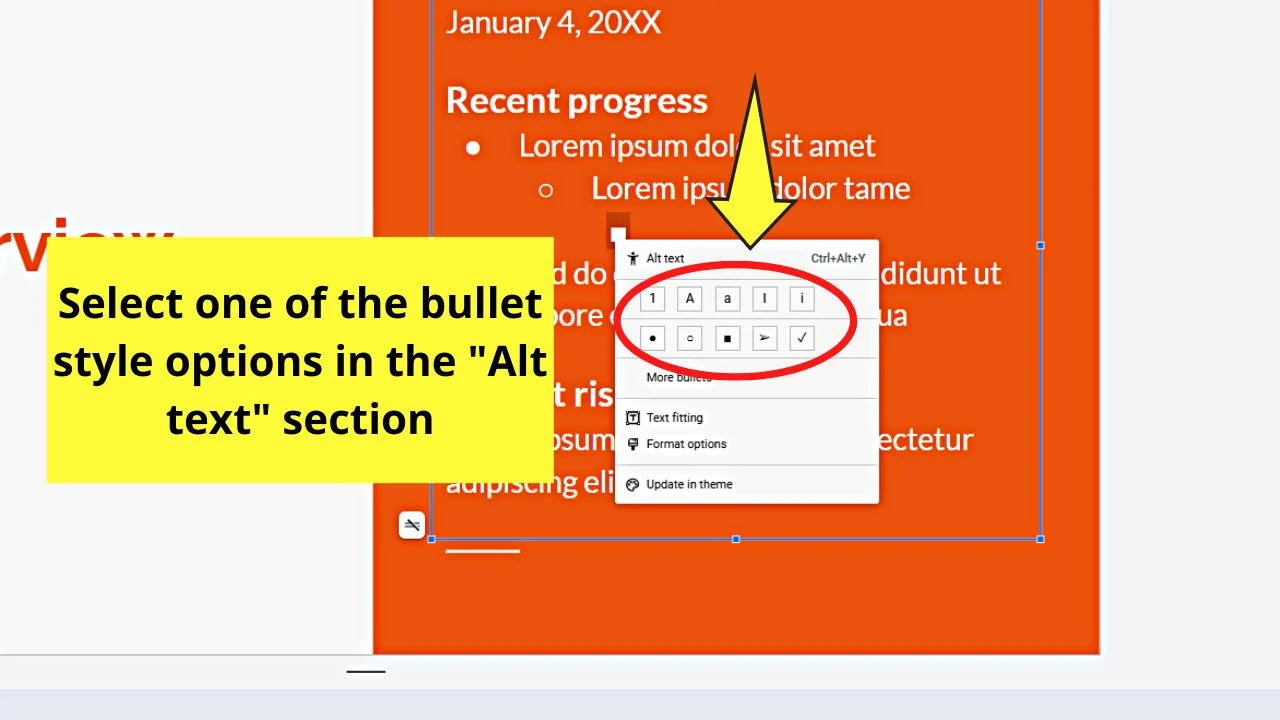
There are 10 bullet point styles that you can use from this section. Clicking on one of those styles automatically changes the character used for the bullet.
Step 3: Click “More Bullets”

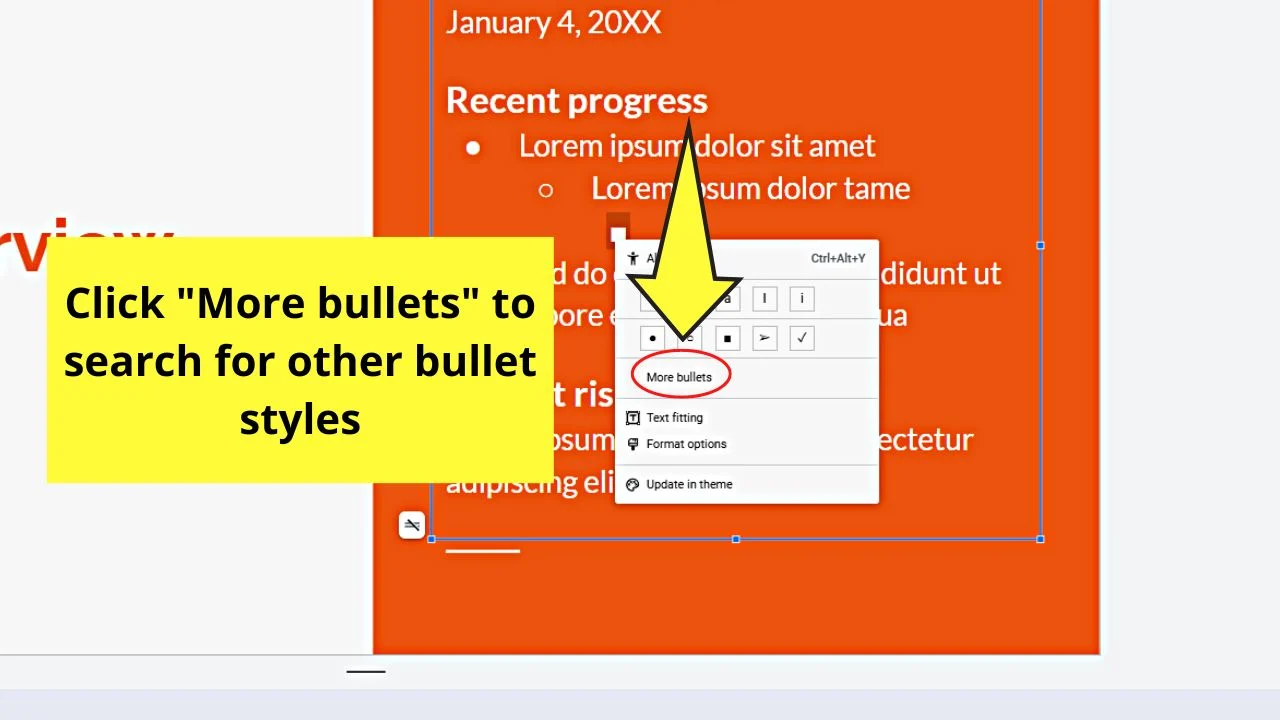
Proceed to this step only if you want to use other special characters as bullet points.
Step 4: Select a special character
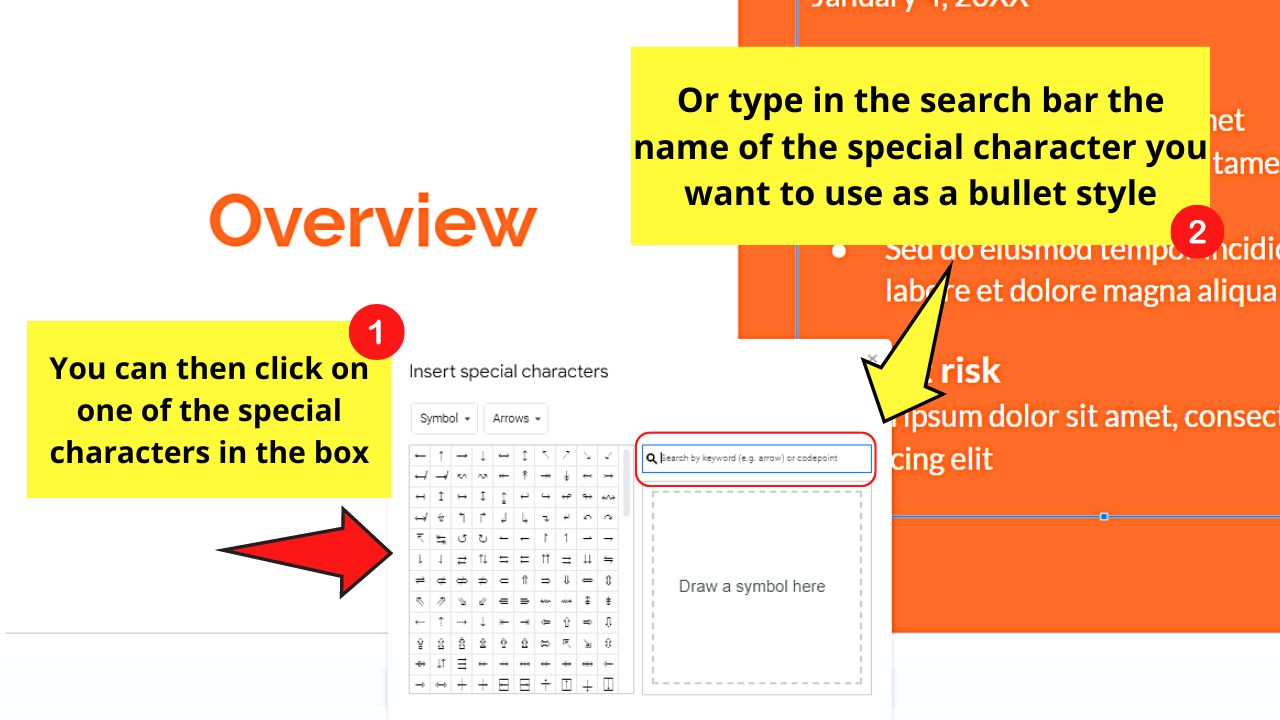

You can either click on one of the options under the “Symbol” or “Arrows” tab or type the name of the special character in the search bar.
Once you find that special character, click on it to be applied as the style for that particular bullet.
Frequently Asked Questions about How to Make Sub-Bullets in Google Slides
What is a sub-bullet?
Sub-bullets are information placed under main bullet points in a list made. They help organize the information into categories and subcategories so readers can easily understand what you’re presenting.
Can you customize the look of the bullet points you use in Google Slides?
You can customize the look of the bullet points in Google Slides. Right-click on the bullet point and click on one of the styles in “Alt Text.” If you want to use other special characters, select “More Bullets” and type the name of the special character in the search bar.
How do you change a bulleted list item’s text color in Google Slides?
Highlight the text first by dragging the cursor across it. Then select “Text Color” on the toolbar. Choose from the default colors available in the dropdown menu or make a new one by selecting “Custom.”
How do I increase the indent of a bullet or sub-bullet I made in Google Slides?
One way to increase the indent of bullets or sub-bullets in Google Slides is to drag the marker on the ruler to where you want them positioned. Make sure you highlight them first. You can also click the 3-dot icon in the toolbar and select the “Increase Indent” icon.


Hey guys! It’s me, Marcel, aka Maschi. On MaschiTuts, it’s all about tutorials! No matter the topic of the article, the goal always remains the same: Providing you guys with the most in-depth and helpful tutorials!

