
Slowing down videos is usually a very simple task, and in dedicated video editing software, it is usually a matter of a few clicks.
In Canva, however, until very recently, this wasn’t something you could do within Canva’s software directly.
With the latest updates, however, Canva did finally implement this feature.
So, let us look at how you can slow down videos in the latest versions of Canva.
How to Slow Down A Canva Video
To slow down a Canva video, click on your video and then select “Playback” in the top toolbar. Drag the “Video speed” fader to the left to slow the video down. Anything less than the default value of 1 will slow down your video.
Slowing down videos in Canva is a pretty new feat. Until recently, you had to use third-party software to complete the job.
Not anymore, though.
With the latest updates, you can now adjust the video speed and even remove the background of Canva videos with a single click.
Yet, as we want to learn how to slow down Canva videos, here are the steps you should take note of:
Step 1: Left-click on your video
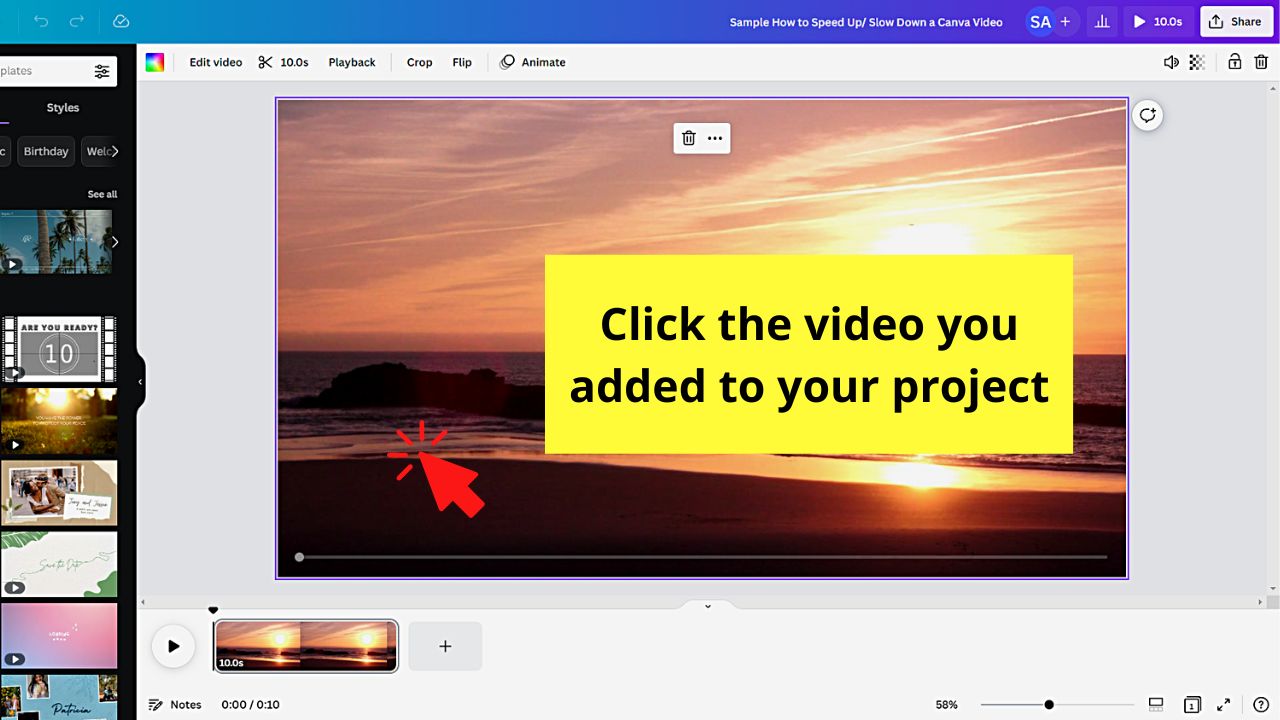
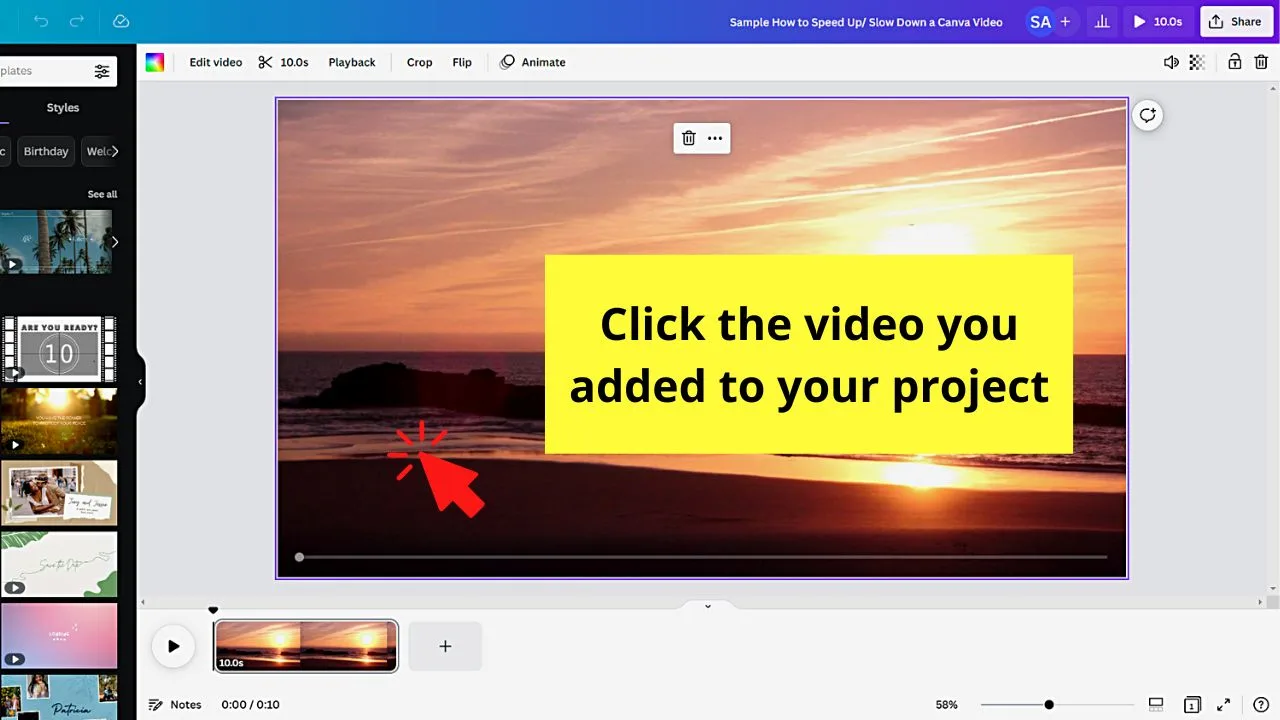
Step 2: Select “Playback” on the toolbar
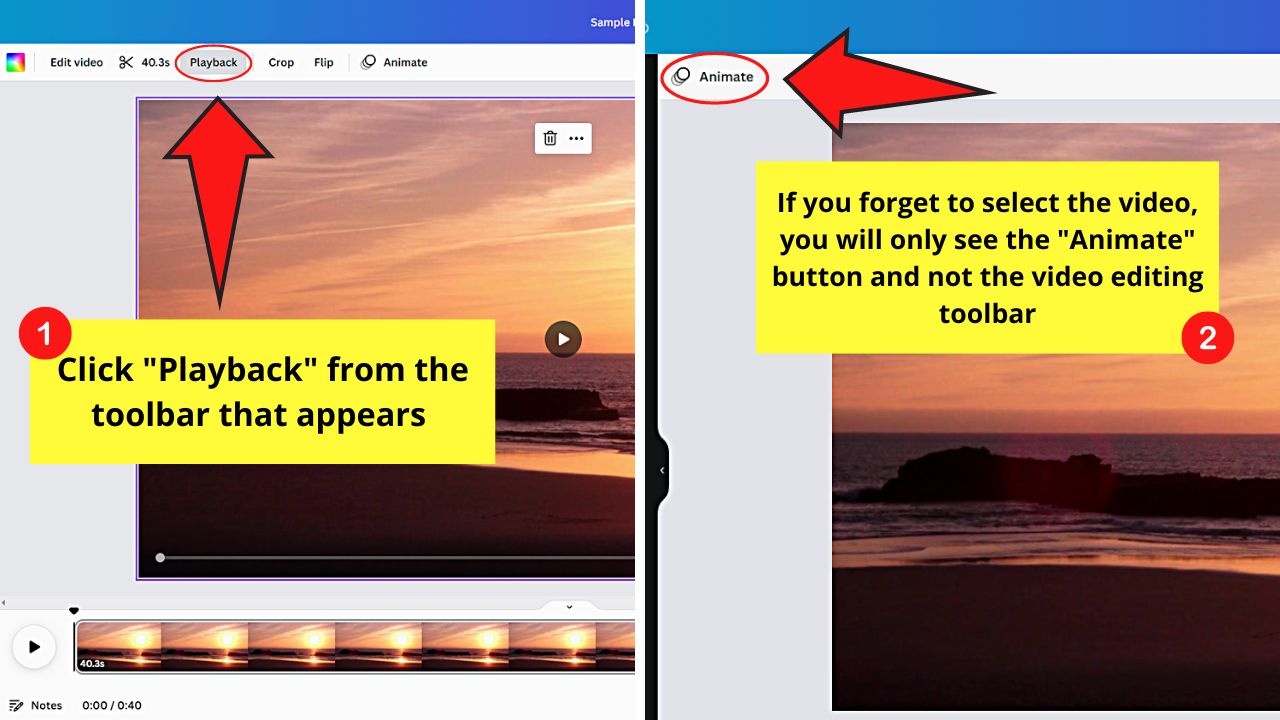
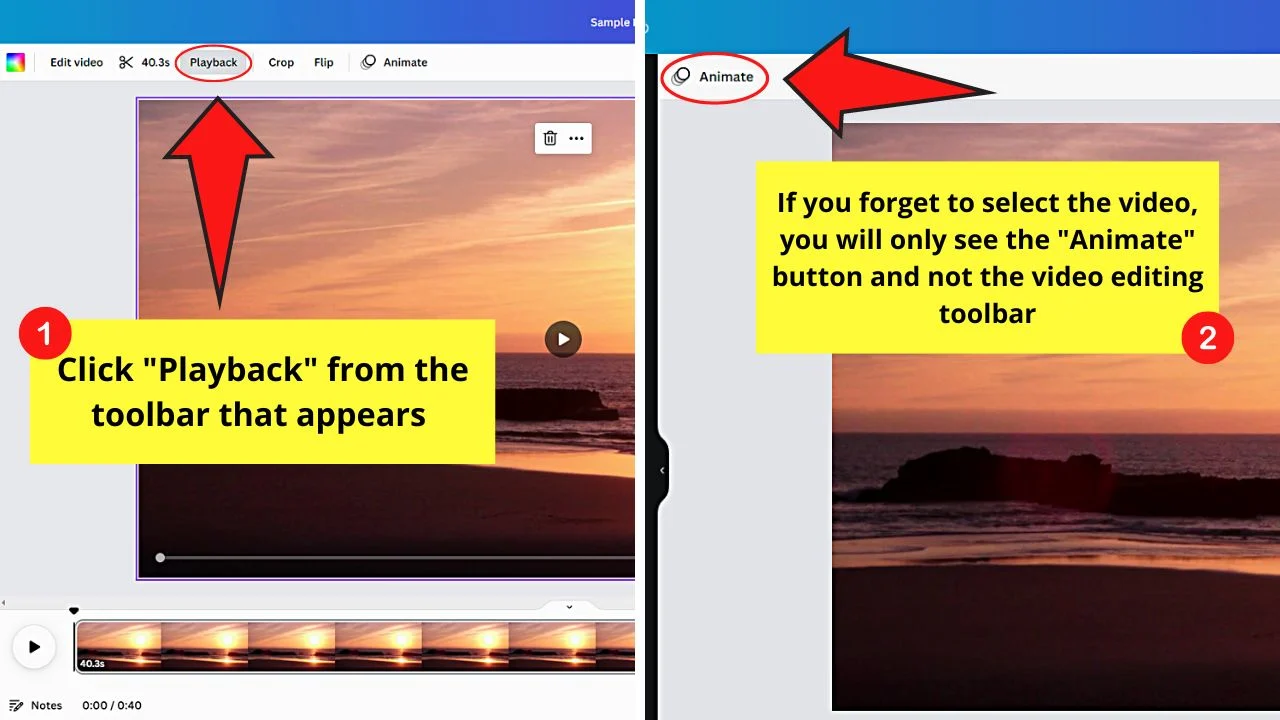
This toolbar only appears after clicking on the video you added. If you forget to click the footage, you will only see the “Animate” button instead of the toolbar.
Step 3: Click and drag the “Video Speed x” slider or fader to the left to slow down your Canva video
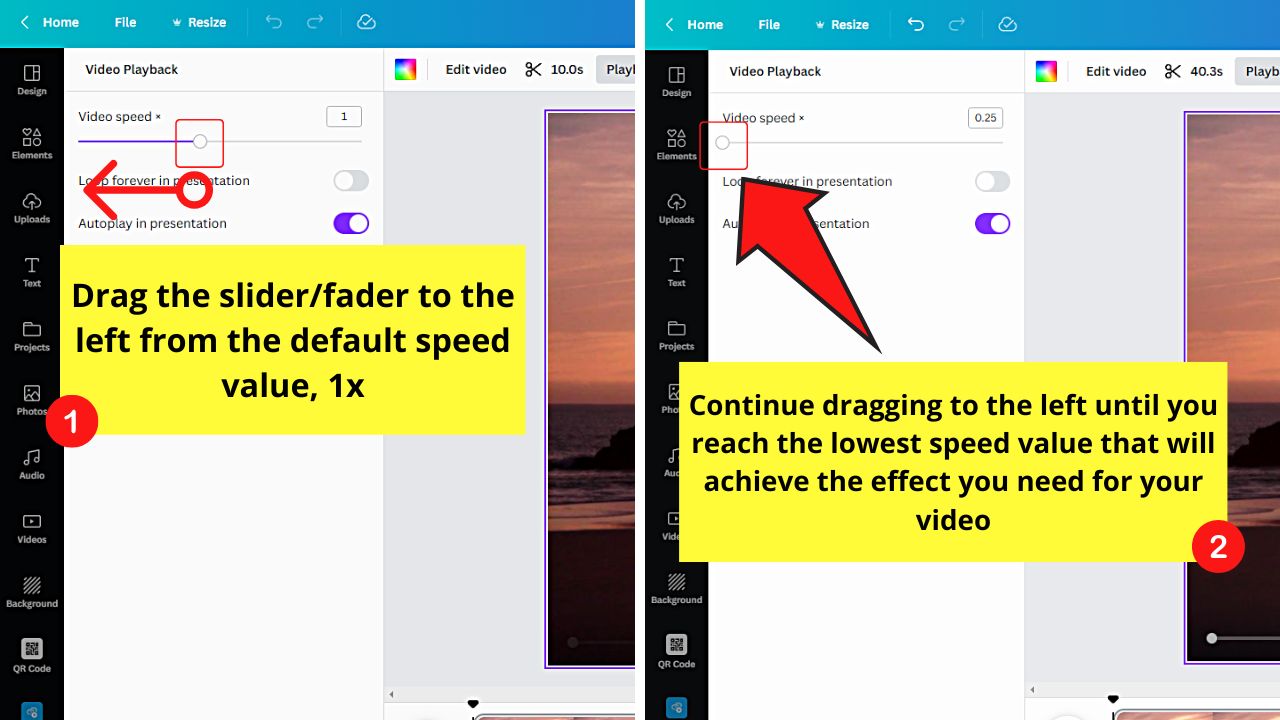
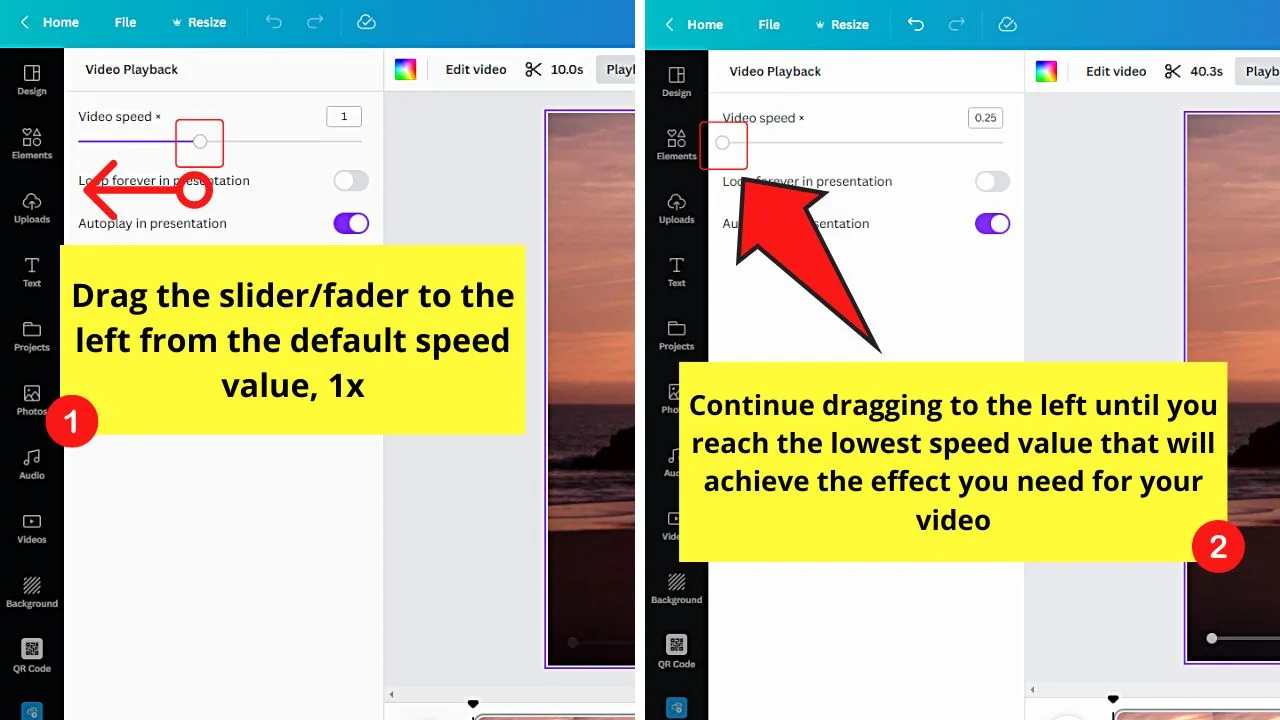
The default speed of all videos added in Canva is set to 1x. Dragging the fader to the left brings the speed value lesser than 1x, which will slow down the video.
For a more direct method, you can also type in the box the speed value you want your video to have.
Again, anything lesser than 1x slows the video. Do take note though that 0.25x is the lowest speed value that you can set for footage in Canva.


Step 4 (Optional): Click the “Play” button beside the video timeline to check the new video playback speed

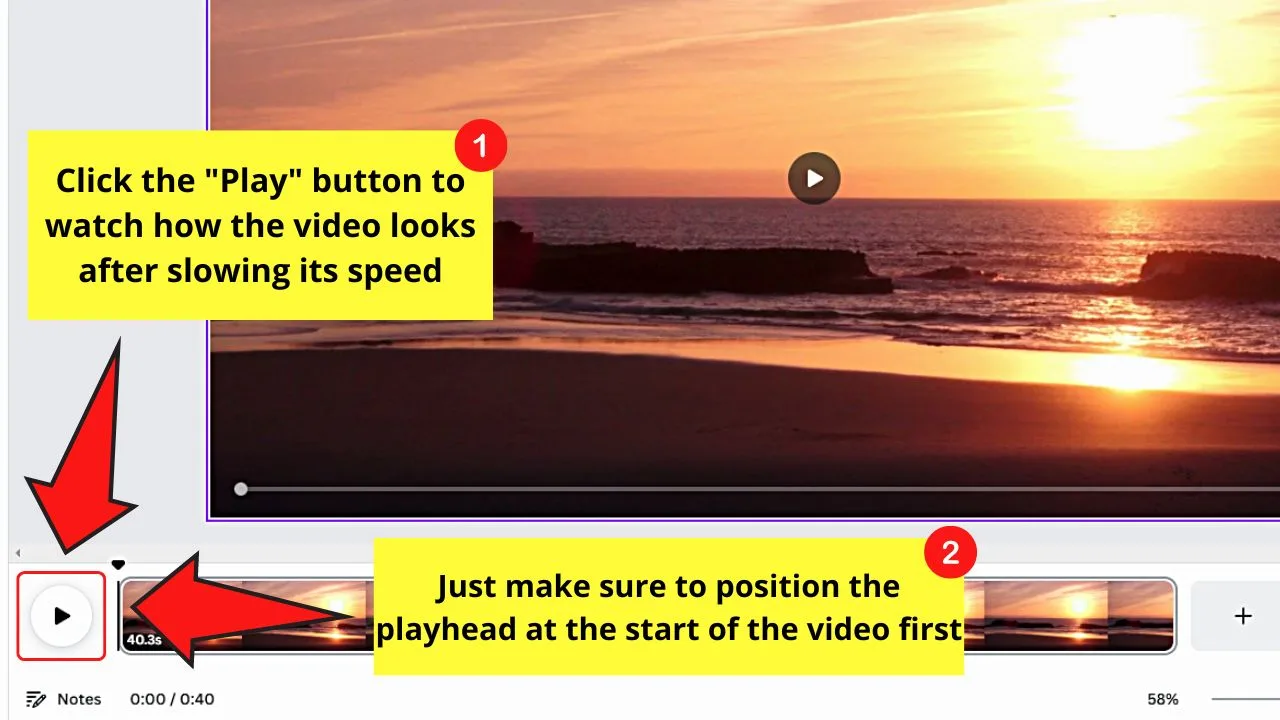
This step allows you to watch how slow the video has become after tweaking its speed and if you need to make any changes.
Just make sure that you position the play head at the start of the video so you get to see the progress from the beginning.
If everything’s to your liking, you can edit the video further or save it to your computer for later use.
Now that you know how to slow down a video in Canva, you might also be interested in knowing “How to speed up a video in Canva.”
Frequently Asked Questions about How to Slow Down Canva Videos
What are the available speed options if you want to slow down videos in Canva?
The default speed set for any video added in Canva is 1x. Anything lower than that will slow the footage. You can type any value lesser than 1x in the box. But, if you prefer dragging the fader, the speed options available are 0.75x, 0.5x, and 0.25x.
Do you need to be on Canva Pro to slow down videos in Canva?
The “Playback” feature of Canva is not a Canva Pro-exclusive feature. Hence, even those on Canva Free can use the said tool to slow any video added to the project.
Can I use the “Playback” feature to change the speed of animation for animated videos in Canva?
The “Playback” feature only changes the overall speed of the video. It can’t adjust the animated elements’ speed. But, you can adjust the element’s duration instead by right-clicking on the animated element and selecting “Show timing.” You can then shorten its timeline by dragging it.


Hey guys! It’s me, Marcel, aka Maschi. On MaschiTuts, it’s all about tutorials! No matter the topic of the article, the goal always remains the same: Providing you guys with the most in-depth and helpful tutorials!

