

Wow! That video I saw while browsing my social media app is incredibly cool! The characters in the footage begin walking backward like a natural.
Well, they could have walked backward while filming the video, but if they didn’t, how on earth did they manage to have that reverse effect?
Thanks to technology, it’s now possible to reverse a video you’ve captured, even if you’re using an iPhone for filming.
But how do you reverse a video on an iPhone? Is that feat even possible?
Reversing Video on the iPhone
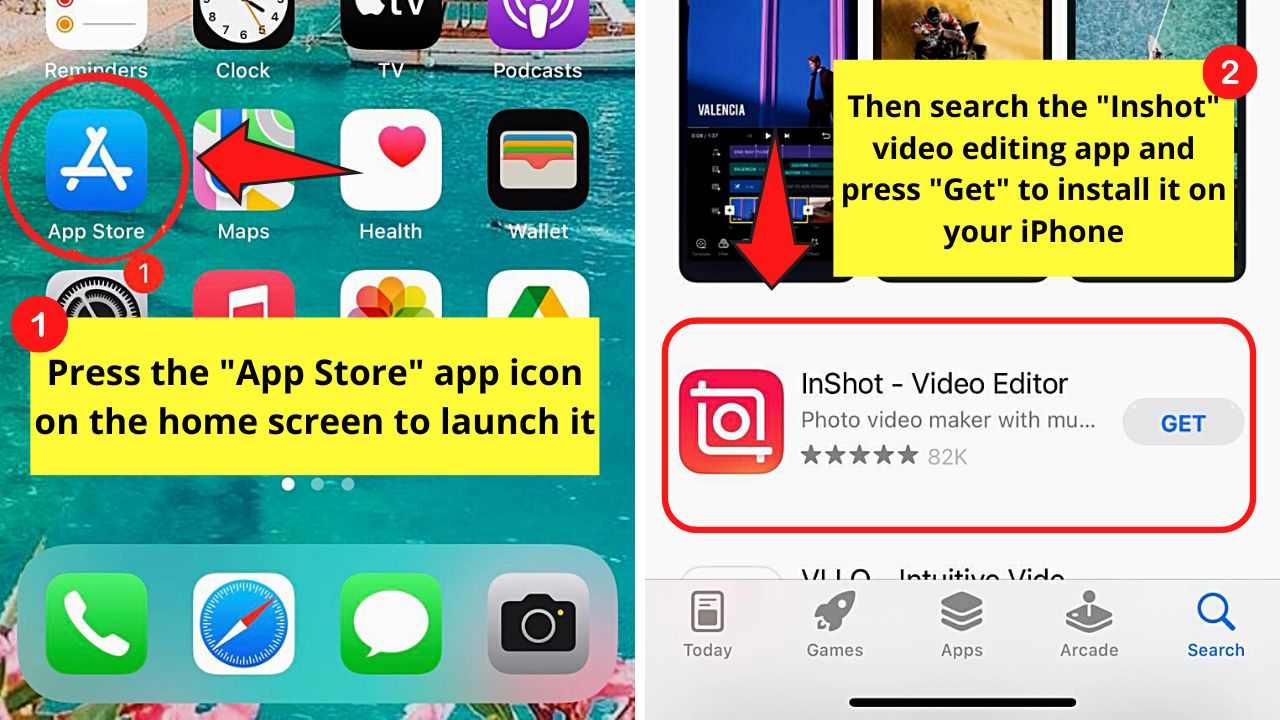
Currently, iPhones don’t have a “Reverse video” feature. But, you can download free video editing apps like Inshot, CapCut, and Reverse Vid from the “App Store.” If you don’t want to install apps, you can use online video editing sites like EZgif and Clideo in order to reverse video in the iPhone.
Method 1: Reversing Videos on iPhone by Downloading Free Video Editing Apps
Use Inshot Video Editing App
Note: Make sure that you have downloaded the “Inshot” app on your iPhone.
If not, visit the “App Store” and install “Inshot” after searching for it using the search bar.

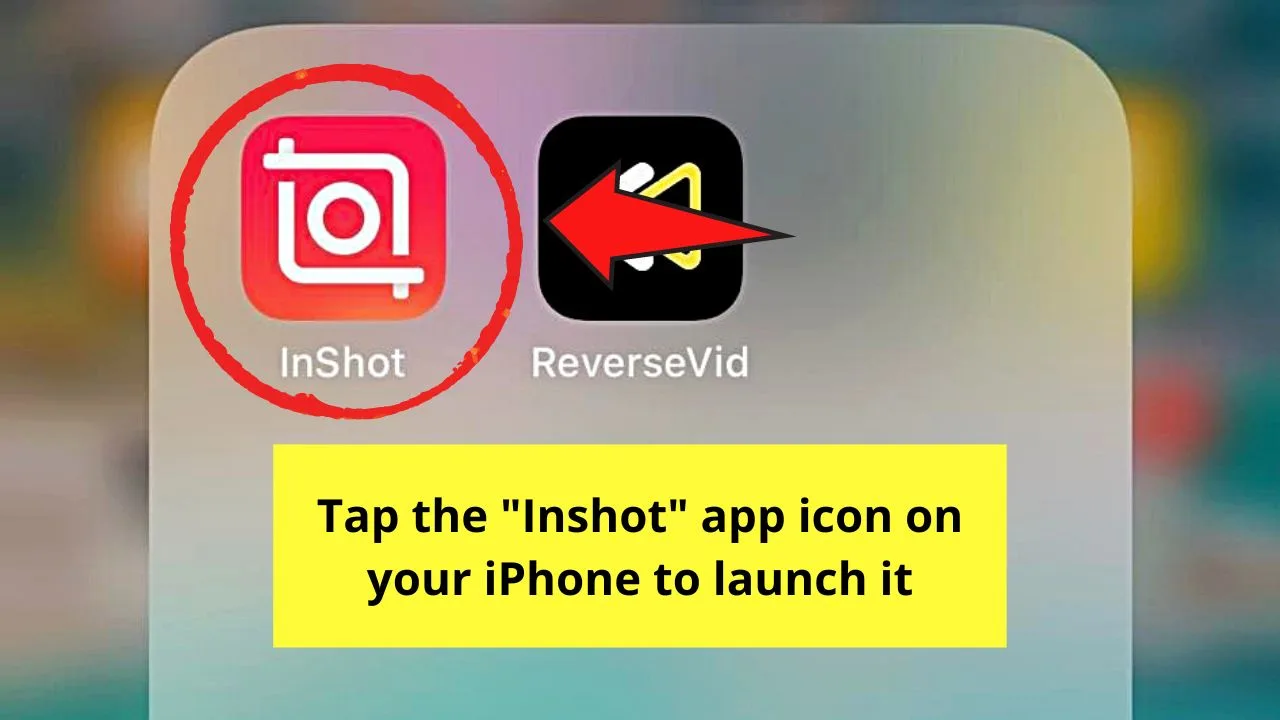
Step 1: Tap the “Inshot” video editing app.

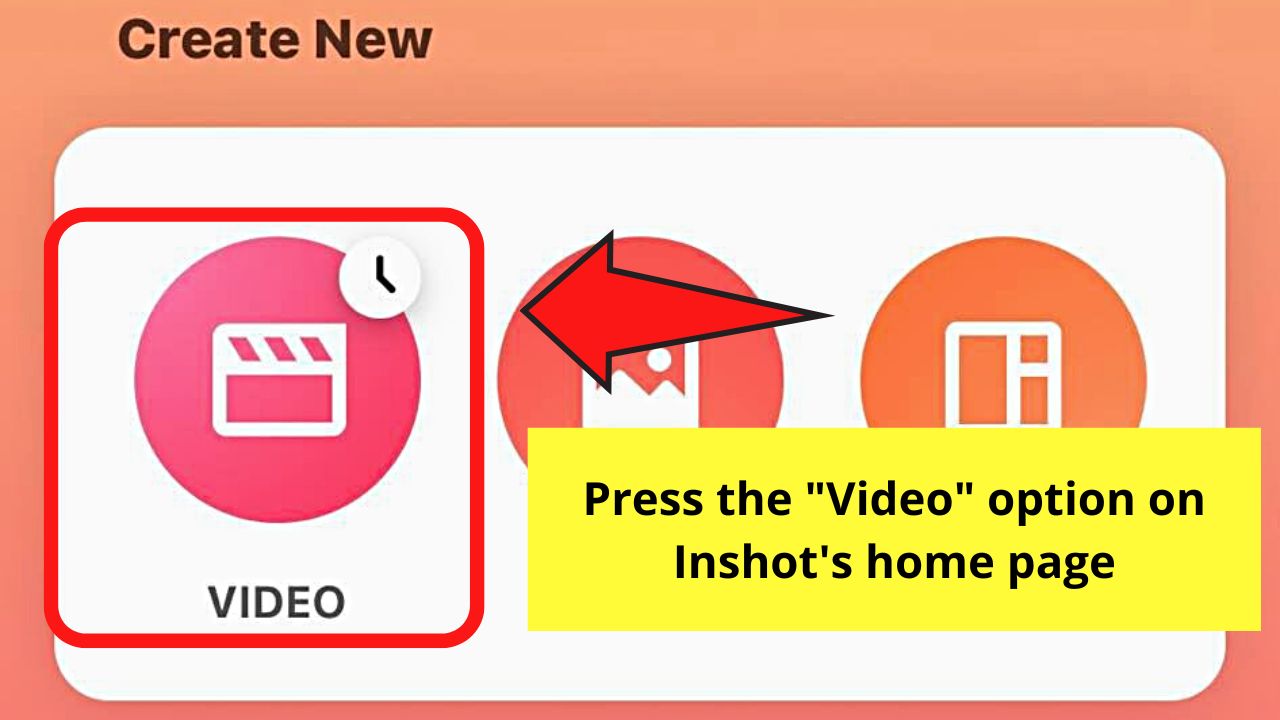
Step 2: Press “Video” on Inshot’s home page.

Step 3: Press the “New” button.
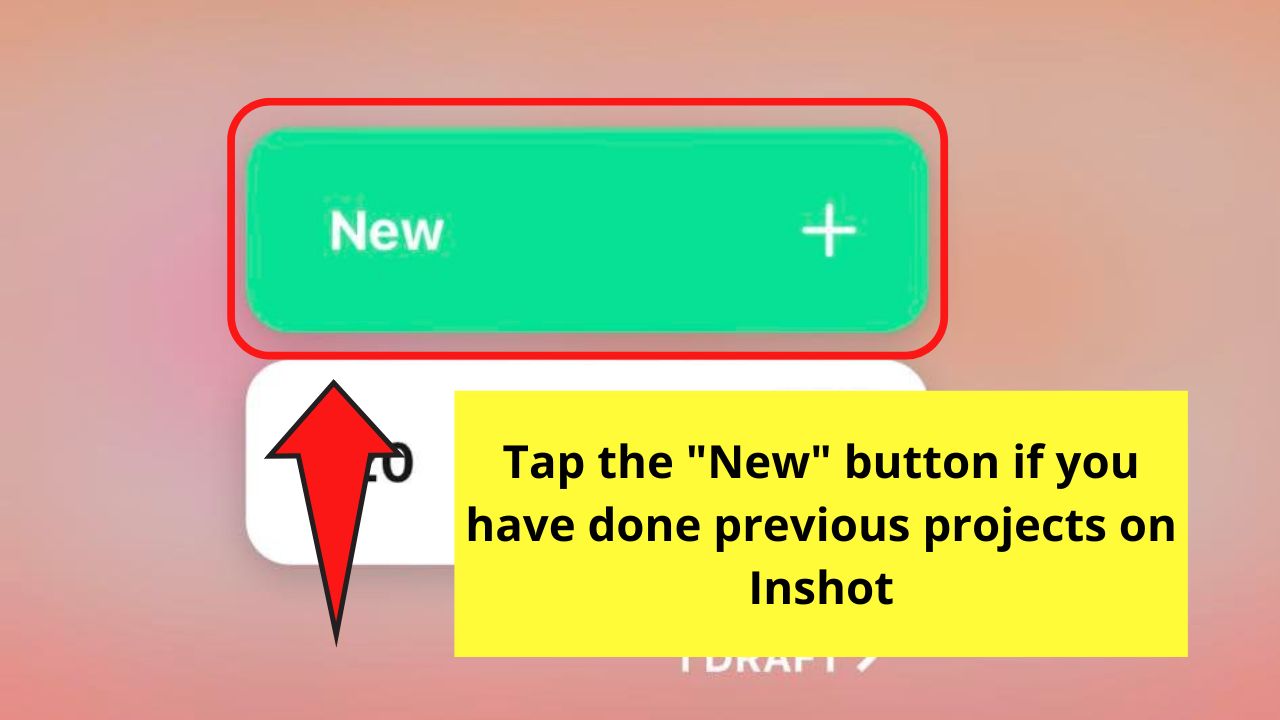

This is if it’s not your first time editing a video on Inshot.
Step 4: Tap a video from your iPhone’s gallery.
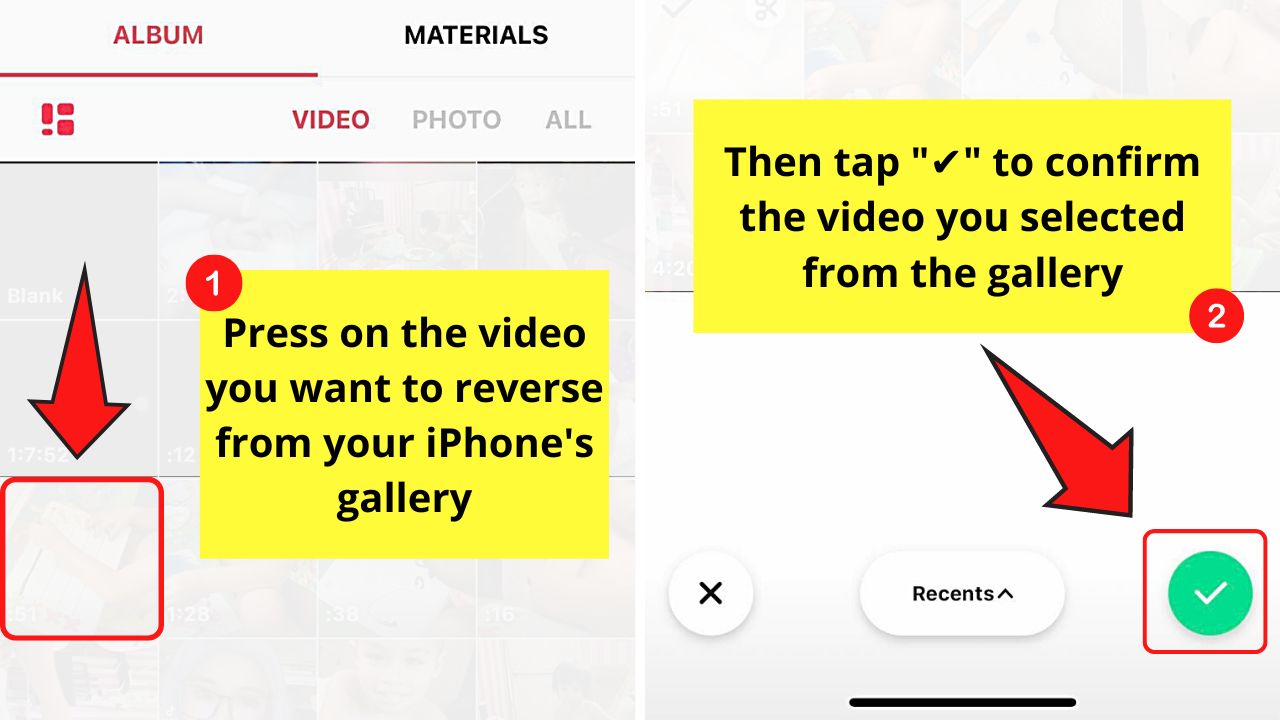
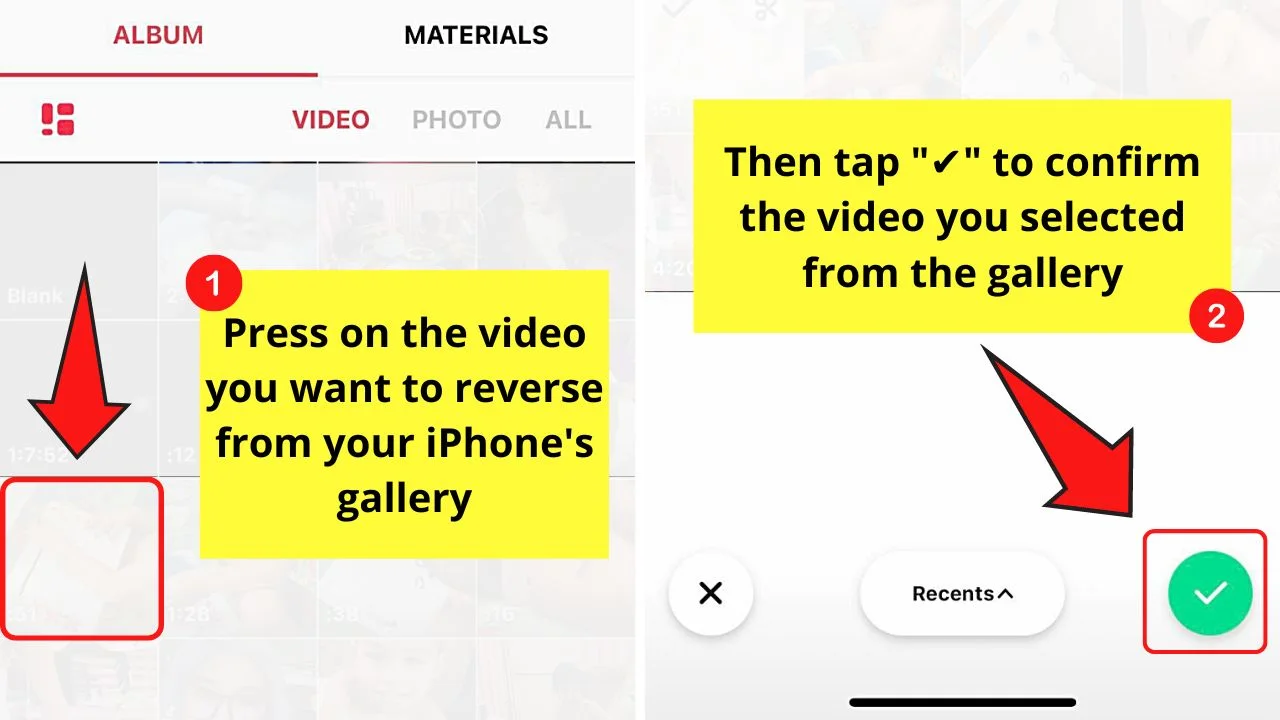


Then, tap the “✔” button to confirm the video you selected.
Step 5: Trim the video by swiping the bottom toolbar to the left and tapping “Precut.”


You will see the bottom toolbar on the editor page of the Inshot app.
Then, press the “Trim” option and drag the white bars until the video’s clipped to the desired length.


After which, tap “✔” to save the newly-trimmed video.


Step 6: Tap the “Music” icon.


Only do this if you want to add audio to accompany the video.
Then, press the “Music” icon again on the succeeding page and choose an audio track.


Again, tap “✔” to save the audio track you added.


Step 7: On the main video editing page, swipe your finger to the left and press “Reverse.”
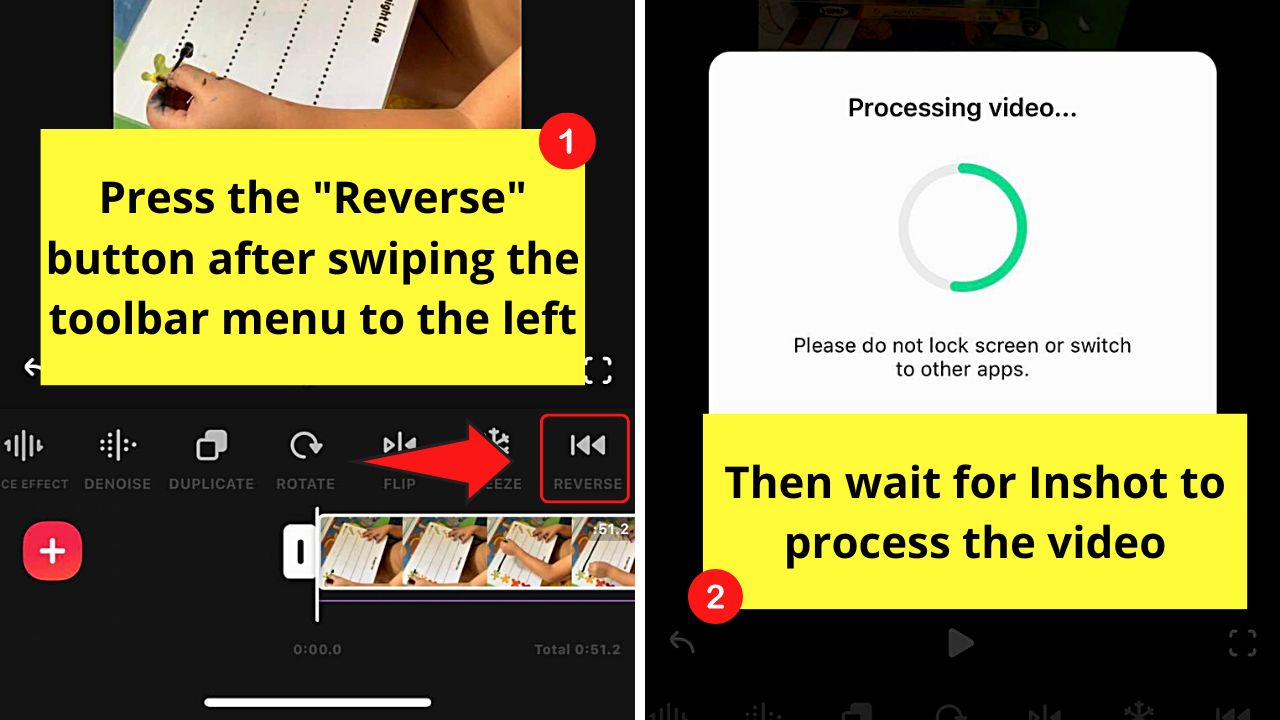

Wait for Inshot to process the reversal of the video. Make sure not to switch apps or exit Inshot for the reversal process to finish without a hitch.
Step 8: Tap the “Play” button to watch the newly-reversed clip.


If you find the footage sluggish, then press the “Speed” button on the “Tools” bar menu and adjust the speed.


You can use the “Standard” slider and tap the value of the speed you want to use.


Or, you can press “Curve” and drag the points on the graph to slow or maintain the speed used throughout the video.


Once you’re satisfied, press “✔” to save the changes you made.


Step 9: Tap the arrow-up icon to save or share the newly-reversed video.


If you don’t have any changes with the parameters for “Resolution,” “Frame Rate,” and “Format,” tap the “Save” button.


The reversed video will then be saved on your iPhone’s photo gallery, or in another location as you have set.
Use CapCut Video Editor
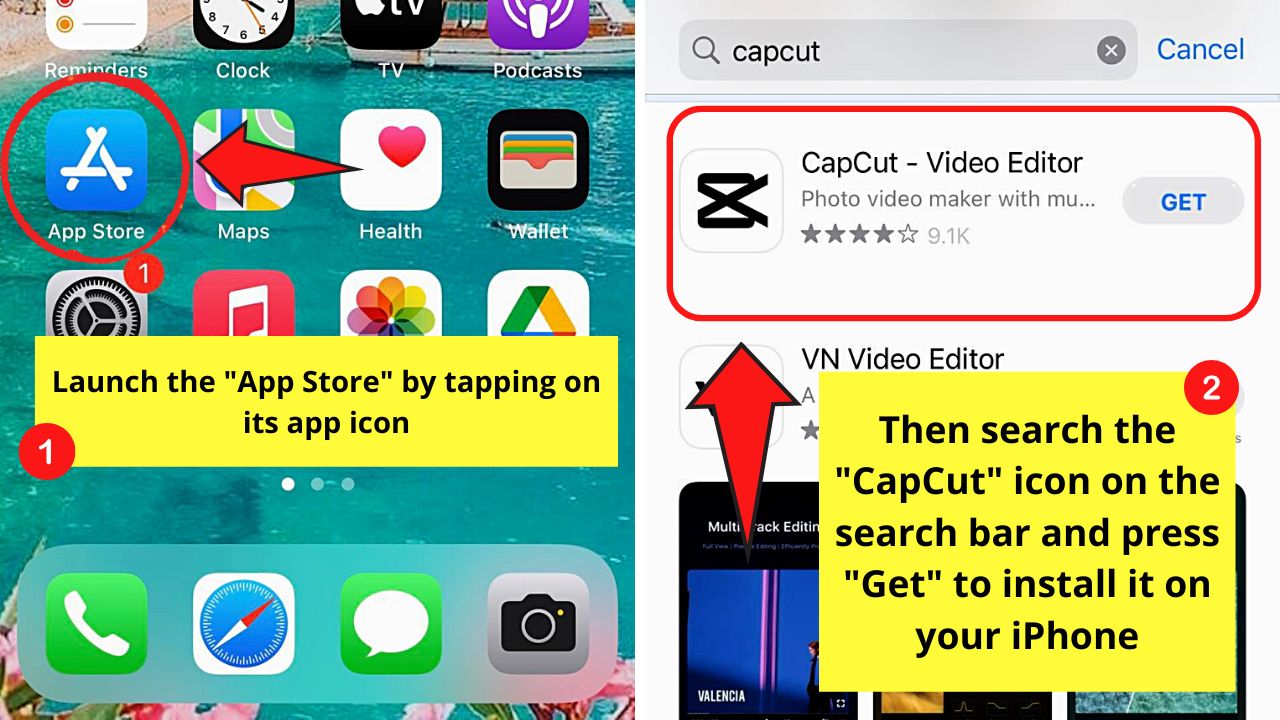
Note: Make sure that you have installed the “CapCut” video editing app before you follow the steps below.
If not, visit the “App Store” and press the “Get” button after searching for the “CapCut” app on the search bar.

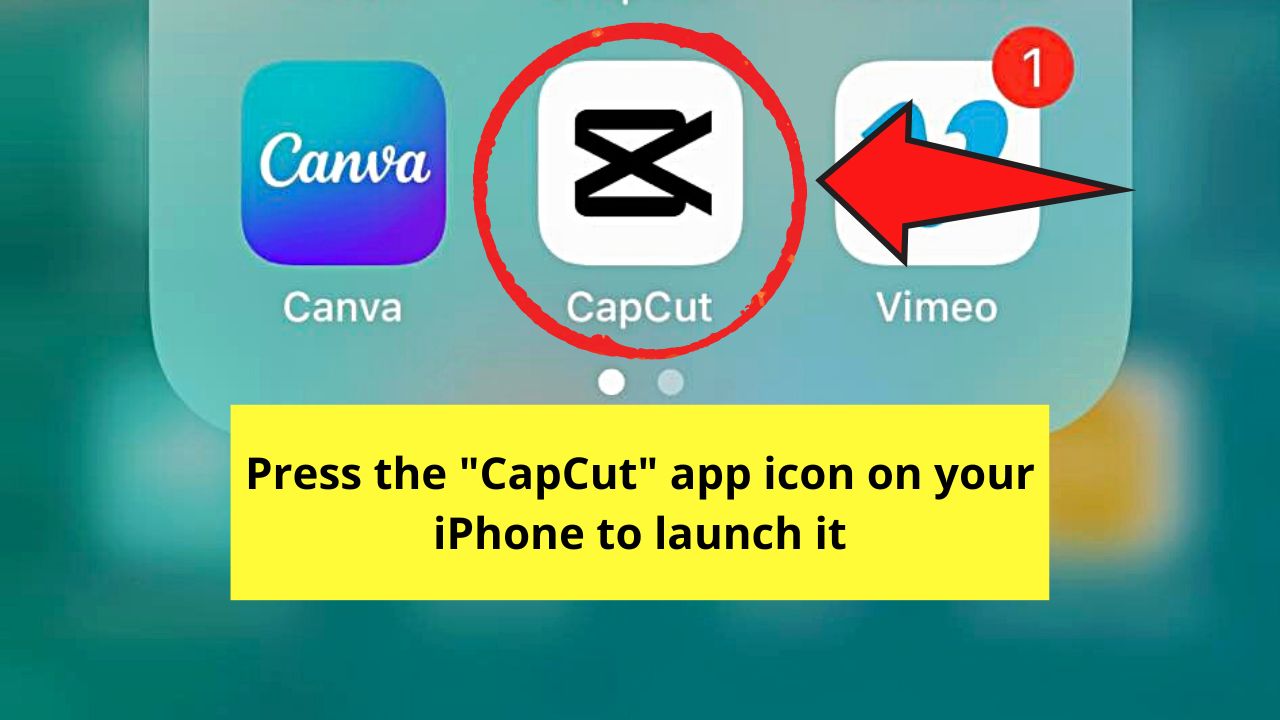
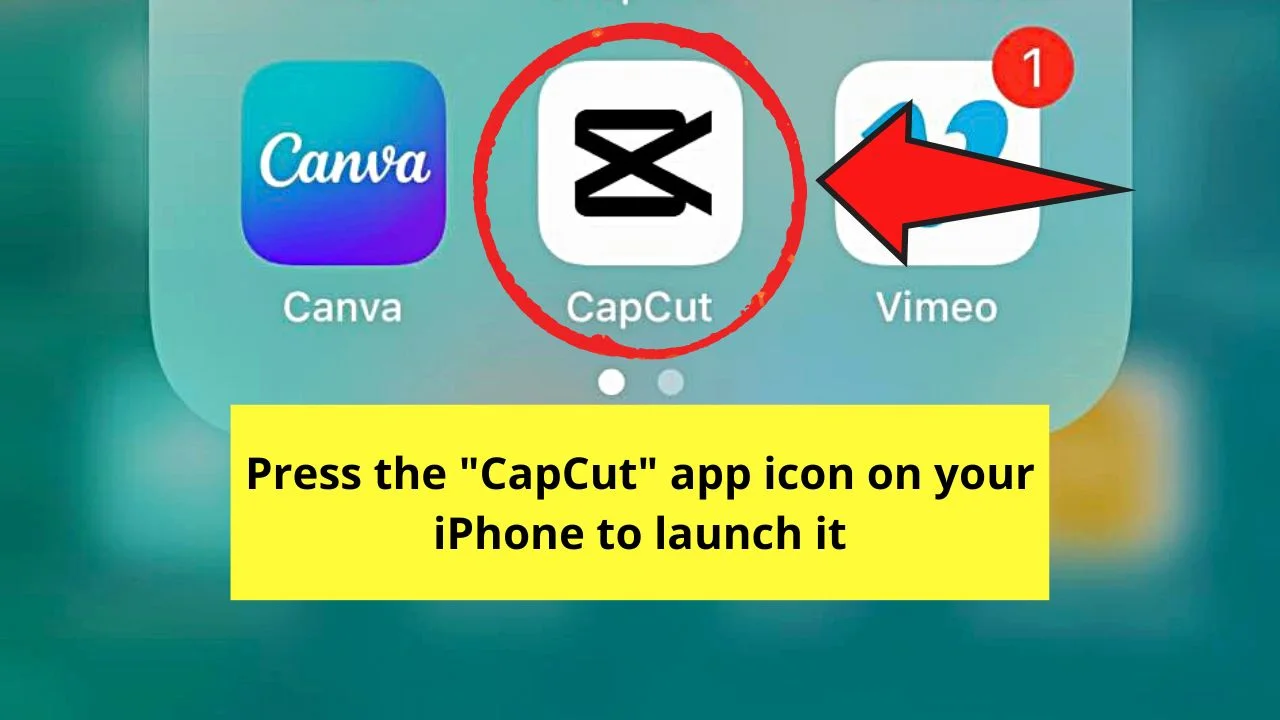
Step 1: Press the “CapCut” video editing app icon.
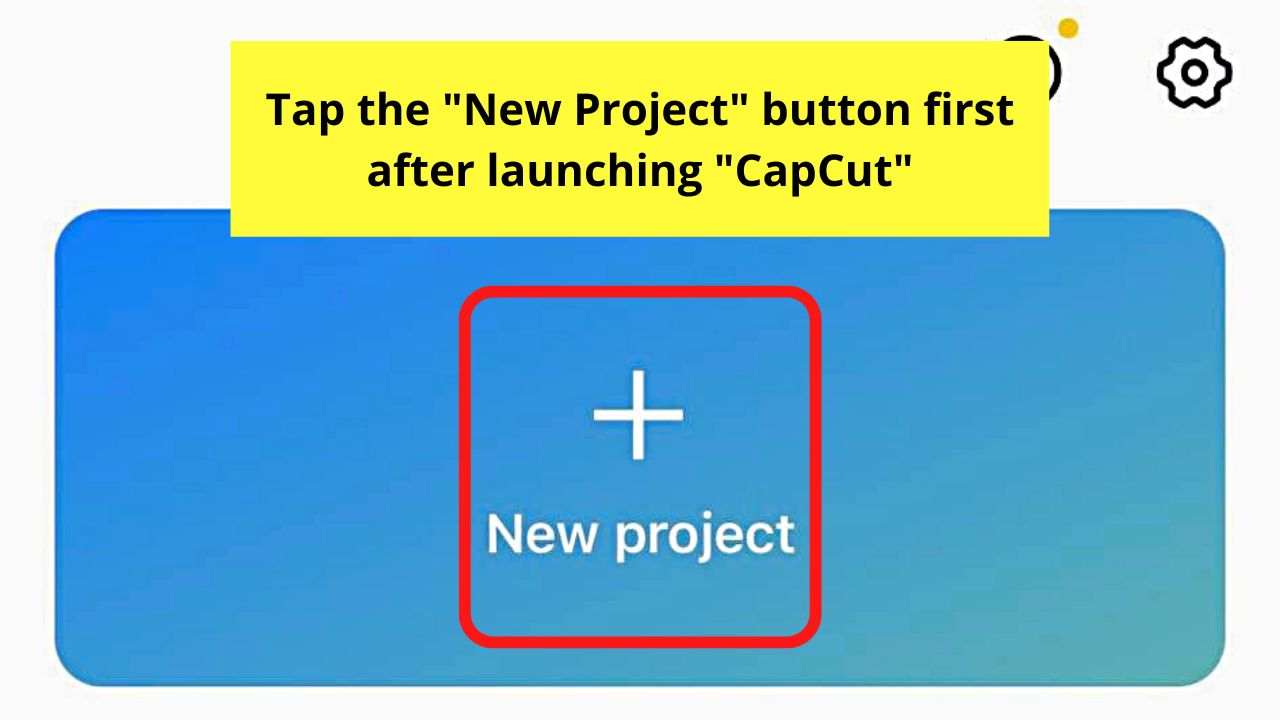
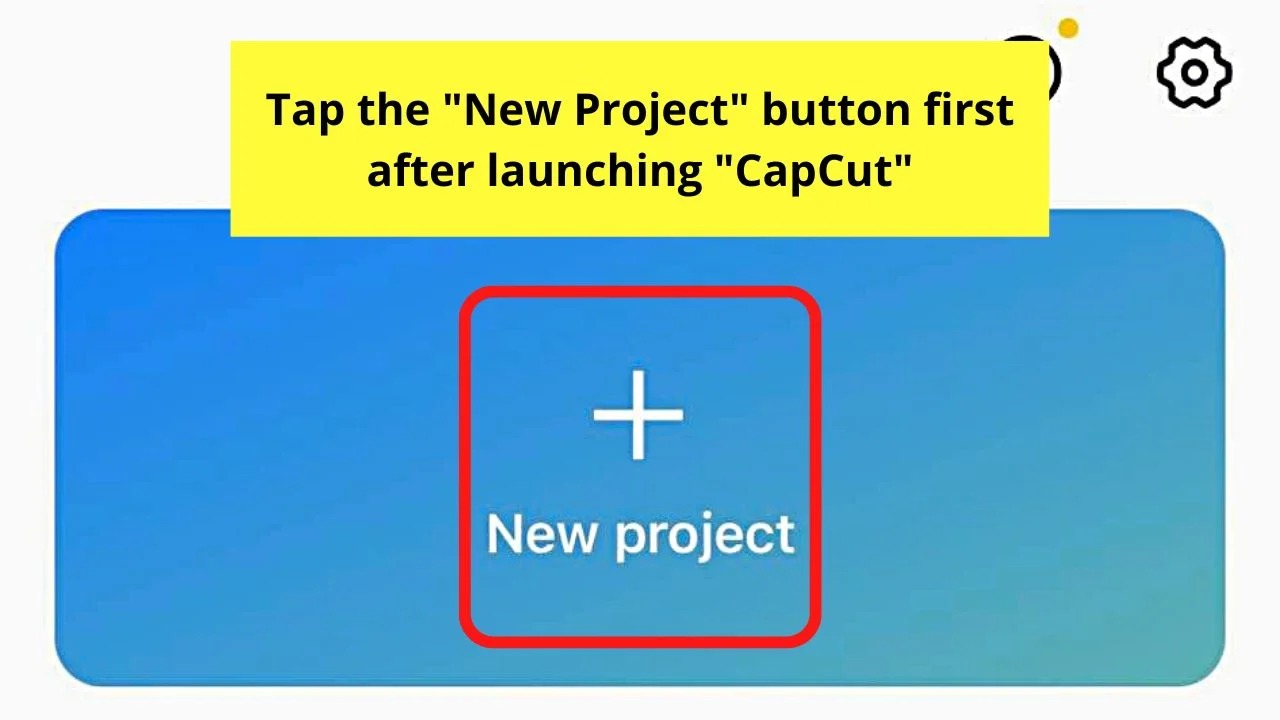
Step 2: Press the “New Project” button.
Step 3: Tap a video thumbnail from your phone’s gallery.
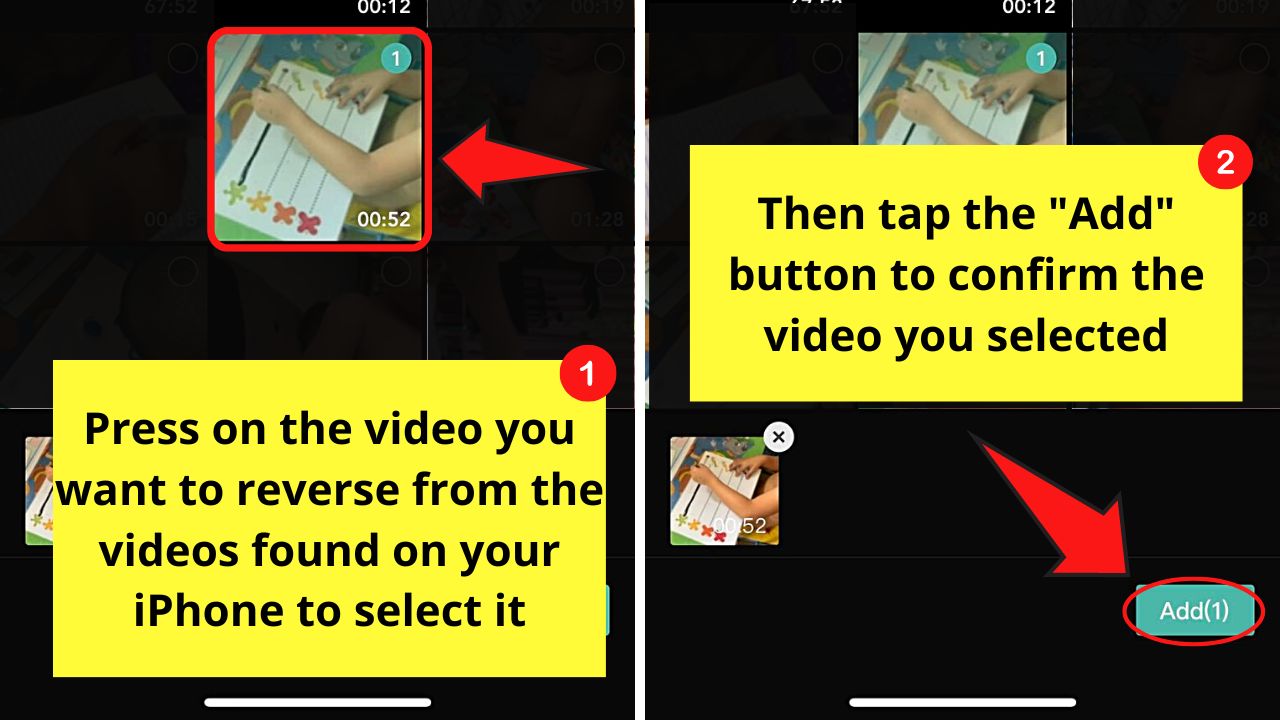
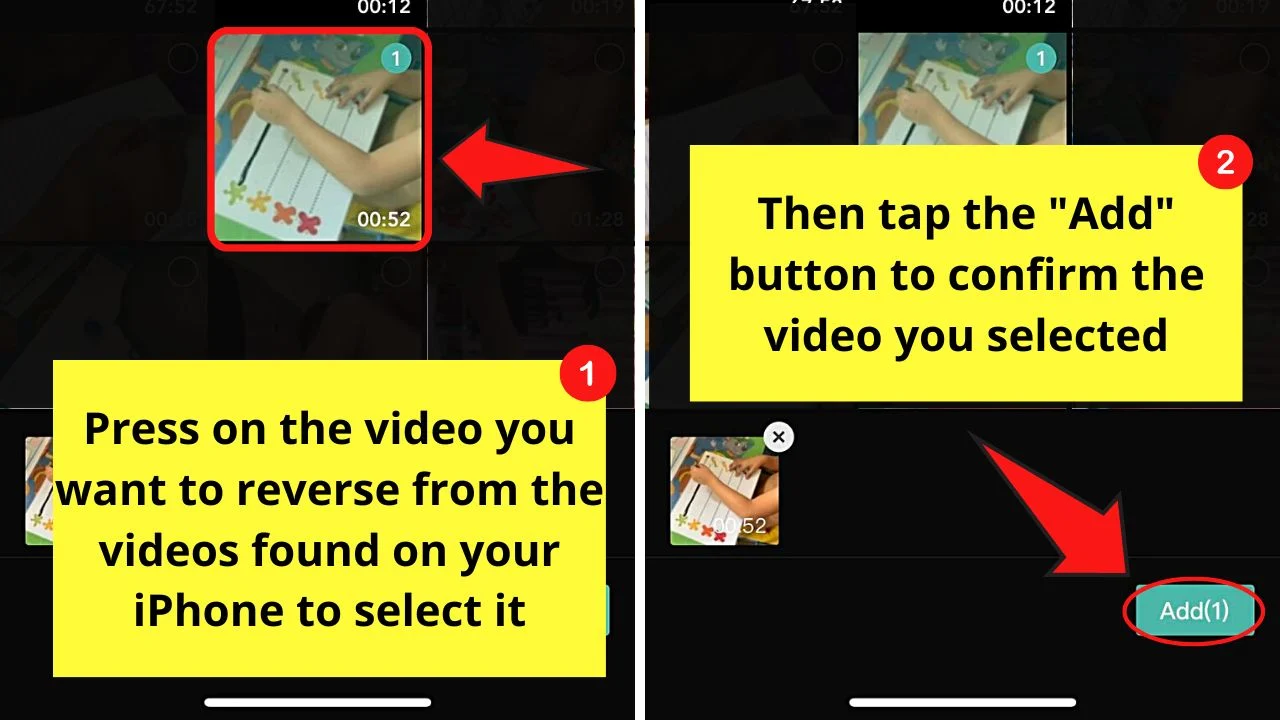
Press “Add” to continue.
Step 4: Tap the video clip to access some of the functions in the app.
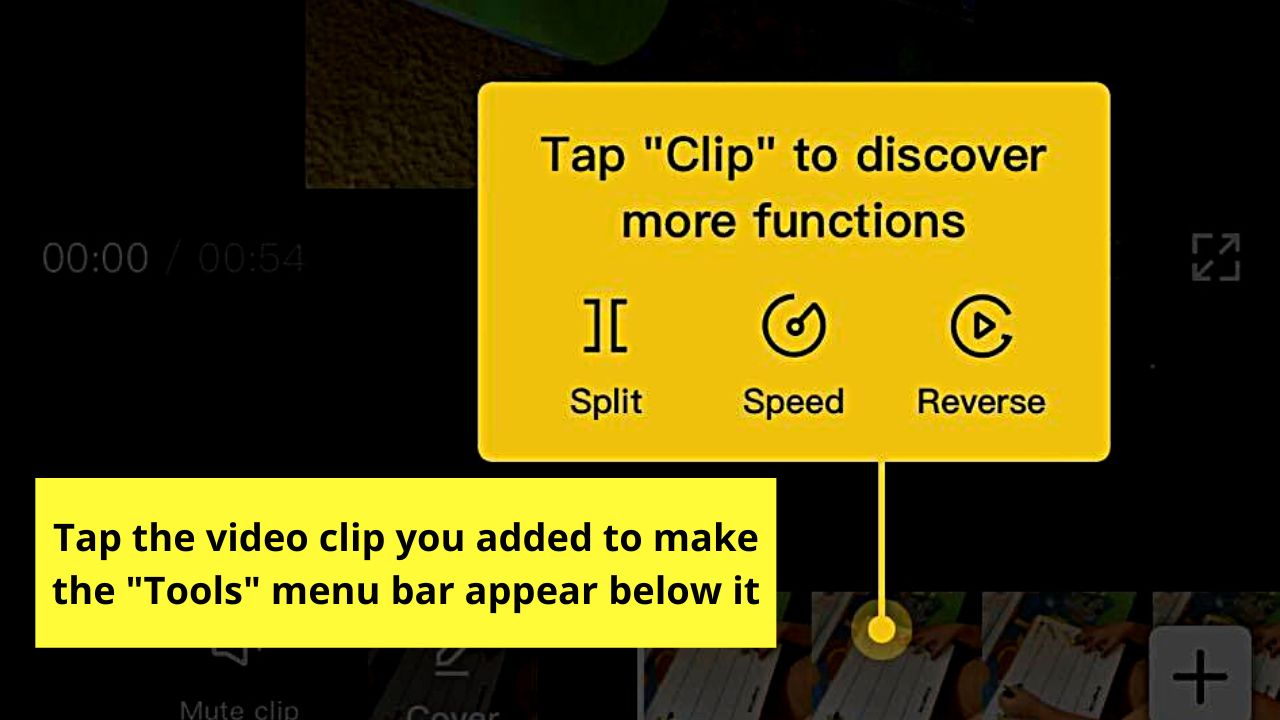

Follow the instruction for the “Tools” menu bar to appear below the video clip.
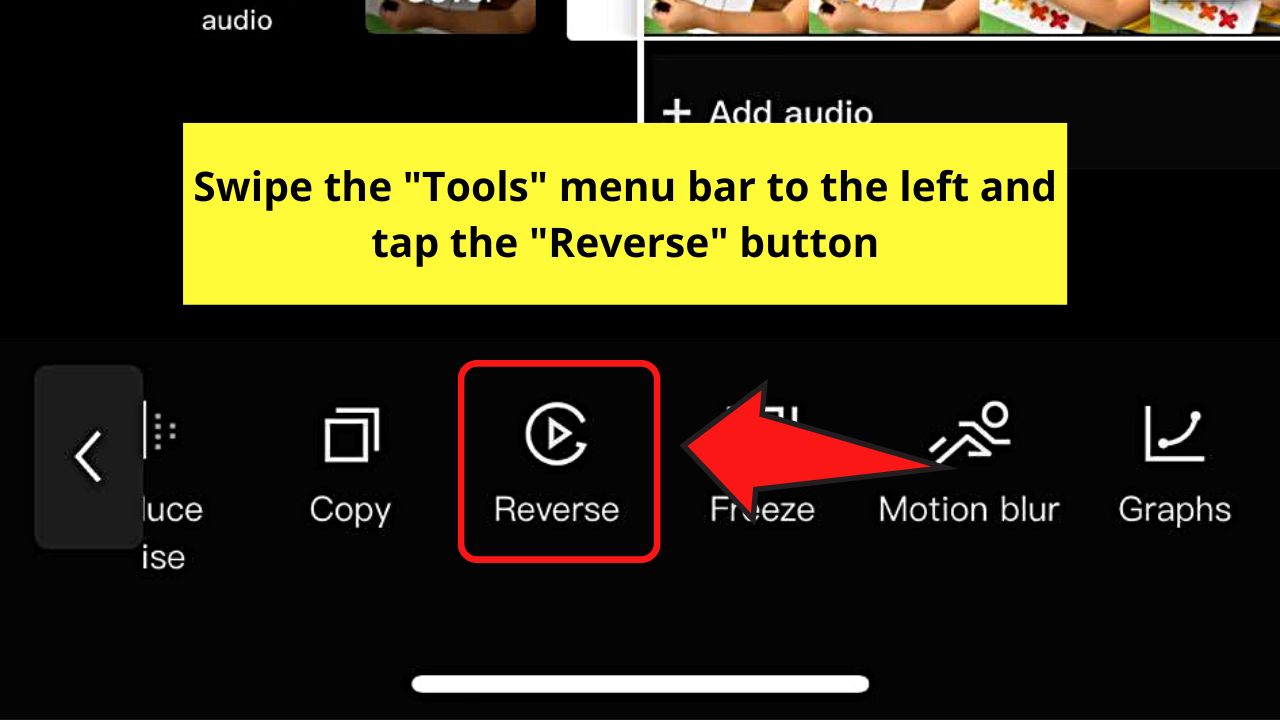
Step 5: Swipe your finger to the left and tap the “Reverse” button.

Step 6: After CapCut finishes the reversal process, press “Play.”
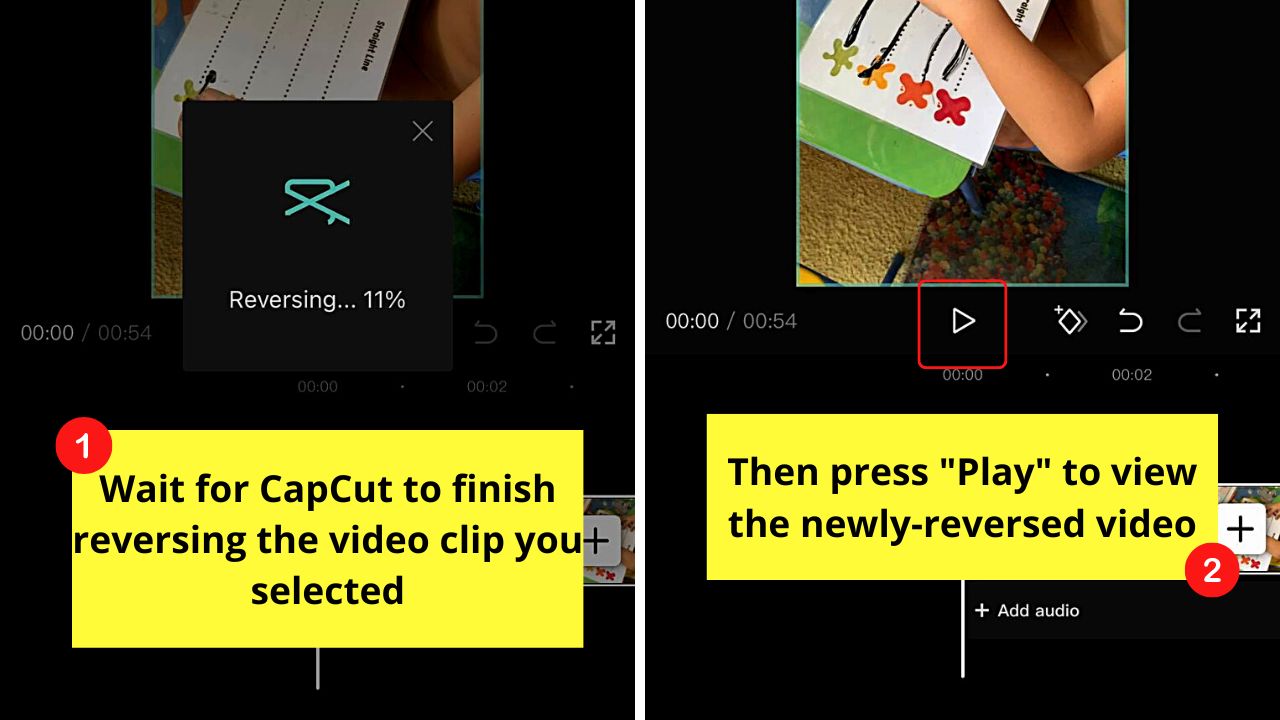

This will allow you to check how your newly-reversed video looks.
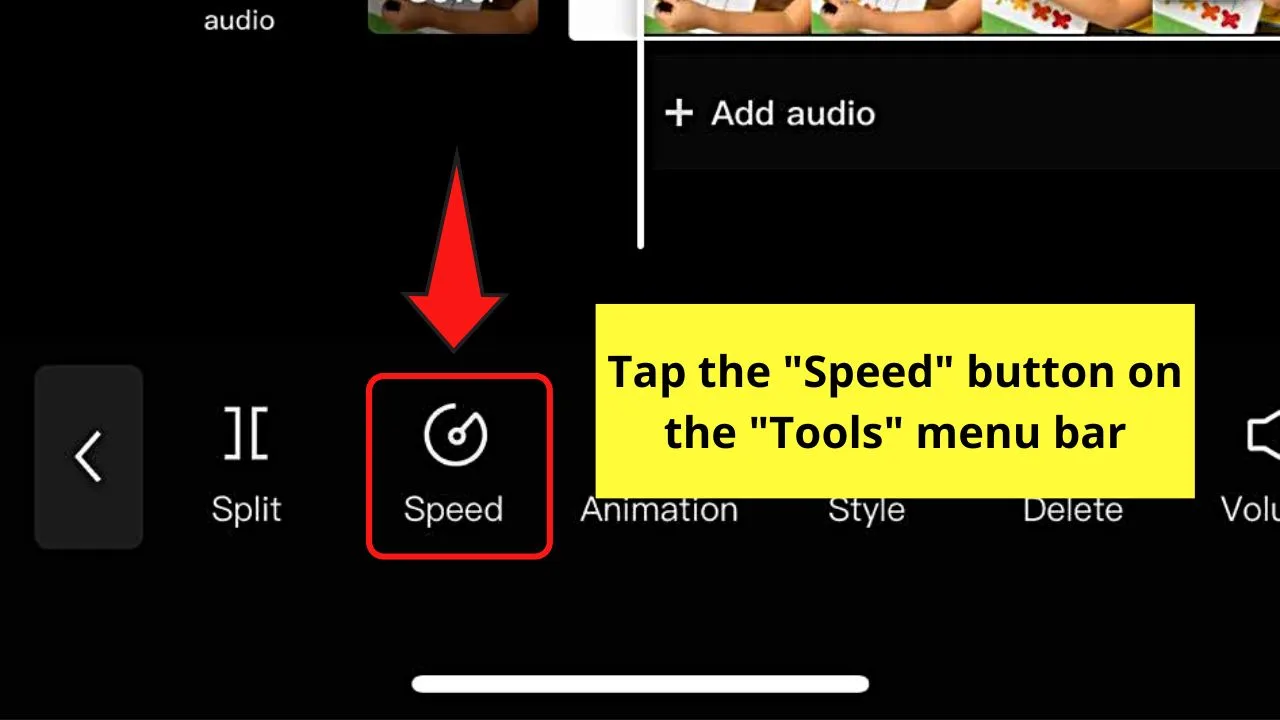
Step 7: If the reversed video is slow, go back to the “Tools” menu bar and swipe right to tap the “Speed” button.

Step 8: Tap on either “Normal” or “Curve” to begin adjusting the reversed video’s speed.


If you opted to press the “Normal” option, tap the speed value you want to use and press “✔” to save it.


If, however, you prefer to use the “Curve” option, tap “Custom” (if you prefer to set the fast and slow points of the footage yourself) or press one of the pre-made settings.


Then press “✔” to save the changes made.
Exit the “Speed” page by tapping the “<<” button.


Step 9: Add a music track for your reversed video by pressing the “Add Audio” button below the video reel.


Then, choose “Sounds” before you select the audio track from the music gallery. Press “Add” to add the said audio to your reversed video.


Step 10: Press “Mute clip audio” before the clip’s cover image.

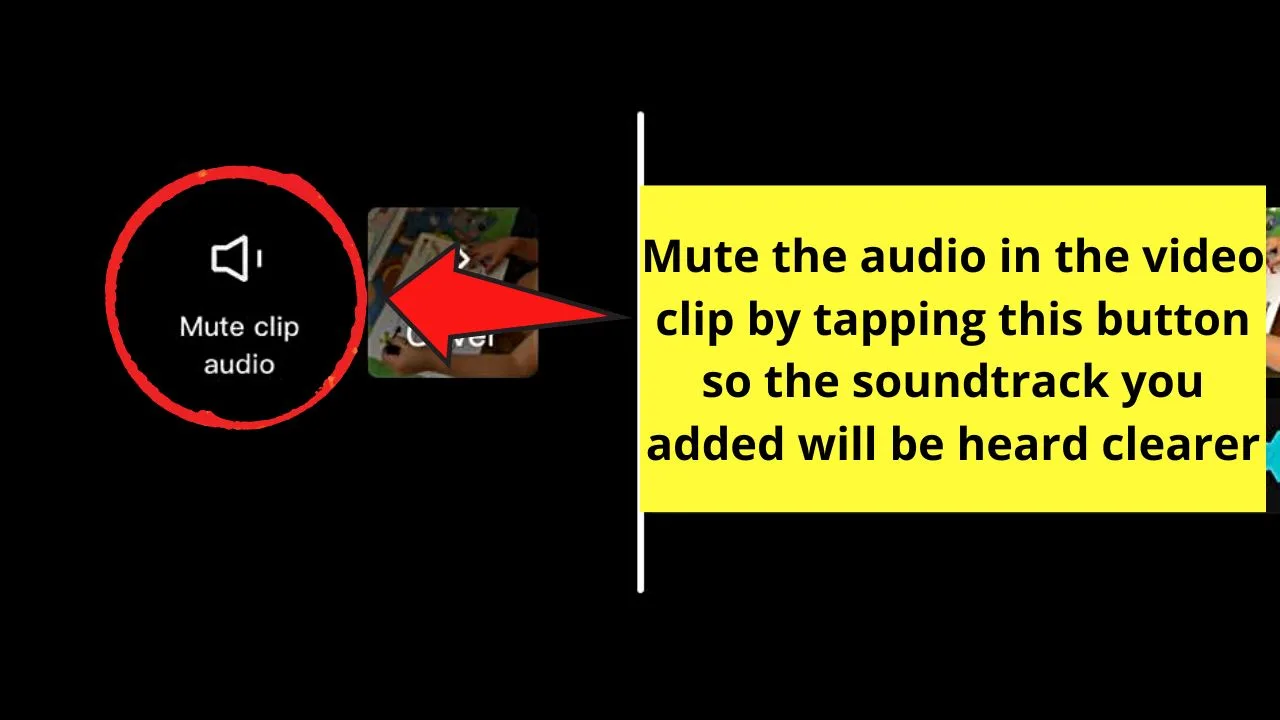
This will mute all the other sounds in the footage, with the music you added being the only one heard throughout the footage.
Step 11: Tap the arrow-up icon to save the reverse video.

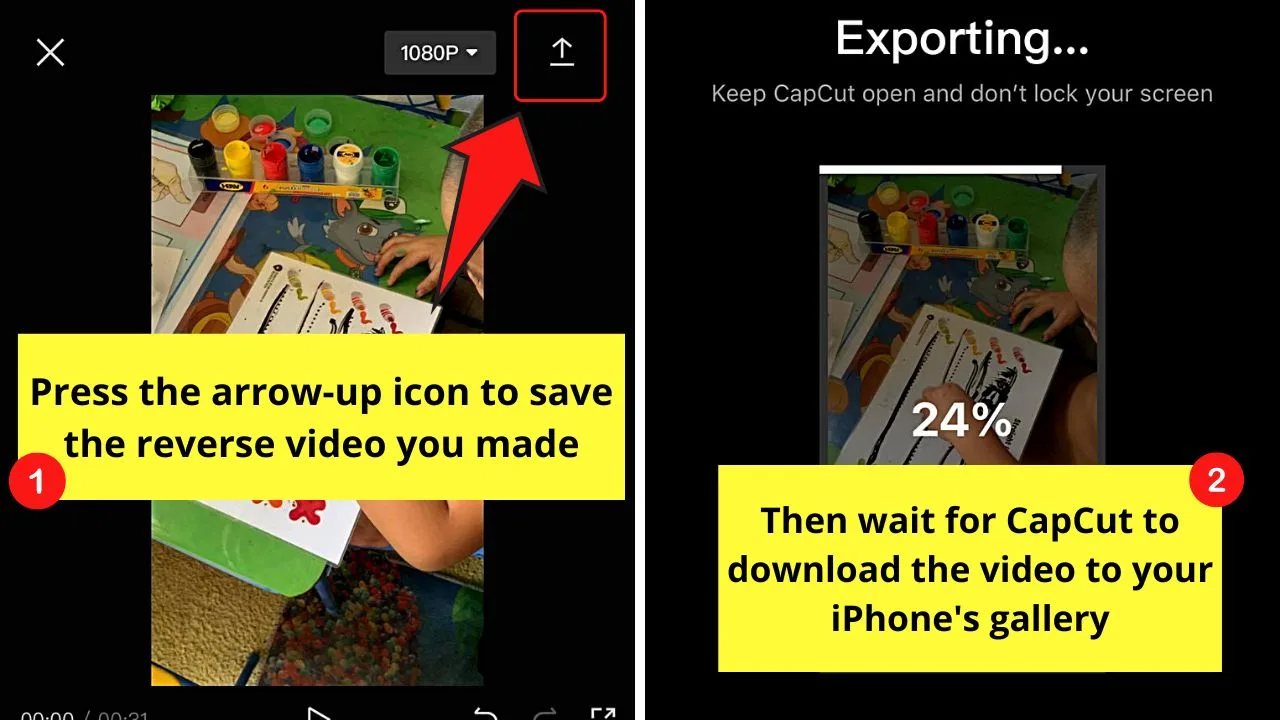
Then wait for CapCut to finish the exporting process.
You’ll then find the video saved on “Photos.”
Step 12: Tap “Done” if you don’t plan on sharing the reverse video you created on your social media.
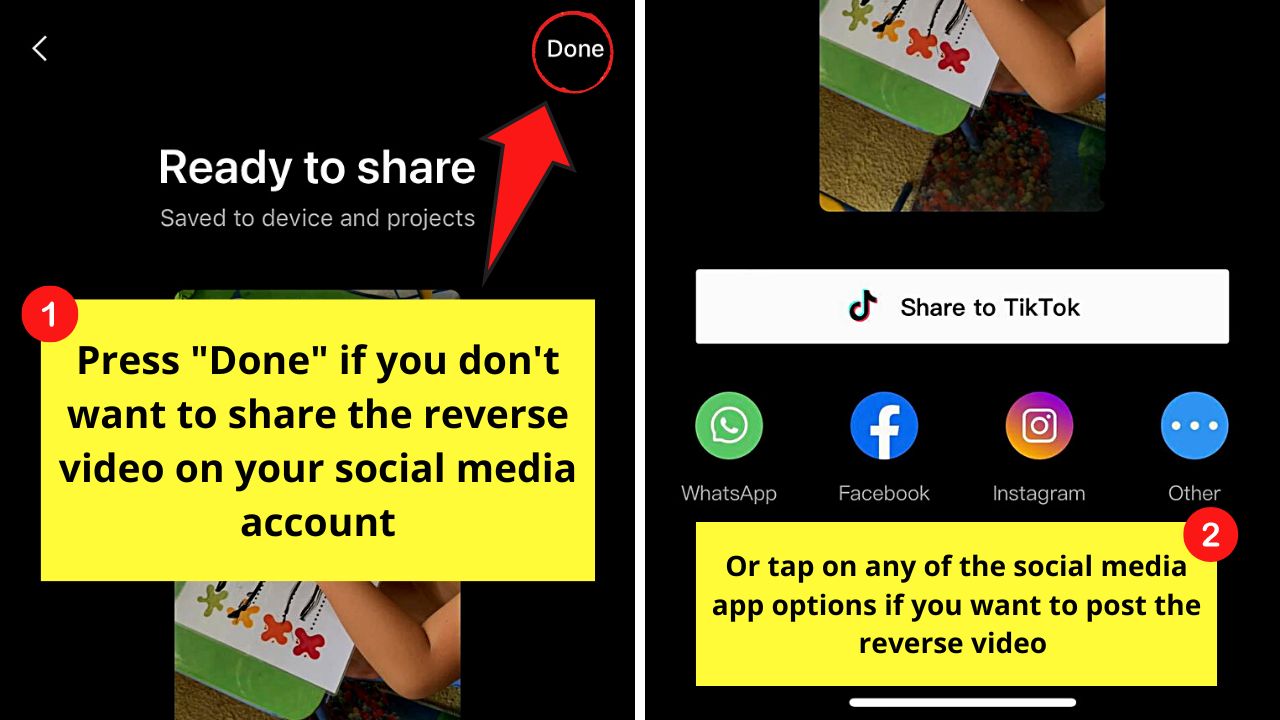

But, if you do, then tap on any of the social media app icons or the “Share to TikTok” button to do so.
Use Reverse Vid App
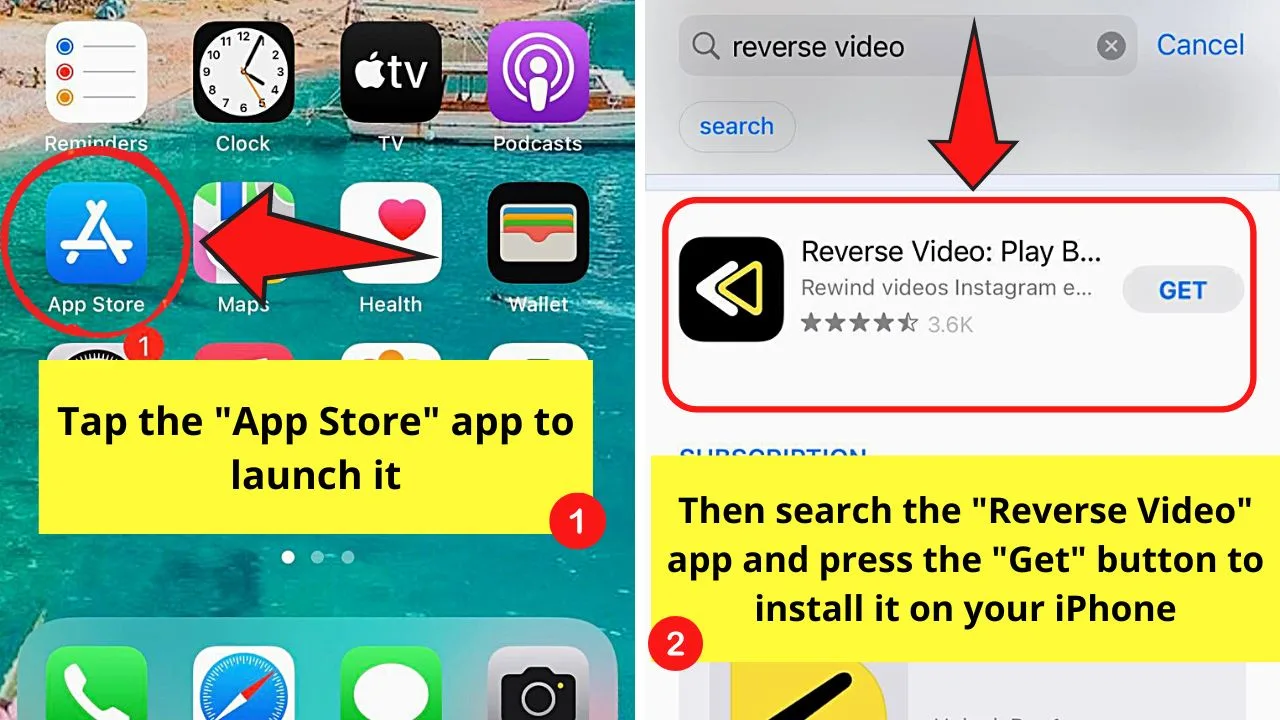
Note: Again, make sure to download the “Reverse Vid” app from the “App Store” before proceeding with the steps below.

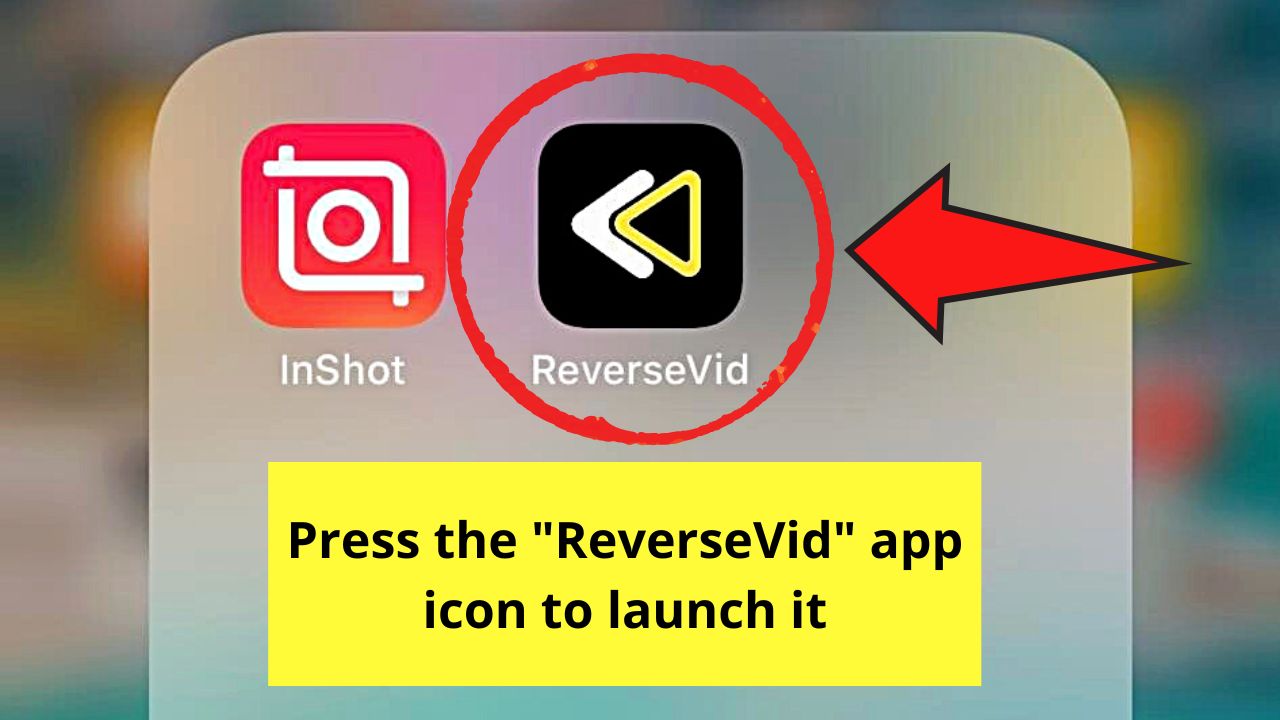
Step 1: Tap the “ReverseVid” app icon.

Step 2: Tap “Record new video” or select a video from your iPhone’s photo gallery through the “Choose from Library” button.
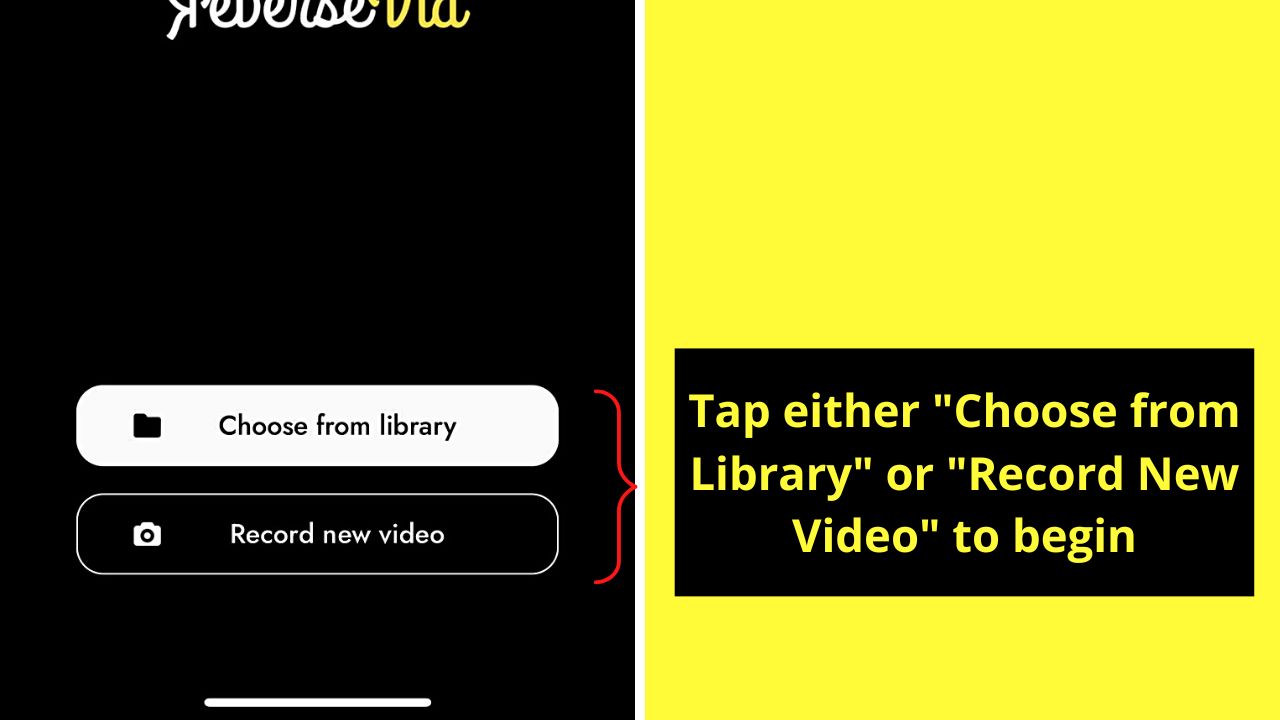

For sample purposes, I’ll tap “Choose from Library.”
Step 3: Press the video clip you want to reverse.

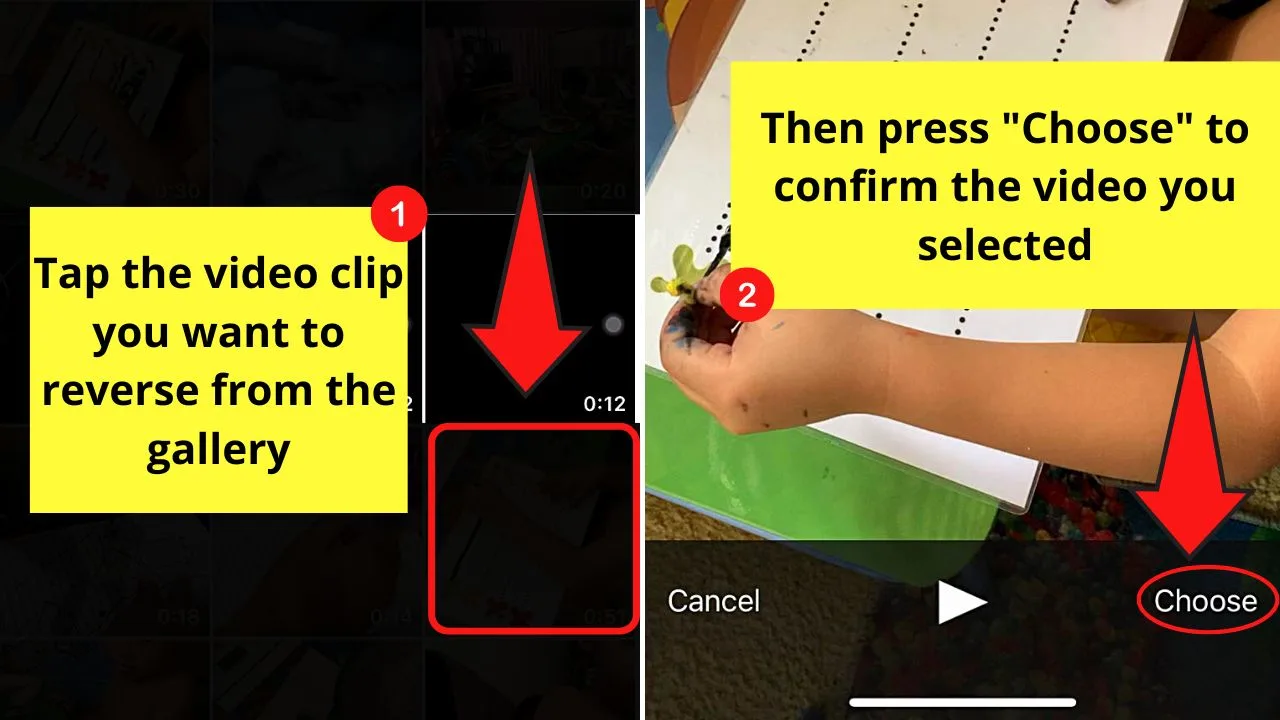
Then, press “Choose” to select the said video.
Step 4: Wait for ReverseVid to compress the video.

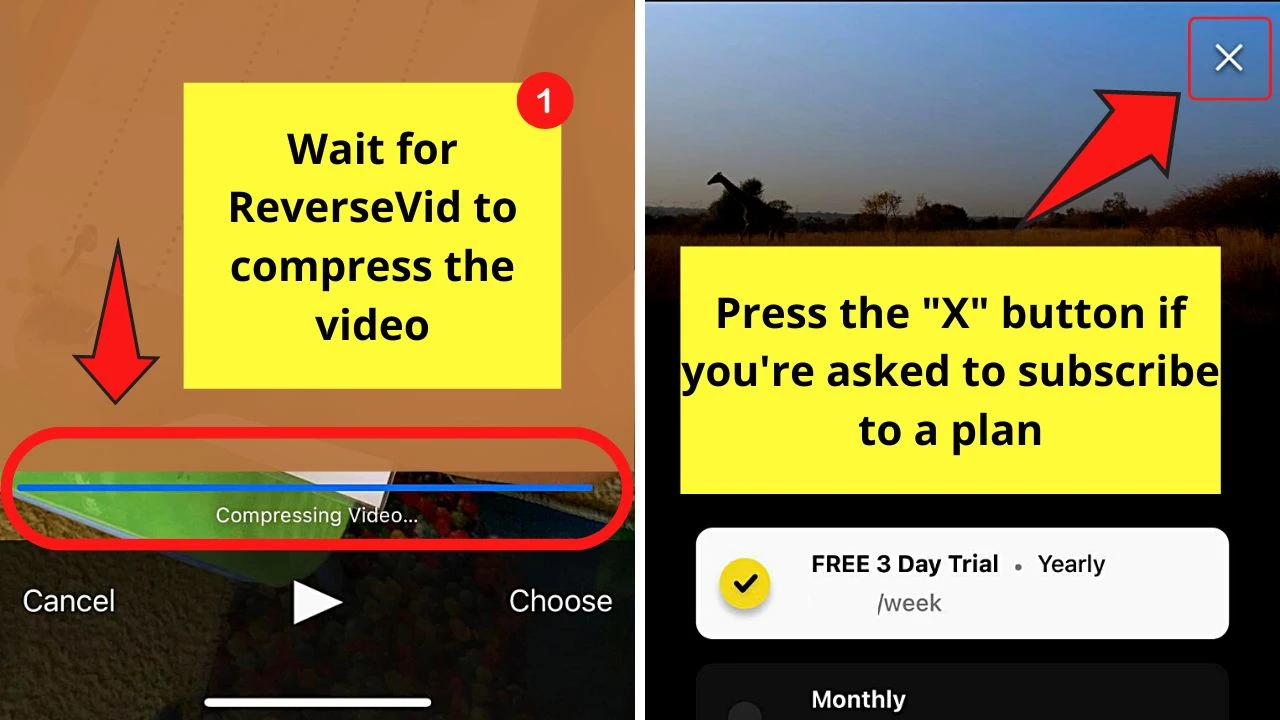
If you’re new to using the app, you will be asked to choose a plan to fully access ReverseVid’s features.
But, you can simply tap the “X” button if you only want to use the app for free.
Step 5: Choose the playback speed by swiping your finger across the said slide bar.
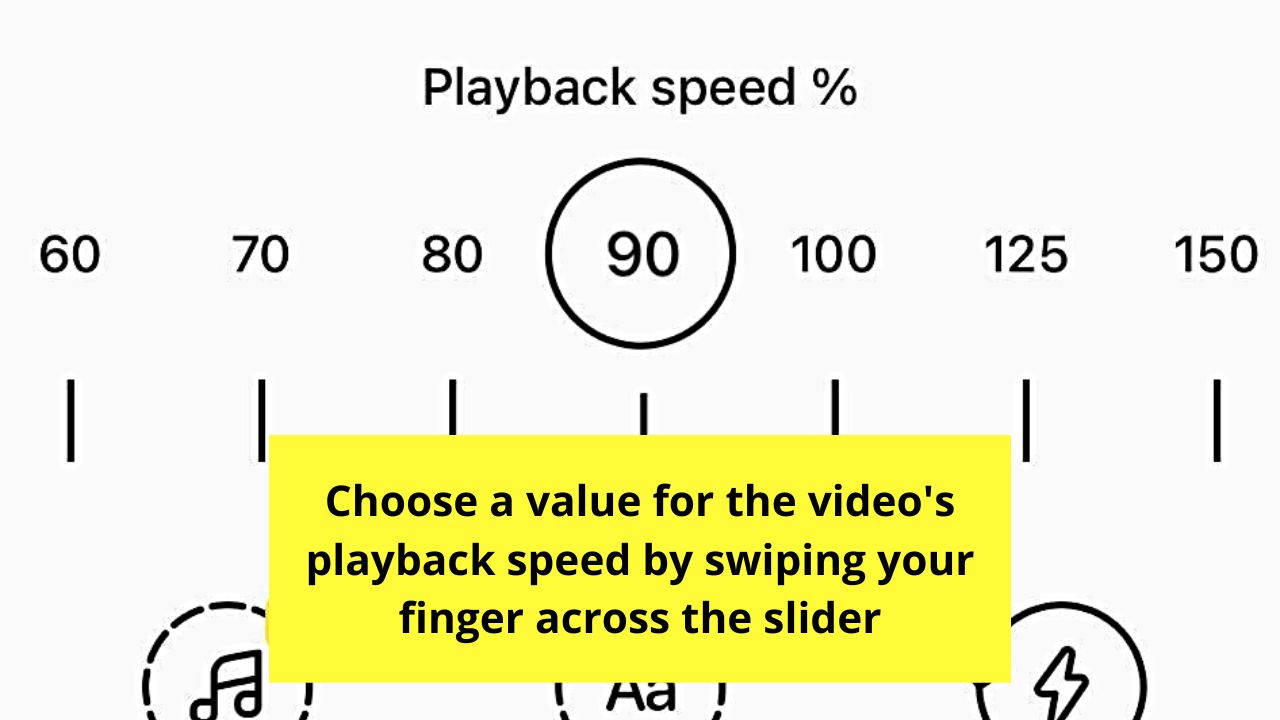
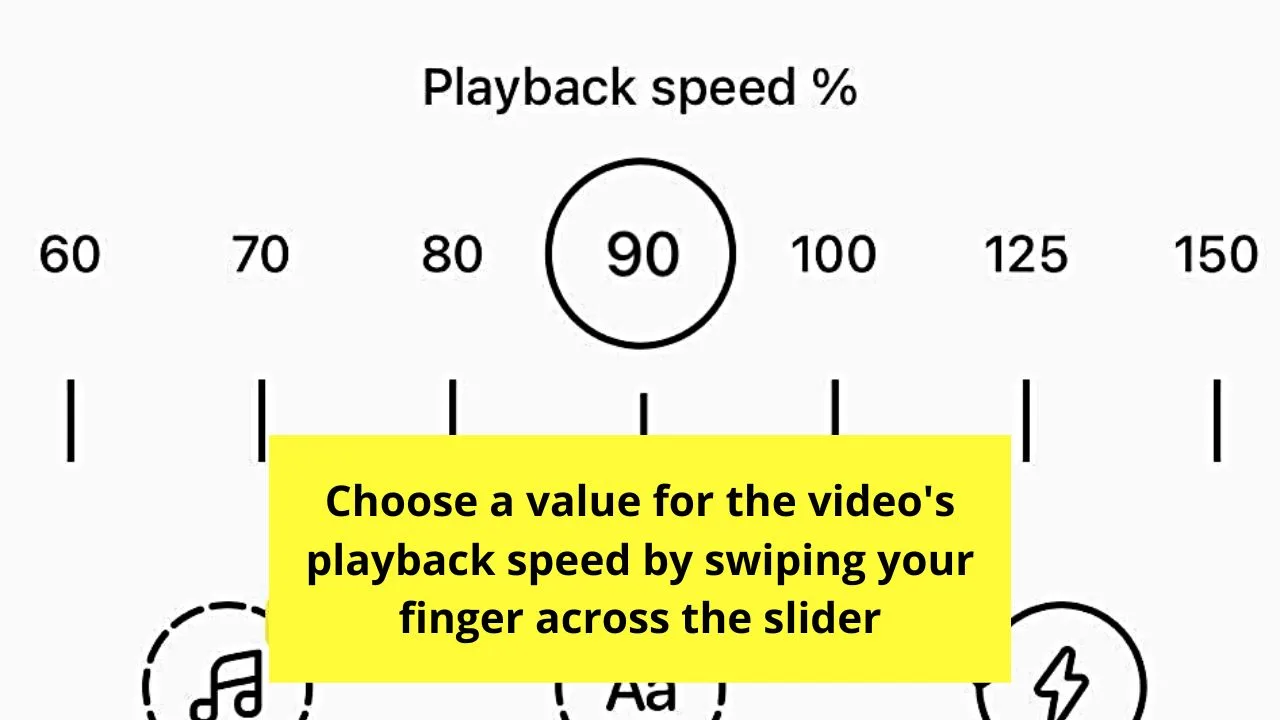
The larger the number, the faster the playback speed of the video.
Step 6: Tap the “Play” button.


You can then check what the reversed video looks like.
If everything’s good, press the downward-pointing arrow on the upper right of the screen to save it.


While it is nifty to reverse your iPhone videos by installing free apps, sometimes you don’t want to do so, especially if your phone’s memory is limited.
But, not to worry. You can take advantage of an online video editing site to do the deed for you.
Method 2: Reversing Videos on iPhone by Uploading Them to Online Video Editing Sites
Note: For these online video editing sites, you can use either “Google Chrome” or the “Safari” app.
But, for sample purposes, I’ll use “Safari.”

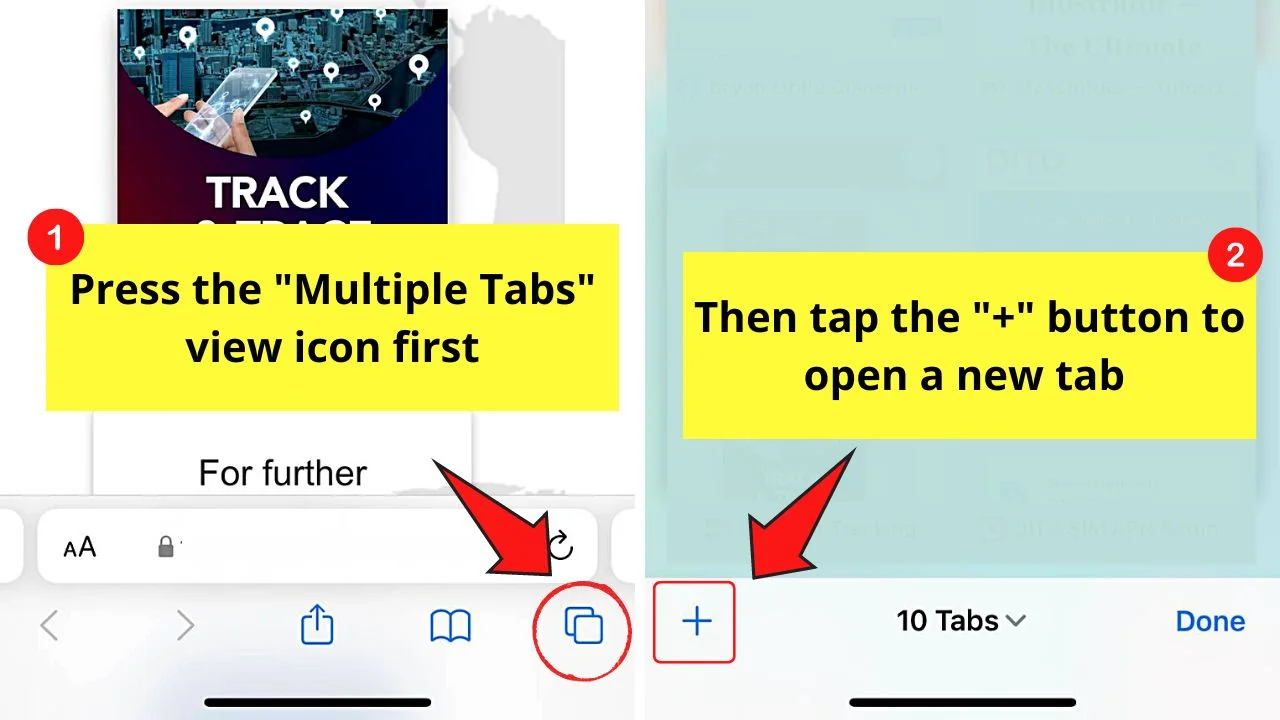
From there, tap the “multiple tabs” view icon and press “+” to open a new blank tab.

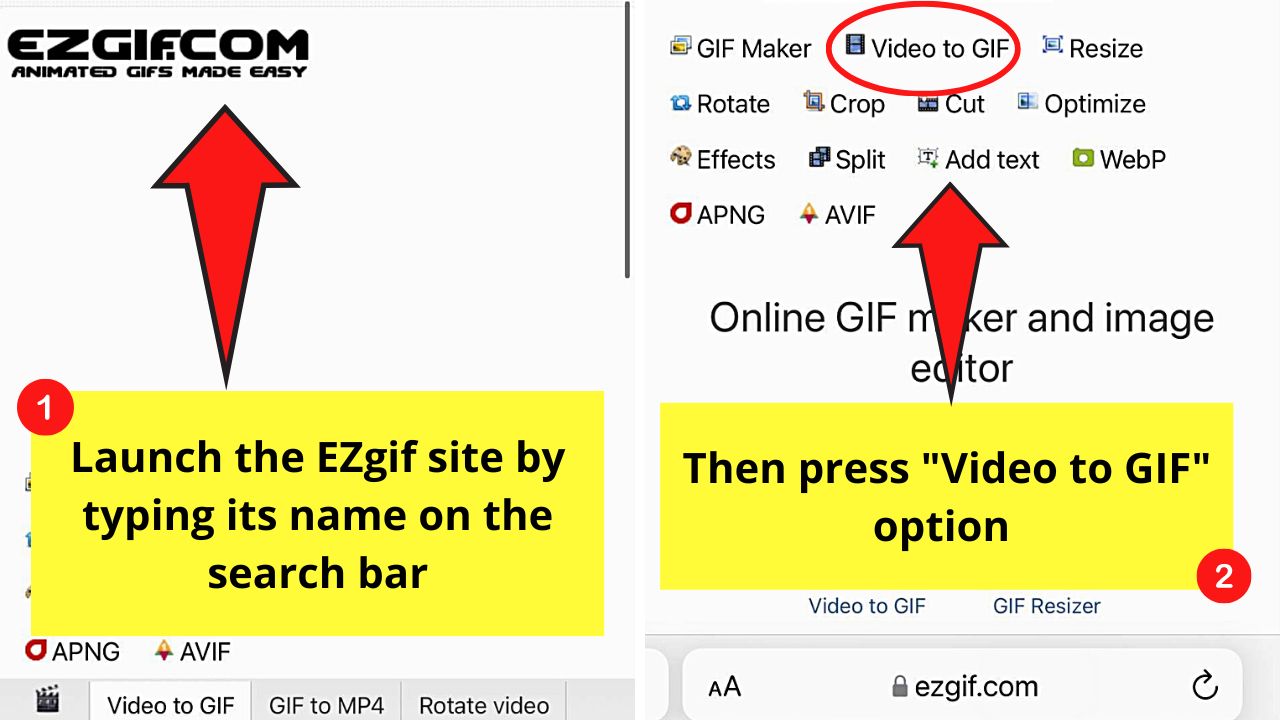
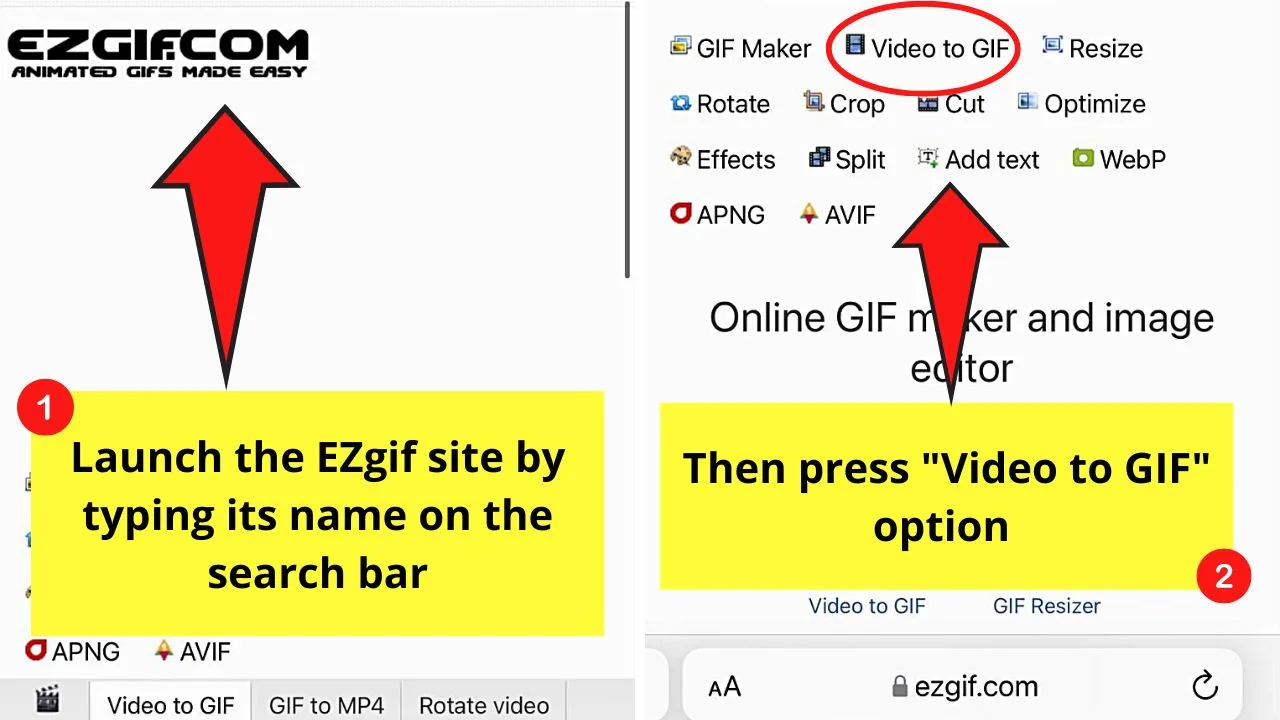
Then, on the search bar, type the video editing site you want to use for reversing your videos on the iPhone.
Using EZgif
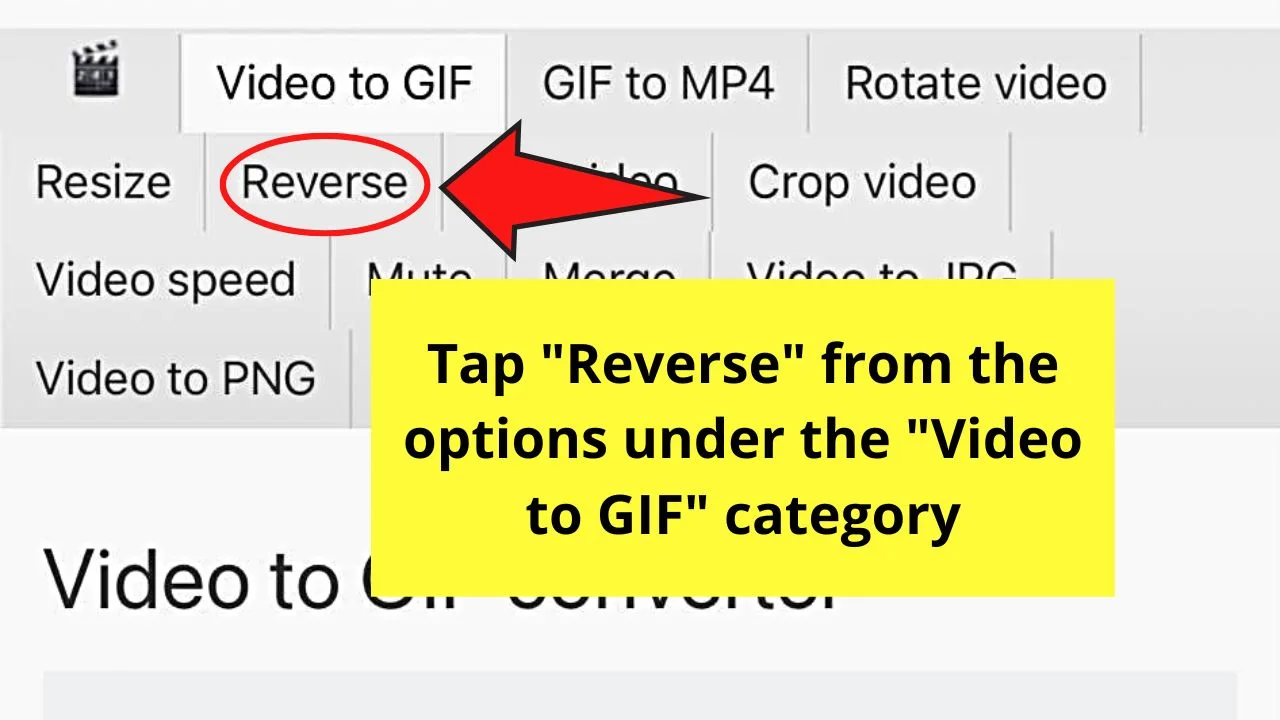
Step 1: Tap the “Video to GIF” option.
Step 2: Press the “Reverse” option.

Step 3: Swipe up until you reach the “Upload video file” section.


Press “Choose File” and tap where you want to source the video: “Photo Library,” “Choose File, or “Take Photo or Video.”


Since the video I’ll use is on my iPhone’s gallery, I’ll tap “Photo Library.”
Step 4: Swipe up the iPhone photo gallery and tap the video you’ll use.
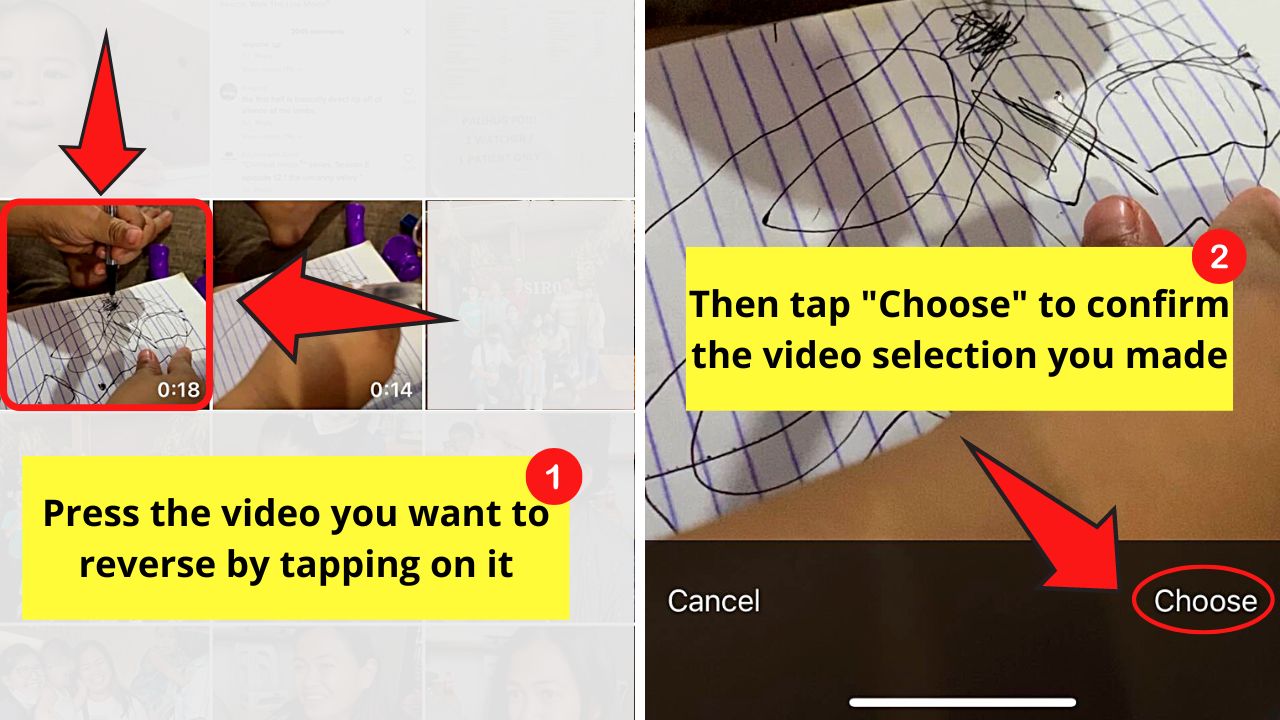

Then, press “Choose” to proceed.
Step 5: Wait for EZgif to compress the video file.


From there, you’ll be taken back to EZgif’s “Reverse video” page.
Then, once the video file’s attached successfully, tap “Upload Video.”
Wait for EZgif to finish uploading the reversed video.


Step 6: Once the video’s uploaded, tap “Play.”


You can even opt for “Mute Sound” or “Reverse sound” by tapping on the boxes beside these choices.


Step 7: Press the “Reverse Video” button.


Wait for the site to finish reversing the video you uploaded. Then, press “Save.”


Using Clideo
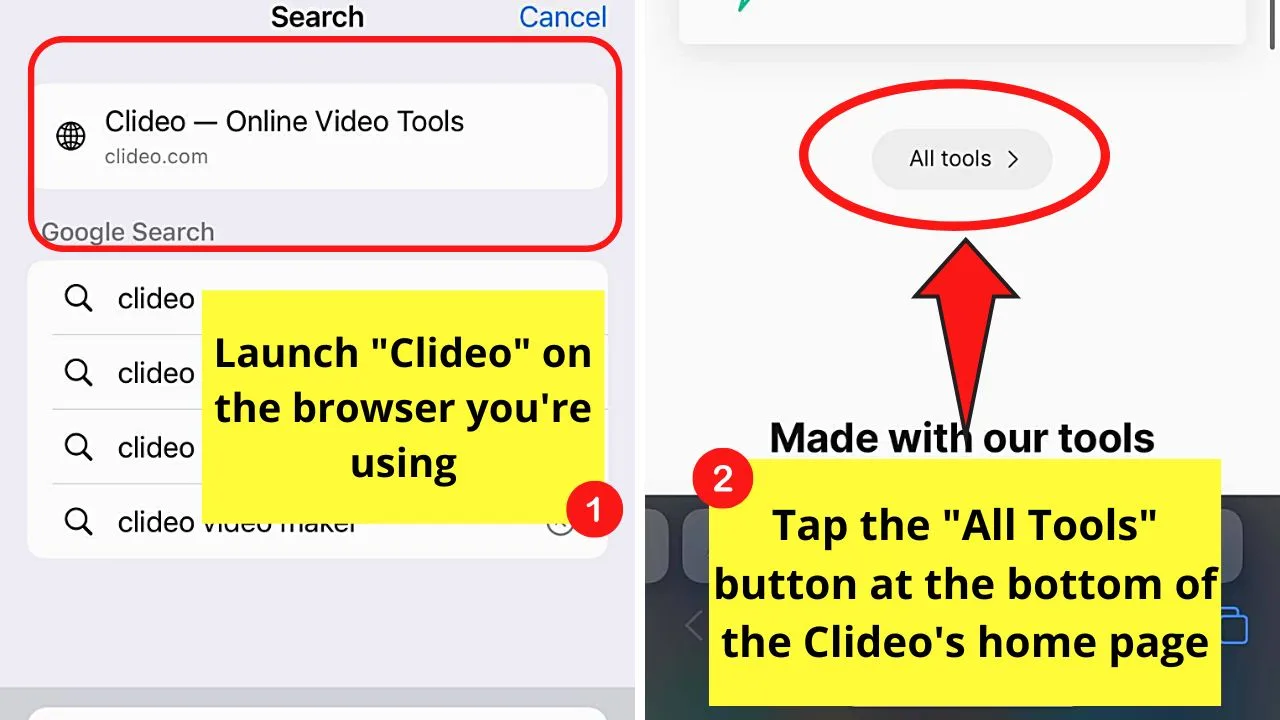
Step 1: After launching Clideo on the browser, swipe up and tap “All Tools.”

Step 2: Once you’re on the “Welcome” page of Clideo, keep swiping up and tap the “Reverse” tool.


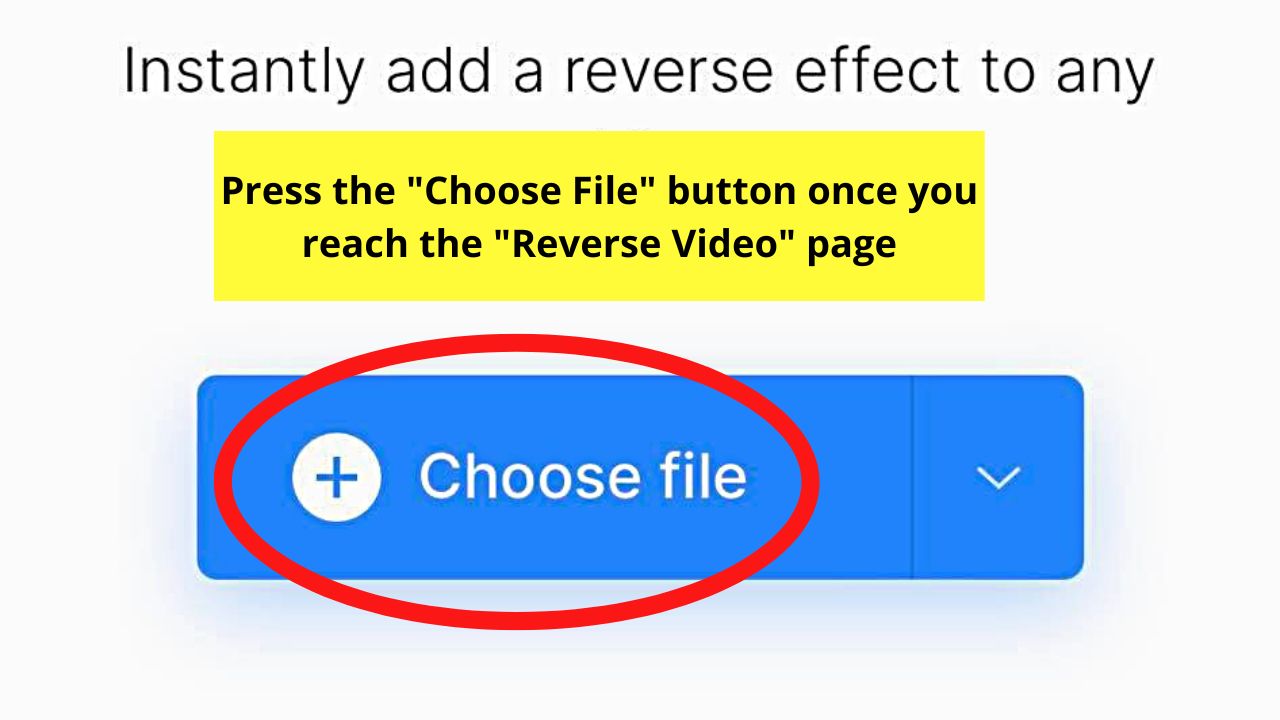
Step 3: Press the blue “Choose File” button to upload the video file.

Step 4: Press “Photo Library” if you saved the video on your phone’s gallery.


Swipe up your iPhone’s gallery until you find the said video. Tap it and then press “Choose” to select it.


Step 5: Wait for Clideo to compress the video file.


Then, it will preprocess the said footage.
Then, tap “Export” to continue with the process.


Step 6: Press the “Play” button to watch the reversed video.


If the reversed video’s already good, press “Download.”


A message prompt will then appear, asking you whether you want to download the new reversed video on your device.
If you do, then tap “Download.” The reversed video will then be saved on your iPhone.
Whew! Those are great options to reverse a video on the iPhone I’m using when you prefer not to download video editing apps.
But, while these methods are useful, let’s sure hope that the next generation of iPhones will include the “Reverse Video” feature soon.
Frequently Asked Questions about How to Reverse Video on the iPhone
Can I use other video editing apps other than those that are mentioned earlier to reverse video on an iPhone?
You can use other video editing apps aside from the apps mentioned previously in the article. The important thing is that the said video editing app has a “Reverse Video” feature in it.
Can the iPhone’s iMovie app be used for reversing a video?
Unfortunately, you cannot use your iPhone’s iMovie app to reverse any of the videos in your gallery. The current version of the iMovie app doesn’t have the “Reverse Video” feature in it.
Do I need to use a computer if I want to reverse a video saved on my iPhone?
There’s no need to access a computer to reverse any videos saved on your iPhone. Just launch the browser you’re using and access any of the online video editing sites mentioned in the article earlier. You can also use other online video editing apps as long as they have “Reverse Video” on them.
Conclusion
For one to reverse a video on the iPhone, you can only do so by downloading video editing apps with the “Reverse Video” feature or by using online video editing sites.
Currently, iPhones don’t have a native “Reverse Video” feature in them, hence, the need to use third-party apps and video editing websites to achieve the reverse effect.


Hey guys! It’s me, Marcel, aka Maschi. On MaschiTuts, it’s all about tutorials! No matter the topic of the article, the goal always remains the same: Providing you guys with the most in-depth and helpful tutorials!

