

Are you struggling with changing the name of a layer in Photoshop? There are, in fact, a couple of ways to rename layers in Photoshop.
In previous versions of Adobe Photoshop, you had an option to use a shortcut F2 but it was removed.
That said, let us now have a look at how to rename layers in the latest versions of Photoshop.
How to rename a layer in Photoshop
To rename a layer in Photoshop, you can either double-click on the layer in the Layers Panel (click on Window and then choose Layers), or select the layer on the Canvas and go to “Layer” in the main menu and choose “Rename Layer”.
Rename a layer in Photoshop by making use of the Layers Panel
The easiest, fastest, and most used way of renaming the layer is by double-clicking on its name in the “Layers” panel. After a double click, it should be selected and highlighted. The next step is to delete the existing name, by using the “Backspace” button on your keyboard. After deleting the existing name, it is time for you to type the preferred layer name, and then press Enter (Windows) or Return (MAC).
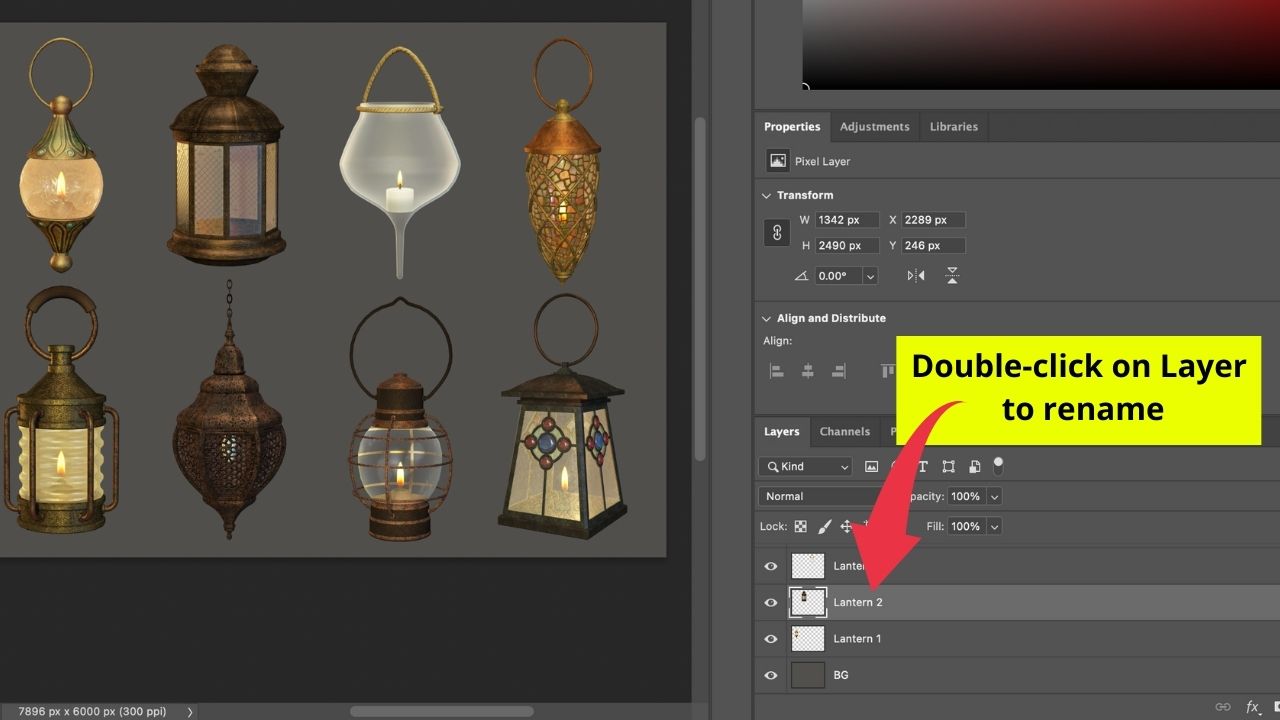
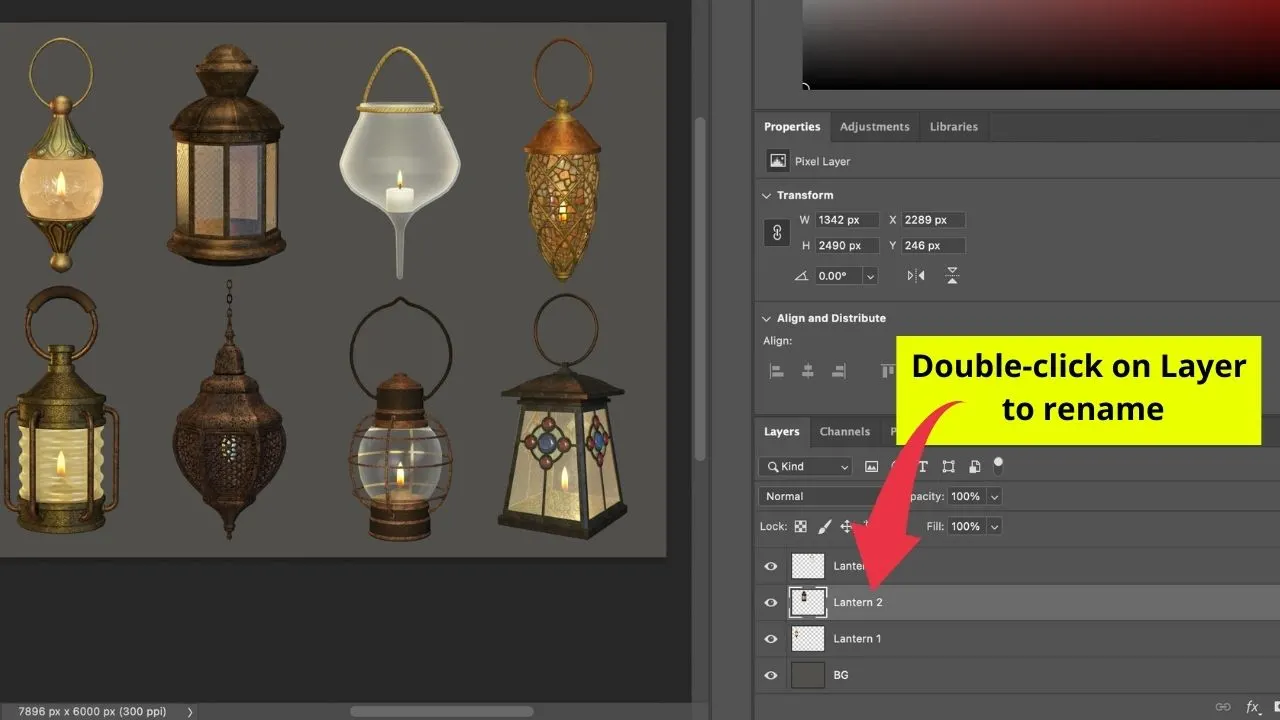
To rename a layer in Photoshop, simply double-click on the layer in the Layers panel. In case you don’t see the Layers panel, click on “Window” in the main menu and then select “Layers” and the Layers panel will appear.
Rename a layer in Photoshop by using “Layer” in the main menu
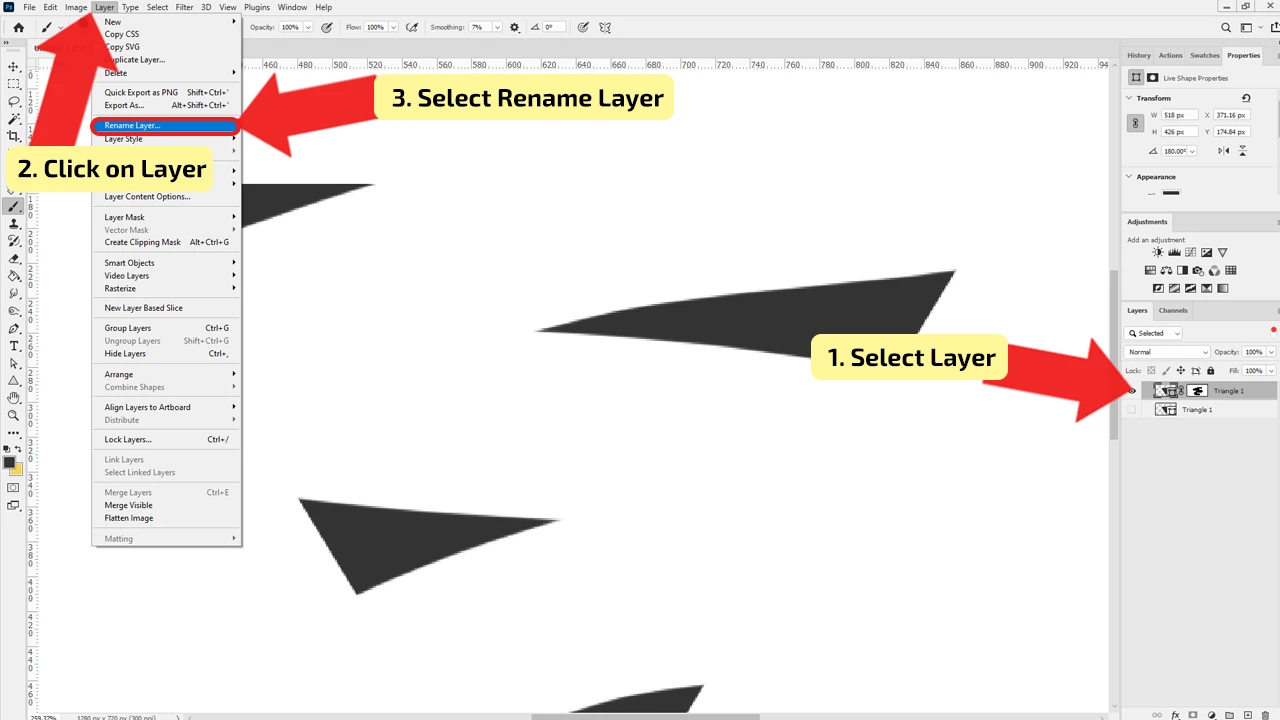
The second way of renaming the Layer is to use the option from the main menu. When you want to change just one layer name, select that layer on the Canvas and then click on “Layer” in the main menu and then choose “Rename Layer”.
Rename it and after you finish, press Enter (Windows) or Return (MAC). If you want to rename a group, select it, and in the same way rename it, but this time, choose the “Rename Group” option.


Hey guys! It’s me, Marcel, aka Maschi. On MaschiTuts, it’s all about tutorials! No matter the topic of the article, the goal always remains the same: Providing you guys with the most in-depth and helpful tutorials!

