Uggh? What’s happening with my phone?
Whenever I launch the Instagram app on my phone and create a reel directly from it, I can’t proceed with the recording process.
Well, it’s possible Instagram’s not granted access to your camera from the get-go.
So, if this is the case, then here’s how you can enable camera access on Instagram.
How to Enable Camera Access on Instagram Android
First, check if the phone’s software is updated. If Instagram still can’t access the camera, open “Settings” and tap “Apps.” Search for IG through the search icon and tap “Permissions.” Then, tap “Camera” and press “Allow only when using the app.” Make sure to activate the microphone as well.
Enabling Camera Access on Instagram Android — Step-by-step Guide
Remember when you first installed Instagram on your device?
As soon as you launched the app on your phone, you’ll notice a prompt asking you to allow Instagram to access your camera.
In most cases, you’ll press or tap the “Allow” button so you can easily create videos and take photos with Instagram.
But, in case you accidentally tapped the “Deny” button instead, don’t despair.
You can always manually fix the settings to enable Instagram to access your phone’s camera.
So, here’s how you get started with enabling Instagram’s access to your phone’s camera.
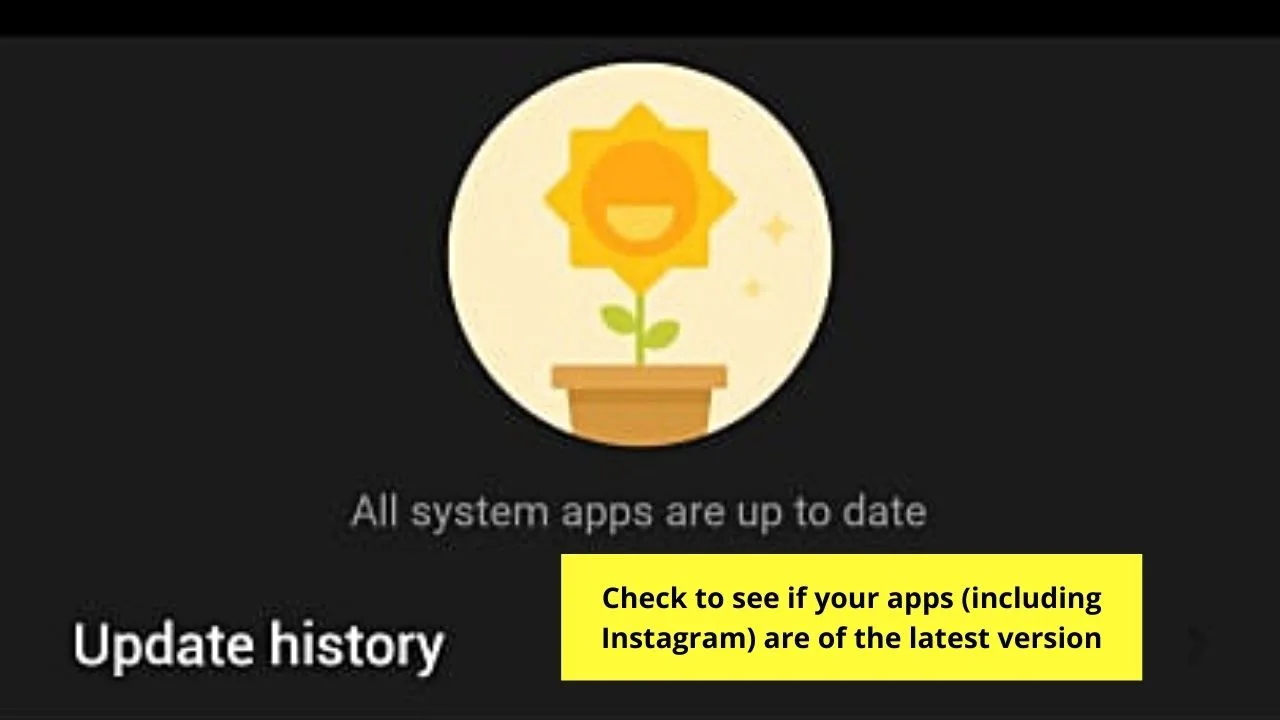
Note: Make sure to check your device’s software is updated. If not, then better update it first before you proceed with the steps you’ll find below.
Step 1: First, open “Settings” on your device. Usually, you’ll find the Settings icon on your home page.
If not, you can always swipe up to access the app drawer (if your phone has such a feature) and search for “Settings” through the search bar.
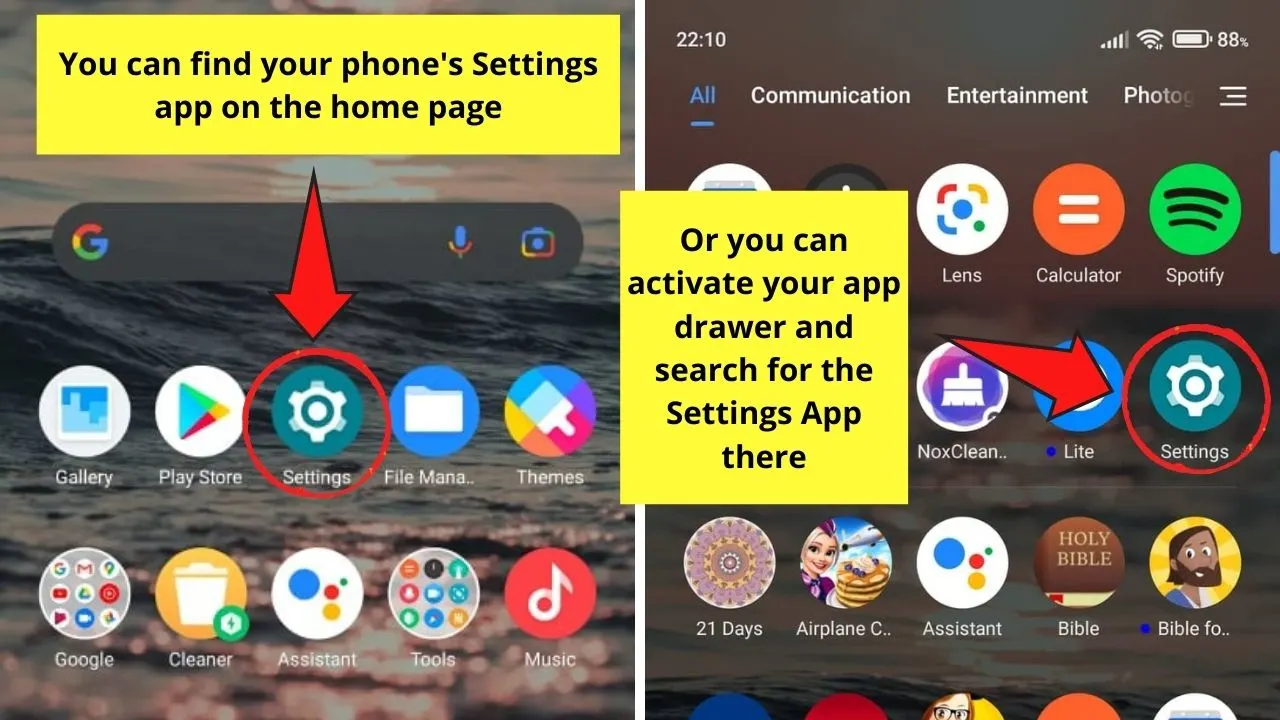
Once you locate the Settings app, tap to open it.
Step 2: Once you’re on “Settings,” keep scrolling until the Apps button comes into view. Press on the icon to access it.
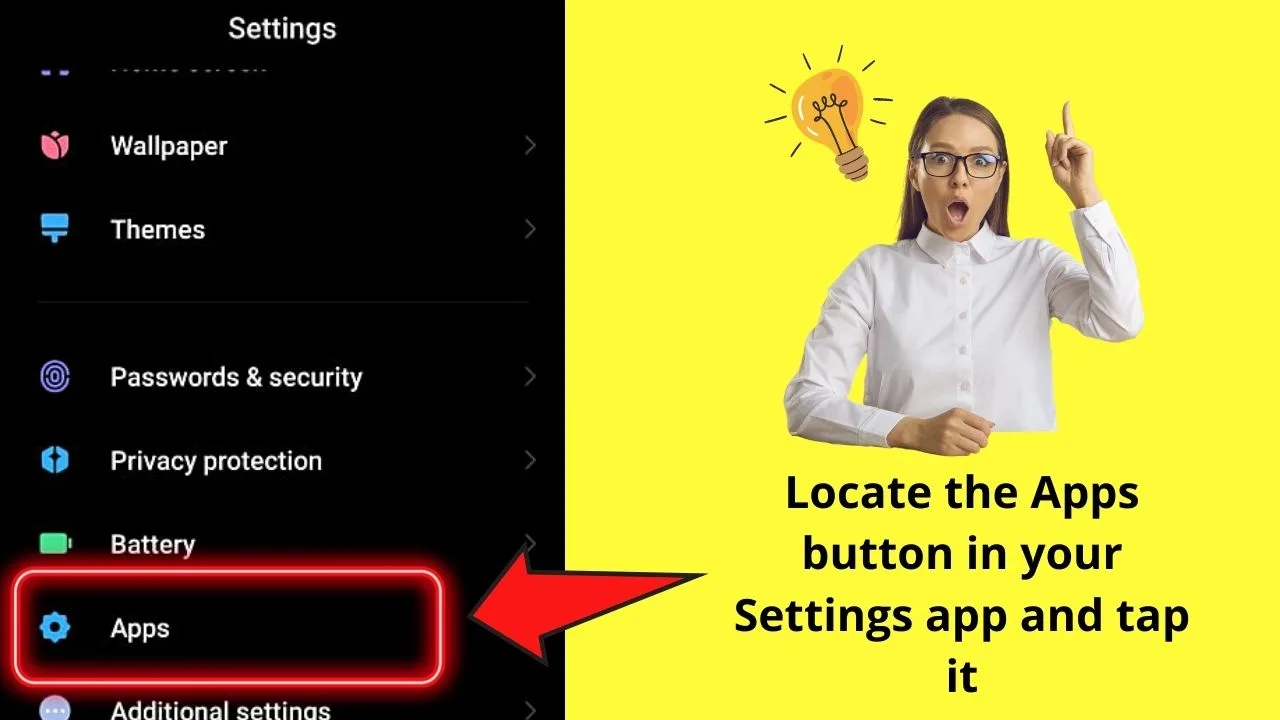
However, if you’re using an iOS device, skip this step and proceed with Step 3.
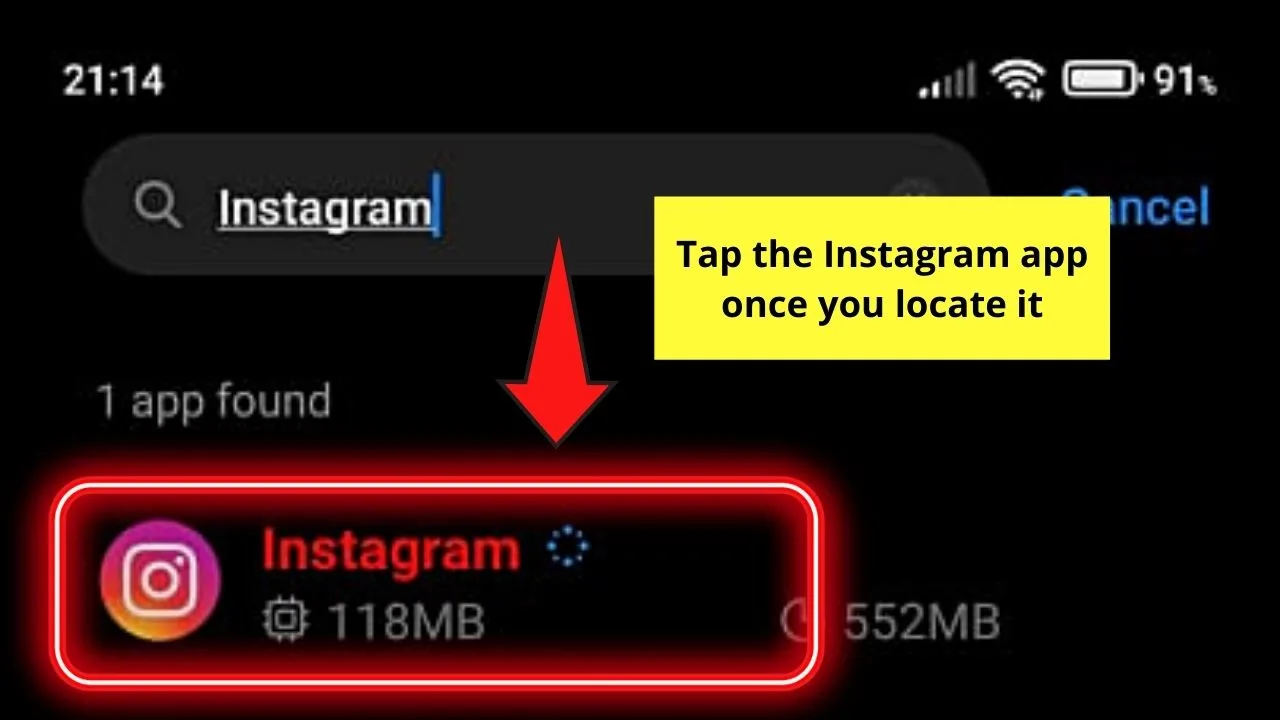
Step 3: On the Apps page, tap the search icon on the screen’s upper right corner to type “Instagram” on the search bar.
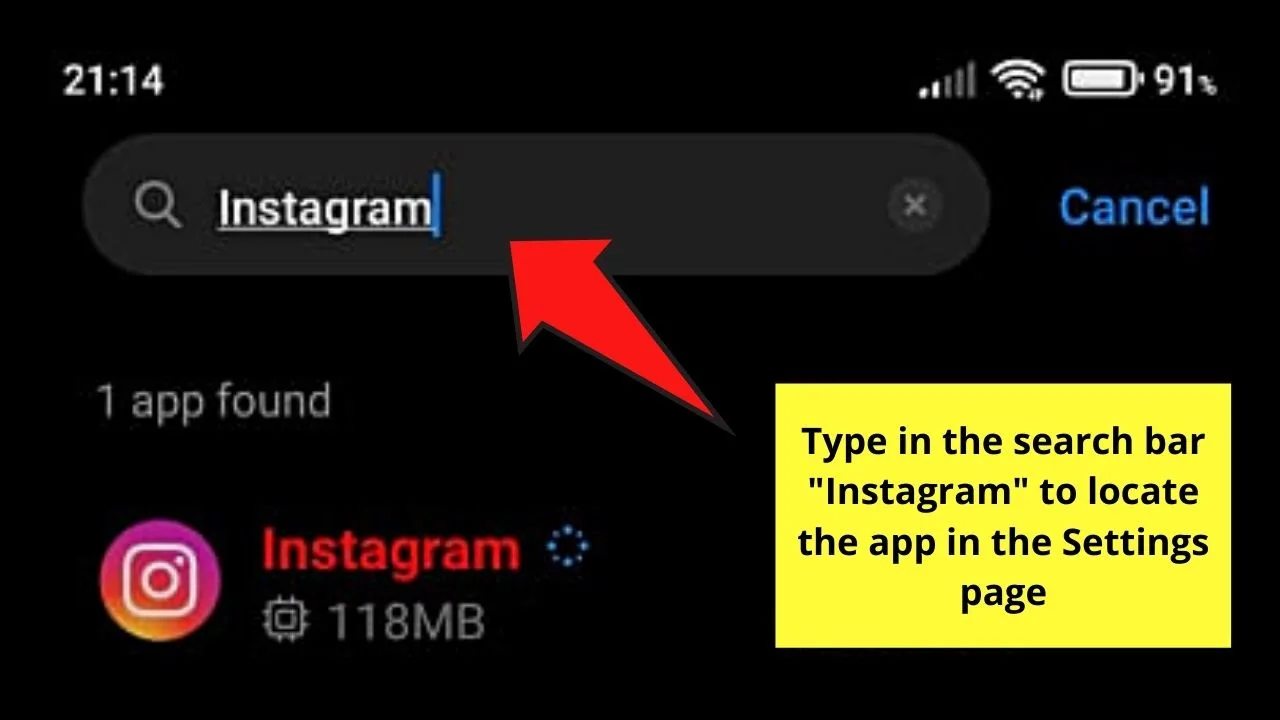
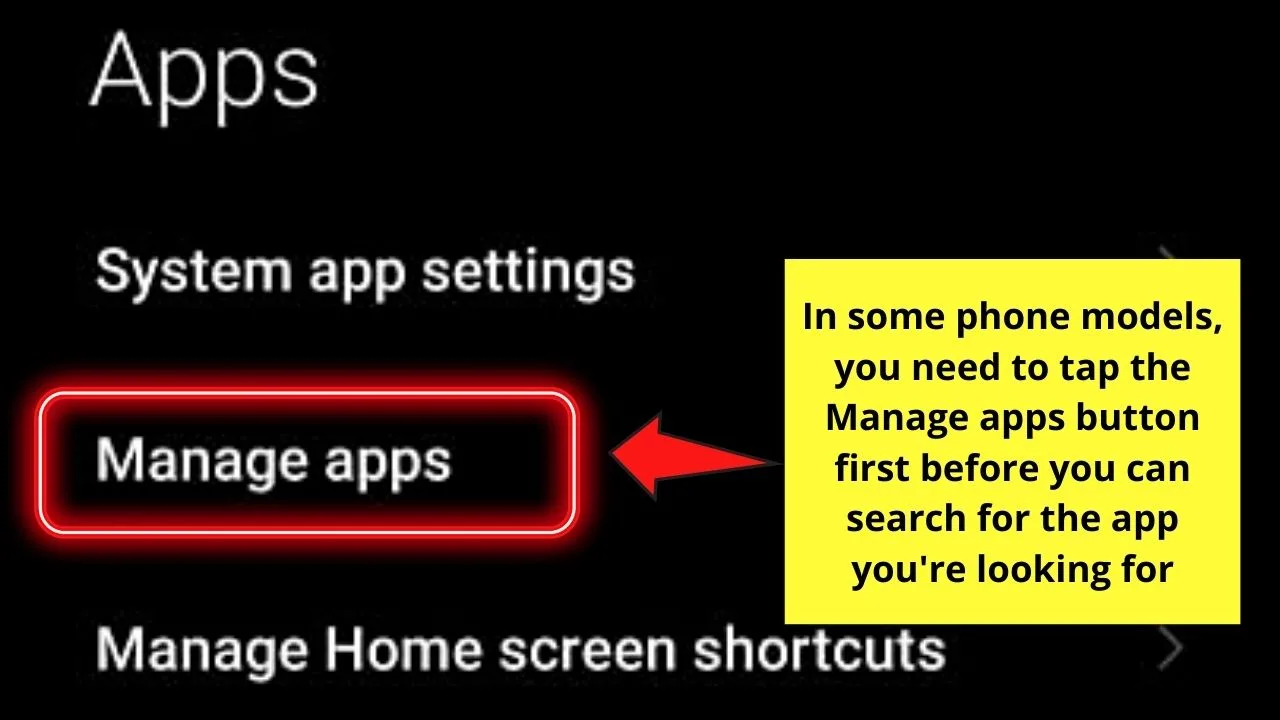
But, on some devices, you need to locate the Manage apps option first before you can see all the phone’s apps.
Or, if you prefer to manually locate the Instagram app, just scroll down until you see it.
And once you find the app, press it.
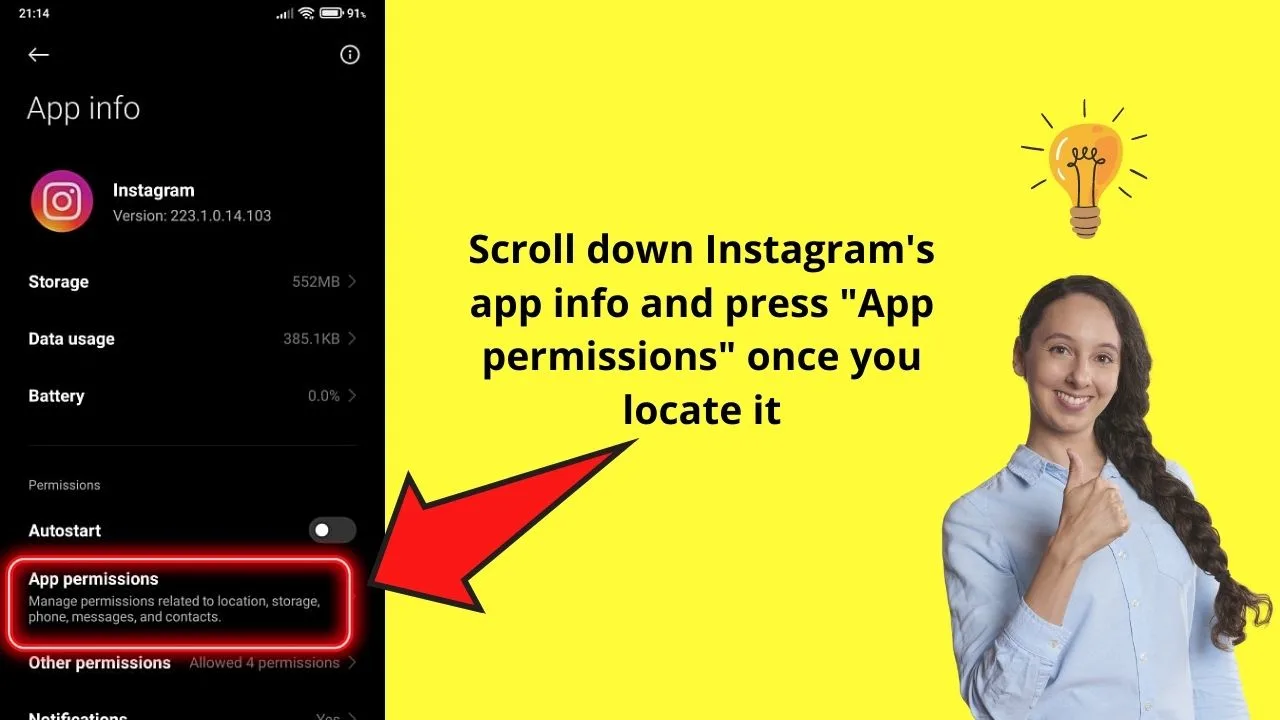
Step 4: You’ll then see various settings under the Instagram app.
Choose Permissions (or App permissions in some devices) by tapping it.
Again, if you’re on iOS, skip this step and head directly to Step 5.
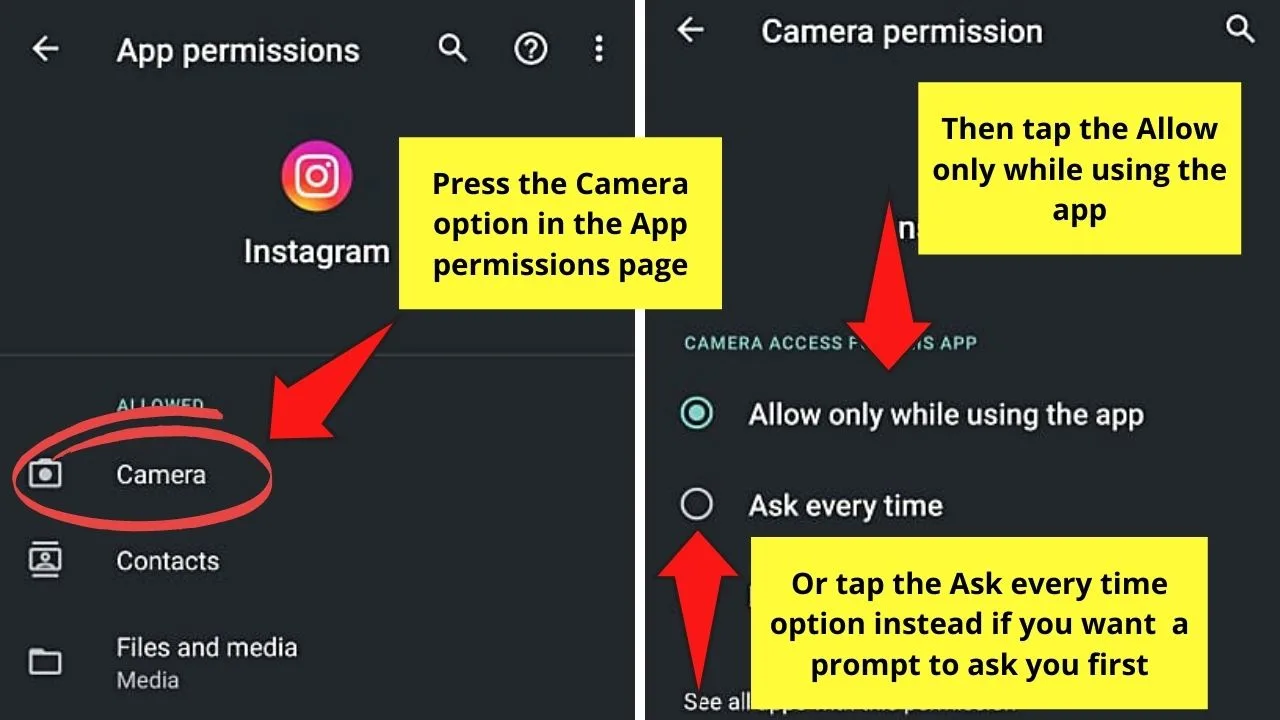
Step 5: On the Permissions page, press the Camera option and tap “Allow only when using the app.”
But, if you prefer not to automatically allow Instagram to access your camera, then, you can opt to tap “Ask every time.”
On iOS, however, you only need to switch the Camera toggle on if it’s not activated yet.
Step 6: After allowing Instagram to access your phone’s camera, head to the Microphone section and repeat the same process in Step 5.
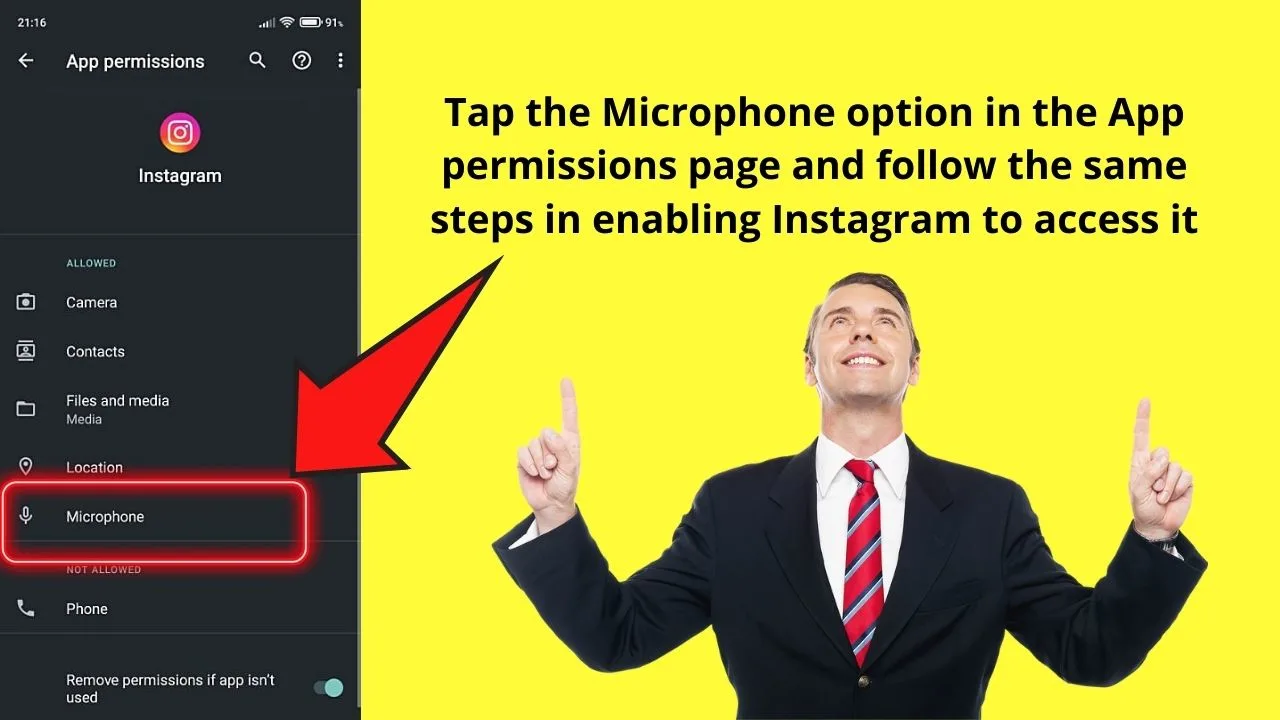
Switch the Microphone app’s toggle on if you also find that it’s not activated as well.
And, after enabling all these permissions, head back to your Instagram app and launch it.
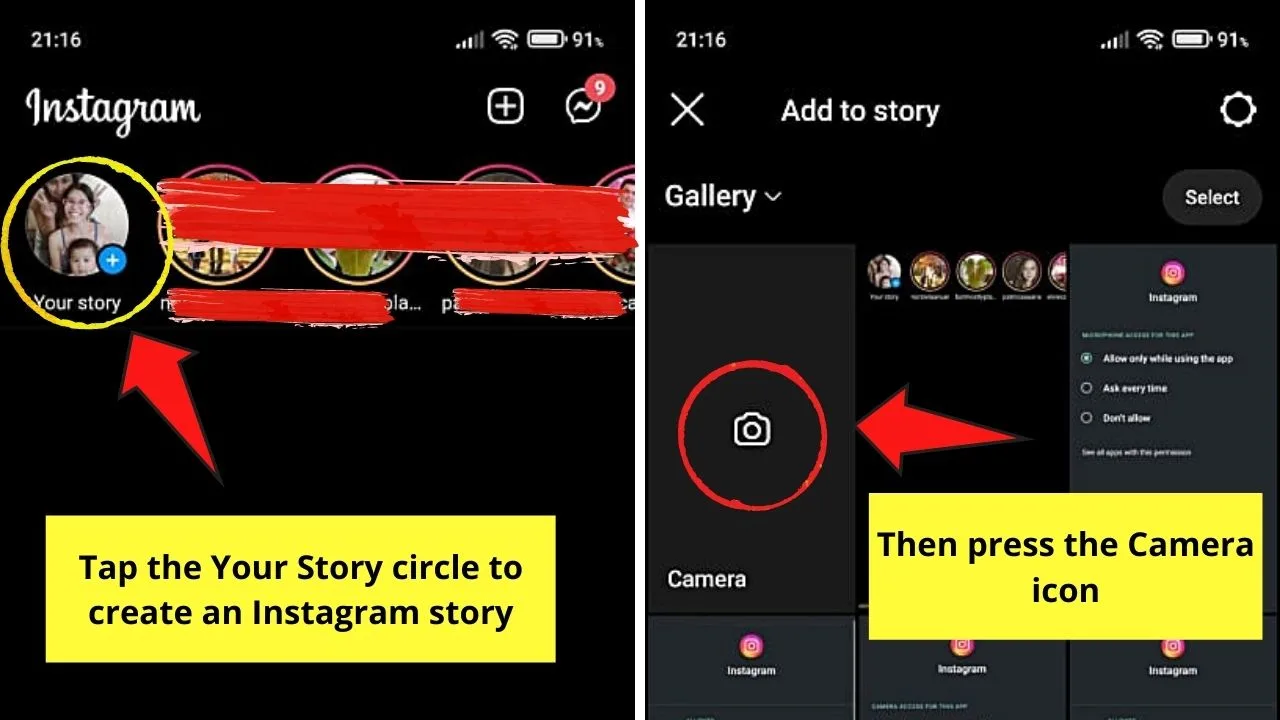
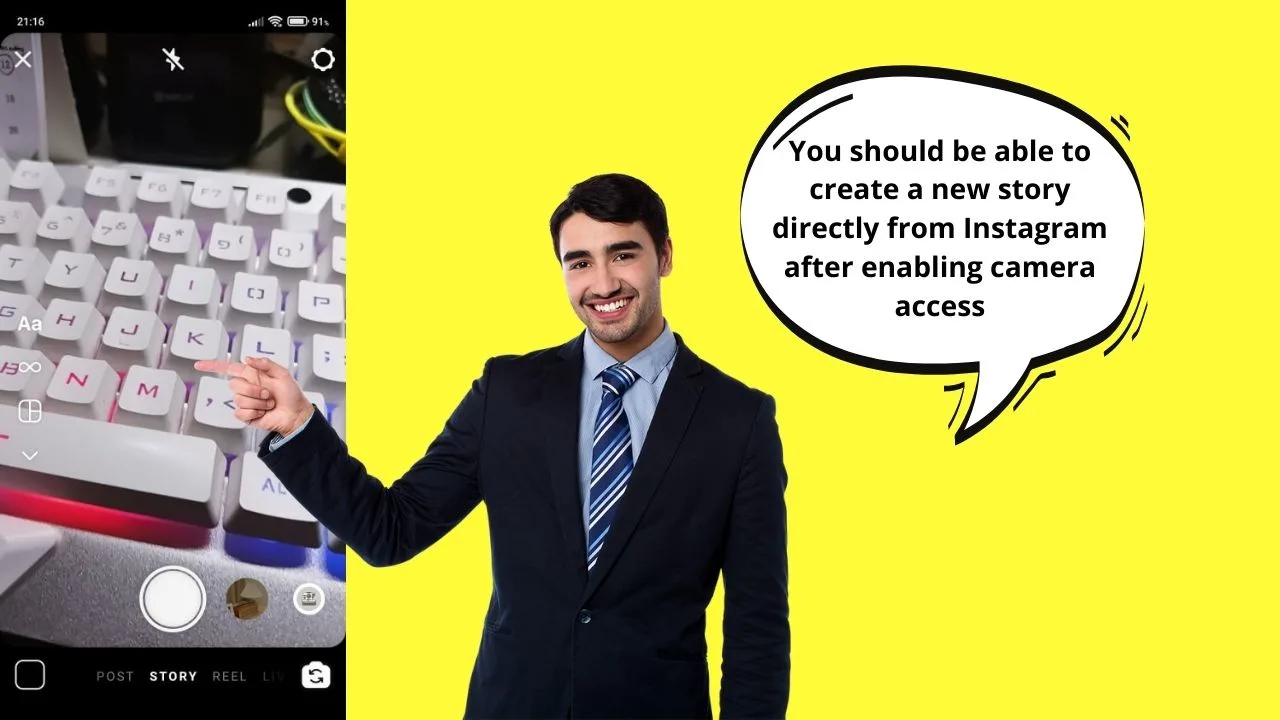
Creating a new story after tapping the Camera icon should proceed smoothly after enabling the camera access.
You can even upload the Instagram highlight covers you created in Canva if you have saved them on your phone’s gallery.
Or, you can feature the Instagram reels you created in Canva as well if you have one on your device.
How to Enable Camera Access on Instagram iOS
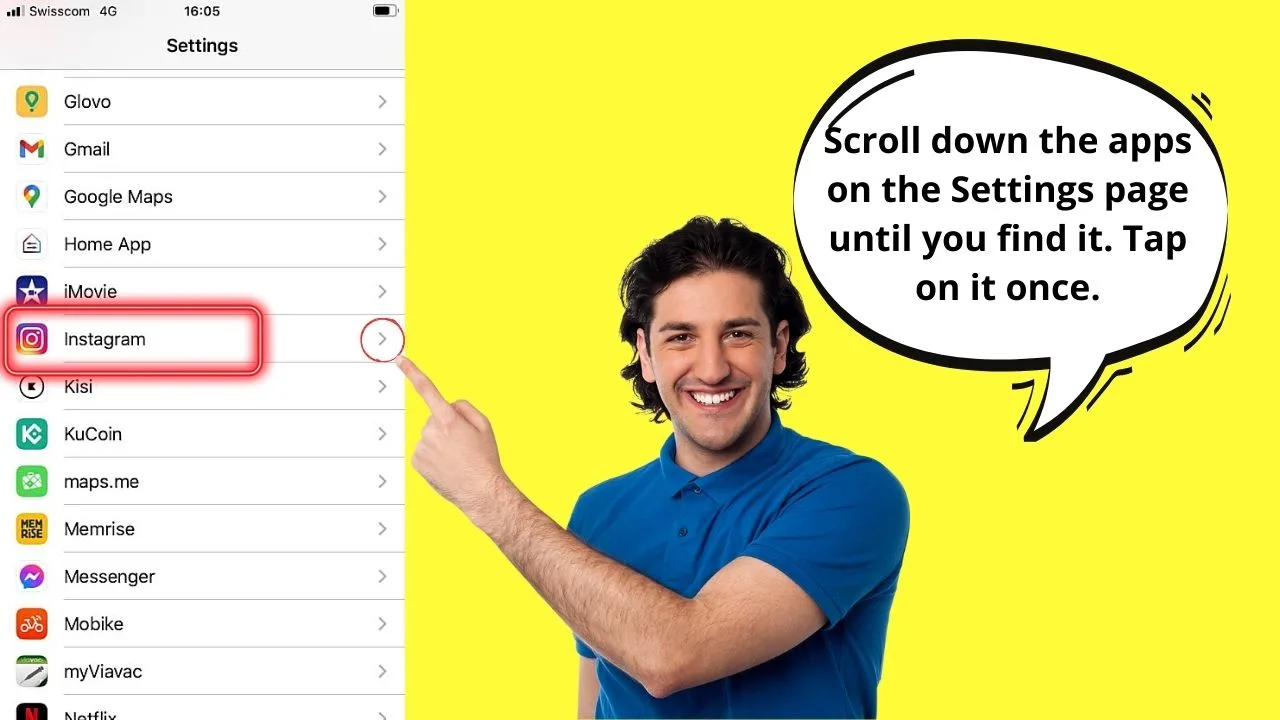
To enable camera access on Instagram on iOS, first, locate the Settings app on your home screen and tap it. Then, in the Apps section, scroll down and press the Instagram app once you find it. In the permissions list, make sure that the Camera toggle is on. Do the same for the Microphone app.
Enabling Camera Access on Instagram iOs — Step-by-step Guide
Step 1: On your iOS device’s home screen, tap the Settings app.
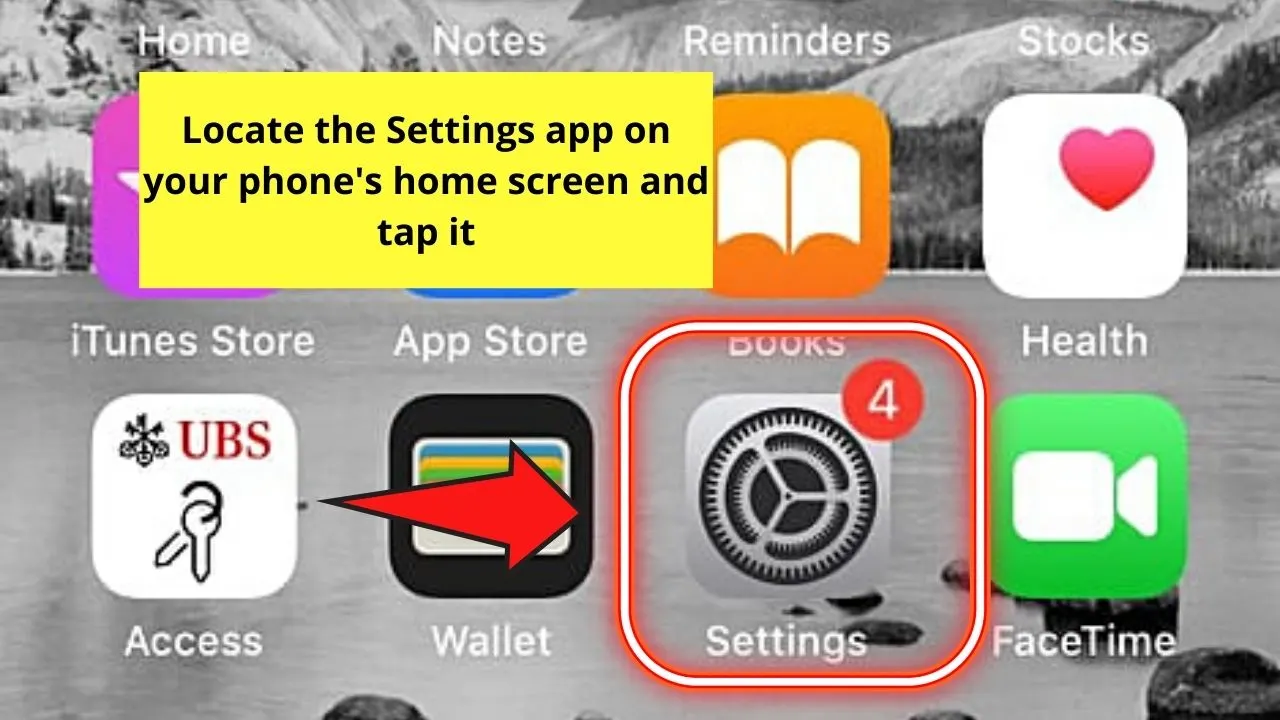
Step 2: Once you’re on the Settings page, you’ll see the applications list installed on your phone.
Locate the Instagram app by scrolling down the apps list. Tap on the “>” icon to proceed to the next page.
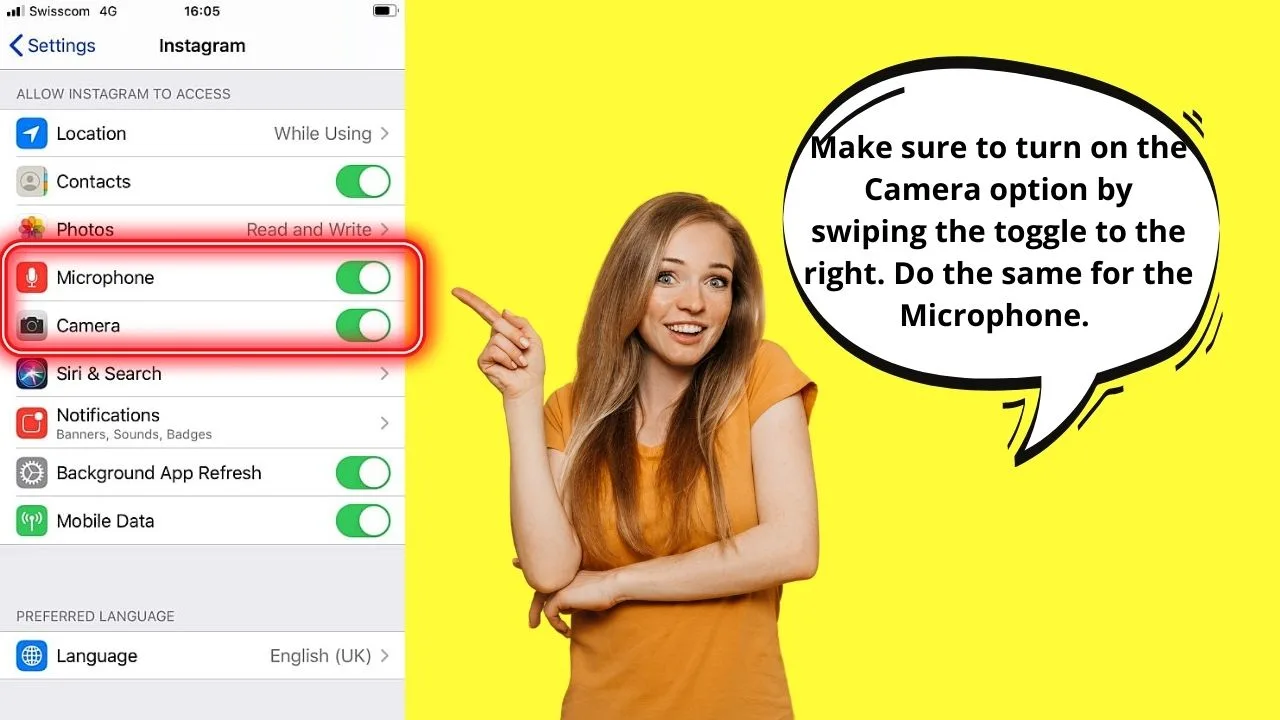
Step 3: Now, you’re inside the permissions page of the Instagram app where you’ll see the various apps that Instagram can access.
Locate the Camera app on the list, making sure that the toggle for the camera option’s on. You’ll know it’s on if you see the toggle turning green.
Then, while you’re on the permissions page, ensure the Microphone’s toggle is turned on as well.
And, just like in Android devices, exit the Settings app and launch Instagram again.
Tap the Your Story button on your Instagram feed, then the Camera icon to see if you can now create a story directly from the app itself.
So, what’re you waiting for? Enable the camera access on Instagram now!
Frequently Asked Questions about How to Enable Camera Access on Instagram
What’s the easiest way of allowing Instagram to access your device’s camera?
The easiest way of enabling Instagram to have camera access is to press the “Allow only when using app” option as soon as a prompt appears. This notification appears the first time you launch Instagram.
Where can I find the camera permissions for Instagram?
You can access the camera permissions for Instagram by tapping the Settings app first. Then, search for the Instagram app, tap it, and then locate the Camera permissions on the page. Turn the toggle on if you’re on iOS and press the “Allow only when using app” option to activate it.

Hey guys! It’s me, Marcel, aka Maschi. On MaschiTuts, it’s all about tutorials! No matter the topic of the article, the goal always remains the same: Providing you guys with the most in-depth and helpful tutorials!


