Illustrating the ocean or something close like the beach? Illustrating waves with bold, clean peaks and curves can be difficult, especially eyeballing the curvature with just the pen tool.
You’re looking to make every peak and wave look the same because the focus will be on the rest of your content, this is a decorative element that needs to be easy to interpret.
Copying, pasting and aligning them all individually could take all day!
In this tutorial the process is set up in a way that you can do again and again with no guess-work about how high your waves should be or how to get them to curve enough to be recognizable quickly or from a distance.
It’s also fast: using Illustrator’s shortcuts and features to make the most out of every click.
How To Make Waves in Illustrator
Overlap two different sizes of circles, and use them as a guide. Make your wave using the part of the larger circle that doesn’t overlap as the peak of the wave. Once you have one wave, duplicate it in a line until your waves reach the distance you want them to. Select them all, right-click and “Join” them. Close the shape on the bottom and color it. Copy it a couple of times, changing the position and color to show different waves.
How To Make Waves in Illustrator: In-Depth Tutorial
Part 1: Shape of the Wave
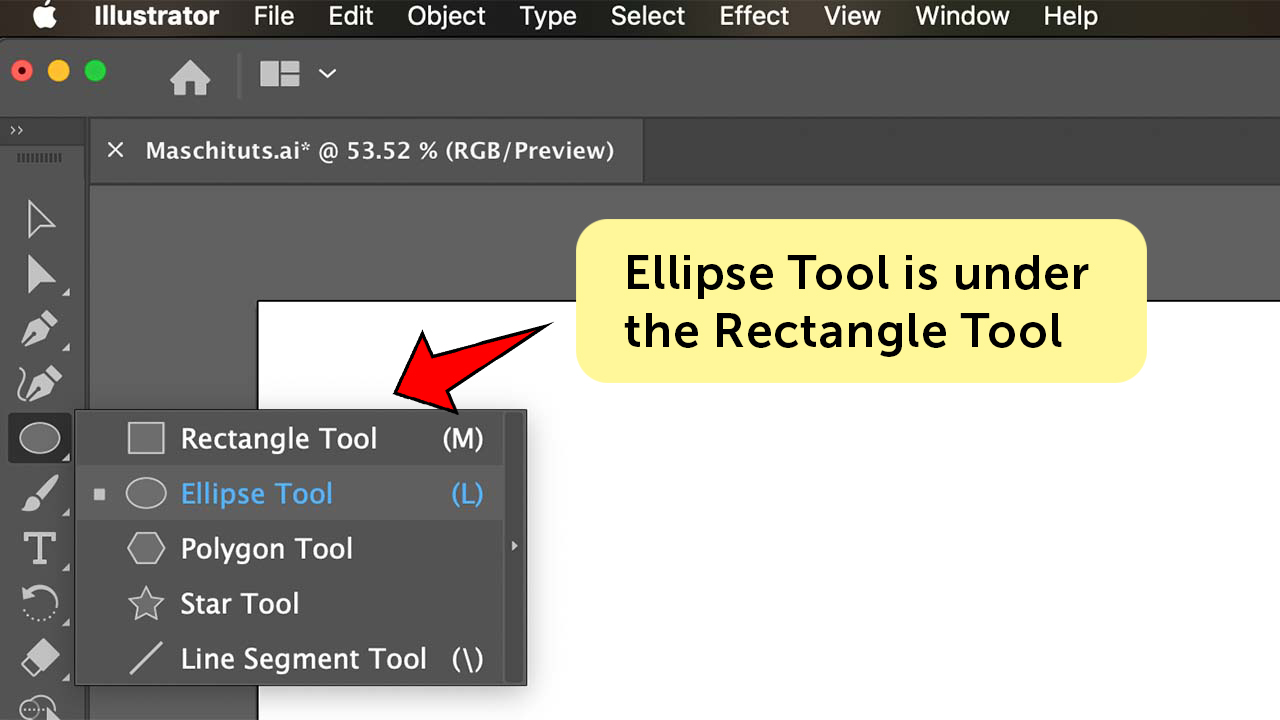
Step 1: Select the Ellipse tool, it may be hiding underneath your rectangle tool. To select it, click and hold the rectangle tool to show what’s underneath. You could also use the keyboard shortcut, the “L” key. We’ll be making circles with it.
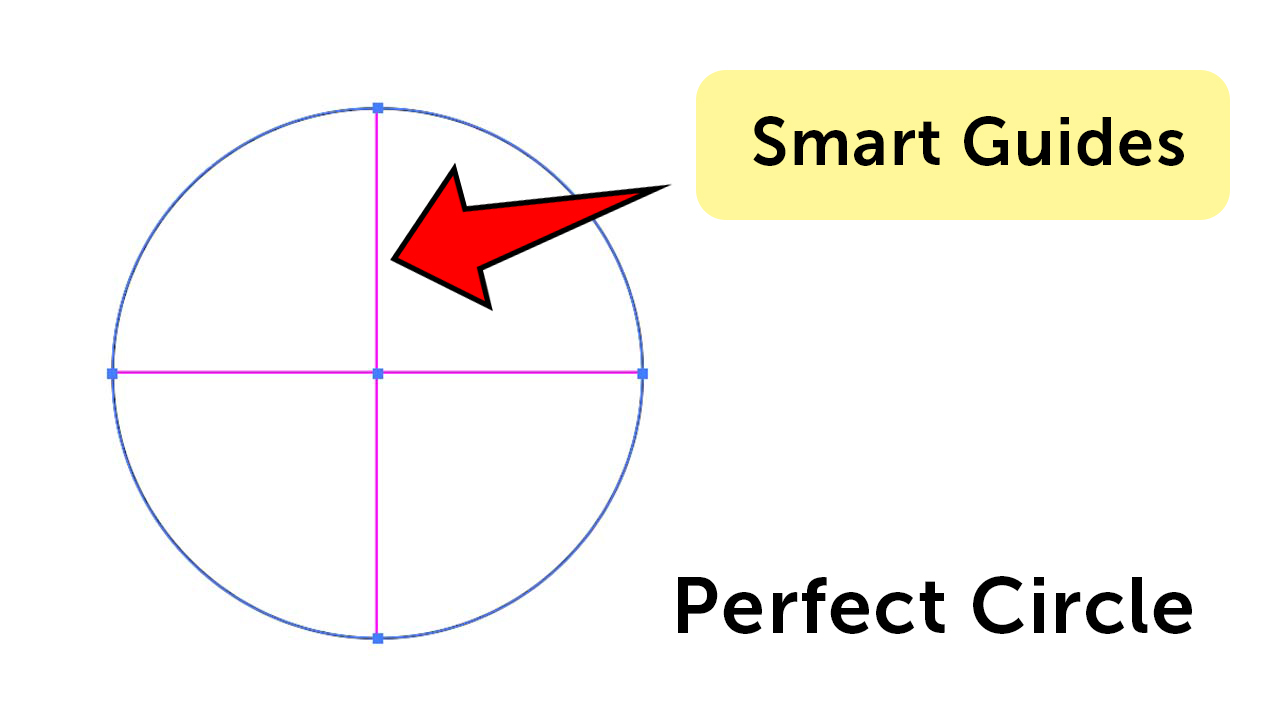
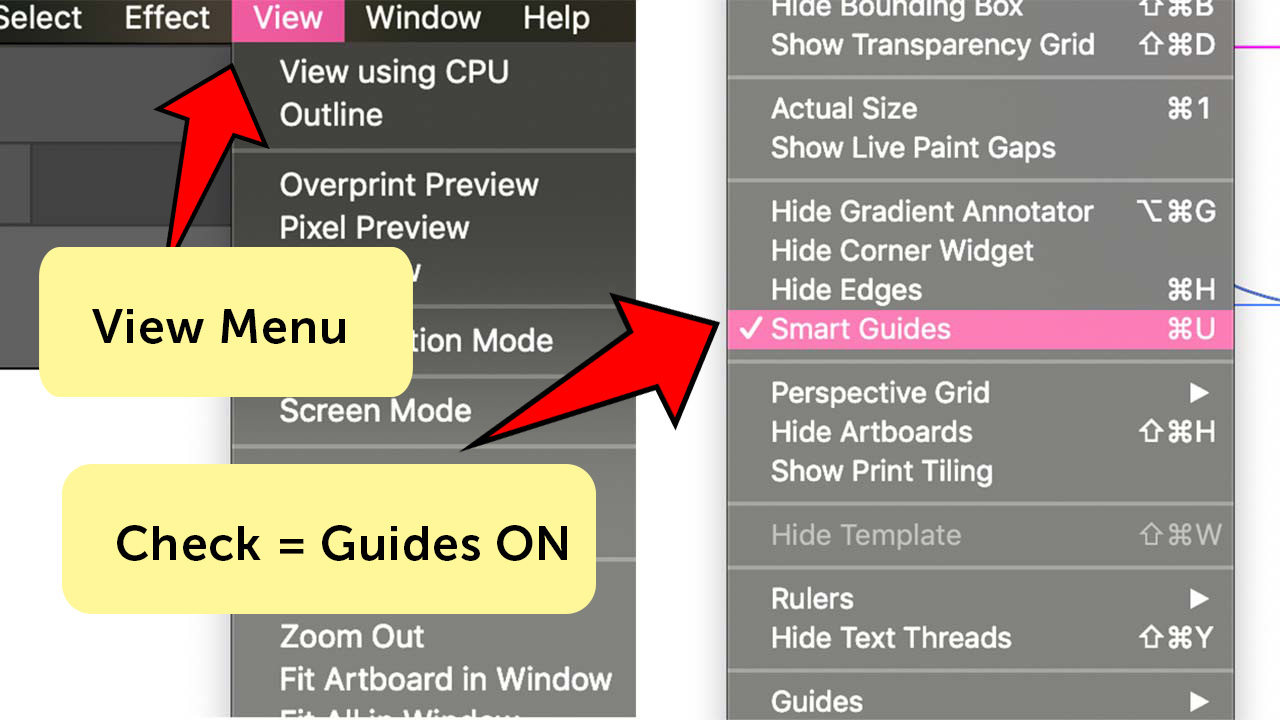
Step 2: Holding down “Shift”, draw two circles of different sizes. When you see the pink lines inside, you’ll know that it’s a circle. These are Smart Guides meant to help you position things on your page and they are on by default. If you don’t see these when using “Shift” to draw a circle, that’s okay. The Smart Guides can be turned on using the menu “View > Smart Guides”. When they are on, an arrow appears next to the option in the menu.
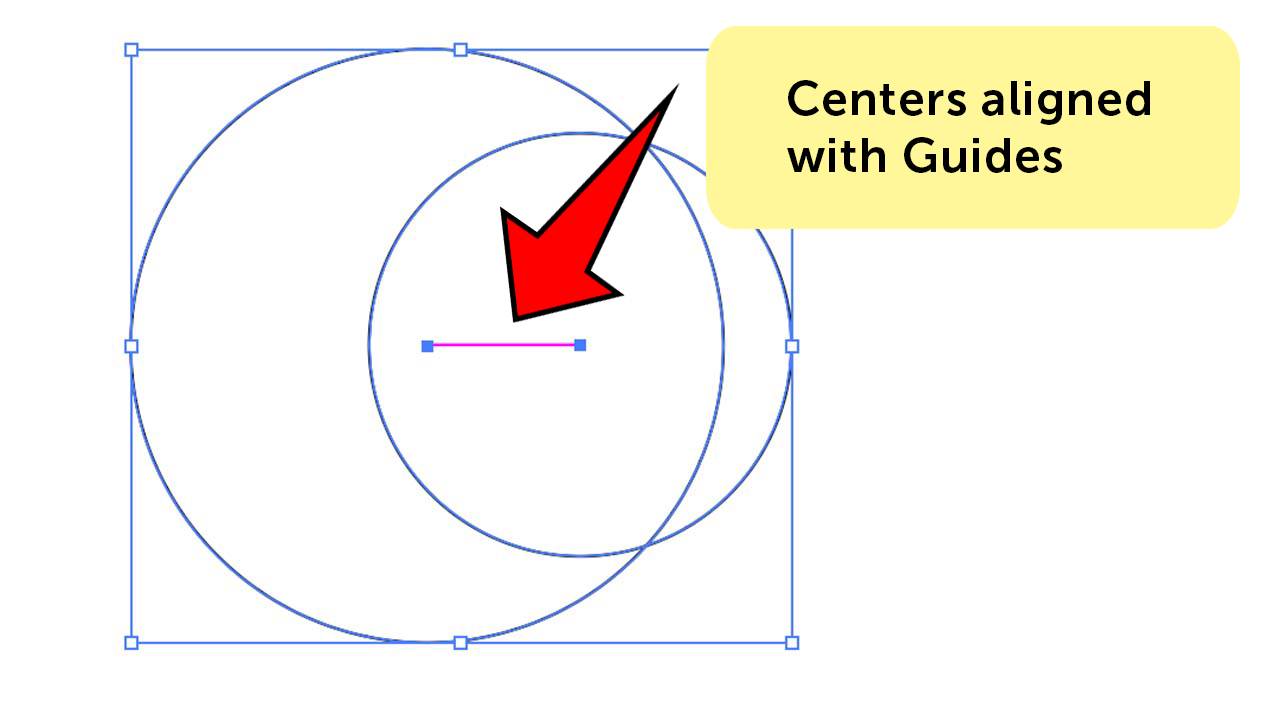
Step 3: Line up your two circles. The center of each should align with a guide connecting them when dragging one of the circles. Make sure they overlap but not completely.
If you can’t see the outlines of both completely, they have a white filling. To fix this, go to your active colors, just below the toolbar with both circles selected.
Your fill is solid and white by default, while your stroke is the rectangle without a fill, black by default. Select the fill and click the “None” option below it: it’s a red line through a square to the right.
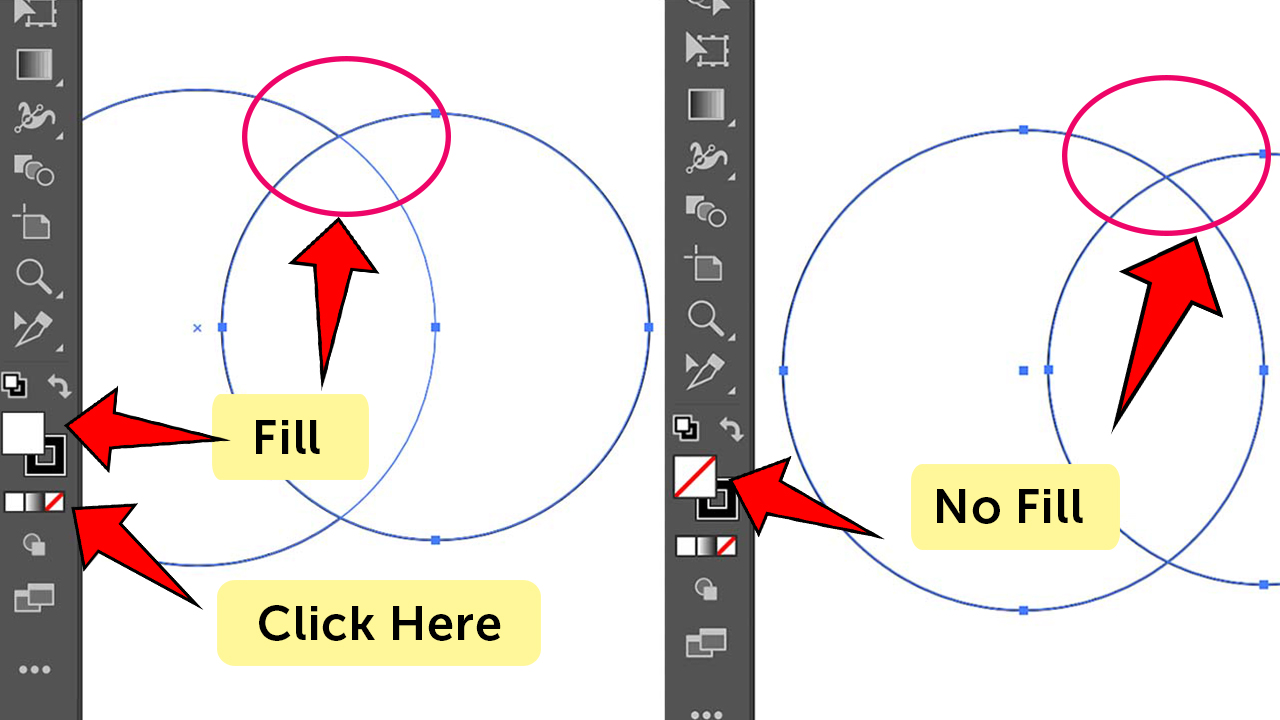
The keyboard shortcut for “None” is the forward slash key “ / “.
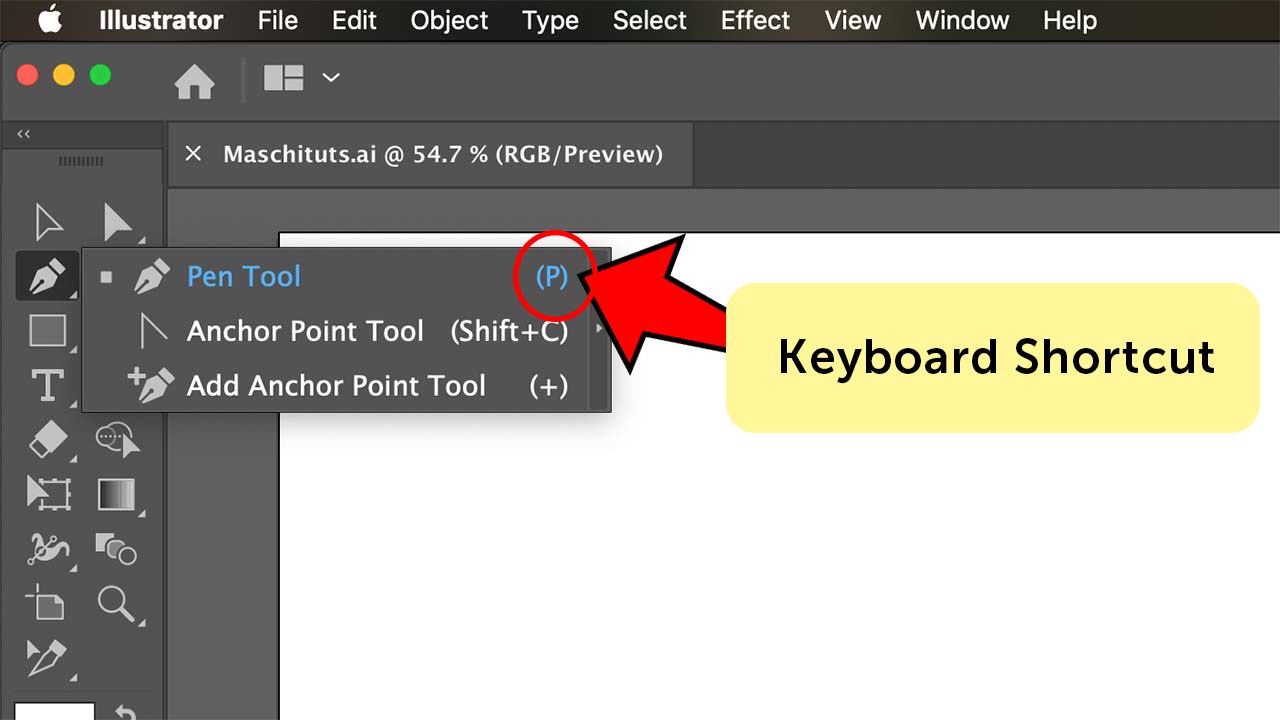
Step 4: Select the Pen Tool. Its keyboard shortcut is “P” and it’s near the top of the Tools Bar.
It’s the most used tool in Illustrator and we’ll be using it to draw our waves.
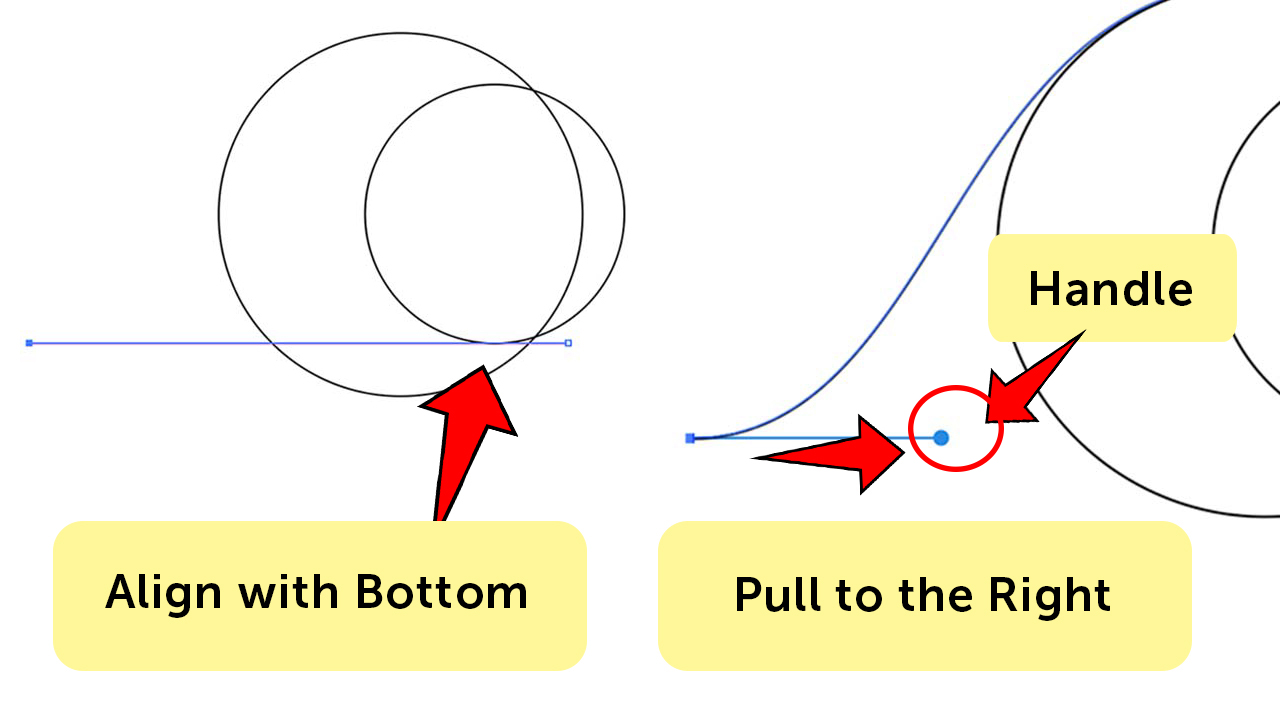
Step 5: Start a path outside of the two circles. Use a smart guide to align this first point with the bottom of the smaller circle, holding “Shift” and dragging to the right.
Holding “Shift” with the pen tool while dragging means that the path you draw will be bent towards one of eight directions: up, down, left, right, or one of the four inbetween those. In this case, we want our curve to go to the right.
You’ll notice extra lines with dots on the end coming from your points. The ends are called handles because when you move them, you are handling the path directly, changing its shape. There’s no need to do that now though.
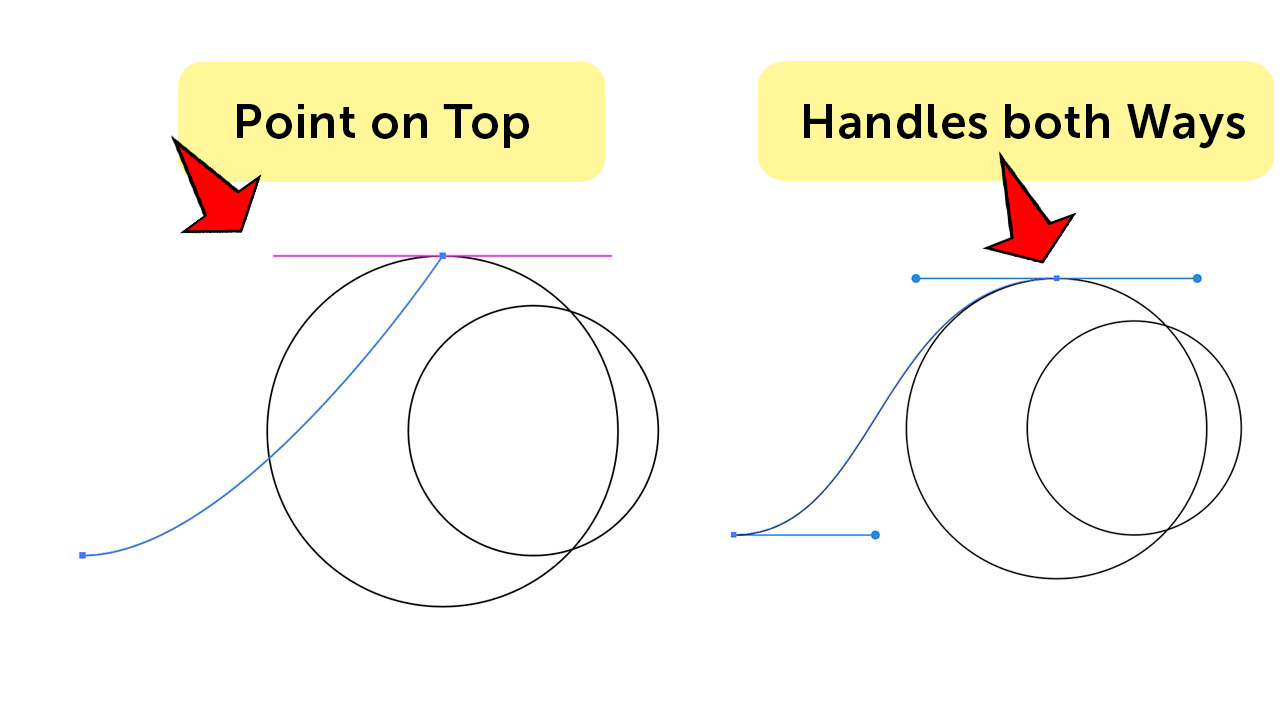
Step 6: Create the second point at the top of the larger circle, holding “Shift” and dragging right. Before placing the point, the smart guide will appear.
You’ll notice that there are two lines coming from your point, going left and right. This is perfect, and we’ll be keeping the one on the left. Still drag right because that’s the direction the path is going next.
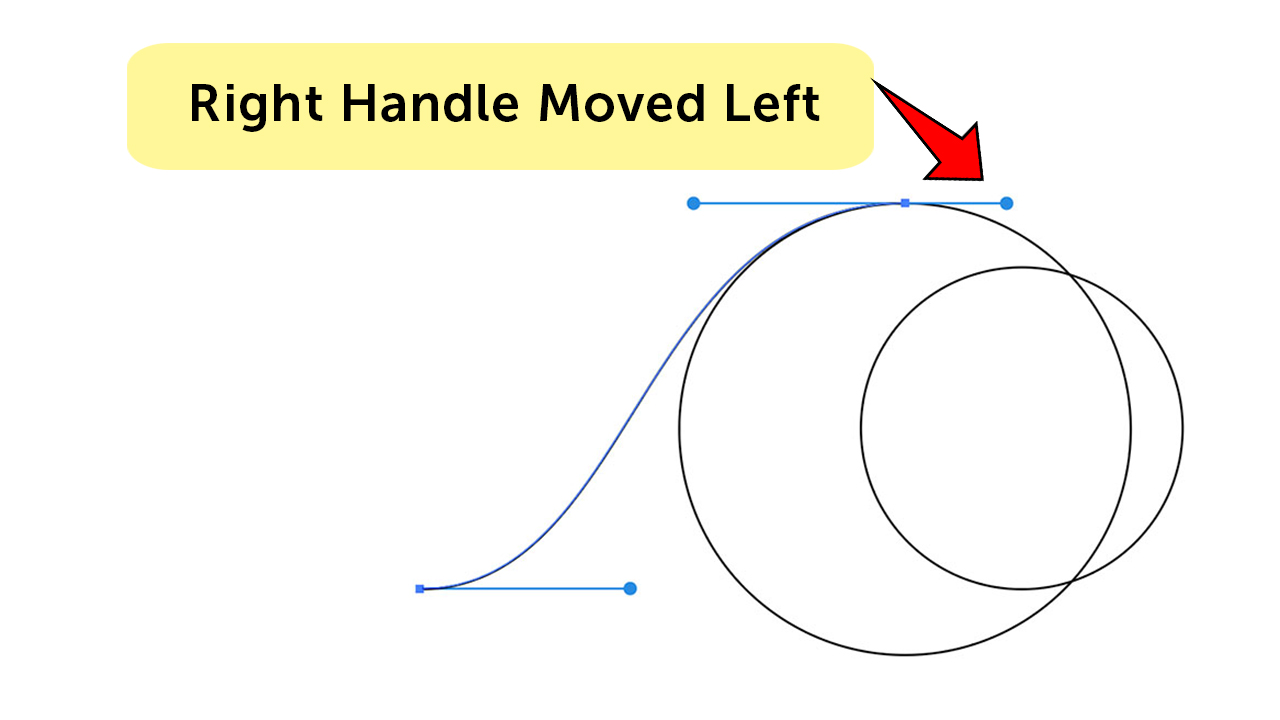
Step 7: Edit the curve. To make the right side curve differently than the left, hold “Shift” and click on the last point and drag right, only a little bit. Make sure that the handle doesn’t go farther right than where the circles intersect.
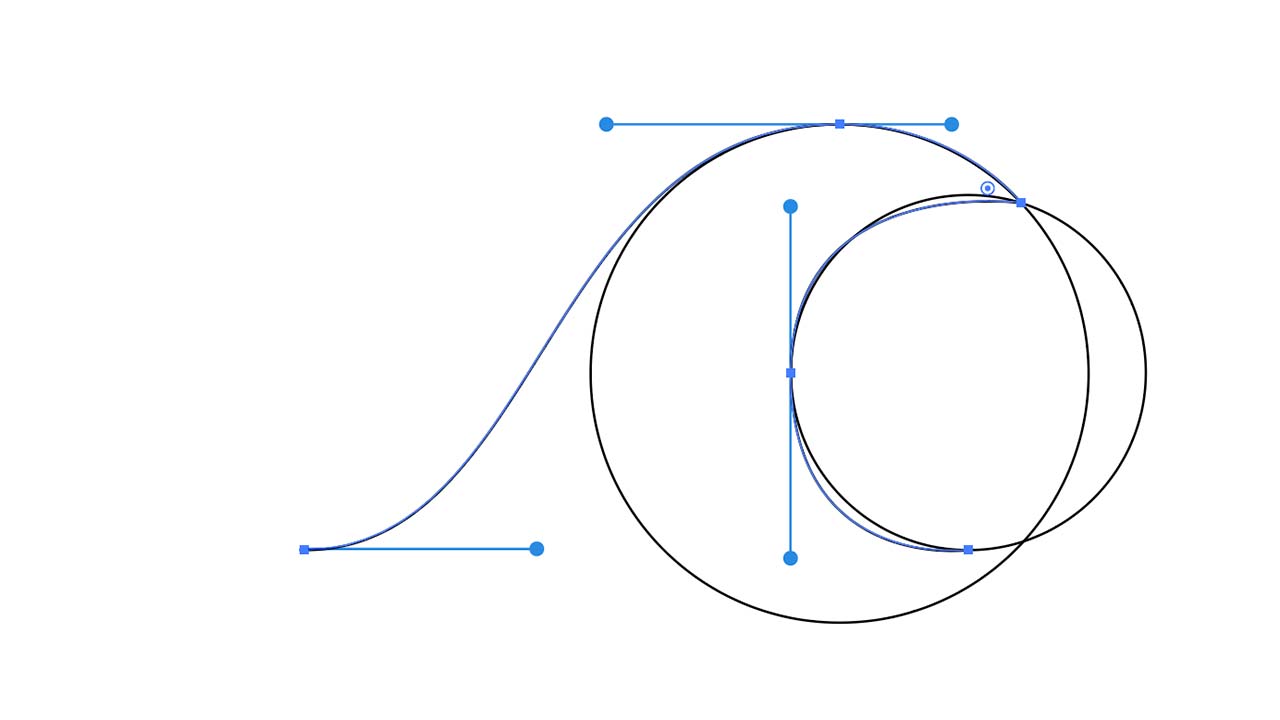
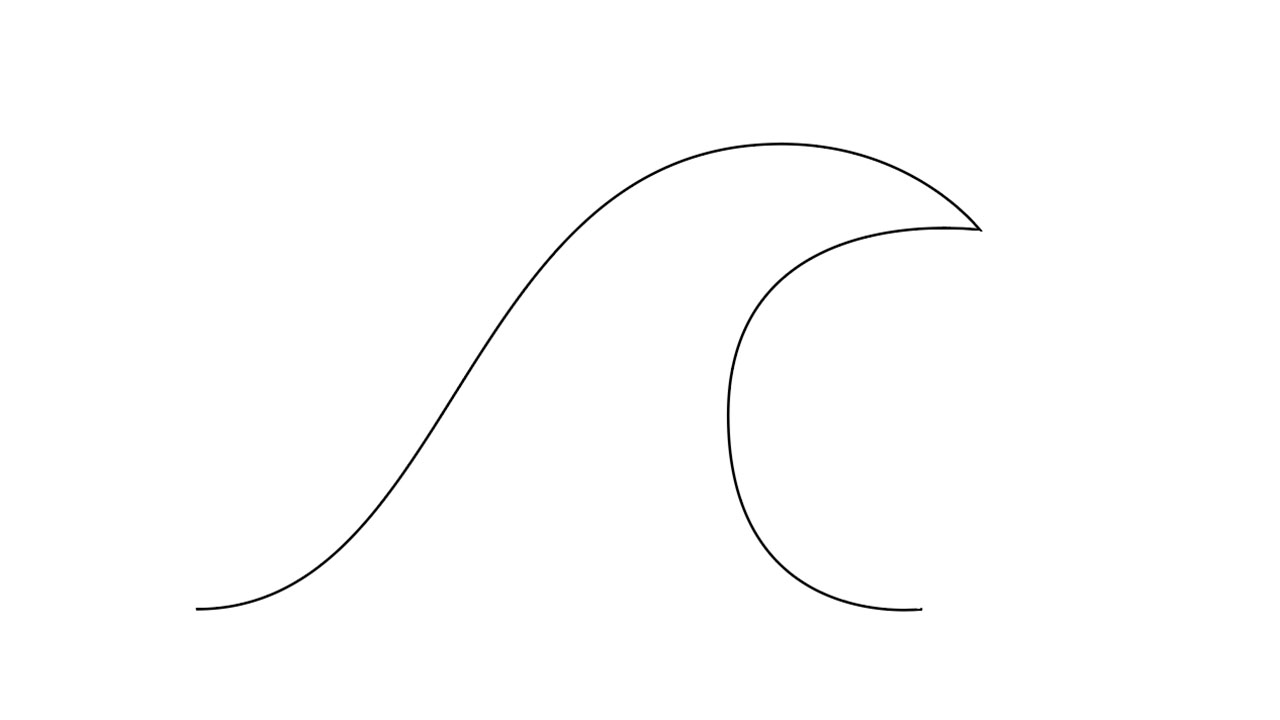
Step 8: Finish the path. The next point will be where the circles cross, at the top. Place the next point at the left of the smaller circle, holding “Shift” and dragging down. The last point will be at the bottom of the smaller circle. Now your path looks like a wave!
Part 2: Filling out the Waves
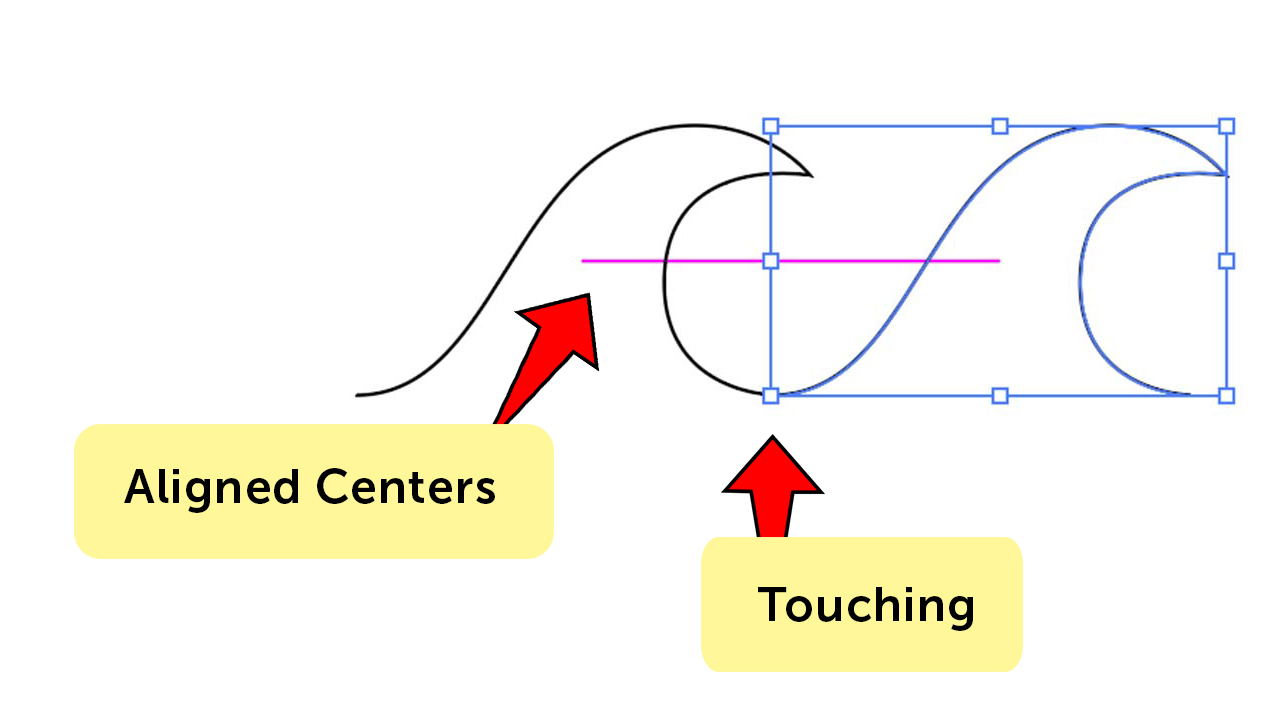
Step 1: Copy the wave shape next to it. Drag the object while holding the “Option” key (Mac) or “Alt” key (Windows) to duplicate it. Align the waves with a smart guide so that their centers are at the same height on the page, letting them touch. Do this in one motion to make the next step work.
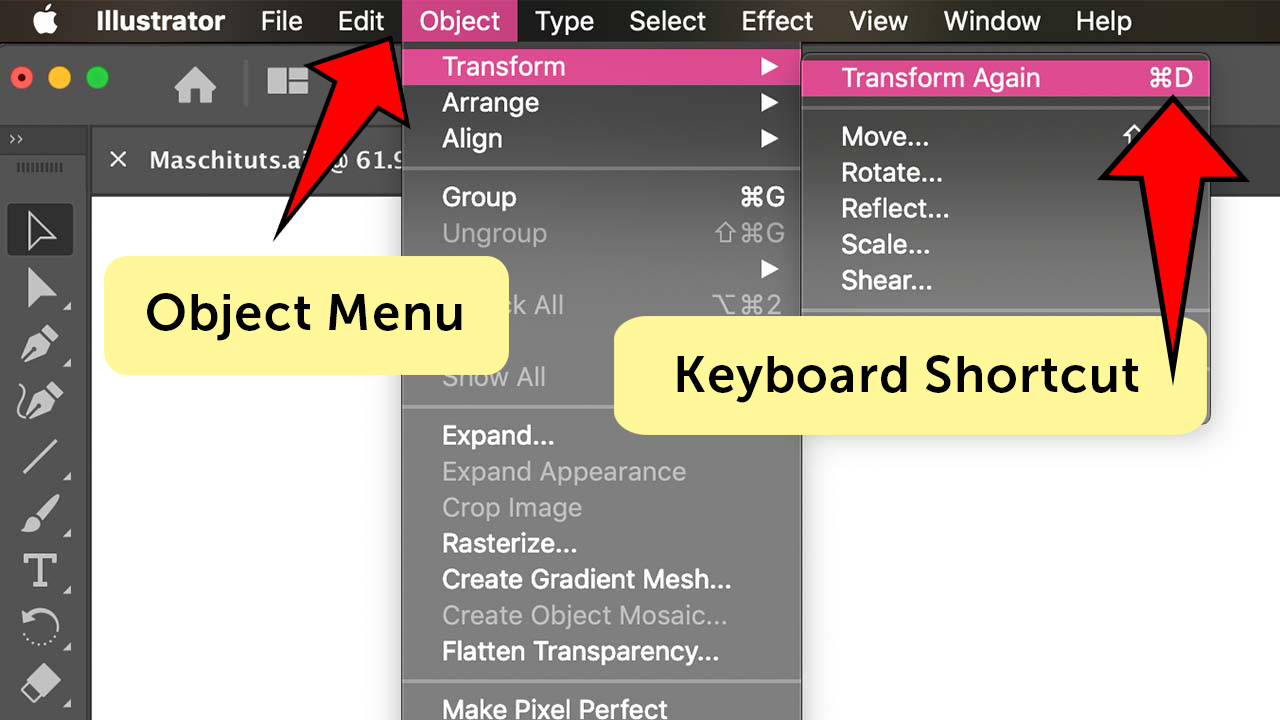
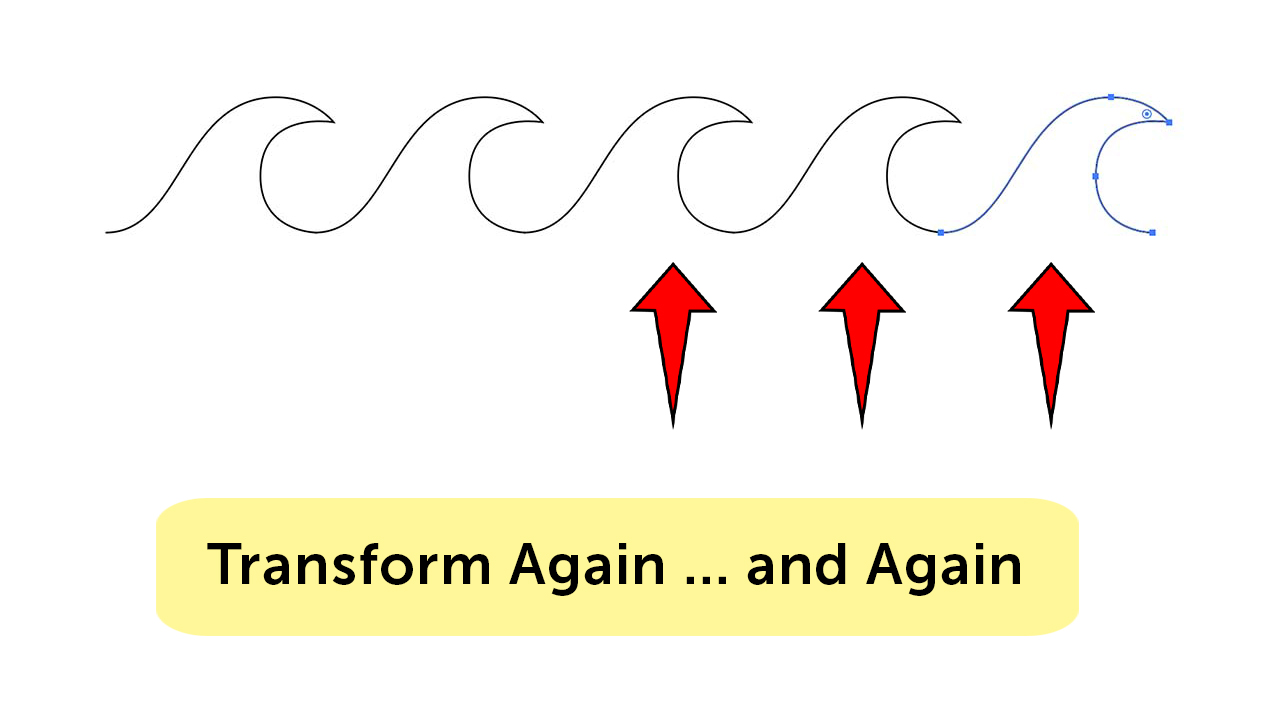
Step 2: Transform Again. You can do this quickly by using the keyboard shortcut “Command + D” (Mac) or “Control + D” (Windows). Do this as many times as you like to make your waves as long as you like.
Step 3: Make them become one! With all of your waves selected, right-click somewhere and select “Join”. To fill your image side to side, let the path hang off a little bit on both the left and the right.

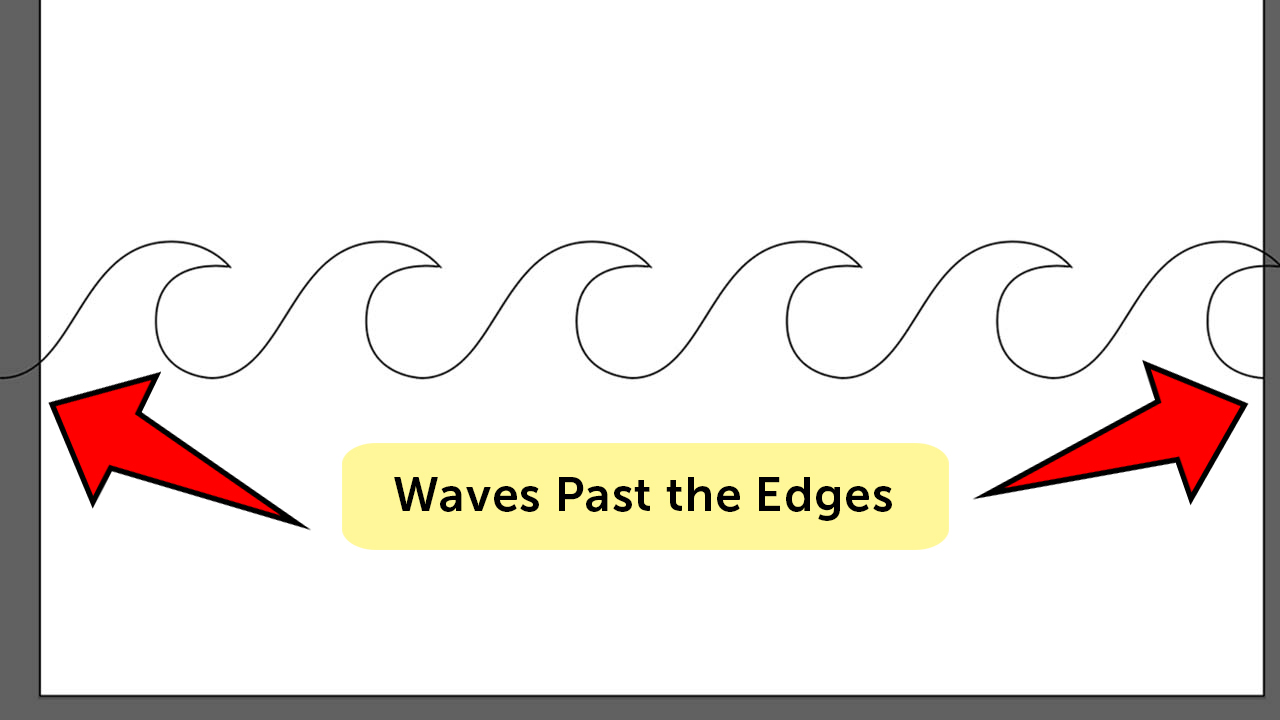
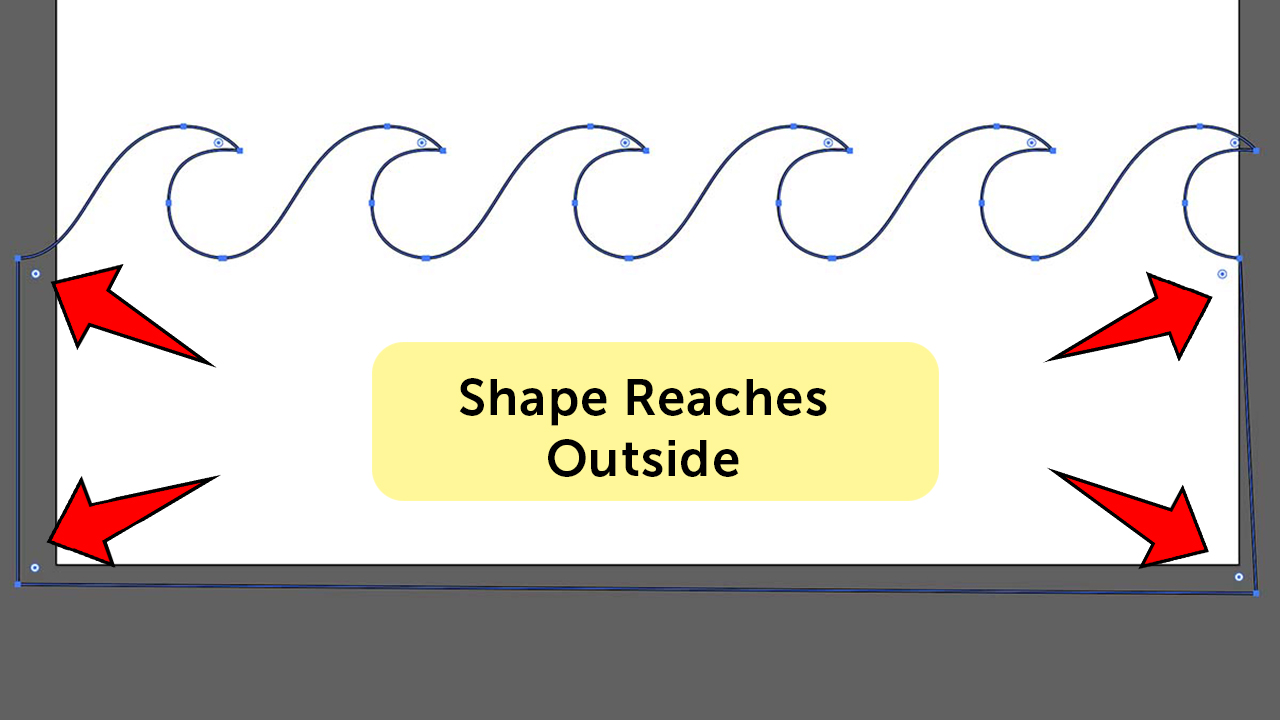
Step 4: Close the shape. Using the pen tool, click on the last point to the right. Before you click you should see a small slash next to your cursor telling you that you’ll be connecting to the path you already have. Make points around the outside of your artboard and connect to the other side.
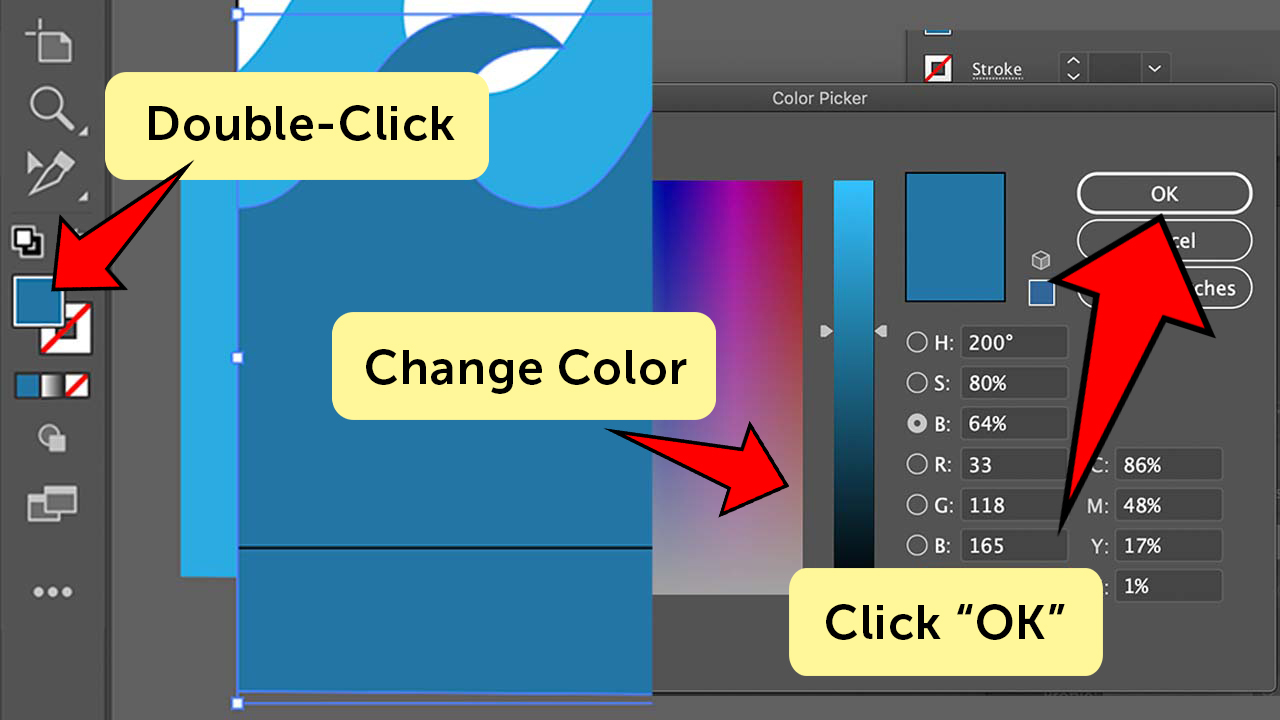
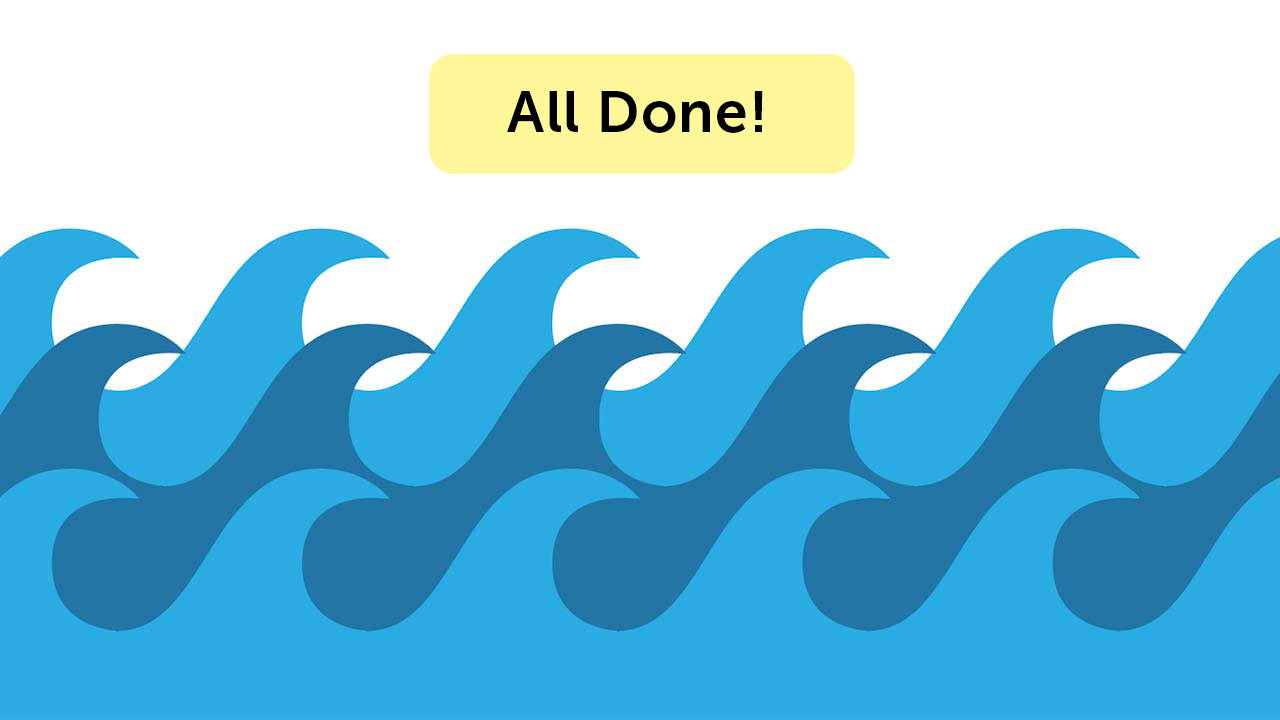
Step 5: Fill with any color you like. To make the waves feel spacious, copy and paste the shape once, moving it down and a little to either the right or the left. Make the color a little darker by double-clicking on the active color and using the Color Picker. Step 6: Copy the lighter waves and paste the shape on top, moving it down. Now you’ve got 3 layers of waves!