

The blending tool in Adobe Illustrator is a very powerful tool that can help you create remarkable blends.
It can be used in a wide variety of ways, and can blend lines, colors, and shapes. It is used to create and distribute shapes evenly between two objects.
It is also used to create color transitions using geometric figures.
If you are looking for abstract elements to add to your design, the blending tool in Adobe Illustrator is the perfect tool.
Here’s a guide to blending objects in Adobe Illustrator in simple and easy eight steps.
How to blend objects in Illustrator?
First, draw two shapes and give each a color. Next, press (W) or choose the Blending tool from the Tools Panel and click on the first shape and then click on the second. If you want to experiment with this tool, you can change the Blend Options by going to Object, Blend and choose Blend Options.
Step 1:
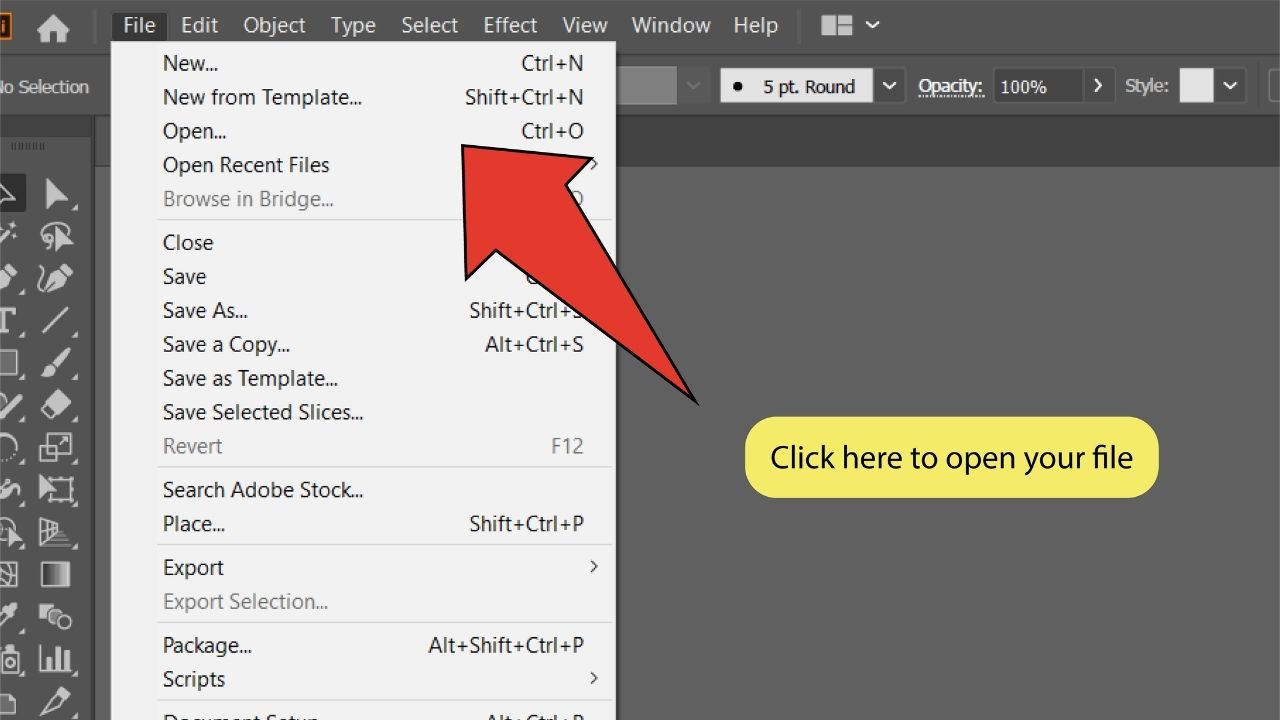
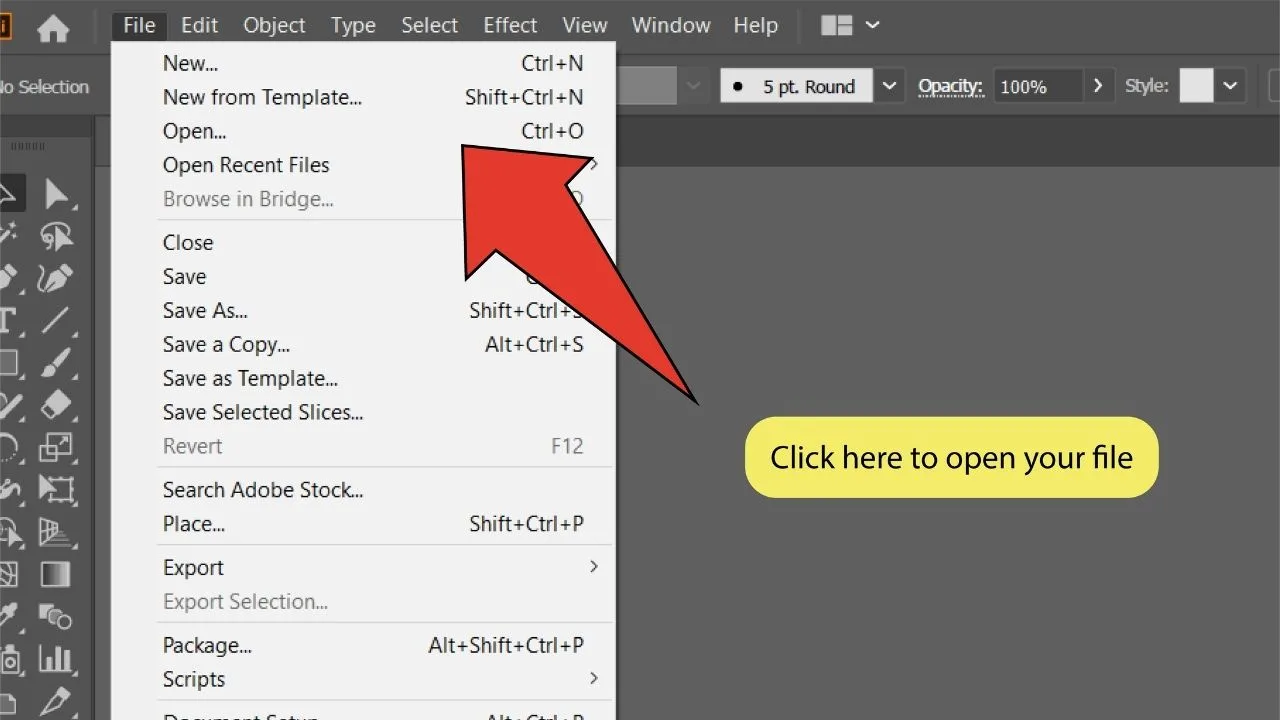
Open your Illustrator file. To start, open your document by double clicking on its corresponding Illustrator file, or if Illustrator is already open, you can go to “File” on the top menu, and then “Open” and choose the file you want to open. To speed things up, you can also use the keyboard shortcut COMMAND+O (MAC) “Ctrl+O” (Windows).

Step 2:
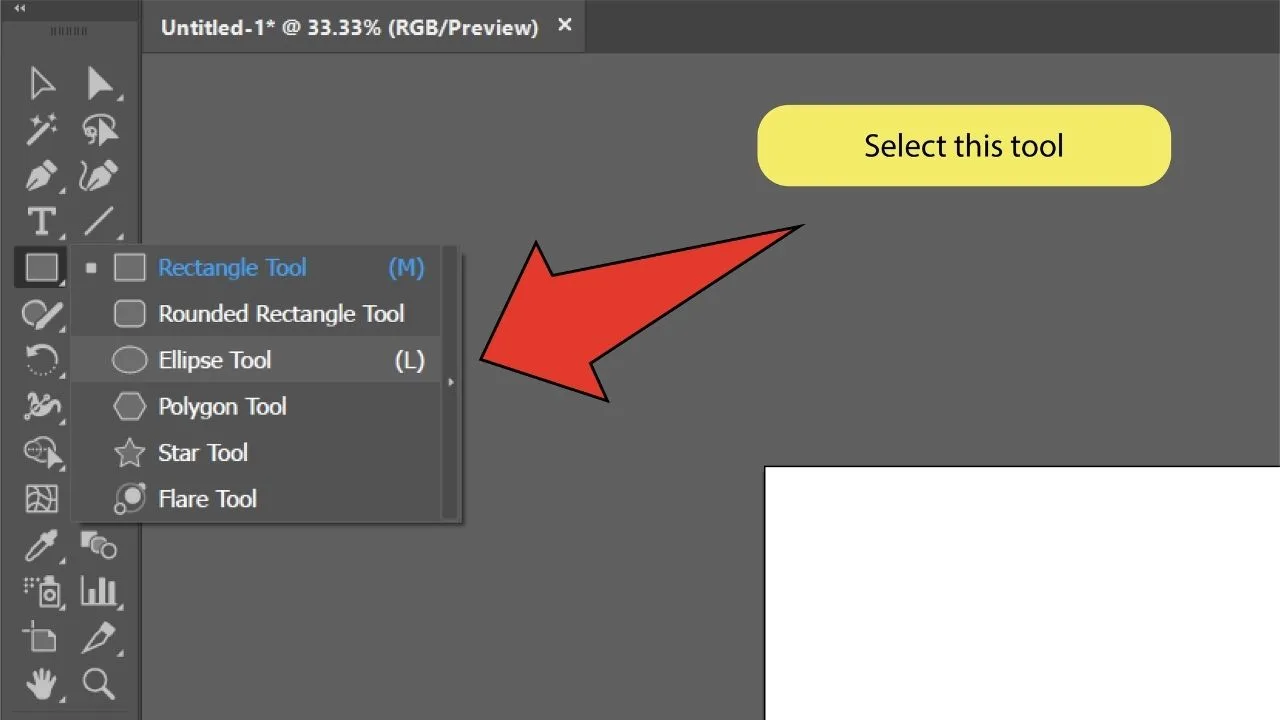
Find and select the Ellipse tool. Look for and equip the Ellipse tool, located on the toolbar on the left side of your screen. (If you can’t find the Ellipse tool, click and hold down the mouse button on the Rectangle tool in the Tools panel, and select the Ellipse tool). Alternatively, you can use the keyboard shortcut “L” to quick-select the tool.
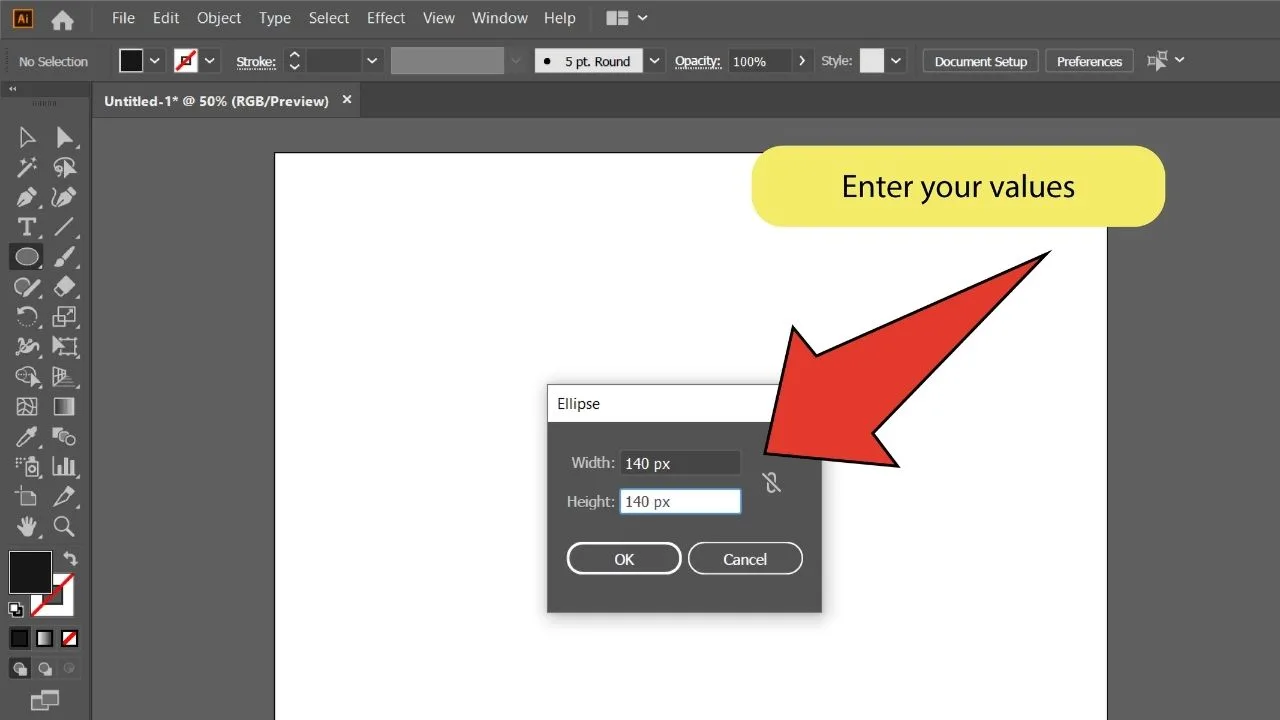
Step 3:
Place an ellipse. Click on your artboard and enter the height and width of your table into the window (labeled “Ellipse”) that pops up, then click “OK”. A rectangle fitting your specifications will appear on your artboard. You can also use this tool to click and drag an ellipse matching the size you want on your artboard.


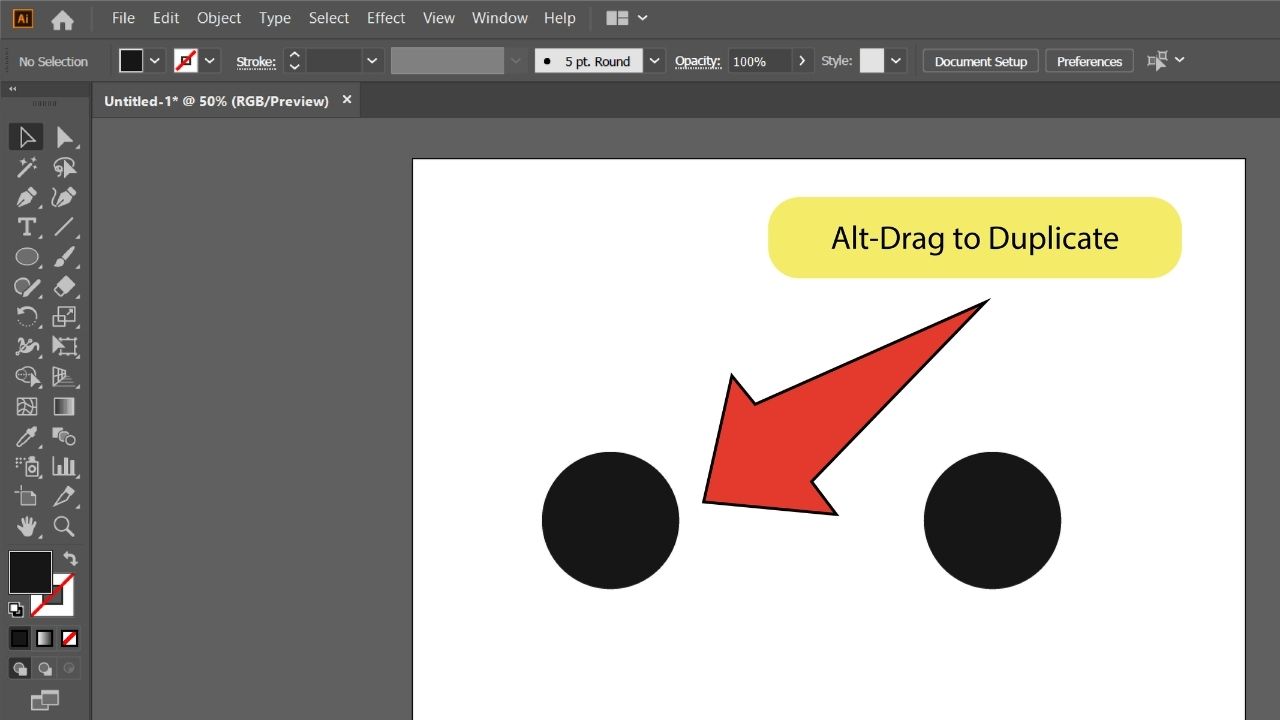
Step 4:
Duplicate the ellipse. Select the ellipse that you want to duplicate, and press “Option‑drag” (MAC) or “Alt‑drag” (Windows) and then release. To make the duplicated ellipse on the same line horizontally or vertically, hold the “Shift” button while dragging the object.


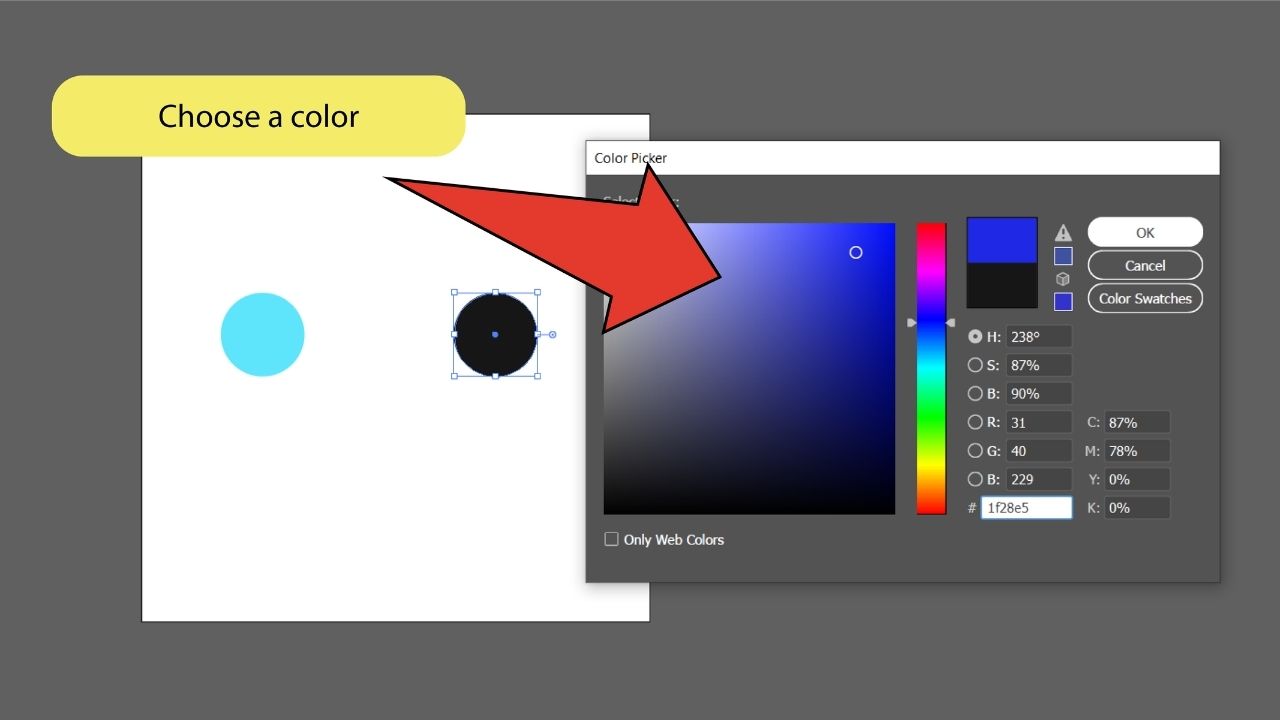
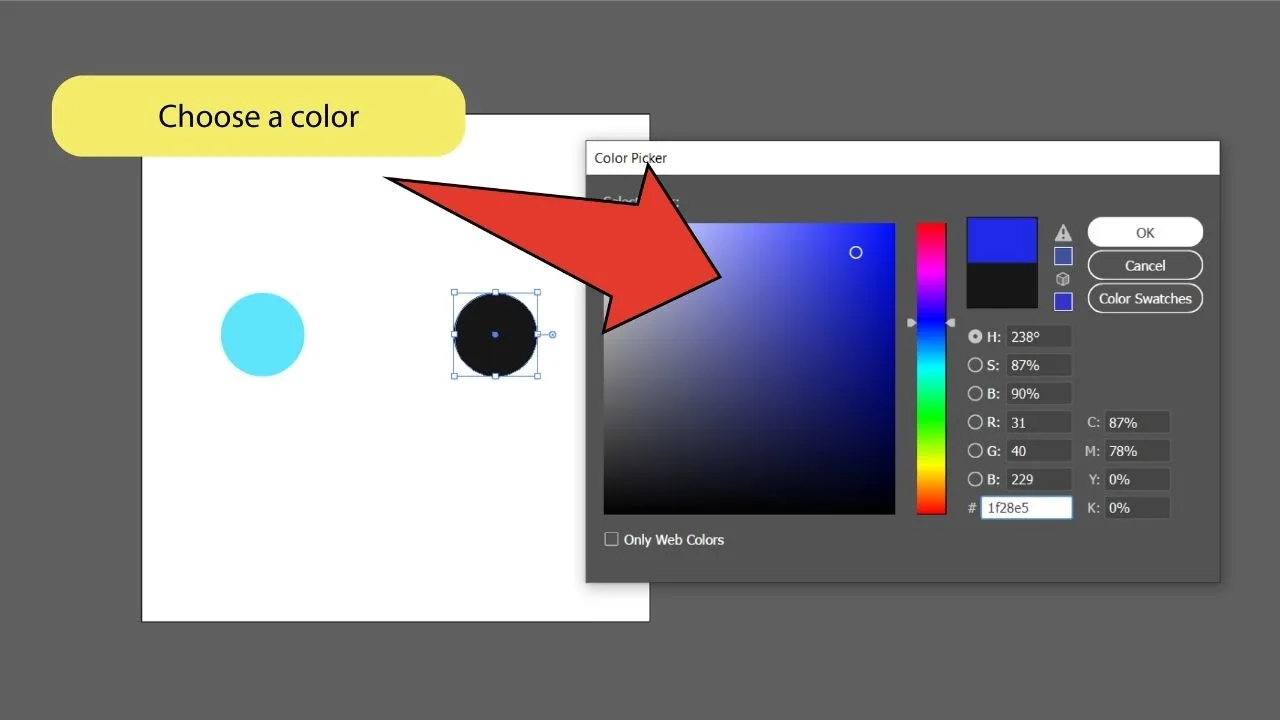
Step 5:
Change the color of the two ellipses. Select each ellipse and double click on the fill color at the bottom of the toolbar on the left side of your screen. Use the Color Picker to create a custom color visually or by entering color values. For example, choose a light blue for the first ellipse and a dark blue for the second.

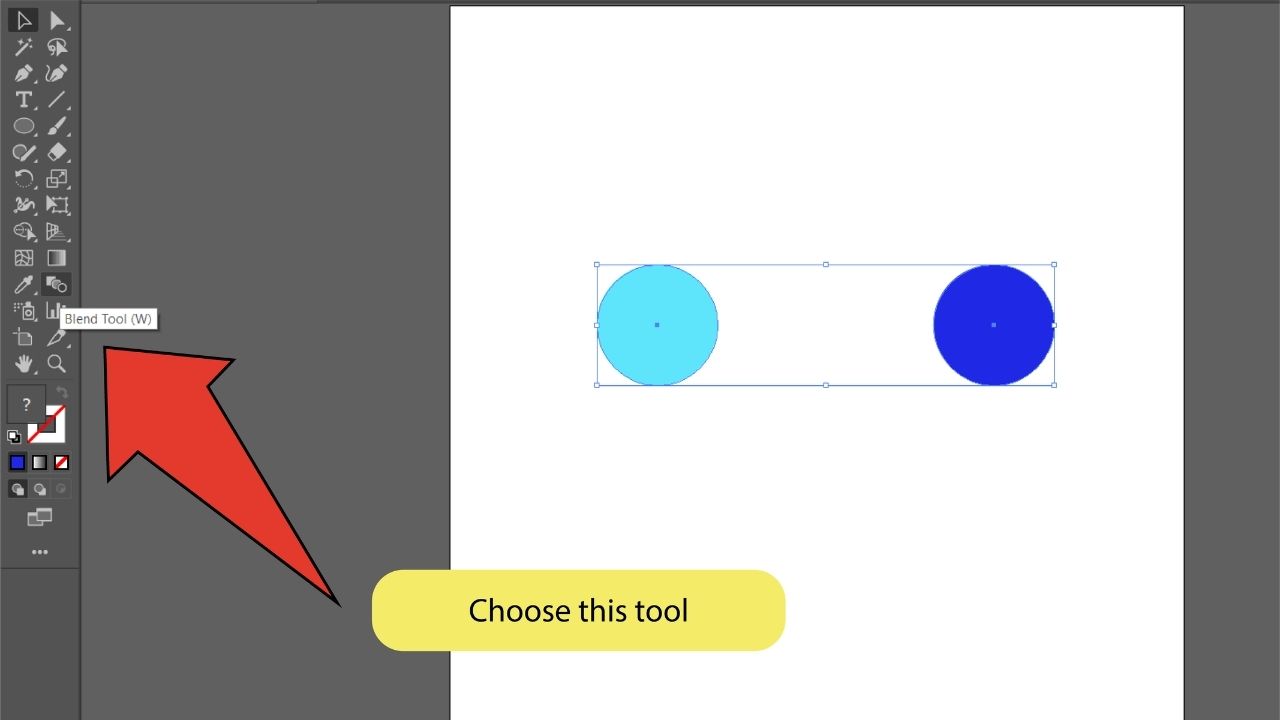
Step 6:
Find the Blending Tool. Select the two ellipses, then find and equip the blend tool located in the Tools Panel at the left side of your screen. In an easier and faster way, you can simply press (W) on your keyboard and the Blend Tool will be selected.
Step 7:
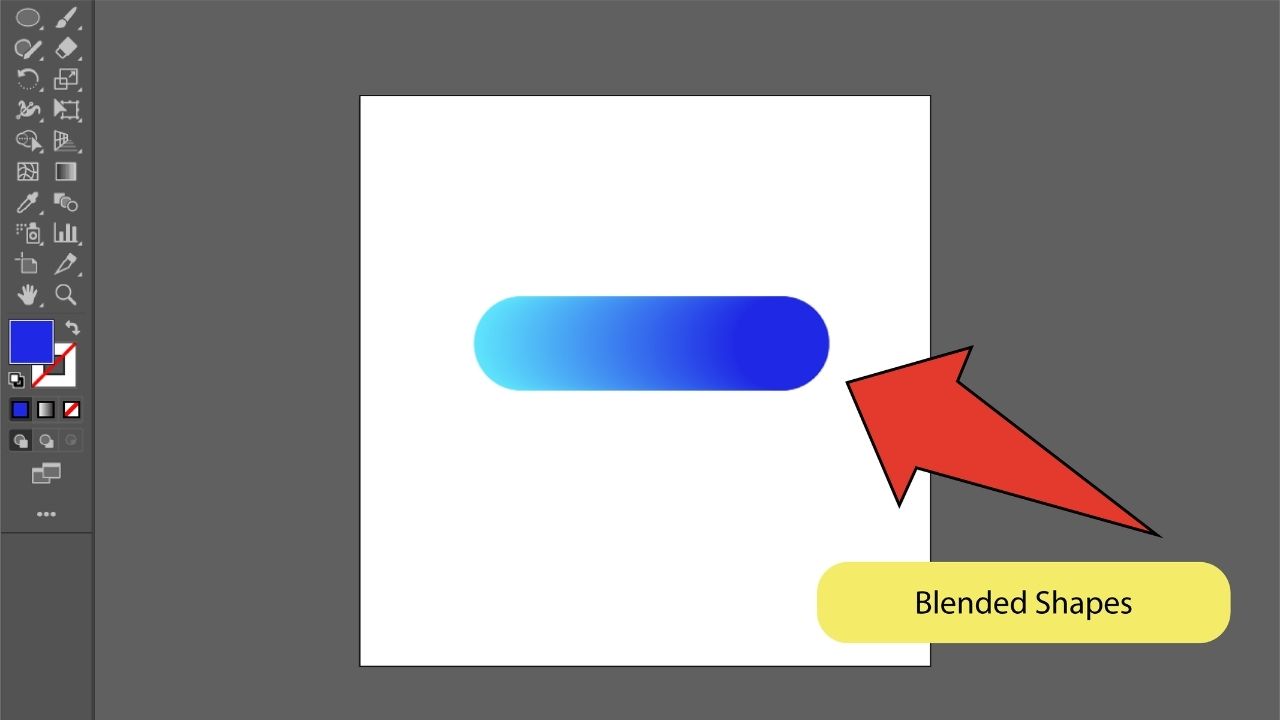
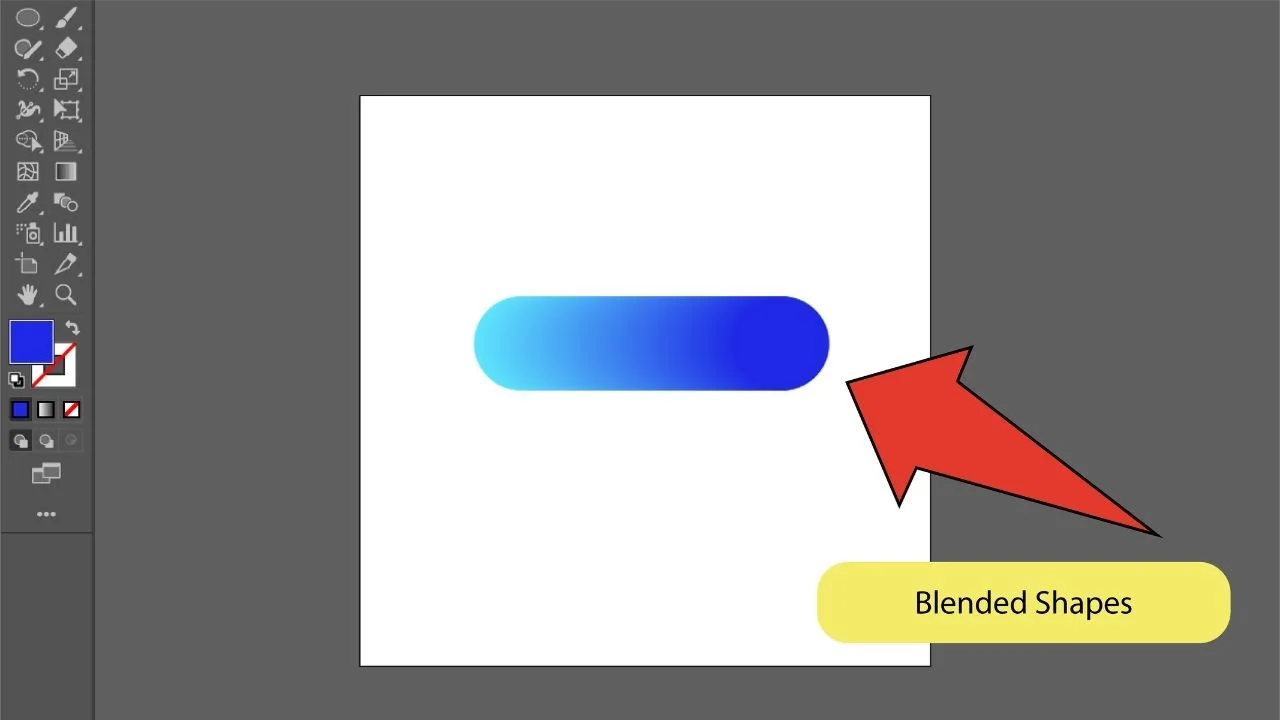
Create a blend. After selecting the Blend Tool, the mouse cursor will turn into a Blend Tool. Simply click on the first object and then click on the second object to create a blend between both objects.

Step 8:
Play around with the Blend Options. If you want to create different effects, you can select the blended shapes and go to “Object” in the top menu and choose “Blend”, then select “Blend Options”. The Blend Options dialog box opens. In the “Spacing”, you can choose “Specified Steps” or “Specified Distance” and change the number of steps or distance to create reduce or increase the distance between the duplicated shapes.
Frequently Asked Questions About How to Use the Blend Tool in Illustrator
How can I undo a blend once executed?
To release a blend in Adobe Illustrator, simply go to “Object”, then go to “Blend” and choose “Release”.
How can I ungroup a blend to make each blend tool object separate?
After blending objects, you can still separate each object in the blend to make the individual steps editable. Go to “Object” in the top menu, and then go to “Blend” and choose “Expand”.


Hey guys! It’s me, Marcel, aka Maschi. On MaschiTuts, it’s all about tutorials! No matter the topic of the article, the goal always remains the same: Providing you guys with the most in-depth and helpful tutorials!

