There are numerous methods to create sticky footers in WordPress. Most involve messing around with custom CSS, complicated third-party page builders, or entire website builders.
And most of those will charge a fee, labeling these advanced features as premium add-ons.
Just because something seems complicated does not mean it needs to be.
With that said, let us look at how to make sticky footers in WordPress — for FREE!
How to Make a Sticky Footer in WordPress
How to Create a Sticky Footer on Mobile
How to Make a Sticky Footer Notification Bar
How to Fix the WP Footer to the Bottom of WordPress Pages with CSS
How to Create a Sticky Floating Bar for Mobile with WooCommerce Integration
How to Make a Sticky Footer on a WP Theme Using Infinite Scroll
How to Make a Sticky Footer in WordPress
To make a sticky footer in WordPress, use a WP plugin such as “Fixed Bottom Menu” or “WPFront Notification Bar.” You can also use custom CSS to make a sticky footer. Premium themes may have “elements hooks” that can be used to make a sticky footer.
How to Create a Sticky Footer on Mobile
Apply the KISS principle. Keep It Simple, Stupid.
Install and Activate the Fixed Bottom Menu plugin
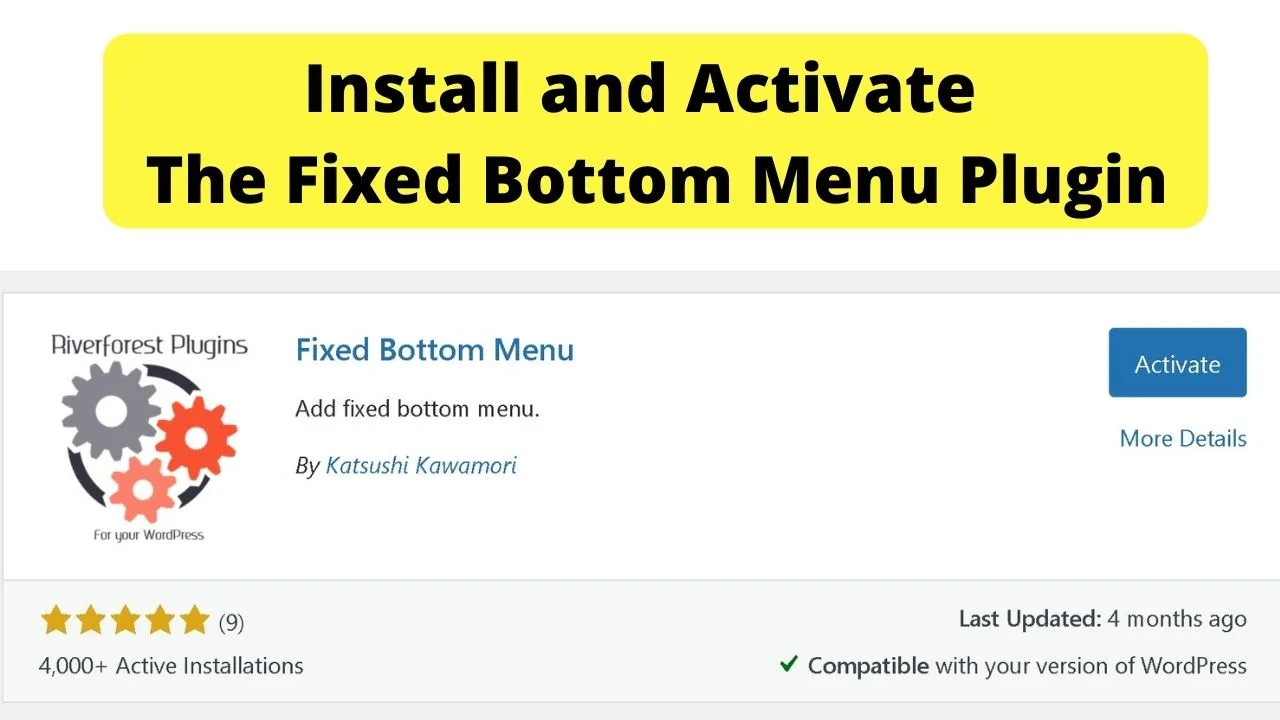
After all, what is a fixed footer? It is a fixed bottom menu.
Start with the Fixed Bottom Menu plugin.
This plugin lets you add three to five links at the bottom of your pages. That is the maximum that should be used for small screen devices anyway.
Any more would make navigation difficult.
Once activated, the Fixed Bottom Menu label is added to your “settings” menu on the left sidebar.
Click the menu item to go to the settings page to configure your bottom menu.
As this will be for smaller screens, you will need icons. There are a few options.
You can upgrade to an icon-adding plugin, or click the links to go to free sources. Google Fonts and Font Awesome are linked. All Google Fonts are free and open-source.
Alternatively, stick with the Dashicons that are already coded for WordPress.
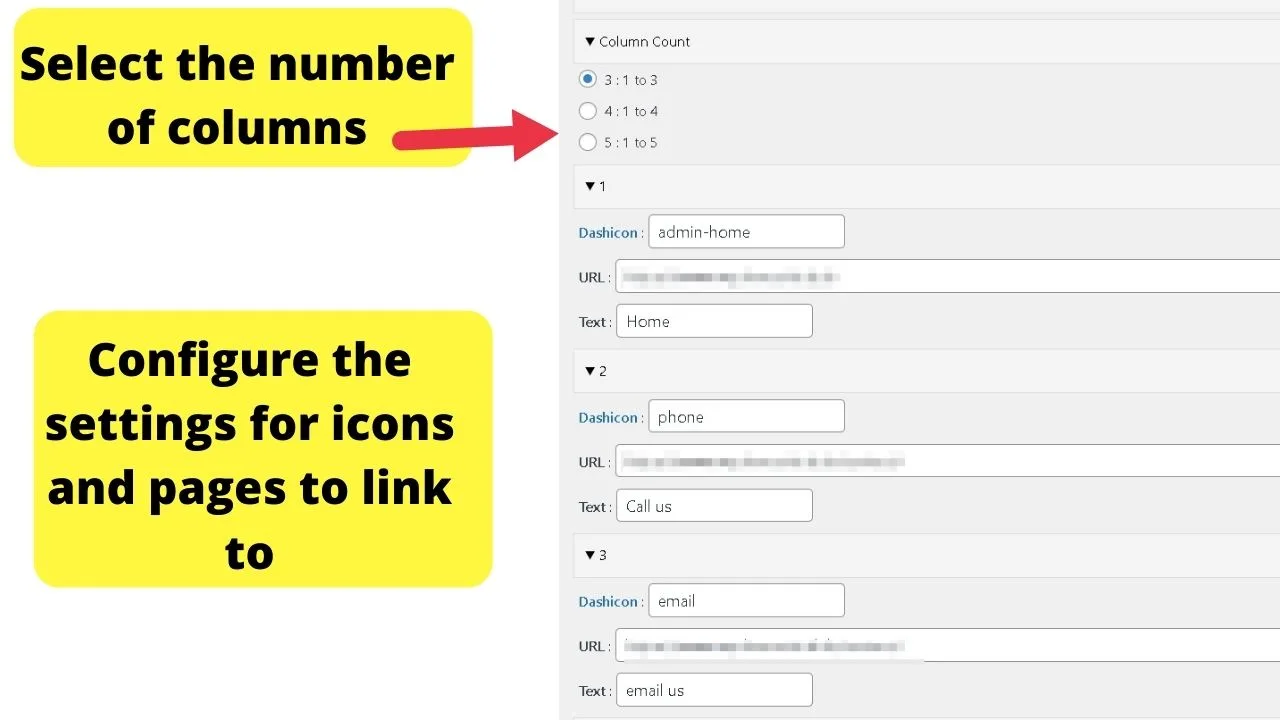
Once you set your links, scroll further down and reduce the max screen width to 760px. You can go smaller.
The reason for making this screen size adjustment is so that the fixed menu only shows on mobiles and tablets.
On desktops (provided your theme has sidebars) there will be navigation links visible. The advantage of fixing a footer bar to the screen is to enable permanent navigation buttons.
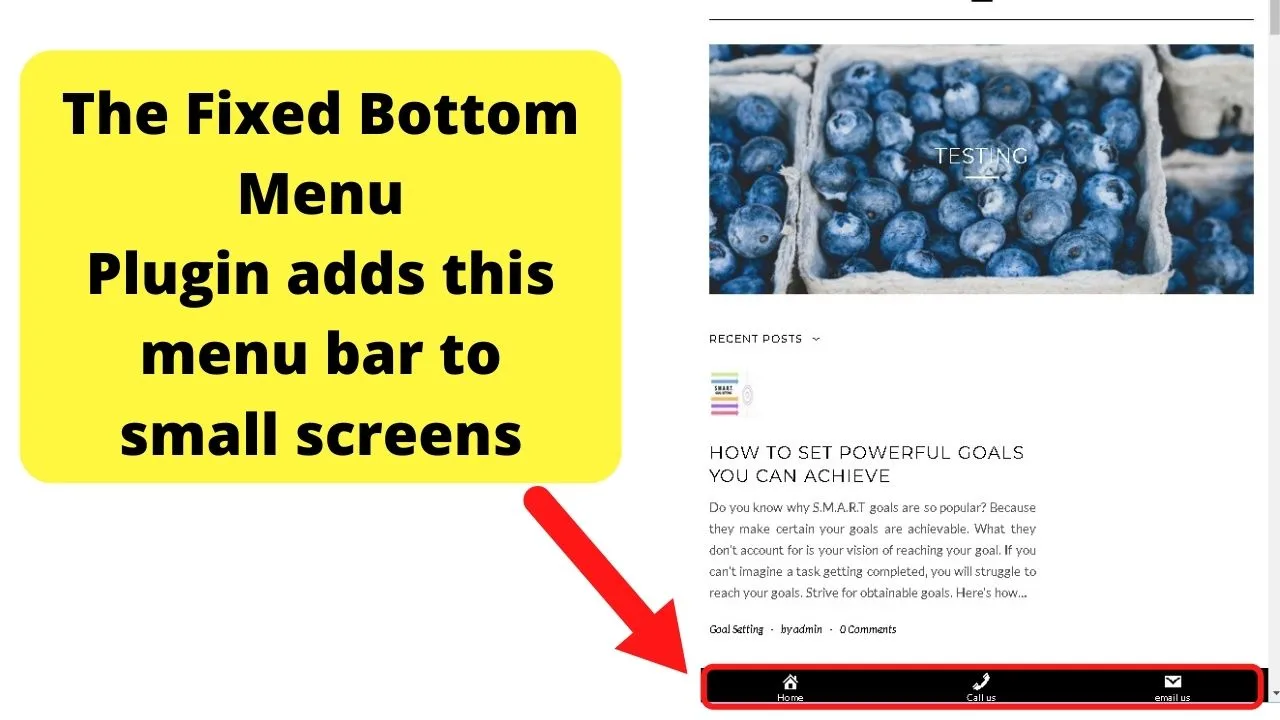
How to Make a Sticky Footer Notification Bar
If you only want to fix a sticky floating bar to the bottom of pages to display promotional messages or drive traffic to your cornerstone content (as examples), the notification bar is the simplest way to go.
Use the WPFront Notification Bar Plugin
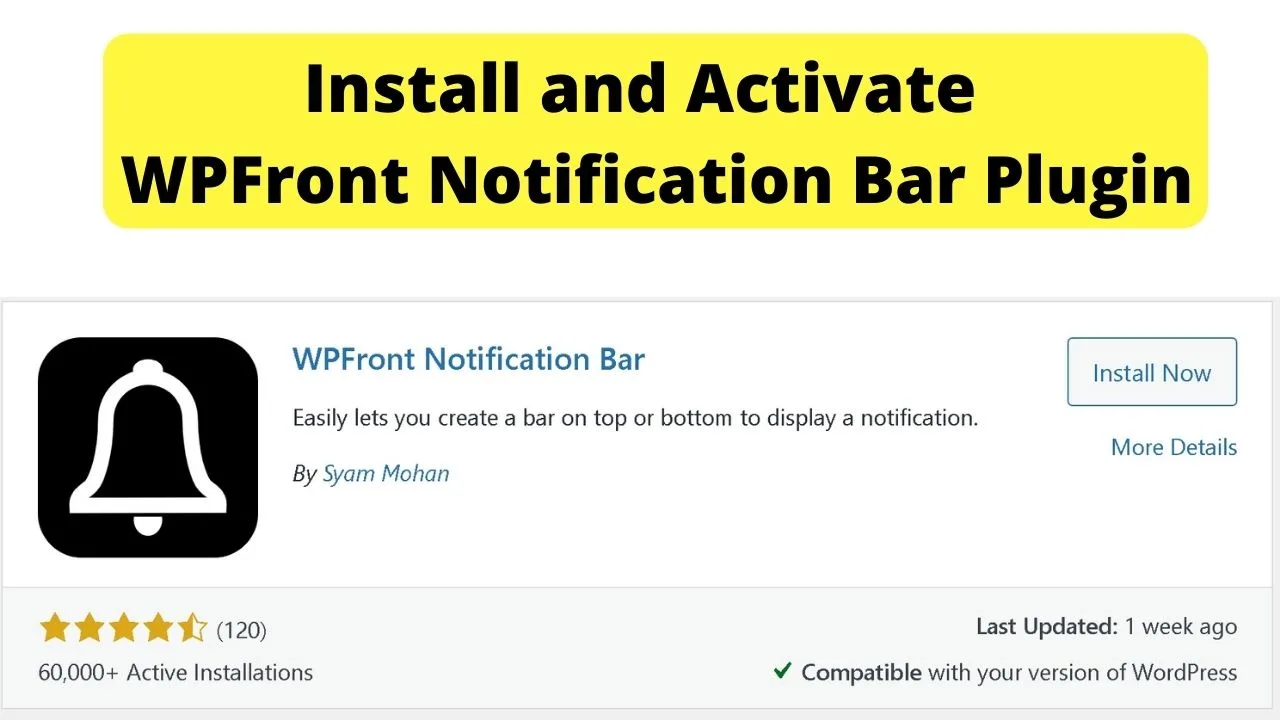
The part of this plugin to use is position fixing.
To enable the floating footer bar, select the option to fix the bar at the bottom position.
- Click enable
- Change the position from “Top” to “Bottom.”
- Check the box to enable “Fixed at position,” which is what fixes it to the bottom of the screen.
- Display on devices: Select “small devices” if you only want the bar displayed on phones and tablets. Enabling it for all devices will show the sticky footer on Desktop, too.
- Type your message in the text area that you want to display in the footer bar.
For example,
Manager Special: 25% off hand-selected products. View Deals.
The “View Deals” text can be placed within a button that links to a sales page or deals category on your site.
How to Fix the WP Footer to the Bottom of WordPress Pages with CSS
Most WordPress themes already have footer menus or widget areas to display your footer text.
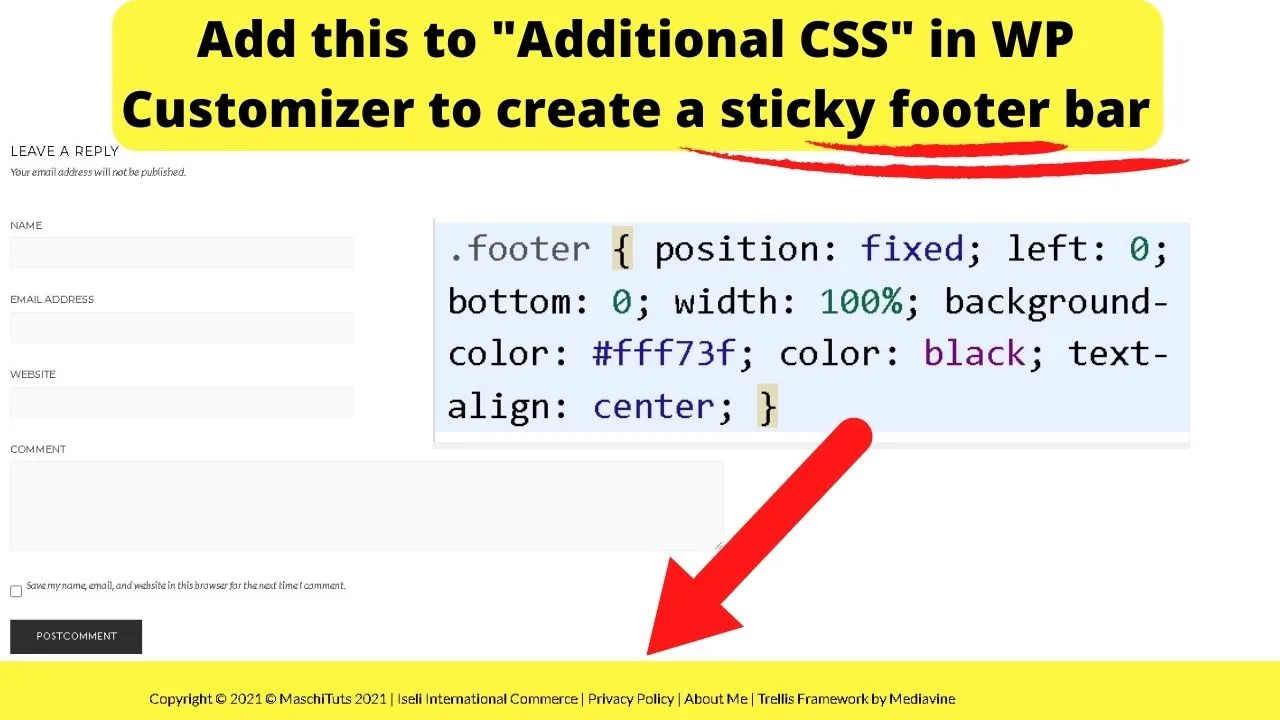
For those, you can add a block of CSS to your theme customizer to fix the footer to the bottom of each page.
The code to do that is:
.footer {
position: fixed;
left: 0;
bottom: 0;
width: 100%;
background-color: black;
color: white;
text-align: center;
}
The colors, sizes, and text alignment can each be changed to suit your preference.
How to Create a Sticky Floating Bar for Mobile with WooCommerce Integration
This requires your WordPress theme to be coded to use WordPress hooks.
The majority of themes that provide a framework with multiple choices of child themes are usually the ones with more hooks.
Whatever theme you are using, look at the theme documentation for a “guide to visual hooks” or something similar on their website.
The WordPress hook your theme needs to support is “footer-after” or “after-footer.”
What you want is for the theme to be coded for an element to fire after the footer is loaded, but before the HTML ends.
Some themes do not support this function.
- The Genesis framework does, which is not surprising as they have over 50 hooks in the framework.
- The Astra theme also has the “astra_footer_after” function.
- The Divi theme does not support this.
- The Kadence theme does, but only on the Pro version.
Check your theme first because this only applies to themes already coded for hooks.
It is difficult to know where to register hooks on different WordPress themes, so if you do not have a theme that supports elements hooks, try one that does.
The setup for custom URLs with icons is the same setup you would use for the Fixed Bottom Menu plugin.
- Insert a 3-column layout
- Add an icon for each column
- Link the icons to the pages you want them to go to.
Provided your theme supports the hooks, the code snippet you can use to add to the mobile sticky footer is…
add_action( '[insert_theme-name]_after_footer', '[insert_theme-name]_sticky_mobile_bottom_bar', 20 );
function [insert_theme-name]_sticky_mobile_bottom_bar() {
echo do_shortcode( "[reblex id='####']" );
}
Where “insert theme name” is within the code above, replace that with the after-footer code snippet for your theme.
For the Kadence theme, it would be kadence_after-footer; for the Astra theme, it is astra_after-footer; and for the Genesis framework, the code is genesis_after_footer.
How to Make a Sticky Footer on a WP Theme Using Infinite Scroll
For themes that use infinite scroll, the footer will never load until there is no more content to be loaded.
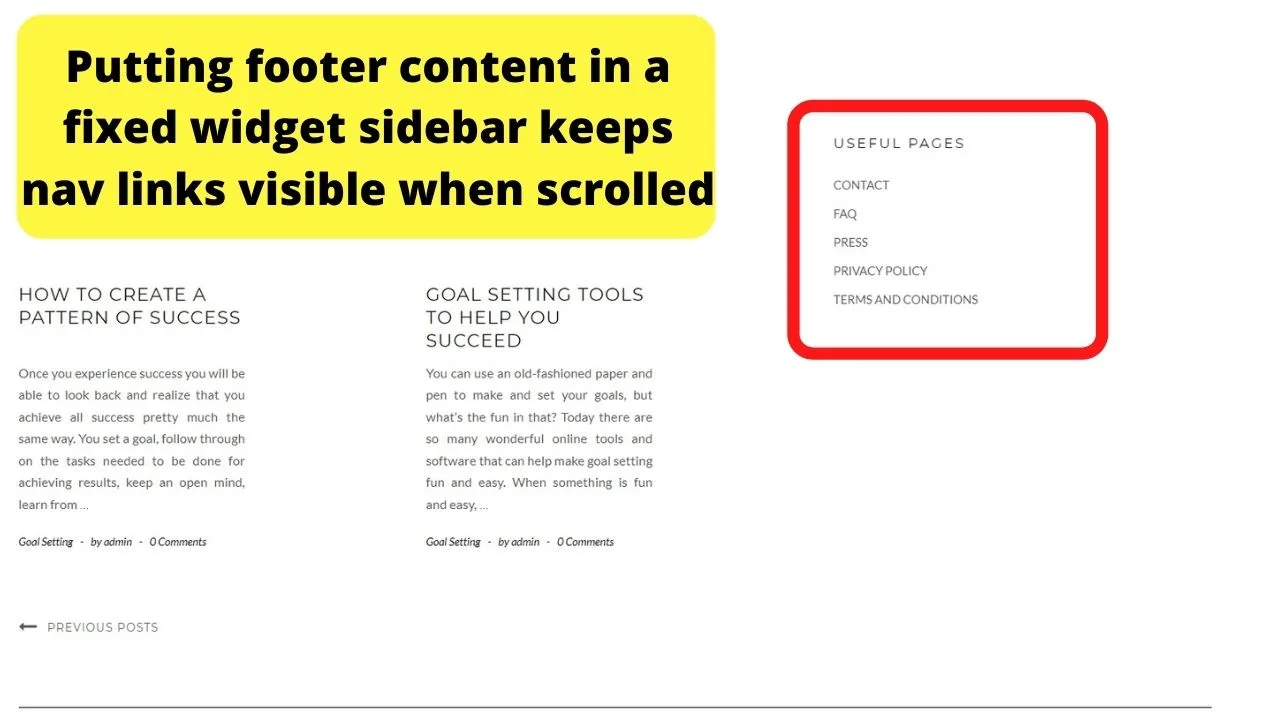
A workaround is to take Twitter’s approach to move the footer widget into the sidebar.
By moving the content you would want in the footer to be the last widget in your sidebar and making it “sticky” ensures it remains visible.
Use the Q2W3 Fixed Widget for WordPress
This lets you move anything into a sidebar and keep it visible.
Go to plugins > Add New > Search for Q2W3 Fixed Widget for WordPress.
The one to install and activate is By Thomas Maier, Max Bond.
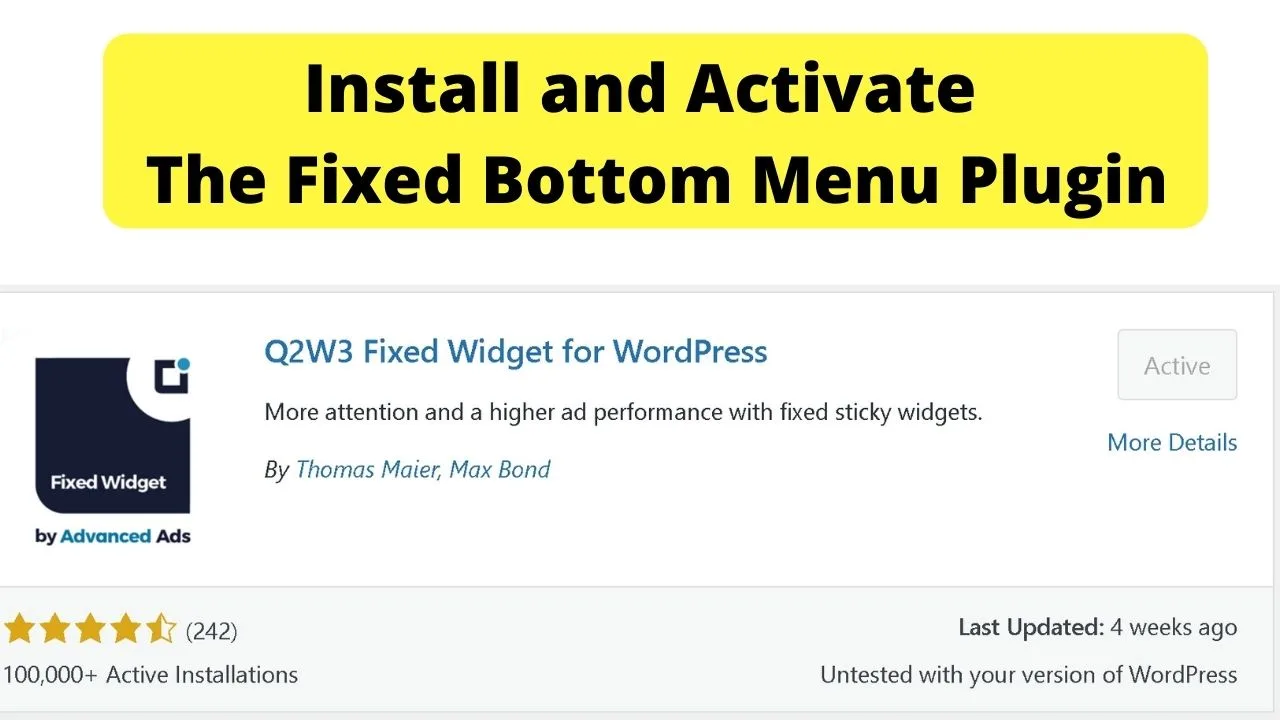
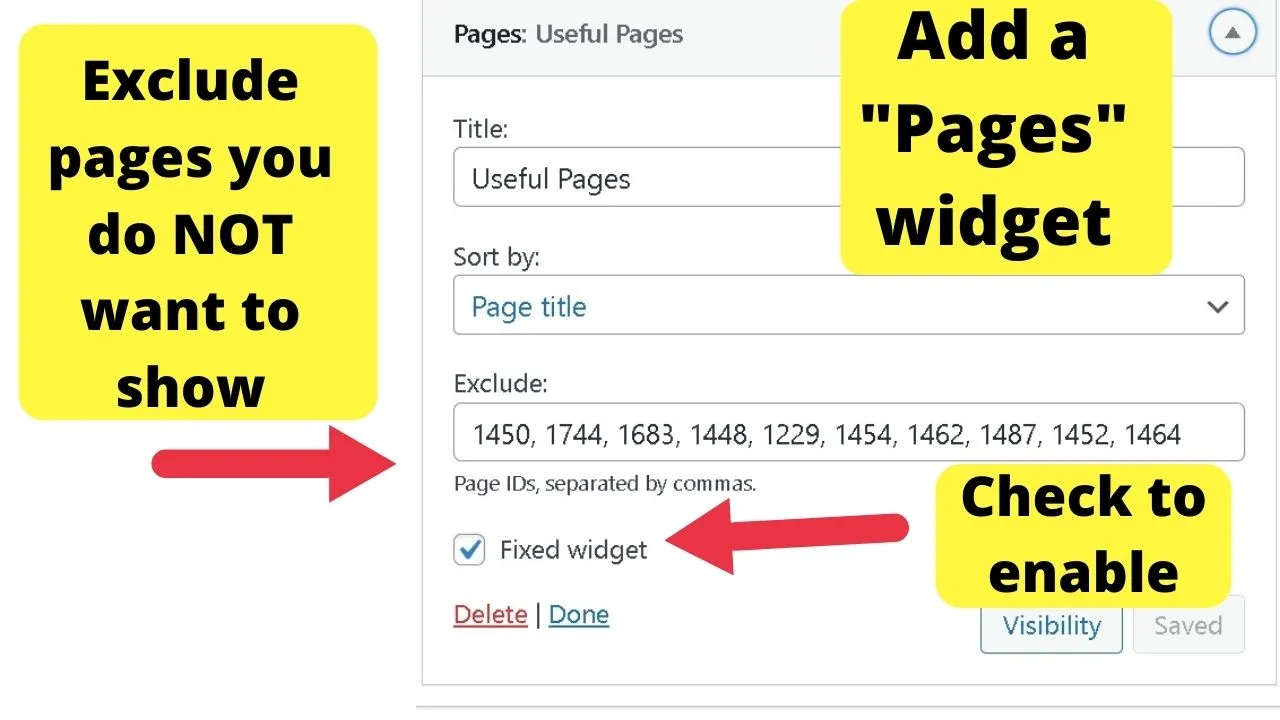
Once installed, when you go to your widgets section, a new check box will appear that you can select to create a “fixed widget”.
Any widget can be fixed. However, only fix the last widget in any section to prevent widgets from overlapping.
To include a select number of pages, use the pages widget and then use the “exclude” page IDs function to limit the number of pages shown to only the essentials.
Remember, when visitors reach your footer, it is the last chance to show them something they will likely need. Include pertinent information in your footer.
… Links to your contact page, opening times, an FAQ page, contact information, etc.
The workaround of putting the footer menu in the sidebar ensures that it is the last widget to show and remains visible in a fixed position.
For a local business website, the footer is also the section to include your business NAP data for SEO. That is your business “Name, Address, and Phone Number”.
If you would rather have your links displayed side-by-side rather than as a list of links, use the “Custom HTML” widget, then create the links manually using HTML to make your links clickable. <a href=”yoursite.com”>Clickable Text here.</a>

Hey guys! It’s me, Marcel, aka Maschi. On MaschiTuts, it’s all about tutorials! No matter the topic of the article, the goal always remains the same: Providing you guys with the most in-depth and helpful tutorials!


