Ever wonder how to call a specific department of a large company using their local numbers?
If you’re using a landline, the process would be easier as you’ll only have to dial the extension number directly after hearing an automated message.
But what if you’re using an Android device? Can you directly dial the extension number as you would a landline?
Well, that is what we’re here for — to learn how to dial an extension on Android.
How to Dial an Extension on Android
Dialing an Extension Number Using the “Wait” Method
Frequently Asked Questions about How to Dial an Extension on Android
How to Dial an Extension on Android
If you’re calling an organization that allows you to connect the call to a department as soon as it’s answered, use the following “Pause” method of dialing extension numbers.
To dial an extension on Android, follow these steps:
Step 1: On your Android device’s home screen, locate the “Phone” app and press it.
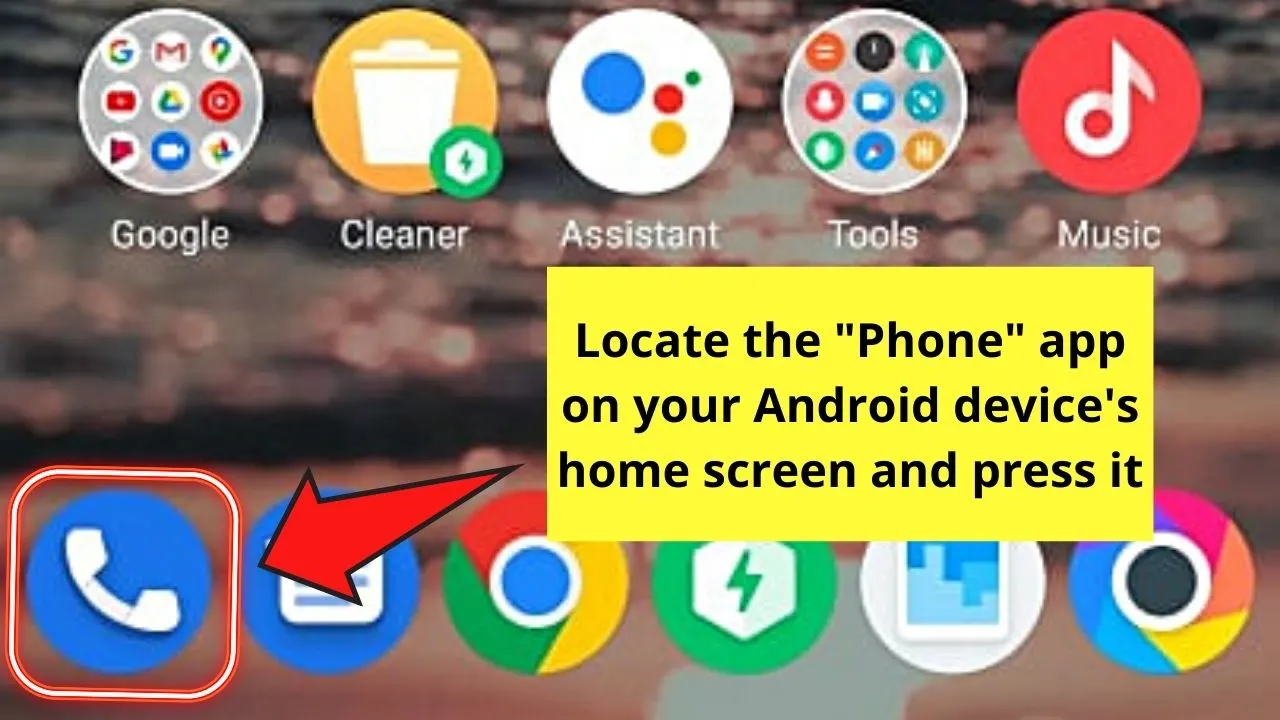
You won’t miss this app icon as it takes the shape of a phone’s receiver.
Step 2: Type the main number you’re calling using the device’s dialer
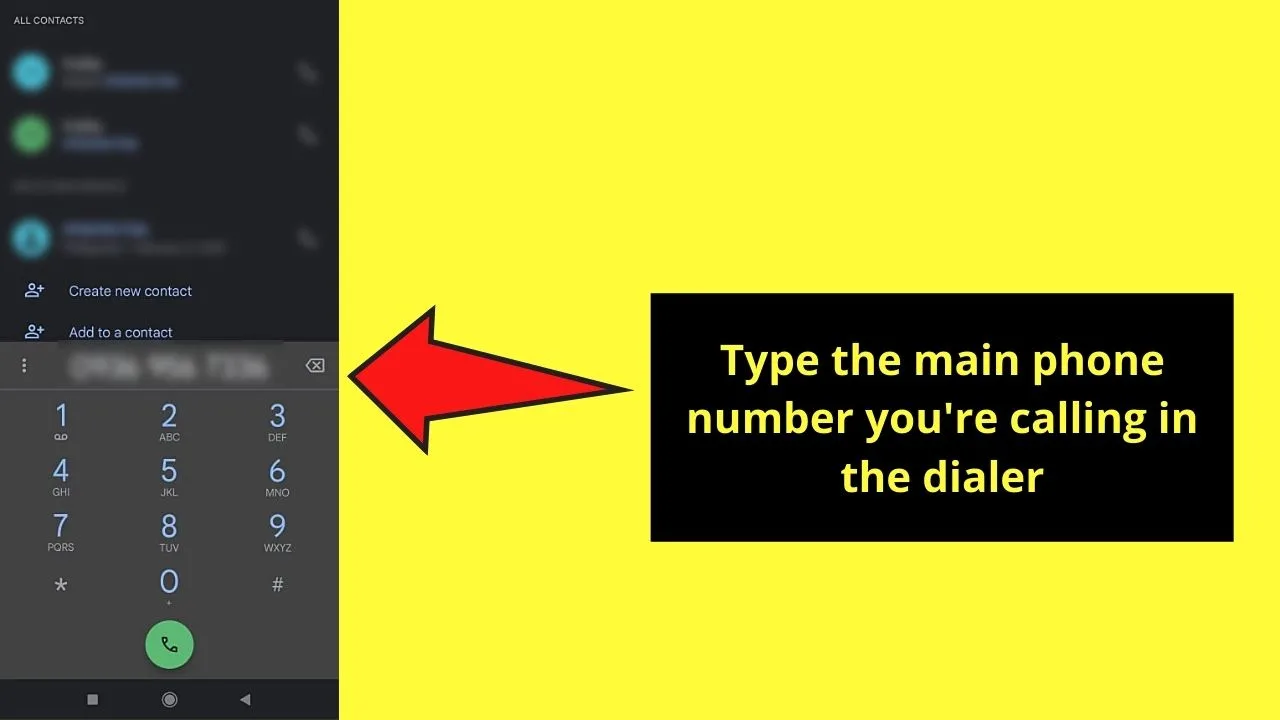
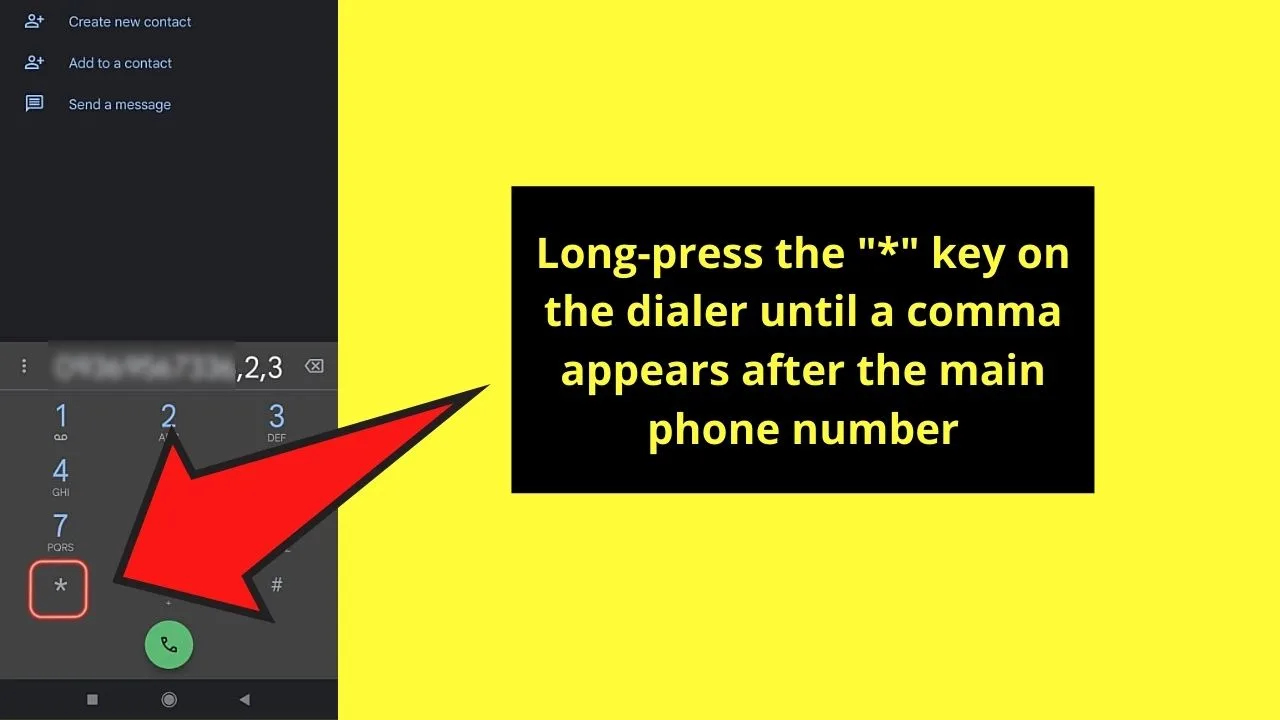
Step 3: Long-press the “*” key on the dialer until a comma appears at the end
If, however, the Android device you’re using doesn’t use the “*” key to activate the “Add 2-sec pause” feature, press the kebab (3-vertical-dot icon) menu instead.
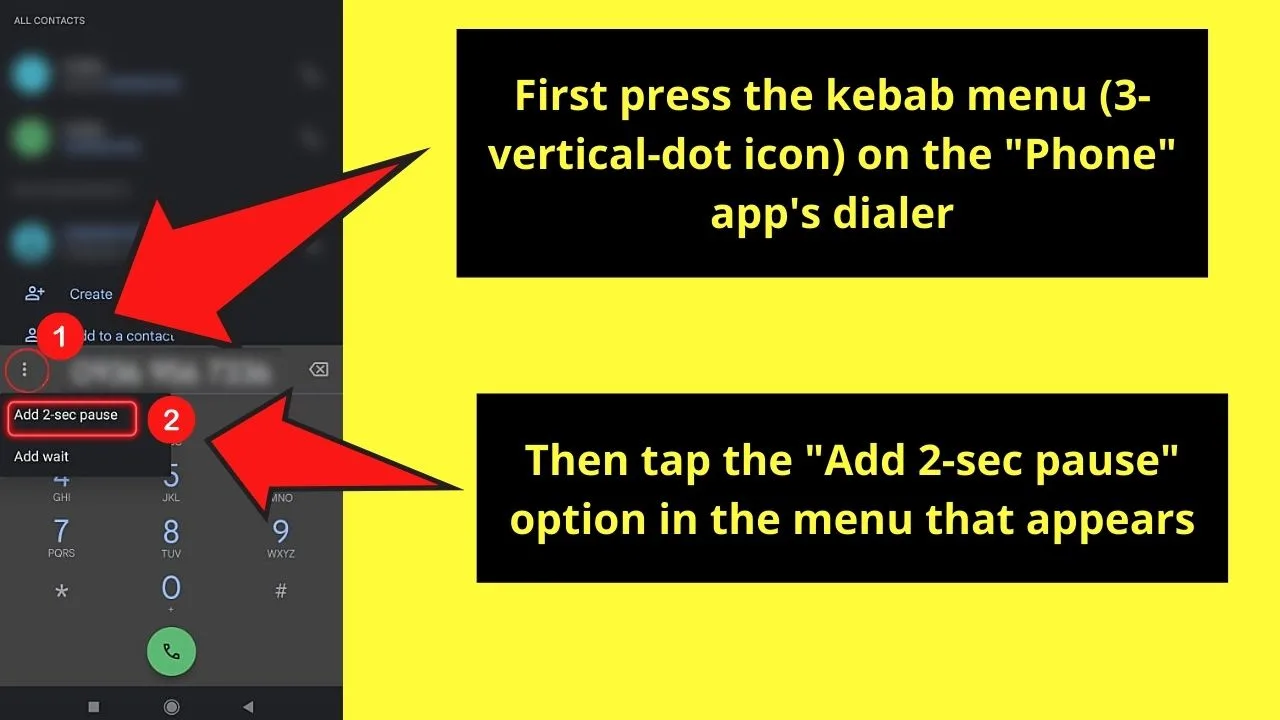
Then, in the pop-out menu that appears, select the “Add 2-sec pause” option.
Step 5: Type the extension number and then tap on the “Call” button
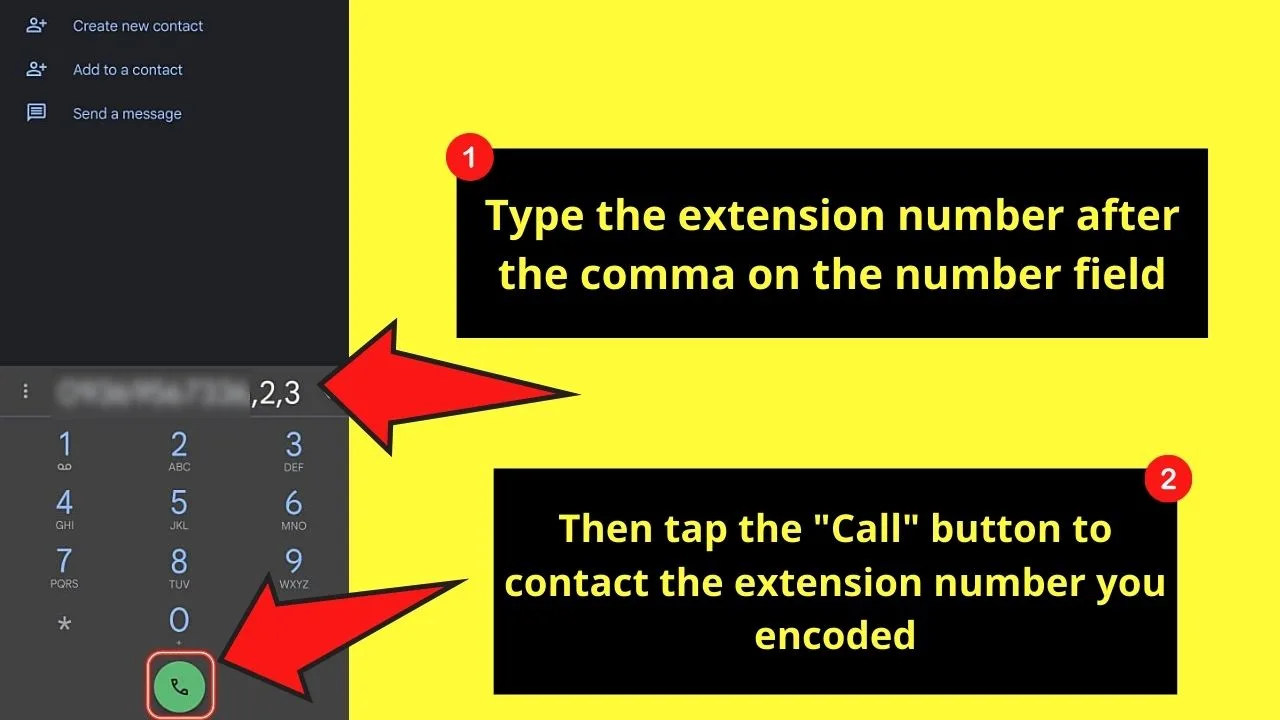
After which, press the “Call” button to proceed with contacting that department.
Very easy, right?
But what if you’ll have to wait for an automated message to end before dialing an extension. Will I use the same steps mentioned above?
This is where the “Wait” method of calling an extension number on Android comes in.
Dialing an Extension Number Using the “Wait” Method
The method mentioned above only works if the automated message can be skipped.
The “Wait” method differs from the “Pause” method in that you’ll have to wait until the end of an automated message to enter the extension number.
Refer to the steps below to see how the “Wait” method of dialing extension numbers on Android happens:
To dial an extension number on Android using the “Wait” method, follow these steps:
Step 1: On your Android device’s home screen, locate the “Phone” app and press it.
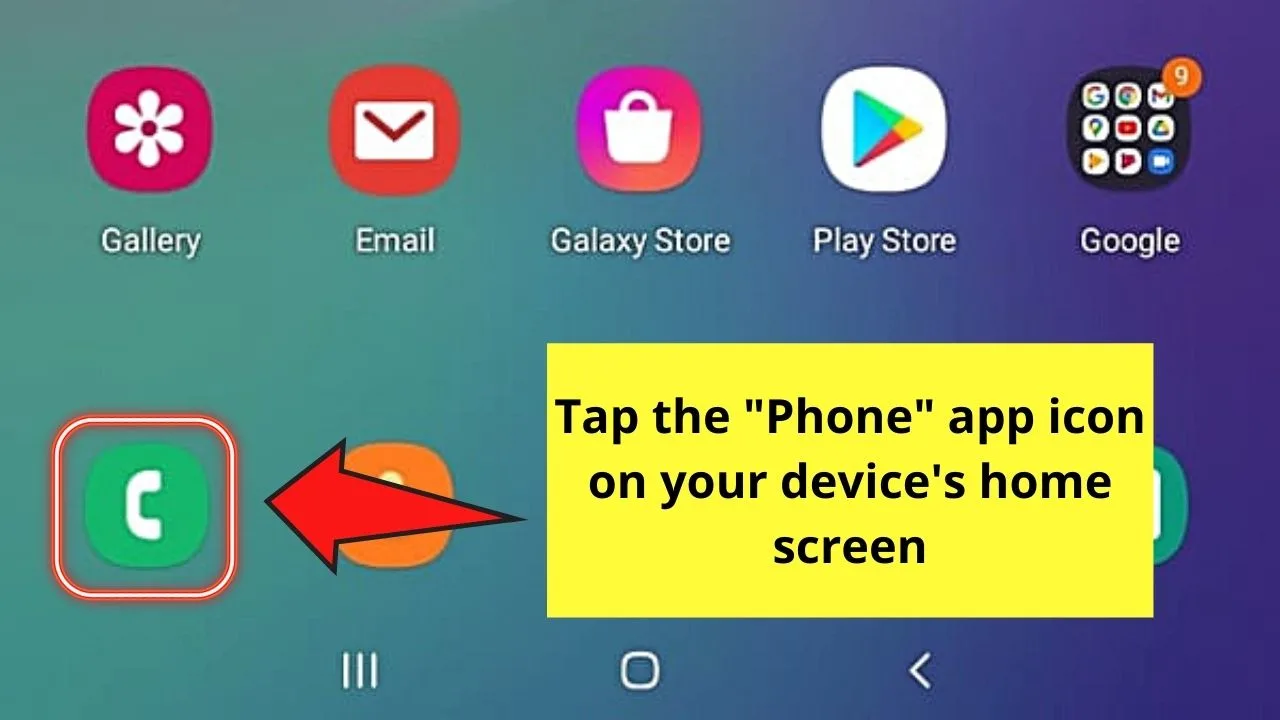
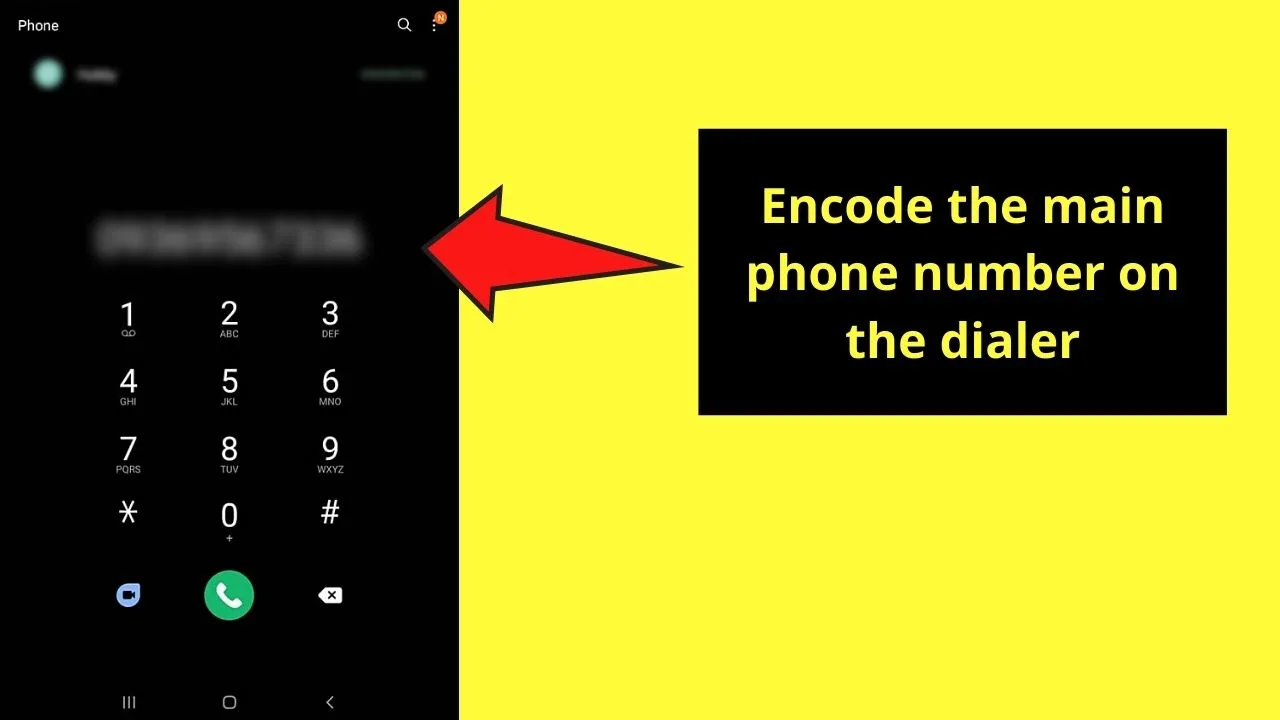
Step 2: On the “Phone” app, activate the dialer and encode the main number you’re trying to call.
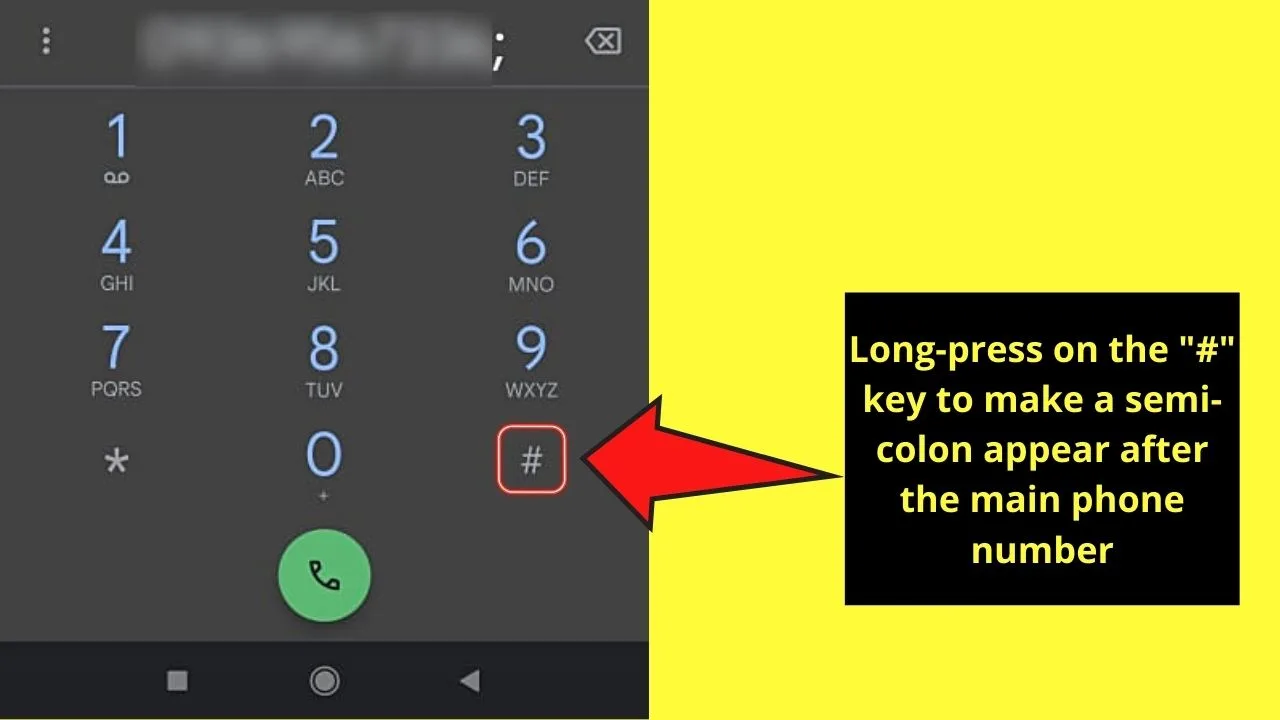
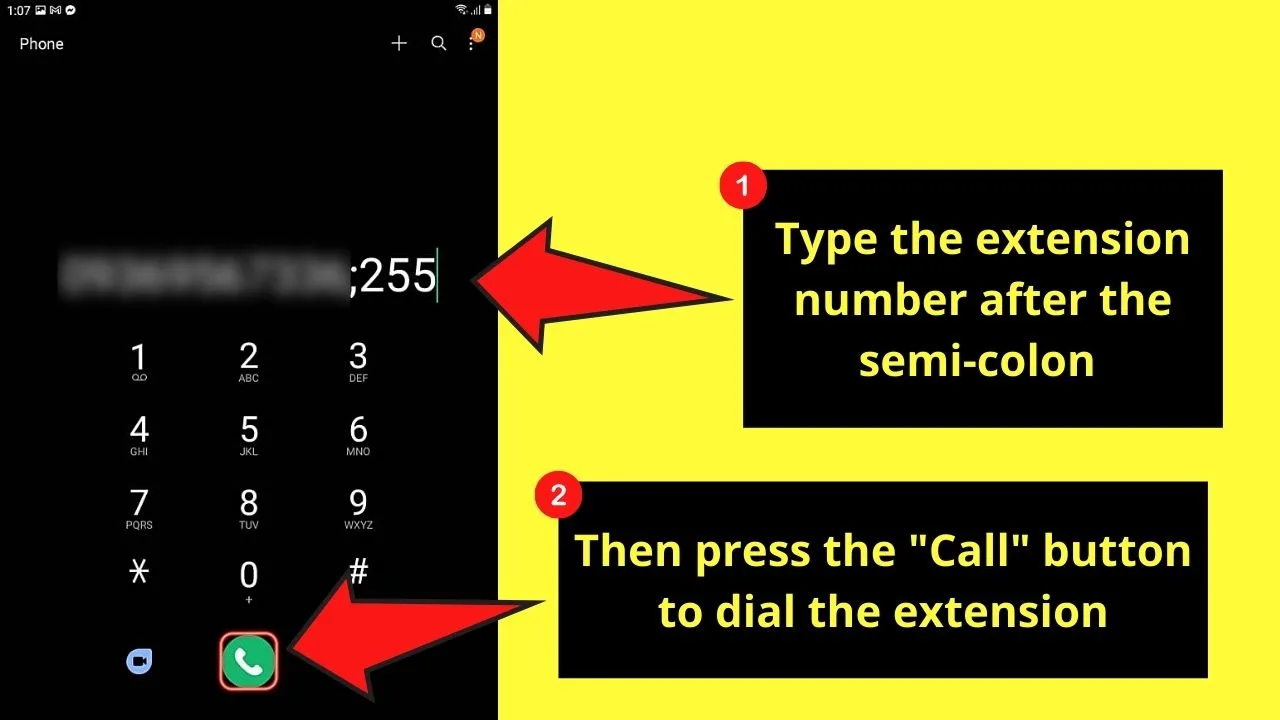
Step 3: After typing the main number, long-press on the “#” key until a semi-colon appears at the end part of the number.
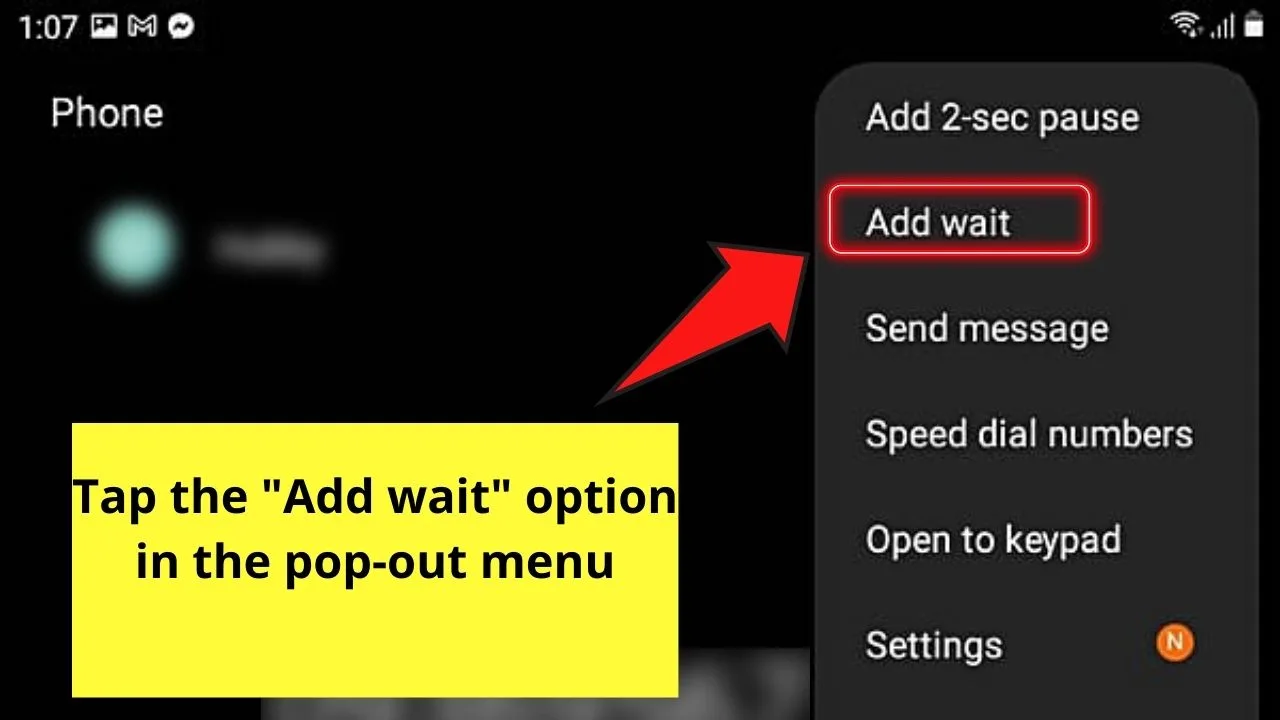
If, however, your Android device isn’t configured to dial an extension this way, tap the kebab (3-vertical-dot icon) menu on the dialer until a pop-out menu appears.
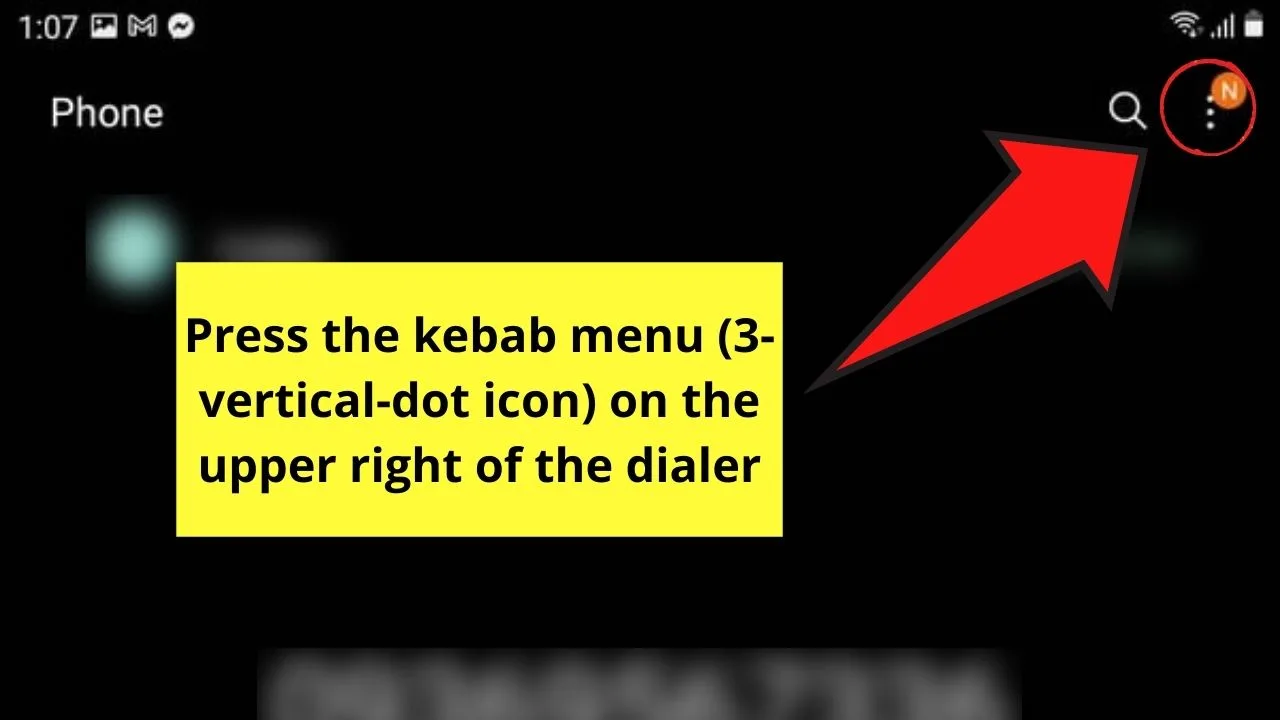
Then, in the pop-out menu, select the “Add wait” option. This will then make a semi-colon appear after the main number.
Step 4: Once the semi-colon appears, type the extension number and press the “Call” button to proceed with the call.
Now, you won’t have to scramble looking for a landline if you need to call a number with an extension.
Just use which of the 2 methods explained is applicable, and you’re off to a good start.
Frequently Asked Questions about How to Dial an Extension on Android
How does the “Pause” method differ from the “Wait” method when dialing extension numbers?
You use the “Pause” method if you’re calling a number that you can automatically dial the extension number once the call’s answered. The “Wait” method is designed for calling a contact where you’ll need to wait until the end of an automated message to enter the extension number.
Can I save an extension number I’m calling on my Android device’s “Contacts” list?
You can save an extension number on your Android’s “Contacts” list. Just tap the “Pencil” button and head to the “Phone number” field to insert a comma or semi-colon after the main number. Then, type the extension number after those characters. Then, press “Save” to save the changes made.
How do you write an extension number when saving it on your “Contacts” list?
To write an extension number, you can write out “extension” and add the extension number after it. You can also write the short form “ext.” before adding the extension number after it.

Hey guys! It’s me, Marcel, aka Maschi. On MaschiTuts, it’s all about tutorials! No matter the topic of the article, the goal always remains the same: Providing you guys with the most in-depth and helpful tutorials!


