Have you ever created a video in Canva and wondered how you can add a voice-over recording to it?
Although there is no direct option to do so in Canva, there is a workaround I will discuss in this article.
Let’s look at how it is done step by step.
How to add a voice-over to any video in Canva
The first step is to create your video in Canva using different pages. You can use images, videos, and text, everything you would normally use in your videos created in Canva.
The next step is that once you have your video you can start recording your voice. Since now the video is done it will be very easy to time your voice exactly to the different pages and the content you have created.
Record your voice using your computer, mac, or your smartphone. The recording needs to be saved as an mp4.
If you end up with an mp3 it is no drama as there are many free converters such as Zamzar that convert your mp3’s to mp4’s.
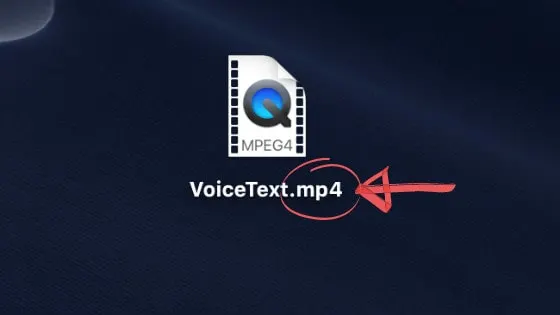
Voice-Over for Canva as mp4
How to import a voiceover in mp4 format to Canva
Now that you have your voiceover recorded and in the right format, you simply import it to Canva.
You can either just drag and drop it into the Canva window to upload your file or you can click on upload media, then file, device and lastly select your file.
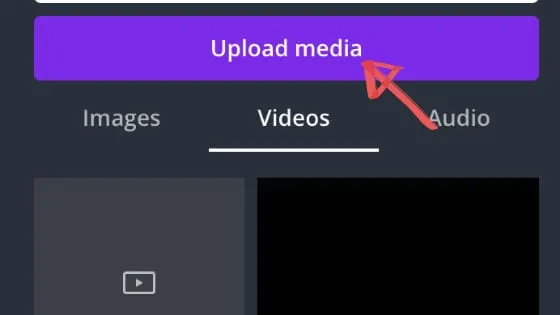
Upload a voice-over to Canva
How do you now get to overlay your voice so it matches the pages and lengths in your video?
This is where the workaround comes in. You now drag the mp4 file on each page you have created.
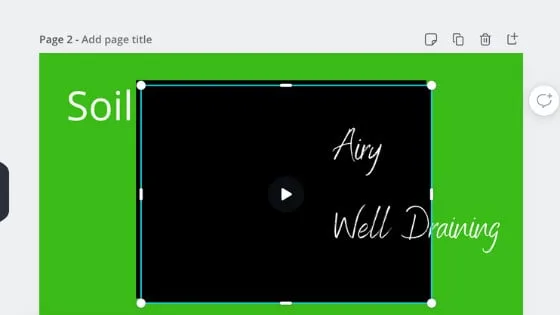
Add the mp4 file for each page in Canva
What you now need to do is to choose the sections you want from the overall voice over recording.
You can do this by choosing the scissors icon that will help you to choose the exact section by moving the start and finish bar.
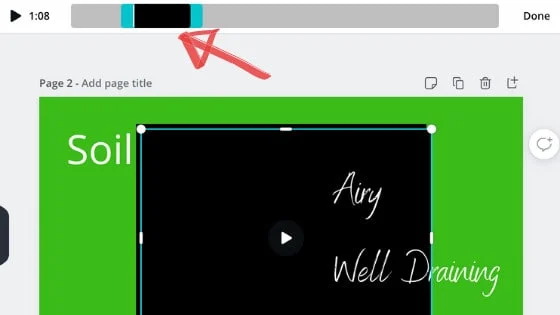
Choose the right section of your recording for each page
Exact is a big word in this instance. I personally found that it is not 100% exact as you cannot create extremely short sections.
So your best bet is to add in a few seconds in between the different pages when you record your voice.
This way you can snip your voice over sections beautifully.
How can I hide the mp4 file?
Once you added the voice-over recording to each page and selected the section you want to play, you want to hide the files as it creates a black rectangle on each of your pages.
This step is fairly easy. You select the black rectangle that has been created and chose the transparency icon.
Once on the icon, you set the transparency to 0 and the rectangle will be gone, completely invisible.
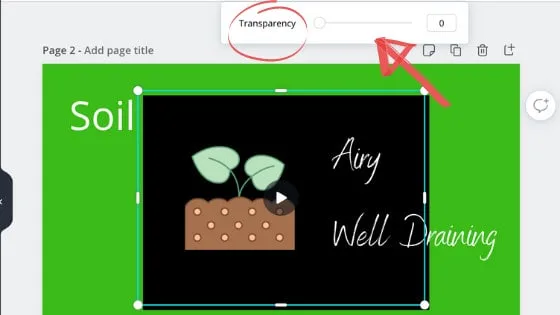
Add transparency to 0 in Canva
Side note: Shouldn’t 0 transparency mean 100% visible and 100 transparency mean 100% visible? However, this is how it works.
You have created a video file with a voice-over in Canva. Easy, isn’t it?
Bonus section: How to generate an AI-based voice-over for my videos?
Maybe you don’t like your voice or you are creating content in English which is not your native language.
Is there a possibility to use text to voice and use it for my videos you may ask? Yes, there is and I have to say it is pretty good.
There are multiple “free services” that you can use. Most of these services offer you to choose different speakers, male and female, and also where they are from.
One of these free services is TTSMP3.com. This service allows you to paste in your text and have an AI-based voice read out your text.
The voices are great and they really sound human and not computer-generated.
In case you have created blog posts and would like to use it for your videos, you can simply paste the text in the text box.
There is a character limit of 3000 words in the free version and you are also not allowed to use the recording for any commercial use.
However, there is an option for 24-hour premium access costing 5 Euros, that allows you to record 1,000,000 characters.
You can then also use your recordings for commercial use on YouTube etc.
This online tool creates an mp3 that you then convert into an mp4 using one of the free online conversion services that convert files from mp3 to mp4.

Hey guys! It’s me, Marcel, aka Maschi. On MaschiTuts, it’s all about tutorials! No matter the topic of the article, the goal always remains the same: Providing you guys with the most in-depth and helpful tutorials!


