
Is your Android phone showing the notification “Setup Wizard, data usage limited”?
Without knowing what the Setup Wizard is, you are likely to find limitations with Android phones until it is fixed.
All new Android phones should attempt to run the Setup Wizard on initial startup. Without it running, your phone will have limited features.
On a new Android device, the Setup Wizard not running can indicate that your phone is not new, or has had bloatware installed, potentially leaving it vulnerable to security threats.
Performing a Factory Reset will wipe all data from Android phones, then initiate the Setup Wizard on the first restart.
What is “Setup Wizard” on an Android Phone
The Android Setup Wizard is an app that only runs once on the first-time startup. Its purpose is to easily link your phone to a Google account. Android is an open-source project meaning brands can run Custom ROMs with proprietary apps and services during startup. The setup process differs by brand.
Why are there different versions of Android Setup Wizards
The Android Operating System is released as an open-source project. It is generic and capable of running a custom ROM (Read-only memory) programs.
The simplest way to think of a Custom ROM is to consider how Amazon Tablets and Fire Sticks operate.
They are built on the Android Operating System. However, the Play Store on Amazon devices is replaced by the Amazon Appstore during the Setup Wizard process.
On Android phones, most devices will install the Google Play Store, even if you skip past most of the steps involved in the Setup process.
The Steps involved in the Setup Wizard on an Android Phone
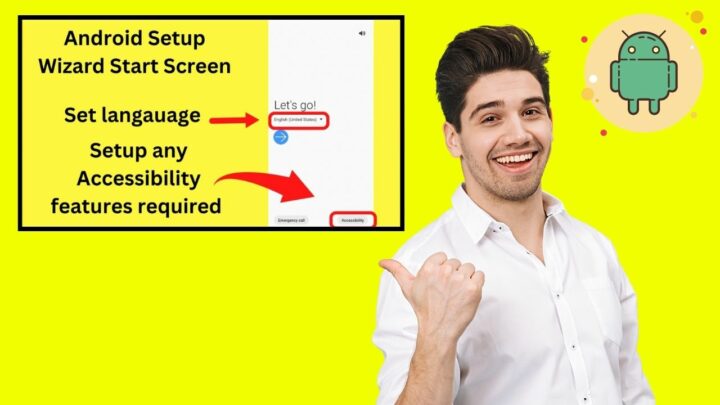
Step 1: Let’s Go (or not)
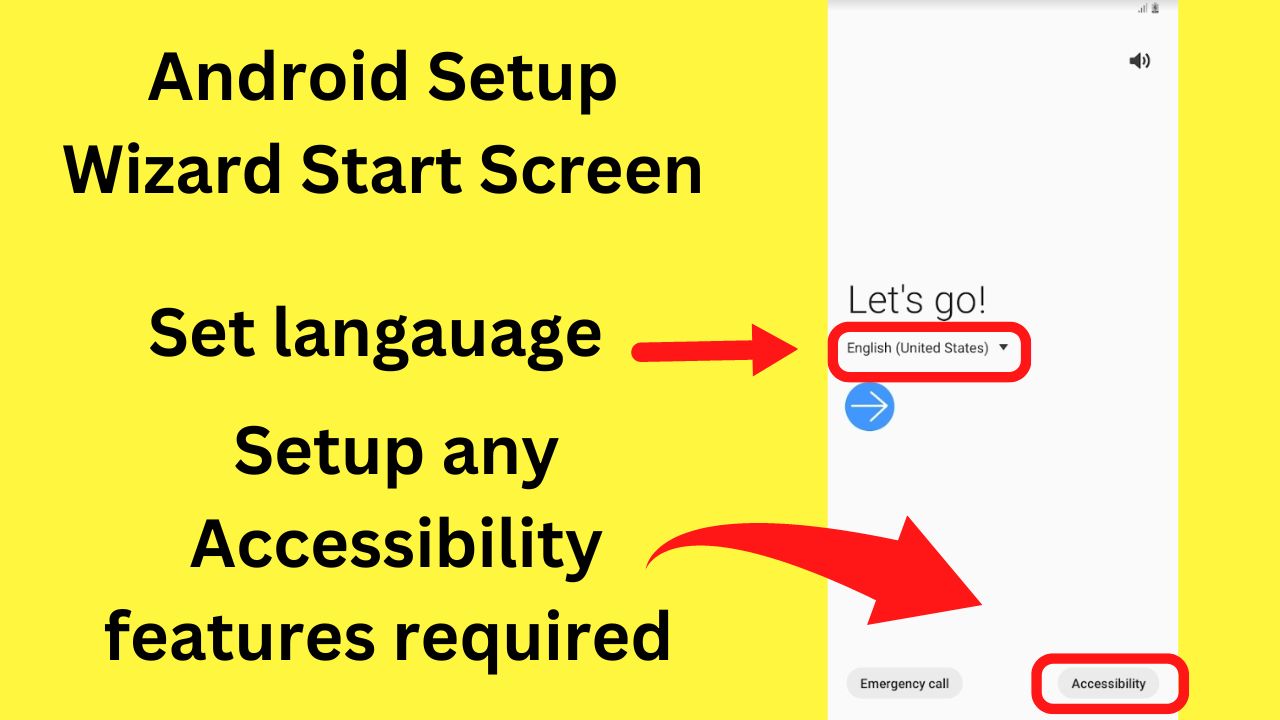
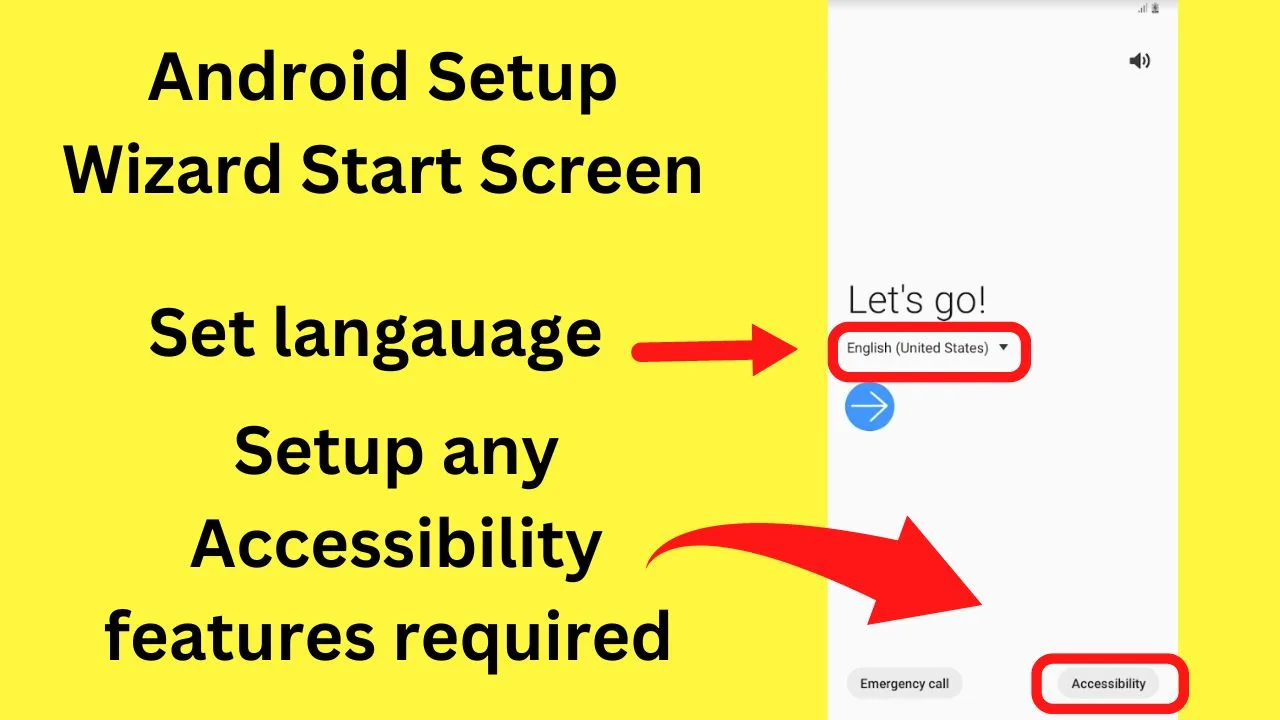
You may not be quite ready to go though!
Look at the bottom of your screen and you will see another two tabs. “Emergency Call” and “Accessibility”.
The tab on the lower right for “accessibility” is important for anyone who needs visual or hearing customizations before the Setup Wizard app proceeds.
If you miss this stage, at every other part of the setup process, there is a back button on the bottom left of the screen.
Standard Accessibility Features on Android phones explained
Screen reader
To use the Screen Reader, “Voice Assistant” must be activated.
To turn it on,


- Tap on “Accessibility”,
- Tap on “Screen reader”
- Tap the toggle button on the top right, then tap on “Allow”.


There are a number of settings for the Voice Assistant that can be set up before proceeding to the next steps.
Visibility enhancements

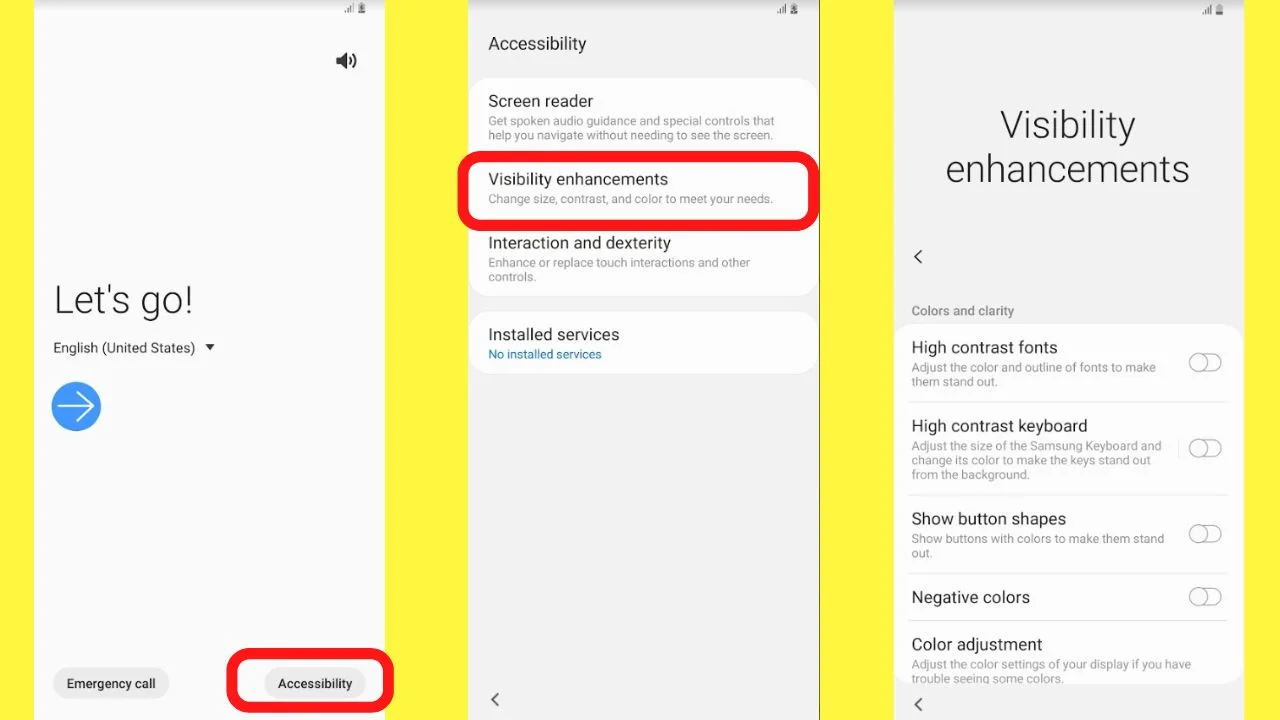
Visibility enhancements are the settings to change to increase the font size, change the font color on Android, turn on high contrast for fonts, and/or the keyboard or apply a color filter over the screen for easier reading.
Interaction and dexterity
The purpose of these settings is to improve the user experience.

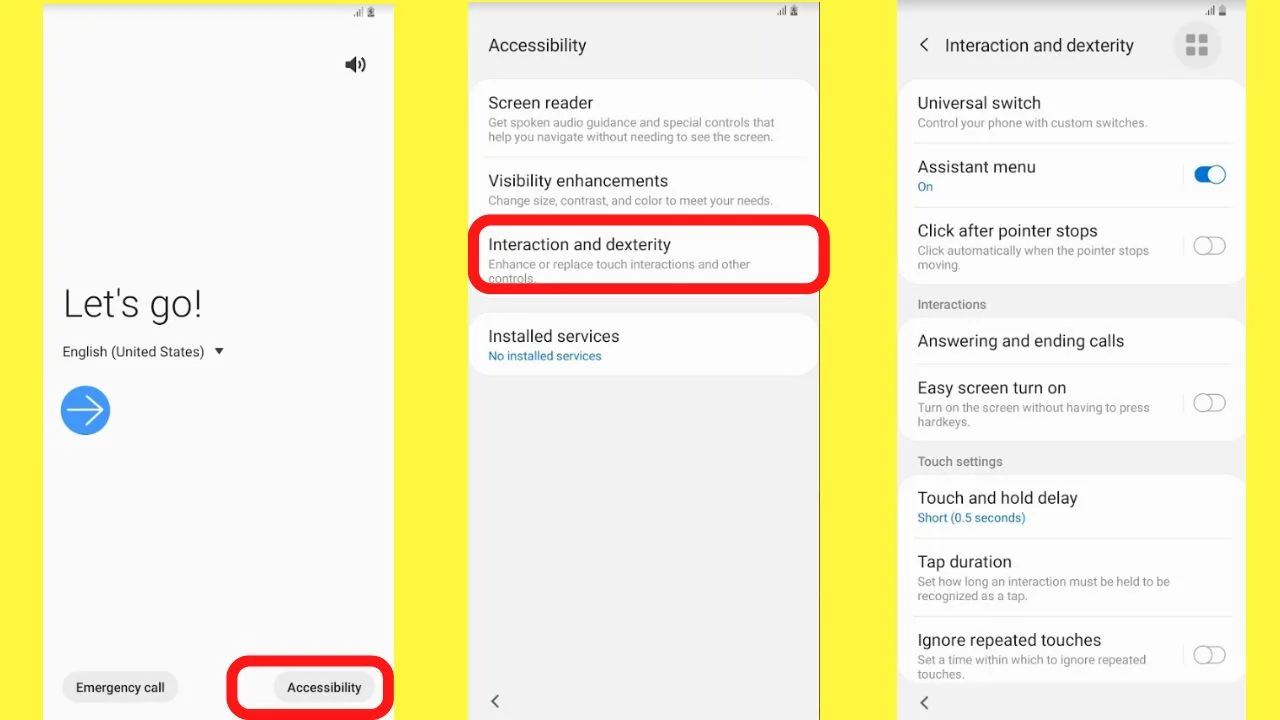
As an example, turning on “Assistant Menu” puts a button on the screen that can be pressed to perform tasks like screenshots with a tap, rather than pressing the volume down and the power button at the same time.


Once your phone has the accessibility settings customized to your requirements, tap the back button on the bottom left of the screen to return to the initial stage of the Setup Wizard on Android.
Tap Let’s Go when you are ready.
Step 2: Read and agree to the terms
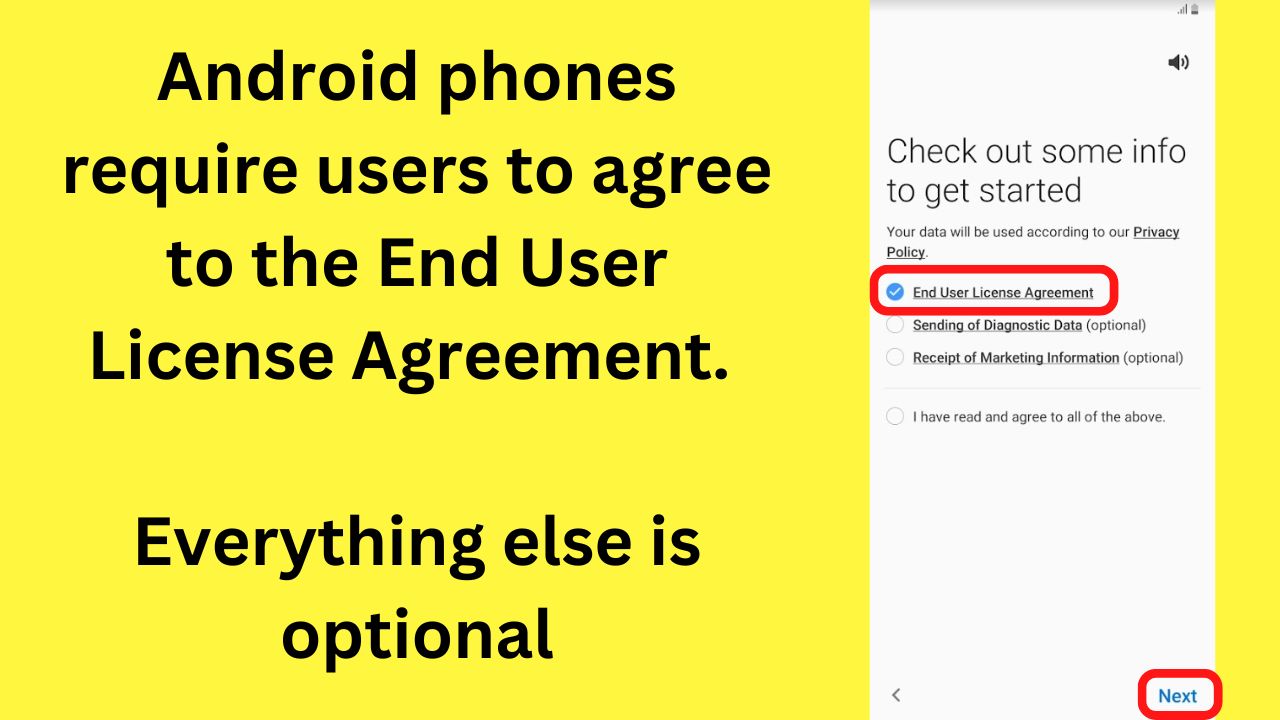
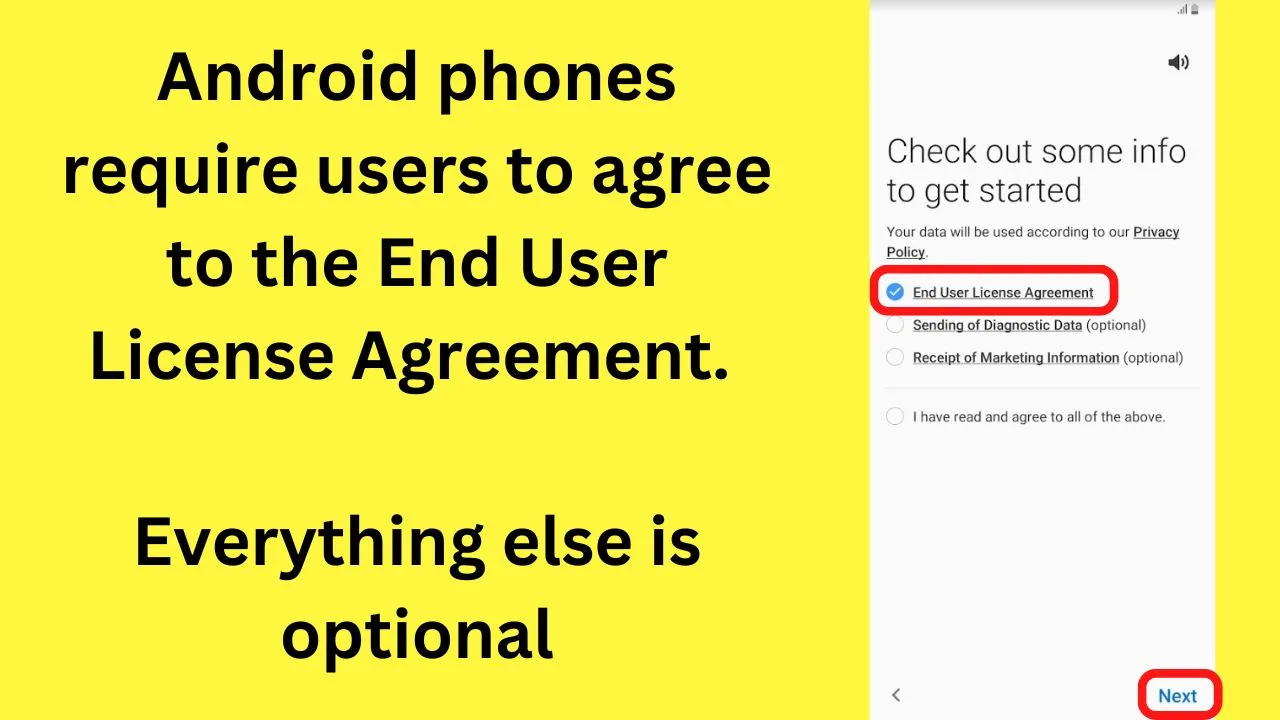
This step cannot be skipped. You must agree to the “End User License Agreement” (EULA).
The optional terms are to send diagnostic data (which includes usage information), and in the case of Samsung, you may agree to the “Receipt of Marketing Information”. These are marked as (optional).
Agreeing to the “Receipt of Marketing Information” is the same as an opt-in to receive marketing communications.
You can agree to all or tap to agree to the EULA. Until you do, you cannot progress to the next step.
Step 3: Import data from another device
![]()
![]()
By this stage, you can begin to press skip if you like.
This step of the Setup Wizard on an Android phone is to bring your previous settings, contacts, photos, music, and apps (and their permissions) from your old phone to your new device.
Select from Wireless, or Cable and USB connector, which is handy if you are moving from another operating system, such as iOS to Android.
Make your selection then press the Next button.
Step 4: Connect to a Wi-Fi network
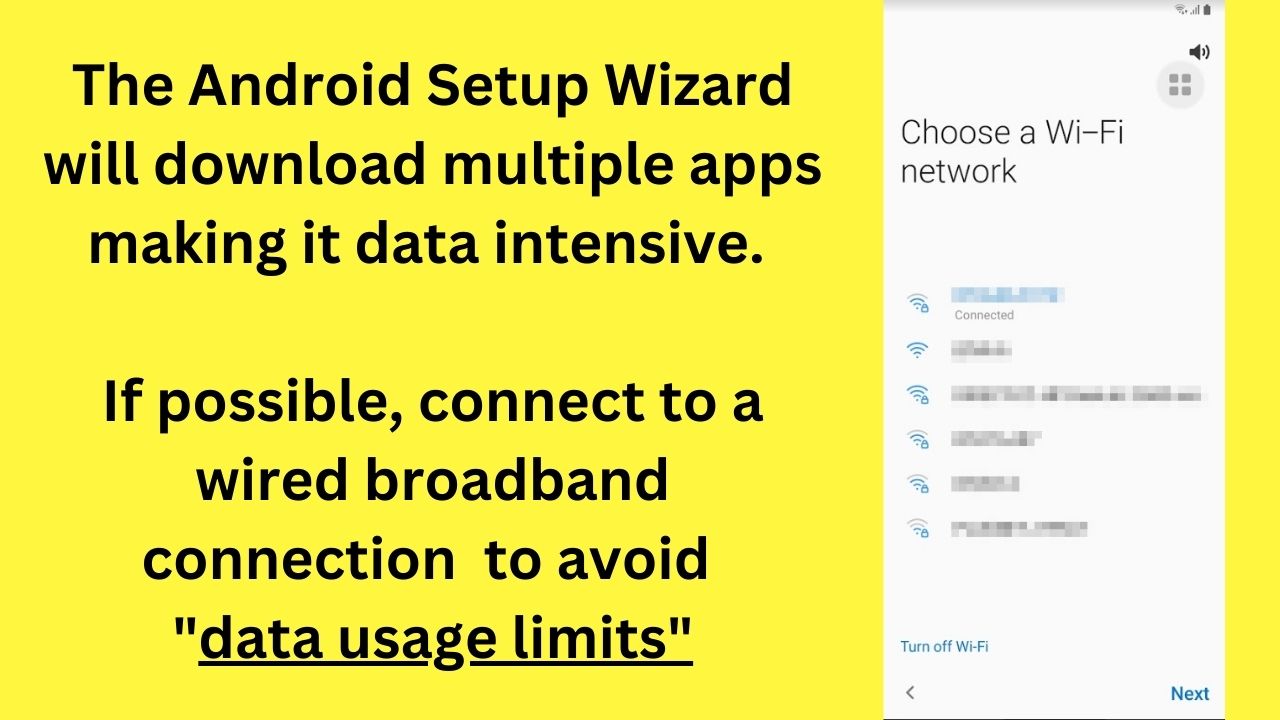
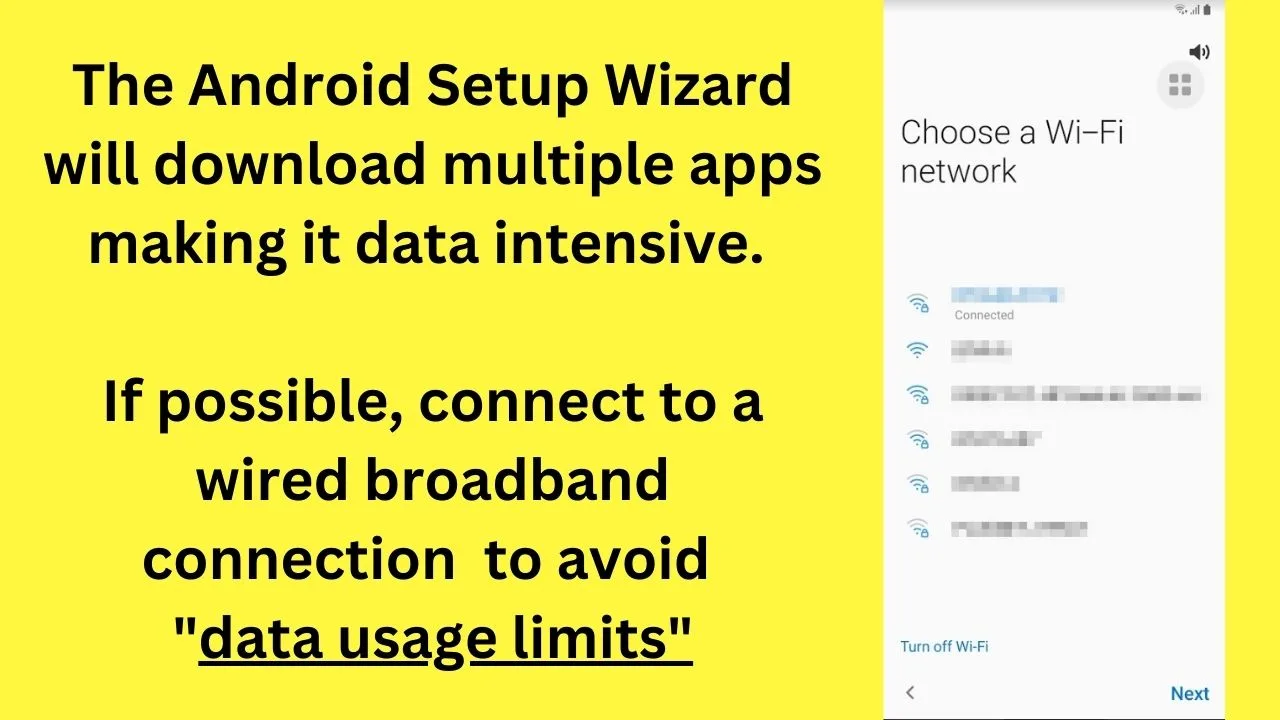
Ideally, connect to a broadband connection, rather than using your mobile data because a lot of applications are downloaded by the Setup Wizard on Android.
Possibly, every app developed by Google, and more if your device runs a custom ROM as a secondary Setup Wizard.
If you have an expensive data plan or are with a network provider that restricts data during peak times, you may run into issues using mobile data to connect to the internet.
This is what leads to the dreaded “Setup Wizard” + “data usage limited” notification. Particularly, if you have the data saver feature turned on.
Once you see that you are connected to a network, click next.
Step 5: Sign into your Google account, or create one

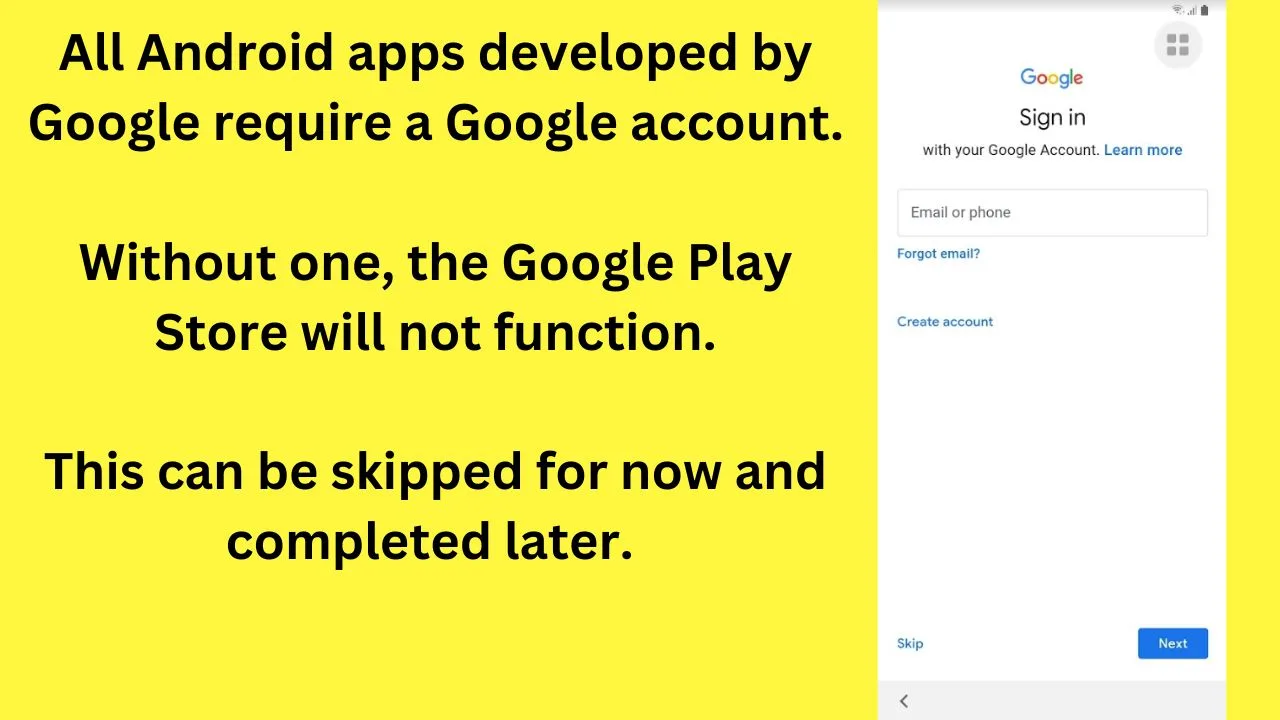
Google developed the Android Operating System in a way that is heavily tied to all of its services.
Without a Google account (Gmail), none of the services or apps will be available on your smartphone without using third-party applications.
Most phones will still perform basic functions such as calling and SMS.
It is important to note at this step that linking to a Google account is how Android users manage all of their data online at myaccount.google.com.
Different devices have different applications installed through the Setup Wizard on Android.
The reason for differentiation between Setup Wizards is that some are free, and others are licensed to the device manufacturers.
All Android phones will install the apps below:
- Google Search
- Google Chrome
- YouTube
- Google Play Store
The above apps are part of the Android Open Source Project, which is bundled into the core Android Setup Wizard.
Additional apps that are closed-source and licensed through Google Mobile Services are:
- Drive
- Gmail
- Meet
- Maps
- Photos
- Google TV
- YouTube Music
These apps are delivered through secondary (branded) Setup Wizards on Android and differ based on the license the manufacturer has, and the availability of the services in the user’s country.
Without a Google account, none of the apps that are developed by Google will work.
Add or create an account, then tap next.
A prompt will appear with an option to accept the terms for Google Services, (required to sync your device with your Google Account).
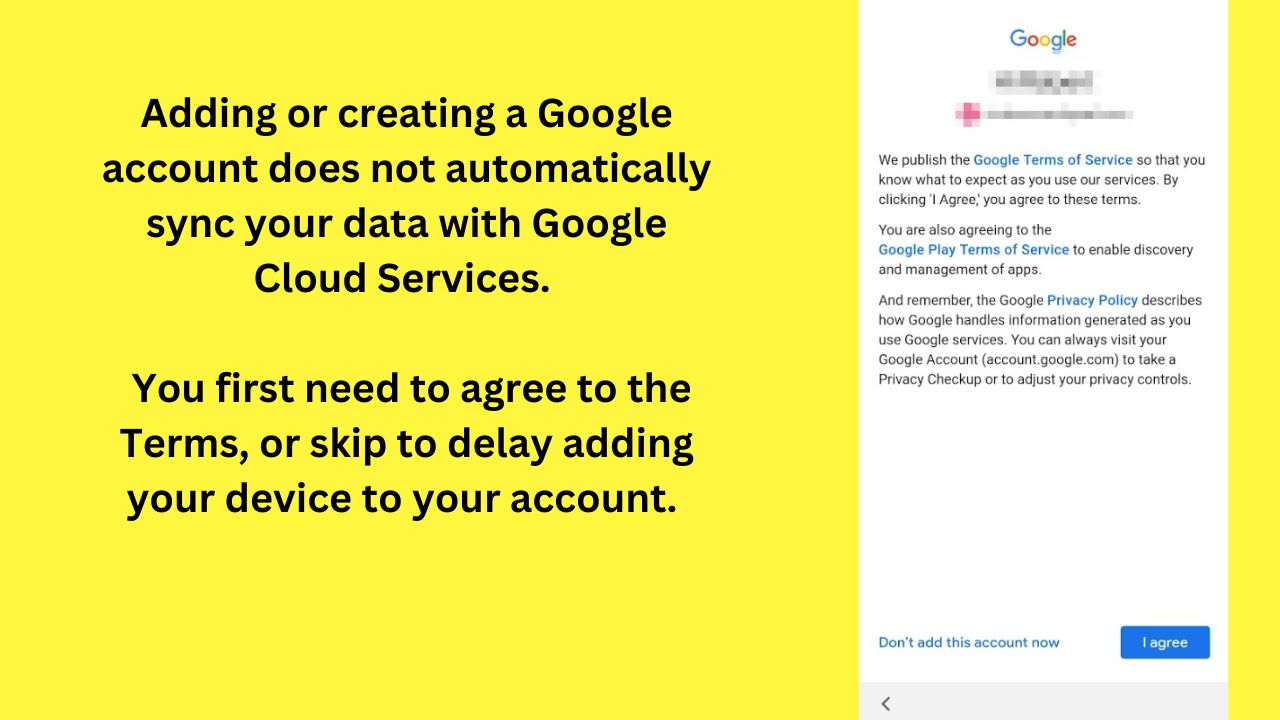

You can tap on the left to skip linking your account just now or press “I agree” to add your device to your account.
If you do add your account now, the Setup Wizard will look for backups. When transferring data between Android phones, it is the backup in your account that is restored.
Restoring from a backup is much faster as all your apps, and existing settings are transferred to your new device.
Step 6: Protect Your Phone
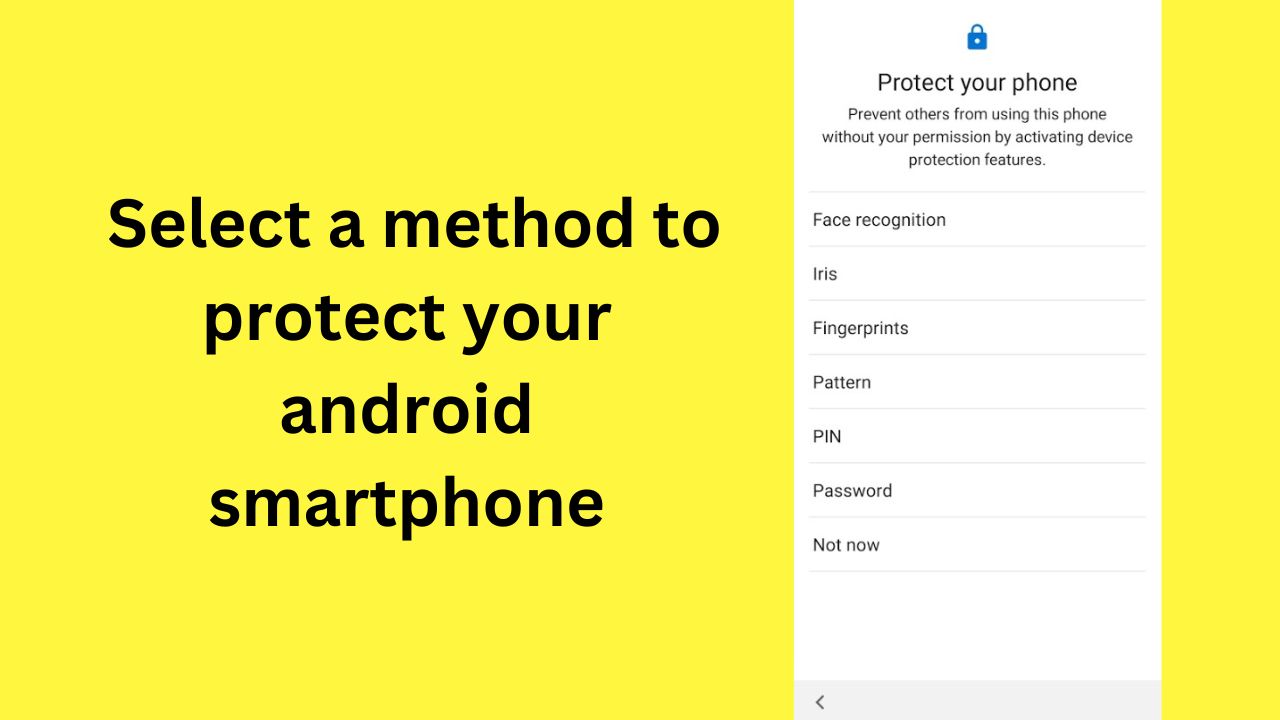
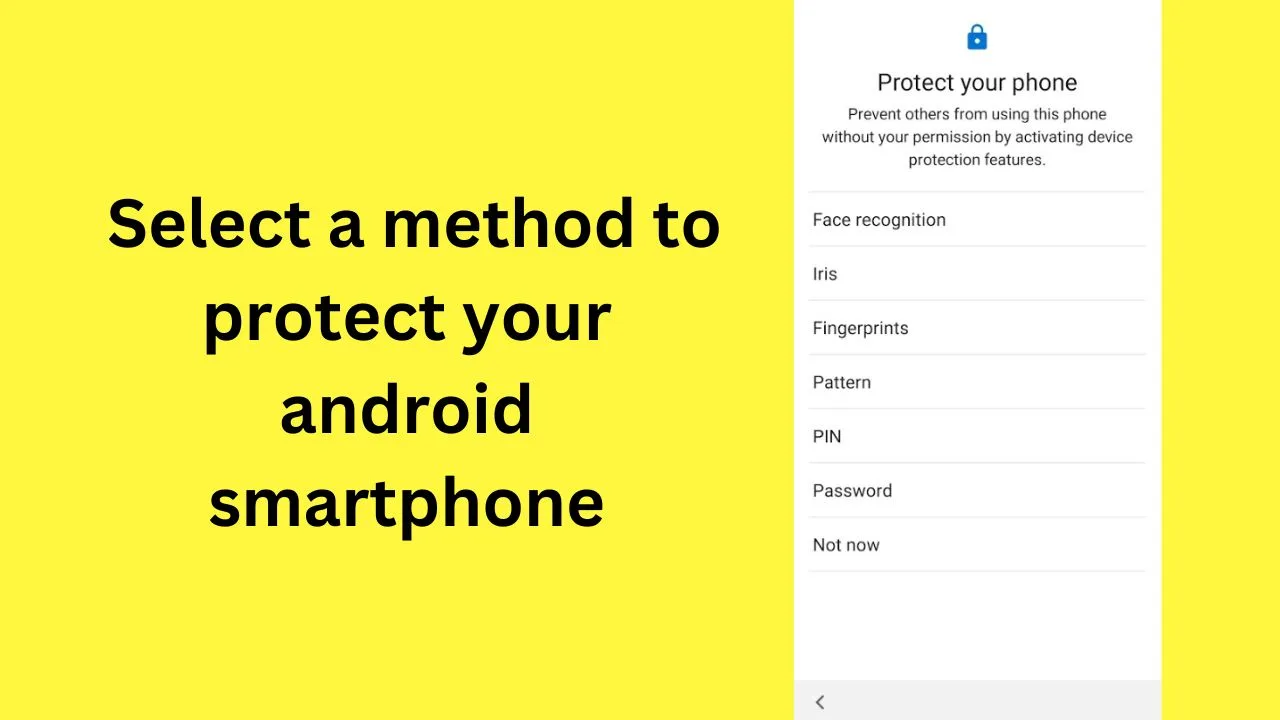
This step can be skipped, but it is highly recommended that you protect your phone. Pick one security method from the list – Face recognition, iris, fingerprints, pattern, PIN, or a password. Pick one and set it up or skip it until later.
If you do tap “not now”, you will see a prompt alerting you that “device protection features will not be activated”.
This is a feature within your Google account. If your device is stolen (as an example), you can wipe it remotely, but only if you set up device protection.
Step 7: Google Assistant
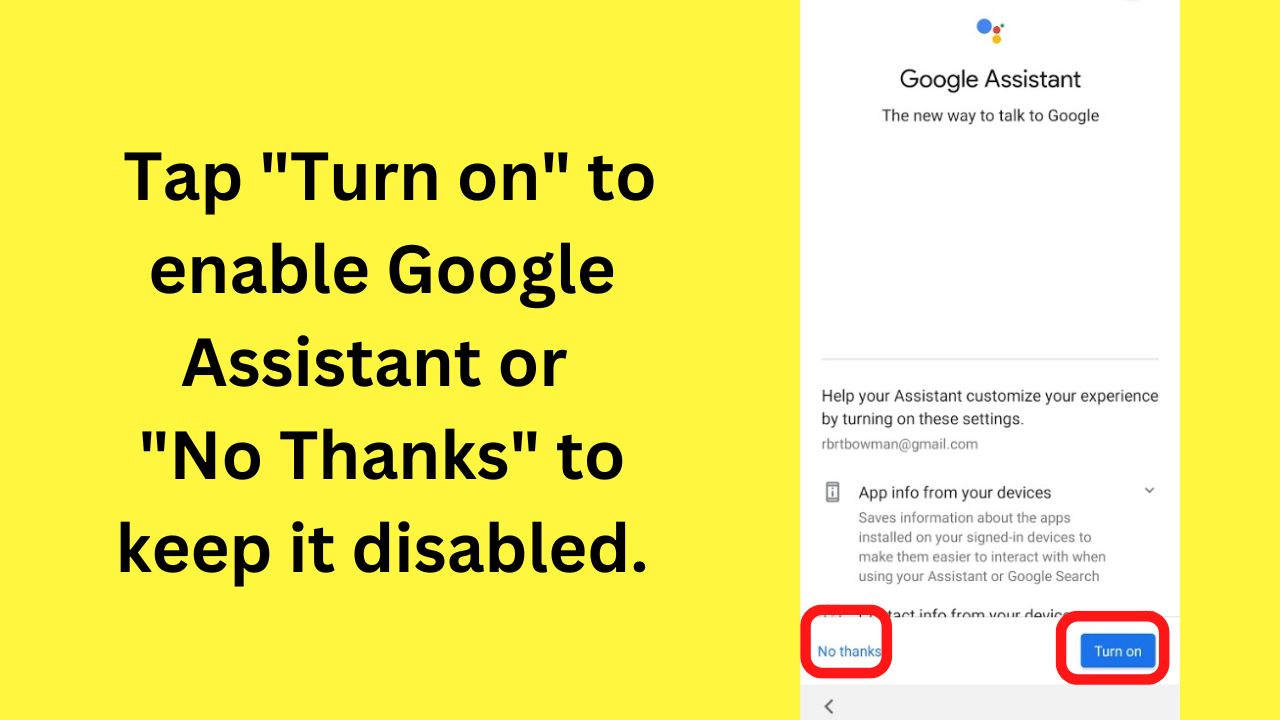
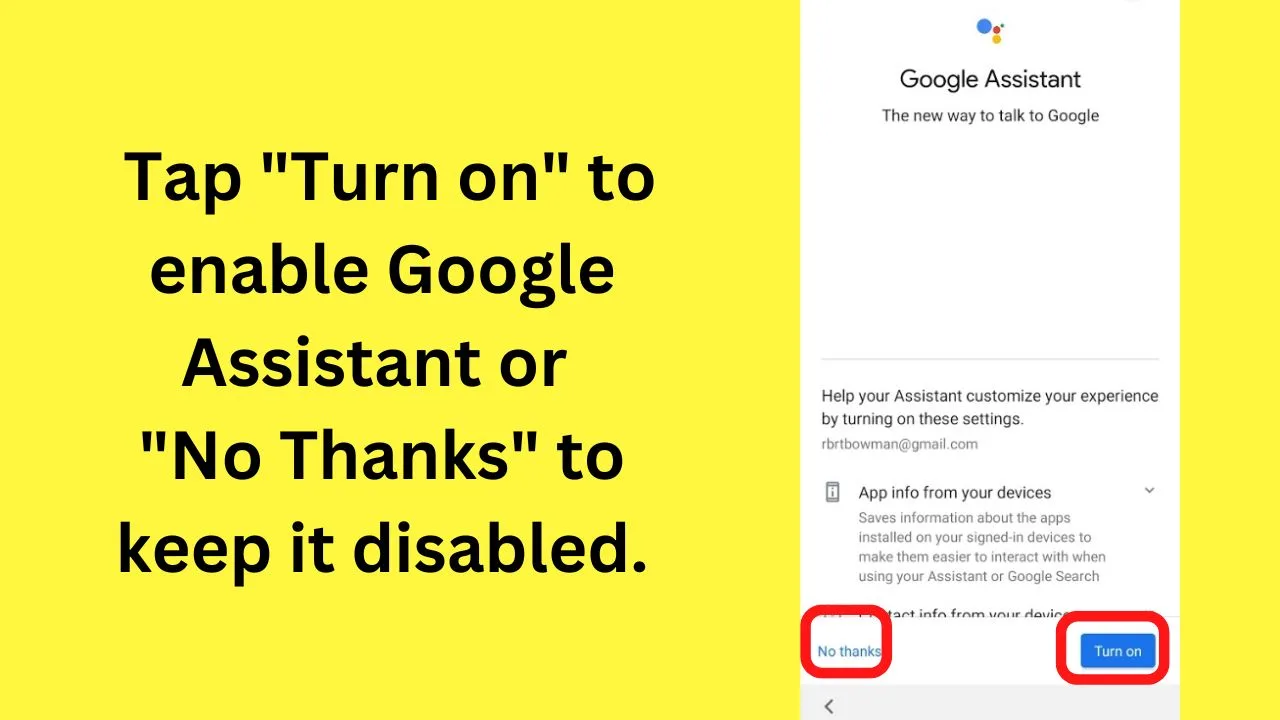
The Google Assistant can assist with many tasks, but it can also be a nuisance as it remembers all the settings for every app on your phone, and auto-connects.
If, for example, you want to make sure Bluetooth does not keep turning on when you do not want it to pair with another device, tap on “No Thanks” at this step.
Step 8: Google Services
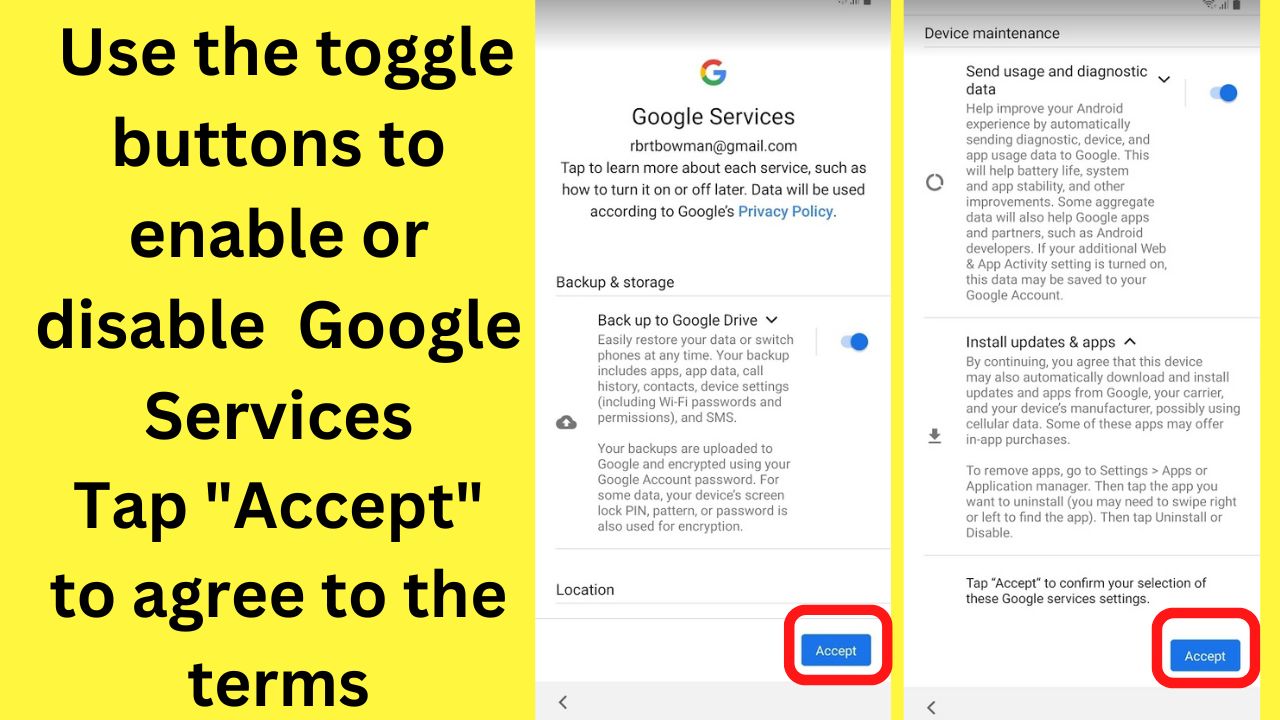
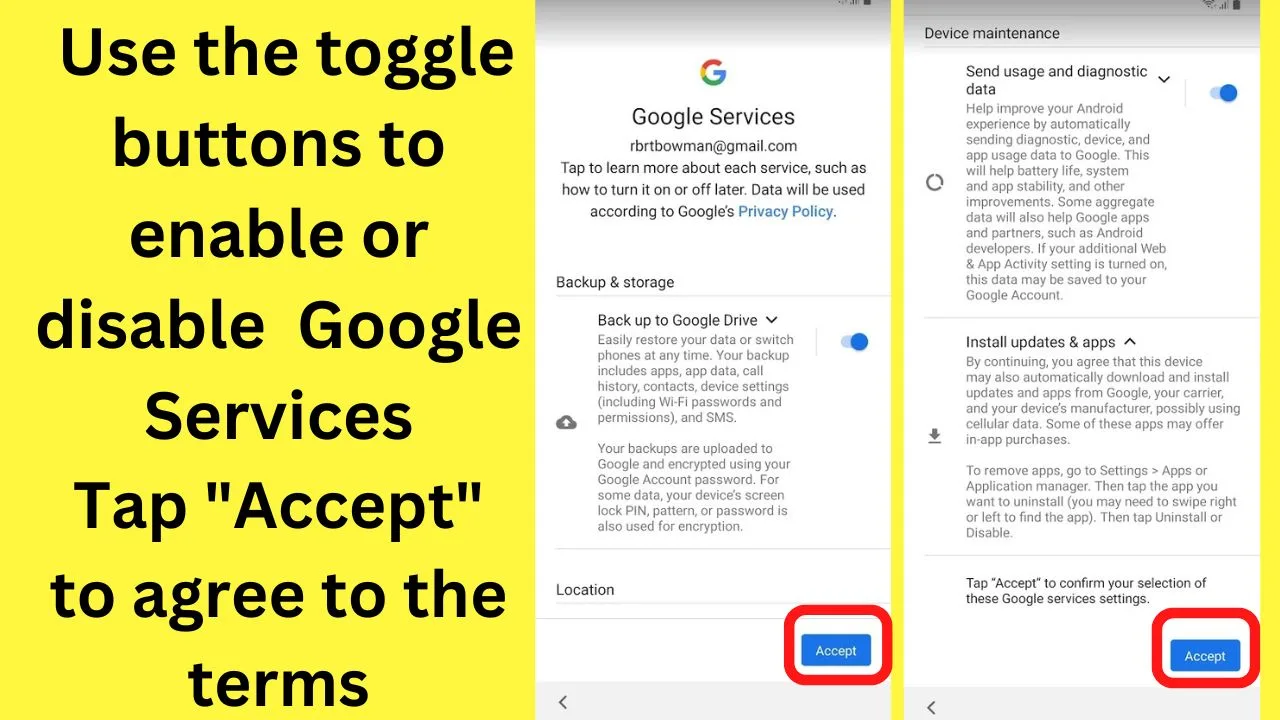
This step is to configure what permissions Google has for handling your personal data. You can toggle on and off what you want.
- Backup to Google Drive
- Use location
- Allow scanning
- Send usage and diagnostic data
“Install updates and apps” is the only feature that is not optional. Everything else can be toggled on or off based on your preferences.
Once you have made your changes, tap on “Accept”.
The core Android Setup Wizard will complete at this stage.
Manufacturers licensed through Google Mobile Services can bundle in extra applications at this next stage, which is optional to users, apart from the Google Services apps.
Customized Setup Wizards on an Android Phone
Step 8: Review additional apps
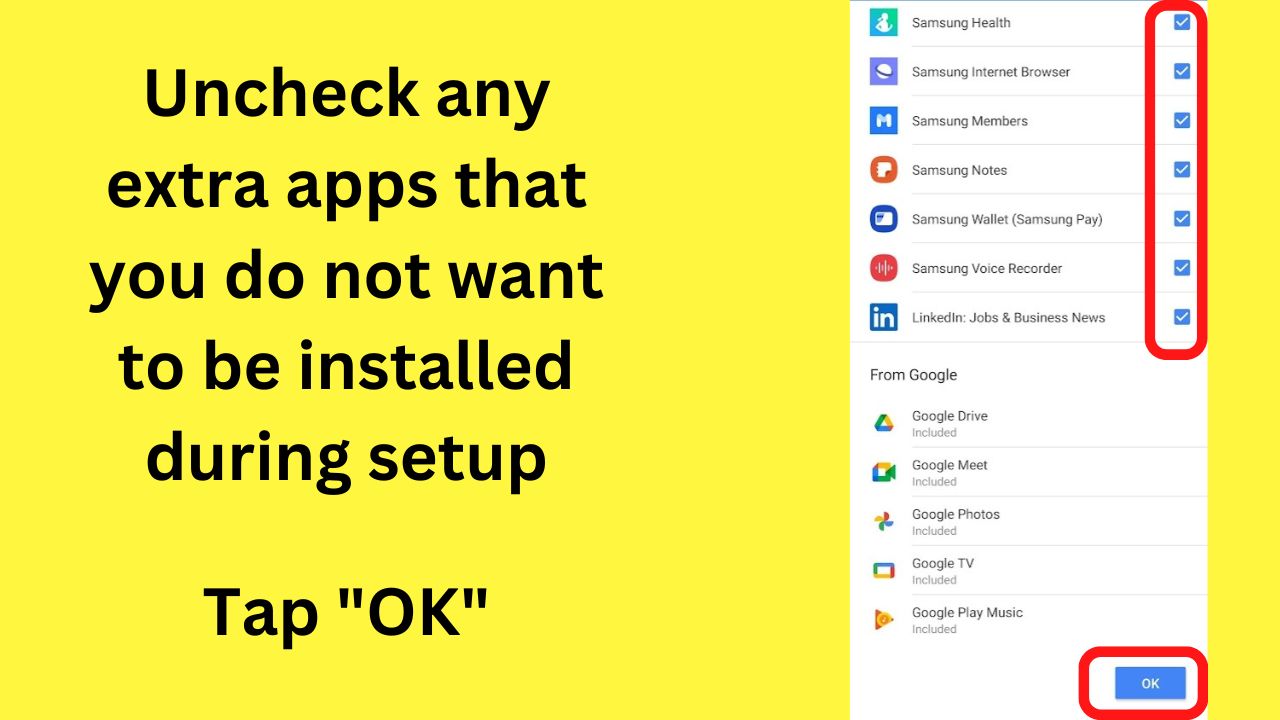

Look for duplicate apps and uncheck the apps that you do not want.
But not only duplicate apps are a common problem on Android apps. Duplicate text messages on Android are yet another problem you might be facing at a certain point in time. But for now, let’s focus on our duplicate apps again…
For example, the Samsung Setup Wizard bundles in additional apps that are duplicates of apps already installed through the initial Android Setup Wizard.
Samsung has the Samsung browser app. Android has Chrome. Same with email. Android has Gmail by default.
You may have no need for Samsung email. Or many of the other apps that are likely to become bloatware on your device.
Below the additional apps are the apps “from Google”. These will be installed on your device. These are the apps that are licensed to manufacturers through Google Mobile Services.
Select which of the optional apps you would like to install, and uncheck the ones that you do not want. Then tap on “ok”.
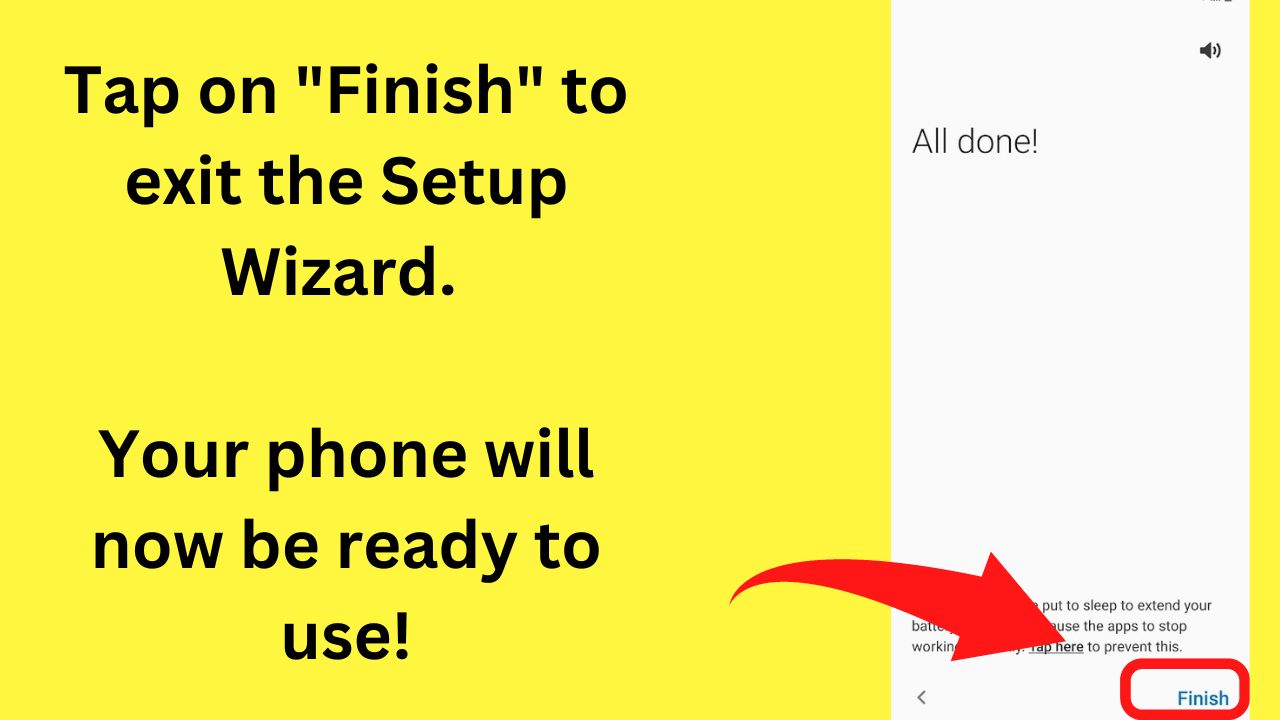
On the next screen, tap on “Finish” to exit the Setup Wizard.
Your device will be set up and ready to use.

How to rerun the Setup Wizard on an Android Phone
Despite the Android Setup Wizard being an app on your phone, you cannot simply launch it and select rerun. It only auto-runs on the first boot of the device.
The only way to rerun the Setup Wizard is to wipe your phone using “Factory Reset”.
Before you do that, check that you have backed your data up to your Google Account.
Then when you do rerun the Android Setup Wizard, by step 5, you can use the “restore from backup” option. Unless you really do want a completely fresh install of the Android OS.


Hey guys! It’s me, Marcel, aka Maschi. On MaschiTuts, it’s all about tutorials! No matter the topic of the article, the goal always remains the same: Providing you guys with the most in-depth and helpful tutorials!

