Rendering video footage in Premiere Pro is a crucial step for enhancing your workflow and ensuring smoother video previews.
Yet, the process of “rendering” can be a bit complex, leaving you with questions like when and how to render effectively.
Let’s begin with the basics.
Render Videos in Premiere Pro with a Shortcut
How to Render Audio in Premiere Pro
Working with Audition? — Be aware of the following!
When to Render (Video) in Premiere Pro
Frequently asked questions related to “Rendering in Premiere Pro”
How to Render in Premiere Pro
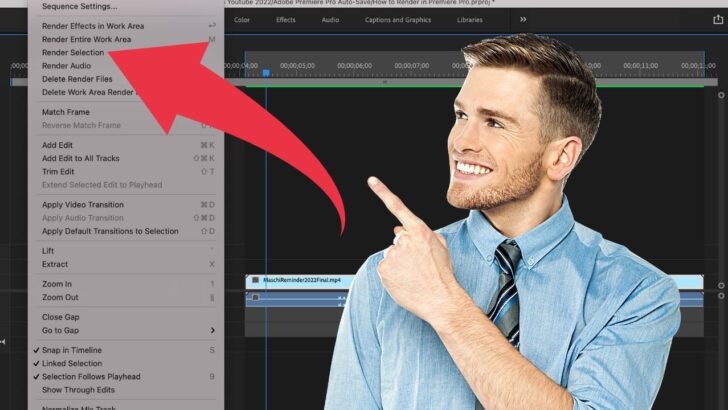
To render in Premiere Pro, select “Sequence” in the main menu, then choose “Render entire work area.” You can also just render a selection by first setting a Mark In point (I) and a Mark Out point (O) on the timeline and then selecting “Sequence” in the main menu followed by “Render Selection.”
Render Videos in Premiere Pro with a Shortcut
Press the letter “M” on your keyboard to render the whole work area.
If you would just like to render a selection as defined by Mark In and Mark Out points, you can also do that, but you will first have to define your own shortcut for that.
To do so, choose “Premiere Pro” from the main menu and then go into “Keyboard Shortcuts.”
There, search for “Render Selection” and then set a keyboard shortcut for the “Render Selection” option
How to Render Audio in Premiere Pro
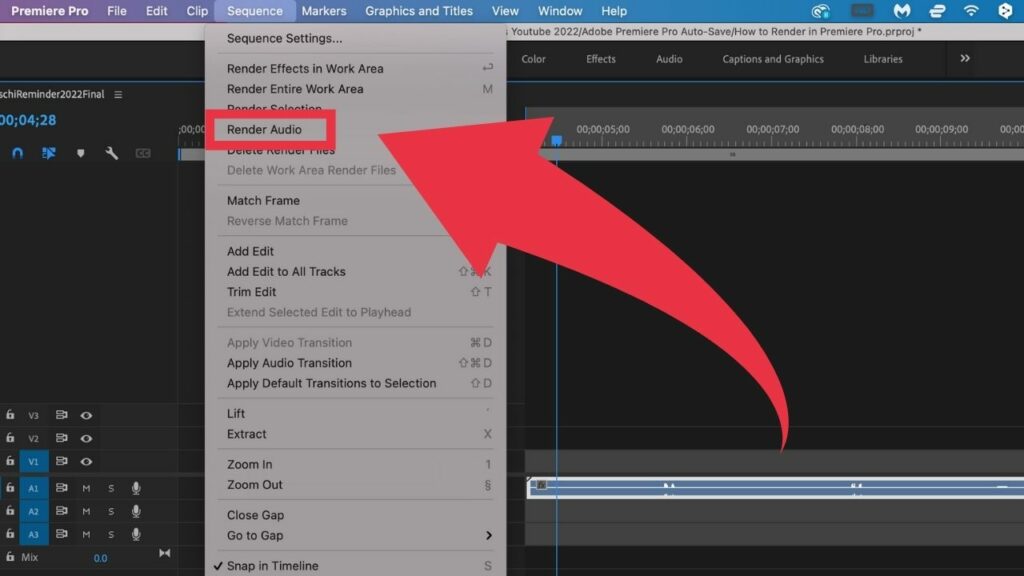
To render audio in Premiere Pro, click on “Sequence” in the main menu and then choose “Render Audio” from the dropdown menu.
Working with Audition? — Be aware of the following!
If you are like me and have a Creative Cloud subscription, you might also use the awesome Audition software to keep your audio (within Premiere Pro) in check.
In case you do have a Creative Cloud subscription but don’t use Audition yet, you might want to start using it because it can definitely help you get your audio to the next level.
That said, Premiere Pro makes it extremely easy to use Audition alongside Premiere Pro.
In fact, all audio that you have in Premiere Pro can be edited and adjusted in Audition, and when you do so, the changes that you apply to your audio clips are then automatically reflected and updated in Premiere Pro as well.
Pretty awesome stuff.
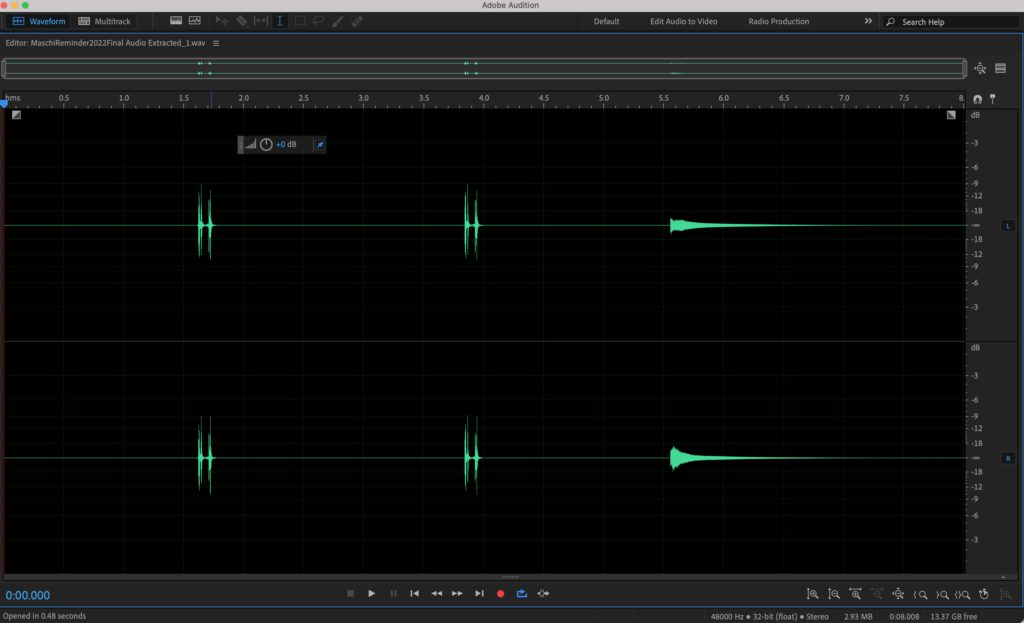
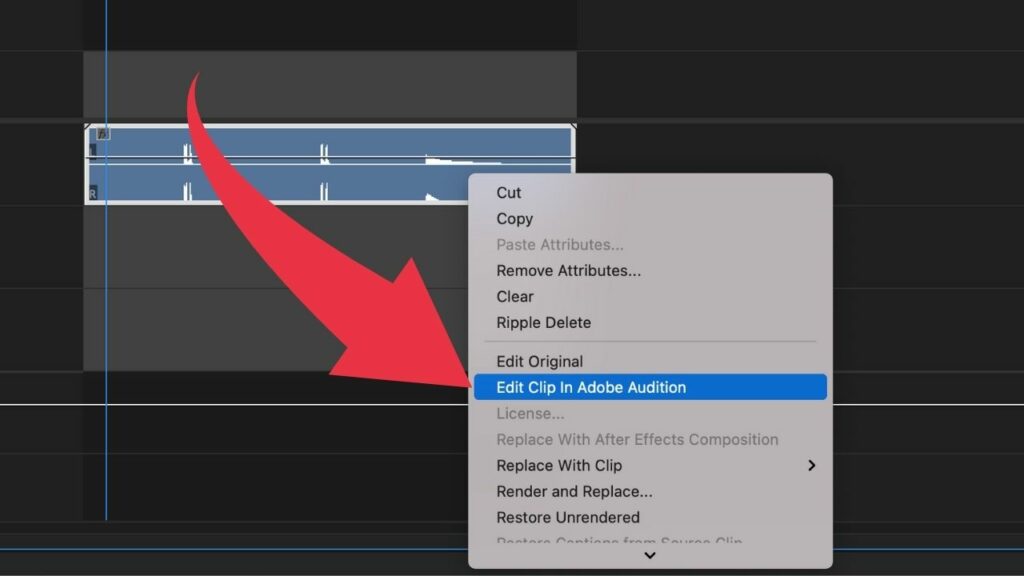
To open up Audition directly from within Premiere Pro, right-click on the desired audio clip on the timeline and then choose “Edit Clip in Adobe Audition.”
If the option “Edit Clip in Adobe Audition” is greyed out, then you will have to do the following to solve this problem:
Step 1: Right-click on your audio clip and then choose “Render and Replace” from the dropdown menu
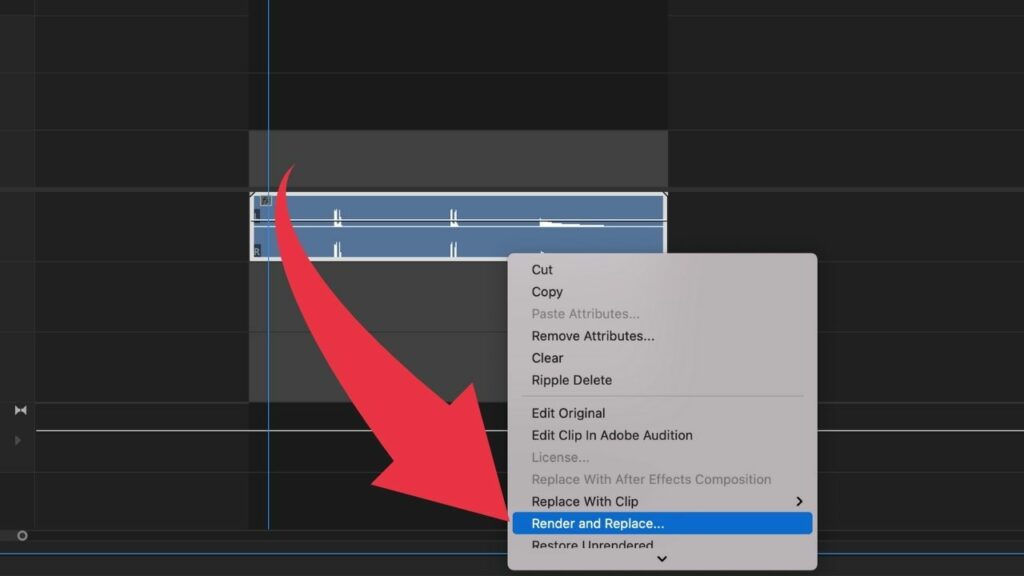
Step 2: Right-click on your audio clip again and then choose “Edit in Adobe Audition”
When to Render (Video) in Premiere Pro
Until very recently, I only actively rendered footage in Premiere Pro whenever I added some special effects to my videos…
…The reason for this being that without rendering the footage, the playback was just not working properly anymore!
Too many delays, lag, and out-of-sync audio…argh.
I guess my 9-year old Macbook Pro just can’t handle this type of stuff…unless I render the footage before playback.
Fair enough.
But with that said, I have also noticed another thing.
Recently, I started editing bigger videos, and as my Macbook Pro isn’t exactly new anymore, I thought it might be a good idea to render the entire video footage before actually starting to edit.
And, wow!
While it takes my Mac a good while to render a 4 GB video, the editing process is just so much smoother after rendering the footage.
Lag, delays, and out-of-sync audio have been plaguing me forever in Premiere Pro, and I always knew that the primary reason for this is my outdated, yet beloved Macbook Pro.
But what I didn’t know is that rendering my videos before actually editing them helps a whole lot!
So, when should I render in Premiere Pro?
My advice would be to render everything before you actually start editing. It will save you a lot of time, especially if your computer is slow and outdated.
After all, when to actually render things in Premiere Pro heavily depends on the nature of the footage and also the length of the footage.
It usually takes me around 2-3 hours to edit a 30-minute-long video. Literally, thousands of clicks and taps on the keyboard need to be executed to get the job done.
And without rendering the footage beforehand, each of these clicks and actions will take me just a tiny little bit longer. But it really really adds up.
So, I would say that since I do render the footage beforehand and only then start rendering, it saves me around 30 minutes per editing session, considering that we are talking about editing a 30-minute-long video.
Frequently asked questions related to “Rendering in Premiere Pro”
What is the work area in Premiere Pro?
To find out, click on the hamburger menu in the timeline and select “Work Area Bar.” You can then see the current work area (the work area = the whole span of the work area bar). You can easily extend or diminish the work area by dragging the work area bar from the left or right.
Is there a way to render a selection in Premiere Pro?
To render a selection in Premiere Pro, click “Sequence” in the main menu and select “Render Selection.” This will render all clips within the Mark In Point (Shortcut: “I”) and Mark Out Point (Shortcut: “O”).
Do I need to render the whole footage in Premiere Pro before editing?
You don’t necessarily need to render the whole footage in Premiere Pro before editing. However rendering everything beforehand can greatly speed up the editing process, especially if your computer is slow and/or outdated.
How do I set In and Out points in Premiere Pro?
To set a “Mark In” point, move the play head to the desired location, then press “I” on the keyboard. Then, move the play head to the desired Out point and then press “O” on your keyboard to set the “Mark Out” point.
How long does it take to render in Premiere Pro?
The time needed to render in Premiere Pro heavily depends on the length and quality (4k, 8k, etc.) of the footage itself and on the specs of your computer. It can take anywhere from a few seconds to several hours.