
When working in Illustrator, it’s common to have a large number of objects in your artboard that you’d like to organize in order to work more efficiently and avoid making mistakes.
Grouping simplifies our work by allowing us to work with multiple objects as if they were a single one.
It allows us to select, copy or paste, cut, move, and transform the selected group in any way we want.
Let’s also take into account that you can group various types of objects with different qualities and still working on each one individually.
So don’t go overboard with the number of objects on your artboard. Let’s dive right into this tutorial that will save you hours of work.
How to Group Objects in Illustrator
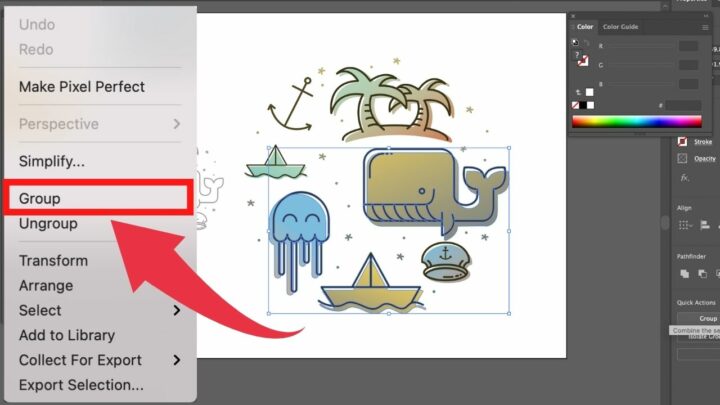
To group objects in Illustrator, you first need to select the objects you want to group with the “Selection Tool” (V) and then right-click and select “Group” (or press the “Ctrl+G” keyboard shortcut). Another option is to go to select “Object” in the main menu and then choose the “Group” option.
How to Group Objects in Illustrator: Step-by-step Guide
Step 1:
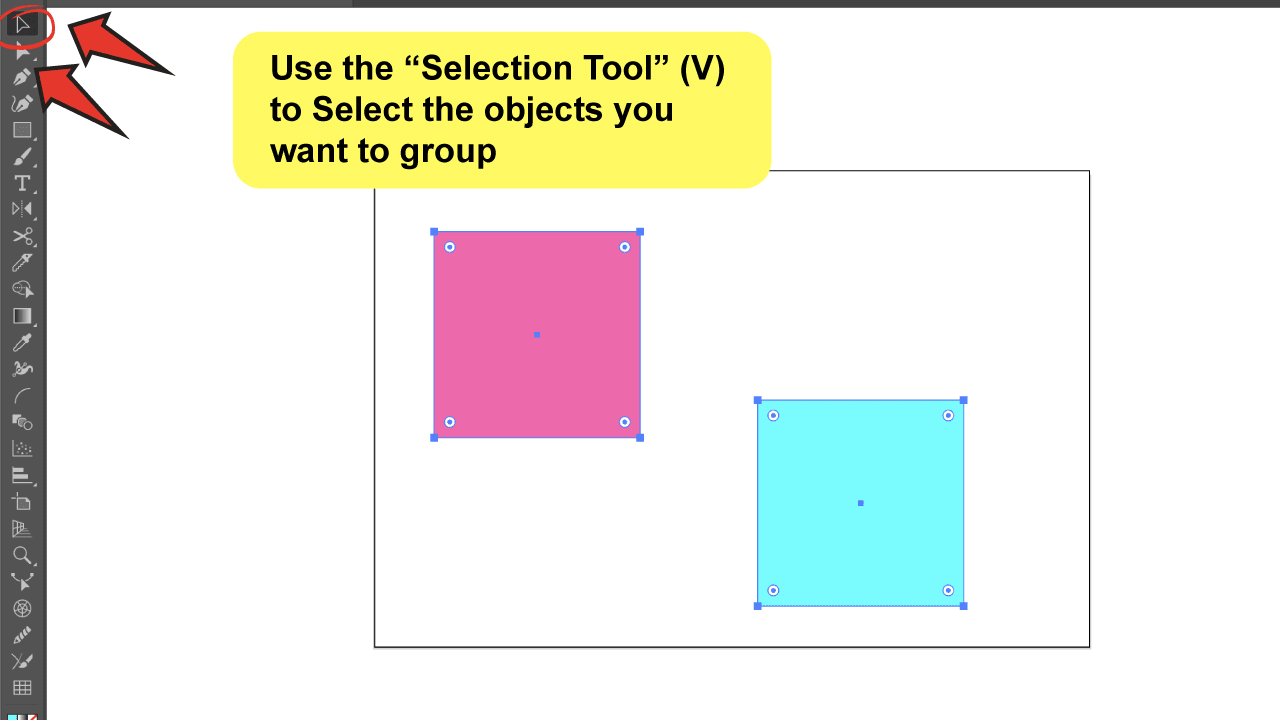
Select the Objects with “Selection Tool”.
The first thing you need to do is to select the objects, so go to the left toolbar and choose the “Selection Tool” (V).
Drag the arrow over the objects you want to group to select them. You can group whatever type of object you want; there are no restrictions on shape, size, or other properties. You can also create a group that incorporates previously created groups.
Keep in mind that you won’t be able to group the objects if they haven’t been previously selected.

Step 2:
Open your file or create a new one.
First, open the document that you want to work with by clicking on it, or once in Illustrator, you can go to “File”>“Open” on the top-menu and choose the file from there.
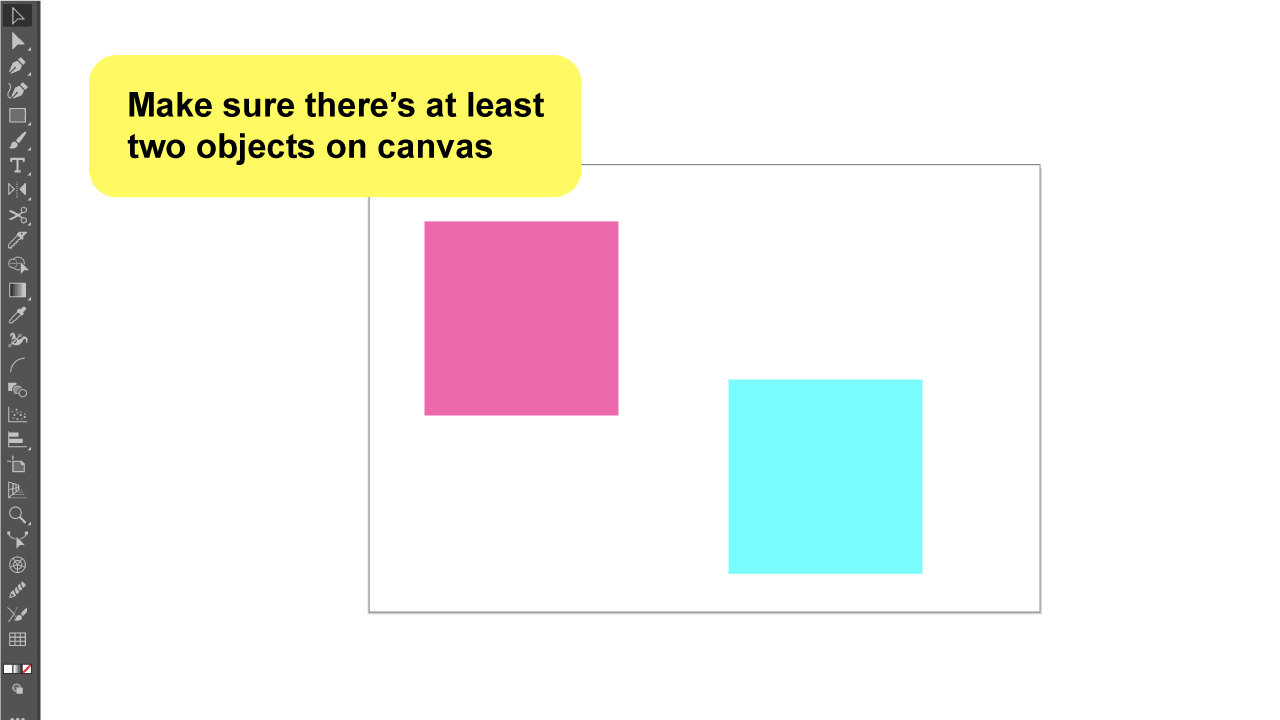
If you aren’t currently working on a file, go to “File”>“New”. In this tutorial, we’ll be grouping objects, so you’ll need to create some in order to try this out.


Select the “Rectangle Tool” from the left side toolbar and simply draw a few rectangles. You are now ready to begin!

Step 3:
Group the objects.
You can now group the objects. It’s really simple, and there are a few different ways to go about it. I’ll go over everything with you.
The first way is to right-click and select the “Group” option; it’s as simple as that. You can also use the “Ctrl+G” keyboard shortcut.

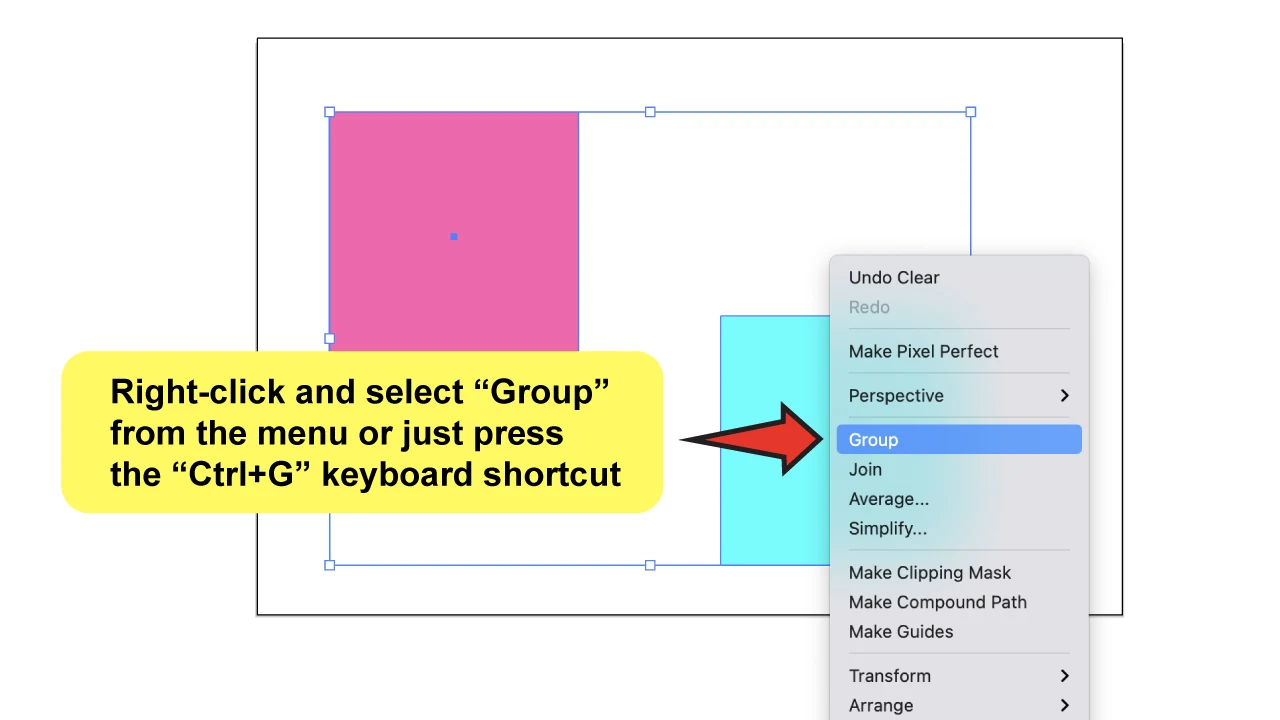
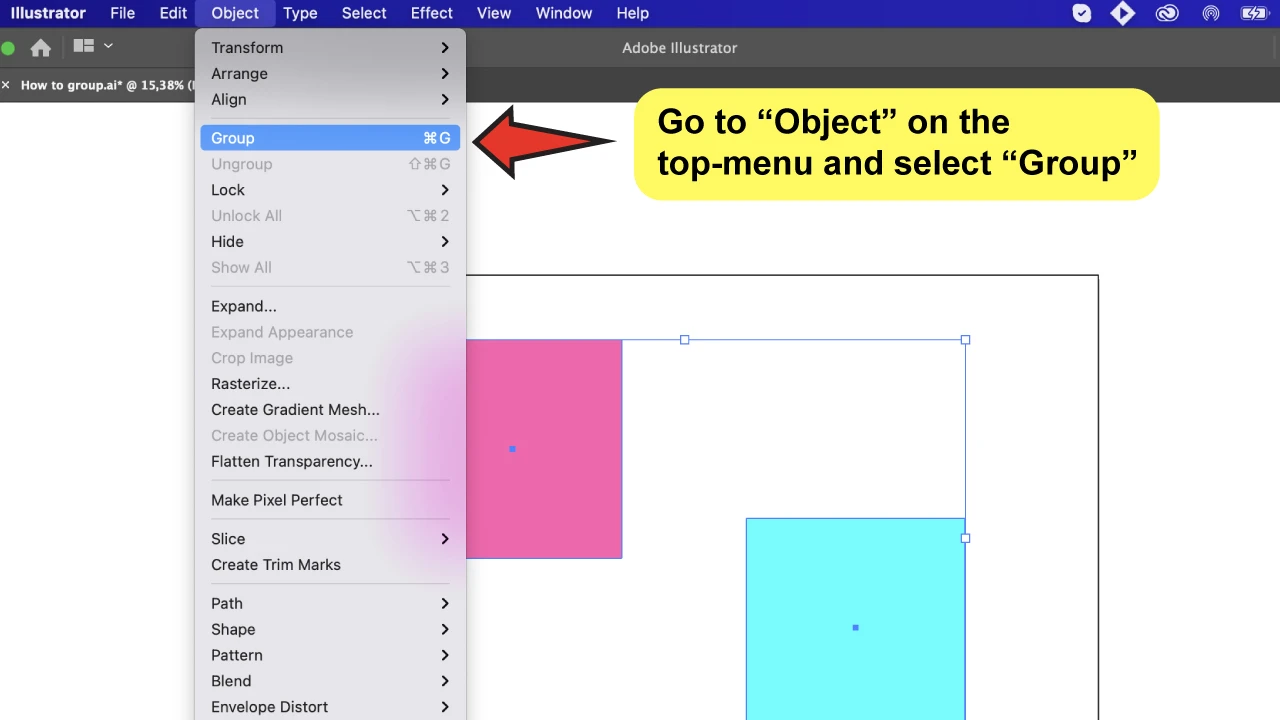
Another way is to go to the top-menu, click on “Object,” and then select “Group.”

Step 4:
Open the “Layers” panel.
When you create a group of different objects, you will then create a new layer for it, but all of the components will still be splitted on each of their layers inside.
Layers are used in Illustrator, not at the same level as in Photoshop. But it is convenient to see the group’s layer in the “Layers” panel to see how they’re organized.
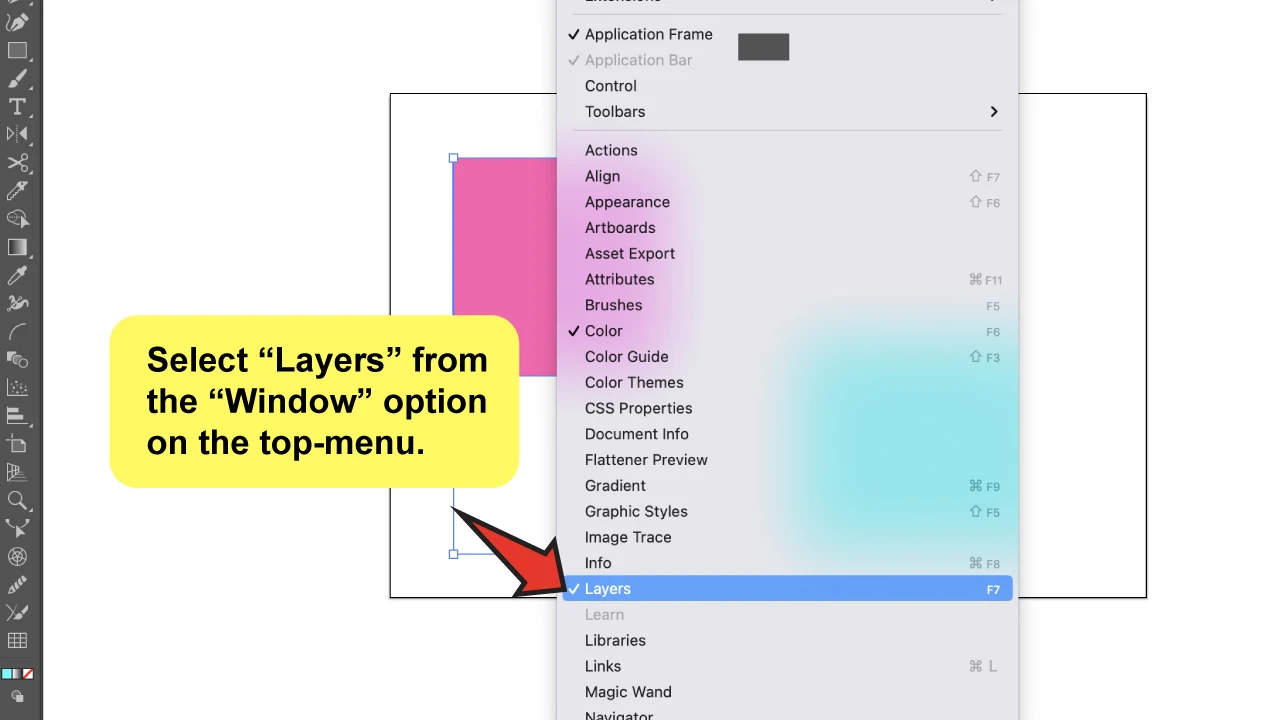
To open the “Layers” panel, select “Window” in the main menu and then choose the “Layers” option.
You’ll notice that there is now a layer called “Group” in the “Layers” panel, which contains all of the layers that belong to the group you just created.

Frequently Asked Questions about Groupin Objects in Illustrator
What if I want to ungroup objects in Illustrator?
Select the group, then right-click and select “Ungroup” or just press the “Shift+Ctrl+G” keyboard shortcut to ungroup it.
How do I select an object from a group without first ungrouping it?
Simply double-click the group. You are now inside the group and can work on a specific object. This is called the “Isolation Mode”. You could also use the “Direct Selection Tool” (A) to select the object from the group.
How can I hide a layer of the group?
Click the arrow next to the group in the “Layers” panel to deploy it. The layers within the group can now be seen. Spot the layer you want to hide and click the eye on the left side.


Hey guys! It’s me, Marcel, aka Maschi. On MaschiTuts, it’s all about tutorials! No matter the topic of the article, the goal always remains the same: Providing you guys with the most in-depth and helpful tutorials!

