

So you’ve been working on a great design and almost done, but something about it still seems a bit flat.
Or maybe you want to add some depth to a digital Illustration. What options do you have in Illustrator?
Shading is a great way to add depth and a sense of space to your design.
The two best ways to apply shading to an artwork in Illustrator are by using the Transparency Window and/or the Gradient Window. Here’s how to use both.
How To Shade In Illustrator
To shade in Illustrator, use the Pen tool (“P”) to draw the shape of your shadow. Use the Eyedropper Tool (I) to select the color directly behind your shape. Finally, open the Transparency window and set the transparency mode to “Multiply.”
The Transparency Window is a great tool for adding dark, overall shading over an image. This method is great for adding shading to skin or clothing.
To shade in Illustrator, follow these steps:
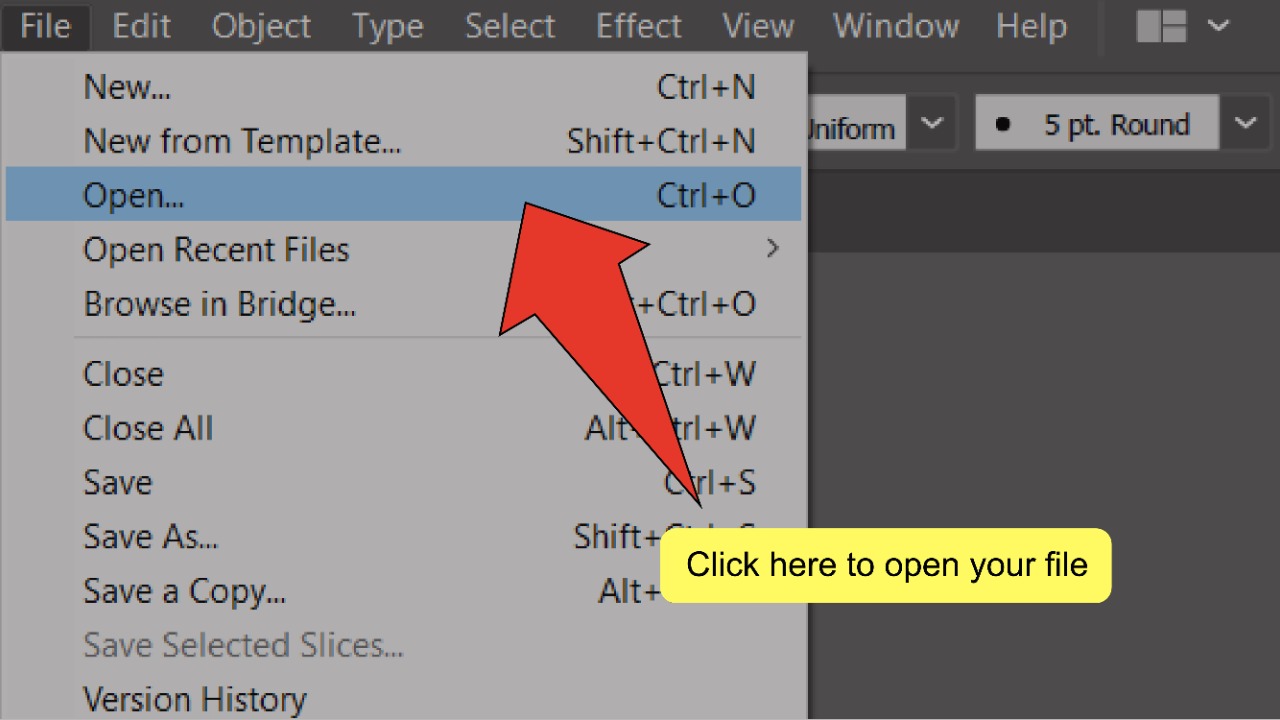
Step 1: Open your Illustrator file
Open your document by double-clicking on its corresponding Illustrator file, or if Illustrator is already open, you can go to “File” on the top menu, and then “Open” and choose the file you want to open. To speed things up, you can also use the keyboard shortcut COMMAND+O (MAC) “Ctrl+O” (Windows).


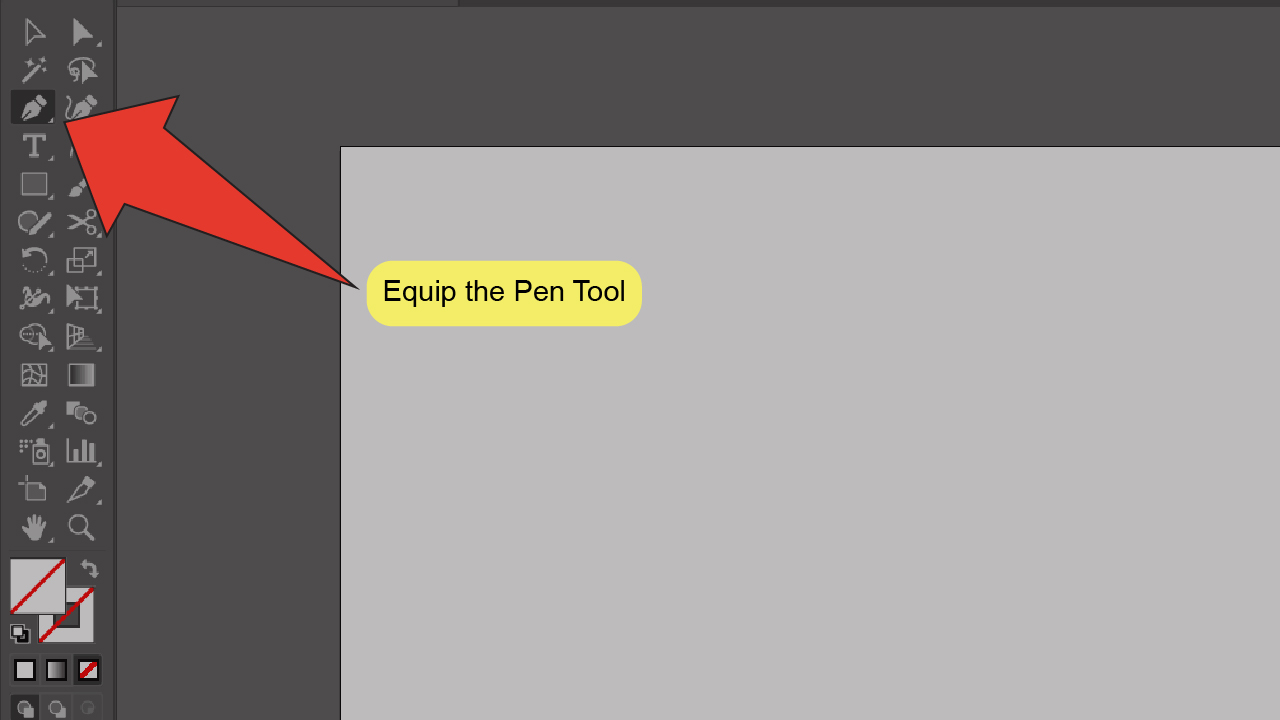
Step 2: Find and equip the Pen tool.
Look for and select the Pen tool located on the toolbar on the left side of your screen. Alternatively, you can use the keyboard shortcut “P” to quick-select the tool.

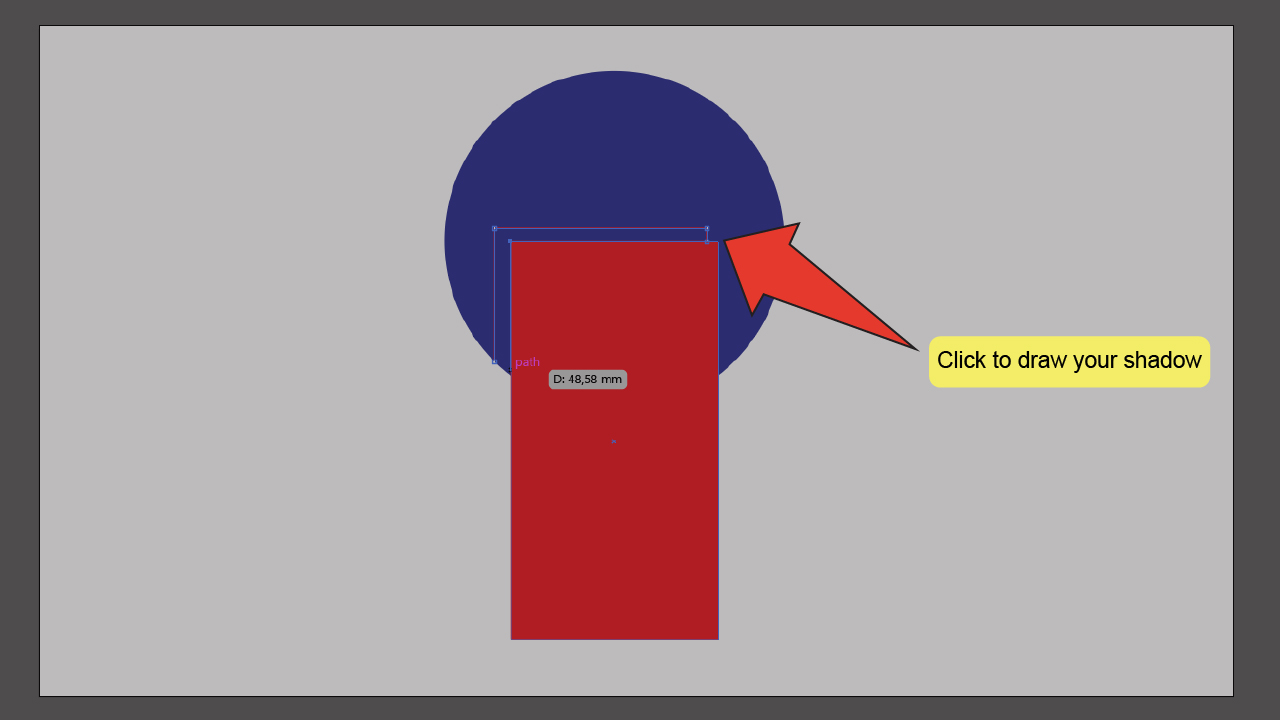
Step 3: Draw your shadow.
Using the Pen tool, draw your shadow over your image. You can click anywhere to place an anchor point, then click anywhere else to place another one, which will be connected to the first by a line. You can click and drag your cursor to create an arched/rounded line.

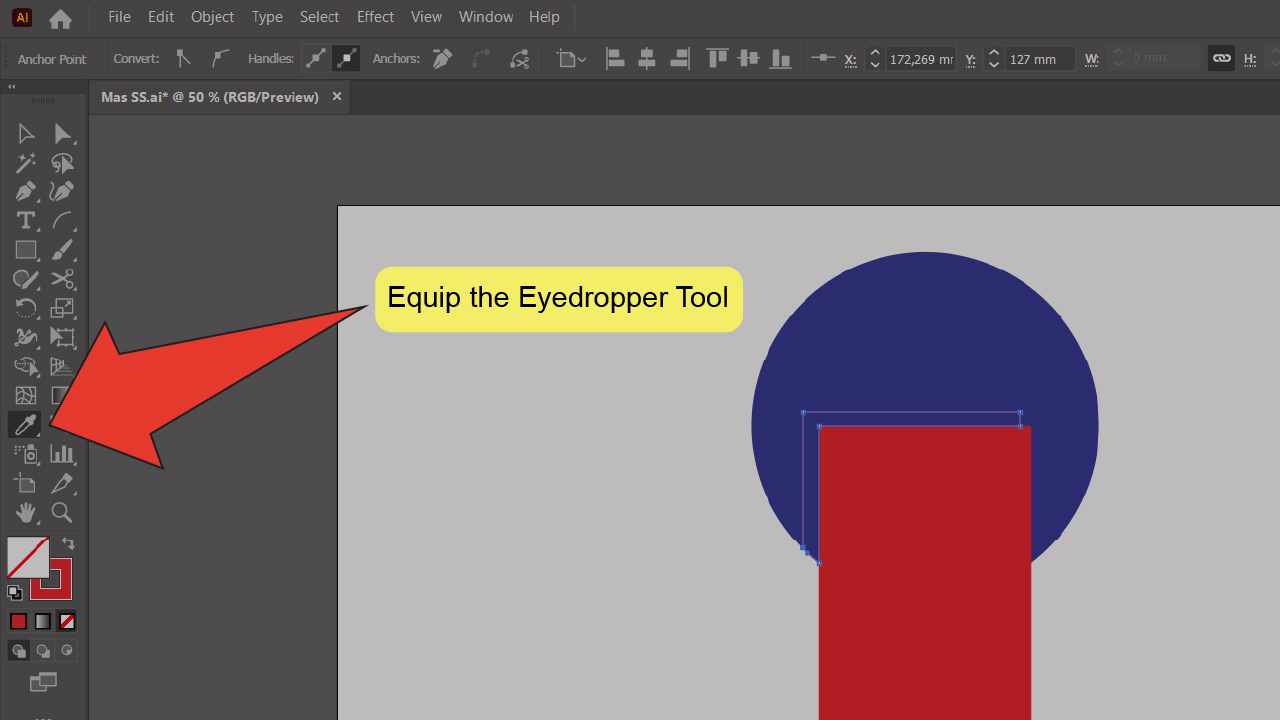
Step 4: Find and equip the Eyedropper tool.
Look for and select the Eyedropper tool on the toolbar on the left side of your screen. Alternatively, you can use the keyboard shortcut “I” to quick-select the tool.


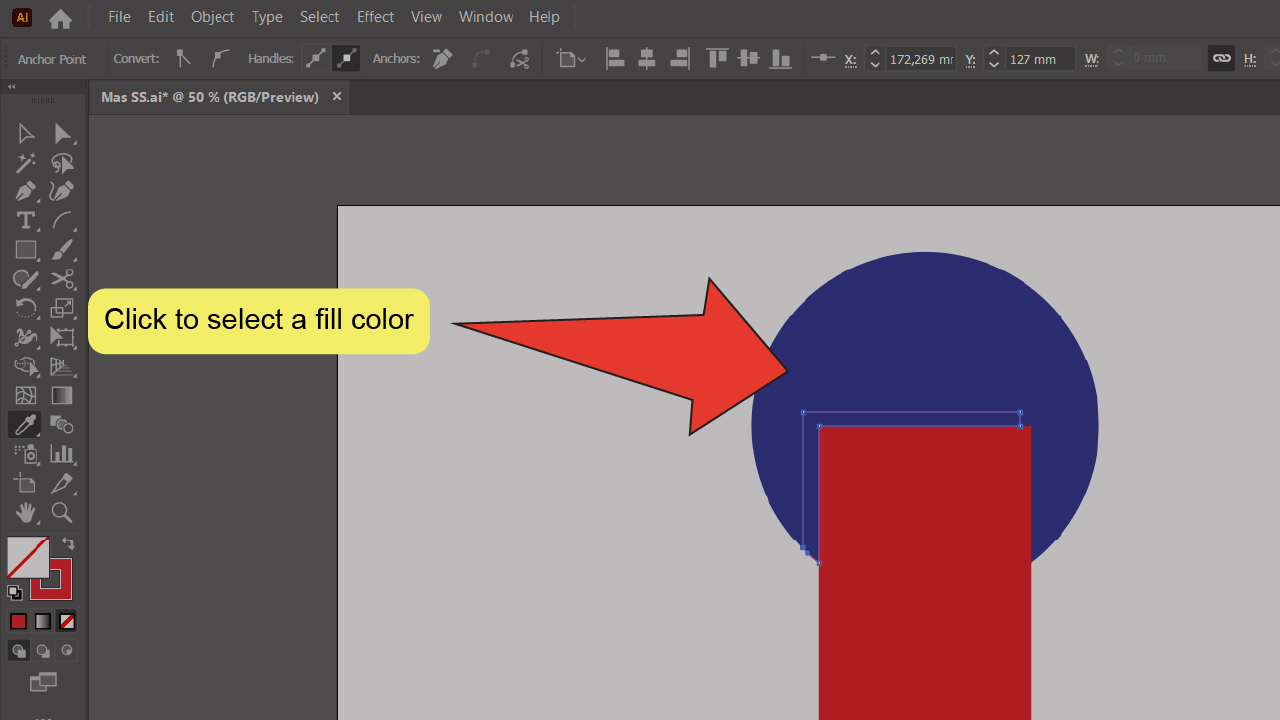
Step 5: Select your fill color.
With the Eyedropper tool selected, click on the object directly behind your shadow’s shape to match its color exactly. Ensure the stroke around your object is set to 0 so there is only a fill color.

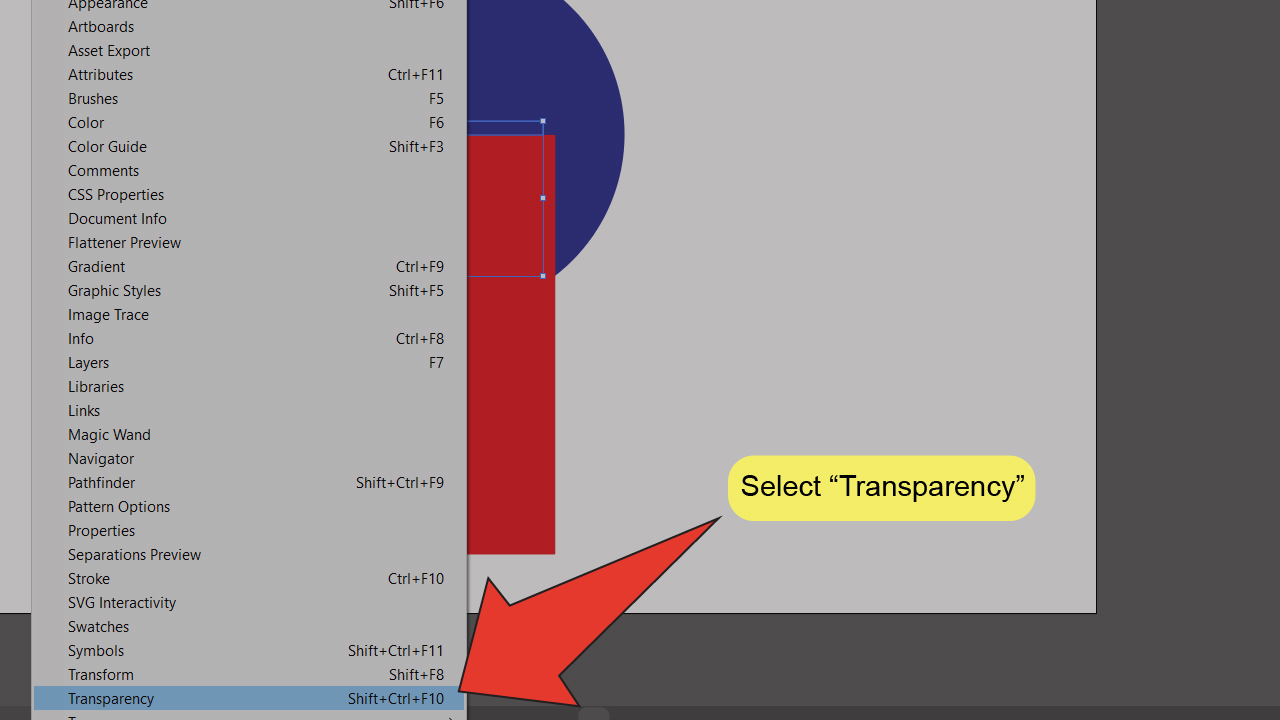
Step 6: Open the Transparency Window.
At the top of your screen, go to “Window” and click on “Transparency.” The Transparency window should open up on the right side of your screen. You can also use the keyboard shortcut “Shift+Ctrl+F10” to speed things up.

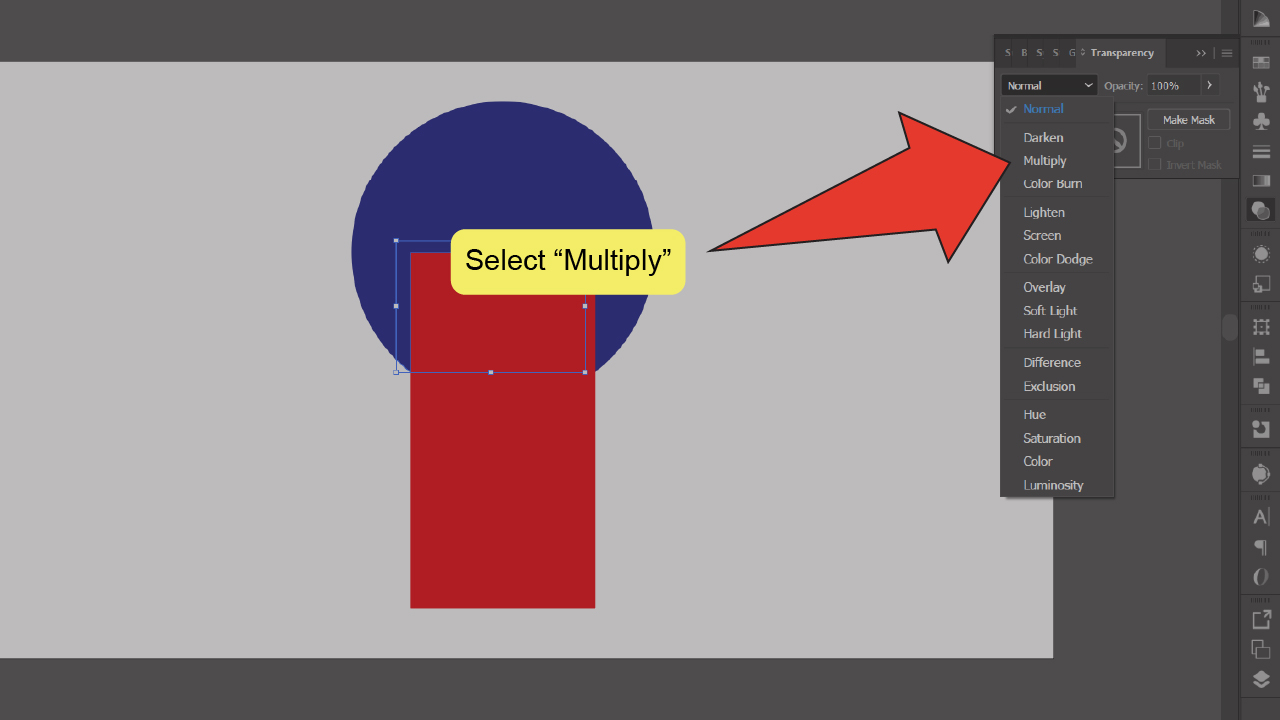
Step 7: Set the mode to “Multiply”
Open the dropdown menu at the top left of the Transparency Window and click “Multiply.” This will create a shadow effect over your object.
You can duplicate and layer an object with the “Multiply” mode applied to achieve a darker shadow.

How To Do Shading In Illustrator Using The Gradient Window
Double-click on your Illustrator file to open it, then place or draw your artwork. Use the Pen tool (“P”) to draw the shape of your shadow. Press “Ctrl+F9” to open the Gradient Window and define your gradient settings. Double-click on each gradient slider to select the colors in your gradient.
The Gradient Window is a great tool for shading over and around objects in a way that fades from dark to light rather than in one darkened spot.
To do shading in Illustrator using the Gradient Window, follow these steps:
Step 1: Open your Illustrator file
Open your document by double-clicking on its corresponding Illustrator file, or if Illustrator is already open, you can go to “File” on the top menu, and then “Open” and choose the file you want to open. To speed things up, you can also use the keyboard shortcut COMMAND+O (MAC) “Ctrl+O” (Windows).

Step 2: Find and equip the Pen tool
Look for and select the Pen tool on the toolbar on the left side of your screen. Alternatively, you can use the keyboard shortcut “P” to quick-select the tool.


Step 3: Draw your shadow
Using the Pen tool, draw your shadow over your image. You can click anywhere to place an anchor point, then click anywhere else to place another one, which will be connected to the first by a line. You can click and drag your cursor to create an arched/rounded line.


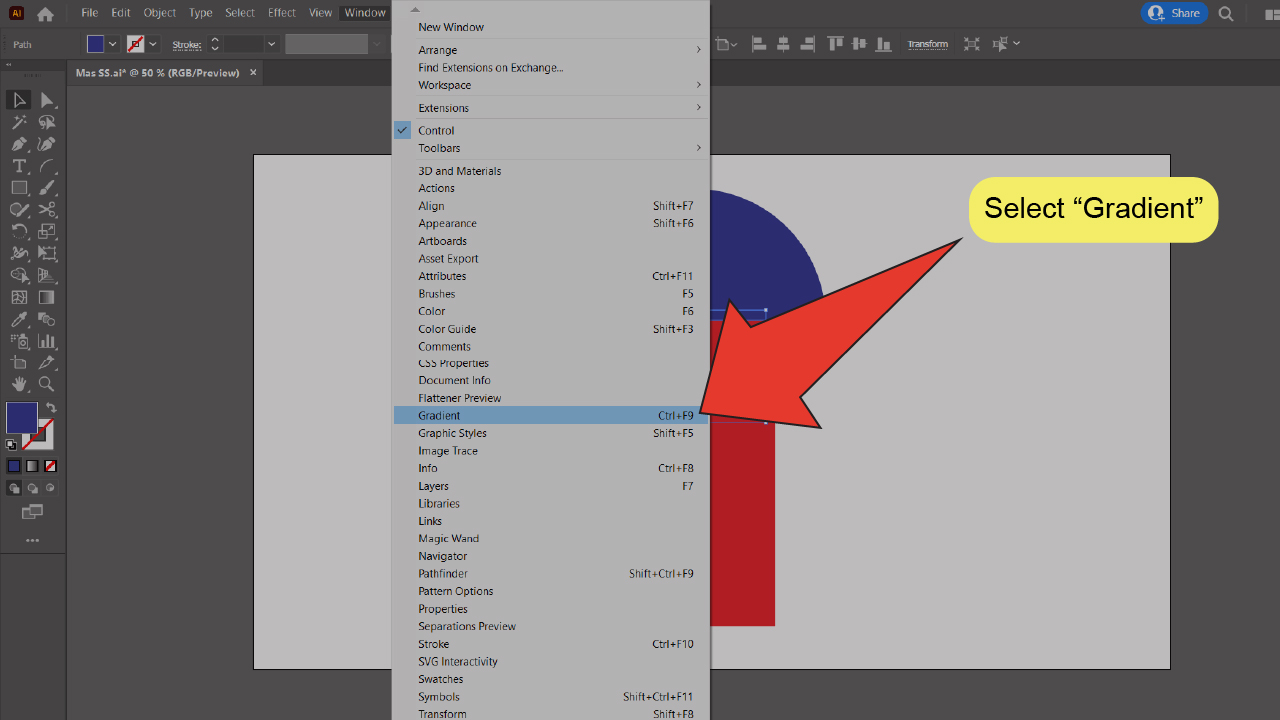
Step 4: Open the Gradient Window
At the top of your screen, go to “Window” and click on “Gradient”. The Gradient Window should open up on the right side of your screen. To speed things up, you can also use the keyboard shortcut “Ctrl+F9”.

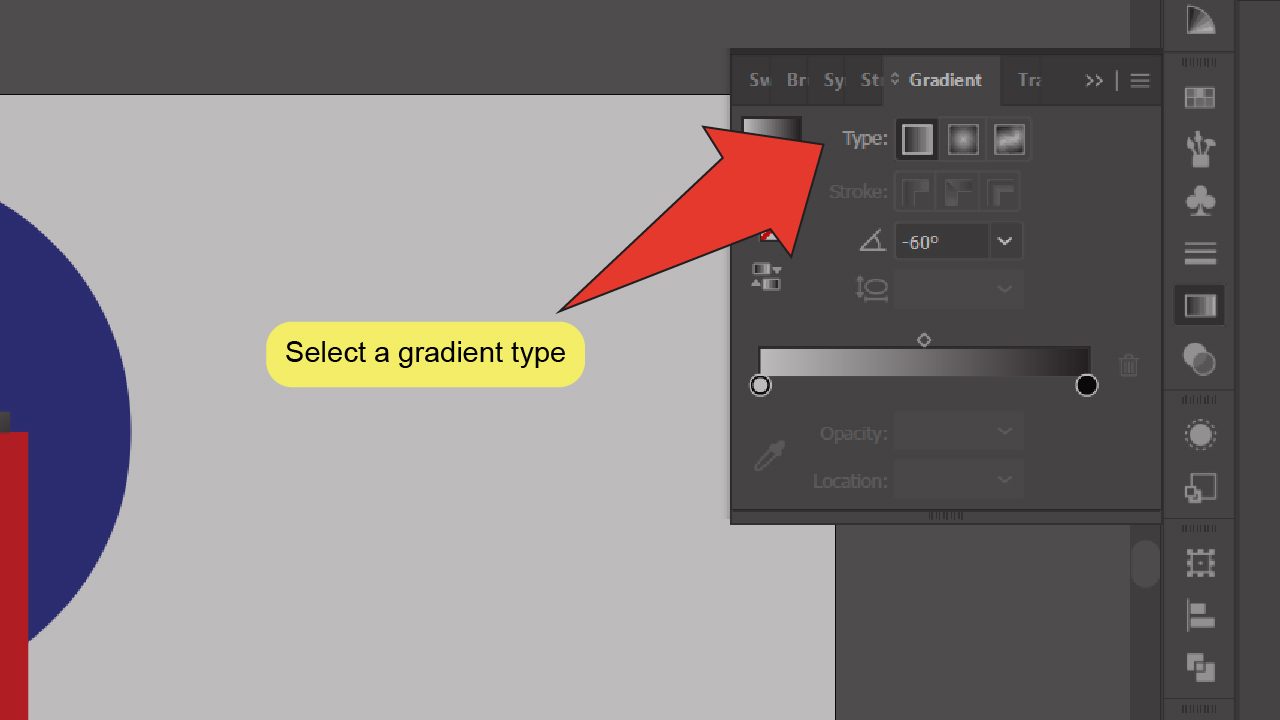
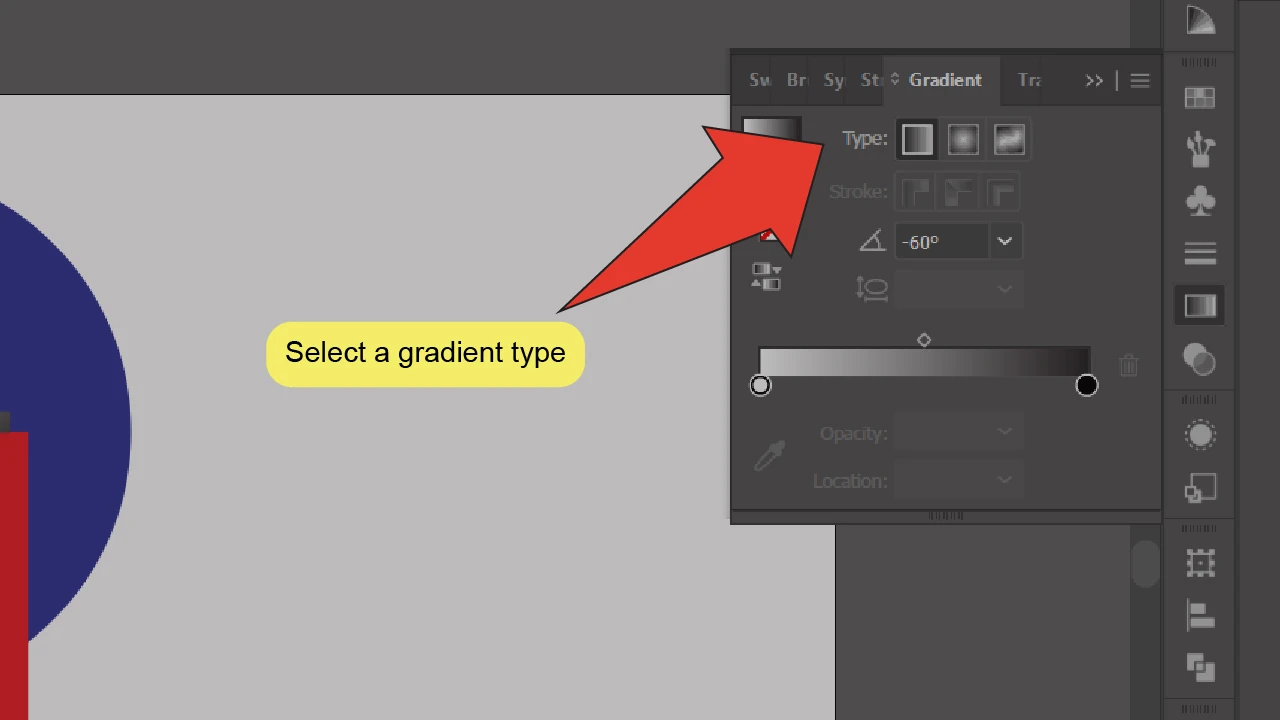
Step 5: Select a gradient type
Select a gradient type from the ones listed by “Type” at the top of the Gradient Window. You can choose between a Linear, Radial or Freeform gradient.
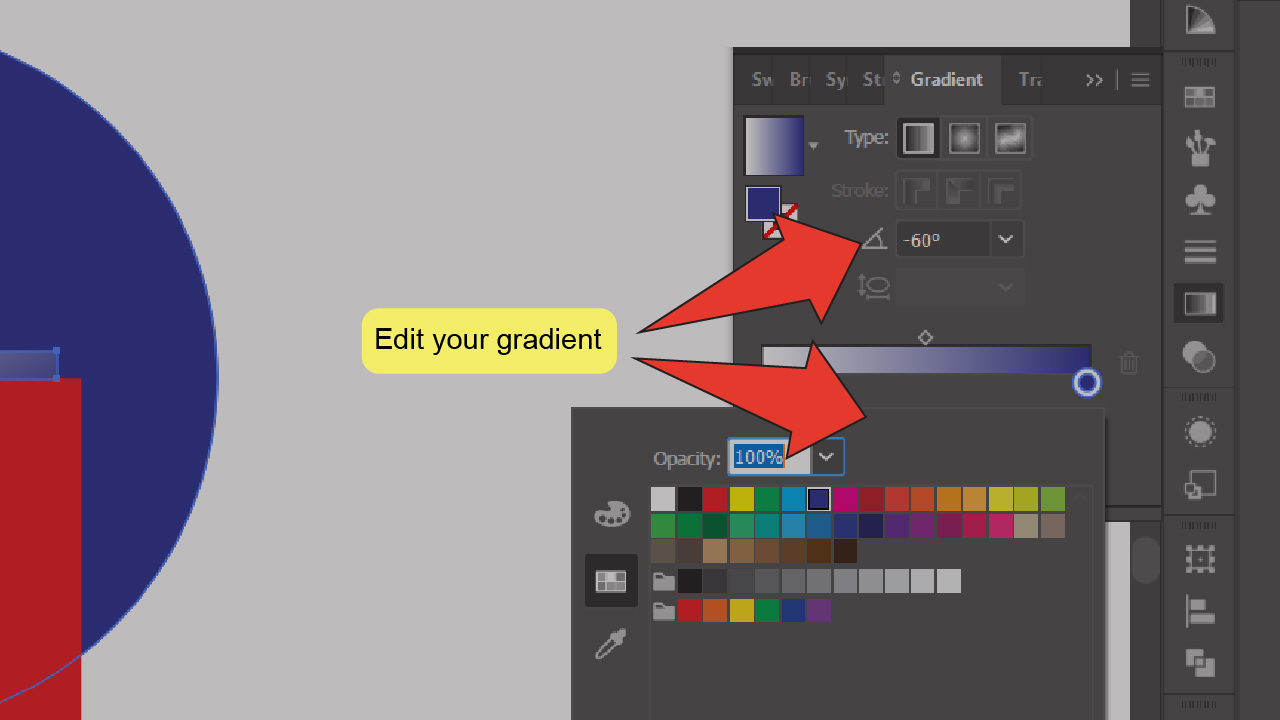
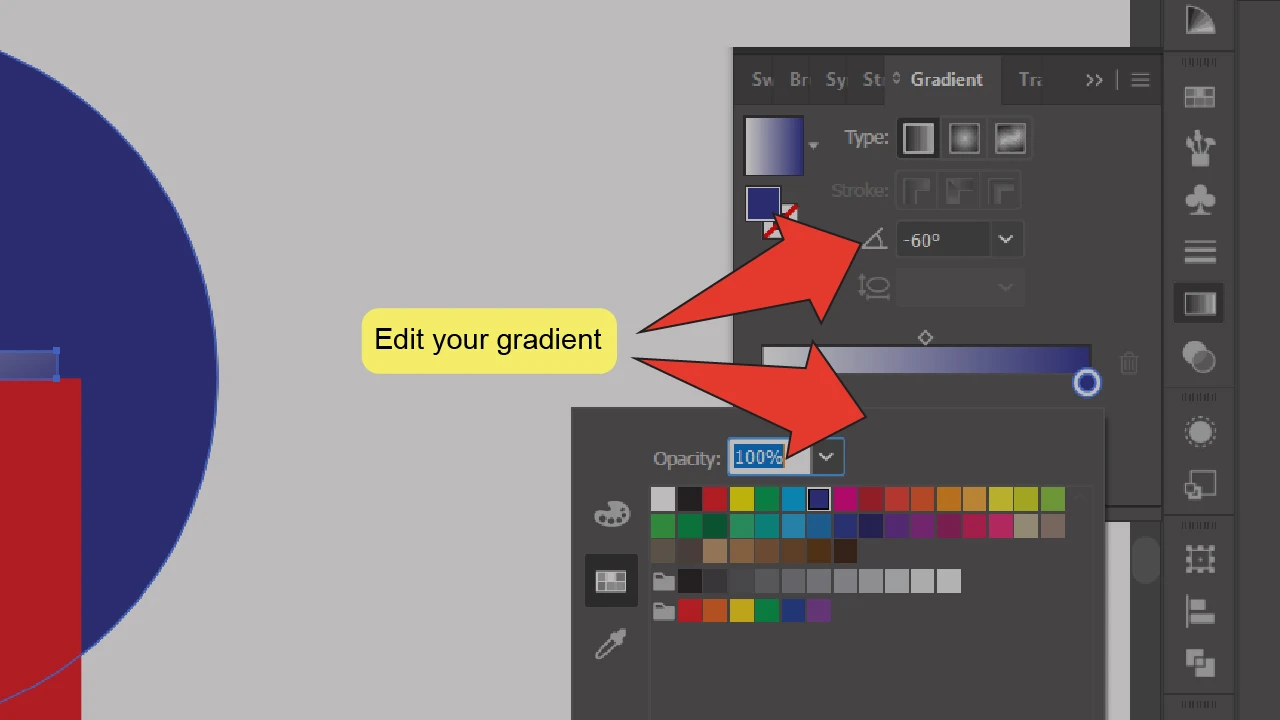
Step 6: Edit your gradient
Once you’ve selected a gradient type, you can use the tools on the rest of the Gradient Window to change the angle of your gradient via the Angle dropdown menu. You can also change the colors in your gradient by double-clicking the dots under the Gradient slider and selecting a color from the swatch panel that pops up.


Hey guys! It’s me, Marcel, aka Maschi. On MaschiTuts, it’s all about tutorials! No matter the topic of the article, the goal always remains the same: Providing you guys with the most in-depth and helpful tutorials!

