

When it comes to enhancing your document’s visual appeal, mastering the art of “Drop Caps” in Google Docs is a game-changer.
While Google Docs doesn’t offer a one-click feature for creating drop caps, there’s a clever workaround to achieve this stylistic flourish.
Read on to find out how to do stunning drop caps in Google Docs!
How to Do a Drop Cap in Google Docs
Frequently Asked Questions about How to Do a Drop Cap in Google Docs
How to Do a Drop Cap in Google Docs
To do a drop cap in Google Docs, go to “Insert” >” Drawing” > “New.” On the Drawing pop-up, select “Actions “and choose “Word Art.” Type in the desired drop cap letter and format it accordingly, then click “Save and Close” to add the drop cap to your text.
If you’re a keen observer, you’ve already read that there’s no one-click button feature that allows Google Docs users to create drop caps.
But, while such a 1-click feature isn’t available yet, there’s a workaround that you can use to achieve a similar feat.
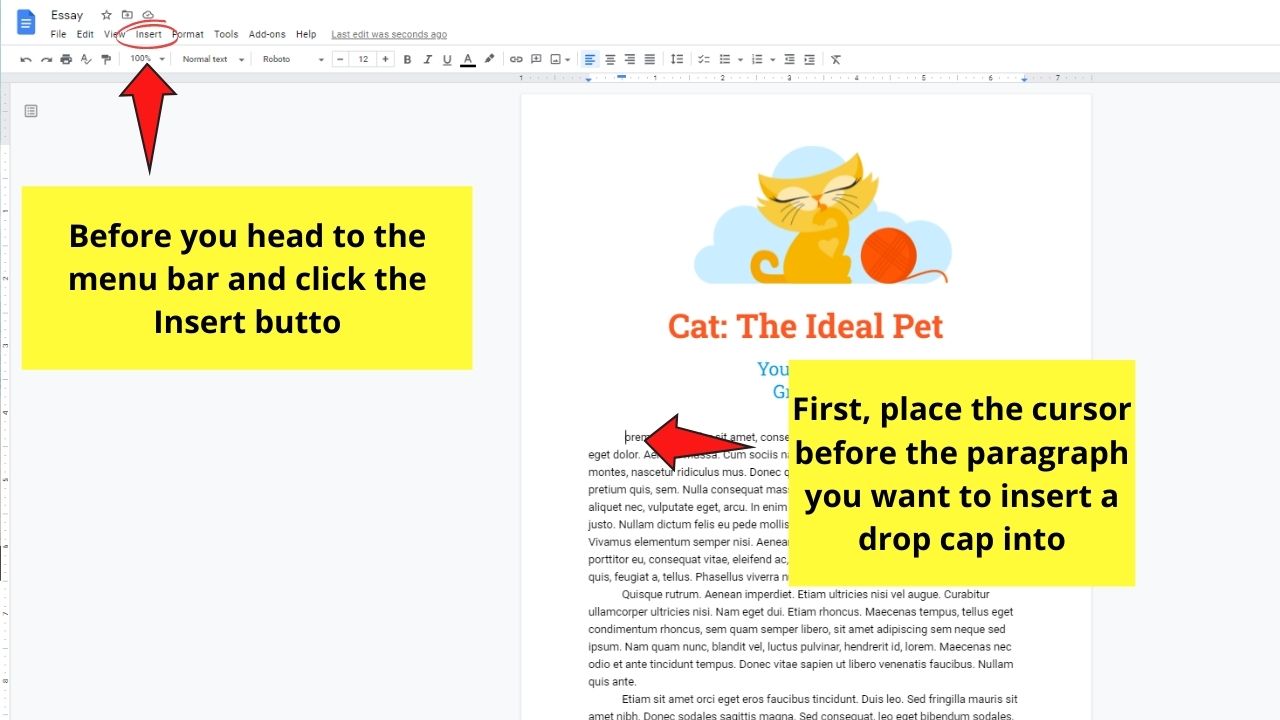
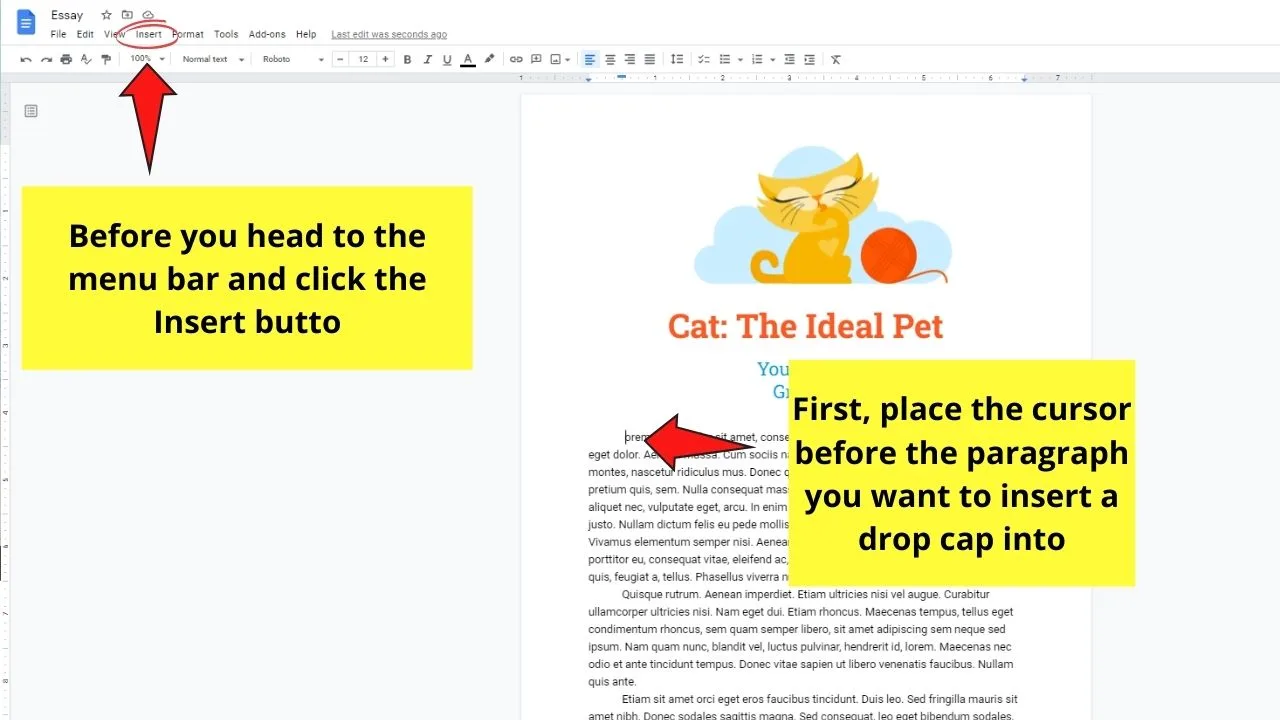
To do a drop cap in Google Docs, follow these steps:
Step 1: Click on “Insert” in the top menu
Step 2: Hover over “Drawing”
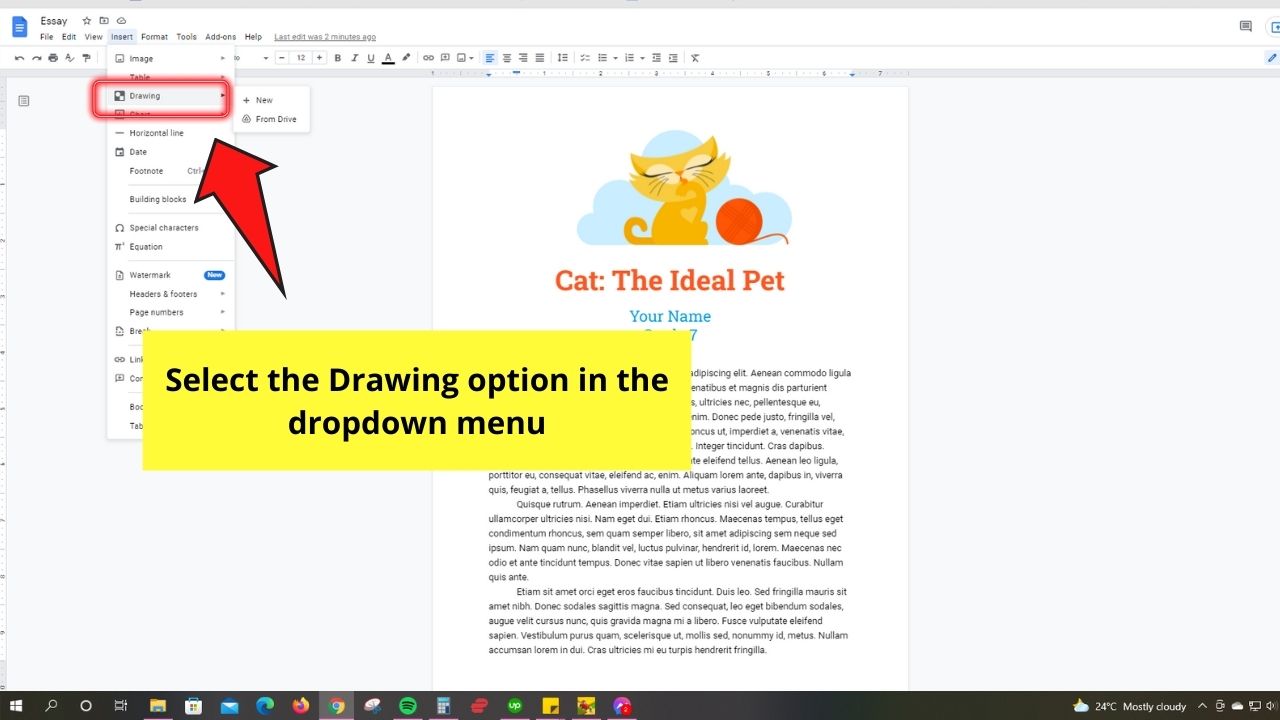
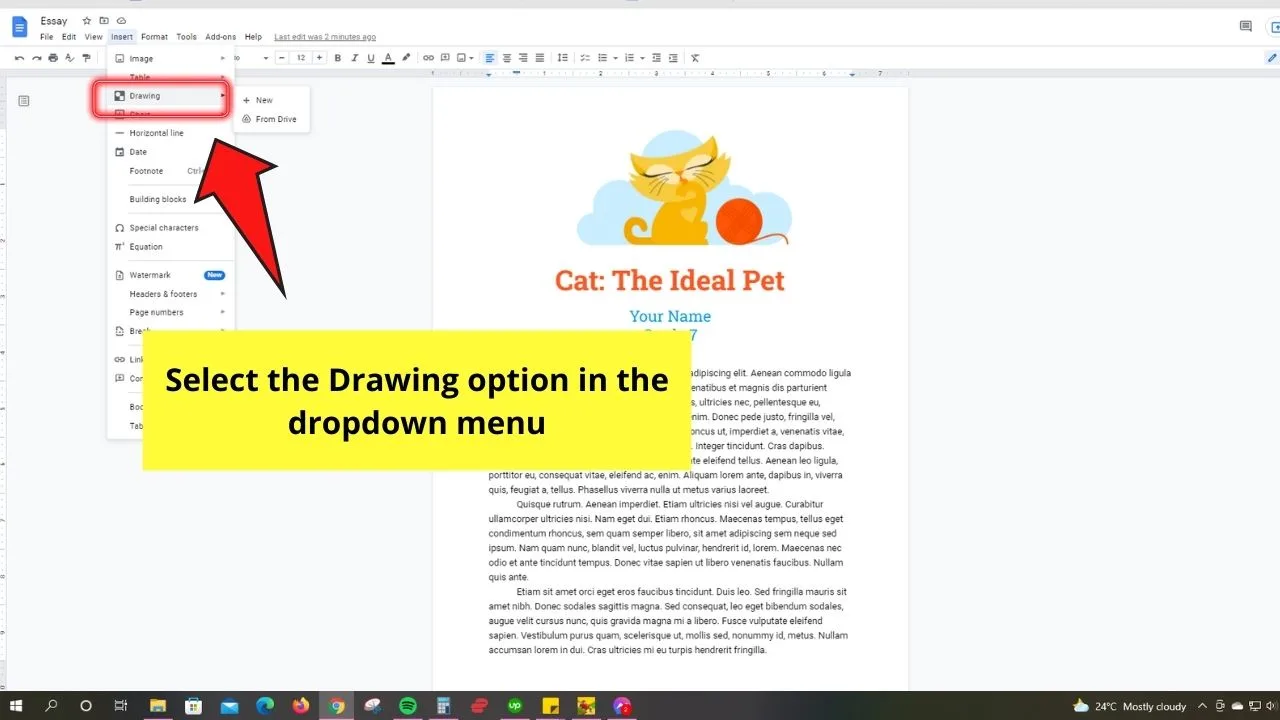
Step 3: Select “New”
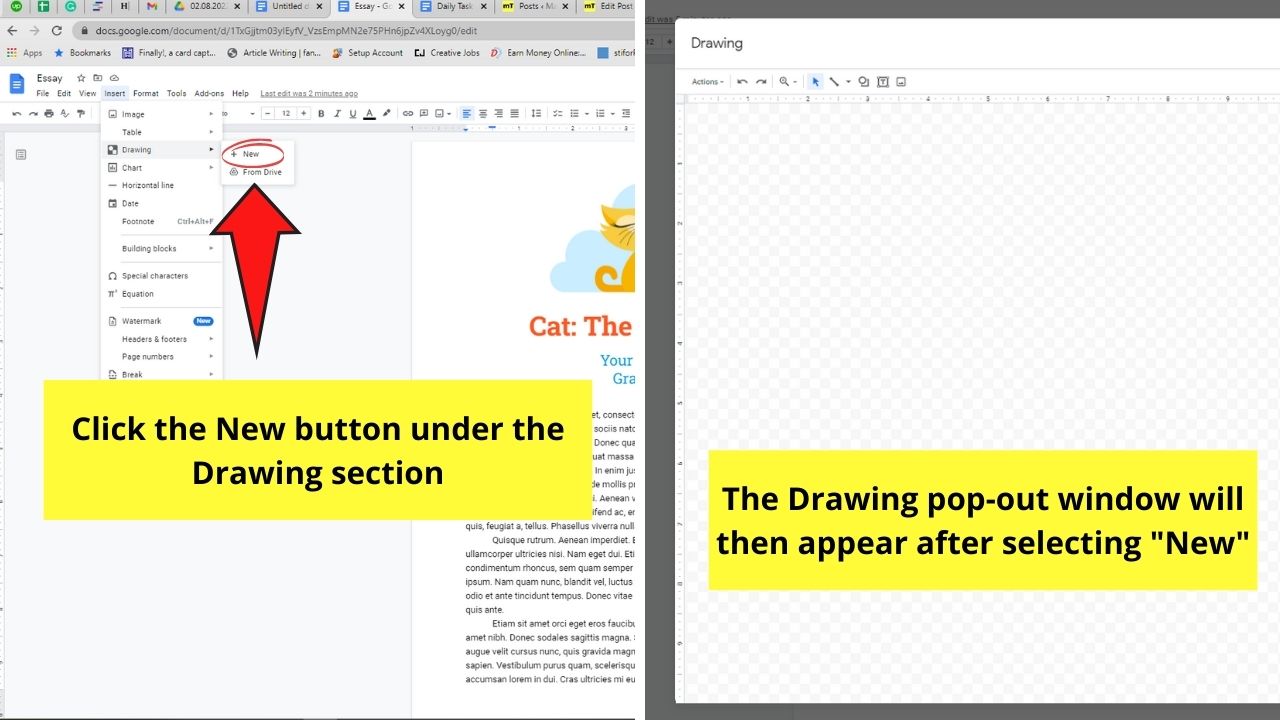
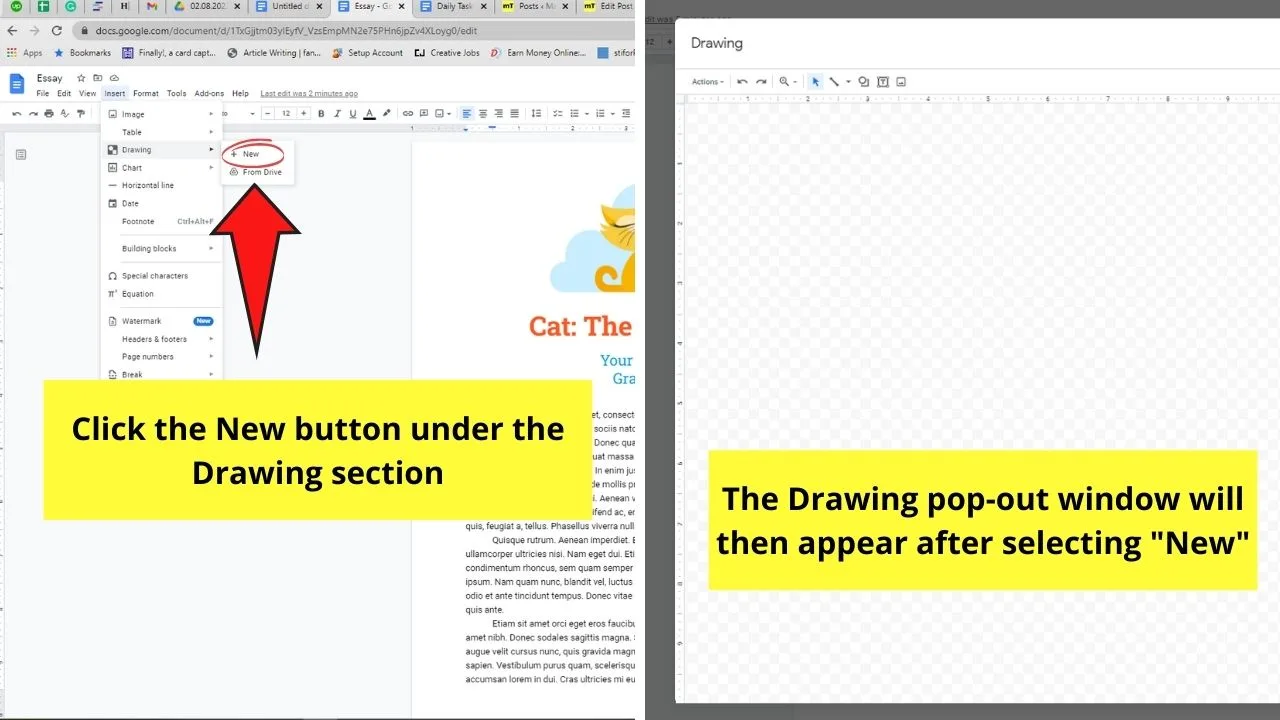
This step will then activate the Drawing pop-out screen.
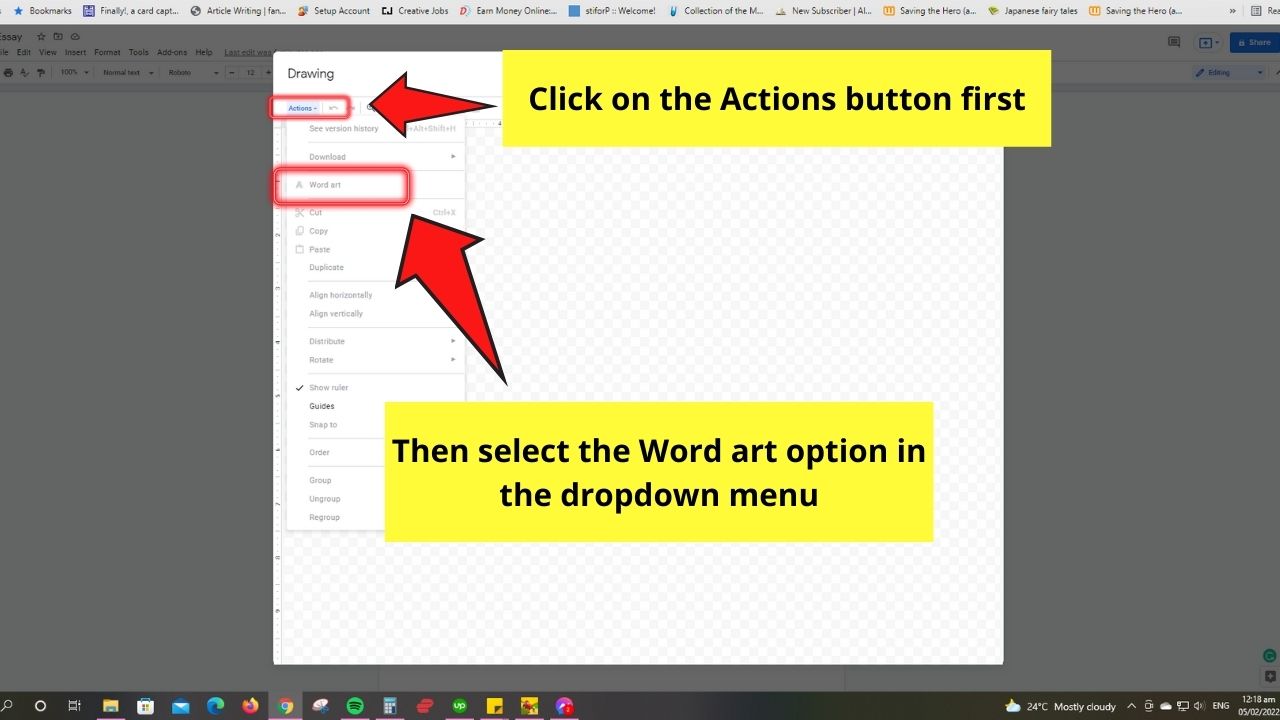
Step 4: In the Drawing pop-out, click “Actions.” Then, in the dropdown menu that appears, choose Word art.

Step 5: After selecting the Word Art option, type the letter in the box before pressing the Enter button on your keyboard
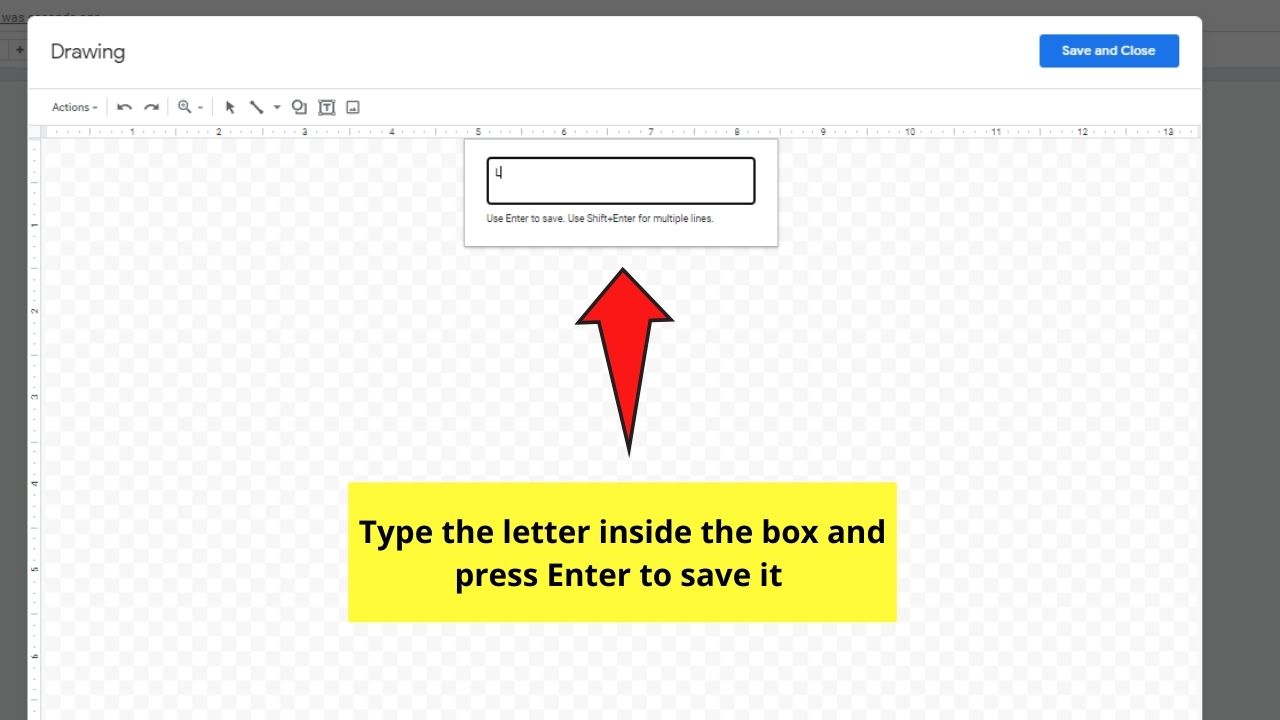

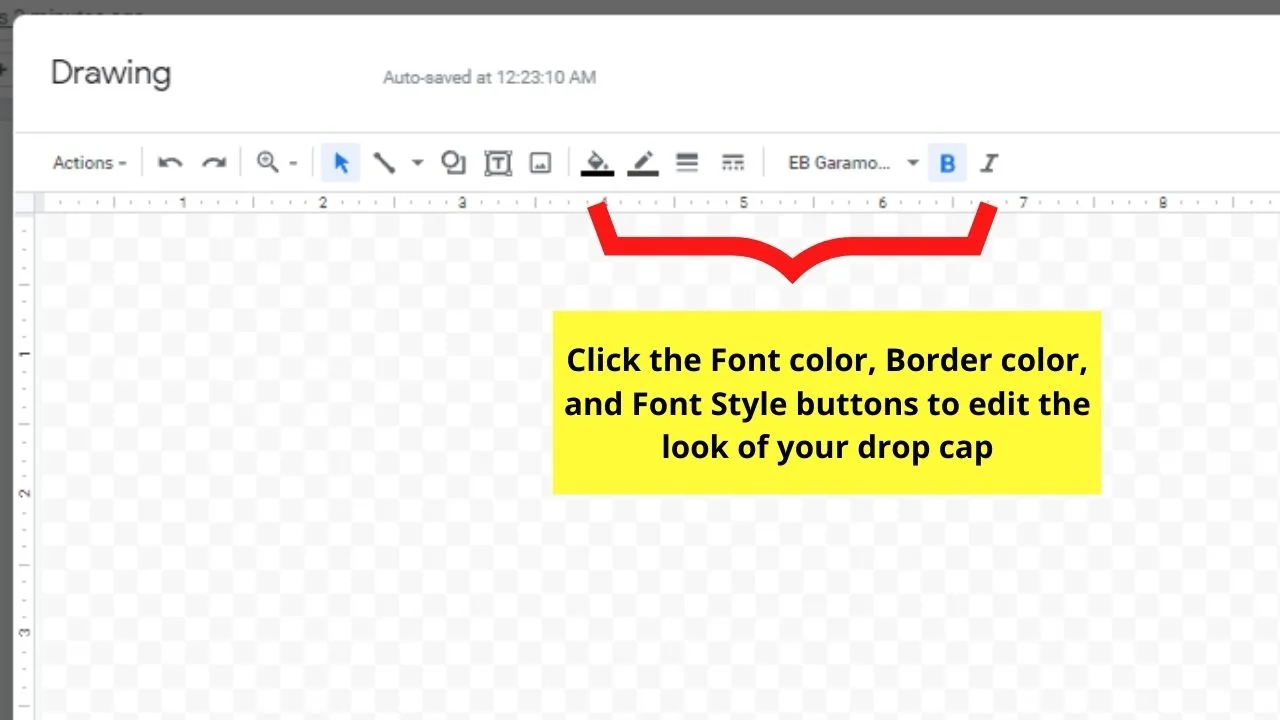
After typing the letter, you can continue to format it — change its font style, border color, and size accordingly.

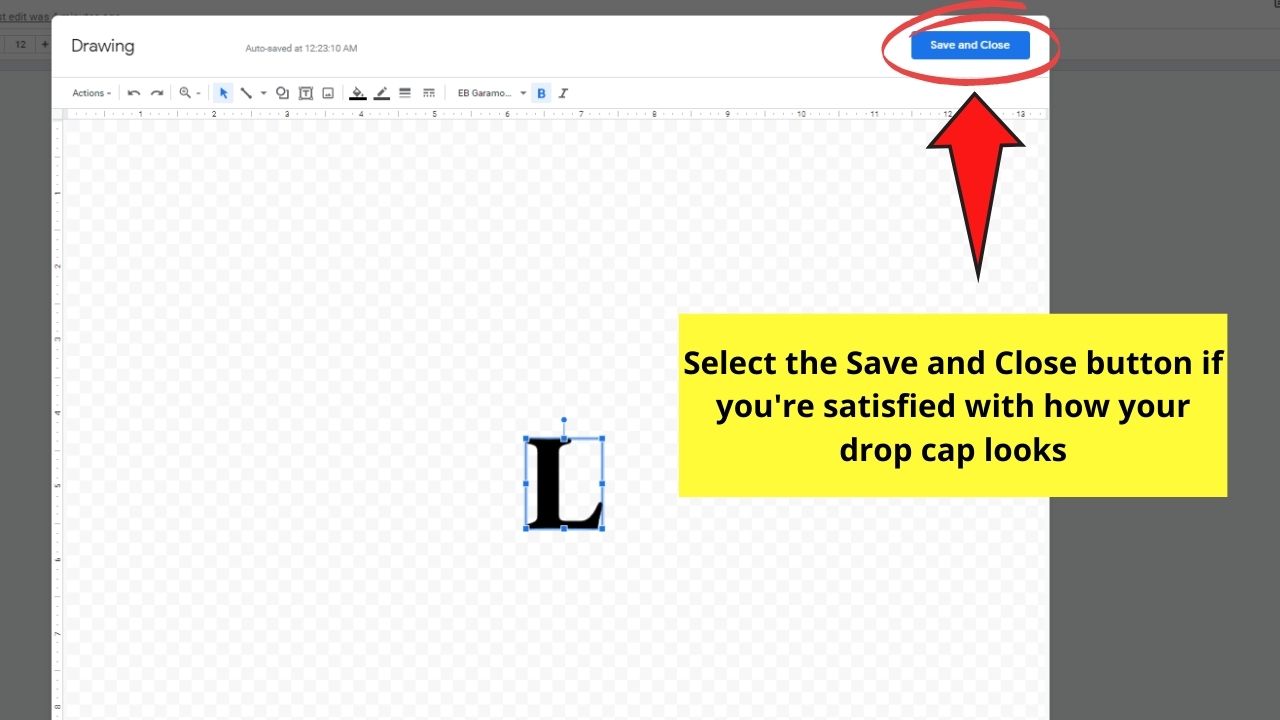
Step 6: If everything’s to your liking, click on “Save and Close” to insert the letter to your document

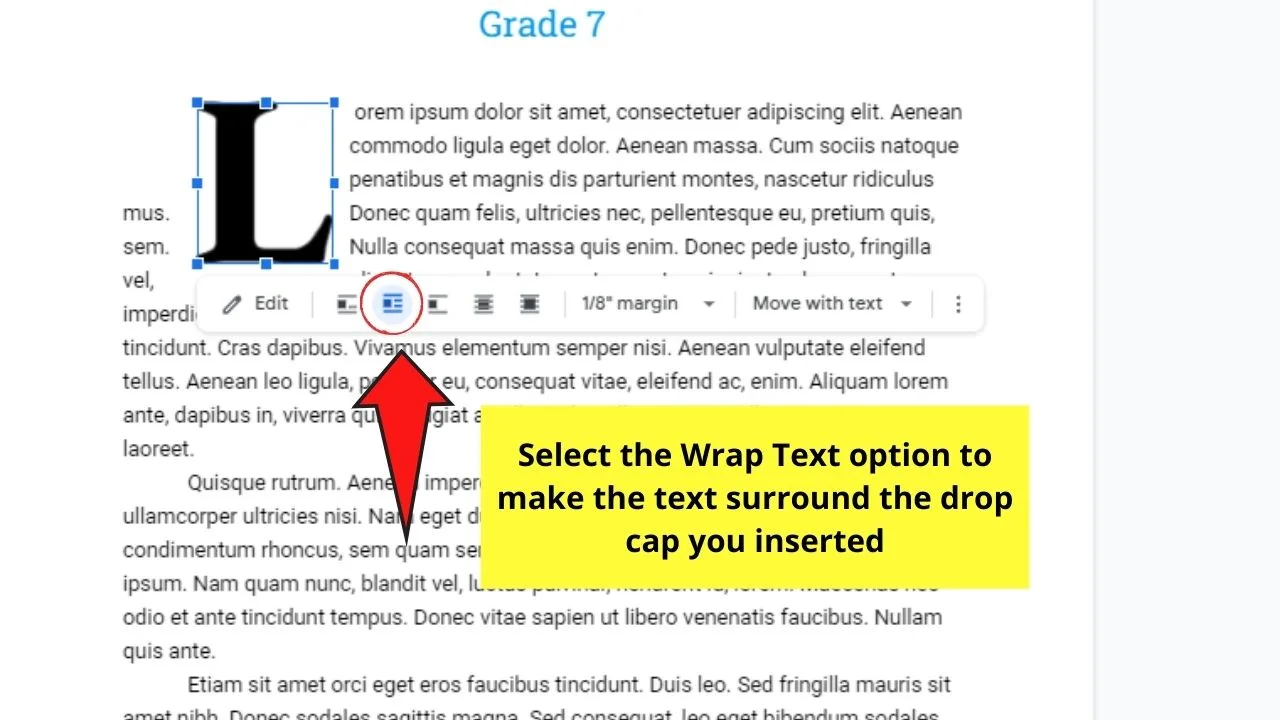
Step 7: After inserting the newly-created drop cap to your document, click on it again.

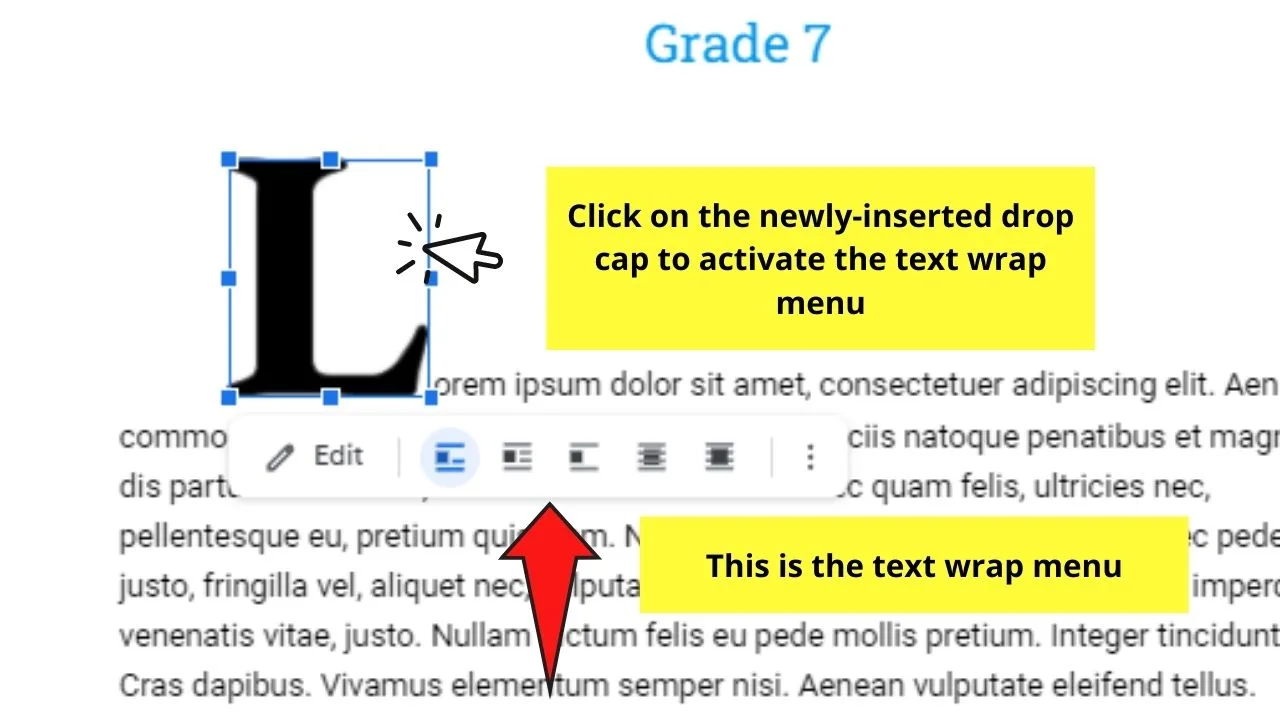
Step 8: Choose the second option, the Wrap Text button. This will make the rest of the text surround the drop cap.
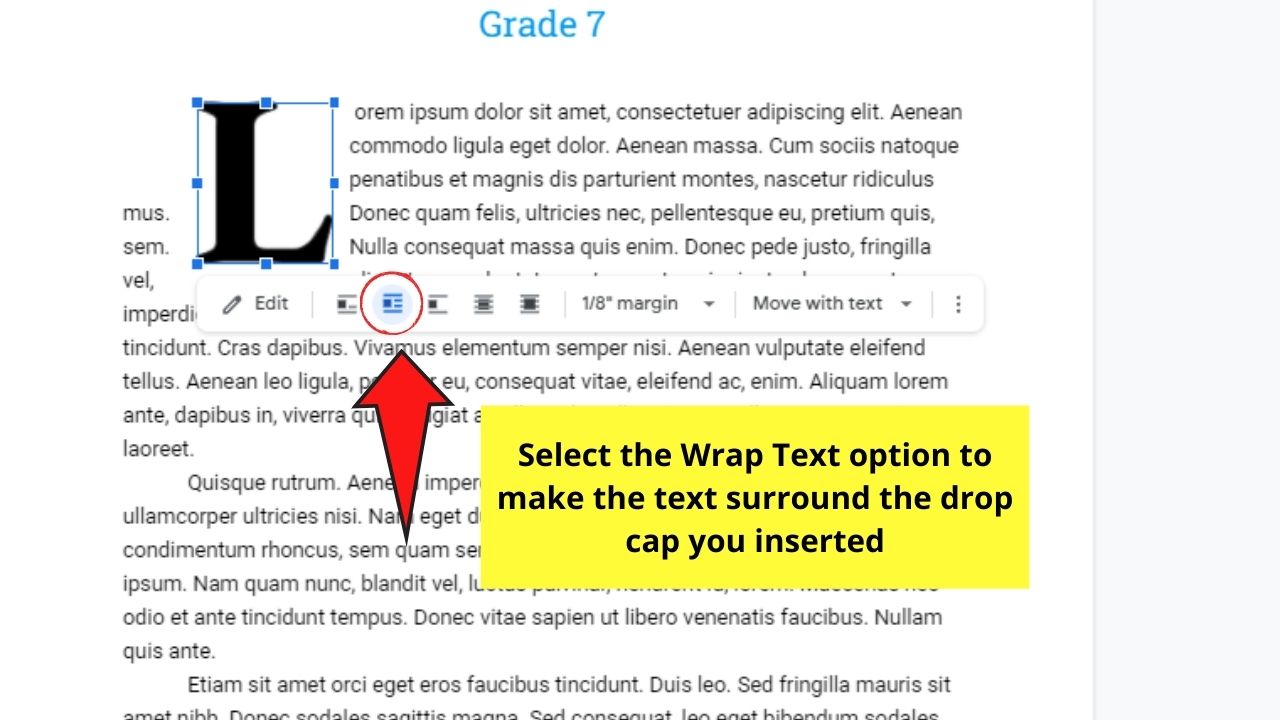
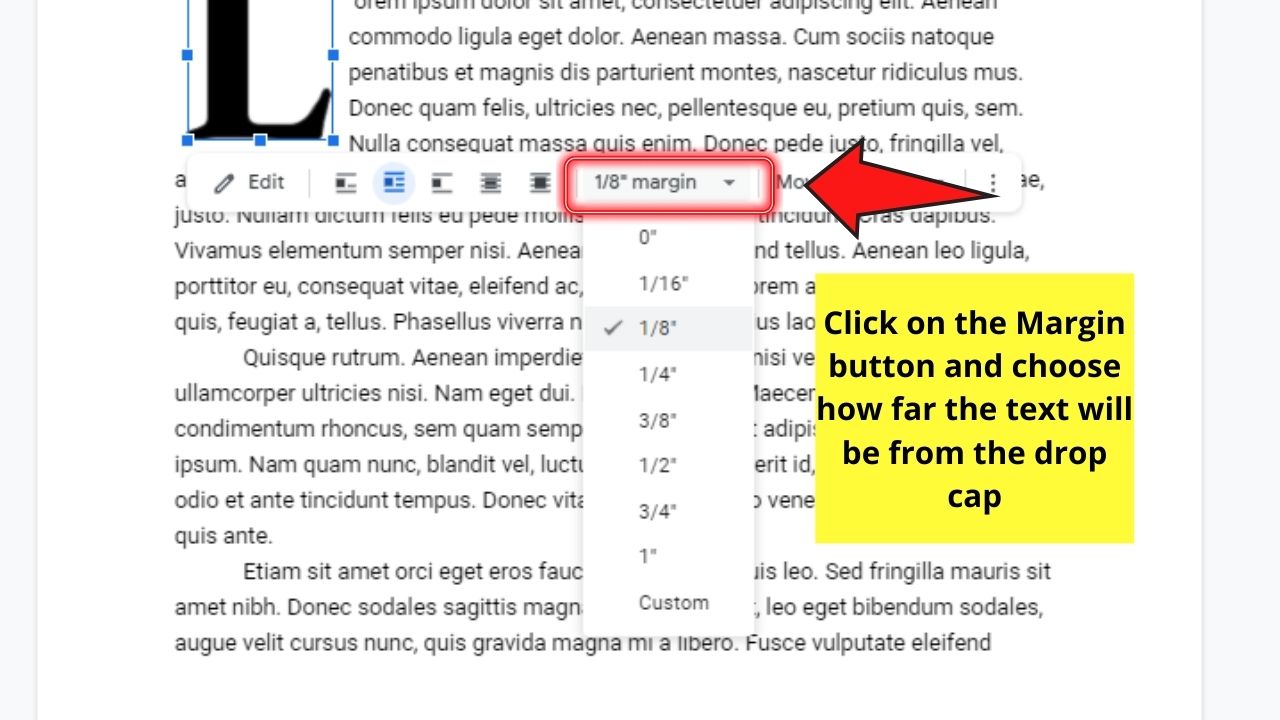
You can also adjust the margin or the spacing between the drop cap and the rest of the text. Just click the margin button and select what margin value you want to use.


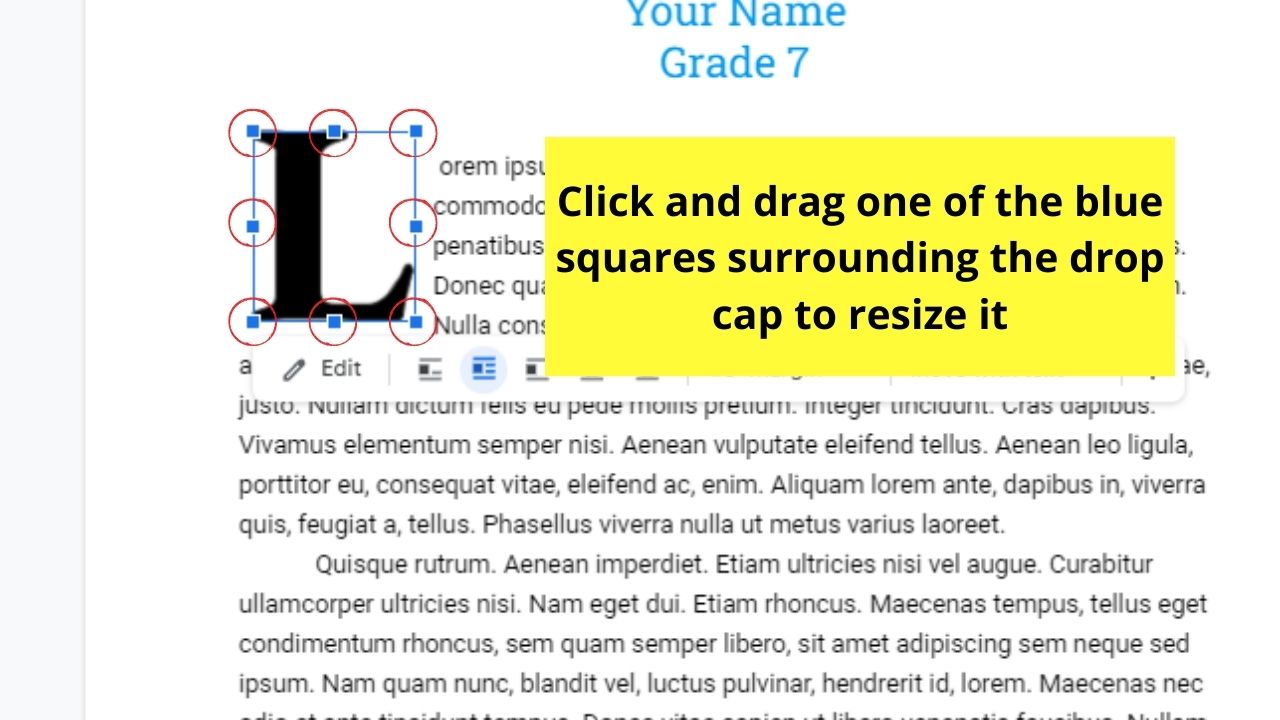
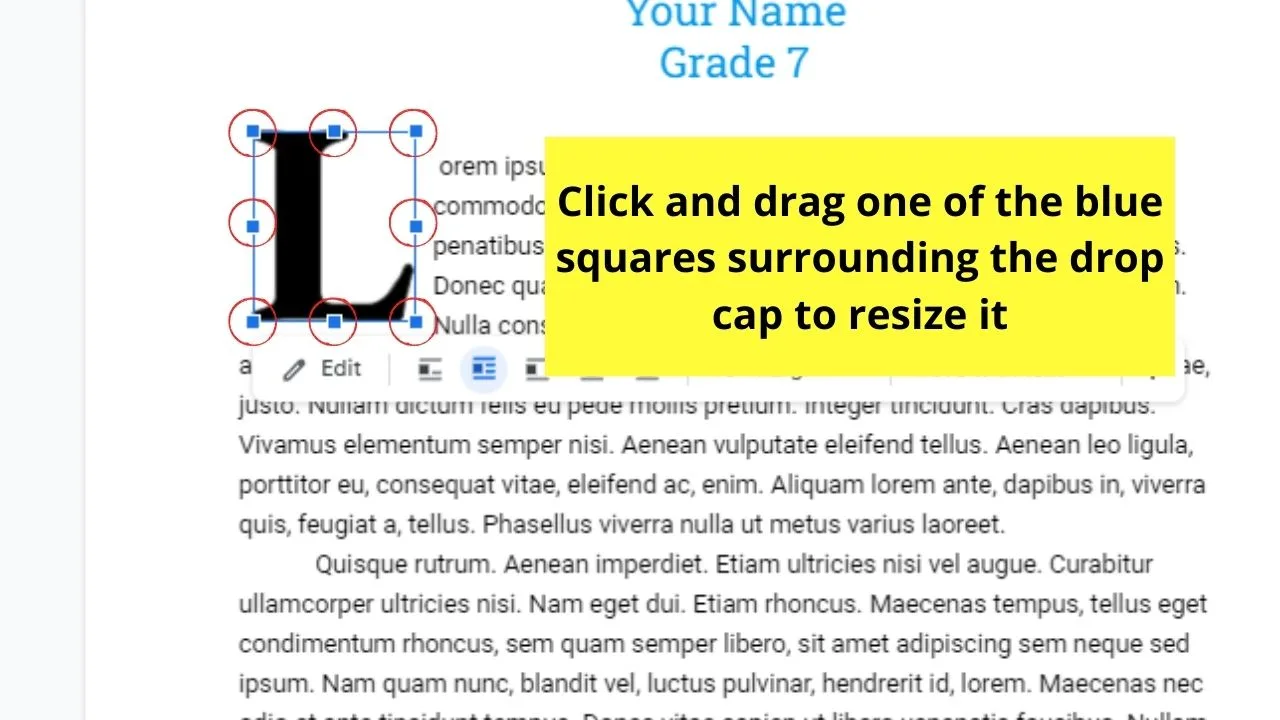
Step 9: To adjust the size of the drop cap, click and drag on one of the blue boxes surrounding the letter outward (to make it bigger) or inward (to make it smaller).
You can even move the drop cap by clicking and dragging it across the document until you achieve the look you’re aiming for.
After that, proceed with editing the rest of the text on your file before saving it accordingly.
So, do you still think creating drop caps in Google Docs is a challenging task?
If you still do, then go back to reading this text so you’ll understand how to go about the process.
Frequently Asked Questions about How to Do a Drop Cap in Google Docs
What is the purpose of a drop cap in a text document?
Drop caps are used mainly for 2 purposes. First, drop caps emphasize a certain part of the text, hence, they’re primarily placed at the beginning of a paragraph. Another reason for adding drop caps is simply to add style to the text.
Can you edit the look of a drop cap like how you edit regular text in Google Docs?
Editing a drop cap’s look is similar to how you edit the look of regular text in Google Docs. You can adjust its font style, font color, as well as whether it appears in Bold or Italic. All these options you can find after you activate the Drawing pop-out.


Hey guys! It’s me, Marcel, aka Maschi. On MaschiTuts, it’s all about tutorials! No matter the topic of the article, the goal always remains the same: Providing you guys with the most in-depth and helpful tutorials!

