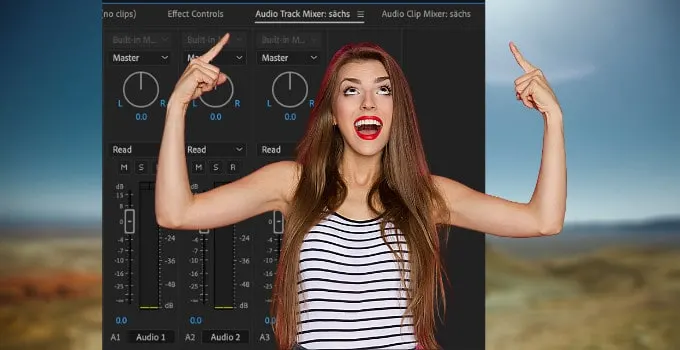
Premiere Pro is probably one of the most popular and also one of the most professional video editing programs out there.
That’s supposed to be good, right?
Well, sort of.
On the one hand, as we are dealing with professional video software here, almost anything can be done on Premiere Pro.
On the other hand, as we have thousands of functions, options and workflows that we need to master when using Premiere Pro, even the simplest things can seem super difficult in PP.
So, even a simple question such as how can you change the level of Audio in Premiere Pro can cause us some issues.
But don’t worry. Maschituts got your back!
How to Change the Volume of Audio in Premiere Pro?
To change the volume of an individual audio track, use the audio track mixer to change the volume. To change the volume of an audio clip, use the audio clip mixer. To change the master volume, reduce the volume of the “Mix” track in the audio track mixer.
Change the Audio Volume in the Audio Track Mixer in Premiere Pro
In Premiere Pro, you are usually working on different audio tracks.
On audio track 1, you might have your voiceover.
On audio track 2, you probably have your background music.
ON audio track 3, you might want to add some special audio effects.
Now, Premiere Pro let’s you adjust the volume for each of these audio tracks individually.
To do just that, within Premiere Pro, go to “Window” and then click on Audio Track Mixer.
You will now see your different audio tracks. If you followed the example as outlined above (track 1 for voiceover, etc.), you can now simply change the volume for each individual audio track by using the fader (each audio track has its own fader).
Please note that if you do indeed change the volume for an audio track, every audio clip that you will insert to this audio track will inherit the volume of the the audio track.
Change Audio Volume in the Audio Clip Mixer in Premiere Pro
Instead of changing the volume in the Audio Track Mixer, you can also change the volume for every audio clip individually.
To do so, go to “Window” and then select “Audio Clip Mixer.”
The Audio clips represent the individual clips that you see in your timeline.
Imagine you have an audio file that is called voiceover.wav.
To make use of this audio file, you will first drag it into your Project folder.
Then, you will want to drag & drop this file onto one of your audio tracks. That could basically be any audio track.
Once you have done that, you will see your audio file in the form of an audio clip.
And now within the audio clip mixer, you can adjust the volume of this very clip.
And in the same fashion, you can adjust the volume of any audio clip that you have in your timeline.
One thing that is important to understand is that the audio level of your audio clip will only be reflected when your audio is playing.
That means that the playhead needs to be on the audio clip in question in order for you to see the actual audio level that your clip is playing at.
Change the Master Track Volume in Premiere Pro
Last but not least, you can also change the volume of the so-called Master Track.
The master audio track is an audio track that is always in the timeline. You won’t need to add this master audio track.
It will just be there as soon as you start working on your project in Premiere Pro.
Now, it is important to understand that changing the volume of the audio master track will affect all audio material, both all audio clips and all audio tracks.
To change the Master volume, open the Audio Track Mixer and then look for the “Mix” track. This is the master volume there.
So, if you reduce the volume there, the volume of literally everything gets reduced. You should use this with caution.
You might want to reduce the master volume if your song is clipping.
Generally speaking, though, you don’t want to mess a lot with the “Mix” track at all and you usually wouldn’t want to just manually lower or increase the volume by using the fader of the “Mix” track!
Now that you know the basics of handling audio in Premiere Pro, why not about how to properly render in Premiere Pro?
Maybe you are like me (or more like my old me) and just render your footage whenever your project is already done…
But this is actually not the best way to go about it. In many cases, rendering files in the very beginning of your project can actually be very beneficia and can save you lots of time especially if your computer/laptop is somewhat slow!

Hey guys! It’s me, Marcel, aka Maschi. On MaschiTuts, it’s all about tutorials! No matter the topic of the article, the goal always remains the same: Providing you guys with the most in-depth and helpful tutorials!


