
You’re probably a new Adobe Illustrator user, so, you must know there’s more than one way to do things around here. That, my friend, may be confusing! So here I am to help.
Zooming is a fundamental function, but it’s also essential when it comes to diving into the finer details while using this program.
The coolest thing is that, because this is a vector editor, you can zoom in as much as you like without sacrificing visual quality.
The same result can be reached while using menu items, the Zoom tool, or keyboard shortcuts. So, in the end, it’s up to you.
The primary option is the “Zoom Tool,” which can be used by hitting the “Z” key or by picking it from the left toolbar (it looks like a magnifying glass).
Simply click once or more times on the spot you would like to zoom in on. You can also drag to draw a box around the object or area you wish to enlarge if you want to zoom in on something specific. Once you release, the view will be limited to the region you choose.
The best and quickest method, in my opinion, is to use mouse scrolling. Surprising, right?
It doesn’t matter what tool you are currently using. Hold down the “Alt” or “Option” key while scrolling. If you’re working on a laptop, you can perform the same thing on a pad.
There are two more options remaining, and to be honest, they aren’t the most intuitive.
One may be found on the top menu: Select “Zoom In” or “Zoom Out” from the “View” menu. This may also be done using the “Ctrl+” or “Ctrl-“ keyboard shortcuts.
Lastly, and probably the most complex of the alternatives: Set the zoom percentage on the main window’s lower-left corner.
How to Zoom in in Illustrator
To zoom in in Adobe Illustrator: First, select the “Zoom Tool” from the toolbar or press the “Z” key, then click on the point you want to enlarge. You could also draw a box around the area. Another option is to scroll up with your mouse or pad while holding down the “Alt” or “Option” key.
How to Zoom in in Illustrator in 4 Simple Steps
Just a quick tip that would help you out in general: The “Hand Tool” allows you to move around the canvas. Simply hit the “Space Bar” or the “H” key to activate it.
Step 1:
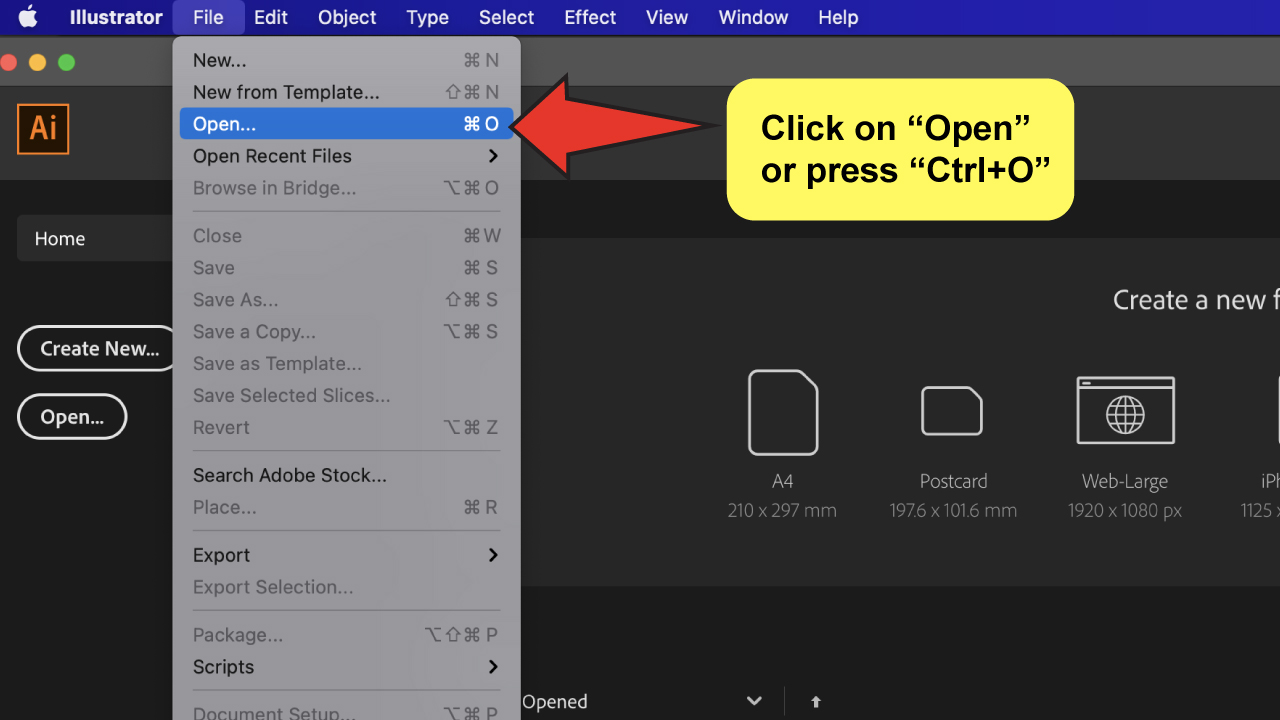
Open the file you want to work with.
To open a file, go to “File” and click “Open”, or use the “Ctrl+O” keyboard shortcut.
As always, I recommend to use the keyboard shortcuts. This will really speed up your work in the future.


Step 2:
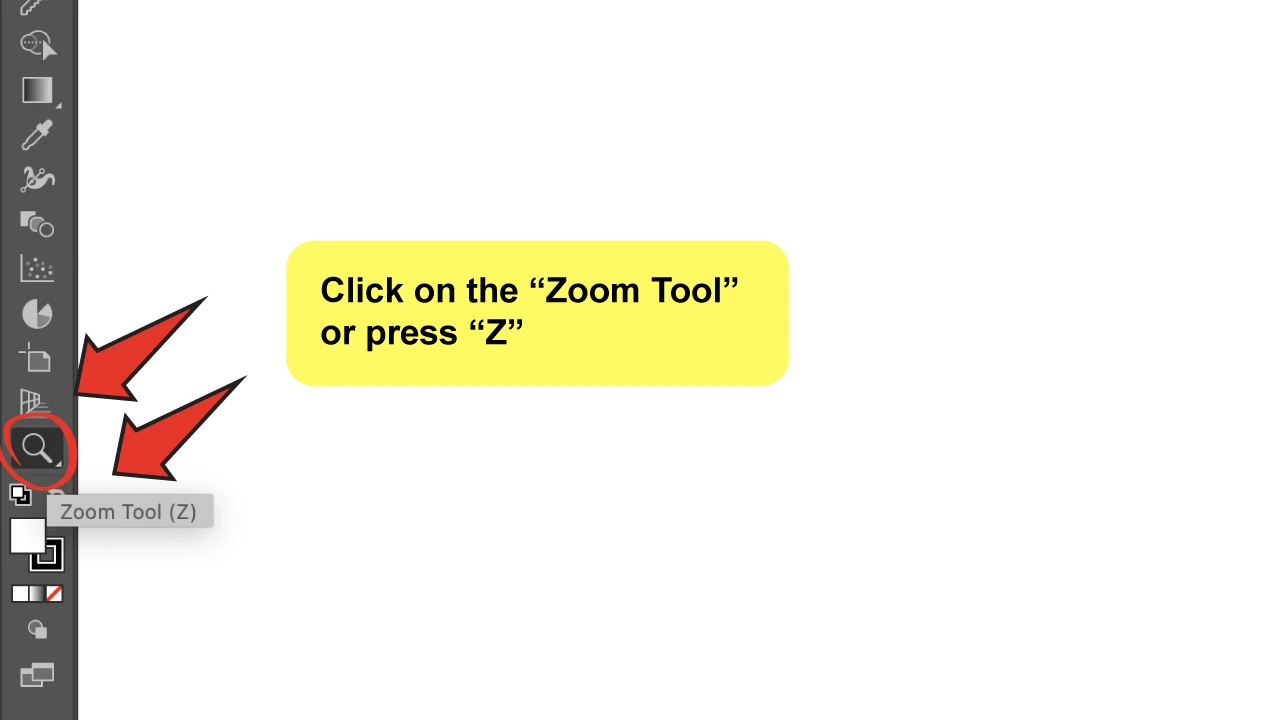
Pick the “Zoom Tool”
Select the “Zoom Tool” from the Toolbar menu on the left, or press the letter “Z” on the keyboard.

Step 3:
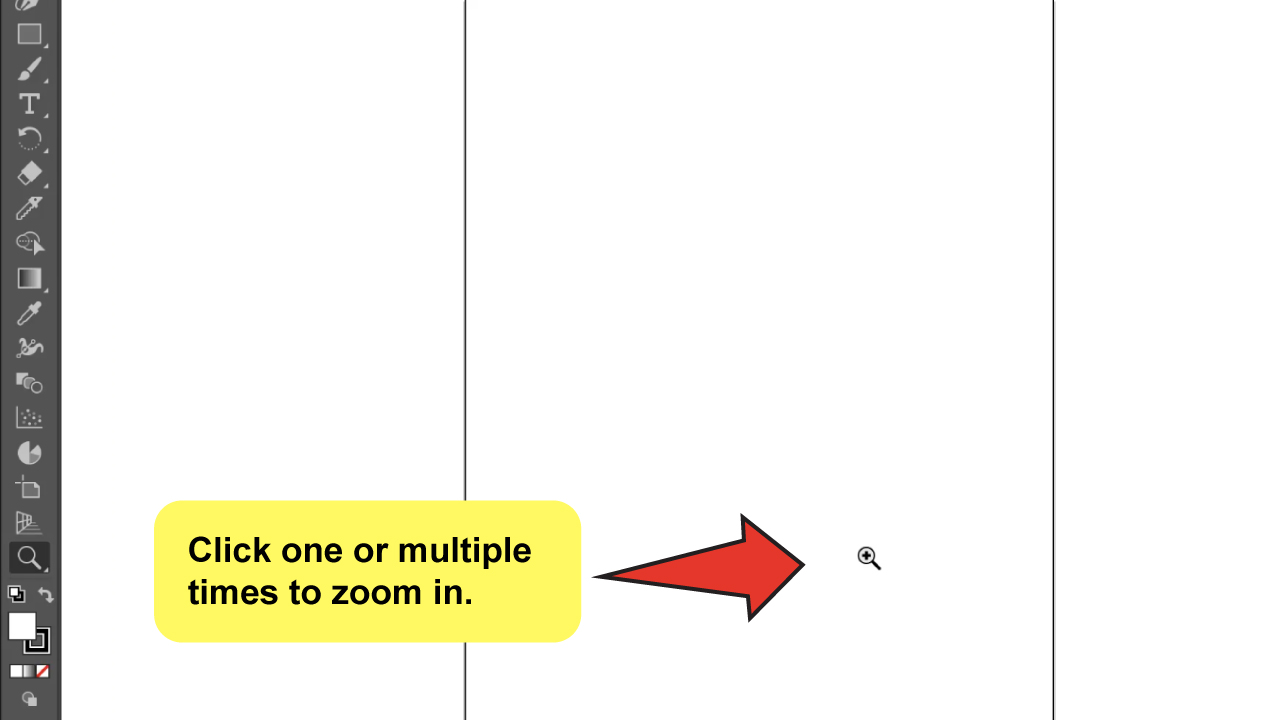
Zoom in
Click on the point you want to enlarge, as many times as you wish. There’s a limit on how much you can zoom in but don’t be afraid, you will realize you reached to the limit once you can’t zoom in anymore.
You can make this step more fluid, by dragging up and down with your mouse or pad, instead of clicking. The process will be smoother this way.
It’s a good way to speed up the workflow if you are in a hurry, or you just don’t like to click so many times. It’s really up to you at this point.

Step 4:
Zoom out or return to a standard view.
You can zoom out by holding the “Alt” or “Option” key.
If you went too far and need to return to the original size you were at, click “Ctrl+1” or “Command+1” to return immediately to a 100% view.


Frequently Asked Questions About How to Zoom in in Illustrator
How do I reset how far Illustrator is zoomed in at when I open it?
Press the “Command+0” keyboard shortcut to make all of the artboards visible in the window.
Which option is the most professional?
They are all good solutions; the key is to select the one that is most convenient for you.


Hey guys! It’s me, Marcel, aka Maschi. On MaschiTuts, it’s all about tutorials! No matter the topic of the article, the goal always remains the same: Providing you guys with the most in-depth and helpful tutorials!

